This quest details the Bleak Falls Barrow main story quest in Skyrim, including where to find The Golden Claw, and how to retrieve the Dragonstone from Bleak Falls Barrow for Farengar.
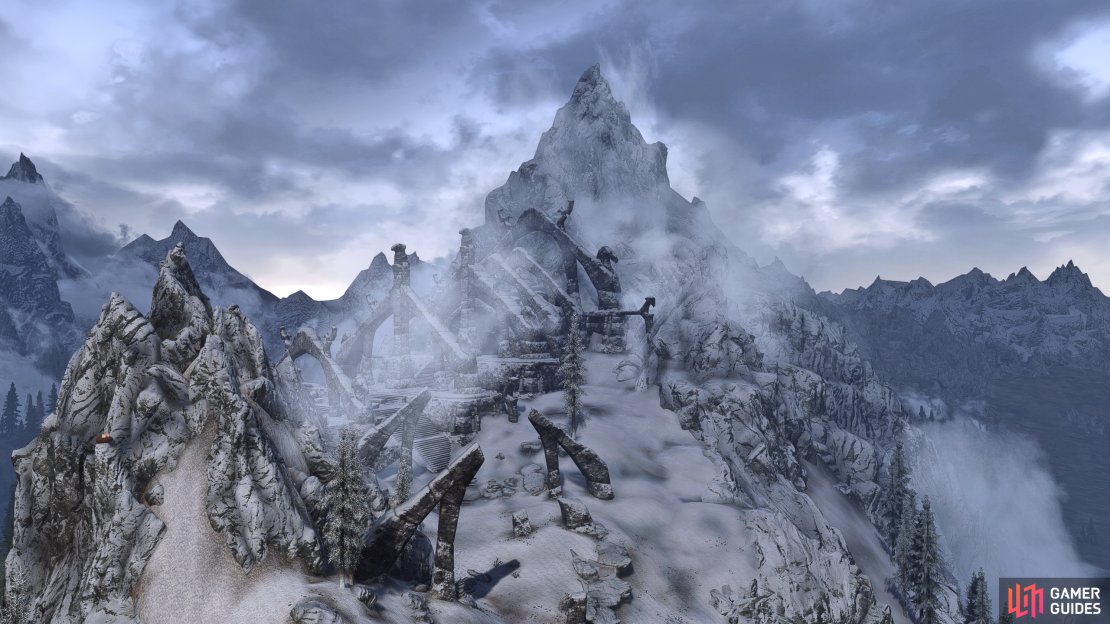
Bleak Falls Barrow, Skyrim.
| Quest Info | Description |
|---|---|
| Objective | Retrieve the Dragonstone. |
| Quest Giver | Jarl Balgruuf the Greater |
| Location(s) | Riverwood, Bleak Falls Barrow, Dragonsreach |
| Prerequisite | Before the Storm |
| Next Quest | Dragon Rising |
| Concurrent | The Golden Claw |
| Reward | Enchanted Leveled Armor, Permission to buy Breezehome |
Quest Overview
-
Talk to Farengar Secret-Fire.
-
Start the quest The Golden Claw.
-
Retrieve the Dragonstone from Bleak Falls Barrow.
-
Return to Farengar.
How to Find Bleak Falls Barrow
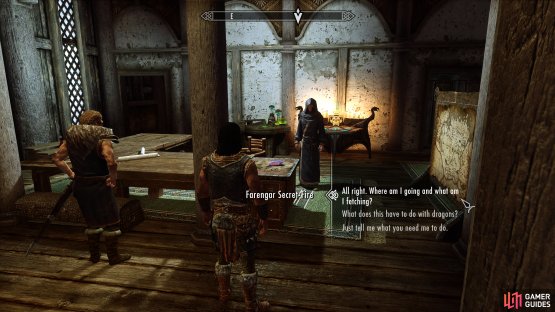
After delivering the news to the Jarl, he will take you to see his court wizard Farengar. The wizard wants you to explore Bleak Falls Barrow in search of a Dragonstone which is said to be there. According to Farengar, he needs the stone to help him understand why dragons might be returning to Tamriel.
When you’re done speaking with Farengar, head up the stairs behind the Jarl’s throne. There’s a small war room up here that has a ton of flags in a map of Skyrim. This is a good opportunity to look at the map and add these points of interest to your own map. There’s also a lot of stuff that you can steal up here, if you’re playing as a thief.
(1 of 2) Speak with Farengar to accept the quest and learn more about the barrow.
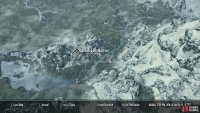
Speak with Farengar to accept the quest and learn more about the barrow. (left), The location of Bleak Falls Barrow, in the mountains south of Whiterun. (right)
Once you’ve explored the war room, leave the keep and check your world map. Bleak Falls Barrow is to the west of Riverwood, so you want to head south as if you’re going back to Riverwood and then start heading into the wilderness before you reach Riverwood. You can actually climb the mountains directly to the southwest and follow the path to Bleak Falls Barrow from there. As you make your way along the trail, you’ll encounter a ruined tower with three bandits in it that you can kill. Be sure to explore the tower as a chest at the top has a bunch of useful loot.
From the tower, you’ll find Bleak Falls Barrow a bit further to the west. It’s a monumental structure, so it’s difficult to miss. As you enter the ruins of the exterior you’ll encounter some bandits, but these shouldn’t pose much of a threat. Take them out and then enter the barrow after looting them.
How to Order the Stone Symbols in Bleak Falls Barrow
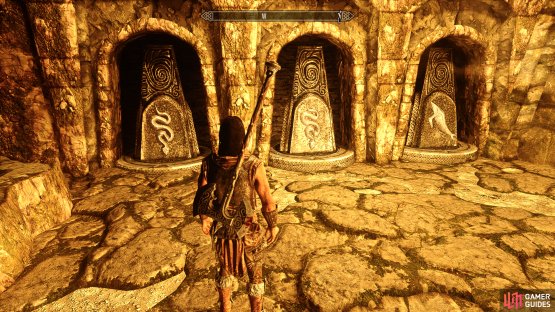
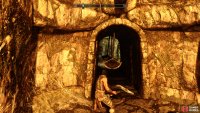
Inside the barrow you’ll find a number of corpses, and two bandits who are resting by a fire. Kill these and loot the nearby chest for some gold. You can then continue down the steps and follow the path until you reach a room with a bandit and a lever. You can stay back and watch the bandit as they get themselves killed by pulling the lever, or you can kill the bandit quickly and then sort the order of the stone symbols. The correct order is indicated by the fallen stones, so all you need to do is mirror this, with the following order (from left to right): Snake, Snake, Whale, as shown in the screenshot below.
(1 of 2) The correct symbol order on the stones: snake, snake, whale.
The correct symbol order on the stones: snake, snake, whale. (left), Pull the lever once you’ve moved the stones to reflect the correct order of symbols. (right)
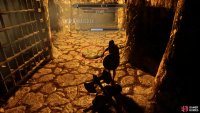
Once you’ve ordered the stones in the correct order, you can pull the lever to lift the gate. You’ll find a book on the table past the gate called “Thief” (it’s a skill book for pickpocketing), along with some other minor loot. After that head down the stairs to kill a few skeevers and loot some more until you reach an archway covered with spider webs. You’ll need to hack/burn through it, but be sure to save before you do.
Defeat the Frostbite Spider & Speak to Arvel the Swift
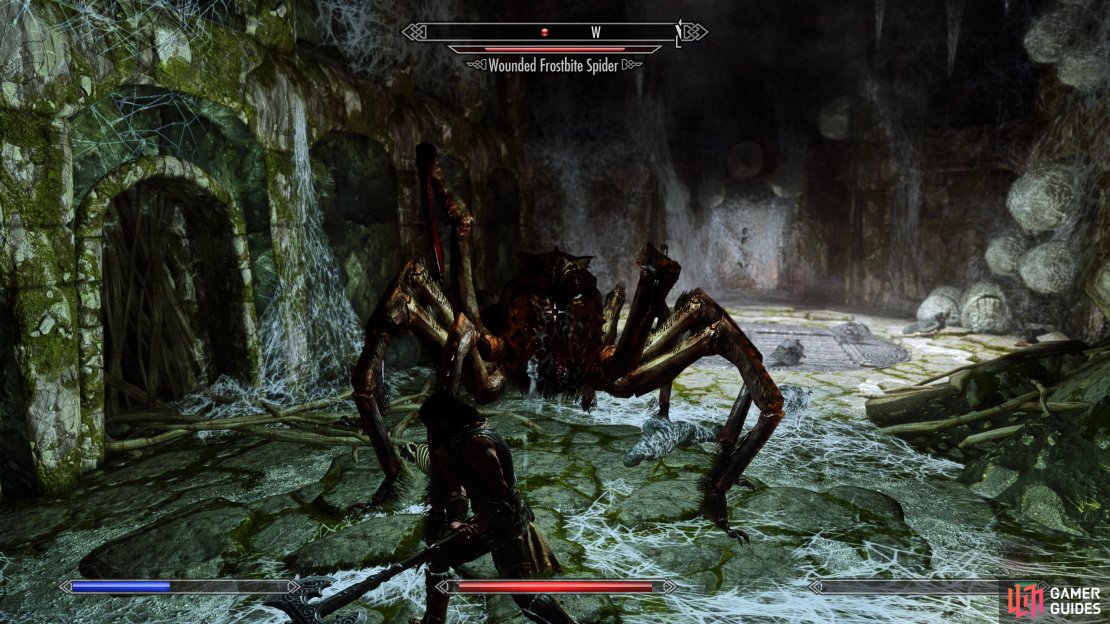
After cutting through the webs, you’ll encounter a Wounded Frostbite Spider. This is essentially your first boss battle in the main story, and it’s a tough one if you’re doing it at a low level. The spider hits hard with its regular attacks, but it can also poison you, draining your stamina and health over time. You’ll want to utilize fire spells and abilities if possible, as the spider is vulnerable to fire. Try to kite the spider a bit while spamming as much damaging attacks as possible. You don’t want to kite too much without inflicting some damage of your own, as the poison will slowly kill you. If things get too hot, you can always run out of the room to heal a bit. Don’t forget to use your healing and stamina potions, too.
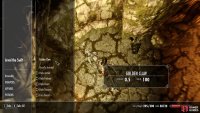
When the spider is dead, speak with the person caught in the web, named Arvel the Swift. He’ll ask you to cut him down, promising to show you the treasures in the barrow if you do. It doesn’t matter whether you ask for the claw first, you’ll still need to cut him down before you can get it and proceed. Arvel will run as soon as you cut him free, so be ready to chase him. Taking the claw from him is part of The Golden Claw quest, confirming that this is the person who stole the Golden Claw from Lucan Valerius in Riverwood. You’ll need to return to Lucan after this to complete that quest.
After the ordeal with Arvel, proceed deeper into the barrow by following the linear path, looting as you go. Past the embalming room is a room full of the dead, with some reanimated as Draugr. They will attack as you approach, so be ready to fight them as they rise. Be careful as you approach the path to the left here, as you’ll need to avoid a trap device on the floor. If you step on it, a spiked gate will swing and inflict a lot of damage. Just go around it to the right or don’t step on the device.
You’ll encounter more Draugr as you continue through the path, and then a small arched path with three swinging blades through it. You’ll need to time the run through these to avoid being hurt, but don’t worry too much if you’re hit, you can always stop to heal if necessary. Pull the chain after the last blade to make the blades further on stop moving.
You’ll soon reach a room with a Draugr and a stream running through it. Kill the Draugr, inspect the chest, then activate a chain near a metal door to continue. Follow the stream to a cavern area. Here you can harvest glowing mushroom, loot a skeleton, and loot a chest. You can even get a sneak attack in on a Draugr if you look out over where the waterfall is.
Take the right path now and head down. You’ll see a path going further down and one going right. Further down is a chest and some skeletons, so go on a side trip to loot then go right. Follow this path and you’ll soon reach an open room with a restless Draugr in it. He takes a lot more hits to defeat, but he’s not too challenging. Be sure to get the chest that’s in here and then open the doors to the Sanctum.
(1 of 7) You’ll need to defeat the Wounded Frostbite Spider before you can speak with Arvel.
How to Open the Door with the Golden Claw
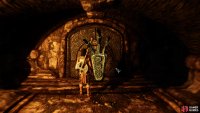
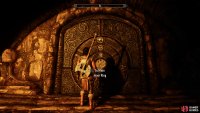
Once inside the Sanctum you’ll face yet another blade trap. Cross each blade as it swings and pull the chain at the end to stop them. You’ll have to kill a few more Draugr here, then follow the path to a locked door. This is the door which the Golden Claw can be used to open, but you’ll need to correctly order the rings of the lock before you can use the claw to open the door. The clue to the order can be found on the Golden Claw, which you can inspect from your inventory. You’ll see an owl on the lower ring, a moth on the middle ring, and a bear on the top ring. Organise them in the order shown in the screenshot below, then interact with the lock to open it with the claw.
Approach the Dragon Shout Wall
After you’ve opened the door with the Golden Claw, you’ll find yourself in a room with a large Dragon Shout Wall. Approach it to learn the power Unrelenting Force, but you won’t be able to use it yet. Instead, turn your attention to the tomb behind you, out of which a Dragur Overlord will emerge. You should begin attacking the overlord immediately while he’s still getting up, to inflict as much damage as possible as quickly as possible. the overlord hits hard and uses a form of Unrelenting Force, the power that you just learned, so you’ll want to avoid being hit if possible by moving around the Dragur. The overlord’s axe also inflicts cold damage, which can deplete your stamina. If things get sticky, you can run away from the Dragur and heal. The shout has a relatively short distance.
Once you’ve defeated the overlord, be sure to loot the body for the Dragonstone that you came for. You can then loot the nearby chest for some extra loot, before leaving via the nearby steps. All that remains is for you to return to Whiterun and deliver the Dragonstone to Farengar, thereby completing the quest.







No Comments