
This is it and once you gain control, it’s time for a ship battle! At first, you have no real objective, so just fly around and shoot any ships that happen to come by, until a cutscene occurs and Victor’s massive ship rears its head. If you remember the battle with the Hydroharvesters, then this is similar, except Victor’s ship can attack you. Not only can he shoot out missiles that will home in on your ship (destroy them with normal shots), but he will also send out something that emits lasers that you will have to dodge as you fly through them. As mentioned already, your normal shots will have no effect, so you’ll need to use your own missiles. If you need health or more missiles, then destroy the little ships. As you whittle his health down, he will attach a tractor beam to you, making it so you can’t move. While this is on, he’ll shoot missiles, but you can still hit them with your lasers. Eventually, you’ll be free and can finish him off.
Welp, you know who is back again and he is chasing after Clank. He has the same exact attacks as last time, so there is nothing new here, but he will frequently cause fires, so you’ll need to be careful about running into them. His laser sweep will also go one way and then another, so be ready to jump over it a second time. Eventually, you’ll reach a door that you’ll need to go into on the right side, so keep a look out for it as you don’t want to be killed by Victor. With the power off, it’s your job to activate the backup generators to make sure the Phoenix has power.
Start off by using a bridgebot, then doing two more to make a path around the whole room. Then, take the second bridge you created and bring that bot to the area with the ledge above you, making it a springbot. Remove the first bridge and use that bot to power one of the sources on that ledge, then do the same with the final one. Hit the switch to power one of the generators, then remove the bots to make the three bridges again. If you haven’t noticed, the one path has two connectors on opposite ends for bridges, so you want to take that one bridgebot, go around and connect it on the opposite side. Remove the farthest bridgebot away from the three power sources first, then you can do the other two to power up all three, letting you power the second generator.
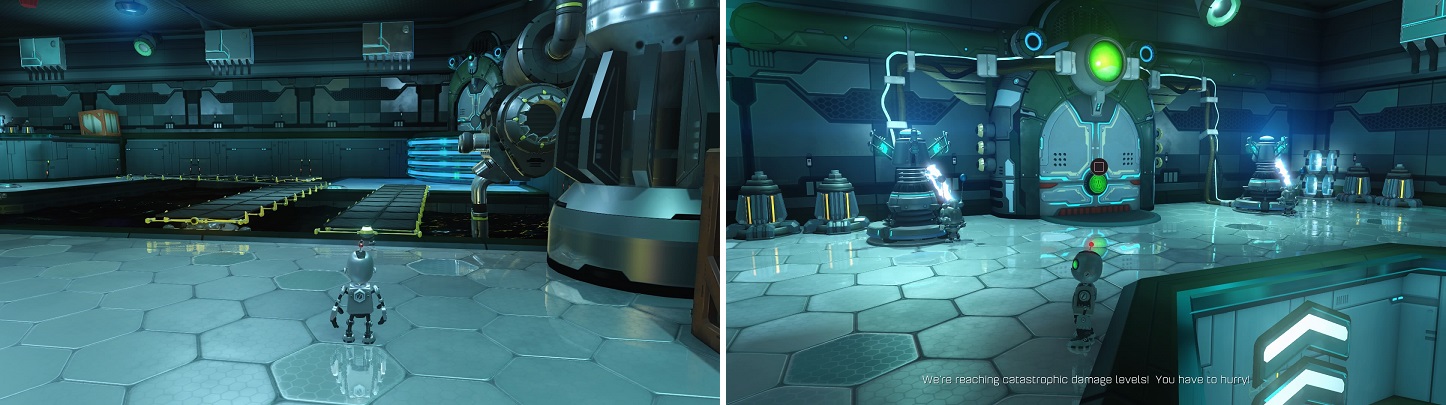
The basic premise of the Clank puzzles involve placing the bots in certain positions (left) to gain access to a switch you need to hit (right).
There will now be another chase sequence, with nothing new, including the room to the right you’ll have to duck into to avoid Victor and be presented with another puzzle. This one might seem complicated, but once you realize there is two sets of power sources, then things become a bit clearer. Start off by grabbing the first bot and creating a bridge to the lone platform, which has another bot on it. Use this bot to create another bridge back to the beginning area, then use the first bot to reach the ledge. Take the bot that’s up here and bring it down to the other lone bot, then use one to power the source there, which will rotate that lone platform (should reset that bridgebot on the platform).
From here, use the other bot you have here to create a bridge to the platform, then make another bridge to reach the beginning area to grab the springbot you have there from earlier. You will be placing this springbot at the base of the wall near the lone power source, which will allow you to bring all three other bots to the top area, where you can turn them all into powerbots to make the switch active. You’ll return to the hallway for a very short chase sequence with Victor once more, with no real attacks, as you simply need to hit a switch on the right side to finally activate the fire suppression system, which will short circuit Victor.


Disable Security System
You’re back in control of Ratchet now, without Clank on your back, so go forward and check out the new weapon from the Vendor ( Glove of Doom at 35K bolts). The path is fairly linear and there’s not much to go for that’s out of the way, but you will be encountering a lot of enemies, which include the Blargs with blasters, those that shoot flames along the ground, little dog robots, a turret, and even a new type of Warbot. Right near the door that opens to reveal more dog robots, there is a Magneboot track that you can use to reach a Holocard . At the end of this path, you’ll find a switch that opens a door that comes to a big room with two Drek statues.
Unfortunately, it’s a trap and blade-spinning robot spawners will appear, along with a bunch of the robots they create (they will continue making them until they’re destroyed). After finishing them off, solve the Trespasser puzzle and continue fighting through the large quantities of enemies in the next few areas. Eventually, you’ll come to Drek’s office, where you’ll see some dioramas of the planets he is planning on destroying. Breaking these tiny planets will reward you with the Character Assassination trophy , should you choose to do it. The true goal in this room is the Trespasser puzzle by the desk, which will open the door on the opposite end.
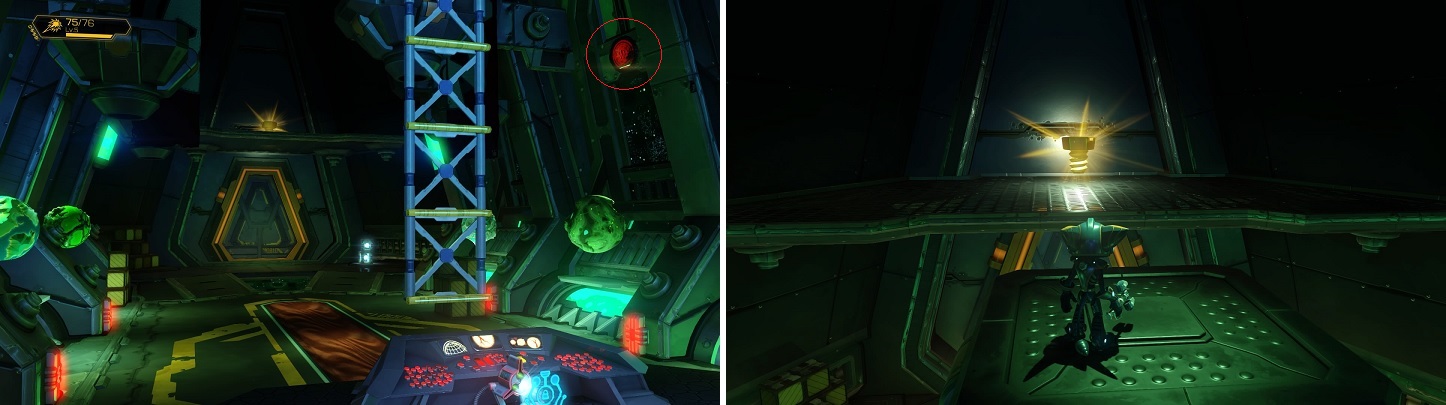
Hit the switch (left) to gain access to the upper levels of Drek’s Office, letting you grab the Gold Bolt (right)
This short hallway will have some lasers that move back and forth, so be careful not to hit them as you dodge them. The next room will have more enemies, then there will be another laser-filled hallway. When you get to the room with the Gadgetron Vendor, stock up on health and ammo, then take the elevator to a big room. You’ll be facing off against a lot of enemies here, including the dog robots, Blarg with jetpacks, normal Blargs and even some tanks. Once you’re finally finished with all of the enemies, head into the final room to initiate some cutscenes, then you’ll unlock another planet.
No Comments