After the initial cutscenes are over, you finally gain control over the titular hero (or one-half, at least). You will be in a garage and will be told to turn the bolt crank in front of you. Walk up to it and you’ll see the Square button pop up next to it, so press that to have your wrench grab a hold of it. Simply move in a counterclockwise fashion to lower the ship in front of you. You’ll then be asked to look at the lights on the ship as they appear and once you look at three of them, you’ll be finished inside of the garage and will be free to explore outside.
Feel free to look around, smashing anything you can to get some bolts. When you’re ready to continue, from the entrance to the garage, so straight ahead and veer off to the right to see some frog-like enemies hopping about. Smack them with your wrench and you should notice a bridge in the distance, so take that route. As you keep going, you’ll get a prompt about a double jump (X + X), which will bring you to the top of some small cliffs and across a short gap. It’s important to keep an eye out for any divergences from the main path, as they will usually contain crates that you can destroy for bolts. These are especially important, as you will need them to purchase new weapons from the vendors.
Galactic Ranger Fairgrounds
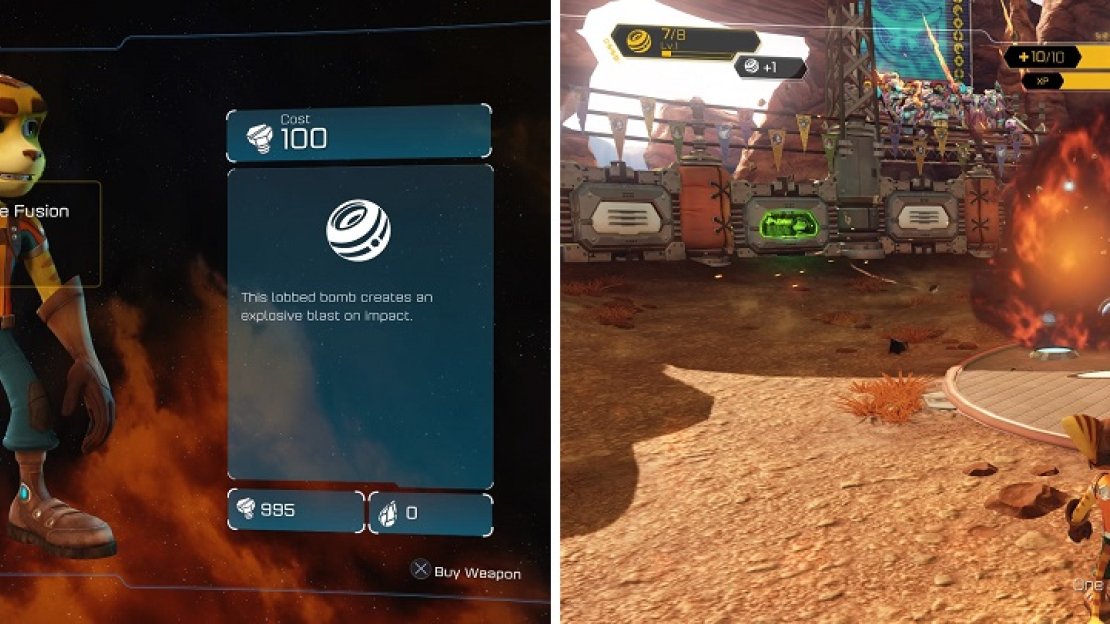
Continue along and you’ll eventually reach the Fairgrounds, where you will be able to try out for the Galactic Rangers. Your first obstacle is nothing more than some “walls” that you can jump/double-jump over, then one you can climb. You’ll see a green button on the ground in the next area, which will spawn two moving platforms, so make your way across them and there will be another button that will spawn some crates for you to smash. Next, you’ll be asked to purchase a weapon from the vendor up ahead, which will set you back 100 bolts. This is the Fusion Grenade and it will be your first true weapon.
You can toss grenades with it that will explode on impact. However, like with most guns, you have limited ammo, which is shown in the top left. Use the Fusion Grenade to blow stuff up, like the gate blocking your progress. There will be a few enemies past the gate, as well as an ammo crate that you can break to replenish your weapons’ ammo. Destroy the next few gates, minding the lava, and you’ll eventually reach a robot with a flamethrower sitting on a platform. Play some hot potato with your Fusion Grenade to make it scrap, then ride the platform that appears to reach the final challenge for the test.
The Fusion Grenade (left) will be your first weapon in the game. Its explosion (right) can hit multiple enemies at once.
Your final challenge will be an arena-type fight against a bunch of enemies, mostly consisting of the robot you just saw. While it might be smart to conserve ammo and destroy them with your wrench, you will want to be careful of their flamethrowers. Also, you should have noticed that some ammo crates are in the middle of the arena, as well as another crate that contains health, if it so happens you get injured. Collect the bolts after you’re finished, then keep going on the path to reach a cutscene.
Warbot Factory
Once you regain control of the game again, you’ll be playing as Clank, the lovable little robot companion. Unlike Ratchet, Clank is armed with nothing but his tiny, little robot arms, which can execute a melee combo. For now, just follow the path ahead of you, breaking any crates along the way, until you come to a locked door. In order to open it, hit the green button to the right of it, allowing you to pass through it. The next hallway will have a grate cover on the far end, as well as something sitting in the middle of the room. This is a bomb and you can pick it up by going up to it, pressing Square. Think of this like Ratchet’s Fusion Grenade, only you have to return to grab another bomb.
Toss it at the cover to destroy it and go into the next room. There will be a springbot ahead of you, so grab it and place it next to the wall in front of you. With this in place, you can jump on it to launch yourself to the ledge above you. Once you’re up here, do the same thing with the bomb as before, then go through it for a very short cutscene. As soon as you begin to move in this area, Victor will come crashing through and begin to chase after you, doing some attacks periodically. The first kind he will do is a laser attack, so pay attention and when the screen slows down, you’ll see “X” pop up, meaning he will sweep it across the screen, so jump to avoid getting hit. Victor will do this once more, then attack you with his gun on his wrist. When you see the marker on the ground underneath you, keep moving back and forth until it stops and he fires.
After reaching a second set of pipes, Victor will be temporarily immobilized by some water, so grab the nearby bomb and use it on the grate to escape. You should now be in a room with something called a powerbot. Pick it up and toss it next to the generator to the right of the locked door, which will unlock it. You will now come into a room with the first “puzzle” of the game. There are two ledges you can use the springbot to reach in this room, but one has your progress blocked by a bridge that has bee retracted. So, use the springbot to get onto the other ledge while you’re carrying the powerbot, using the latter to open the door.
Inside, you will find a button to push that will extend the bridge for you. Use the springbot to go up there, bringing the bomb across to open the hatch, dropping you down into another chase sequence with Victor! Well, there’s nothing new here, as he will use the same attacks as before, except when he fires projectiles into the air to create patches of fire on the path. Once you get to the end, go through the hatch to initiate a cutscene.
Veldin (Night)
After the cutscenes are over, you will have Clank on your back and be back in control of Ratchet. Those green, glowing things that you see up ahead are harmless and will not attack you (they don’t even hurt), so ignore them and head forward. There will be a large gap in between the area you’re on and the ledge up ahead. If you look up in the air, you should see a green, floating thing that will open up as you get close enough. This is a Swingshot target and whenever it is open, hold Circle to attach yourself to it and swing across the big gap. Luckily, as soon as you land, you can find a new weapon straight ahead, the Combuster . Think of this weapon as the basic blaster-type, but it will come completely empty.
Smash the ammo crate nearby and use the newly acquired Combuster to shoot the switch in the distance to open the door, then the next switch that appears to extend the bridge for you. Unfortunately, the peaceful time you’ve had up to this point is over, as enemies will now appear. These basic enemies will do nothing but sit back and shoot at you with their blasters. It’s a good idea to use your own weapons against them, as not only will this reduce the chances of you getting hit, but it will also level up your weapons, making them stronger. Continue on the path ahead of you, using the Swingshot to get past the broken bridge. There will be two more Swingshot targets beyond this, with these ones requiring you to swing across a big chasm.
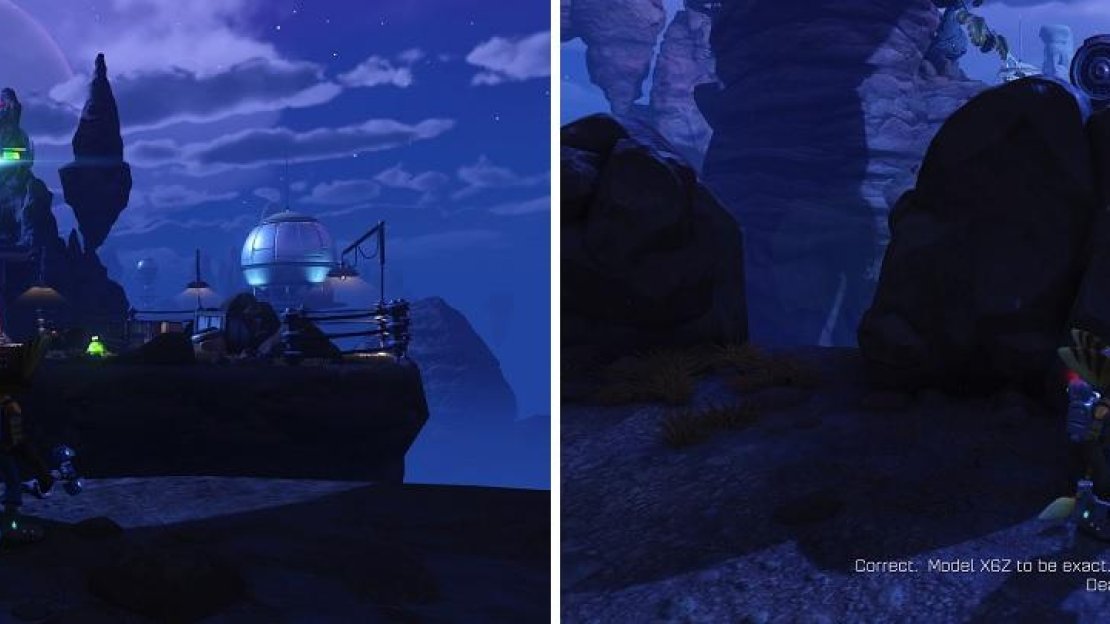
The little targets in the air (left) signify that you can use the Swingshot. Use the rock walls (right) to protect yourself from the Dropship’s fire.
Continue on your journey and you’ll hear talk of a Blarg Dropship, who will appear to attack you. By now, you should have collected a fair amount of ammo from crates, so you can use either weapon, but the Fusion Grenade seems to fare better. You will notice some big rock barriers sitting on the one side of the platform you’re on, which will be your shield from the dropship’s fire. Wait behind the barrier until the dropship stops firing, then peek out and fire on it until it starts shooting again. Keep doing this until the dropship explodes into tiny bits, which will reveal some more Swingshot targets.
Past this will be a few more Blarg enemies standing around and considering you’re going to need your ammo soon, it’s best to conserve it and use your wrench to take them out. As you come upon the garage, there will be a few more Blargs (four in total), but the problem comes with another dropship appearing, which deploys two heavier enemies. This part can be quite challenging, as your ammo is limited and probably in short supply, so if you can take out the initial Blargs with your wrench, then you can use your ammo to concentrate on the heavies and dropship. Although the control scheme is completely up to you, the one that allows you to strafe is immensely helpful here to keep an eye on the enemy’s position while you constantly move about to avoid their fire. Once they’re all gone, head into the garage and eventually some cutscenes will play out, with you ending up on another planet.


No Comments