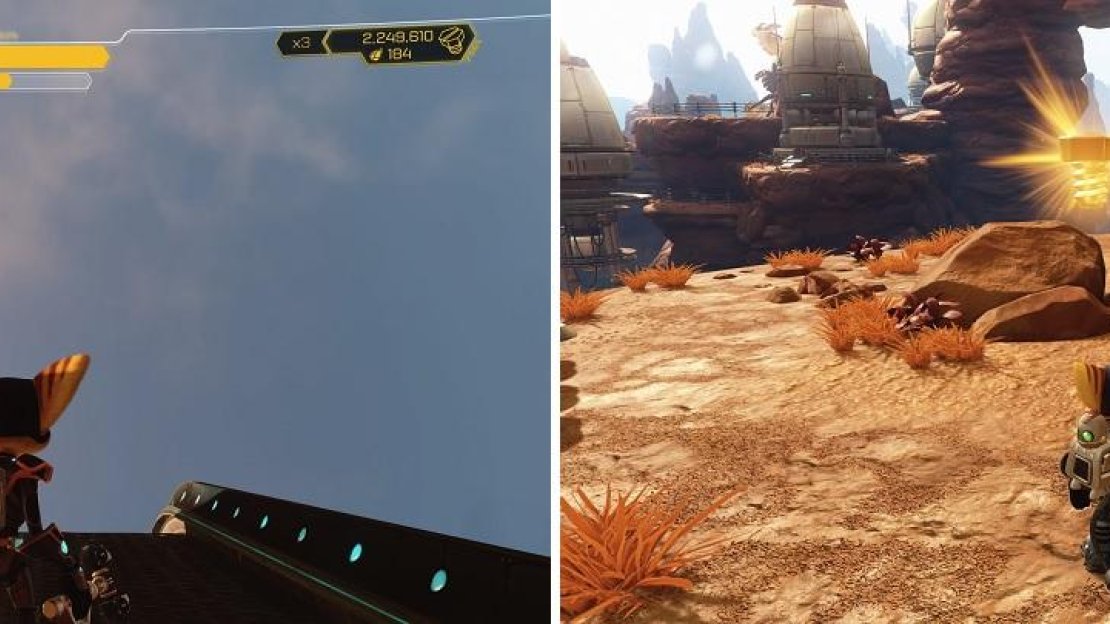
A staple collectivle of the series since the very first game back in 2002, Gold Bolts are hidden throughout the planets and are large…golden bolts. There’s a total of 28 Gold Bolts in the game. Some of them can be gotten on the first visit to a planet, while others might require the use of a gadget that you get later on in the game. Whenever you go to select a planet in your ship, you should see the number of Gold Bolts that a planet has on the bottom of your screen. Features in the Extras menu will unlock as you reach certain thresholds, such as appearance customizations and even a few cheats!
Planet Veldin
- Requires Magneboots. You will find an ionized path close to Grim’s garage, which is on an optional path in the very first area right outside of the garage. Walk to the end of the path and you’ll see the Gold Bolt sitting there for the taking.
Some Gold Bolts will require you to return once you have a certain Gadget from later in the story.
Planet Kerwan
- Once you walk up the stairs that lead to the train station, you should see a wall of large crates off to your right. One of the nearby large crates has arrows on it, so high jump on top of that one and then long jump over to the wall of crates to find the Gold Bolt on the ground behind it.
- You will receive this Gold Bolt as a reward for finishing the Rangers’ training course. It’s out in the open at the end of the course.
Planet Aridia
- On the path with the swarm of Sandsharks that Skidd McMarx asks you to clear, you’ll see a Gold Bolt behind a metal gate of sorts. If you follow the wall around, you’ll spot one of the Sandshark generators in a little alcove. The rock wall there can be destroyed, as evidenced by the obvious gaps in it. Blow it up with your Fusion Grenade and grab the Gold Bolt at the end of the little tunnel.
- This Gold Bolt is located close to where you get the Hydrodisplacer gadget at the end of the Swingshot course. After draining the first pool of water and dropping down to the bolt crank, you’ll find the Gold Bolt underneath the water there.
- Requires Magneboots and Thrusterpack . You may have seen this Gold Bolt during a little cutscene after rescuing Skidd and his agent, but you can’t get it until you have both of the gadgets listed. There is a Magneboots track in the small area where you rescued Skidd’s Agent, which leads to a Thrusterpack bolt crank. Use it to make some Swingshot targets appear, bringing you to the little island with the Gold Bolt sitting in the back of a dumptruck.
Nebula G34
- On the normal path that eventually leads to the Blargian Snagglebeast, you will come to a round room with “locked cells” and a bunch of the frog-like enemies, including some that spit at you. After clearing them all, high jump to the ledge on your right (from where you first entered) and you’ll find the Gold Bolt sitting in one of the open cells.
Planet Rilgar
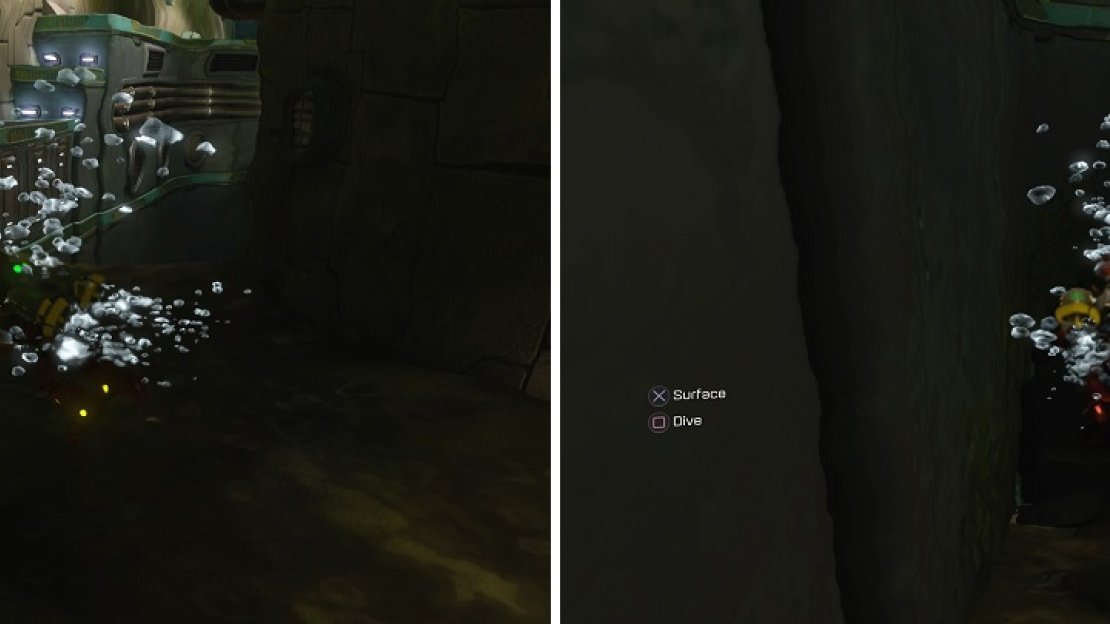
- Requires O2 Mask . During the sewers section, you will be forced to rush through the area because the waters will continually rise. Upon returning here later, the water will stay and will not be drained. In the area with the “ramp” and a curvy path, there is a hidden entrance to a secret area underwater that leads to this Gold Bolt.
- When going through the city, you’ll eventually come to a large maze-like area that’s blocked off by a bunch of barriers. All of these will be gone as you go through, except for one in the corner that houses the Gold Bolt. On the opposite side from the entrance, you should see a blue pillar of sorts. Jump on top of this and you can get on top of the maze. Once you do that, just carefully navigate the thin platforms to the corner and drop down to grab the Gold Bolt.
- The final Gold Bolt on this planet can be obtained during the actual hoverboard race. It doesn’t matter which cup you do, as it will appear on any of them. Not long into the race, you will see an upper path with some boost rings, right before a short tunnel. The Gold Bolt is located right behind one of those boost rings, just as you enter the tunnel.
In the sewers, look for the ramp (left) and you will see an opening in the waters below it (right), leading to the Gold Bolt.
Planet Gaspar
- In the upper right corner of the map, you should see a small square-shaped island, which is where the Gold Bolt will be located. It’s in the center of the small island, but you have to wait until the lava eruption subsides in order to grab it with the Jetpack.
- To the west of where the brain scientist is located, there is a large island and to the north of that, there is a somewhat isolated small island on the map. That will be the starting point for this Gold Bolt, which is hidden inside of a small area that isn’t marked on your map (higher elevation than the small island).
- You will find the Gold Bolt in the southwest corner of the map, where there are three isolated brains away from the main area up north. It will be protected by a barrier, which will require you to touch three of the red pads in the area (all easy to find) within 15 seconds. Once you hit all three switches, you can go ahead and grab the Gold Bolt.
- From where you got the Grindboots, there is a platform you can fly to that has a Magneboots trail on it. This path will lead you into a cave, where you’ll have to battle with a bunch of Blargs and Warbots. At the end of the tunnel, hit the three switches to bring an elevator down (and disable the forcefield around the Gold Bolt), which will bring you to the top. This will allow you to grab the Gold Bolt now that the forcefield has been deactivated.
Planet Batalia
- The first Gold Bolt can be found on top of a building with the Trespasser puzzle near the beginning section of the planet. You can wall jump using the entryway to the top of the building to grab the Gold Bolt.
- When you get to the point where you first need to turn a bolt crank to create a bridge for Cora, instead of sliding down the icy path, go to the other side and follow the path there to go around the mountain wall, where you’ll find the Gold Bolt.
- This Gold Bolt is located in the fort area, near the end where you are going after the cannon. You will likely see it perched on a ledge high above the ground and there are a few ways to get to it. One way involves climbing a literal staircase made out of crates in the one corner of the fort, but you can also jump from another ledge outside of the fort to get onto the ledge that leads to the Gold Bolt.
Planet Quartu
- You will find this Gold Bolt during the Clank section of the planet, where it is sitting behind a metal grate in the final room. To get to it, you’re going to need all three bots, using one as a spring to get on top of the big crate, then building a bridge to right beneath the metal grate and finally place another springbot at the end of the bridge. Once you’ve done this, go back to the previous room and grab a bomb to destroy the grate, allowing you to grab the Gold Bolt.
- In the area where you fought Mrs. Zurkon, the Gold Bolt is sitting behind a barrier in the middle structure. To disable this barrier, there is a room with a switch in the upper levels on the west side of the map. Hit this switch, then fly down using the Jetpack to snatch the Gold Bolt.
- You may have seen this one in the Clank section at the beginning of the game, but you couldn’t get it back then. In the same area as where you fought Mrs. Zurkon, there is a door in the upper levels that has a Trespasser puzzle. Solve it to open the door, then turn the bolt crank to open another door inside, revealing that same area you visited in the beginning. Fly over to grab the Gold Bolt.
Planet Pokitaru
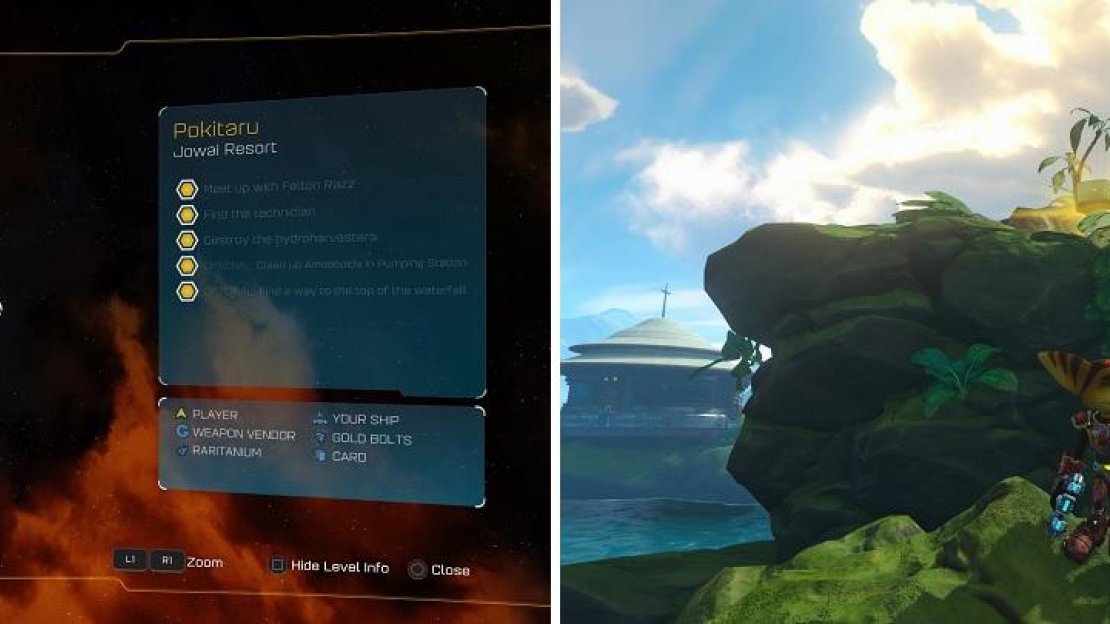
- You will get this as part of the Top of the Waterfall optional objective on the planet. Note that the Gold Bolt doesn’t appear until after you defeat the Telepathopus at the top.
- You will come across a point in your trek with Felton where you need to activate a bridge for him to cross. Instead of doing that (or at the beginning of the bridge), jump into the water to the left and you’ll find the Gold Bolt straight down.
- This one is quite a ways out in the ocean, on the east side of the map, south of the northeastern corner. There is a lone island here (not marked on your map) that you must climb in order to get the Gold Bolt, that’s just sitting at the top.
The location of the third Gold Bolt on Pokitaru.
Planet Kalebo III
- You will find this Gold Bolt on the grindrail section of the planet, but in order to get to it, you’re going to need to activate four switches on the track itself (hit with wrench). The first switch will be right after the second short tunnel with the train cars, on the right side of the triple tracks there. Not long after that, you will see another set of tracks to the right, so jump over it and you’ll come across the second and third switches. Once you do that, head back to the main track and you’ll see the final switch literally right before the forcefield that will be deactivated (not long past the long train car section), so be quick and jump to the track when you spot it. Follow this track to the end to get the Gold Bolt.
- As you go through the normal route in this stage, you will likely see a Gold Bolt sitting on a small ledge right after rotating the one room. You can jump to a connecting ledge from the elevator when it’s at the top, allowing you to reach the Gold Bolt.
- The final Gold Bolt on this planet is located on the hoverboard race. There are two shortcuts on this track, both of which require you to pass through three rings to disable a forcefield. The first one is in plain sight not far from the starting line and it’s easier to explain the location of the second if you take the first one. As soon as you exit the first shortcut (you’ll need a boost for this), boost jump off the ramp while going to the right of the tunnel to spy a track that has the three rings for the second shortcut. At the end of this path is a booster that you can jump off of to reach the actual shortcut, with the Gold Bolt sitting in plain sight.
Deplanetizer
- To be better off, wait until you visit the Deplanetizer the second time in order to get this Gold Bolt and the next. This Gold Bolt is in Drek’s office, which is the room with the small planets. There is a switch on the wall that you can hit with one of your weapons, which drops some bars for you to climb to the top of the room. Jump across the moving platforms and grab the Gold Bolt.
- You will find this Gold Bolt in the room with the two golden Drek statues. There are two rectangular crates (with a blue, glowing symbol) near a wall and if you climb on top of them, you’ll see some bars to grab onto that will bring you to a ledge above. What’s left is to ride the two moving platforms to get to the Gold Bolt.


No Comments