

Before you approach the World on your Gummiship, take the time to increase your Level a little, as soon as you reach the space around the World you’ll be forced into a Gummiship battle.
Boss: Astrowarrior
You should have an idea by now how to battle in Gummiship and this boss should be more than beatable if you’re sitting around at least Level 8 and have the Trinity Rocket special weapon equipped. Use it on Cooldown and keep moving the Gummiship in circles as you attack multiple spots with Lock-On attacks. Should you struggle to defeat the Astrowarrior, consider taking time to raise the Level of your Gummiship and snapping the [Constellations] for some good pre-made Gummiships to use.
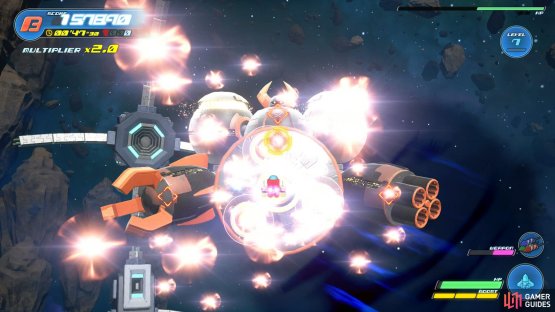
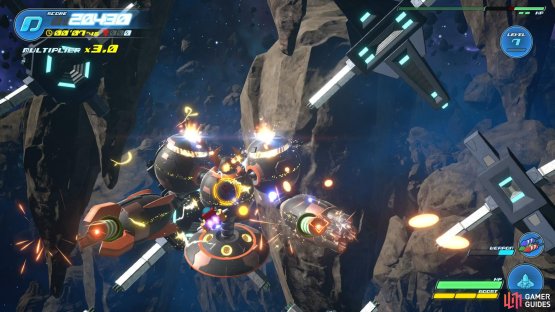
(1 of 2) Keep on the move to avoid the larger blasts
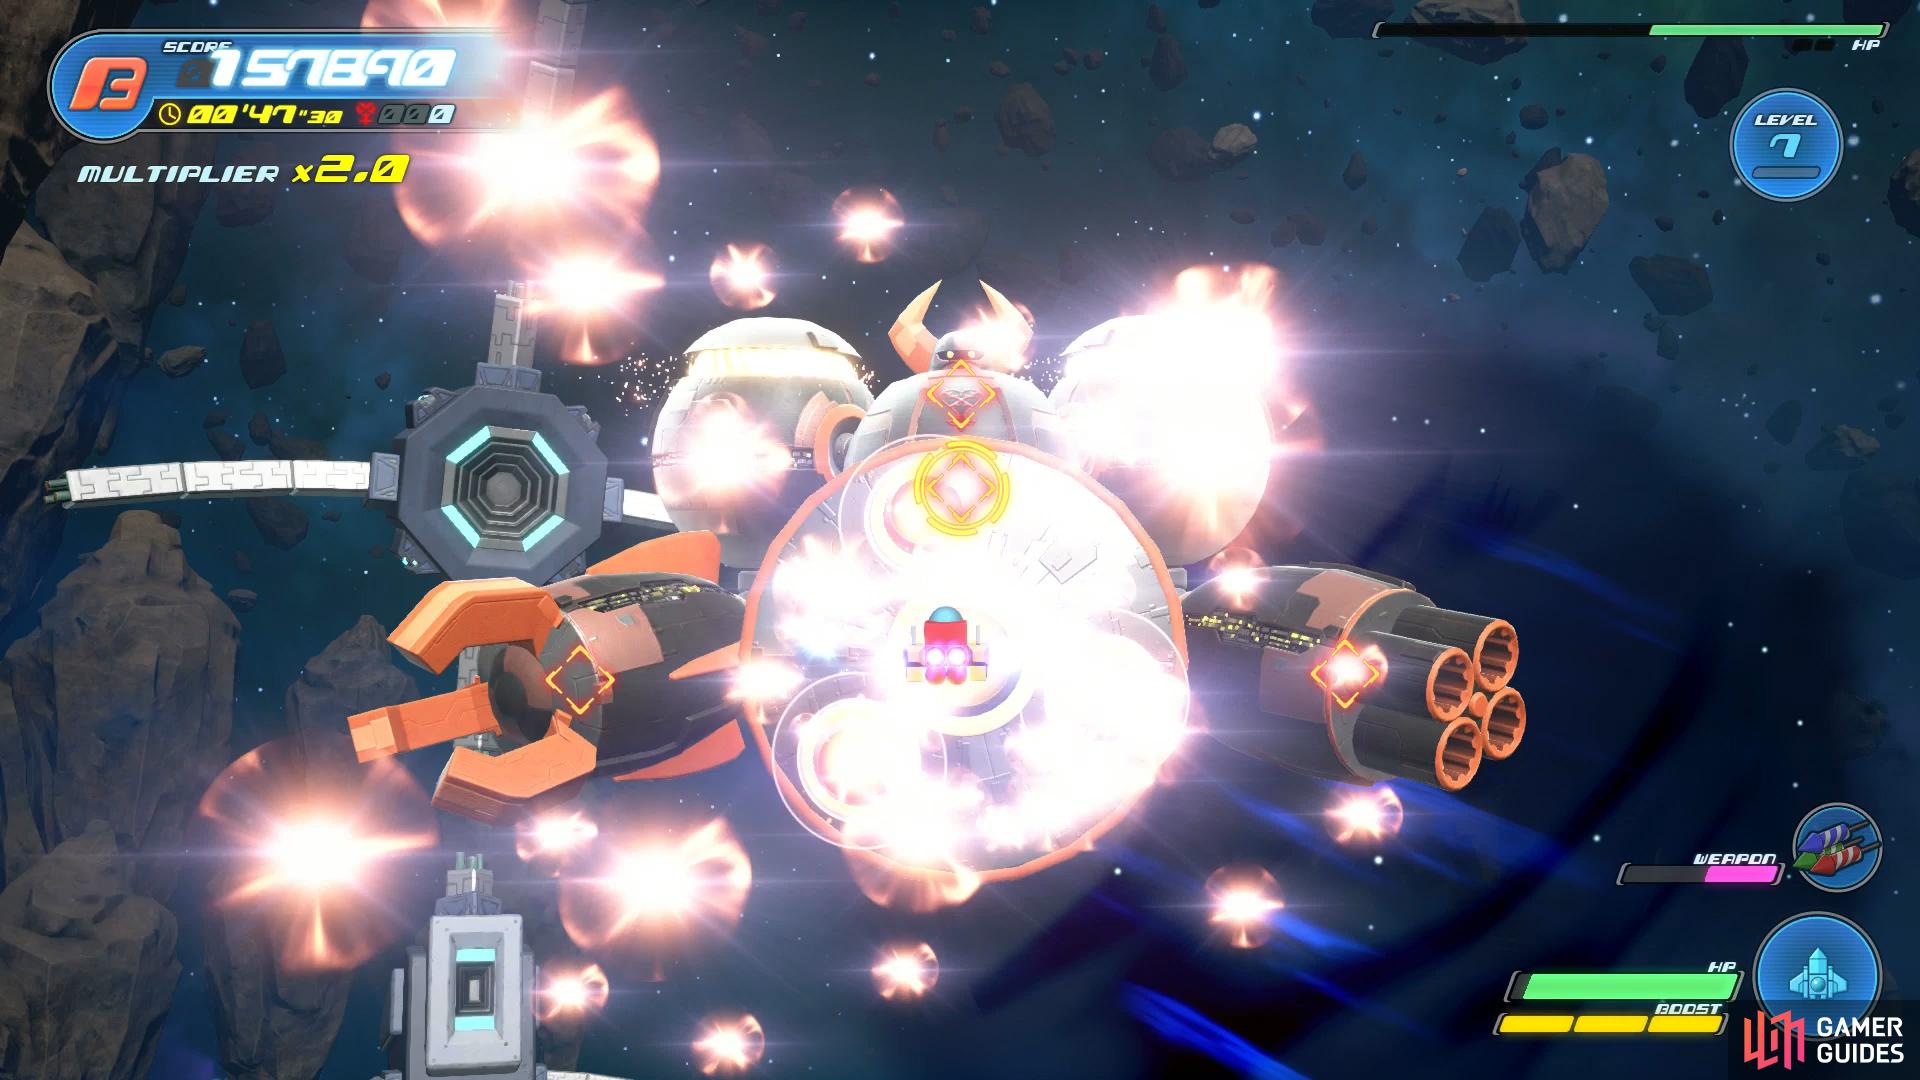

Keep on the move to avoid the larger blasts (left), use your Special Weapon whenever it’s available. (right)
The largest obstacle is when the center of the Astrowarrior opens up, he’ll begin firing larger shots at you that are harder to dodge out of the way. This is where Barrel Rolls come in handy, you can use this to get to the other side of the screen and resume your attack on the Astrowarrior. Once it’s defeated, the black shroud around the World will vanish and you can finally dock at the Toy Box.
Andy’s House
After the explosive opening, the trio will find themselves in Andy’s Room as the Heartless have caused a ruckus here. You’ll be up against a group of Toy Troopers that can attack from a distance with their guns. It’s a good idea to begin the battle by using a Shotlock to whittle some of the numbers down. Midway through the battle, Gold Beats will join the fray, these are small magical Heartless that will fly around shooting you with Thunder bolts. The Shooting Star’s Formchange is useful here, using the Double Arrowguns will allow you to hit the Gold Beats with ease.
| Character | Ability |
|---|---|
| Sora | Aerial Recovery |
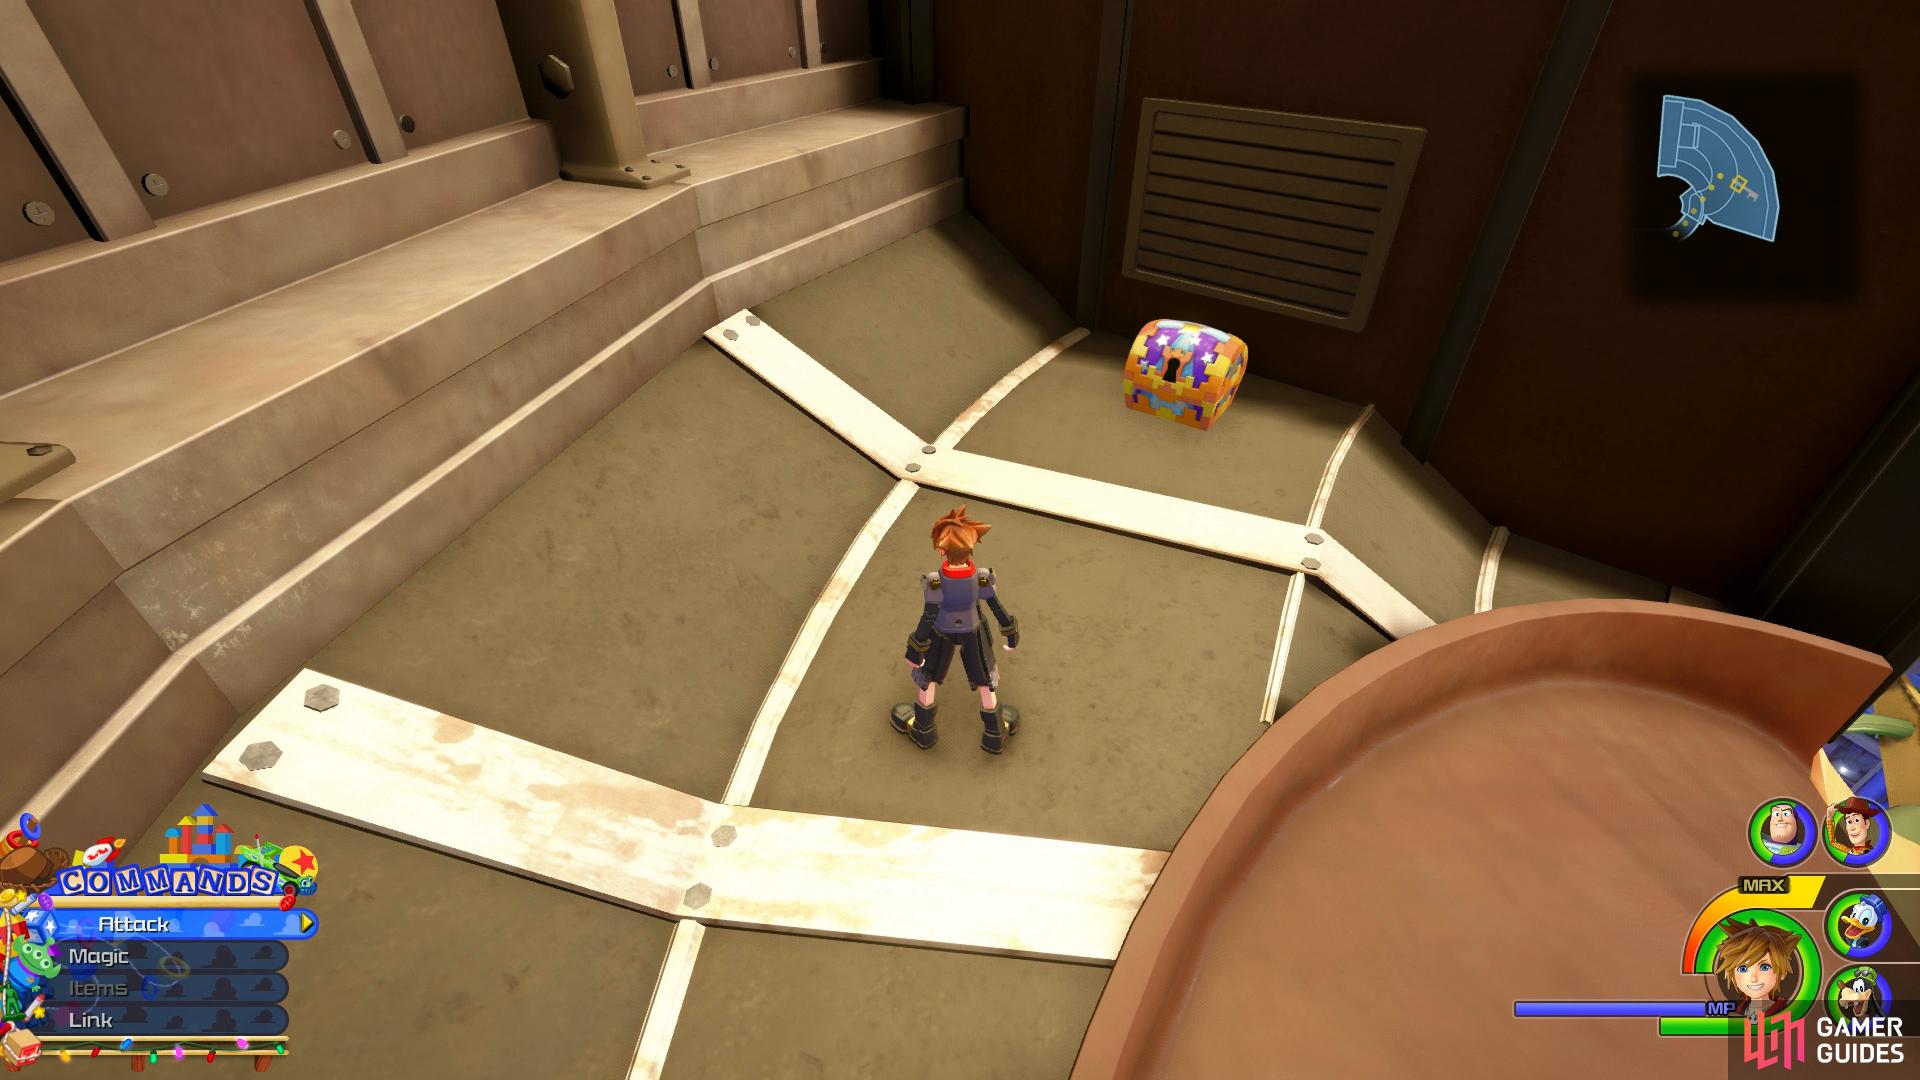
You’ll learn about the recent commotion in this world following the battle and Woody and Buzz will team up with you to search Galaxy Toys in town. First of, pay a visit to the Save Point and Moogle Shop to stock up on anything you may need. Next to the Moogle Shop you’ll find a large chest containing Treasure #1 - Map: Andy’s House. Next, climb the wall to your left and land on the TV and then face the door to Andy’s room. On the shelf to the left is Lucky Emblem #1 on a box.
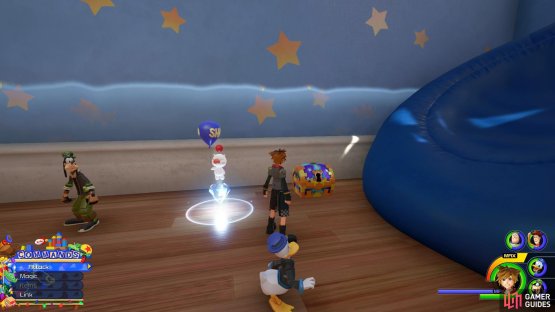

(1 of 2) Nab the map next to the Save Point
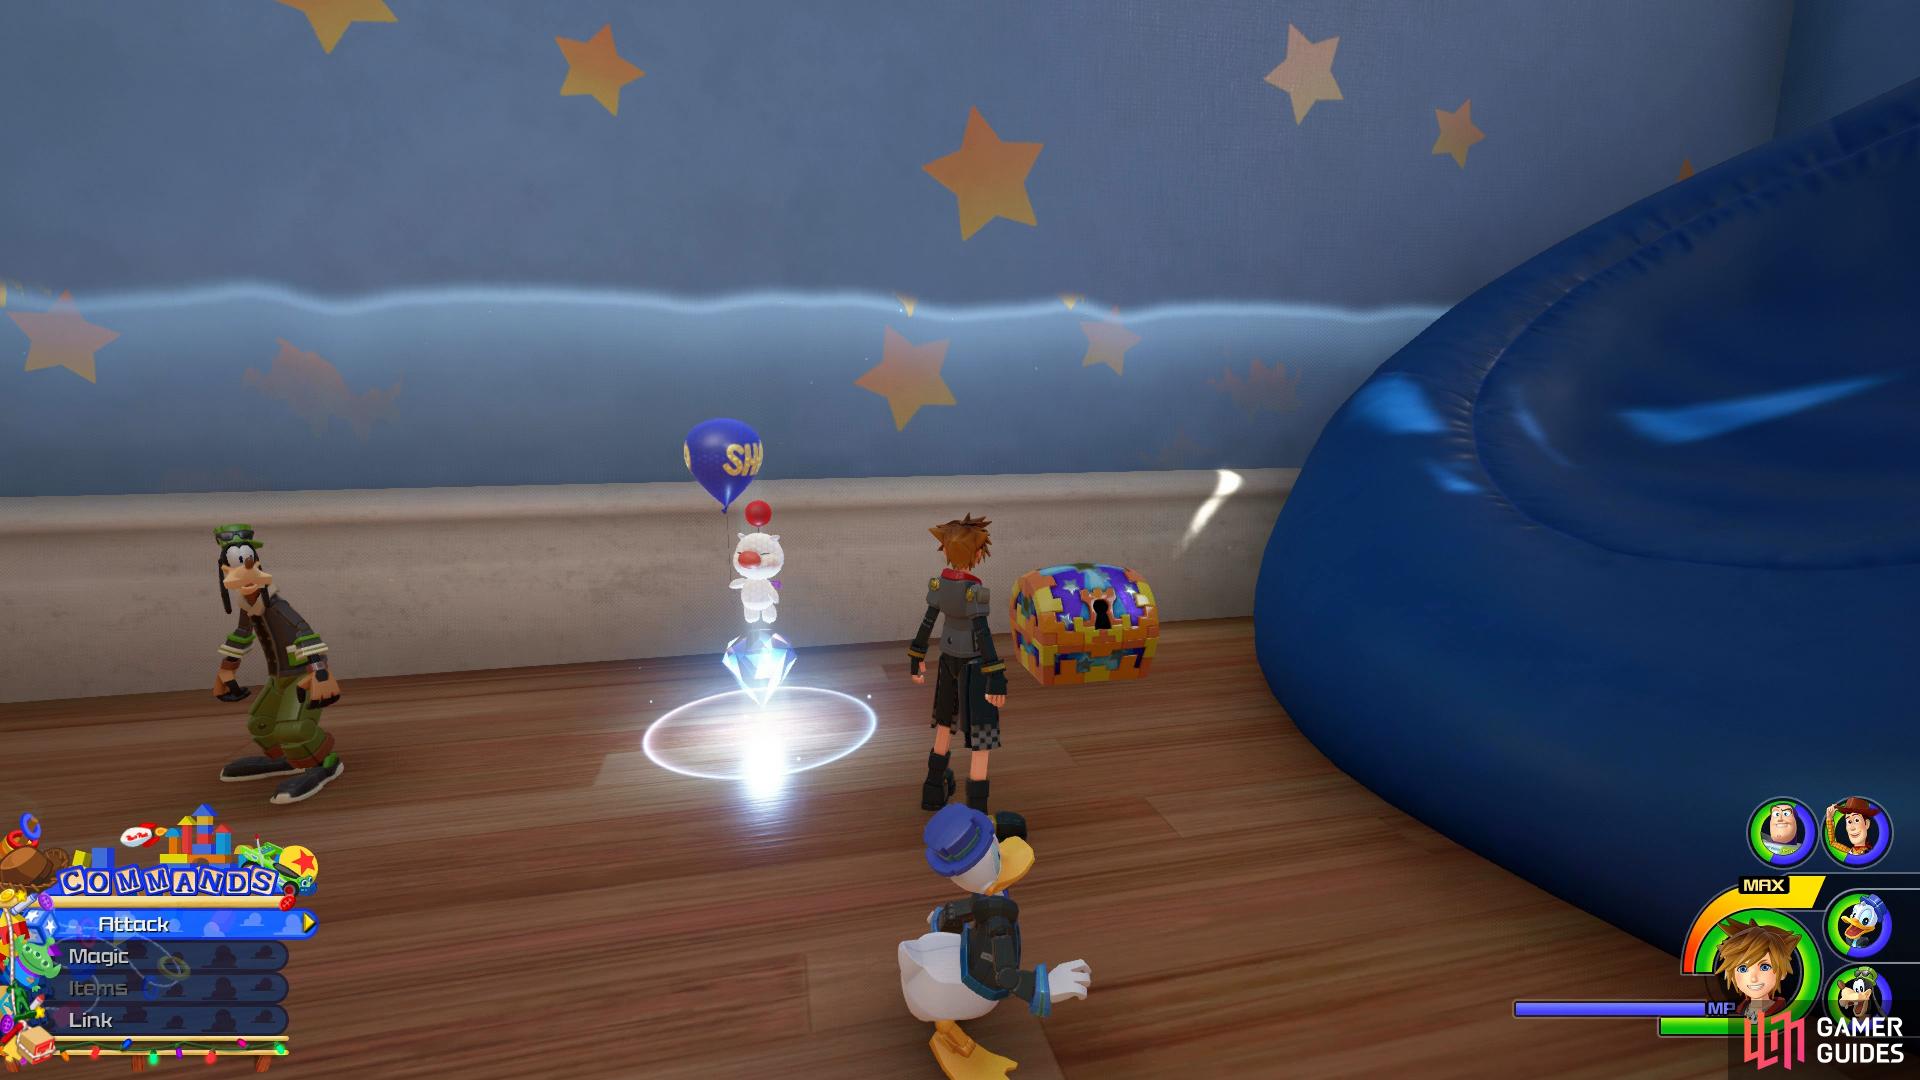
Nab the map next to the Save Point (left), look towards the door to Andy’s Room to spot the first Lucky Emblem. (right)
Head over to this shelf now and run up the wall to reach the top shelf, you’ll find a chest containing Treasure #3 - Mythril Gem on top of the box. Drop back down to the ground now and head under Andy’s bed to find another chest behind some shoes containing Treasure #4 - Fluorite.
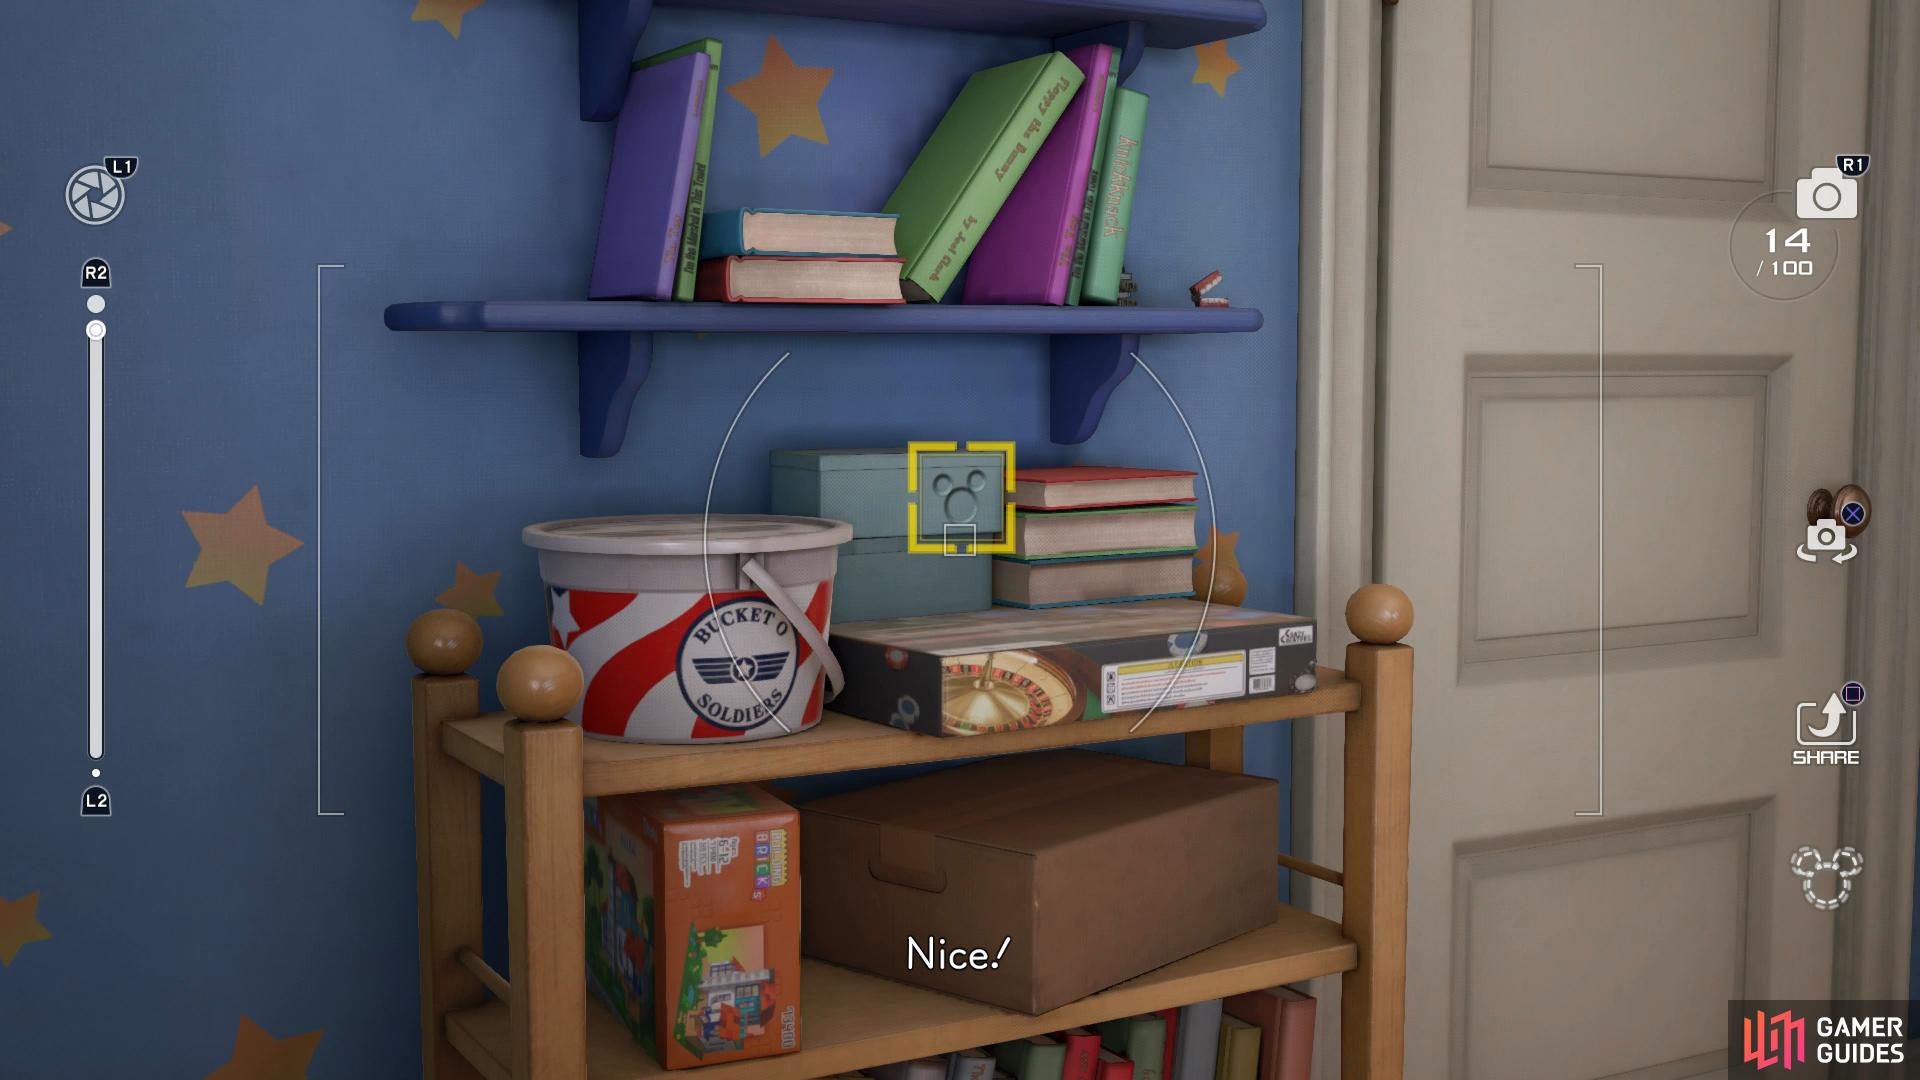
That’s all there is to find in Andy’s Room for now so head up the wall behind the Save Point and head out the window to reach the roof. Defeat the Heartless that spawn and then, while still on the roof, slide down the northside of the roof (towards the street) and look on the corner to find Lucky Emblem #2. Run back up the roof and head down the south side to spot a large red toolbox near the fence, leap off the roof and once Sora begins a dive, attack the toolbox to destroy it and reveal a large chest containing Treasure #2 - Elixir.


(1 of 2) Look on the side of the roof facing the street for this Lucky Emblem
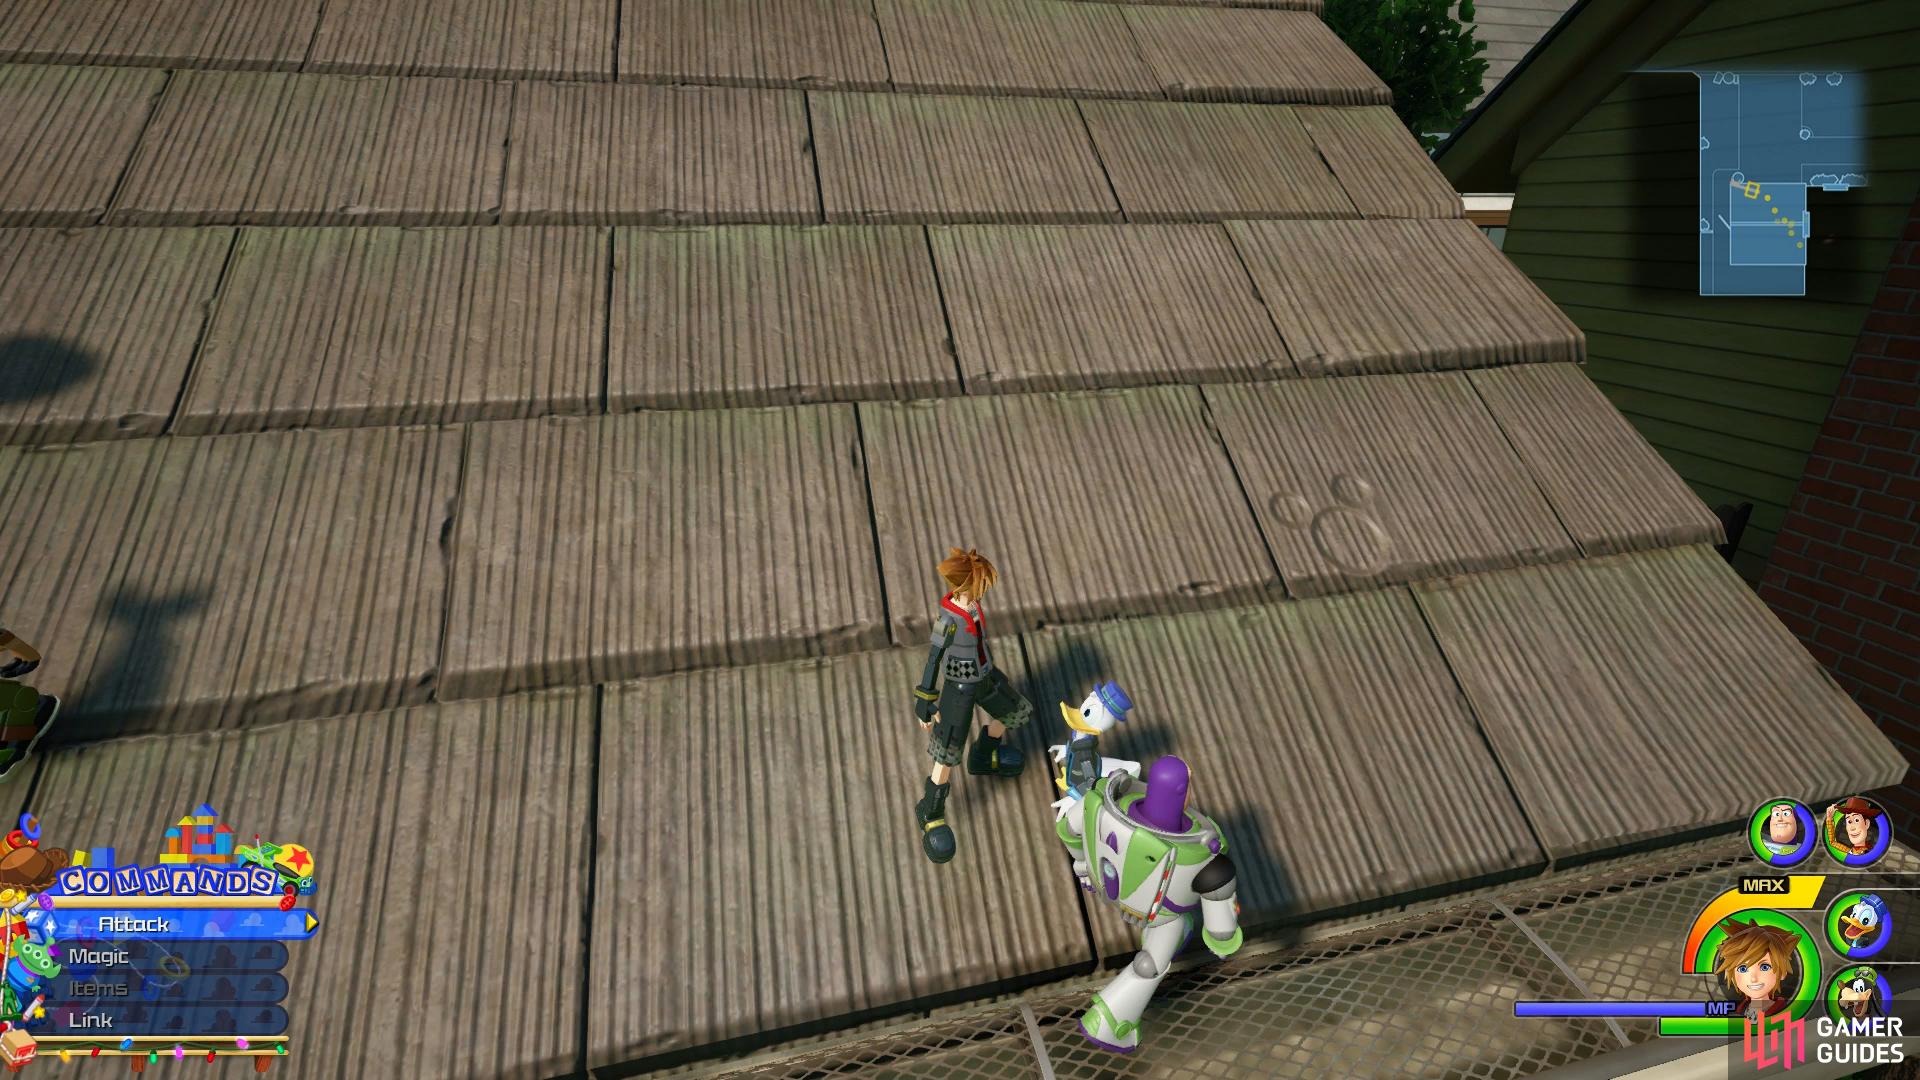
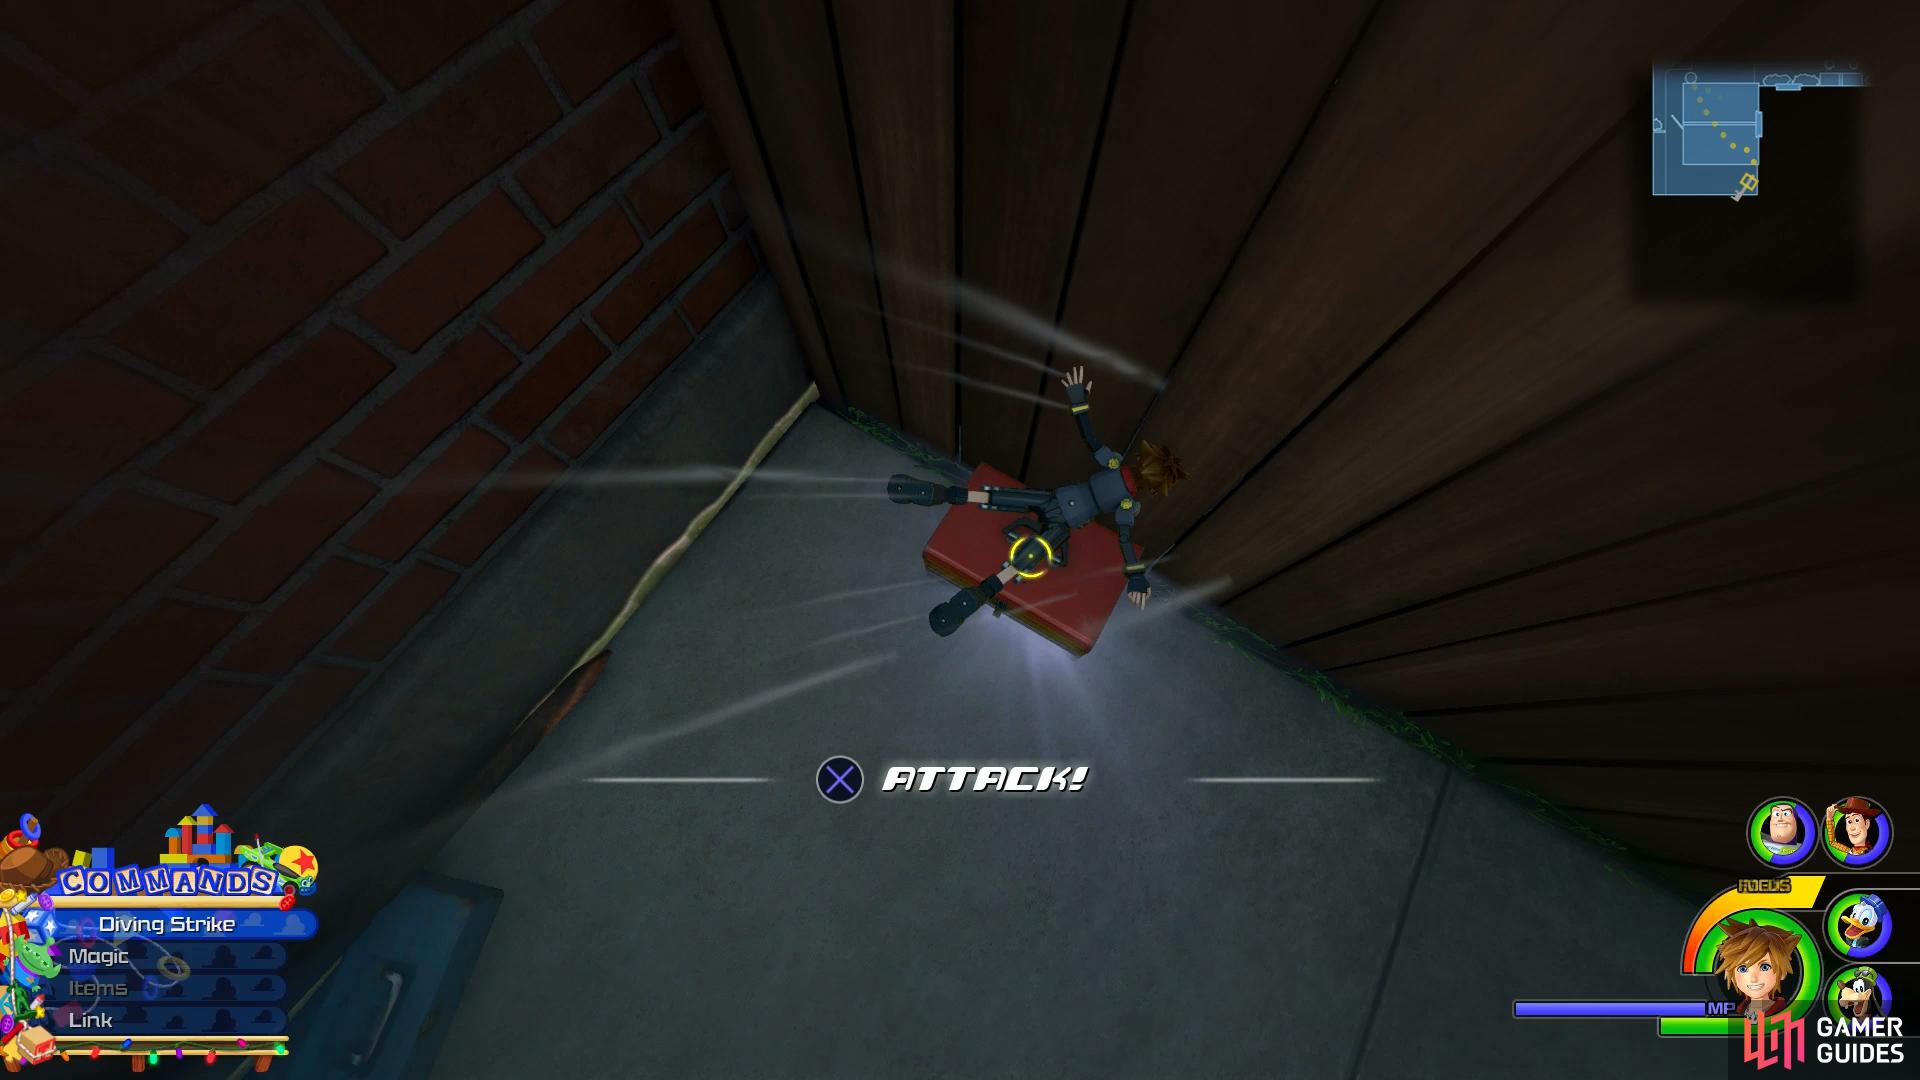
Look on the side of the roof facing the street for this Lucky Emblem (left), then leap off the other side and smash the tool box to reveal a chest. (right)
Head around to the front of Andy’s House and climb the steps leading to the front door. Once facing the door, turn around and look on the ground below you to spot Lucky Emblem #3. Take a look over the road now to spot a green car parked in front of some trash cans. Make your way over there, defeating the Heartless along the way and then look on the back of the car to spot Lucky Emblem #4. If you’ve been following this walkthrough and snapped the Lucky Emblems in Olympus too, this should reward you with a Star Charm. There’s no more items or Lucky Emblems to find on the main street so make your way to the west to reach Galaxy Toys.

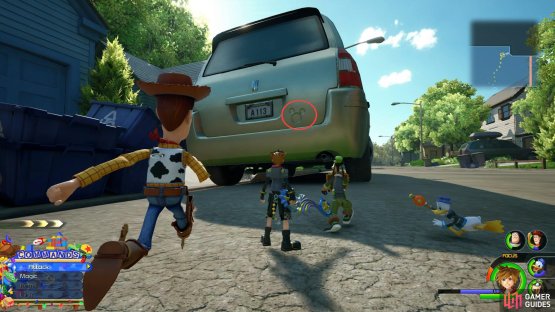
(1 of 2) Stand by the front door to spot this Lucky Emblem
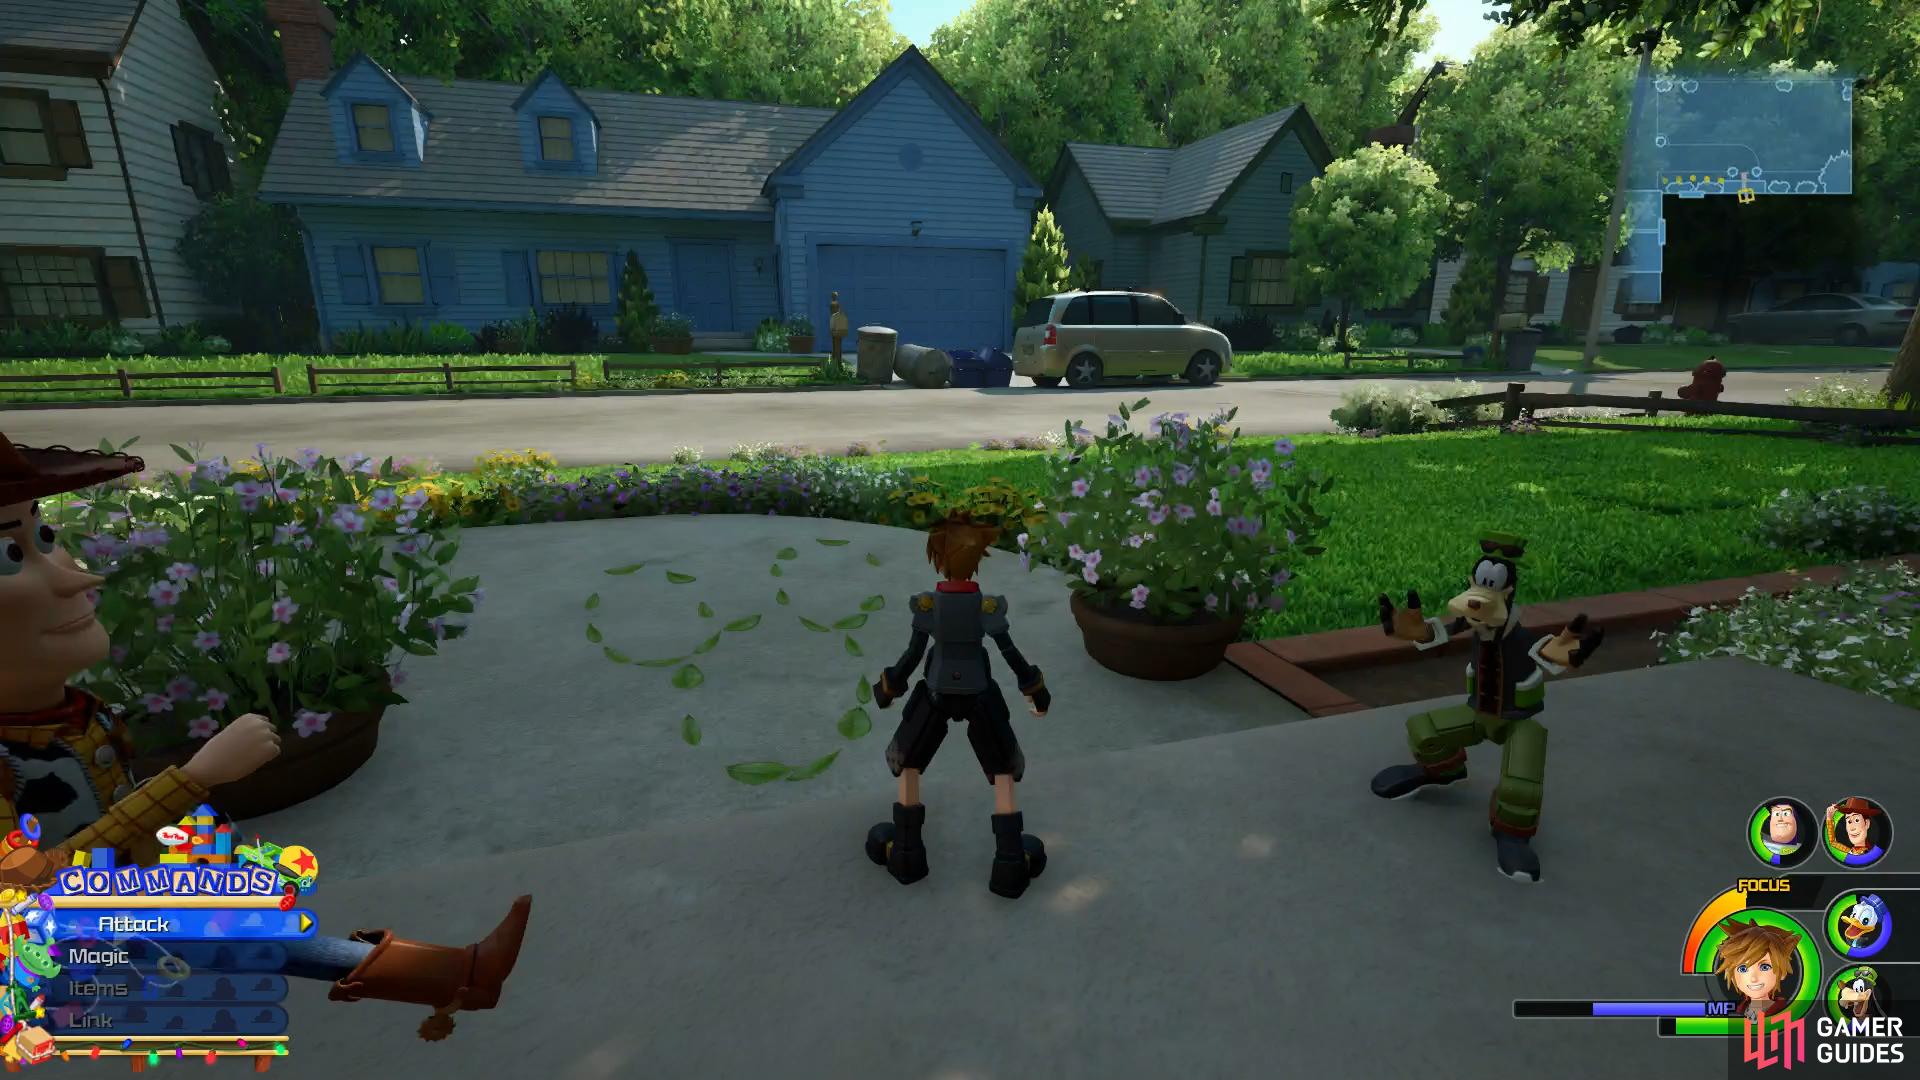

Stand by the front door to spot this Lucky Emblem (left), then look at the back of the green car for another. (right)
Galaxy Toys
As the group admires their surroundings, one of the Organization shows up and unleashes a new type of enemy on you, the Gigas from Verum Rex. Thanks to quick thinking from Donald and Goofy, Sora pilots a Gigas himself as the battle begins.
Your perspective shifts to first person when piloting a Gigas and there are three to choose from, Power, Speed and Gunner. All have a different finisher and your current one is a Gunner so you have a Blaster at your disposal. Stay on the move and try to focus on one Gigas at a time, if you find them too close to you then perform a Punch or dash away, either will suffice. Should you find your Gigas damaged beyond repair, Sora will eject and you’ll need to search for another one by Airstepping towards a defeated one with no pilot.
| Character | Ability |
|---|---|
| Donald | Item Slot |
| Goffy | Team Extender |
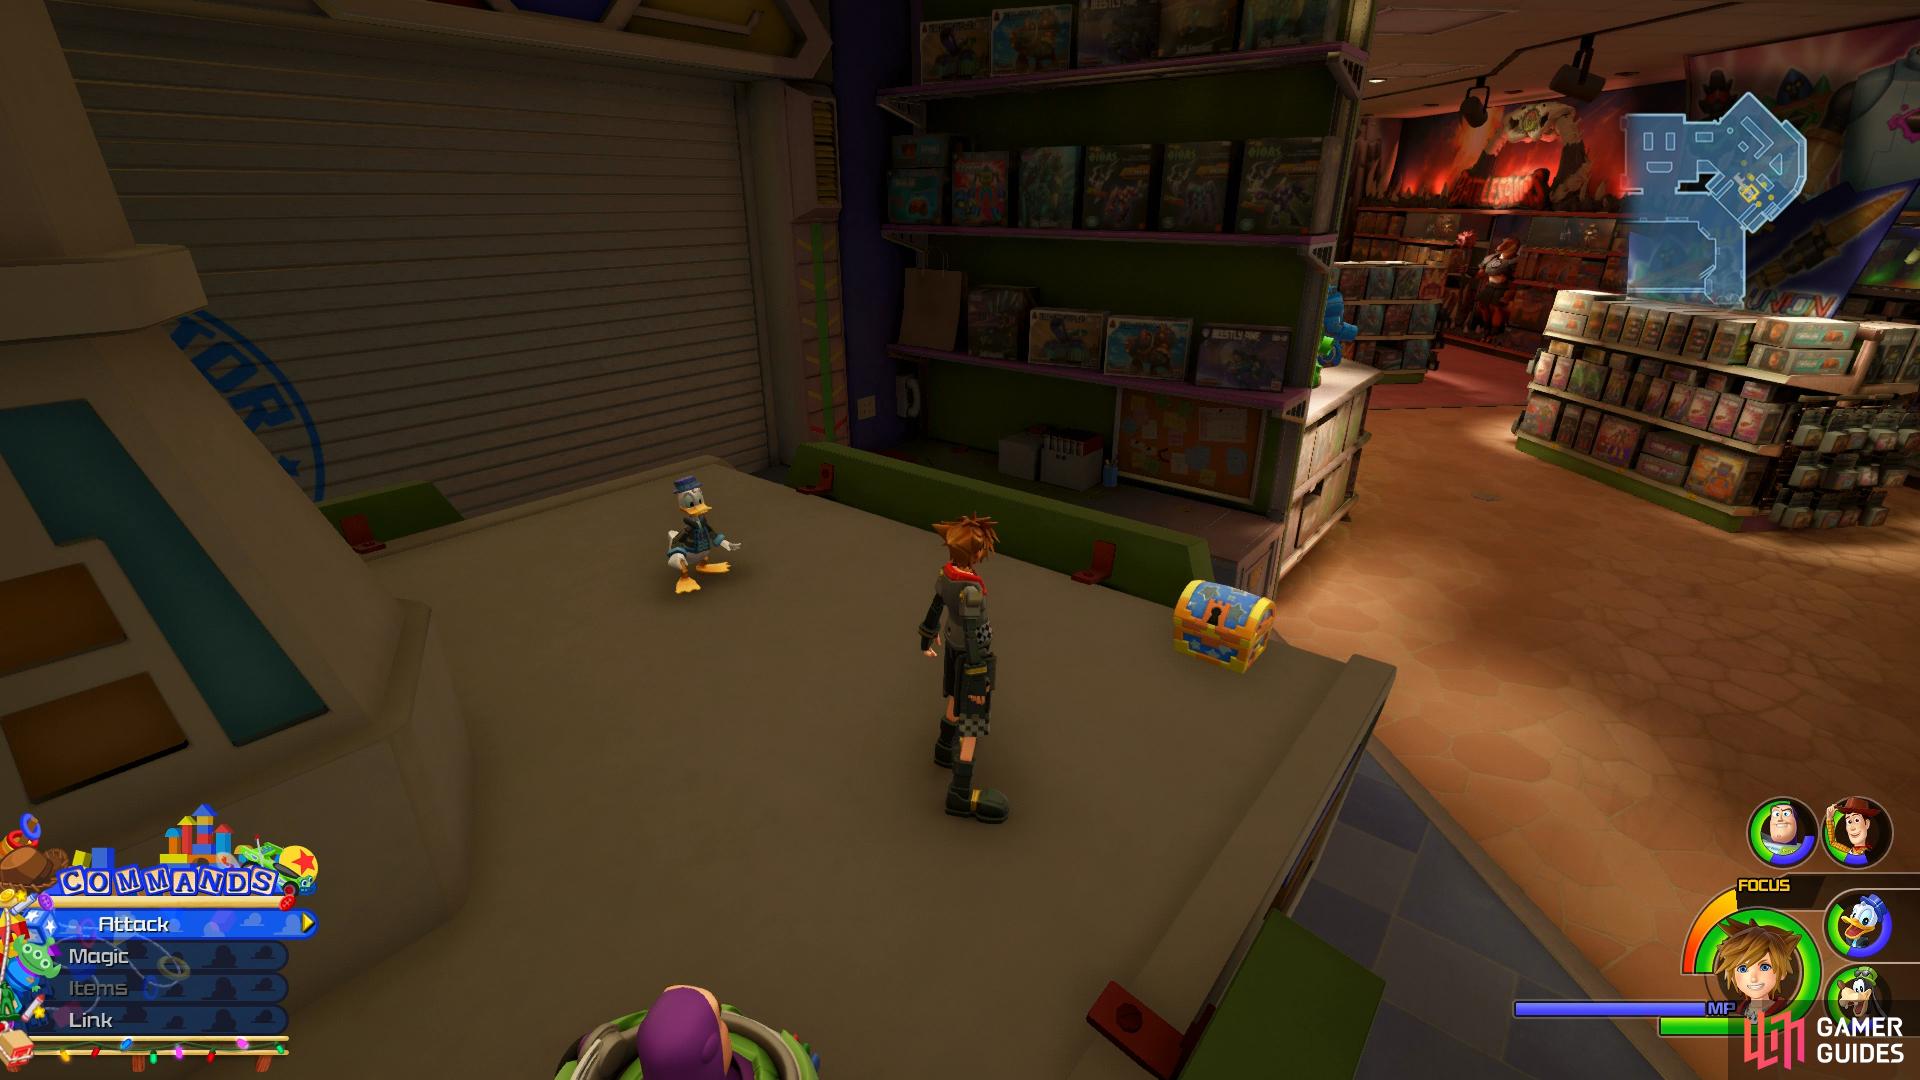
Following the battle, you’ll find yourself on the 1st floor of Galaxy Toys with the Space Capsule in front of you acting as a means of reaching the higher floors. Before you do anything, head back to the entrance to find a Save Point and then leave via the entrance and look to the left to find the makeshift Lucky Emblem #11.
Head back into the store and look to your immediate right to spot some cash registers (which will scatter Munny around when struck) and after the second cash register, turn around to face the wall with the Wrapping Service sign above it to spot Lucky Emblem #5. Continue along to the final cash register and then look to the back wall to spot a chest containing Treasure #27 - Hi-Refocuser.
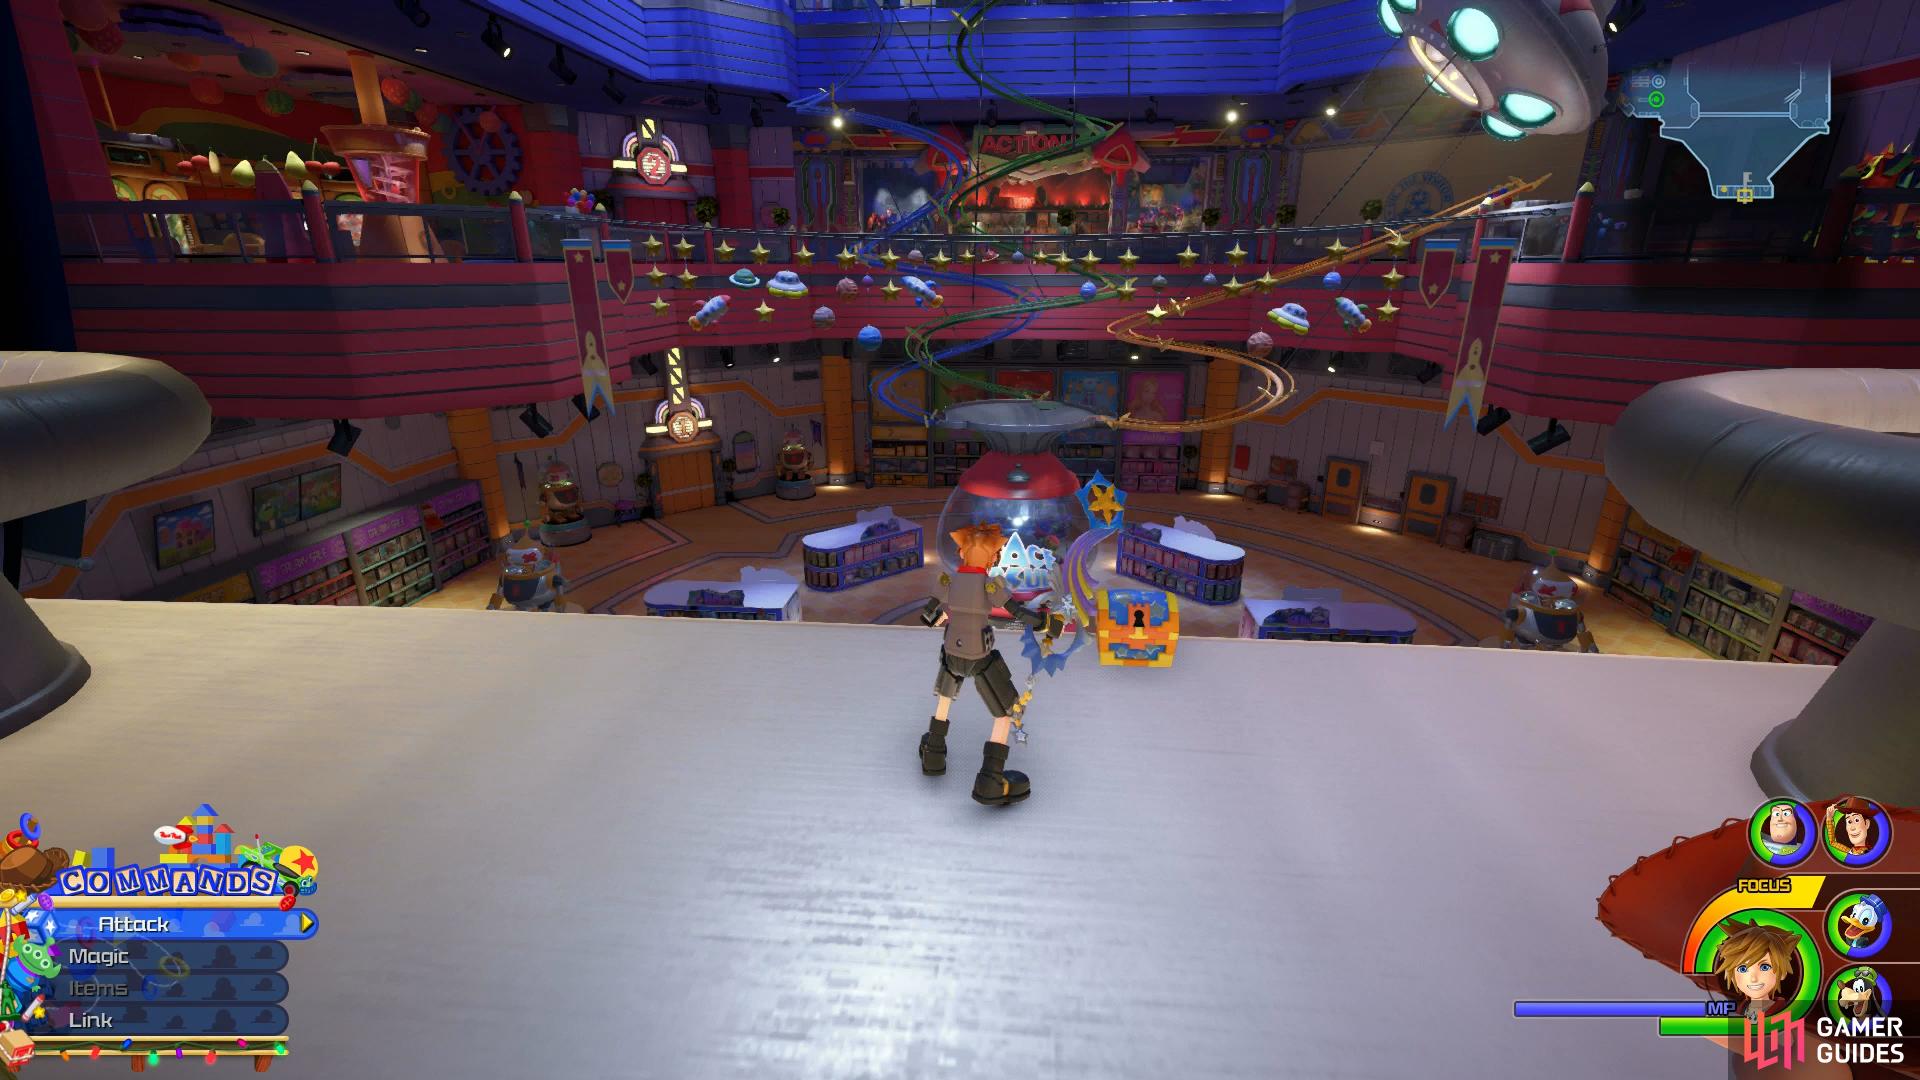
Make your way into the Space Capsule in the center of the room now and run up into it to find a large chest containing Treasure #5 - Map: Galaxy Toys. While you’re inside the Space Capsule, head up to the rails and take the green rail to reach the very top of Galaxy Toys. You’ll spot a large chest after reaching the ground containing Treasure #29 - Classic Kingdom: Mickey Cuts Up. Before dropping back down, turn around to find a smaller chest, this one containing Treasure #7 - Potion.


(1 of 2) You’ll find the map in the Space Capsule
You’ll find the map in the Space Capsule (left), and two more chests from riding the green rail. (right)
Make your way back to the ground floor and head to the southwest corner to find a Gigas you can pilot. Once inside, use the Boosters to propel you above the sign hanging over the entrance and eject, you’ll find a chest sitting here containing Treasure #6 - Petite Ribbon. Return to the Gigas and drop back down and destroy the display found to the far north of the area. Eject out of the Gigas once more and look on the base of this display to find Lucky Emblem #6.
You’ve completely explored the 1F now so head back into the Space Capsule and ride the red rail up to the 2F. You’ll be greeted by a group of Toy Soldiers and a Gigas here, if you turn around you can find a Gigas of your own to pilot and take down this group of Heartless with ease. Ignore the Action+ store for now and make your way around to the other side, taking out another group of Heartless along the way.

(1 of 2) Use a Gigas to reach this chest

Use a Gigas to reach this chest (left), destroy the display to find this Lucky Emblem on the base. (right)
You’ll reach the Drink Factory and a Save Point, go ahead and save your game and then look for the Fierce Fizz vending machine to the left and run up it. Head into the center up here and then use the fruit to reach the top of the blender where you’ll spot a chest containing Treasure #26 - Fire Cufflink. Jump back down and head to the back of this area to spot your next Flantastic Seven.
Strawberry Flan
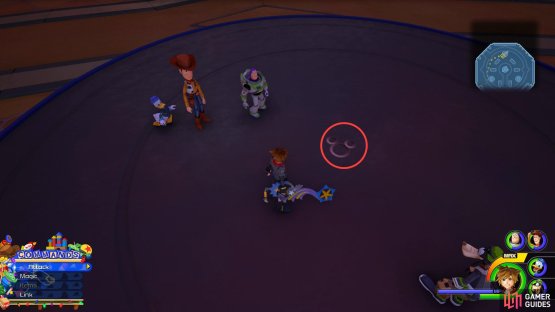
The objective here is to use the Mad Cups Attraction ability to spin around the area and stack up Flans. The problem is, there will be larger flans rolling around on berries that you need to avoid hitting, doing so will knock some of your Flans off your stack.
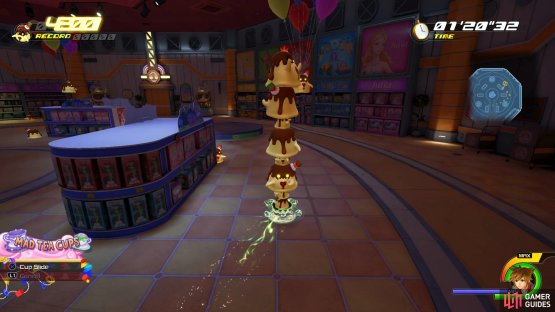

(1 of 2) The Floating Flans offer more points

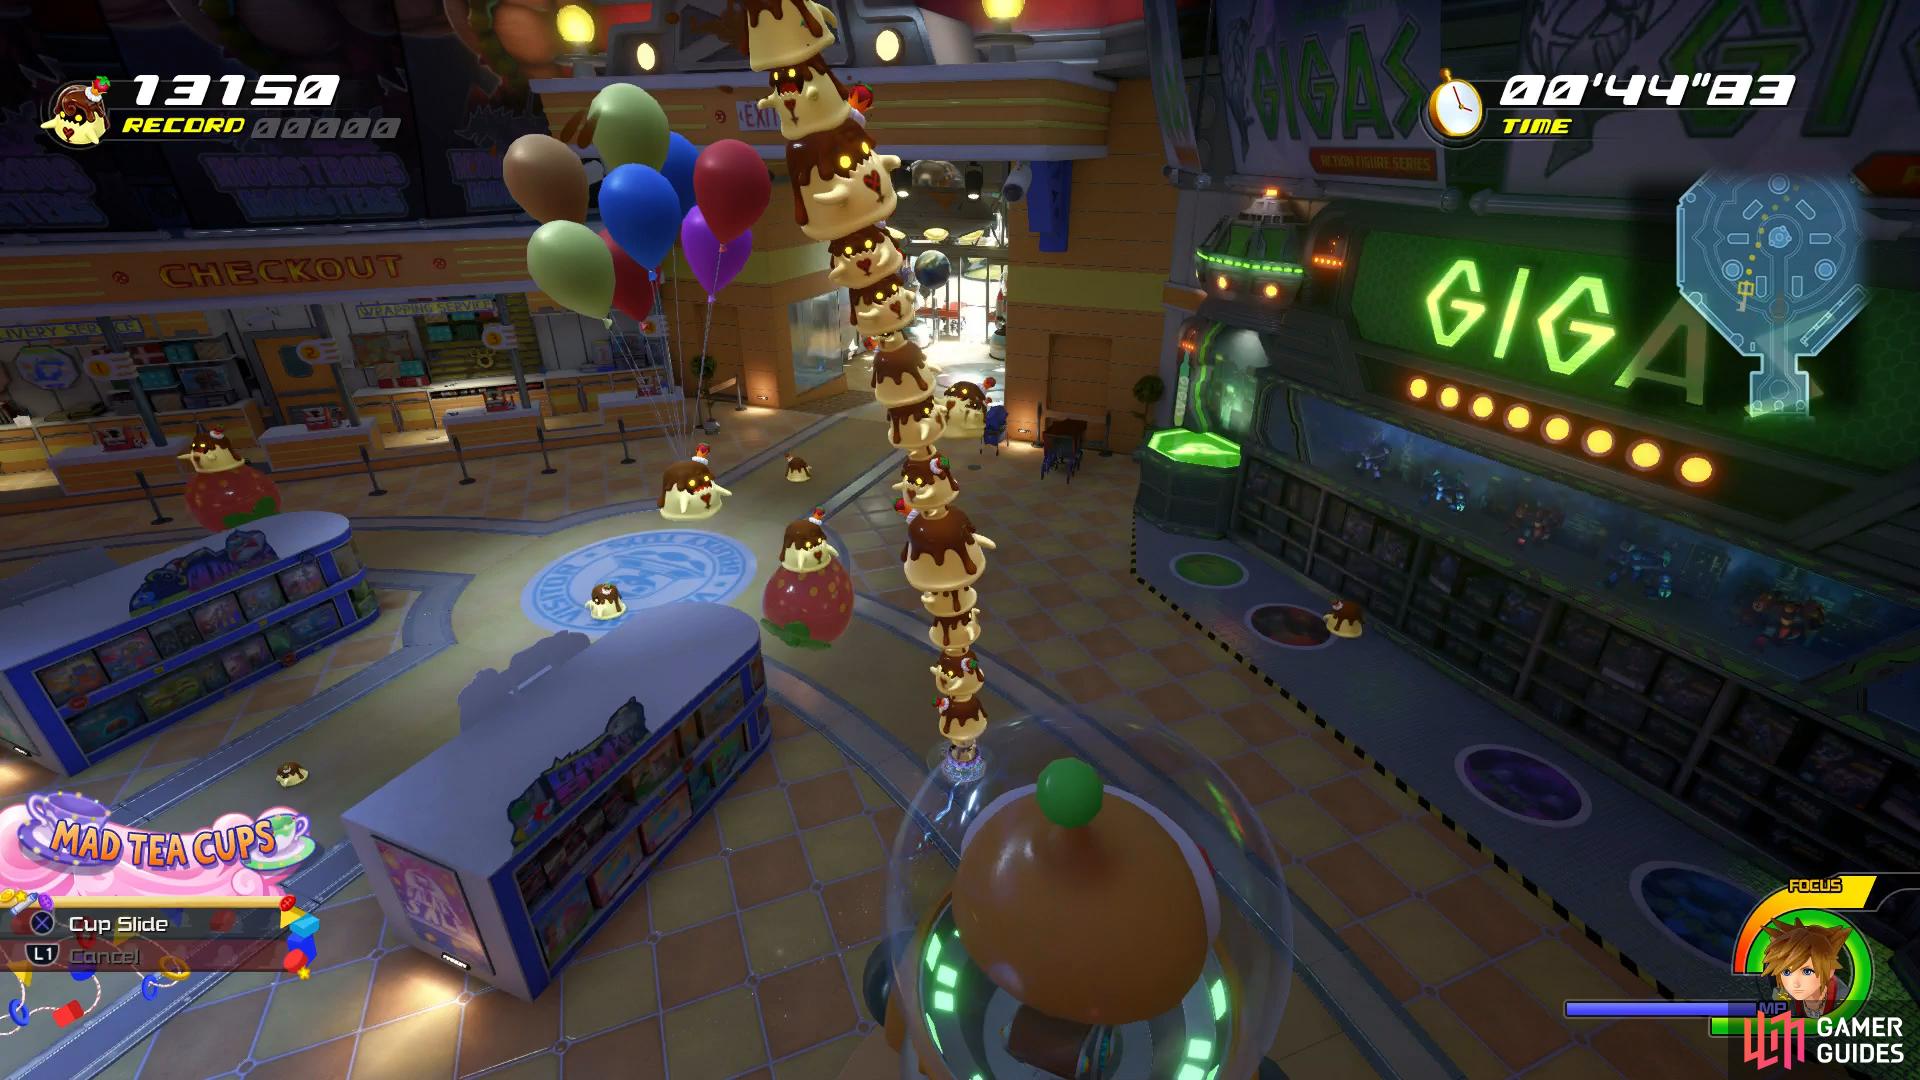
The Floating Flans offer more points (left), beware of the ceiling once your stack grows in size. (right)
Once you reach a high enough stack, you’ll be able to hit the Flans that are in the air, these ones account for more points so make it a habbit to try and hit these. Finally, once your stack is high enough, you’ll need to avoid hitting the ceiling, doing so will once again knock some Flans off your stack. Your aiming for a score of 17,000+ here which will reward you with the Attraction Extender ability and Strawberry x3.
Action+ Store
With that little excursion out of the way, make your way back to the Action+ store you passed by earlier and enter it to discover all is not what it seems.
Boss: Supreme Smasher
These hulking toys will hit hard and you’ll be up against three of them in this battle. They have around the same HP as your regular Gigas so you may wish to jump into one of the Gigas situated around the corner of the store to take them down quicker.
The biggest threat you’ll face is the laser, there is a short period where they will charge it giving you the time to dash out of the way of it. If you are struck by it, use Cure if you’re fighting on foot immediately as a second one will be enough to defeat Sora. The Supreme Smashers will also emit an electrical discharge from the back, keep on the move and you should avoid being hit by them.
| Character | Ability |
|---|---|
| Sora | Speed Slash |
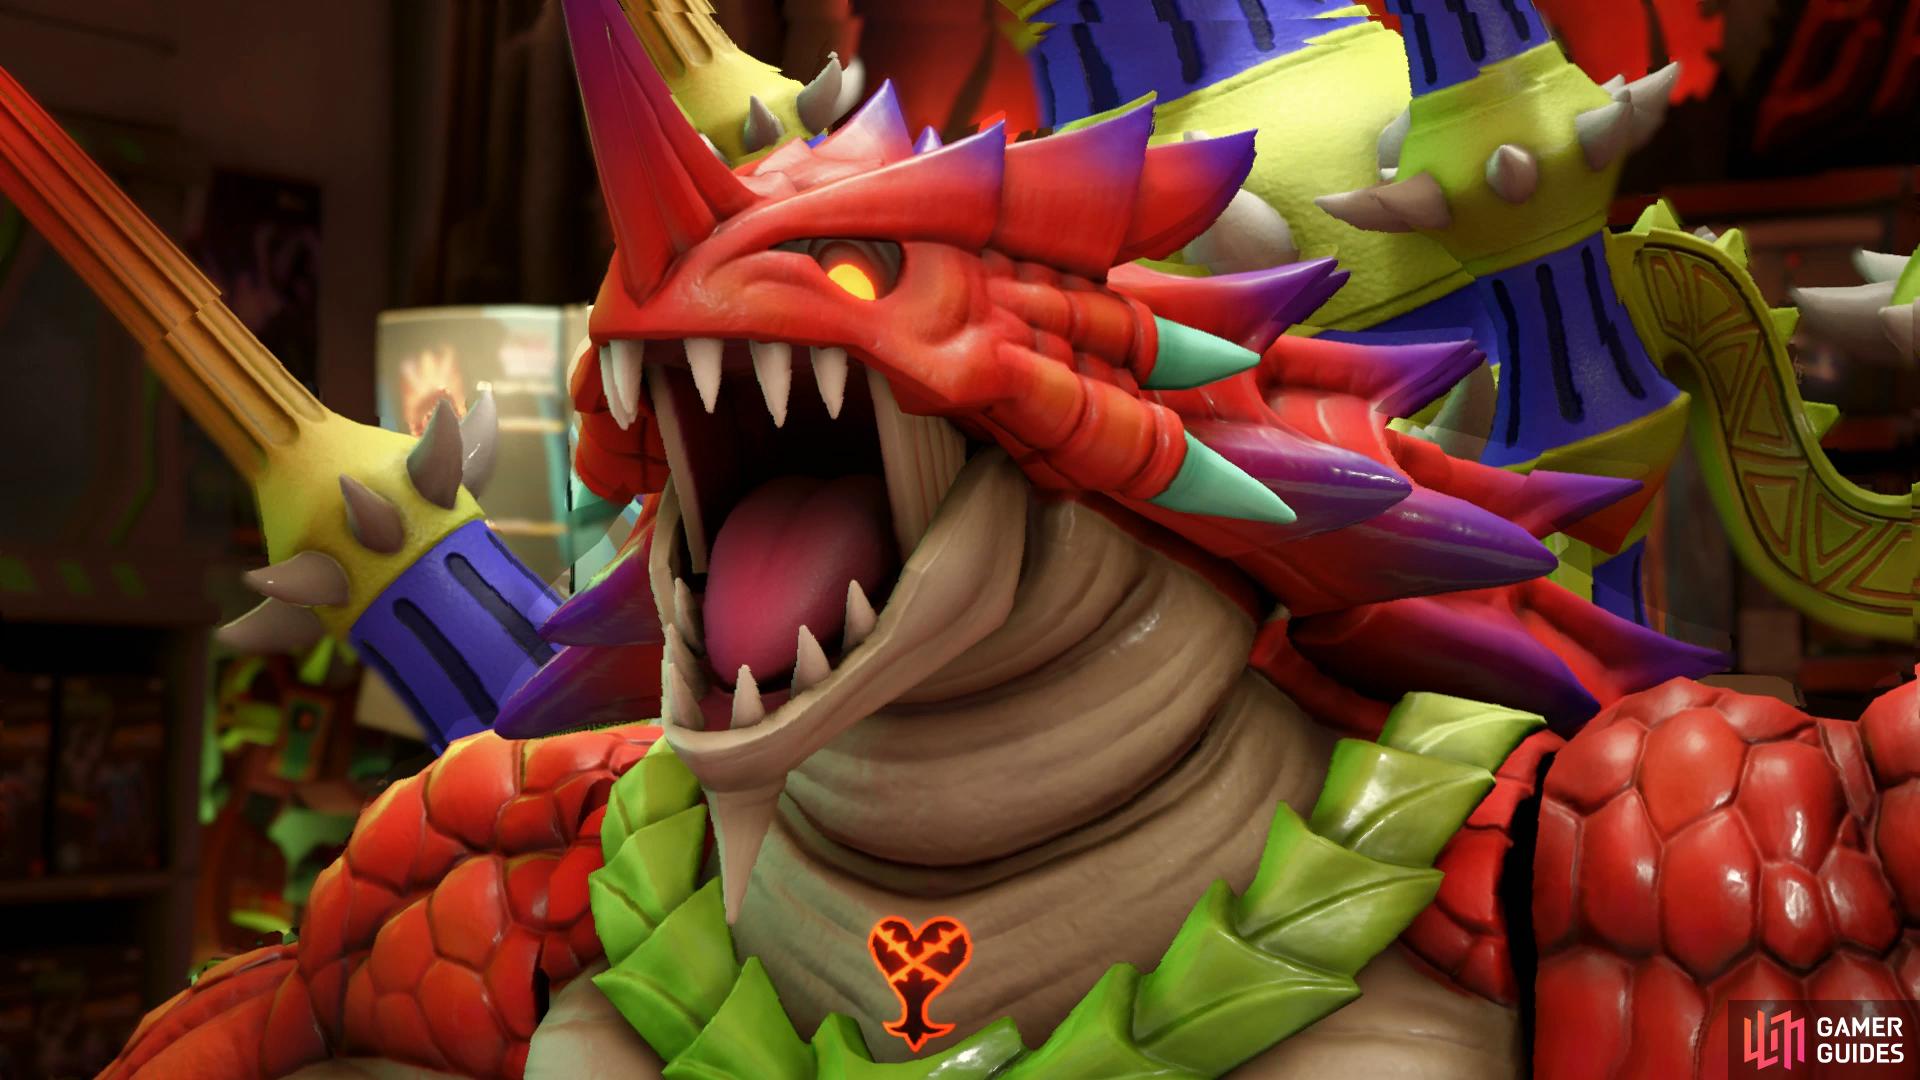
Following the rescue of Rex, the group will learn that Hamm has been spotted in Babies and Toddlers, a store that can be reached by using the vents in this store. Before heading there, take the time to scope out Action+ to discover more loot. Head to the northwest to find the Rumblin’ Time display, leap on top of it and examine it to begin a short mini game where you can punch and block. Simply block your opponents punches and counter with a punch or two of your own. Winning the mini game will reveal a chest where your opponent stood, open it up to obtain Treasure #8 - Strength Boost.
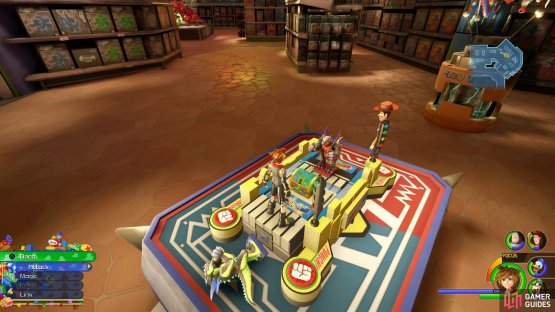

(1 of 2) Win the boxing minigame to reveal this chest

Win the boxing minigame to reveal this chest (left), then use the flying bug to reach this chest. (right)
Turn to the southwest now and look for the display with a Sale on it. In order to reach the top of this, run up the wall where the toy bug is circling and jump onto it to find a chest containing Treasure #10 - Soldier’s Earring. Drop back down and head northwest to find a display of Air Droids, run up the display and at the back you’ll find another chest, this one containing Treasure #9 - Ether. With all the items nabbed here, head up the back wall in the eastern corner and enter the opened vent.
Lower Vents
Follow the linear path and defeat the Heartless that ambush you once it opens up a bit. Continue along and you’ll find a fan that will blow you up, allow this to blow you to the top and then defeat another group of Heartless before opening the chest containing Treasure #12 - Ether. Drop back down the fan you just took and this time go through the eastern vent and as soon as you land, turn around to spot Lucky Emblem #7.


(1 of 2) Take the eastern path when the first vent blows you up to find this Lucky Emblem
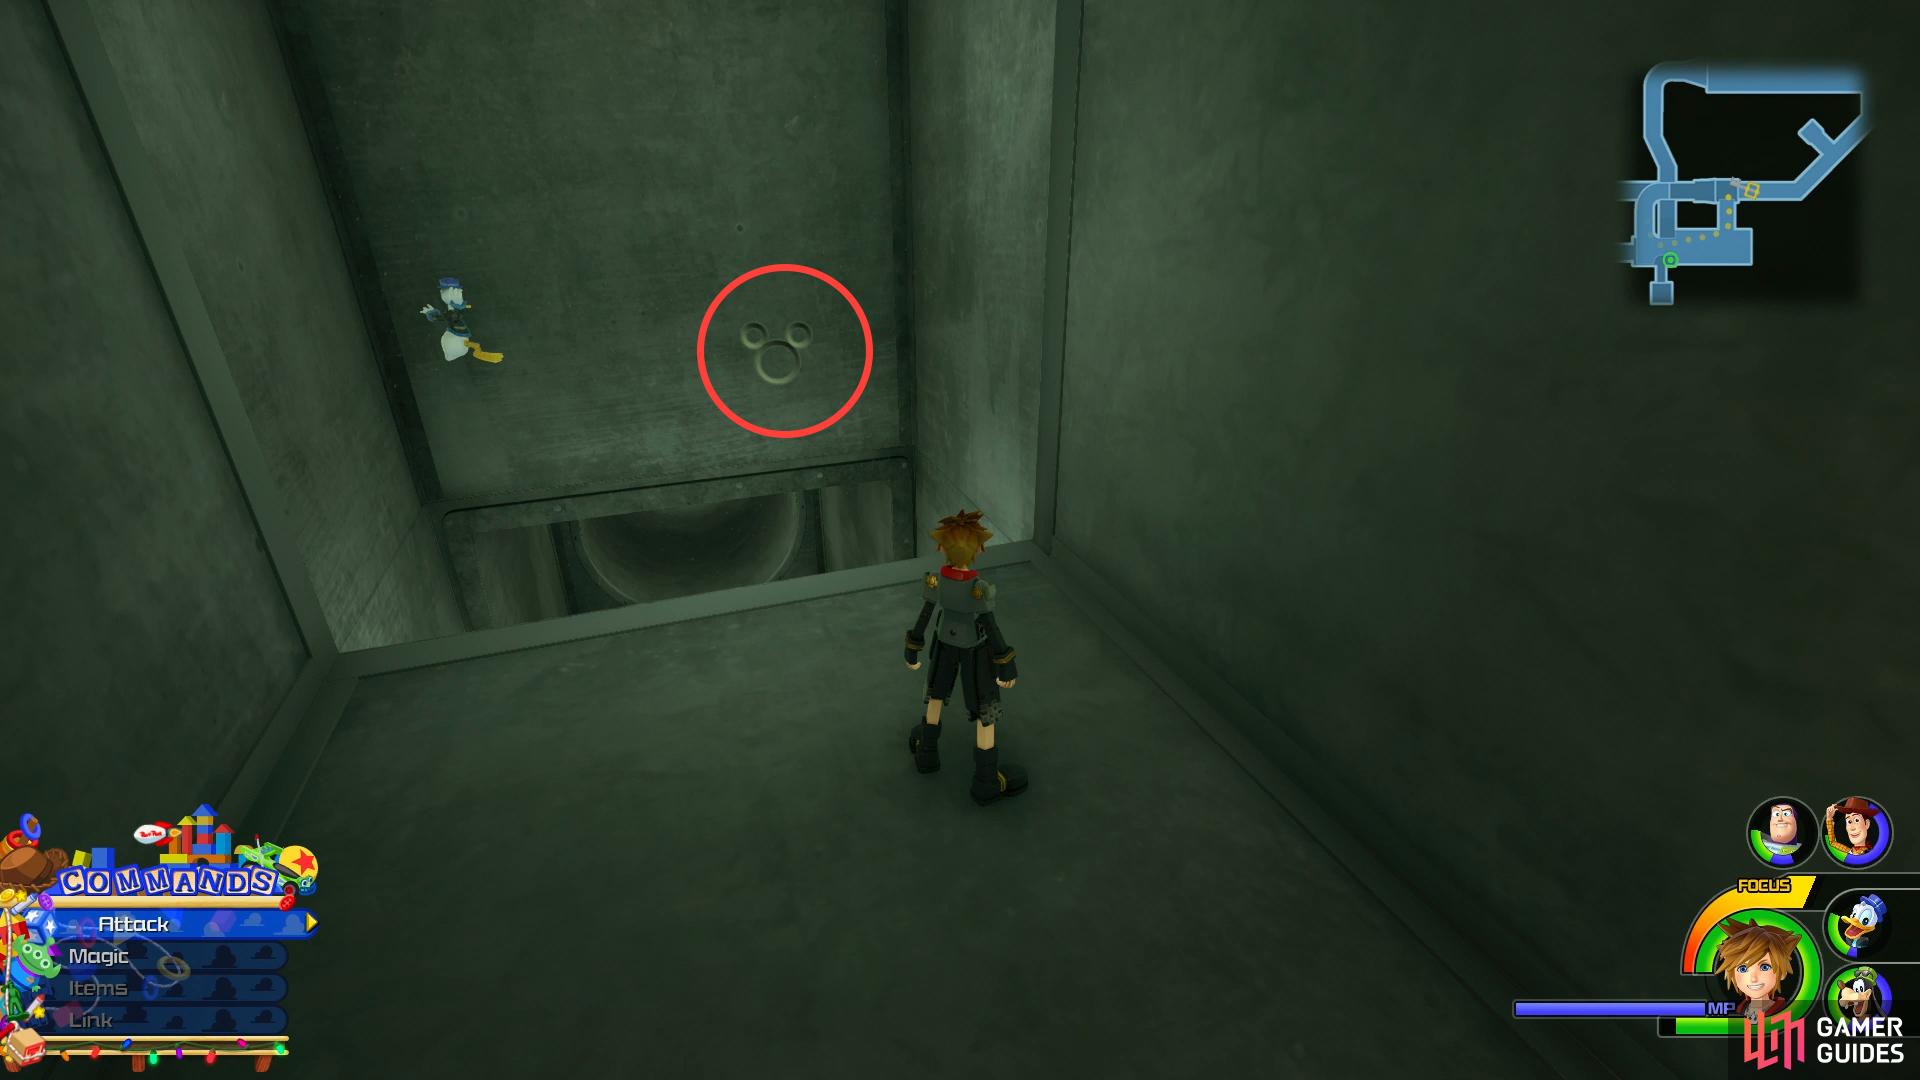
Take the eastern path when the first vent blows you up to find this Lucky Emblem (left), then head down the path and look to your left to find this chest. (right)
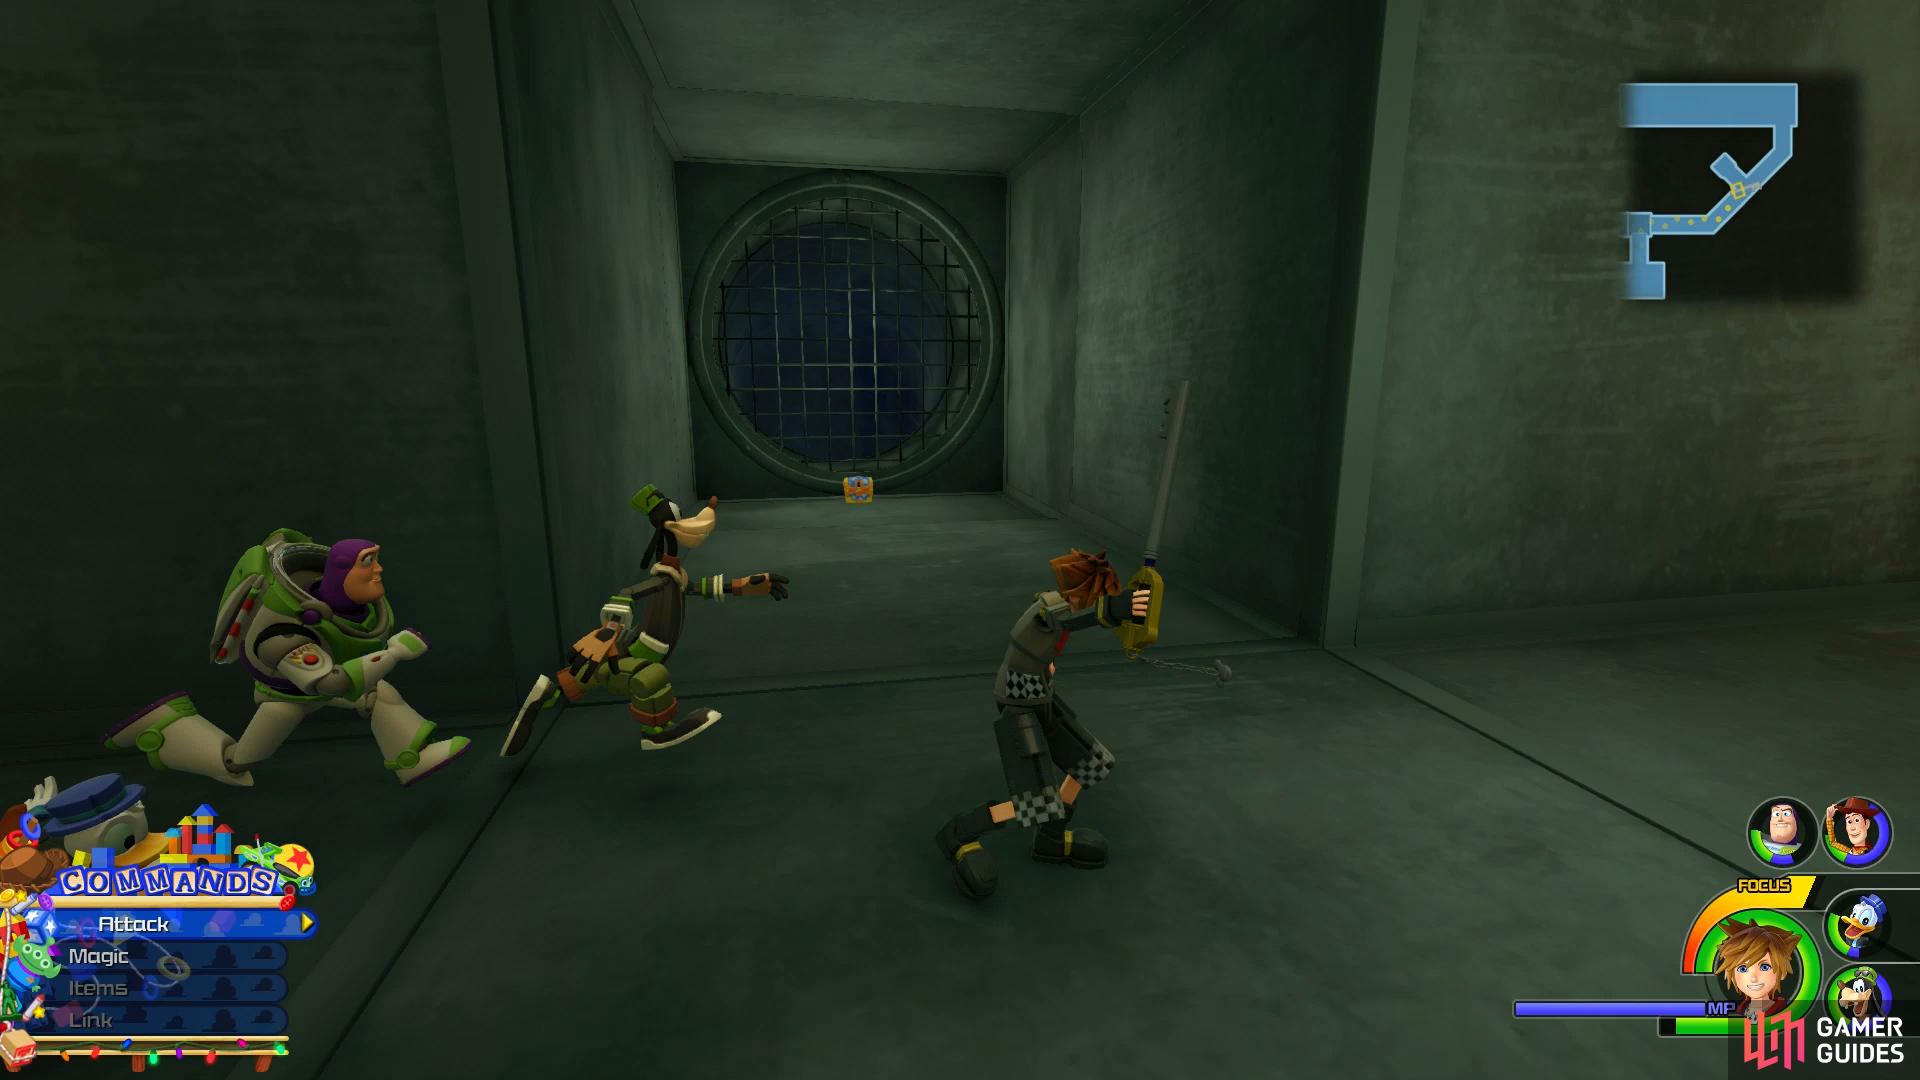
Follow this vent along and then go left as soon as you’re able to spot the next chest containing Treasure #11 - Refocuser. Continue to follow the vent and you’ll reach a large room where a vent will blow you back every time the light switches to red. To make matters more complicated, you’ll run into a new Heartless, the Pole Cannons. These Heartless will blast you continuously so stand back and use a Shotlock on them to deal with them easily.
Once they’re defeated, wait for the fan to stop spinning and head through the next vent where you’ll slide down to a Save Point. Look to the west here to spot a large chest containing Treasure #13 - Classic Kingdom: Taxi Troubles and then use the vent to reach the Upper Vents and exit into Babies and Toddlers.
Babies and Toddlers
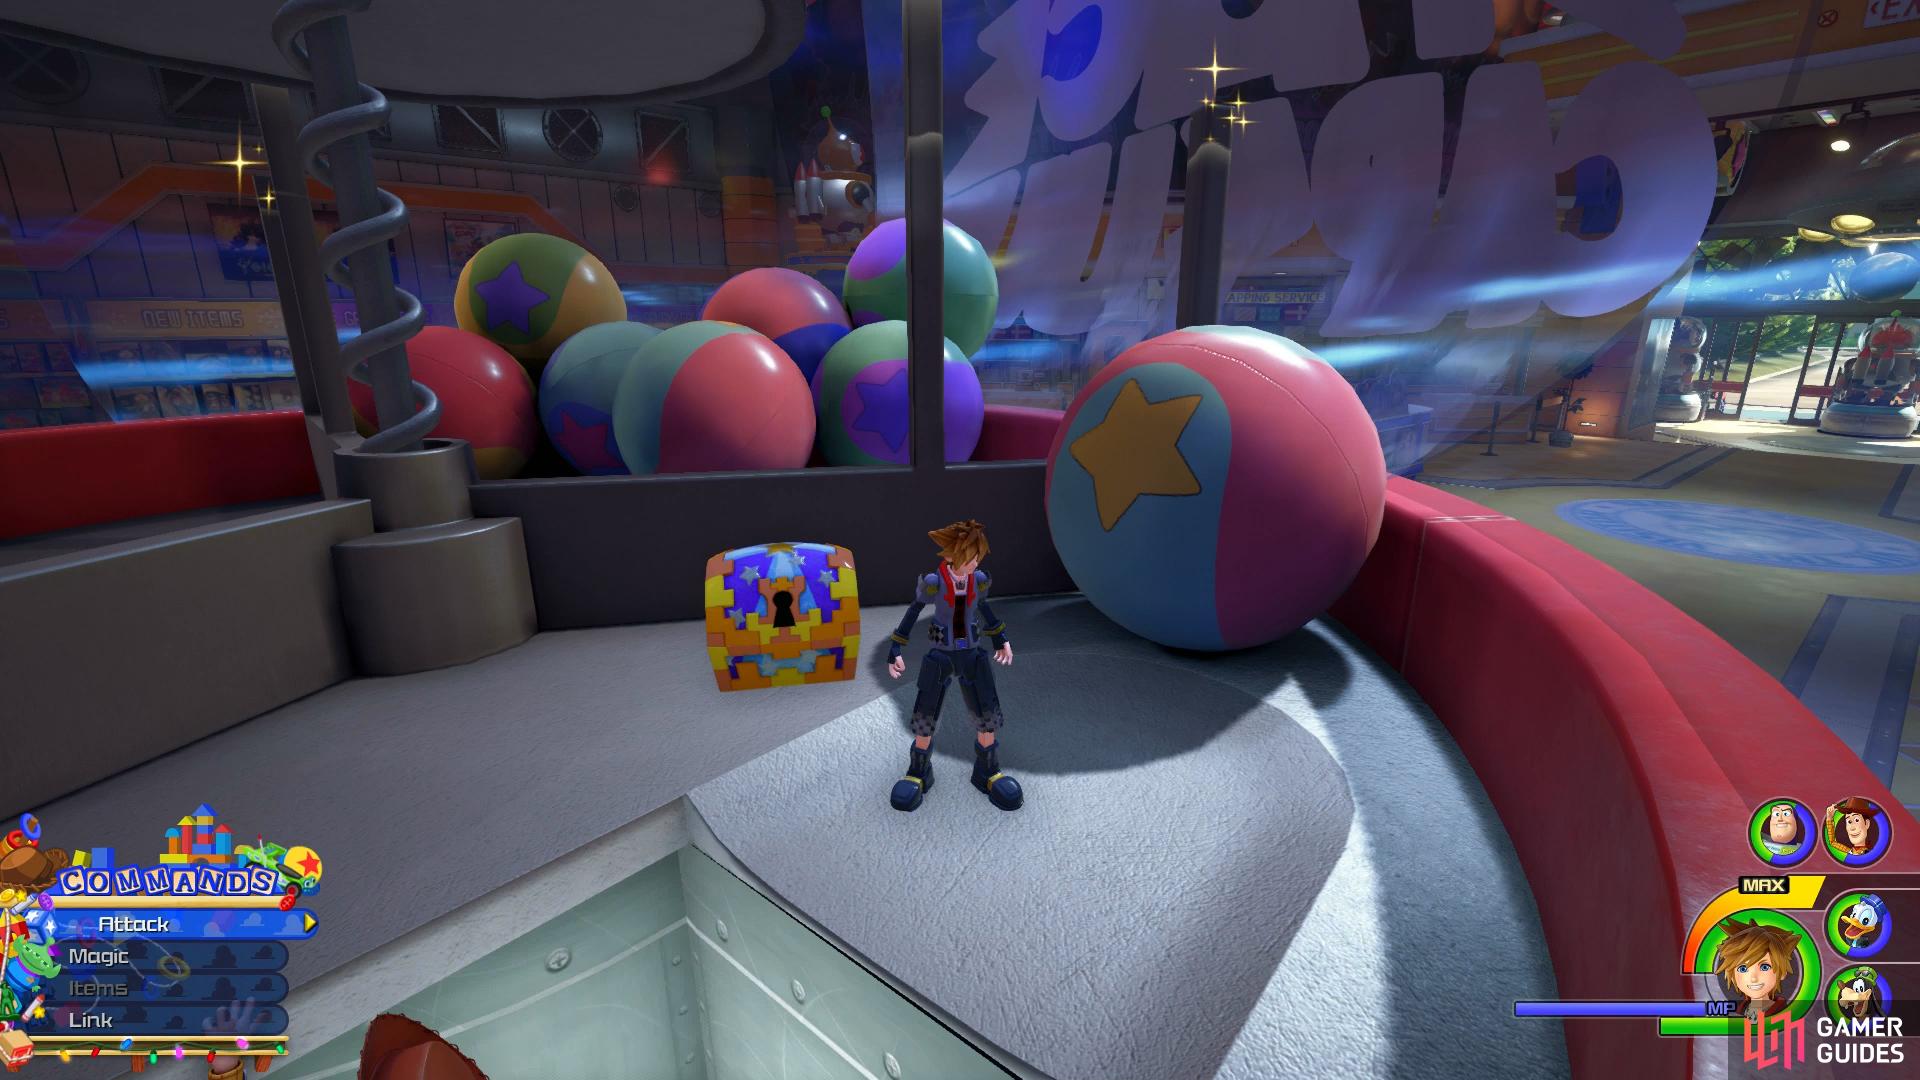
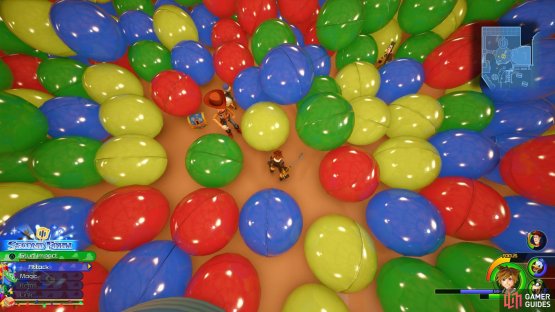
As soon as you gain control, drop down and defeat the group of Heartless that attacks. You’ll encounter Marionettes here that will possess the nearby toys to cause a greater threat. Try to take them out before they’re able to or risk the battle dragging on longer than it need be. Once the Heartless are defeated, run back up the wall you dropped down from and follow it around to the right to find another platform you can climb on to. At the end here is a chest containing Treasure #14 - Gold Amulet, snag it and then drop on to the display below. Face the southeast where you’ll spot some balloons that form Lucky Emblem #9, snapping this one should be your 30th and award you the Ribbon.


(1 of 2) Stand on this display to snap the Lucky Emblem

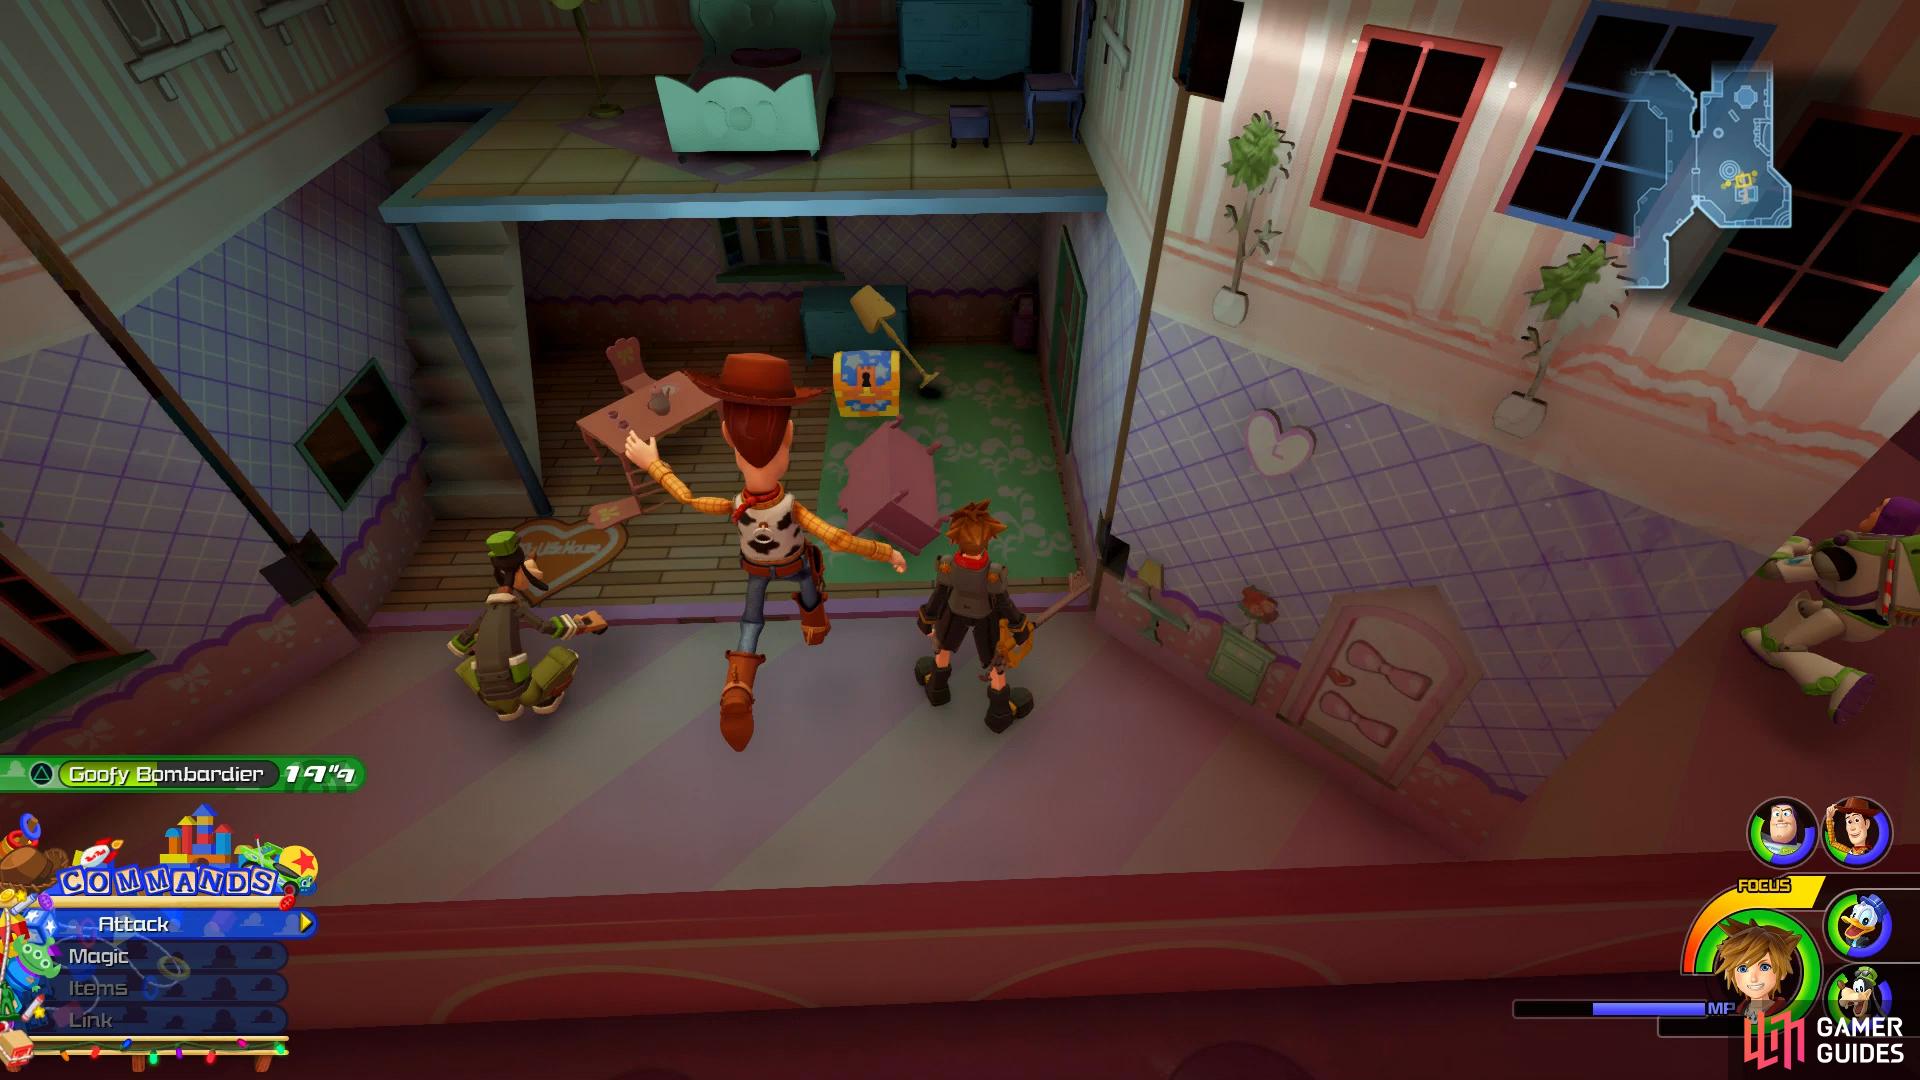
Stand on this display to snap the Lucky Emblem (left), head over to the open dollhouse to find a hidden chest. (right)
Head over to the counter where the balloons are (after defeating another group of Heartless) and bounce on the green frog toy situated between two cash registers to reach the chest containing Treasure #15 - Mage’s Staff+. This new weapon offers the Fire Boost ability at the cost of some Strength so be sure to equip it straight away. Make your way south and take out the next group of Heartless that appears remembering to focus on the Marionettes to prevent them from taking over the larger toys. Once the enemies are taken care of, examine the open dollhouse to find a chest inside containing Treasure #17 - Fire Bangle.
Turn around to face the display with stuffed animals and bounce on them to reach the top where you can then leap to a platform with more stuffed toys on it. Follow this along and the shelf will drop, creating a ramp, as you’re attacked by another group of Marionettes possessing the stuffed animals. Defeat these and then run back up the ramp to leap onto the next shelf where a chest awaits at the end containing Treasure #16 - Fluorite.
With all the treasures nabbed, drop back to the ground and head towards the Musical Toads section in the southeast corner of this room. Jump on the record player and begin running on it to start the music and once you regain control, head over to the toad playing the tuba on the second from top platform to find the Corporal who informs the group of Hamms location. Once you regain control, drop back to the ground and head over the shaking dollhouse near the window to find Hamm however the toy that took him is back.
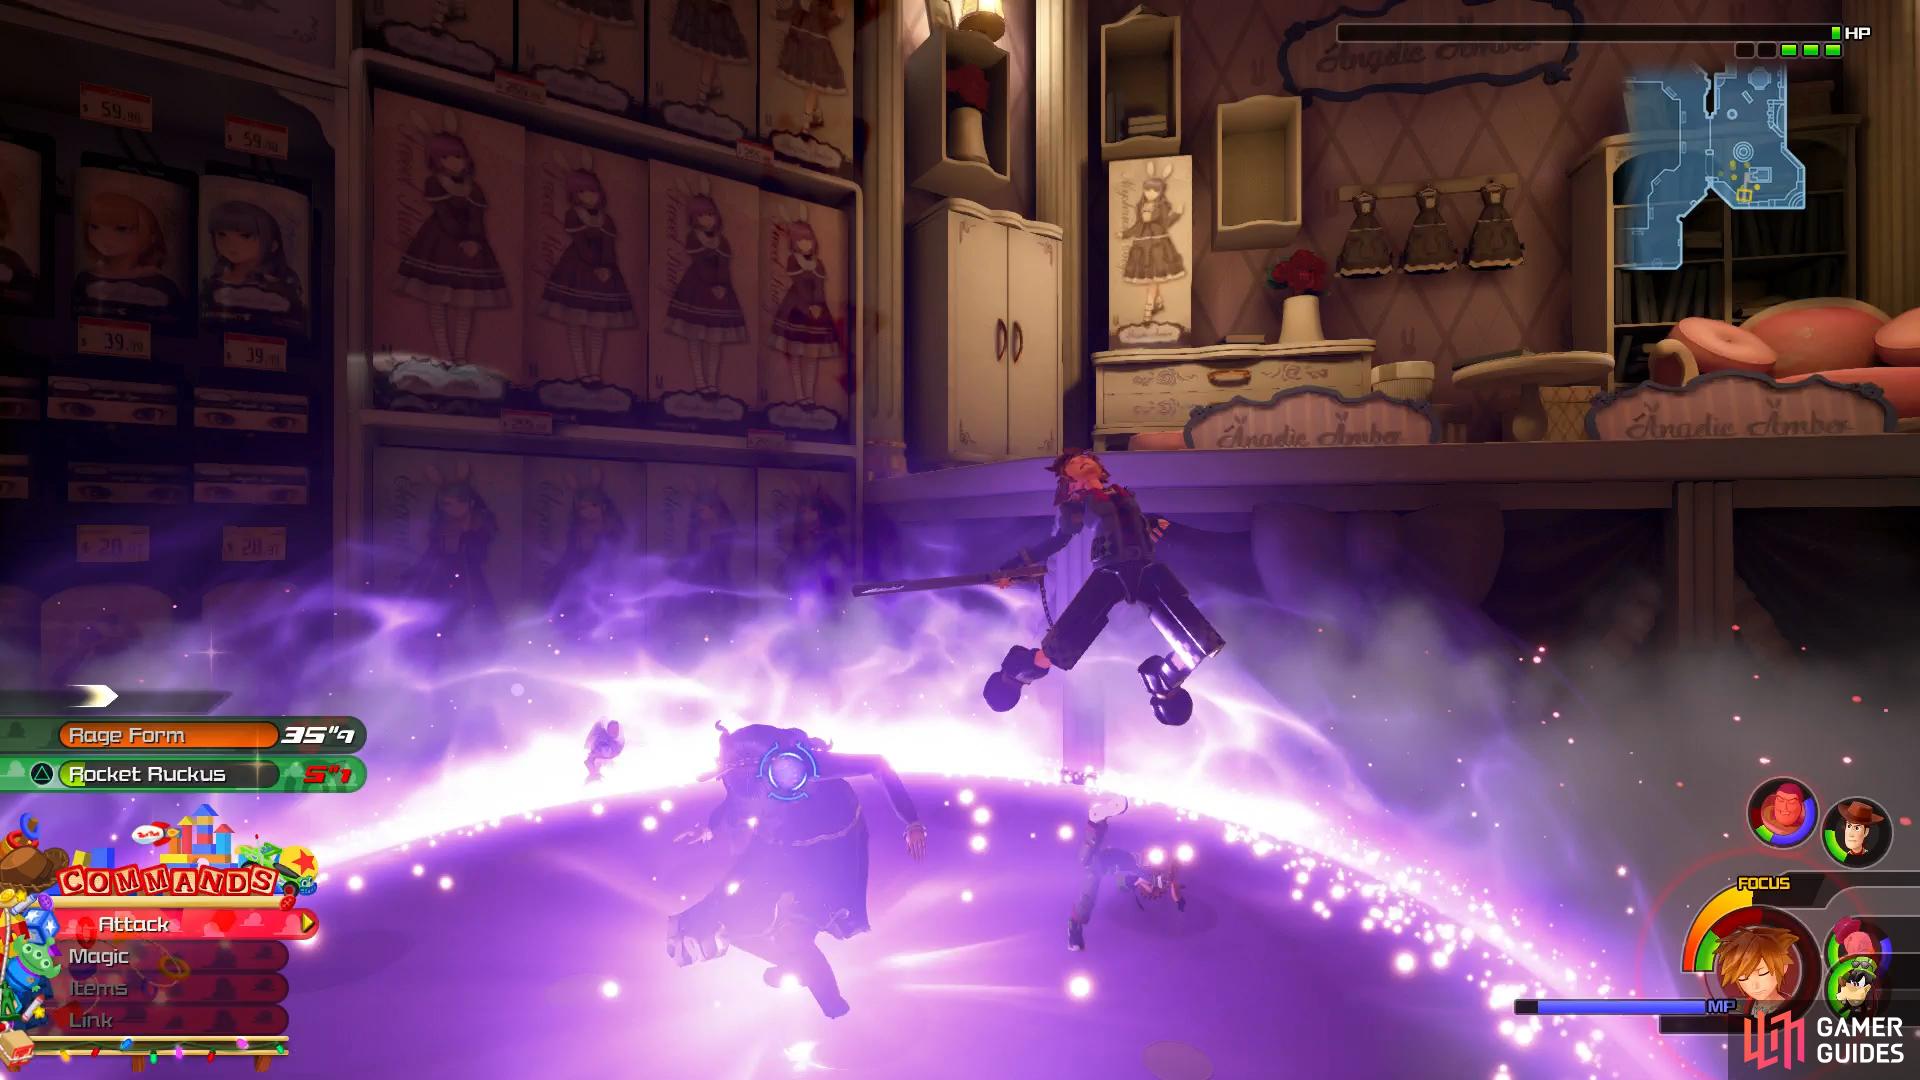
Boss: Angelic Amber
The Angelic Amber will begin the fight with a group of Marionettes at her side, take these out as soon as possible as the last thing you need is more stuffed animals joining the battle. As for Angelic Amber herself, she has many attacks that can catch you if you’re not careful.
Her ground pound is her most deadly move, she will launch herself into the air and pound the ground, causing large damage to anything in the immediate vicinty, jump to avoid the blast. She will also twirl around when she gets in close proximity to Sora, this will deal moderate damage if you’re caught up in this. Finally, she will dive bomb at you, be ready to air dodge out of the way of this as she will sometimes repeat it multiple times.


(1 of 2) The Ground Pound is Angelic Amber’s most deadly attack

The Ground Pound is Angelic Amber’s most deadly attack (left), keep your distance when she’s spinning. (right)
The Angelic Amber is agile and will spend a lot of the time in the air so the Kingdom Key’s Second Form is ideal for this battle so that you can keep up with the Air Combos. Keep on the offensive and use your Cure spell should your HP drop too low and you shouldn’t have too many problems putting down this doll.
| Character | Ability |
|---|---|
| Sora | High Jump, Max MP Increase |
Be sure to equip the High Jump ability you just learnt following the battle, this will allow Sora to reach greater heights by holding down the [CIRCLE]/[B] button. You’ll find yourself on the 3F of Galaxy Toys after jumping out the window and you’ll spot the Play Place to the southwest, head over and save your game and access the Moogle Shop to hand over any materials you may have on you. From the Save Point, turn around to face the wall and spot a Julia picture on the wall. To the left of this is a statue and on the base you’ll find Lucky Emblem #10. Make your way over to the Play Place now and you’ll run into the UFO from earlier who takes away the Little Green Men.
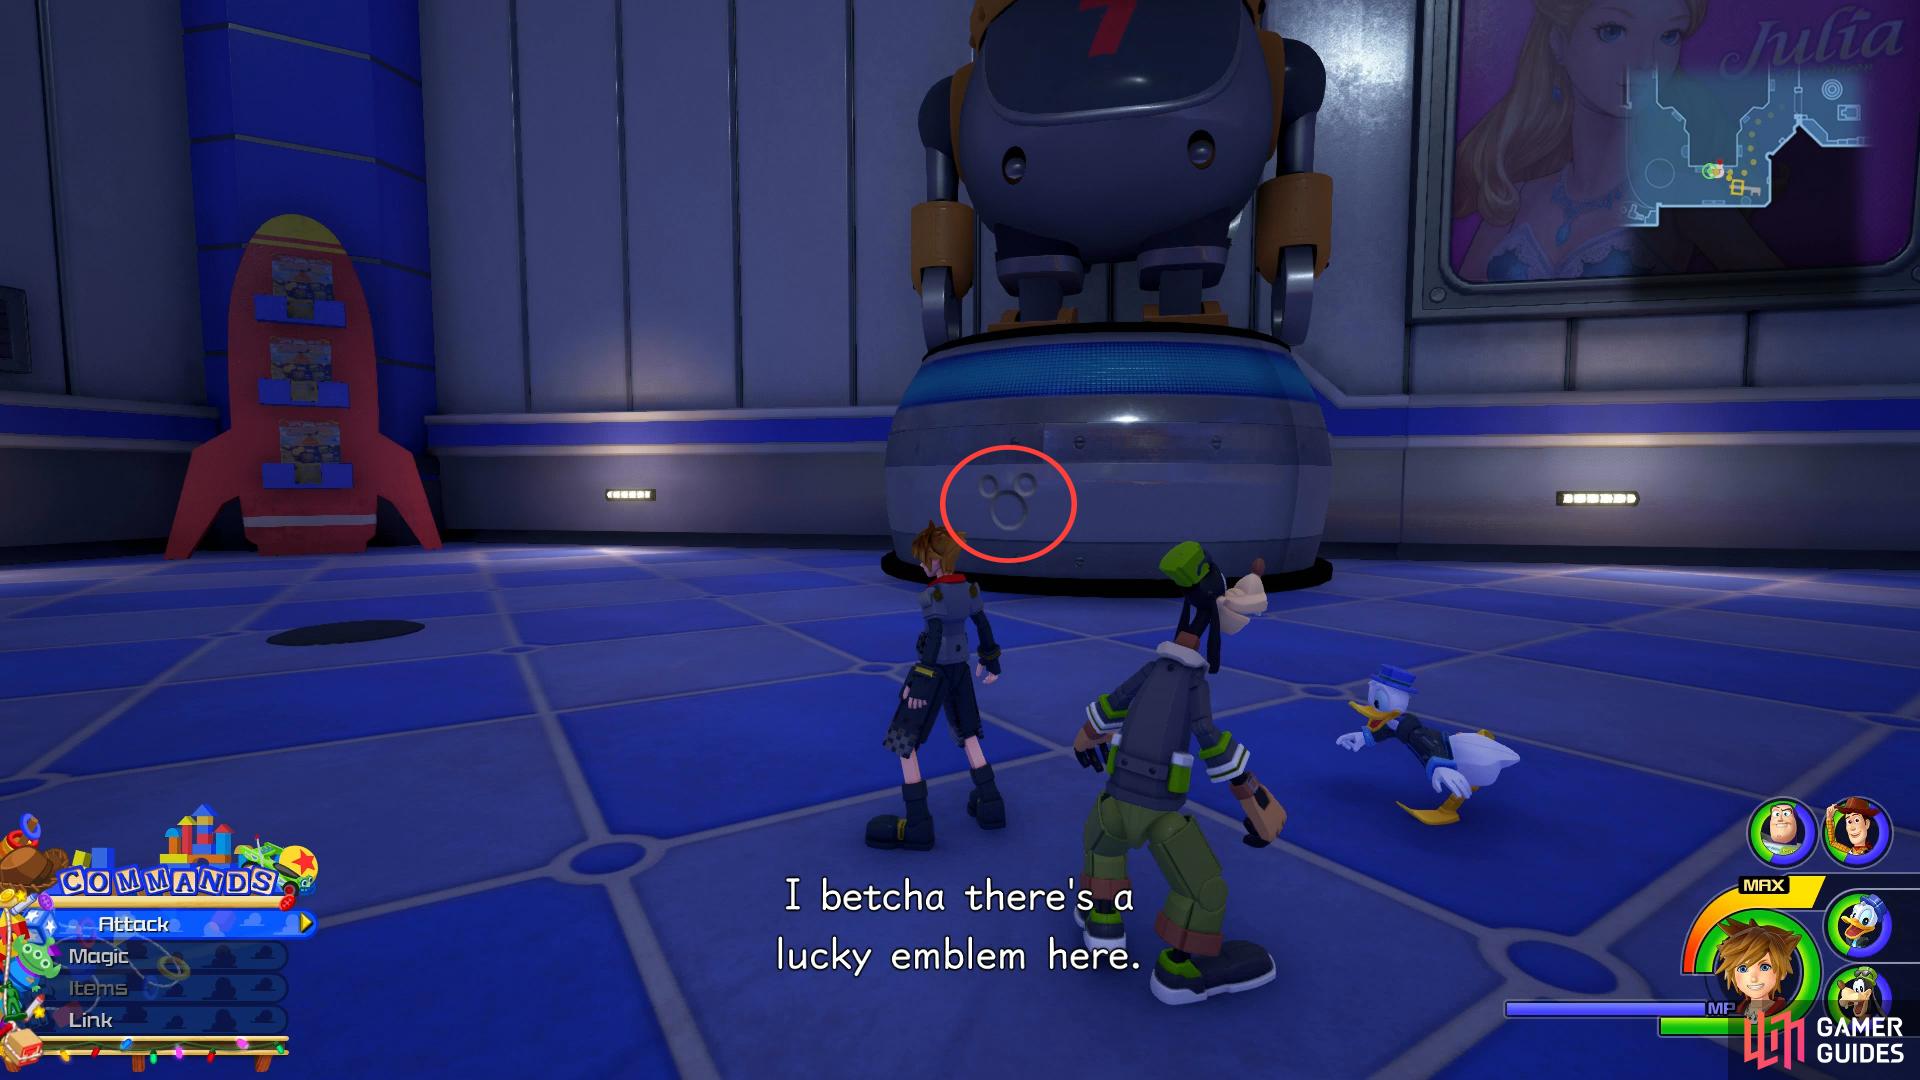
Look for this Lucky Emblem opposite the Save Point.
The biggest issue with the UFO is that you’ll need to contend with many Heartless that will constantly spawn and the UFO can create quite a height difference as it’s HP drops so you’ll want to once again be in the Kingdom Key’s Second Form to make use of the additional Air Combos. Note that you can also use the display in the center to reach the UFO once it’s speed and height picks up.
Once the Gigas join the battle, focus on taking them out before resuming your attack on the UFO. Eventually, the UFO will be too high for you to hit so you’ll need to defeat one of the Gigas on the ground and use the cannons to hit the UFO and finally defeat it.
| Character | Ability |
|---|---|
| Sora | Thunder |
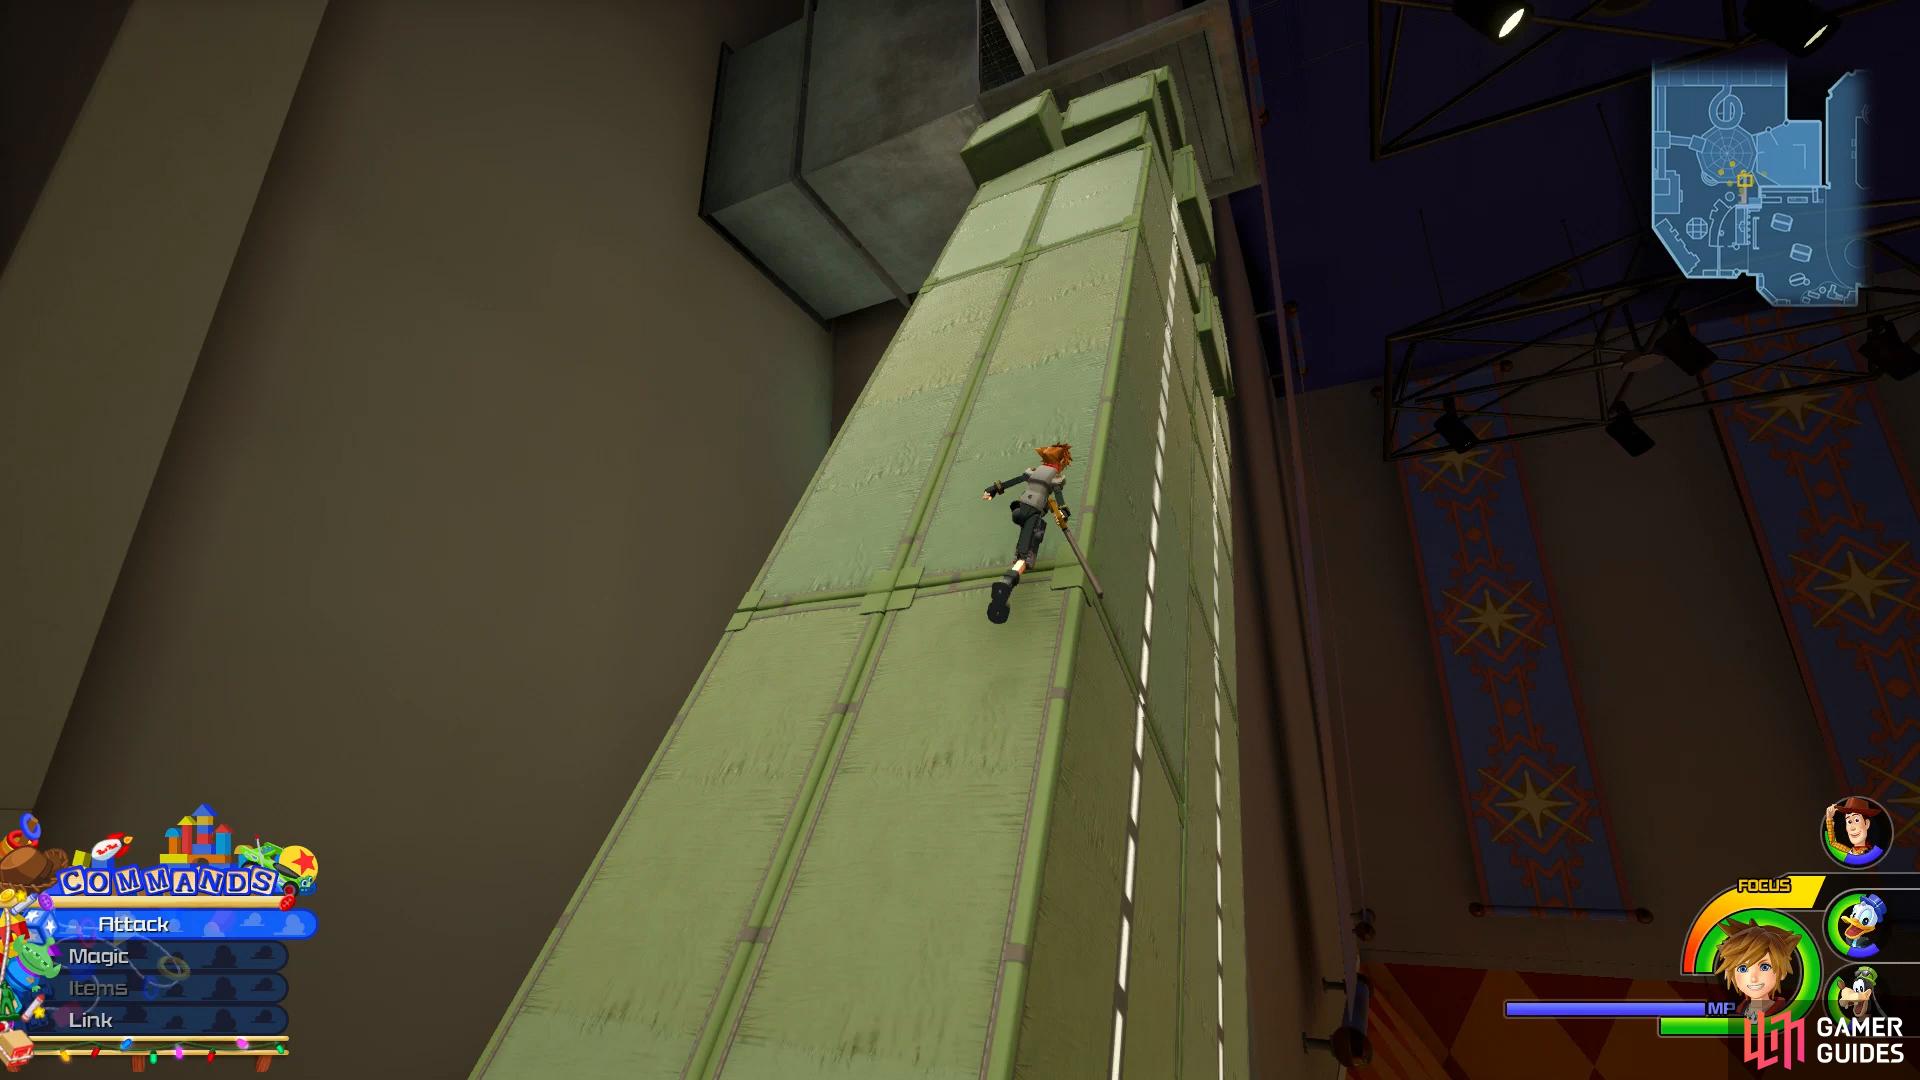
Once you regain control, look to the southwest of Play Place to find a sign that reads Wood Blocks. Run up the wall to reach the display and then strike at all the blocks here to reveal a chest containing Treasure #19 - Abas Chain. Head east from here to find a slide you can run up, at the top is another chest, this one containing Treasure #28 - Mythril Stone. Head over to the northwest side of this area now to find a Takeaway box and then run up the wall here to reach a ledge above, follow this to the left to find a chest containing Treasure #18 - Hi-Ether.
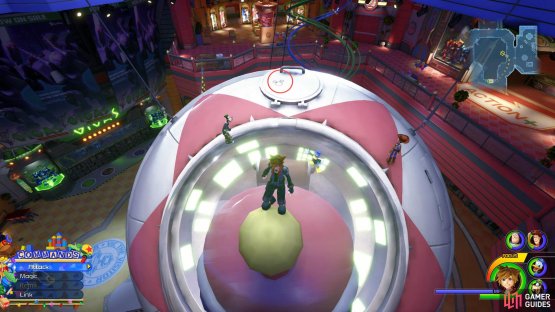

(1 of 2) Drop onto the UFO to find a Lucky Emblem

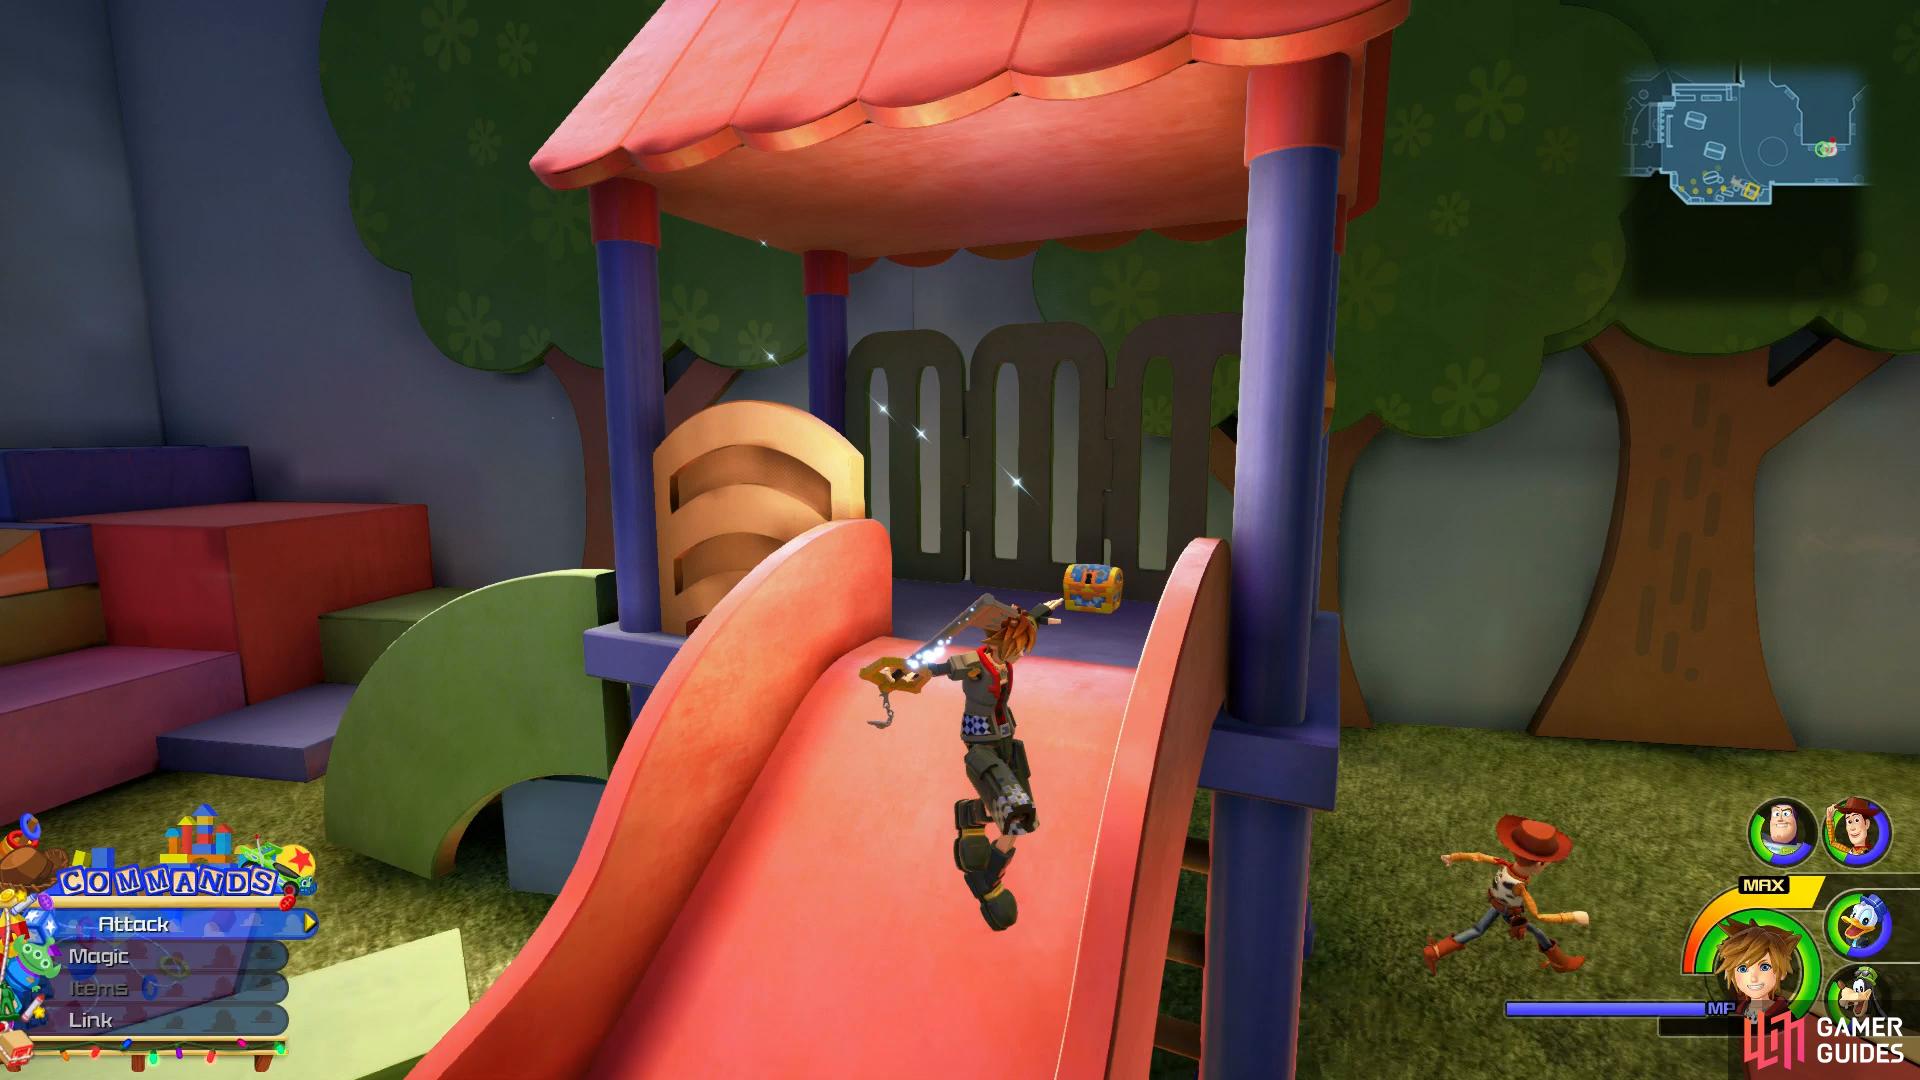
Drop onto the UFO to find a Lucky Emblem (left), climb the slide to find a chest at the top. (right)
Before you head back down to the ground floor, there’s one more matter of importance. Leave the Play Place and make your way back to the Lovely Paty store (where you climbed out of the window) and use the seats to reach the railing around the floor. Look down at the UFO here to spot Lucky Emblem #8, you’ll need to snap the photo from on top of the UFO. Before you reach the ground floor, return to the 2F and enter the Action+ store once again. Make your way over to the northwest corner and climb on top of one of the displays to snap a photo of the Beasts & Bugs mech coming out of the wall. This will complete Photo Mission #5 and unlock the Soldier’s Earring recipe at the Moogle Shop.
Return to the ground floor now to discover that Rex has gone missing once again, this time at the Video Games section on the 3F so use the Space Capsule to reach the 3F once again. You’ll land just in front of the now open Video Games store, head in to come face to face with Young Xehanort where Sora will find himself shot into the world of Verum Rex.
Verum Rex
In the land of Verum Rex, you’ll be under constant attack from a large army of Gigas. You’ll be awarded points based on how you take out the Gigas however for the sake of this section right now, you only need to survive and take out the final Gigas.

(1 of 2) Shoot the Oil Canisters to wipe out multiple Gigas

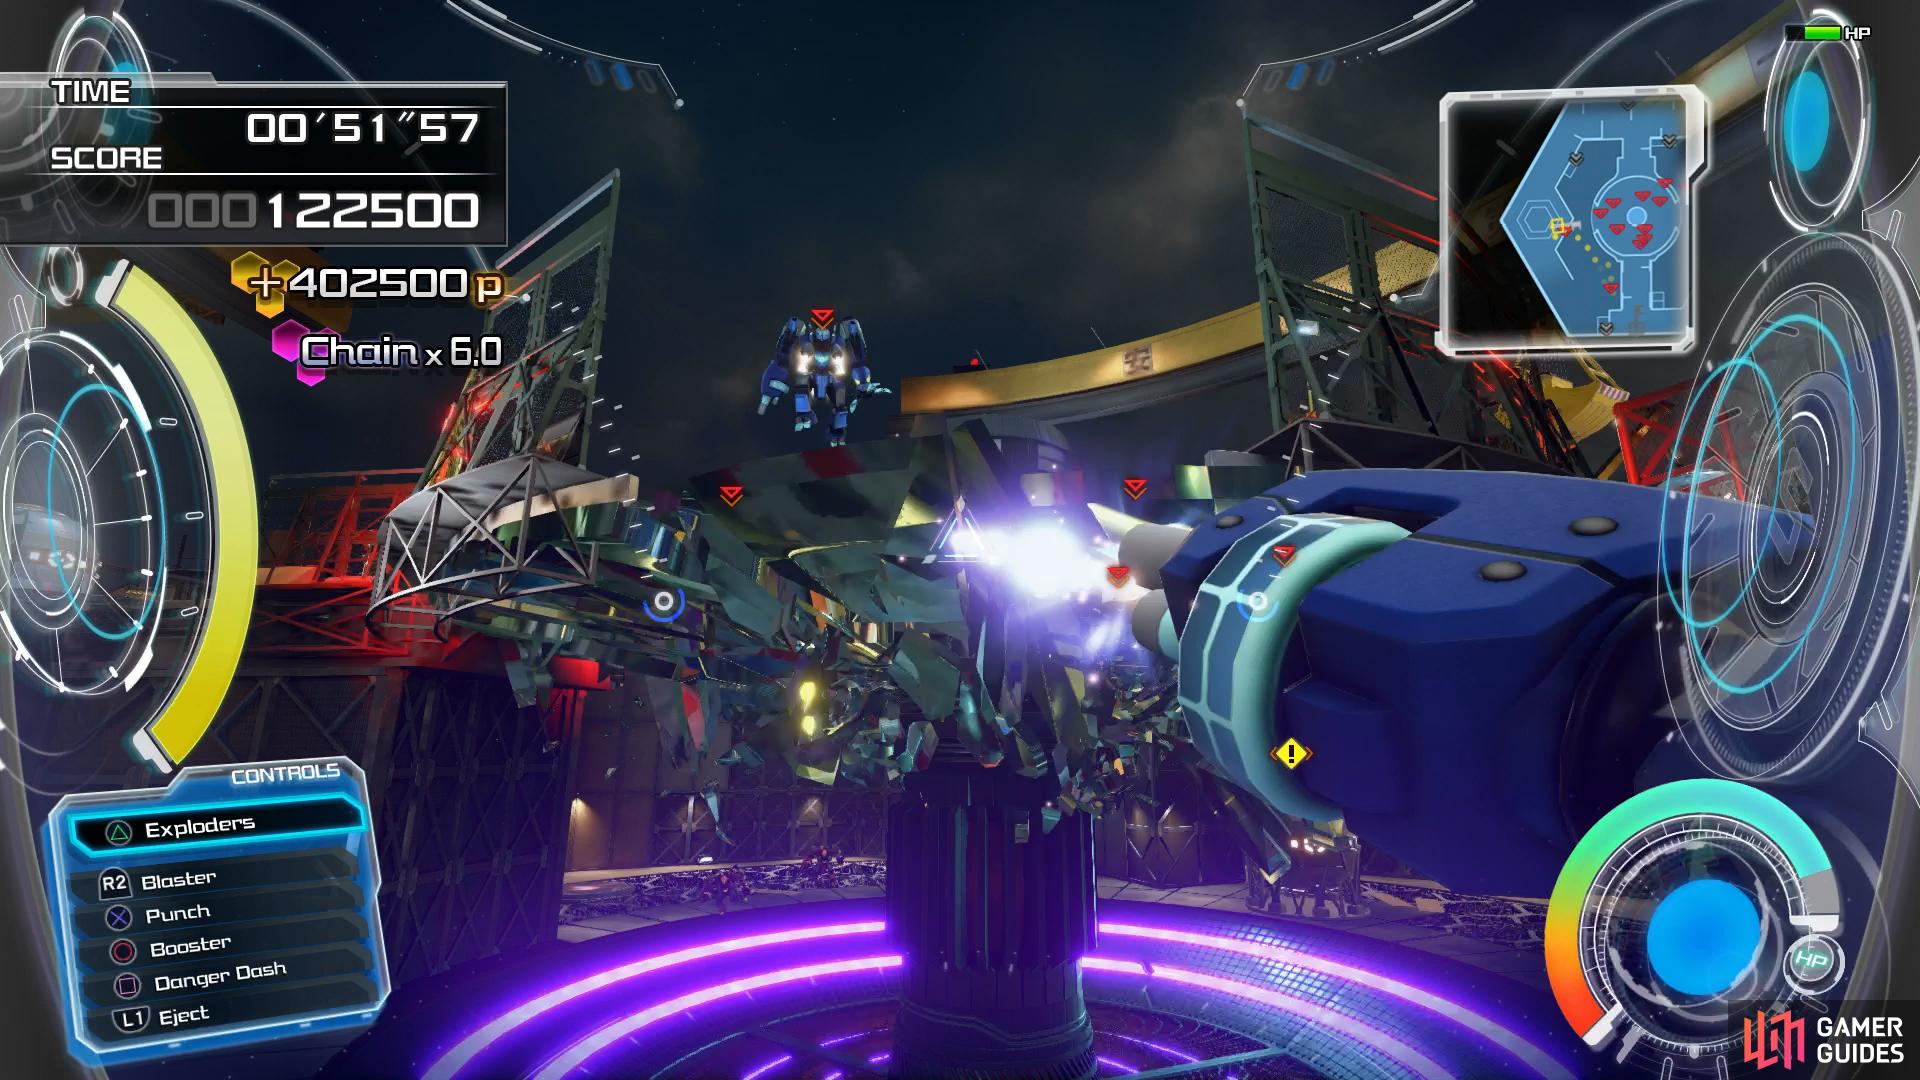
Shoot the Oil Canisters to wipe out multiple Gigas (left), breaking the glass floor will dump the Gigas into the Shock Trap. (right)
Stay in a Gigas at all times and focus on taking out the lesser Gigas first to avoid them ganging up on you. You’ll notice stage hazards all over the arena such as being able to destroy the upper glass floor to send Gigas tumbling down or oil tanks that will explode and destroy all Gigas in range. The Purple Gigas is the best to pilot, this Gigas shoots its cannons at a quicker rate of fire than the others so aim to be in it at all times. After destroying enough of the regular type Gigas you’ll come across the boss, this isn’t too much different from the regular ones save for the boost in HP and some additional attacks. Once you put this Gigas out of commission, Verum Rex will come to an end and Sora will exit the world.
| Character | Ability |
|---|---|
| Sora | Accessory Slot Increase |
Upon completing the battle you’ll obtain the Pixel Heartbinder which will allow you to use your next Link ability featuring Wreck-It Ralph. You’ll discover that Buzz has been taken into a Dark Corridor and Sarge will remark that he’s seen a Shadowy Portal in the Kid Korral. First things first, head behind the counter in the Video Games store and look on the ground to spot a chest containing Treasure #20 - Ability Ring+.
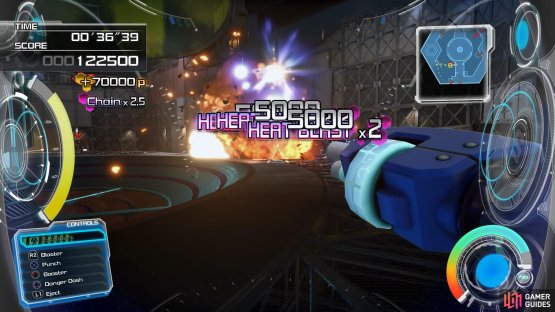
You now have the opportunity to replay Verum Rex by accessing the controller near the TV screen. Not only will you obtain a Trophy for getting a Hi Score of over 12,000,000 but you’ll also obtain two new Abilities for Sora if you achieve an A rank (10,000,000 points). The key to victory here is to make good use of all the Traps around the arena, these add a huge multiplier to your score and will take the enemies out instantly. Always begin by taking out the glass floor in front of you before heading down to the left where there is two Oil Tanks for you to use and exploit. Note that the crane can also be used as a Trap and using all three Traps in one round will increase your score.


Head back to the Save Point to save your game and use the Moogle Shop should you need it. Return to the Play Place to begin the search for the Dark Corridor, starting by dispatching the Heartless that appear as soon as you enter. Once free of enemies, run up the wall to the west and head through the open window to reach the Kid Korral.
Kid Korral
Follow the path once you drop in to discover the entrance was blocked by blocks. While in the Gigas, press the [TRIANGLE]/[Y] button to interact with the blocks and move them, you’ll need to make use of this ability throughout the Kid Korral. While still in the Gigas, continue forward to see where the Dark Corridor is, looks like you’ll have to make use of more blocks to reach it however. Defeat the Gigas that spawns once you regain control and then head to the green blocks in the center and interact with them to assemble them.
It appears that you’ll need more than those blocks to reach the Dark Corridor and those blocks can be found all over this area. Leave the Gigas for now and head into the nearby ballpen and defeat the group of Heartless that appears. Once they’re defeated, move the balls just behind the pole in the center to find a chest containing Treasure #25 - Thunder Trinket.

(1 of 2) Search in the ballpen for this chest

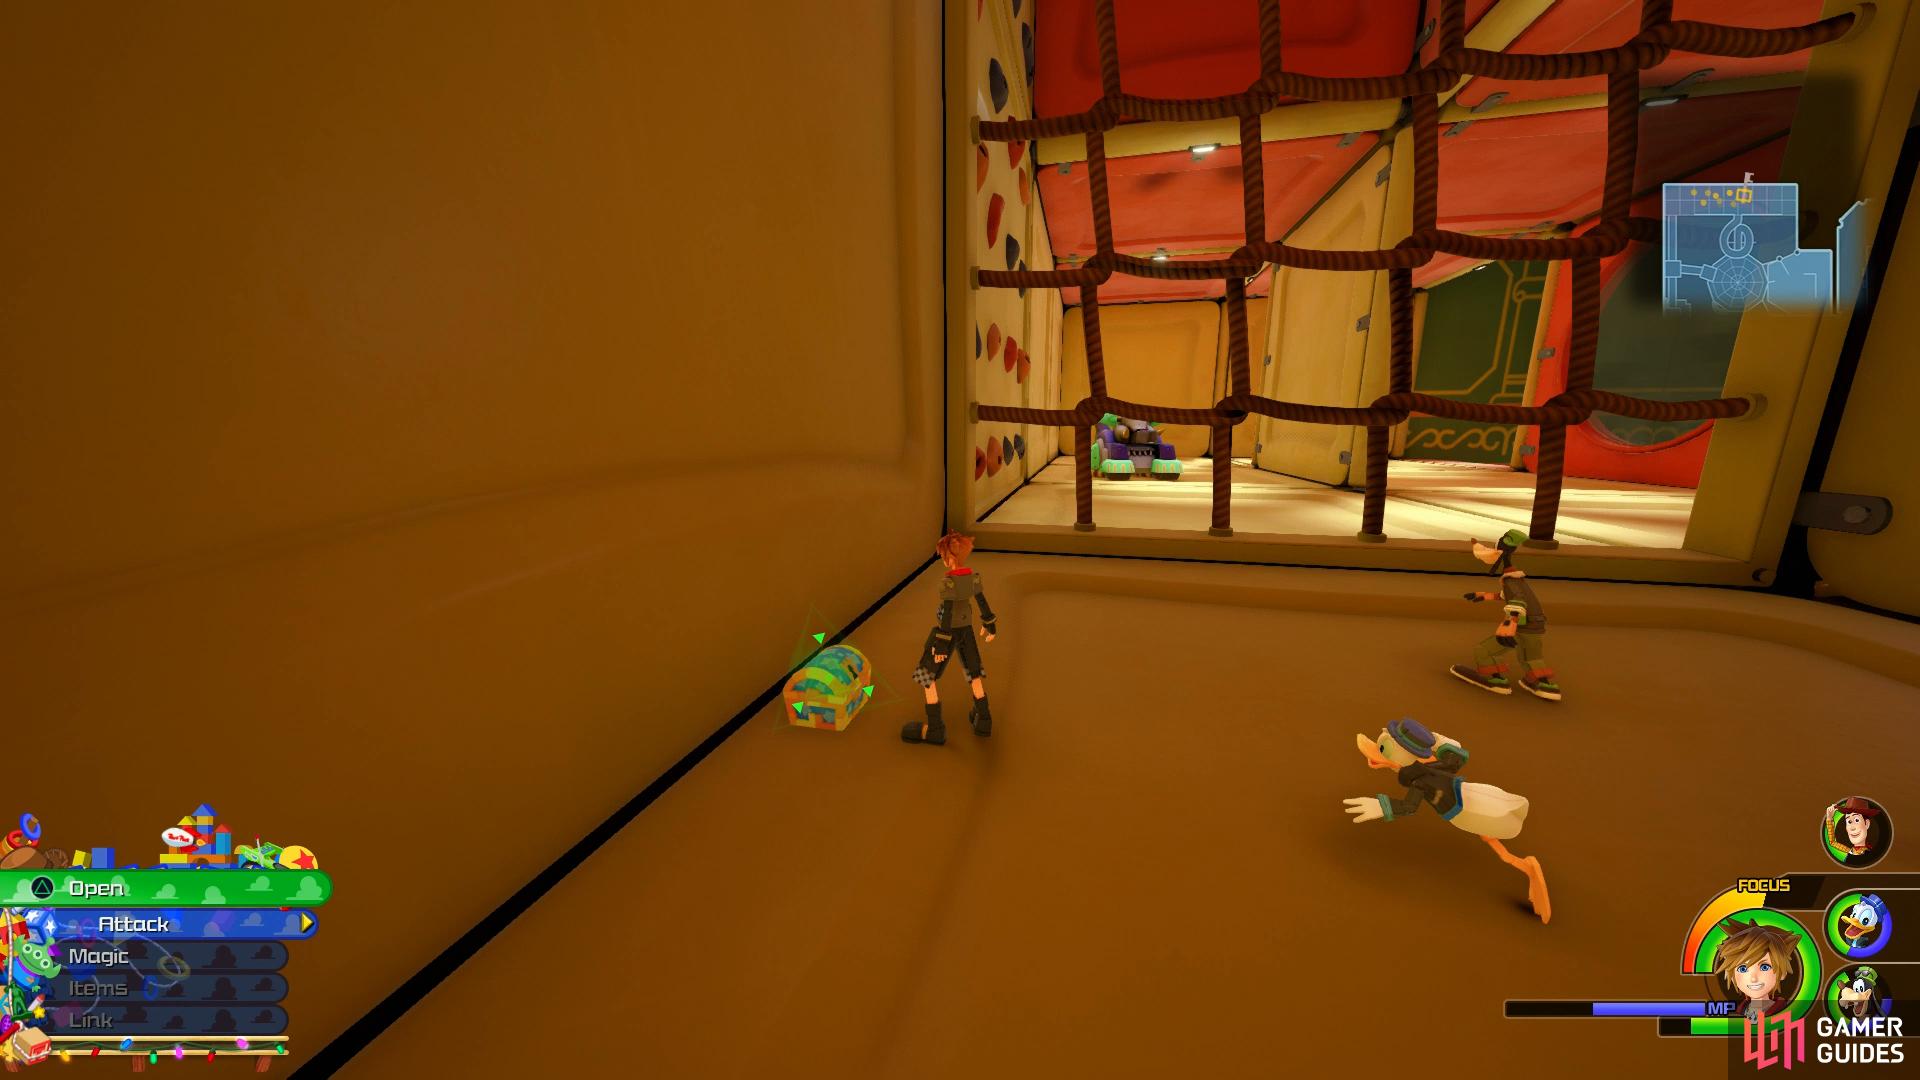
Search in the ballpen for this chest (left), drop to the bottom of this area to find another chest. (right)
Leave the ballpen via the way you entered and head over to the west side of this area and into the colored tubes. After passing through the first tube, you’ll come to an intersection, head right to find a chest containing Treasure #24 - Classic Kingdom: The Barnyard Battle. Return to the intersection and continue through the red and green tube until you exit once more. Leap over the first gap to your right and follow the path until you reach the second punching bag, turn to your left to spot a chest containing Treasure #21 - Fluorite. Return to the gap you leaped over earlier and drop down to the lower level and then drop down again to the bottom. Follow the path east and you’ll come to an area with ropes, walk through this area to discover a chest within containing Treasure #22 - Potion.
Use the walls in here to reach the very top area to find the green blocks and trigger a battle with the Heartless. You’ll need to defeat all of them before you can make use of the blocks noting that you’ll now encounter Air Droids possessed by Marionettes. These toys are a lot quicker and deal a lot more damage so consider jumping into a Gigas to help fend them off. With the enemies defeated, jump into one of the vacant Gigas and assemble the blocks at the very top.
Leave the Gigas here and use the tube in front of you to leave this area. Exit out of the ballpen and head around to the back of the ballpen to the northwest to discover an area with multiple dice blocks you can run up. Head through the gap and then climb the blocks to the southeast to find the final chest containing Treasure #23 - Buster Ring. Leap into the Gigas now and use it to blow away the dice blocks to the south and defeat the Heartless that ambush you. With the area clear, blow the blocks away to the southwest and then assemble the green blocks once more and fully assemble your path to the Dark Corridor.
Run up the Cactuar to reach the vent leading to the Dark Corridor.
Head on to the central platform and wall run up to the vent where the Dark Corridor is located to find a Save Point and a Moogle Shop. As always, drop off your materials at the shop and forge or synth anything that may be useful, once you’re ready head through the Dark Corridor to begin the final showdown in Toy Box.
Boss: King of Toys
The King of Toys is a giant UFO shaped Heartless that you’ll need to fight in a makeshift city. The aim here is to get above the barrier that the King of Toys surrounds itself with and attack the cockpit so as usual the Kingdom Key is ideal for the additional Air Combos in Second Form.
The King of Toys will attack by spinning around the arena shooting missiles at you, these are easily blocked or dodged from however if you’re hit by one be sure to use Aerial Recovery to avoid being hit by more. Beware while on the cockpit attacking as the King of Toys will target you with a barrage of missiles all focused on that location, once you see them coming at you, leap off and wait for the attack to finish before resuming your assault. The King of Toys’ second attack will see it move to the edge of the arena and charge up a wide range pulse attacking, while it’s charging, quickly take cover behind some blocks to avoid the brunt of the attack.
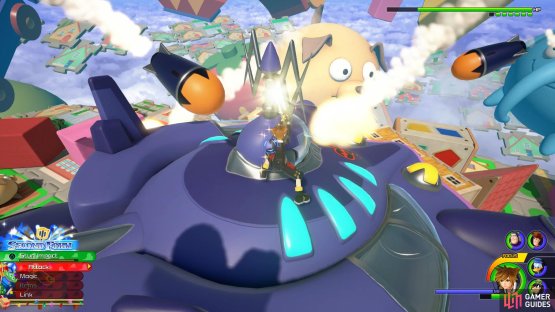
(1 of 2) Block or dodge the missiles while attacking the head


Block or dodge the missiles while attacking the head (left), during the second phase, use Airstep to reach the head. (right)
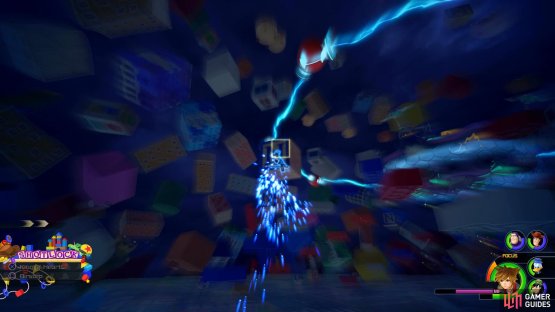
Once you deplete more than half of it’s HP, the boss will enter the second phase. It will now have an electrical pulse running all around it and will constantly fire charged pulses at you. Look for blocks floating close to the King of Toys and Airstep over to be able to Air Dash over to the cockpit and resume your assault. The King of Toys will still direct missles at you so be ready to block them and after a certain period of time it will use an electrical discharge around it’s cockpit. Keep up the attack and use Airstep to reach the cockpit again should you fall and the King of Toys reign will be over.
| Character | Ability |
|---|---|
| Sora | Max HP Increase, Falling Slash |
Following the events, you’ll obtain the Favorite Deputy Keyblade, one of the more useful Keyblades in the game that focuses on Strength, consider making this one of your primary Keyblades. Follow the events you’ll find yourself back in the Gummiship on the World Map, save your game and then make your way over to the only other available World, the Kingdom of Corona.

No Comments