Lucky Emblem 1
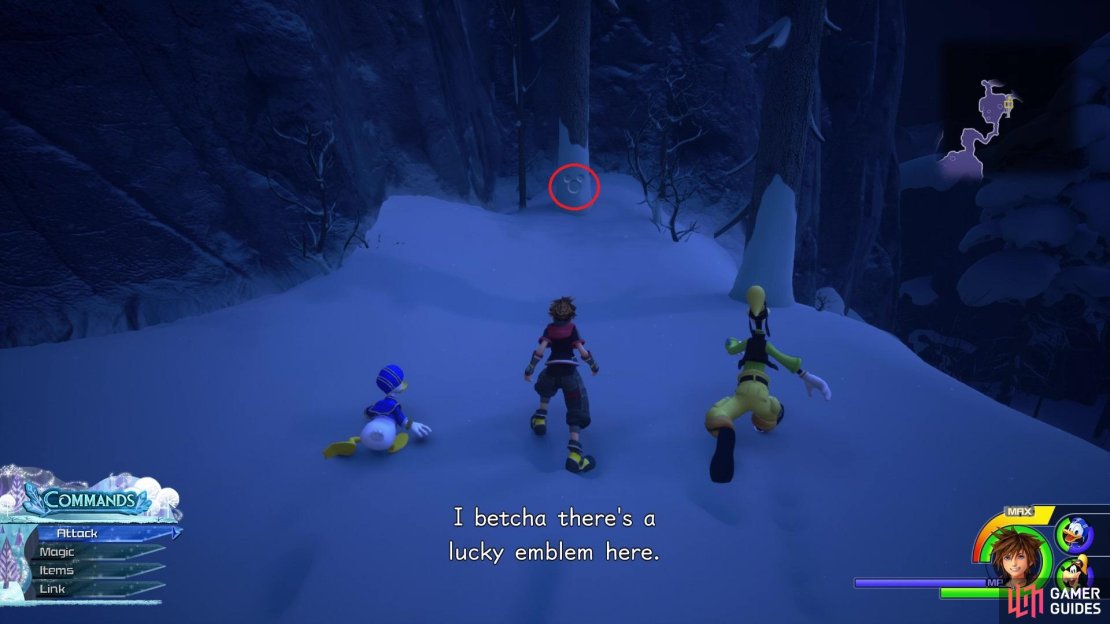
The first Lucky Emblem in Arendelle can be found on a tree that’s on a cliffside you drop down to from above. When you first run up a wall in the initial area, follow the trail until you spot a section on your map where you can drop down. Do this, knowing this is the same spot where you can bust open a block of ice to get a chest, then look on the one end to find the emblem on the tree.
Lucky Emblem 2
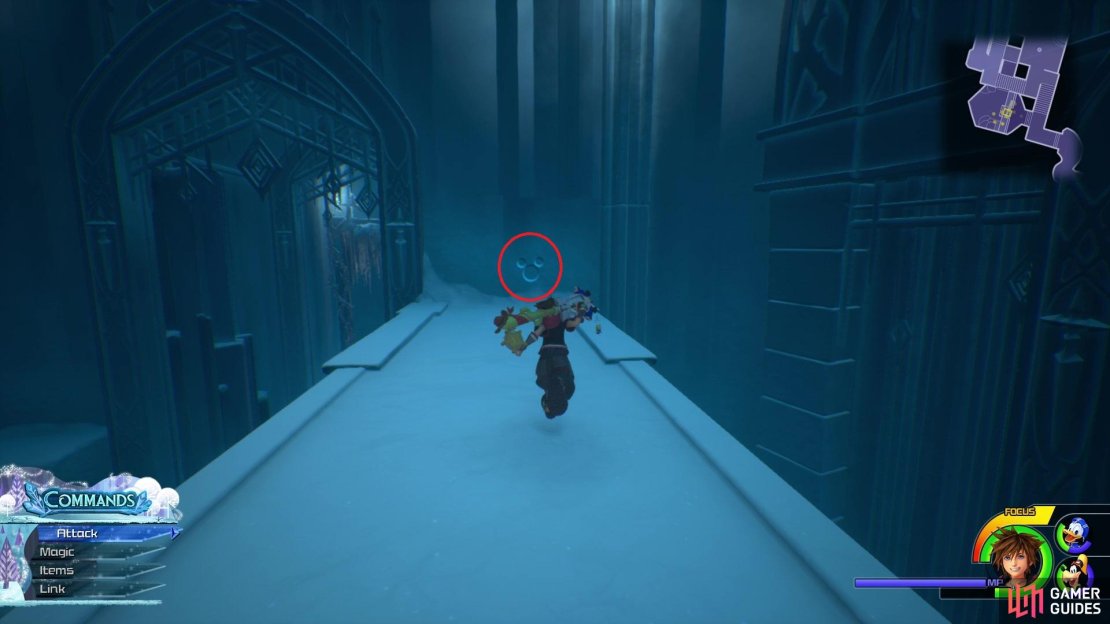
The next four emblems will be inside of the ice labyrinth place. The first of the four is in the Middle Tier, close to where you first enter the place. If you follow the path normall, you will come to some stairs next to a “wall” you can break open. Go through that opening, instead of up the stairs, to find a room with a small bridge. The emblem will be on the wall on the northern side of that bridge.
Lucky Emblem 3
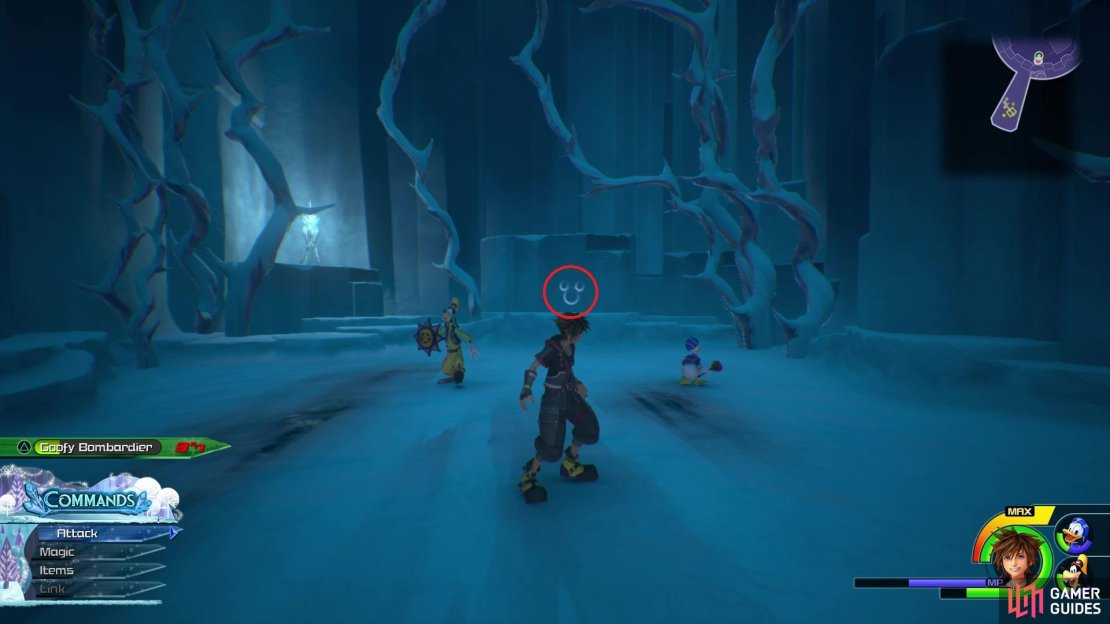
After you first rotate the place using the ice pillars, you’ll end up sliding down to the Low Tier portion of the labyrinth, with there being a small drop. As soon as you drop down, the emblem will be on the wall on the bottom. Note that this is the dead end room behind the Low Tier save point.
Lucky Emblem 4
Teleport to the Low Tier save point in the ice labyrinth and the locate the spot where you can use Airstep to get to the Middle Tier. There will be a small bridge you need to cross up here to get to the next section. While standing on the bridge, look on the wall to your east to spot the emblem.
Lucky Emblem 5
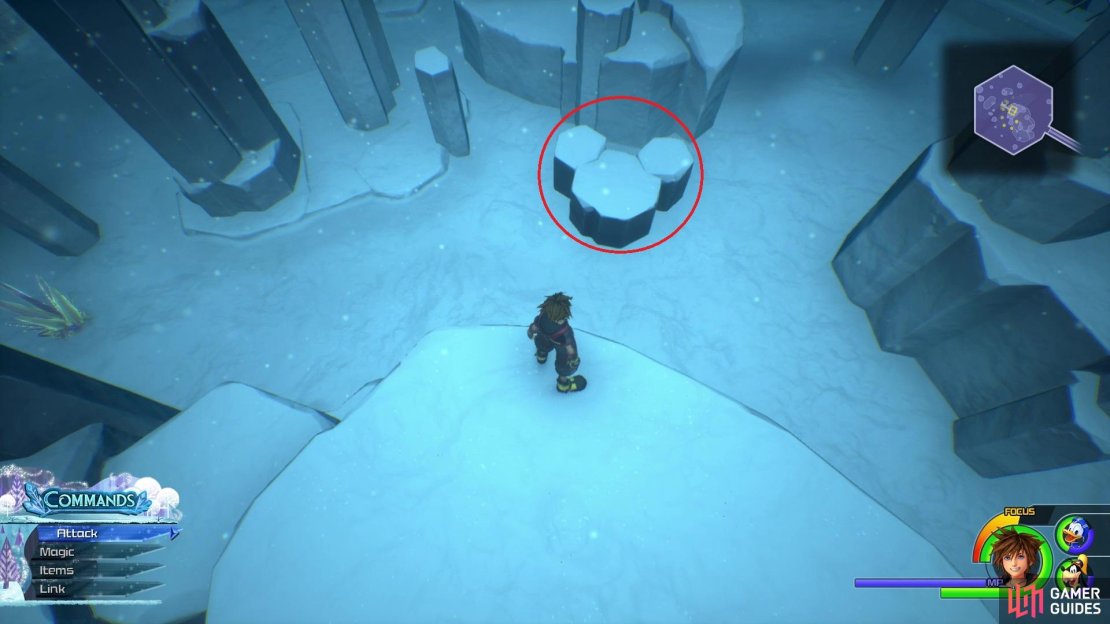
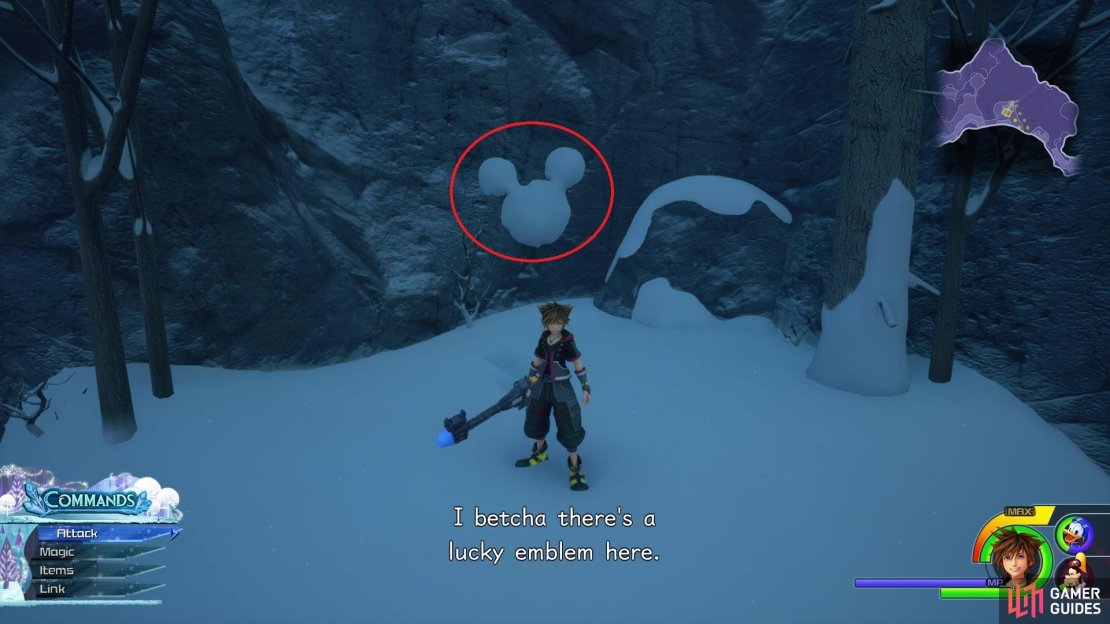
The final emblem in the ice labyrinth is located in the Upper Tier, where there are three different paths to take. Go down the northwestern corridor and get on the central structure in the room. Look to the northwest, towards the ground, to spot the emblem constructed out of some land.
Lucky Emblem 6
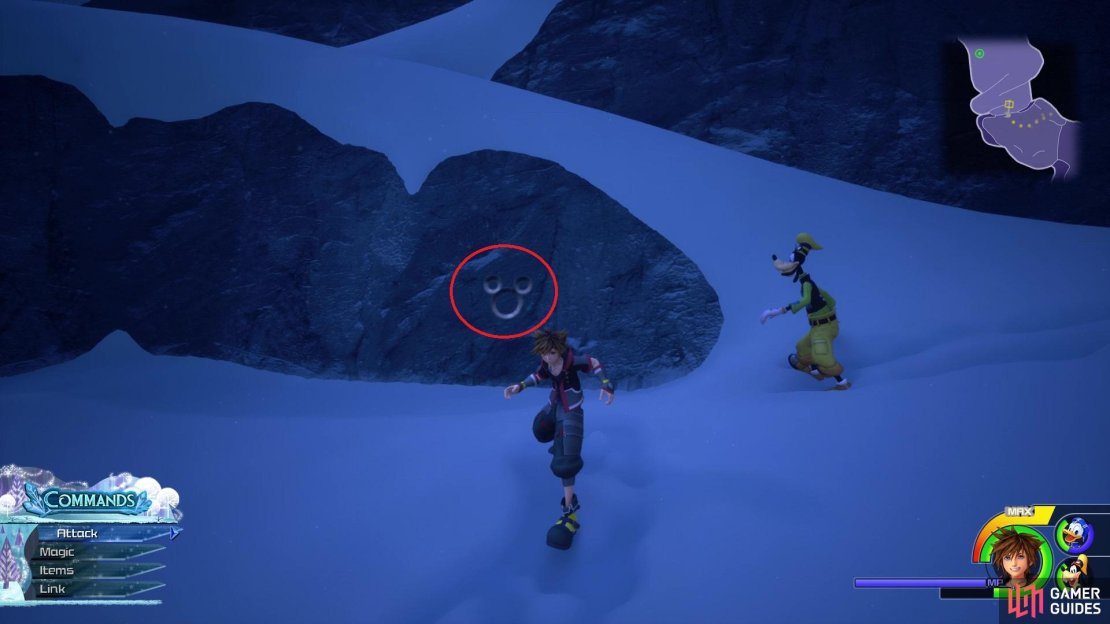
This emblem is relatively close to the North Mountain - Mountain Ridge save point. Teleport there and look for the zig-zag path just south of it, which leads to a large wall you climbed to reach this area. The emblem will be on the wall in front of you right after climbing that wall.
Lucky Emblem 7
After you begin climbing the mountain again upon putting Olaf together again, you will come to a point where you can take cover to help destroy some Heartless. Not too long after this, you will enter the Frozen Wall area of the map, with your first section consisting of wind currents that push you into the air. Keep climbing up until you get to a part where you fight some Frost Serpents, as this is where the emblem will be. There will be a large climbable wall here that you’ll need to run across to reach the top. Somewhere near the middle, along the southern edge of the mini-map, you will see a small ledge. While running up the wall, drop down to this ledge to find the emblem.
Lucky Emblem 8
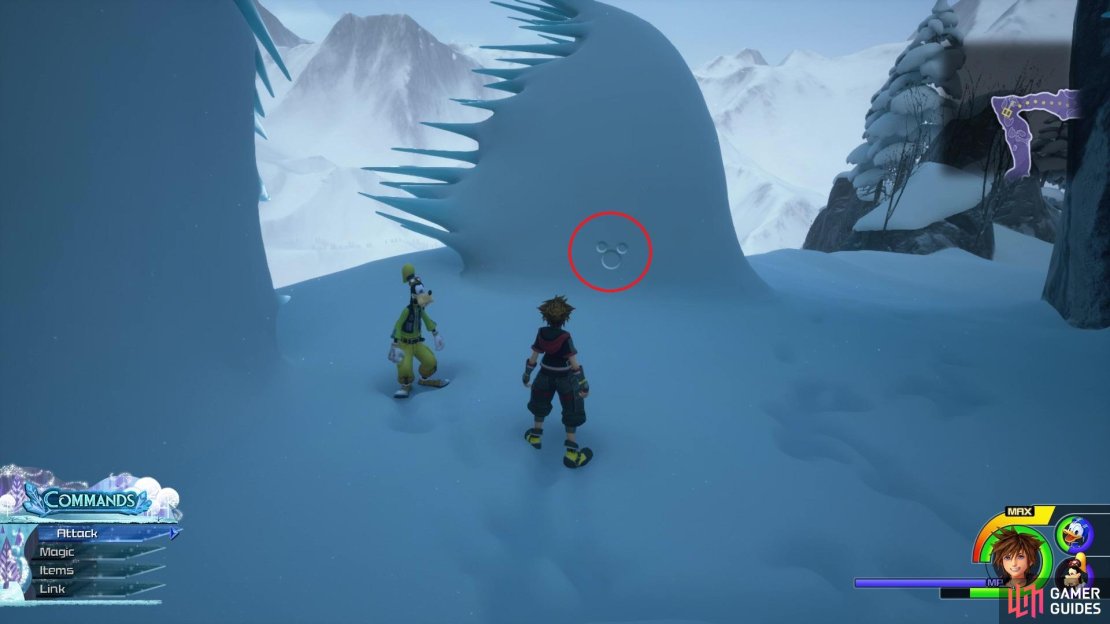
From the previous emblem, you will come across some sharp ice structures as you make your way to the west to continue the story. The emblem will be on the side of one of these ice structures with icicles sticking out the side.
Lucky Emblem 9
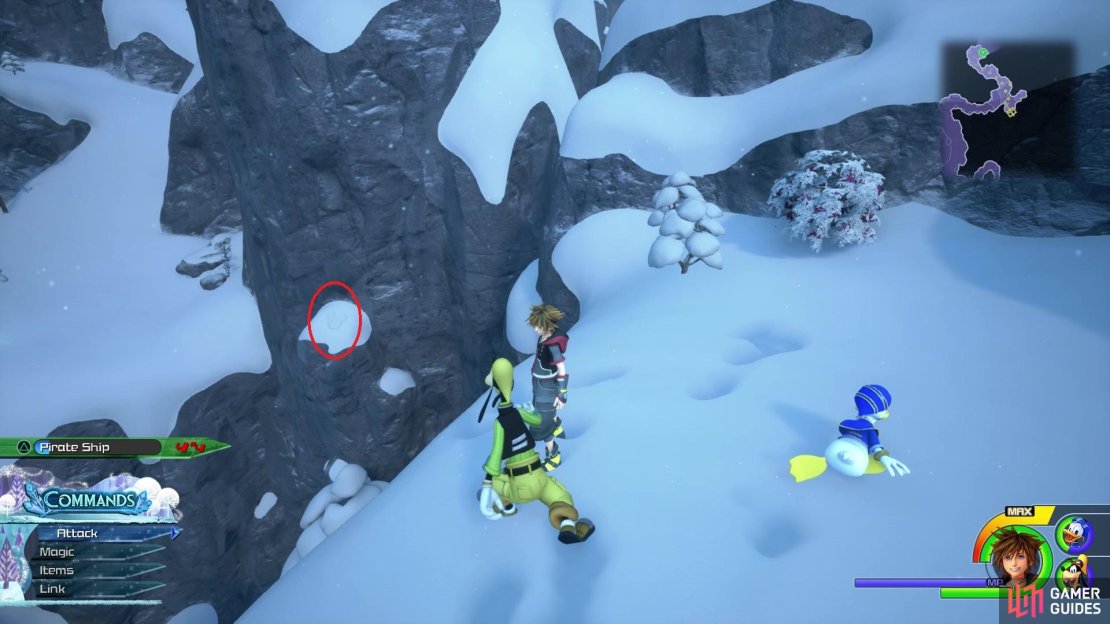
After fighting Marshmallow and being blown off the cliff, you will land in the Snowfield area of the map. Follow the path south, dropping down into another area, then climb the wall ahead of you. Turn around at the top and look at the one outcropping to spot the emblem.
Lucky Emblem 10
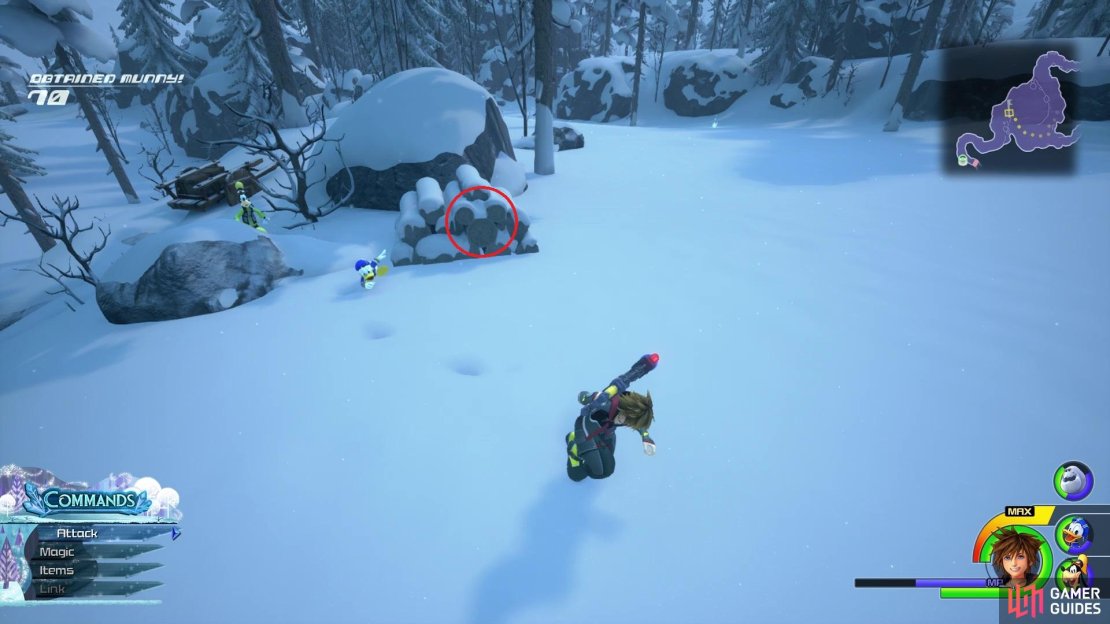
From the previous emblem, head into the large area and make your way towards the southwestern path, where a save point will be. At the entrance of that path will be a cart and a stack of logs by a large rock. The emblem will be on the side of the logs.
Lucky Emblem 11
You will probably see this one during the story for Arendelle, but you won’t be able to snap a picture of it until you complete it, as it’s during the segment where you have to hide behind land to avoid being blown back by strong winds. From the North Mountain - Foothills save point, cross the area line next to it and count four rocks from the north. The emblem will be on the other side of that fourth rock.


No Comments