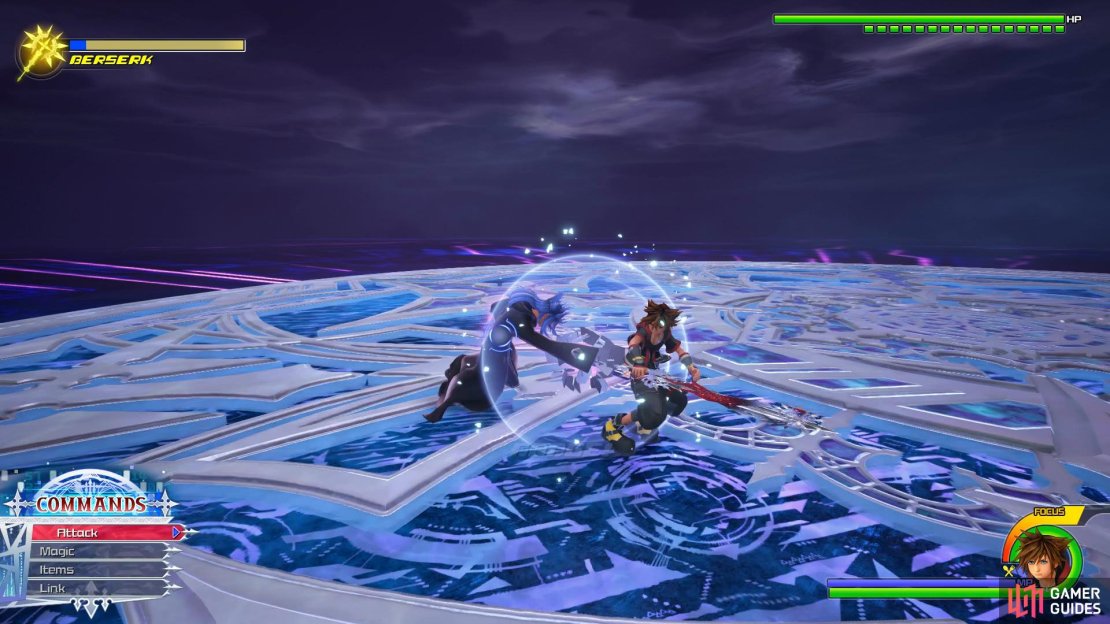
Saïx is an incredibly tough encounter that can easily kill you in seconds if you’re not careful, especially during his Desperation Move. His whole battle revolves around the Berserk gauge found in the top left corner. This will fill to yellow and then eventually blue, with Saïx being at his most dangerous when it’s blue. You can halt this rise from yellow to blue by casting Blizzaga on him as it’s charging up. This is key as you want to limit the amount of times he’s in his full Berserk mode at all times.
Saïx starts the battle with his yellow gauge filled and his initial attacks are an Axe combo that can be easily blocked through, creating openings for you to counter and his Shockwave attacks. Saïx will launch purple Shockwaves that will ark out, if you’re at a distance then this is easy enough to dodge from but should he be close, chances are you’ll be hit, leaving you open to an Axe combo shortly after.
From a distance, Saïx will also toss his Axe at you which will spin towards you, this is unblockable and should it hit you, you’ll become stunned, leaving you open to yet another flurry of attacks from Saïx. Like the Shockwaves, as these are unblockable, your best method of attack here is to just keep on the move while tossing out the occasional Blizzaga to halt the Berserk increase.
Saïx is at his most dangerous during his Desperation Move, which occurs when his Berserk gauge fills to blue. Abandon all thoughts of attacking Saïx during this period and wait for the gauge to drain as Saïx can kill you in mere moments. An initial shockwave will knock you back and then Saïx will summon multiple Axes to surround him and then go about tossing them at you around the arena. These will cause explosions when they hit the ground and he’ll continue to follow up with Shockwaves that need to be dodge too. The best method to get around this other than abusing Links is to keep on the move, dodging between his strikes.
When Saïx throws his Axes in his Desperation Mode, he’ll throw one and then the rest all at once which will home in on Sora’s position so be sure to keep dodging after the first throw. Finally, and most deadly, Saïx will go on a ramapage slamming his Axe into the ground as he goes across the arena, causing explosions around him. This is a quick attack and you’ll have to deal with unblockable Axe throws while also dodging them. Keep an eye on the gauge, as it empties, he’ll perform one final finisher where he slashes across the arena, leaving Shockwaves in his wake. This is incredible difficult to avoid but try to leap high in the air and Glide to limit the possibilities of getting hit.
Once his Desperation Mode ends however, this is your best chance to getting in some free hits on him. He’ll become stunned for a short period allowing you to strike away at him free of retaliation. Following this, he’ll revert to his pre Desperation Mode state as he begins to charge his Berserk once more. This becomes a battle of attrition as you look to deal the damage here and then shift to evasion once he’s fully Berserk again.
The largest issue here then is when you can actually score some hits on Saïx as it’s few and far between. Your best is to deflect his standard Axe combo and counter yourself. If you’re comfortable using Air Step, you can dodge out of the way of his Axe throw and then Air Step over to find an opening too.
So long as you pay attention of when it’s safe to attack and when it’s time to evade, you should eventually whittle his HP down. Although his attacks are devastating, he doesn’t have too many of them so it should take you less time than the other Limitcut battles to master how to avoid and counter his attacks.
| Reward | Effect |
|---|---|
| Power Weight | Armor - Grants a moderate boost in Strength |












No Comments