As you may have expected, Master Xehanort is by far the toughest of the Limitcut battles and the one you should leave for last. He’ll incorporate a lot of the other battle’s attacks into his own moveset and on your first attempts, you may be overwhelmed by how chaotic the battlefield can get. To begin with, you need to shift your attention more to dodging in this battle rather than blocking although there are a few times where that will come into play.
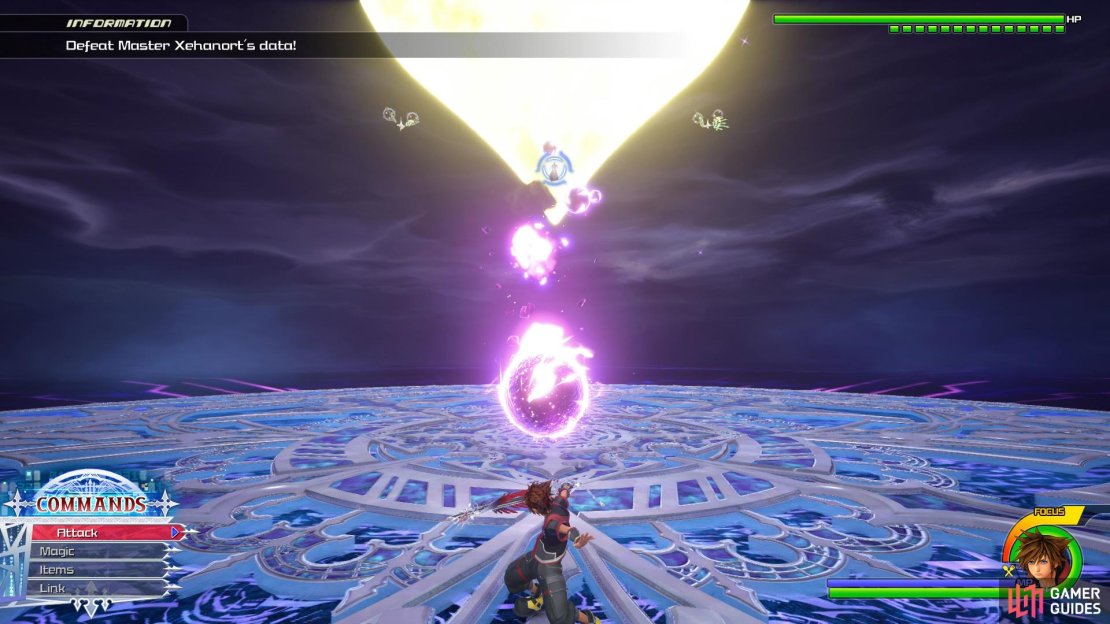
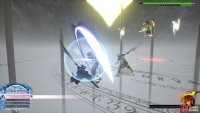
The battle will begin with Master Xehanort summoning small Comets to attack you, these can be blocked but be prepared as he’ll quickly follow it up with his Twin Lasers, this will create a web of lasers that cannot be blocked so be sure to begin dodging after blocking the first Comet. He can toss his Keyblade at Sora that will deal a large Frost Explosion should it strike you, freezing you in place. This can be blocked with careful timing and should you be close to Master Xehanort, you can follow it up with a combo of your own. Often he’ll chain this back into his lasers so be sure to keep dodging after the combo or else you’ll get caught up into it. When attacking Sora directly, he’ll teleport through Keyholes and then launch himself towards Sora to perform a Combo, this is another chance to block and counter.
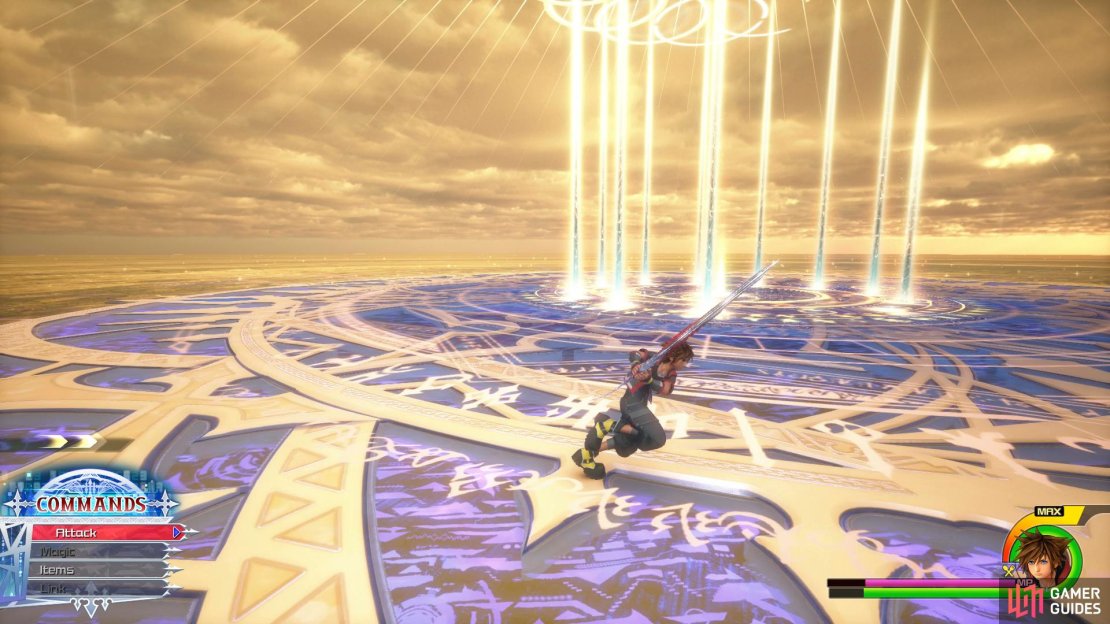
At times throughout the battle, he’ll transform the arena into one of light and Pillars of Light will begin circling the arena. During this phase, you’ll be introduced to his Sphere attack, these large objects will spin towards Sora and freeze him should they strike him and he can chain up to five of them at once. You can’t block these so dodge away from them to avoid them and wait until the fifth one to find another opening on Xehanort.
When you return from this phase, you’ll often find he begins using the Lasers more and even adds a different, larger Laser to the mix. You can tell when these are coming by spotting the large Cannons that appear, as soon as you spot them, begin dodging as these can’t be blocked either. Xehanorts openings are few and far between for most of this battle and until you can comfortably avoid all of his attacks, a lot of your attempts will be short lived.
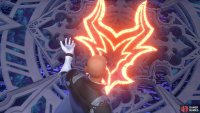
Master Xehanort is even more deadly during his Desperation Move, signalled by the large mark on the ground before the arena changes. During this time you’ll have to deal with multiple clones he sends out at you while dealing with the lasers too so you’ll need to balance between blocking the Keyblade strikes and dodging the lasers, a feat that isn’t easy at all and will take many attempts to learn fully. This is a prime candidate for using the Link trick if you really can’t nail the timing so that you can skip through the Desperation Move and return to his earlier phases. Note that if you’re struck with one of his clone’s spear attacks, you’ll suffer a hit to your Max HP like the Xion fight so if there’s any attacks you don’t get hit by, make this one of them.
There’s no easy ways around this battle, you’re going to have to just keep attemping it until you can get the dodging down to second nature and punish him on every opening he leaves, it’s a long battle and you’ll need to be at your very best to beat him.
| Reward | Effect |
|---|---|
| Master Belt | Armor - Grants an incredible boost to Defense and small boost to Dark Resistance |




No Comments