
Head to the Downtown
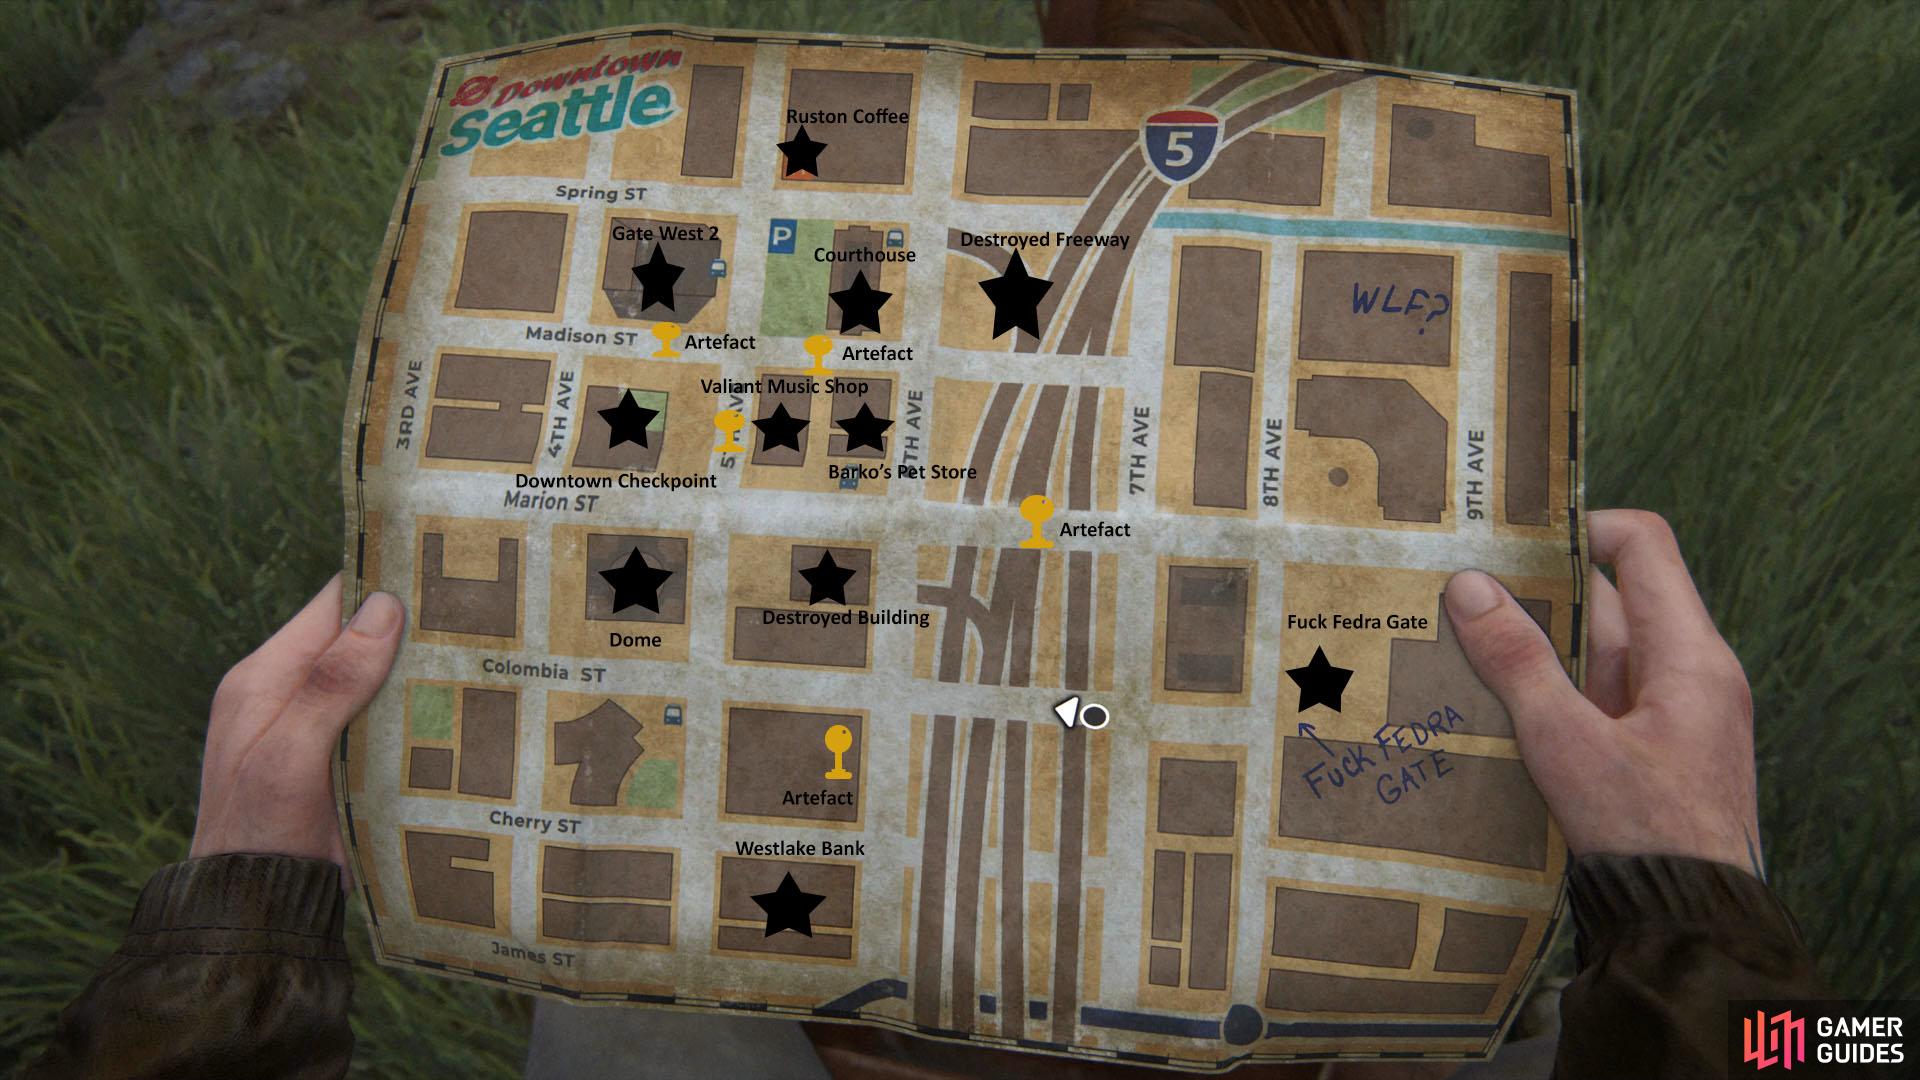
Once you reach Gate East 2, inspect the writing on the right to add an entry to your Journal, then head over to the generator at the back and attempt to power it up. Unfortunately, there isn’t any gas currently, so go over to the guard post to find an Artefact 16/117 in the drawer, then jump back on Shimmer and follow the path. After you have made it to the large open area, hold the [touchpad] to gain access to your map.
Explore the Bank
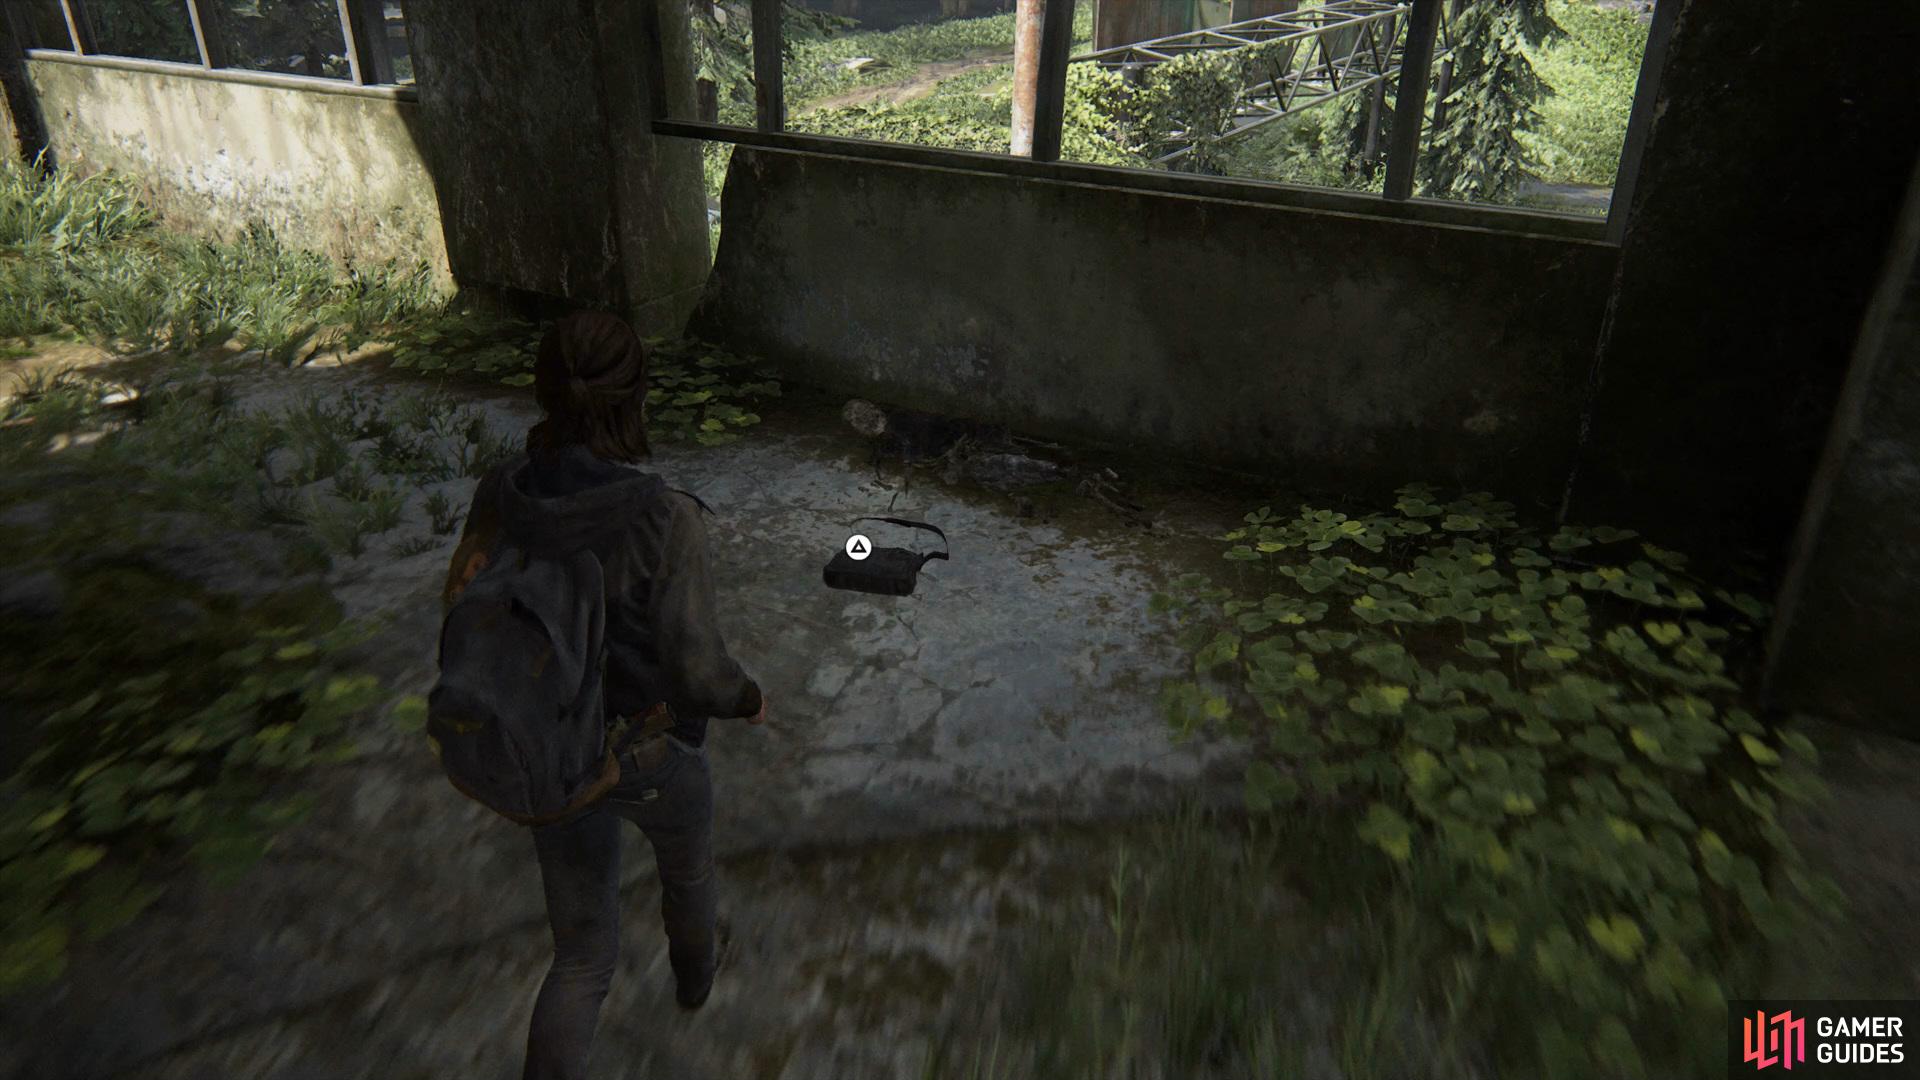
To begin, head south on the map above to find the bank, here you’ll want to take out the enemies lurking around, then go into the back-left room. Interact with the bag on the floor to find an Artefact 17/117, then put the following combination into the safe to open it, 60-23-06.
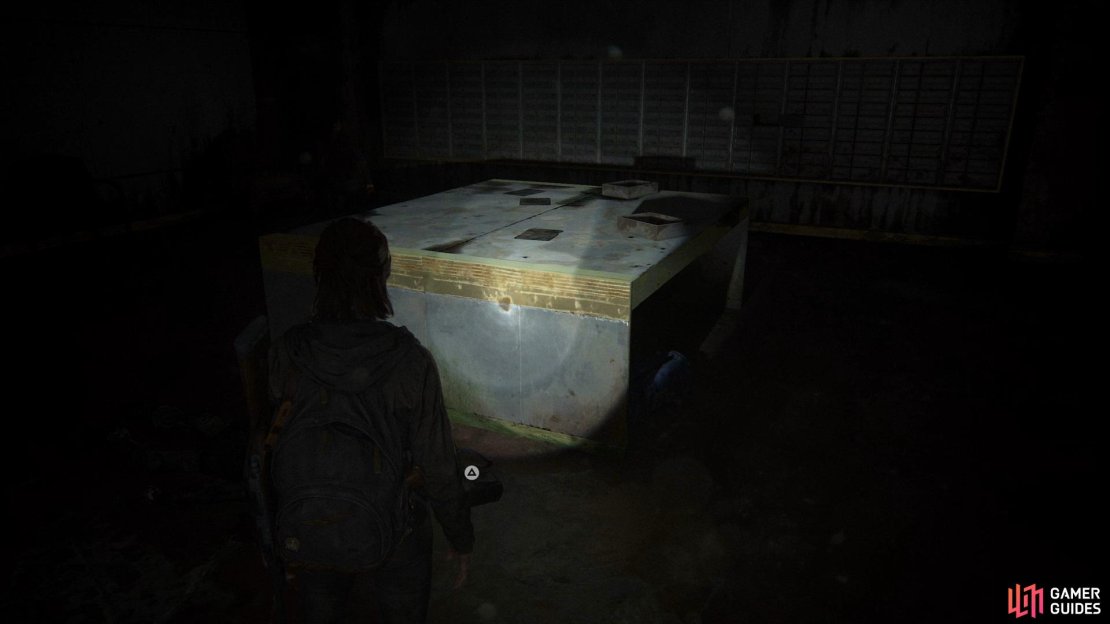
(1 of 4) Head into the back room of the Bank and interact with the bag to find an Artefact
Once you are inside, collect the Pump Shotgun from the body and an Artefact 18/117 from the table, then go over to the right of the safe to find the Antique Ring 19/117.


Exit the bank and head left to find a destroyed building, interact with the bag on the floor to find an Artefact 20/117, now take a left from this building until you reach a tank, then continue a little further to find another bag on the floor, open it to acquire an Artefact 21/117.

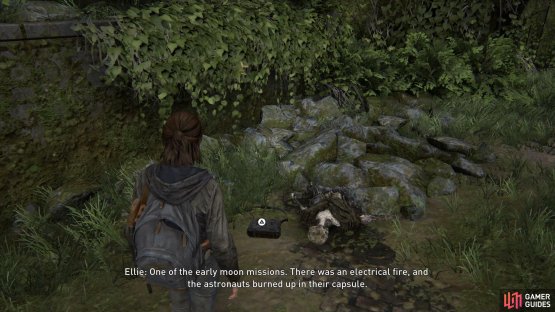
(1 of 2) Exit the Bank and head left to find a bag with an Artefact on the floor
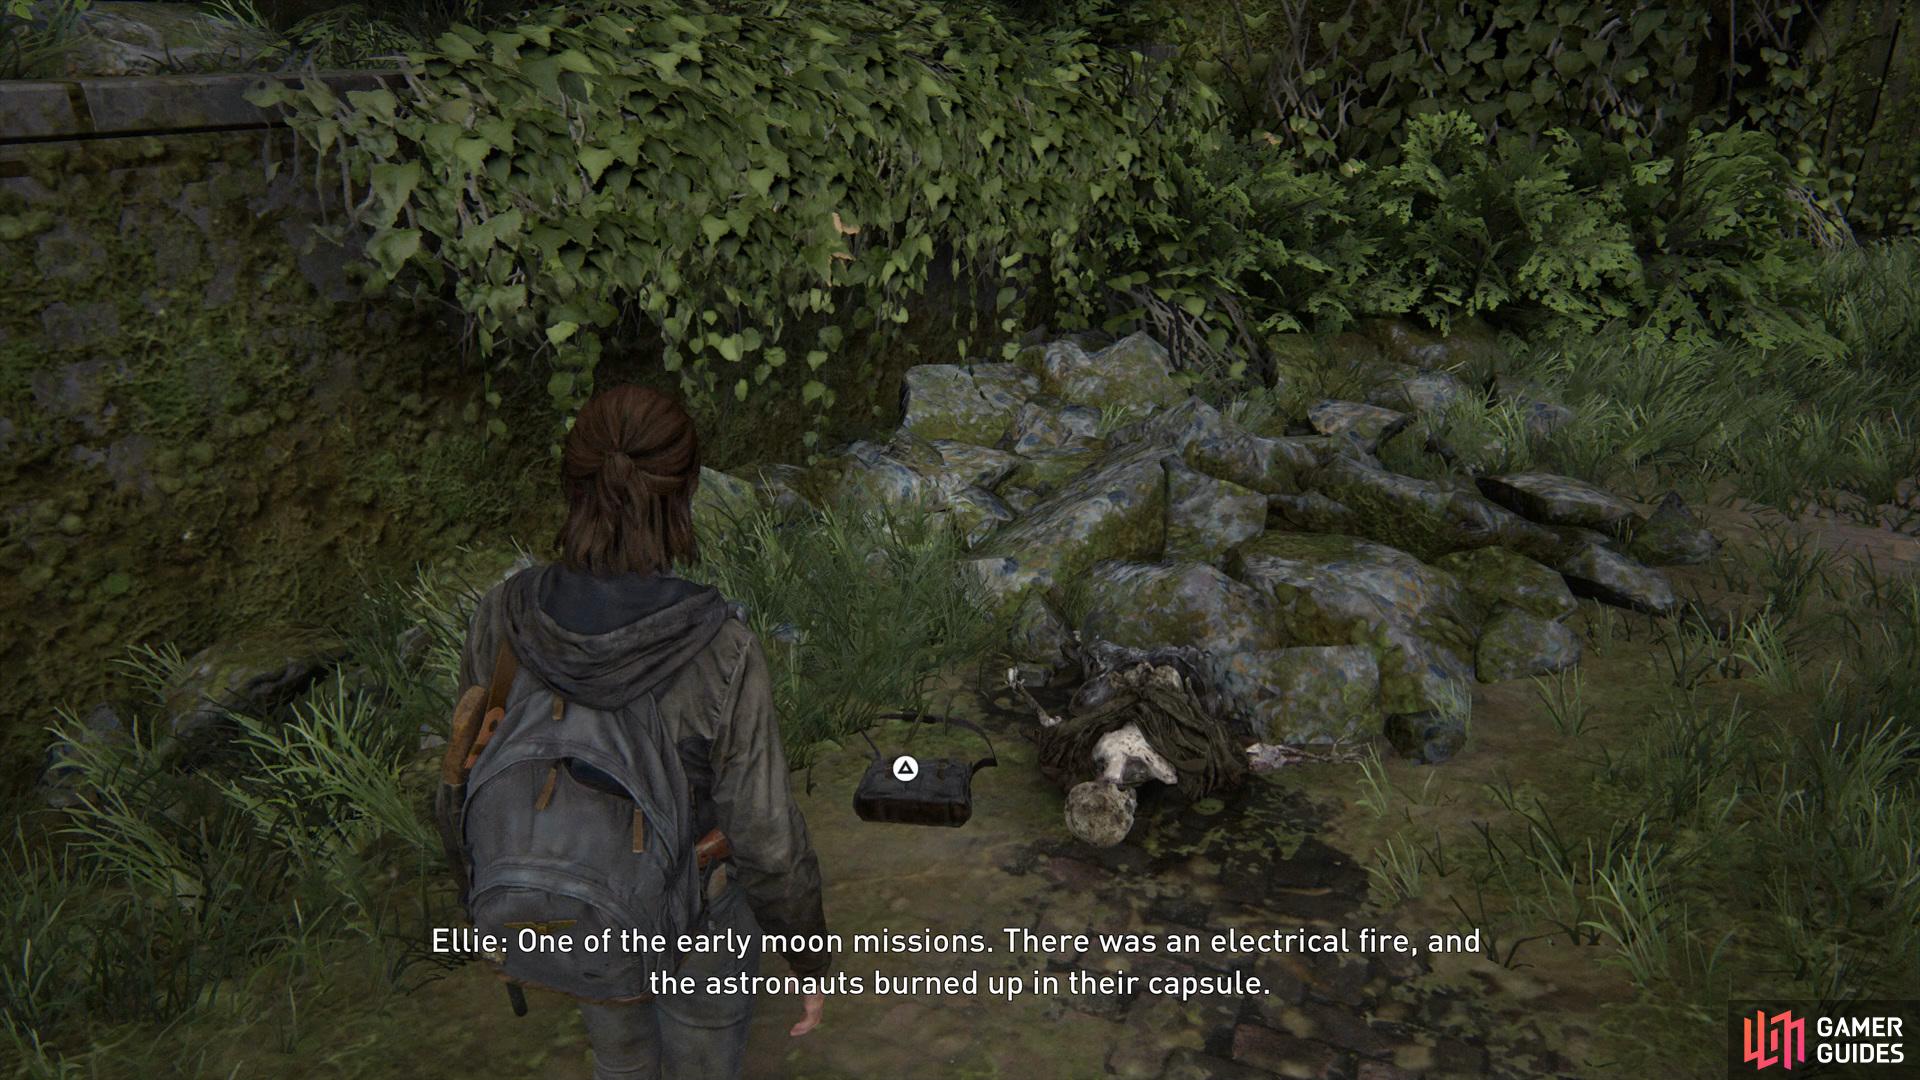
Exit the Bank and head left to find a bag with an Artefact on the floor (left), then take another left to find a second bag with an Artefact past the destroyed tank. (right)
Head to the centre of the map and jump over towards the fire truck via the military truck’s roof, then collect the fire hose and use it to swing down to the truck below. Here you’ll find some Scrap, a Training Manual 22/117, and some Supplements.
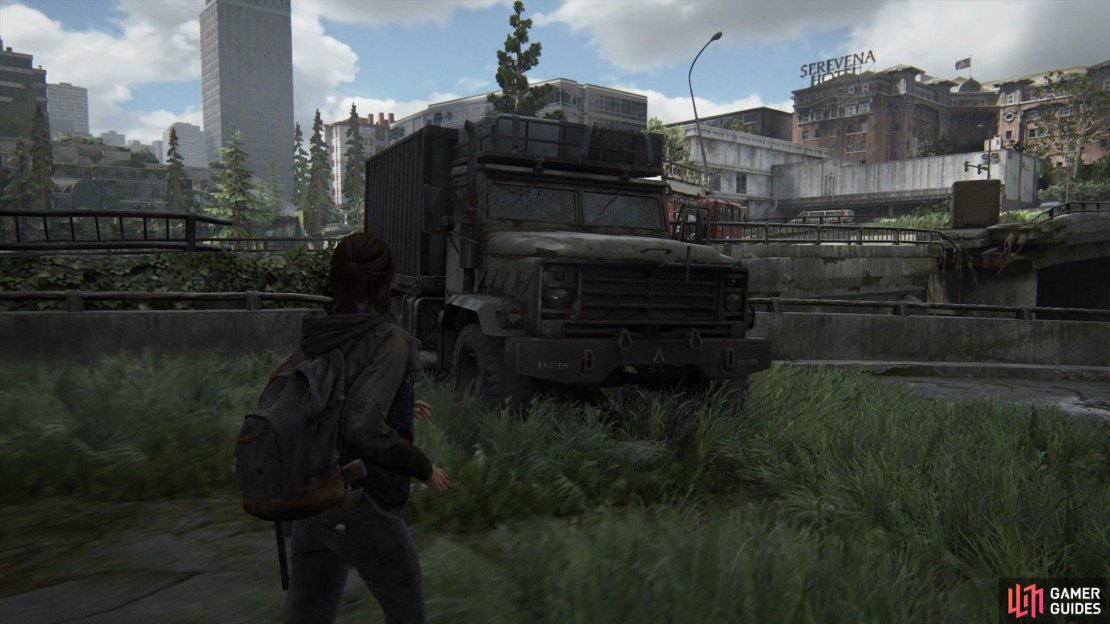
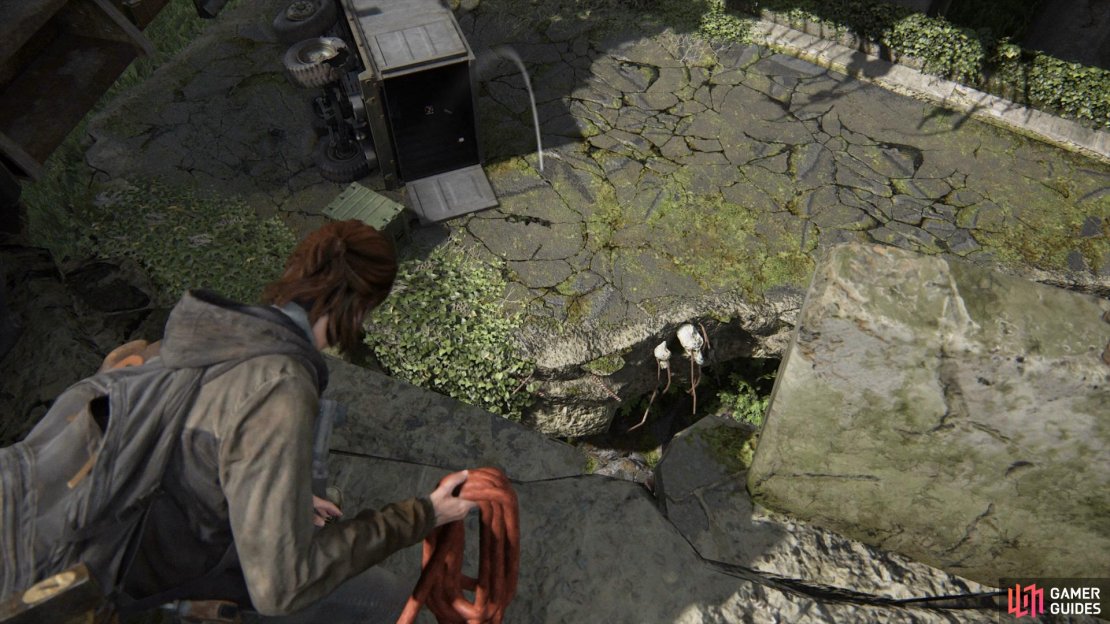

(1 of 3) Use the destroyed military truck to reach the fire truck
Make your way over to the raised area and then go over to the destroyed building to the left of the fire truck. Here you’ll want to go up to the top to find some Scrap, Supplements, and a Trading Card 8/48.
Explore Valiant Music Shop
Head north of the previous location and make your way into the Valiant Music Shop. Here you’ll want to interact with the guitar in the room on the right to play a nice song for Dina, then open the drawer by a cash register downstairs for a Trading Card 10/48.
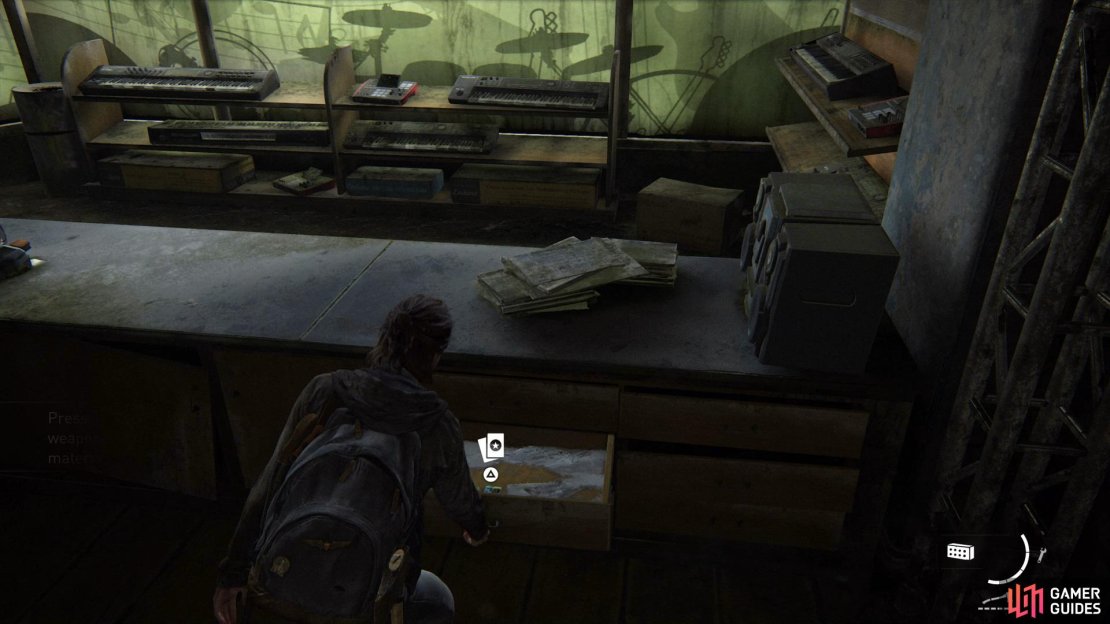
(1 of 3) Head into the Valiant Music Shop and open the drawer downstairs to find a Trading Card
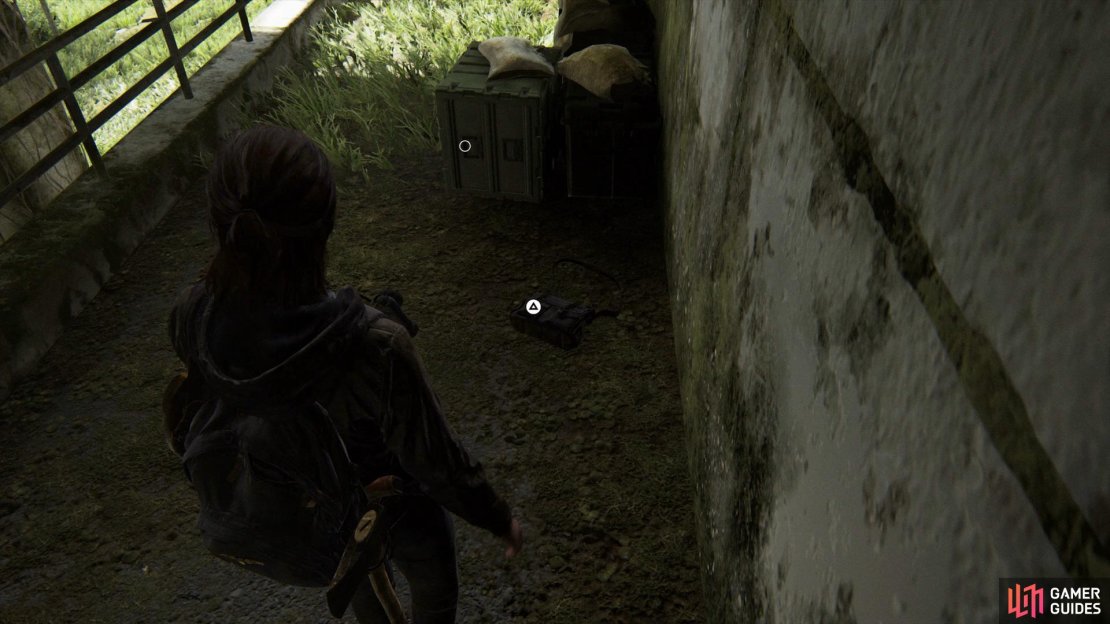
Go to the road north of the shop and head up the stairs to find a bag, interact with it to find an Artefact 23/117, then climb up the ladder to the left of Valiant Music Shop and open up the drawer to find another Artefact 24/117.
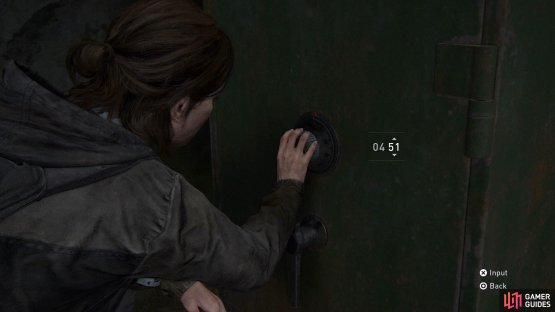
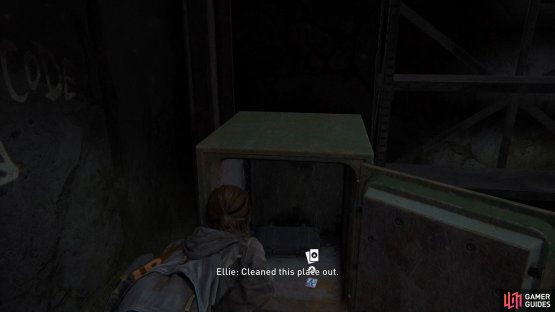
(1 of 2) Head to the east of the map and open the Safe by putting in the combination 04-51

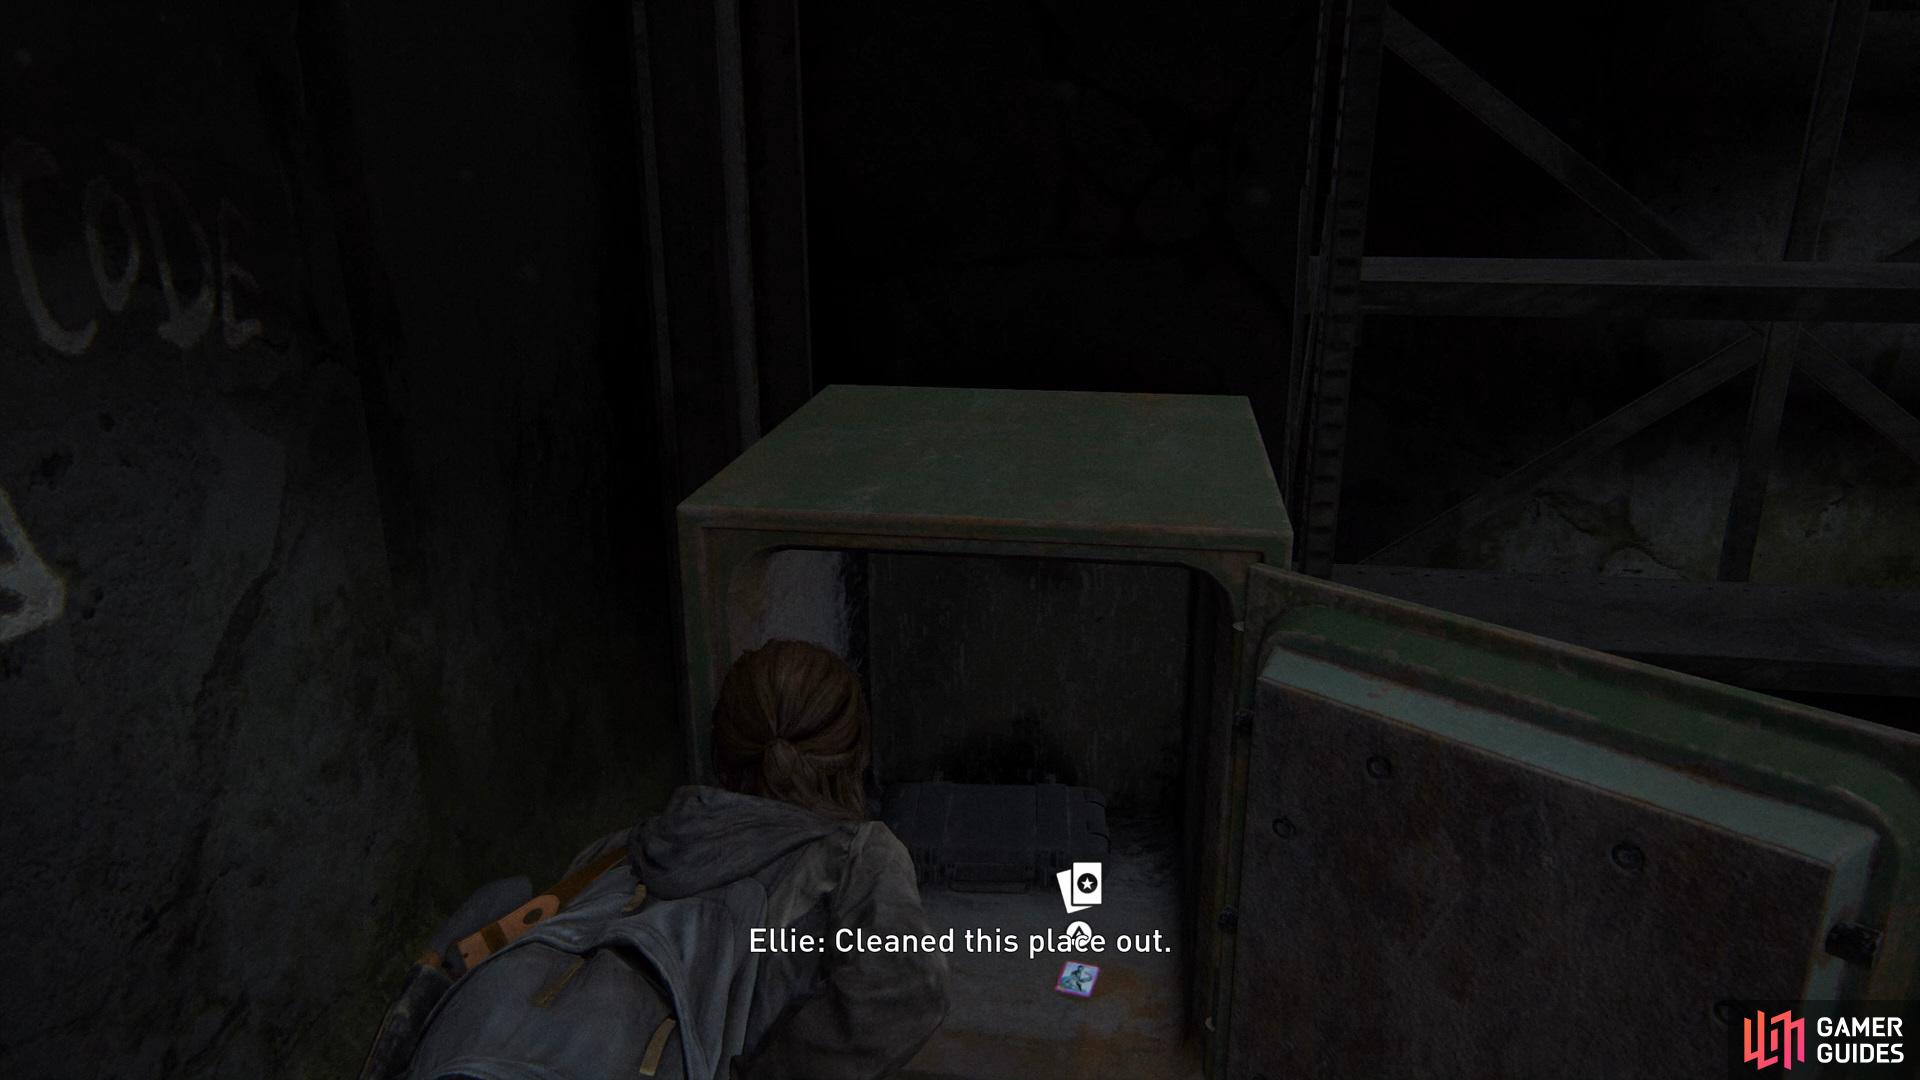
Head to the east of the map and open the Safe by putting in the combination 04-51 (left), inside you’ll find some resources and a Trading Card. (right)
Head into the tent on the right to find some Scrap and Ammo, then go over to the workbench and add Stability to your Shotgun. Now go down Madison ST to Gate West 2, then proceed through and open the safe with combination 04-51, found in the note you found earlier. Inside you’ll find some Scrap, Supplements, Ammo, and a Trading Card 11/48.
Explore Ruston Coffee Shop
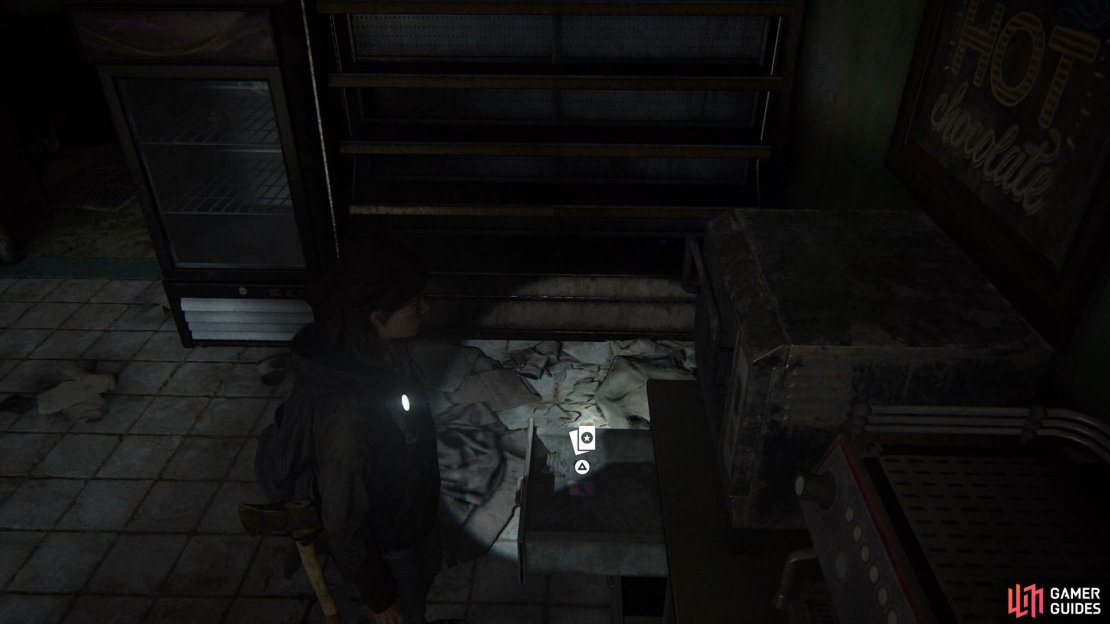
Go back out onto the street and head north to find Ruston Coffee Shop, here you’ll find some Scrap, Ammo, and an Artefact 25/117 on the counter. Now go over to the back right of the shop and open the drawer to find a Trading Card 12/48.
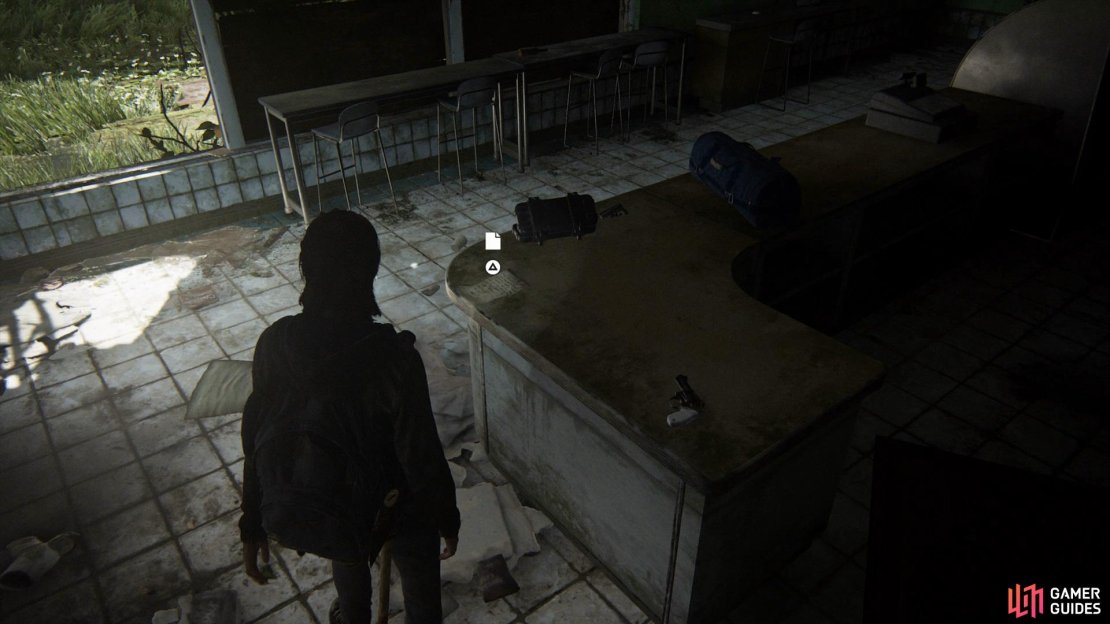
(1 of 3) Head to the Ruston Coffee Shop and collect the Artefact from the desk
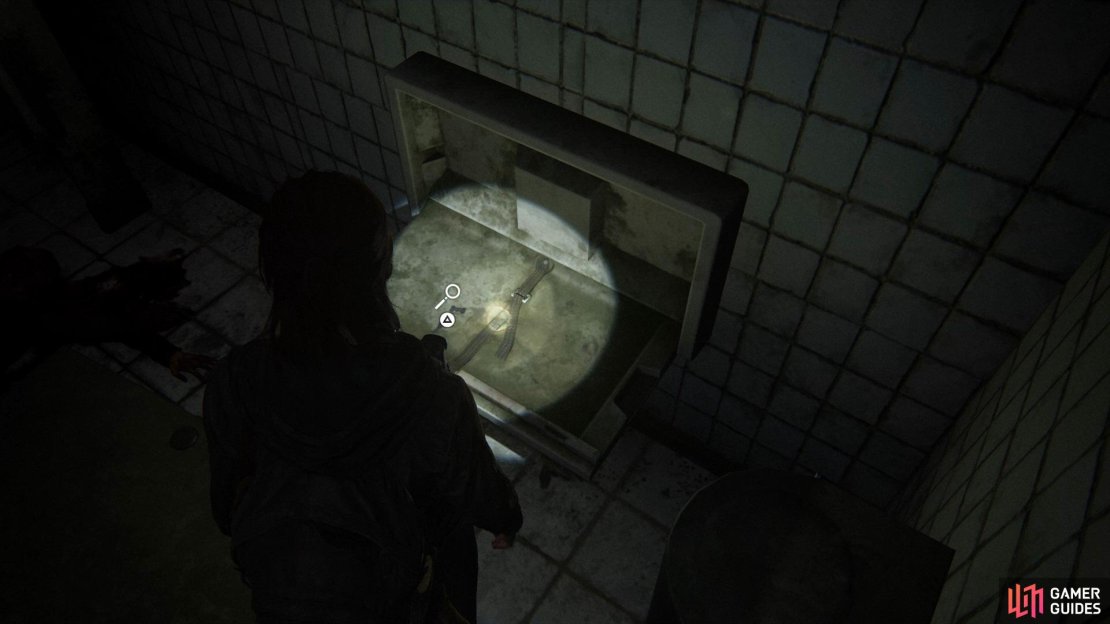
Finally, go the bathroom at the back to find a Pet Store Key 26/117, then go to the centre of the map and walk down the alleyway to find the Pet Stores back door.
Explore Barkos Pet Store
Once you’ve made it inside, an Artefact 27/117 can be found on the printer, some Supplements on the shelves, and a Long Gun Holster on the counter. Finally, collect the Stun Bomb from the desk and then interact with the whiteboard.
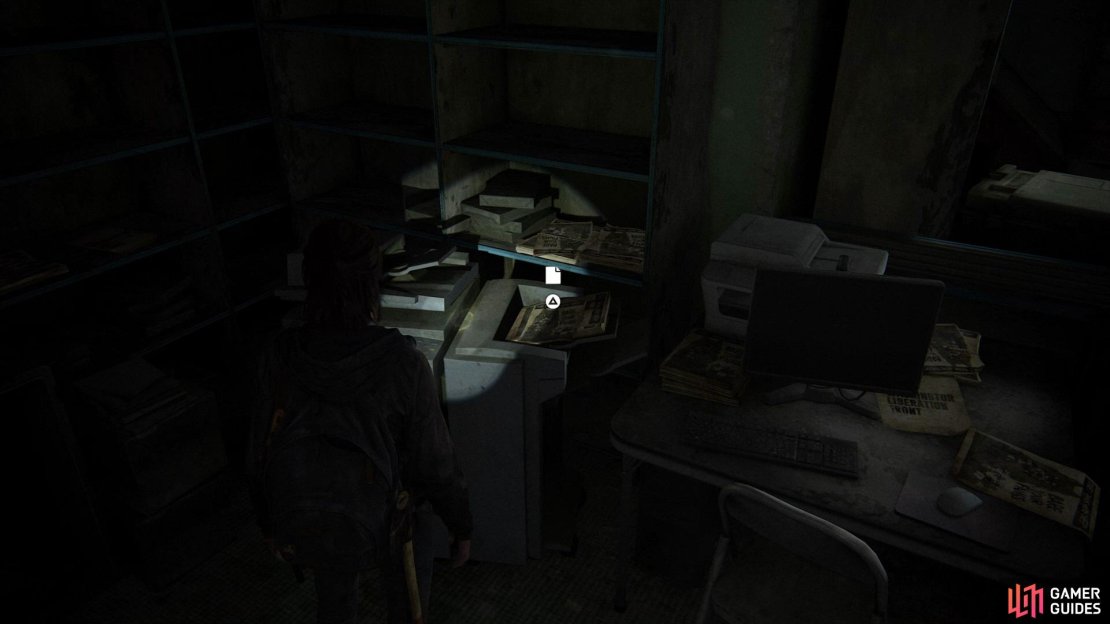

(1 of 3) Head into Barkos Pet Store to collect an Artefact from the printer
Exit the store and go to the centre of the map. From here continue north until you reach a truck near a waterfall, open it to collect some Scrap and an Artefact 28/117.
Explore the Dome
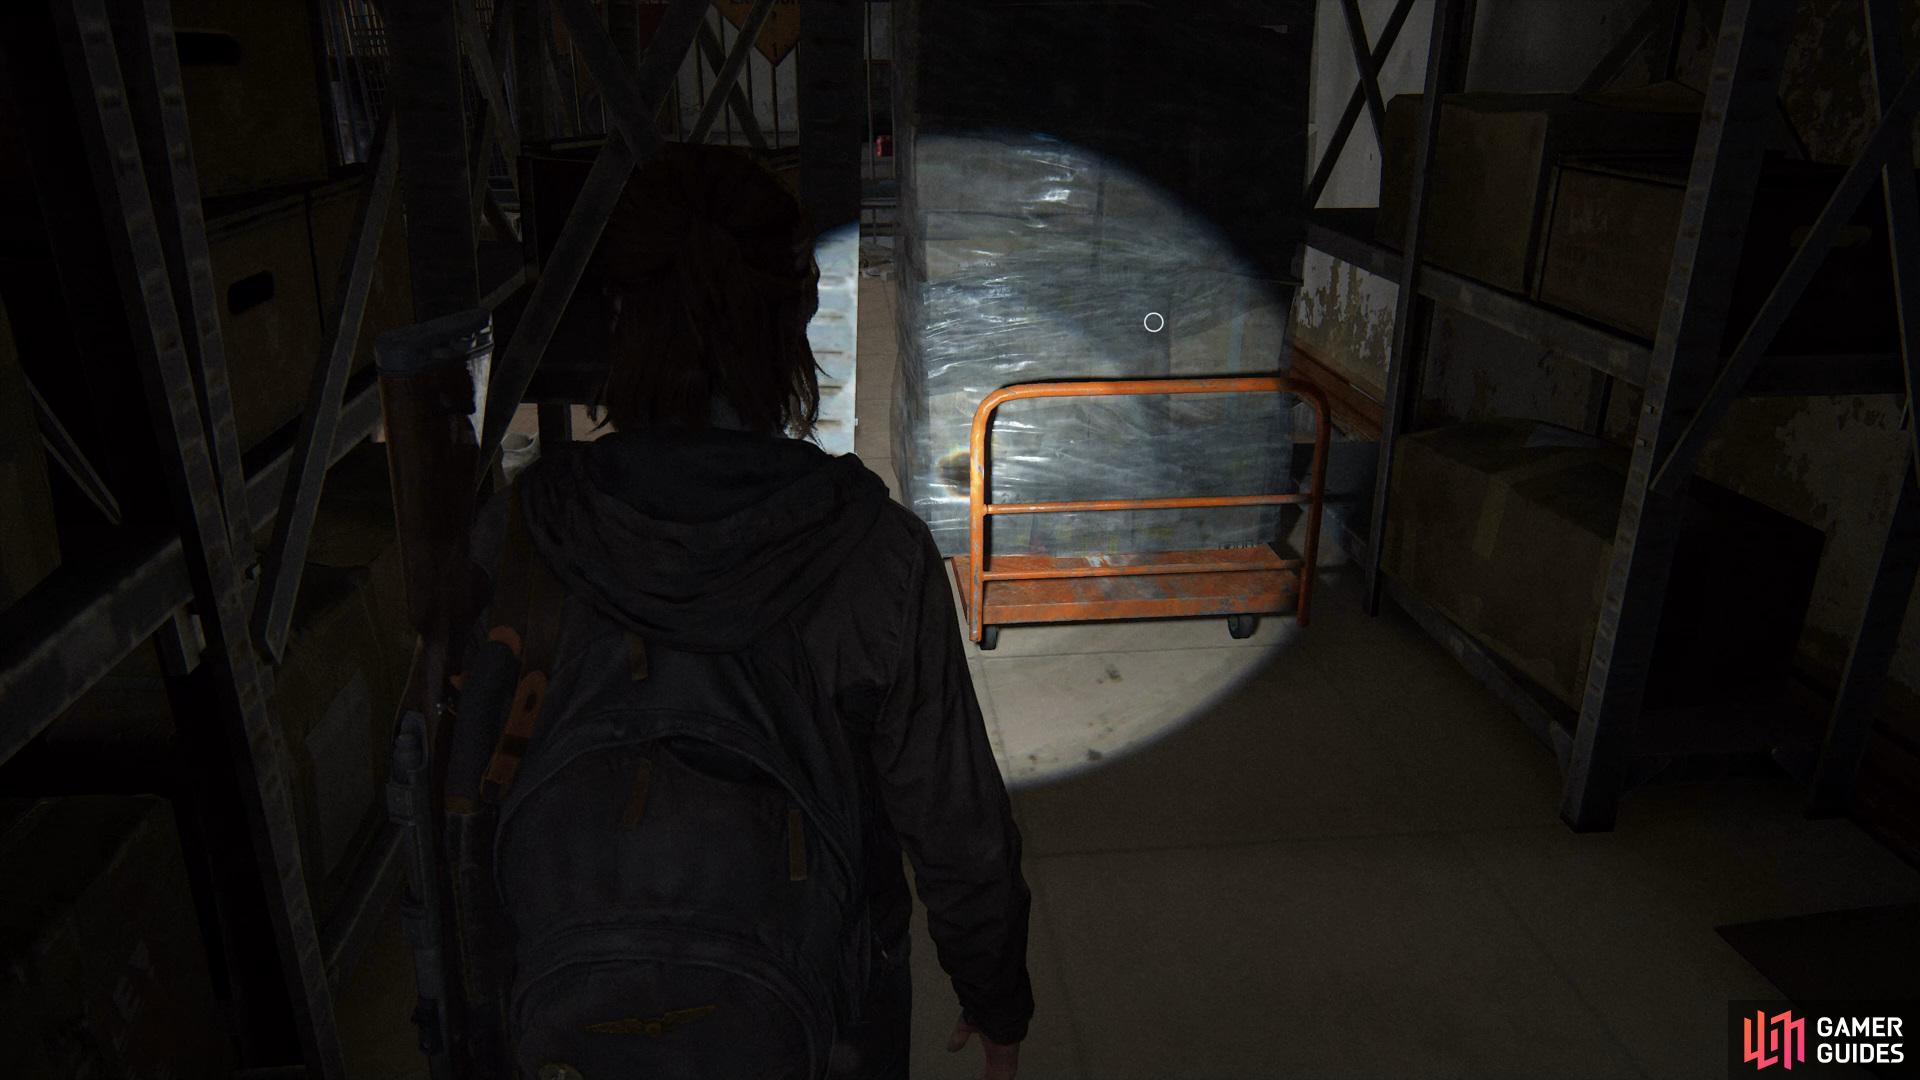
Next up you’ll want to head east and go into the Dome through the fence, here you’ll want to climb over the wall and crawl through the grass to take out the enemies. Once you’re done, head up the stairs and climb through the window, drop down and slide through the gap in the back left.


(1 of 2) Once you’ve made it to the Dome via the fence, crawl through the grass to stealth takedown the enemies
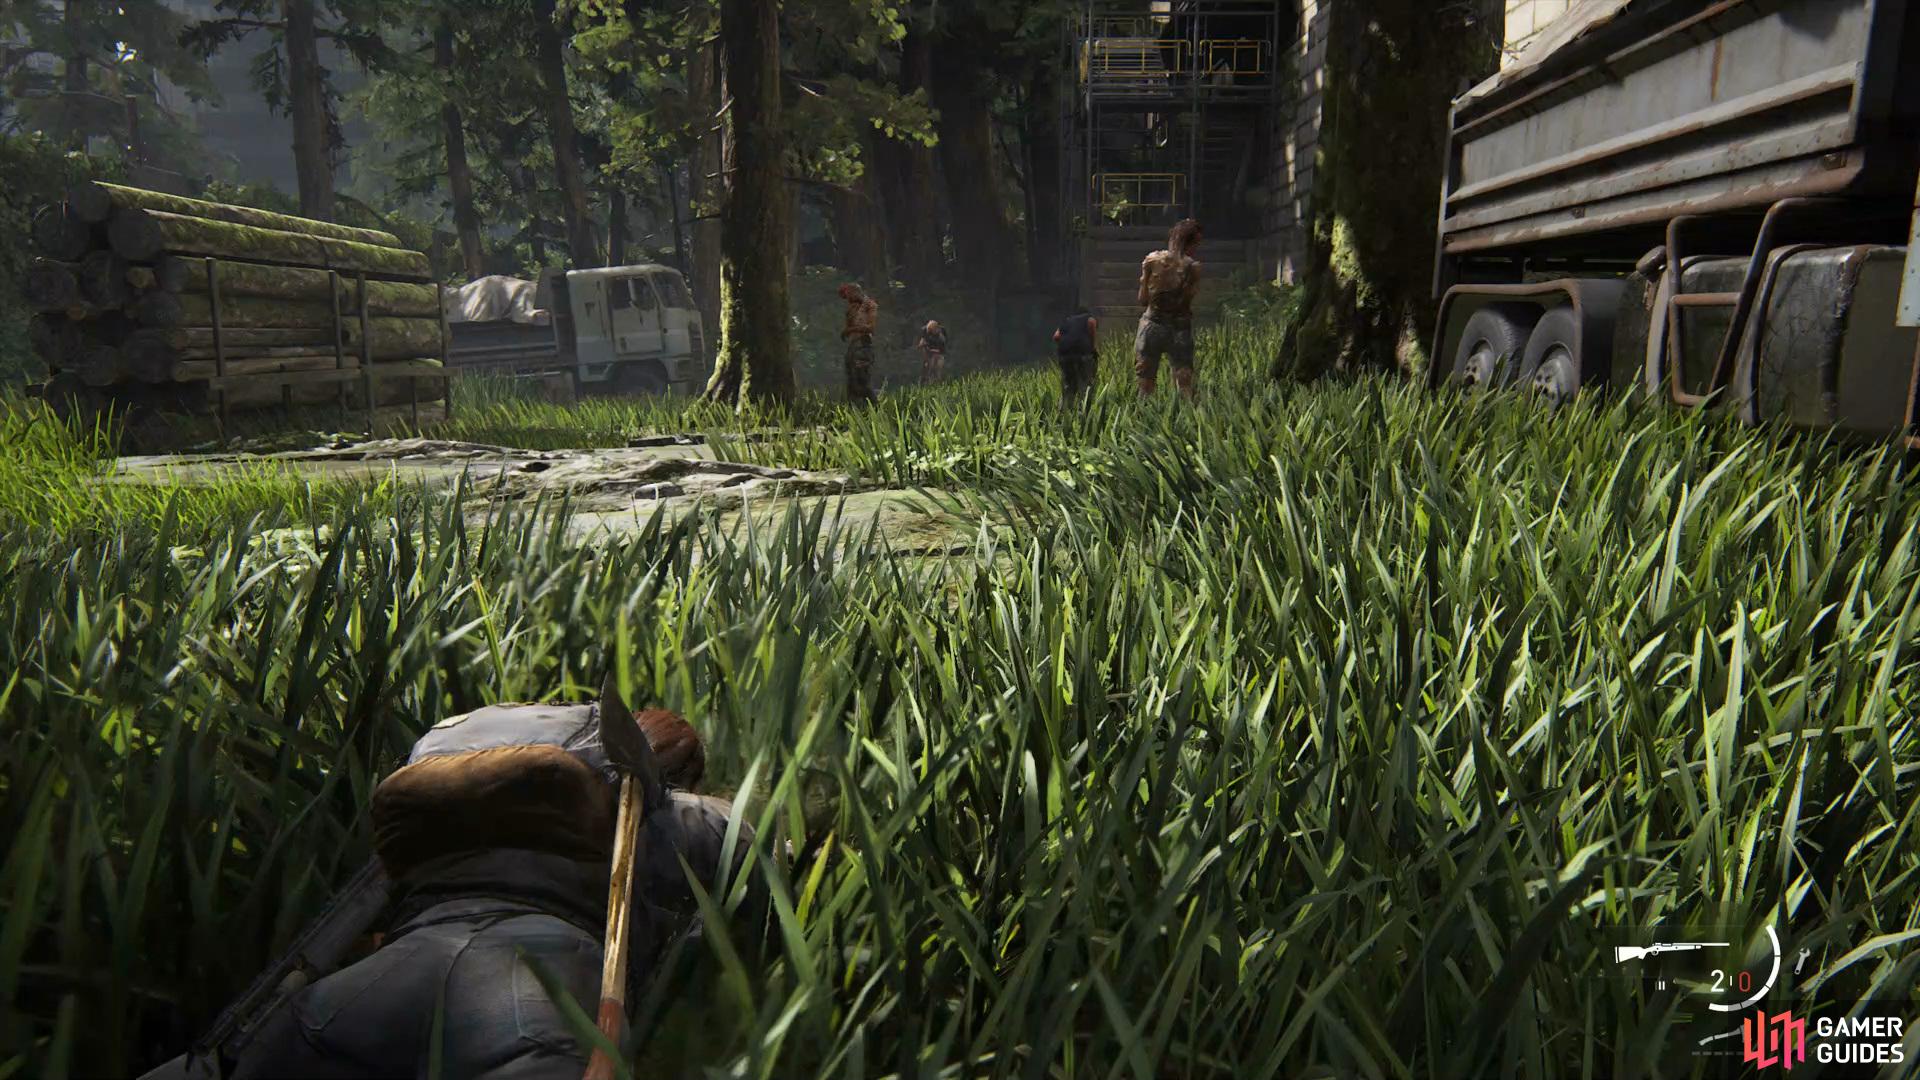
Once you’ve made it to the Dome via the fence, crawl through the grass to stealth takedown the enemies (left), then grab the trolley from the back left of the room to climb up to the second floor. (right)
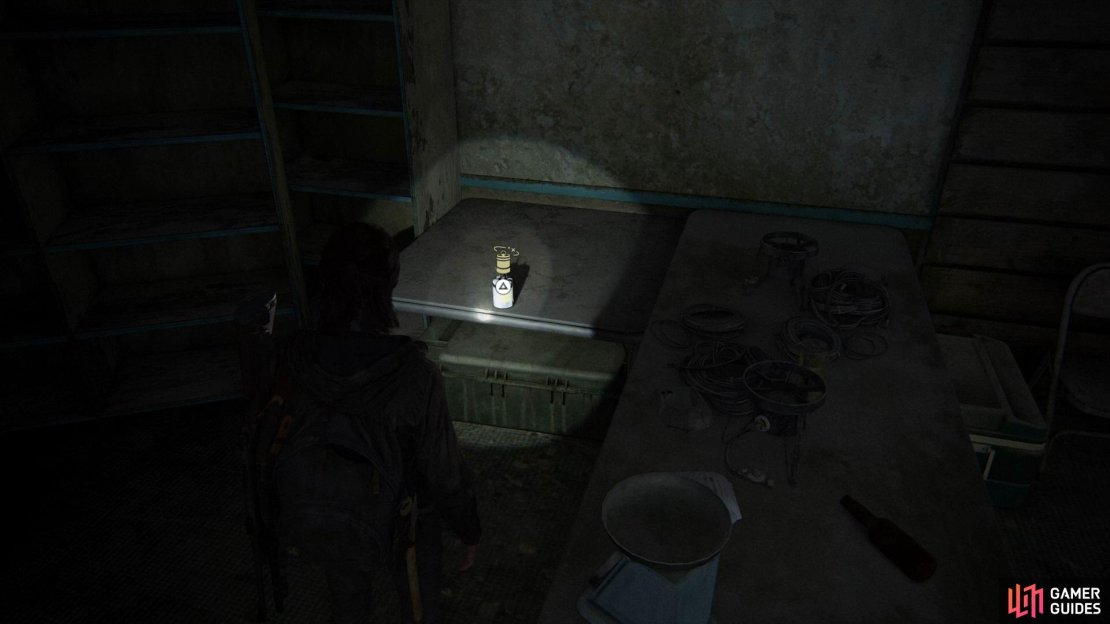
Collect the Ammo and then push the trolley to allow you to climb up the gate, grab the canister and try to fill it up with some gas. Unfortunately, there’s none left, so climb back over and take the trolley to the back-left wall.

(1 of 3) Collect the Artefact from the table once you’ve made it up to the second floor
Climb up to the second level and collect the Scrap along with an Artefact 30/117 from the table, now use the rope Dina found to swing over to the otherside. Here you’ll want to go into the room on the right to find an Artefact along with some Supplements, then climb down the scaffold.
Explore the Courthouse
Finally, head to the road north of Valiant Music Shop and climb up the ladder, now open the window on the left and dropdown. Here you’ll want to take down the enemy ahead, then go into the backroom to find some Supplements on the desk, now go through the door and head downstairs.
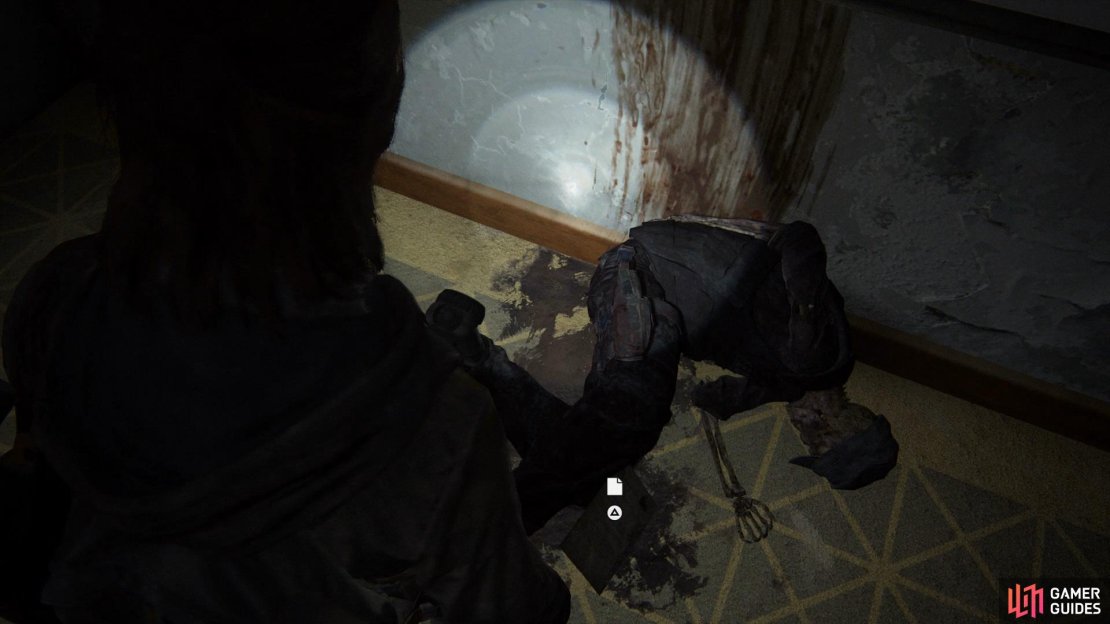
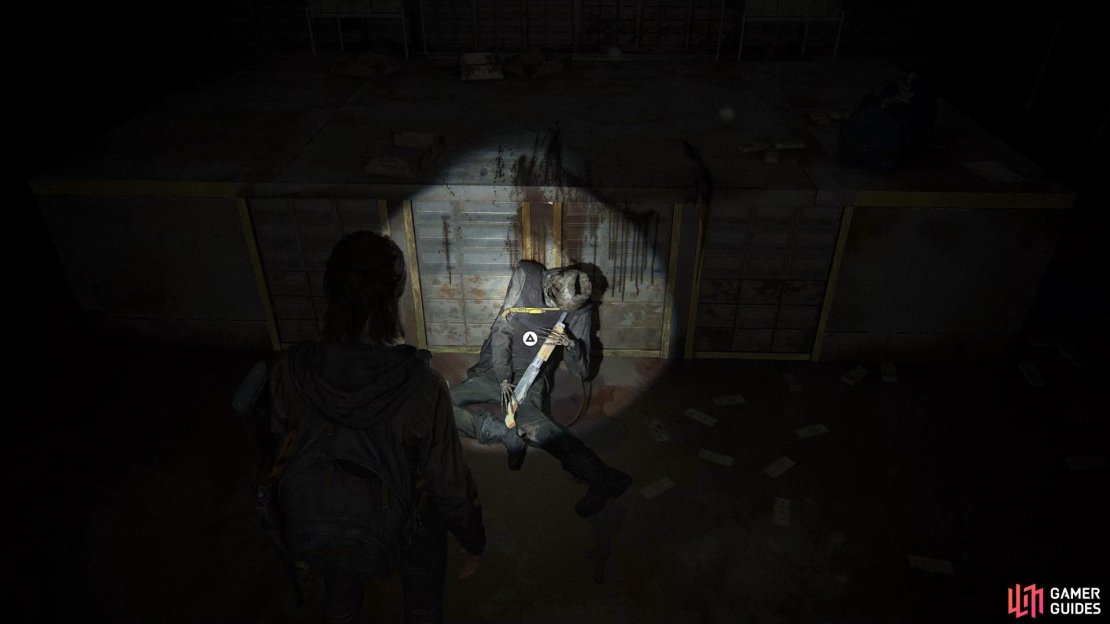
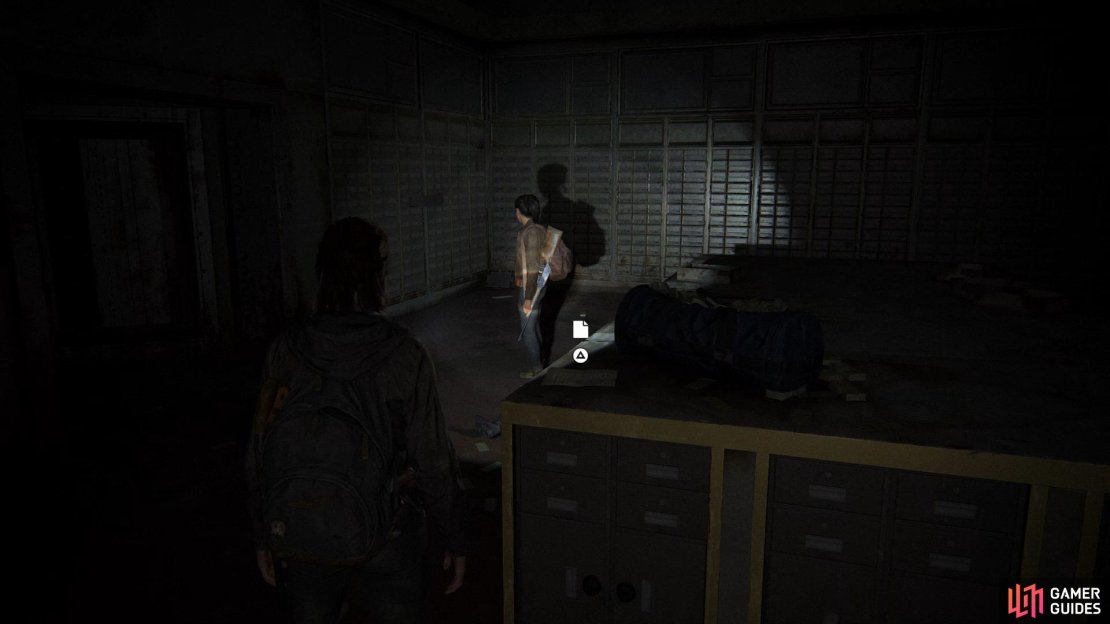
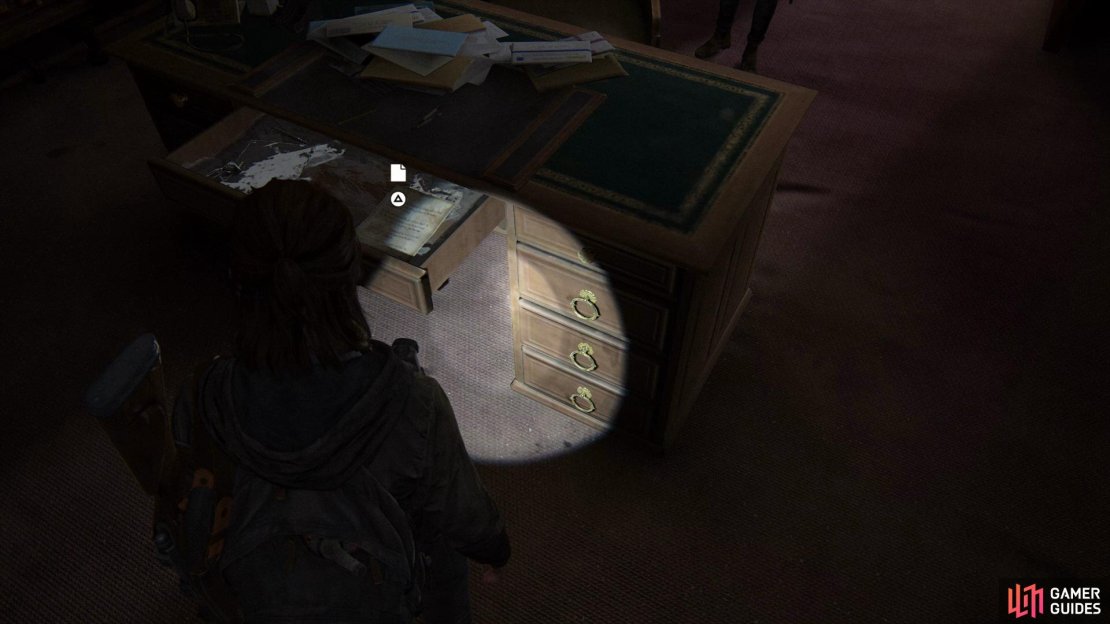
(1 of 3) Head into the Courthouse downstairs room to find an Artefact by a body
Continue following the path and head through the door on the left to find an Artefact 33/117 in the drawer and another by a body. Now head to the left side of the room and put in the following combination found on the whiteboard into the Safe, 86-07-22. Inside you’ll find some Scrap and Supplements.


Go back out into the corridor and collect the Artefact 32/117 from the floor by the body, then use the rope in the elevator to rappel down. Once you’ve opened the door, take out the enemies with Dina, then collect gas from the tank on the right.
Return to the Fuck Fedra Gate
Use the chain to open the garage door, then return to the Fuck Fedra Gate. Here you’ll want to put the gas into the generator, then go over to the pad and put in the following code to open the gate, 5345.
Once you’re through, follow the path up and then use the blue bin to hop over the fence. Head into the building and take out the enemy on the left, then use a Molotov to take the ones on the right.
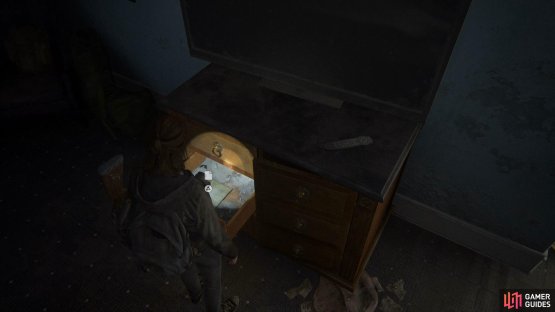

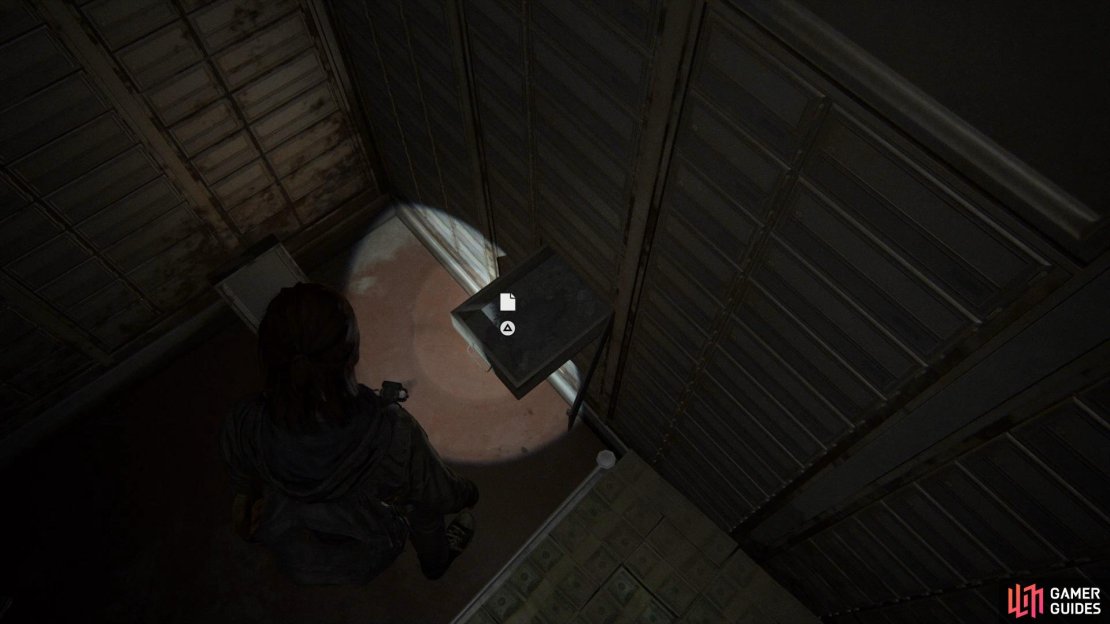
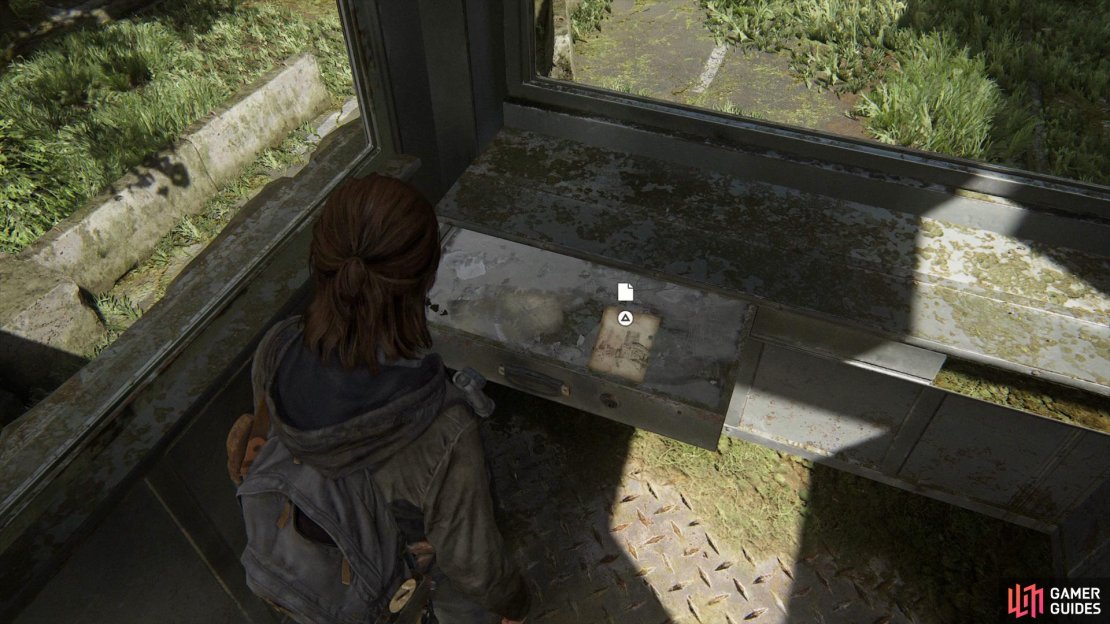
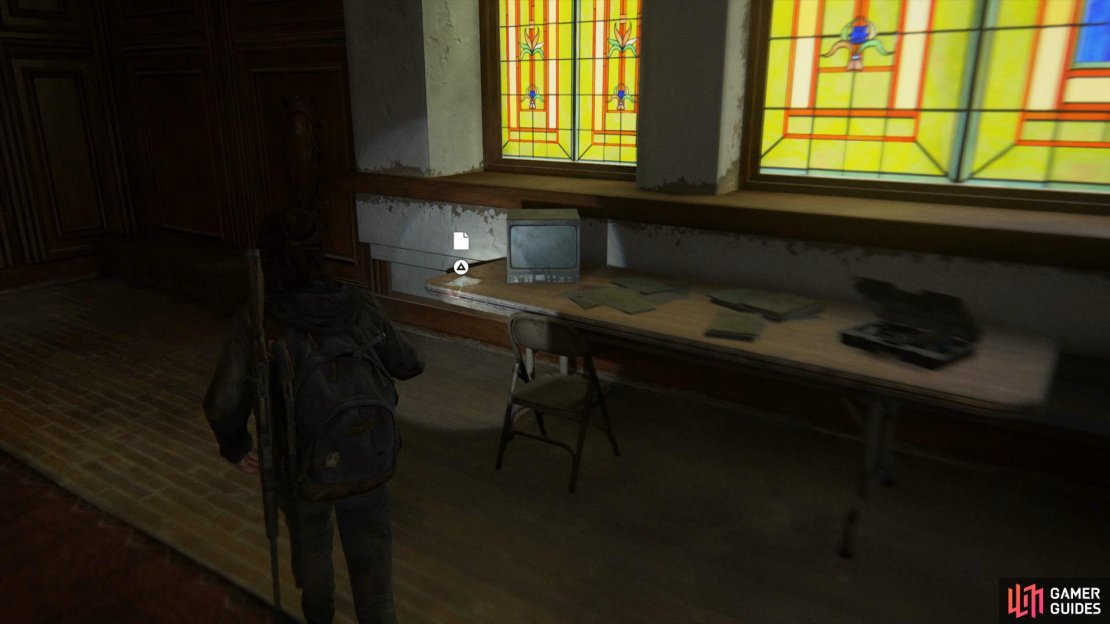
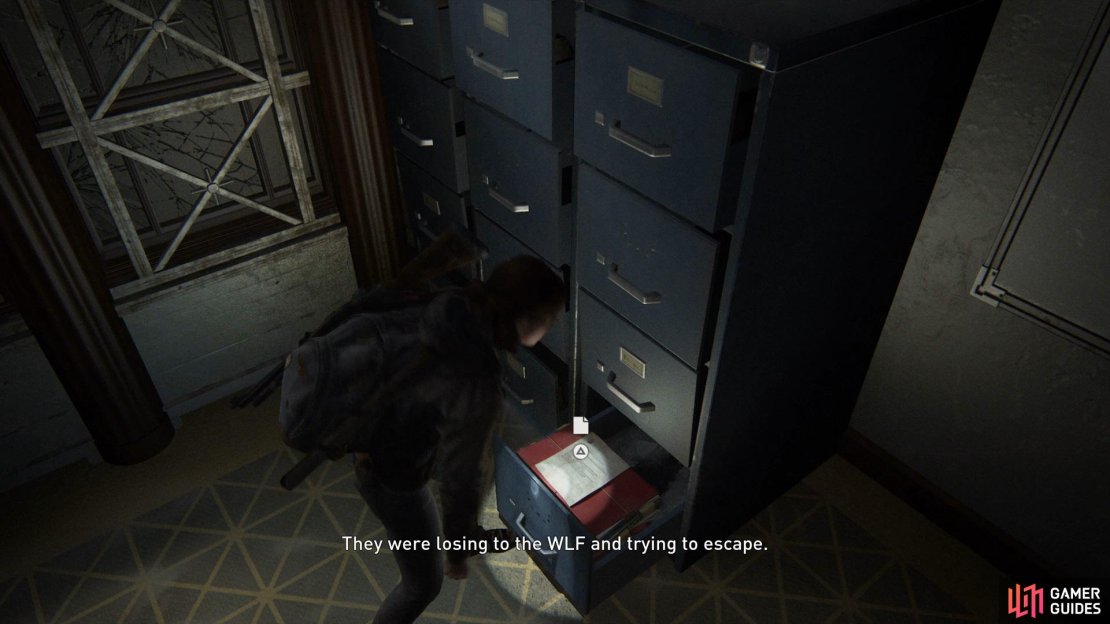
(1 of 2) Once you’ve made into the building past the Fuck Fedra Gate, head upstairs to find an Artefact in the drawer under the TV

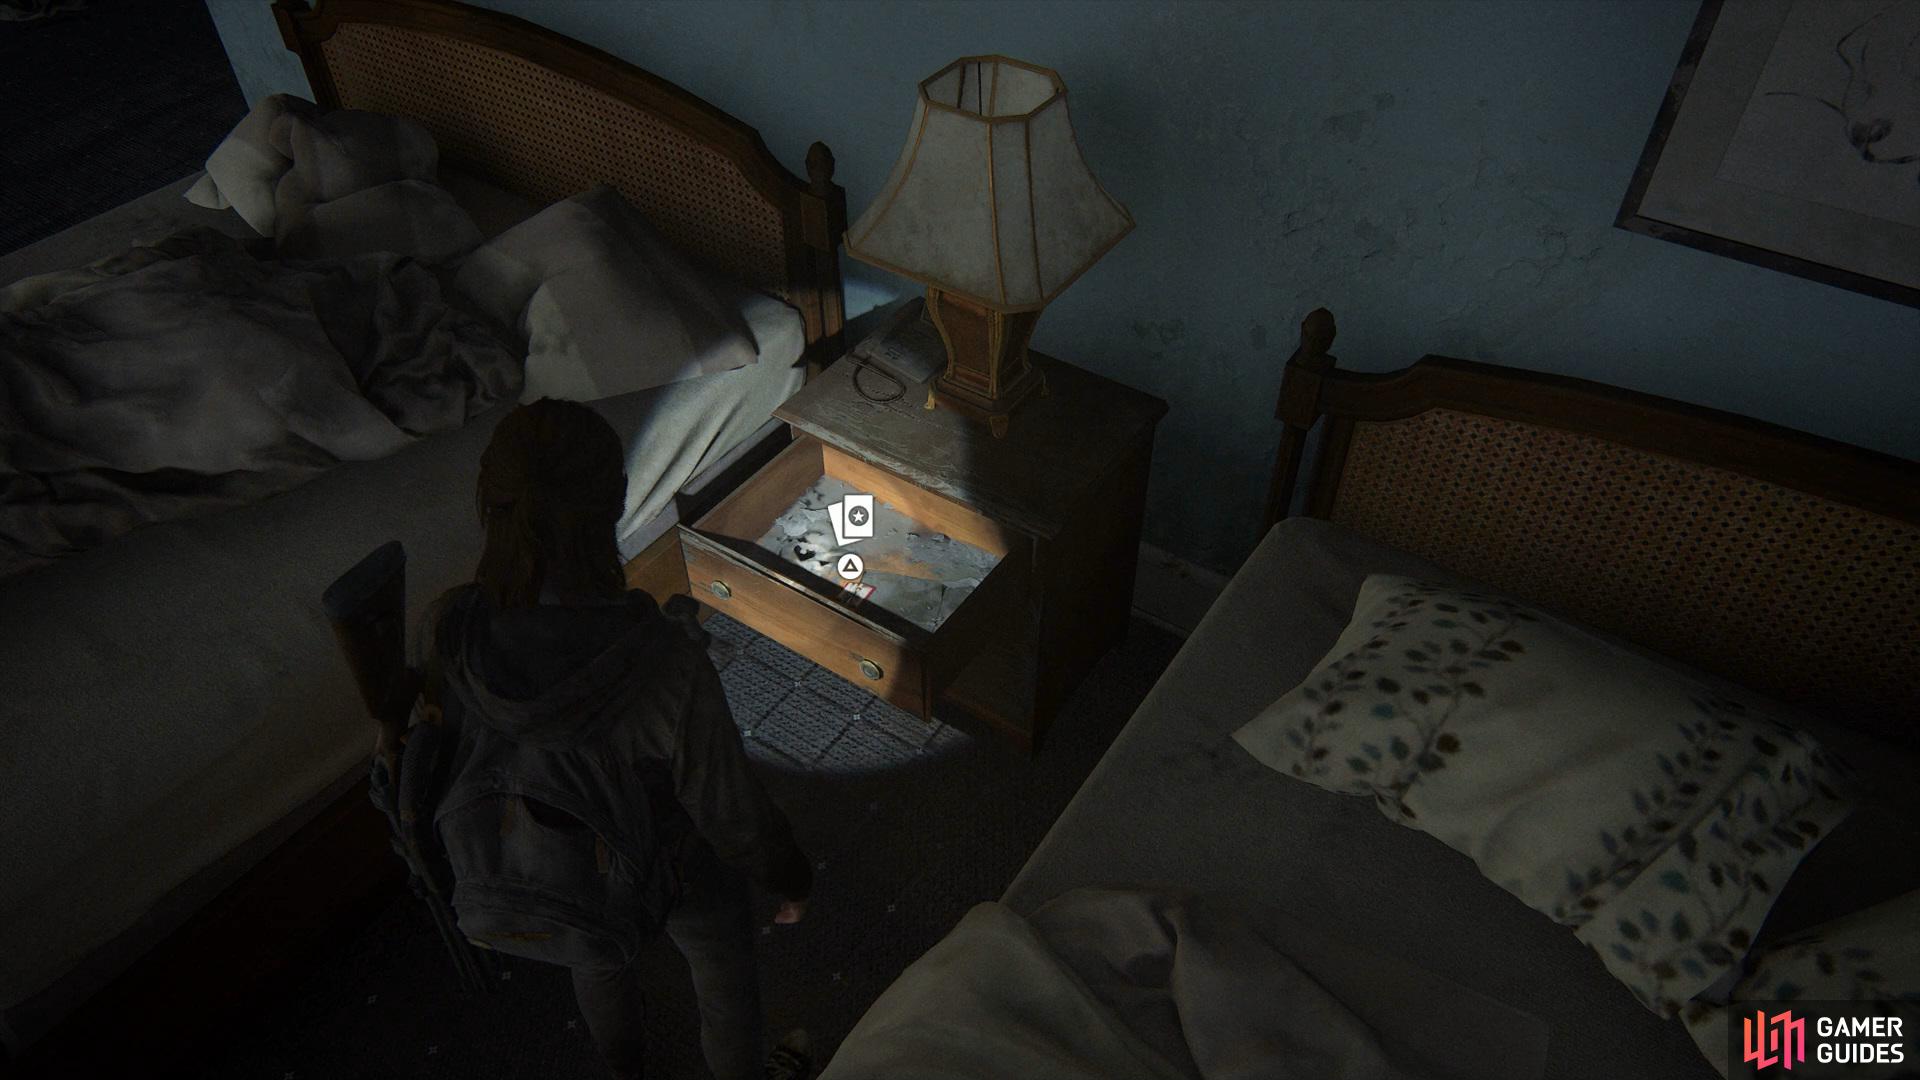
Once you’ve made into the building past the Fuck Fedra Gate, head upstairs to find an Artefact in the drawer under the TV (left), then turn around and open the drawer by the bed to acquire a Trading Card. (right)
After the building has been cleared, go into the room on the right and explore the side room on the left to find some Scrap, then go upstairs and head into the bathroom of the room ahead to find some Supplements. Finally, head into the next room and open the drawer under the TV to find an Artefact 34/117, then open the drawer near the bed for a Trading Card 13/48. Now go into the room ahead to view a scene.
Once the cutscene has come to a close, drop out of the window and walk to the gate, now power up the generator whilst Dina dials in the combination, and then continue onwards. Eventually, a cutscene will playout and you’ll find yourself in Eastbrook Elementary.
No Comments