This page offers a guide on how to complete the College of Winterhold quest, Revealing the Unseen, including how to clear the ruins of Mzulft and find some more information on the Staff of Magnus.
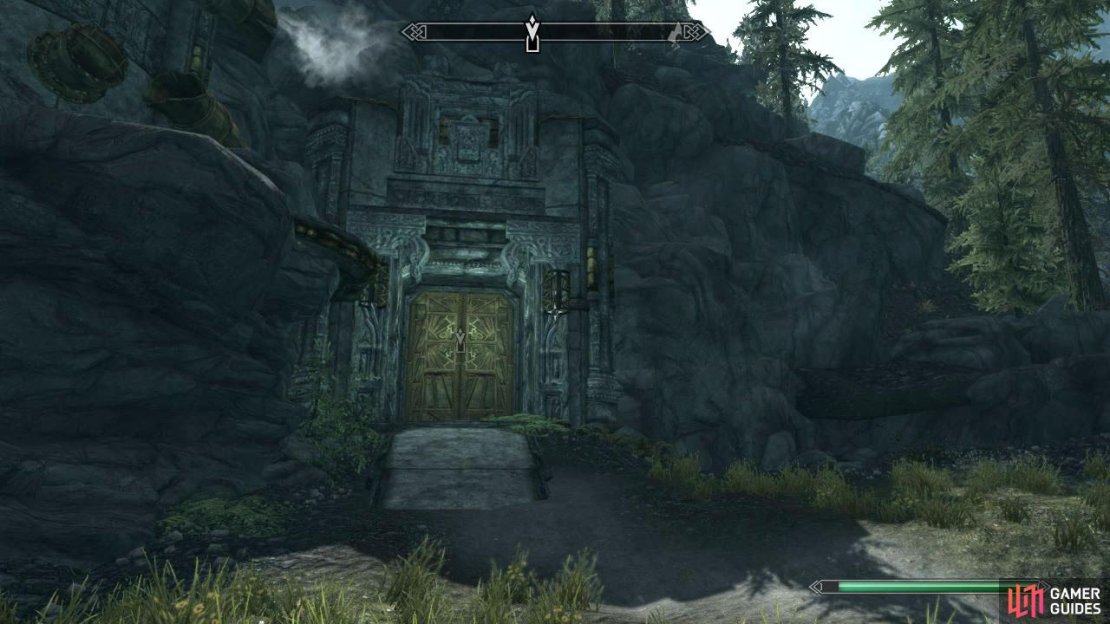
The ruins of Mzulft is our next target located on the Western boarder of Skyrim.
Leave the Hall of the Elements and go find Mirabelle. Once you find her, speak to her and she’ll give you a good lead: head over to the ruins of Mzulft . If you haven’t visited this place yet, it’ll be a long travel. Fast travel/wagons to Riften or Windhelm **** and make your way to the Ruins of Mzulft (South of Windhelm or North of Riften). Once inside, listen to the dying man and loot him.
Make sure to take the Mzulft Key from him and the Research Log . Use the key to open the door. Proceed and when you get to a awfully suspicious hall, watch out for a stepping stone which activates a trap (spears from the ceiling). Loot the researcher on the other side and proceed. In the next room, you’ll fight some Dwarven Spiders , so take them out.
Cross the hallway to find yourself in yet another similar room with two more Spiders. You’ll have two ways to go from here. If you go north, watch out for the trap in front of the door that activates once you open it. Try opening it from outside the reach of the trap. Kill the Spider in here and open the chest. Return and go east this time.
Go through the hallway, kill the Spider that appears at the end and go into the next room. Proceed and in the next large room, you’ll find an enemy called Chaurus. Kill it ASAP and try not to get poisoned. Go up the wooden stairs and loot the guy here. Note the Moonstone Mineral Veins in here if you want to mine them, there’s even a pickaxe nearby.
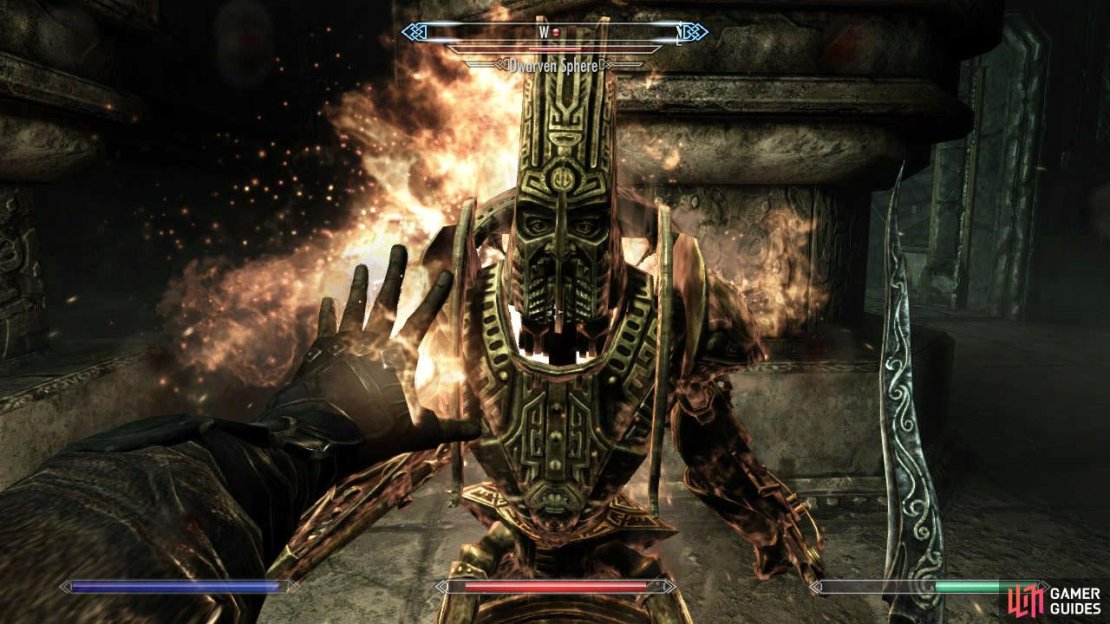
Now keep going north and watch out for the hidden rope that triggers a trap of falling rocks. In the room behind, there are two Chaurus–take care of them. In the next room, you’ll be attacked by a Dwarven Sphere. These enemies can be tough if you are a low level.
Dwarven Spheres are ancient contructs that still patrol the halls of Dwarven Ruins.
After the fight, lockpick the gate where this enemy was and take all the loot inside. Continue on north until you get in a fight with more Dwarven Spheres. Once you destroy them, you’ll see two paths: One that continues north, and one going down some stairs. Go down the stairs first, use the Alchemy Station if you need/want to, then open the locked gate. Loot the items here and now follow the path going north.
You’ll see a stone table in front of you and a Dwarven Sphere on the other side of the room. Use long-range attacks as much as you can on it and when it comes your way, you’ll see it activates the trap on the left side of the room. Ha! If you’re having trouble with these, hide behind the stone table (there’s a small ledge here that you can stand on) and start hitting him from there.
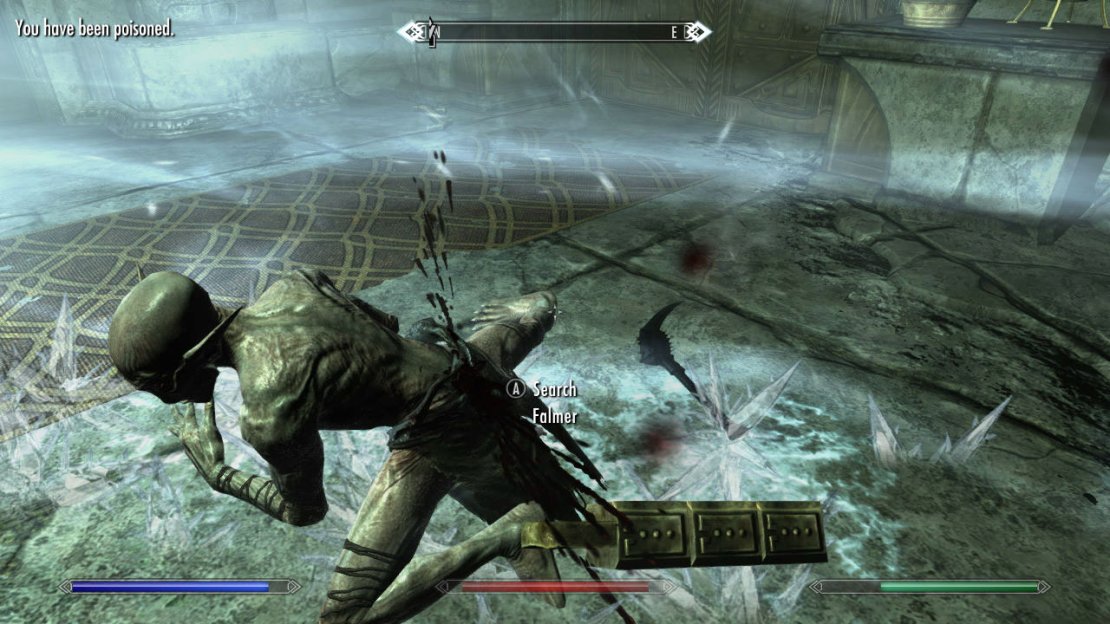
As for the trap, you’ll see three pistons that push you down, then a gap, and then three more pistons. In the gap are where the plates are that activate the trap, so wait on them and then proceed. If you do get pushed down you’ll have to fight two spiders. No big deal. In the hallway behind this room, you’ll find a dead Falmer, as well as a chest. Loot ’em and proceed to the next room, which leads to the Mzulft Boilery .
There’s still a lot more ground to travel inside this dungeon. When you get to a fork, the path ends just forming a square, so take any direction. There’s a Falmer walking around these halls, so kill it and when going east, kill another Falmer. In the next room, there are 2 Falmers, and one of them uses Frostbite, so be careful. There’s a gate on the side, which has an Expert lock . Pick it if you want. Continue east to the next room and you’ll enter some type of cave.
Follow the path and when you see a forking room to the right enter it to find a chest and a mineral vein . Loot it and continue. In this room, you’ll have to fight a Falmer with Frostbite and 2 Chaurus. Loot the chest inside the tent and proceed to the next cave, which has 2 more Falmers. Proceed forwards and kill the Chaurus that’s left in the cave. There’s also a semi hidden chest here, so loot it and exit to the ruins once again.
Kill the Falmer, picklock the Master door on the right (if you can) and continue north. There’s an expert locked door on your right for more looting. When you get to a room with water, kill both Falmers and check the northeast side of the room to find a locked chest. Loot it and move to the southwest corner. Open the door and back up as you do since a trap triggers as you open it. Kill the Chaurus in here and loot the place. Return and enter the northwest door. Enter the Aedrome .
Don’t forget to use any potions that cure poison as the Charus and the Falmers are very quick to try and poison you throughout this whole dungeon.
Kill the Falmer and the Chaurus on top of the path and proceed. In this large room, kill all the Falmers one by one, there are quite a few of them. Once you’re done, loot them to find the Focusing Crystal Pry .
Now go east until you find a couple dead Falmers. Loot them and save, because in the next room you’ll find a Dwarven Spider Guardian. These have a ton of HP and use Spark, which is damn annoying if you are a Mage.
Loot the room and in the chest, you’ll find the Mzulft Observatory Key . Return to the previous room filled with Falmers and go west this time towards the Observatory . The door is locked, so try opening it and you’ll speak with someone named Paratus . Talk with him and tell him you’ve got the Focusing Crystal. After some thanks, follow him to the top of some machine and put down the Focusing Crystal.
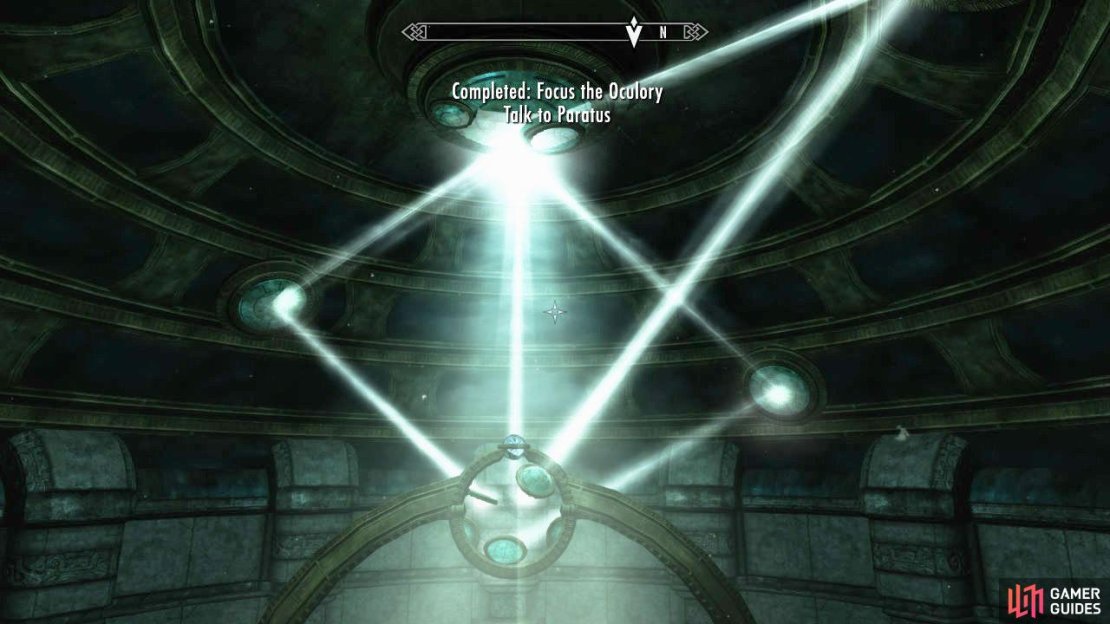
In case you don’t have the spells Frostbite and Flames, go to the top of the ramp and grab the tomes. Once you learn them, you can use the spells on the Focusing Crystal to have the beams of light move. Also, look at the ceiling and you’ll see 3 blue mirrors. The 3 beams of light that are coming out of the Crystal must hit each one. Now, also notice that there are 3 separate parts of the ceiling.
Equip the spells you learn and use them on the crystal (in the middle of the room) until all three lights are in the MIDDLE of different wall rings. Now, use the buttons up above to rotate the wall rings so that the light hits the mirrors. Once you do so, a map appears on the wall underneath the place you were just standing.
While Paratus gets all pissed off, ask for the Staff of Magnus . He will tell you its location: Labyrinthian . After the talk, leave this room and in this hallway there’s a double door. Try going to it and you’ll be stopped by Quaranir . Go through the doors after the talk and then onto the world map. Finally!
Head over to the College and speak to Aren inside the Hall of Elements, where a strange barricade seems have been created. Aren will ask for your help and you can by casting Destruction magic at it. Go inside and a scene triggers. This ends the quest and starts the next one.


No Comments