Description
A simple and practical way to stay protected from the radiation emitted by artifacts.
Compatible Armors
Interactive Map Locations
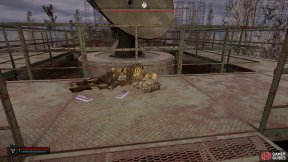
1. The Zone Map
Inside a backpack next to a skeleton on the roof, reached by climbing a ladder in the south-western corner of the building. Works with the ![]() SEVA-I Suit.
SEVA-I Suit.
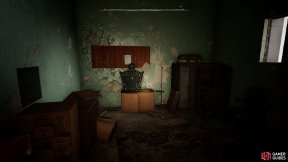
2. The Zone Map
Inside a duffel bag in the small room at the top of some stairs. Works with the ![]() Cuirass Exoskeleton.
Cuirass Exoskeleton.
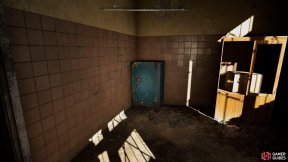
3. The Zone Map
Inside a safe in the canteen’s back room. Works with the ![]() Operator Exoskeleton.
Operator Exoskeleton.
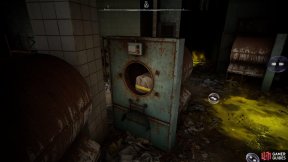
4. The Zone Map
Inside a laundry machine in the building’s back room. You’ll need to climb some stairs and drop through a hole in the wall to get inside. Works with ![]() Exoskeleton.
Exoskeleton.
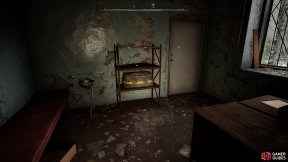
5. The Zone Map
Inside a locked room in the north-western corner of the hospital. To gain access, climb over the half-wall near the door. Works with the ![]() Bulwark Exosuit.
Bulwark Exosuit.
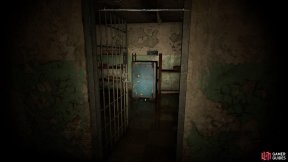
6. The Zone Map
Inside a locked room in the basement. To gain access, you’ll need to activate a generator on the building’s top floor (easiest to find by following the wires leading away from the basement lever) then return to the basement and pull the lever to gain access. Watch out for a Bloodsucker ambush after using the lever, then search the safe for the blueprint. Works with the ![]() Operator Exoskeleton.
Operator Exoskeleton.
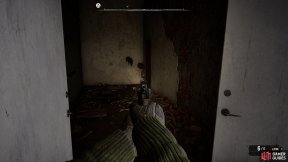
7. The Zone Map
Inside a room behind the locked white doors, accessed by tossing a grenade through the hole above it. A Chimera waits inside, but after dealing with the mutant, you’ll find the blueprint in a backpack hanging from a doorknob. Works with the ![]() Shield of Duty Exosuit.
Shield of Duty Exosuit.
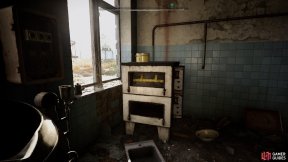
8. The Zone Map
Inside a duffel bag stuffed inside one of the cafe’s ovens. Works with ![]() Exoskeleton.
Exoskeleton.
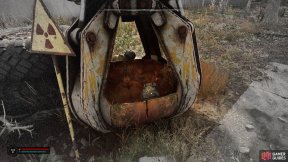
9. The Zone Map
Inside a backpack laying in the clutches of a large metal claw. Works with the ![]() SSP-100 Discovery.
SSP-100 Discovery.
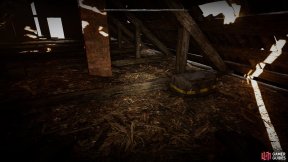
10. The Zone Map
Inside the boobytrapped attic. To reach it, climb on top of the car near the front door and crouch through the hole. Works with the ![]() PSZ-12V Bulat.
PSZ-12V Bulat.
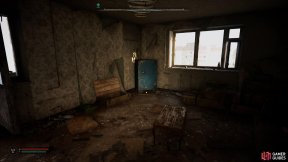
11. The Zone Map
Works with the ![]() Berill-5M Armored Suit. Found inside a safe in a keypad-locked room on the hotel’s top floor. If you’d like to try and figure out the code yourself, the digits are hidden in these notes:
Berill-5M Armored Suit. Found inside a safe in a keypad-locked room on the hotel’s top floor. If you’d like to try and figure out the code yourself, the digits are hidden in these notes:
 Stalker’s Note about the Zone
 Stalker’s Note about Friendship
 Stalker’s Note about a Successful Run
 Stalker’s Note about Bloodsuckers
 Note about Dogs
 Note about Boars
 Note about Debts
 Note about Artifacts
You can also find the code by scrolling down.
.
.
.
.
.
13263622
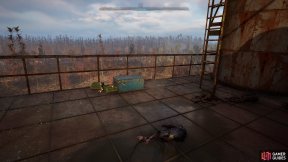
12. The Zone Map
Works with the ![]() PSZ-9I Falcon; found at the very top of the structure. To reach it, start by climbing the ladders and stairs in the middle, then make your way to the far eastern side of the structure. Walk carefully along the wind-anomaly-covered beams, use the bouncy anomalies to quickly cross the final gap, then fight off a swarm of rodents. The blueprint is in a big blue box.
PSZ-9I Falcon; found at the very top of the structure. To reach it, start by climbing the ladders and stairs in the middle, then make your way to the far eastern side of the structure. Walk carefully along the wind-anomaly-covered beams, use the bouncy anomalies to quickly cross the final gap, then fight off a swarm of rodents. The blueprint is in a big blue box.
No Comments