Description
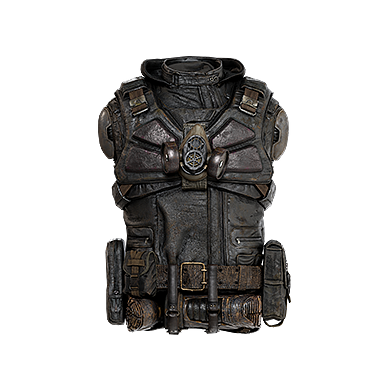
A special gear kit developed for working in the conditions of the X7 Lab. Origins unknown.
Armor Stats
 Thermal Protection
30
 Electrical Protection
30
 Chemical Protection
30
 Radiation Protection
20
 PSI Protection
40
 Physical Protection
2
Upgrades
Interactive Map Locations
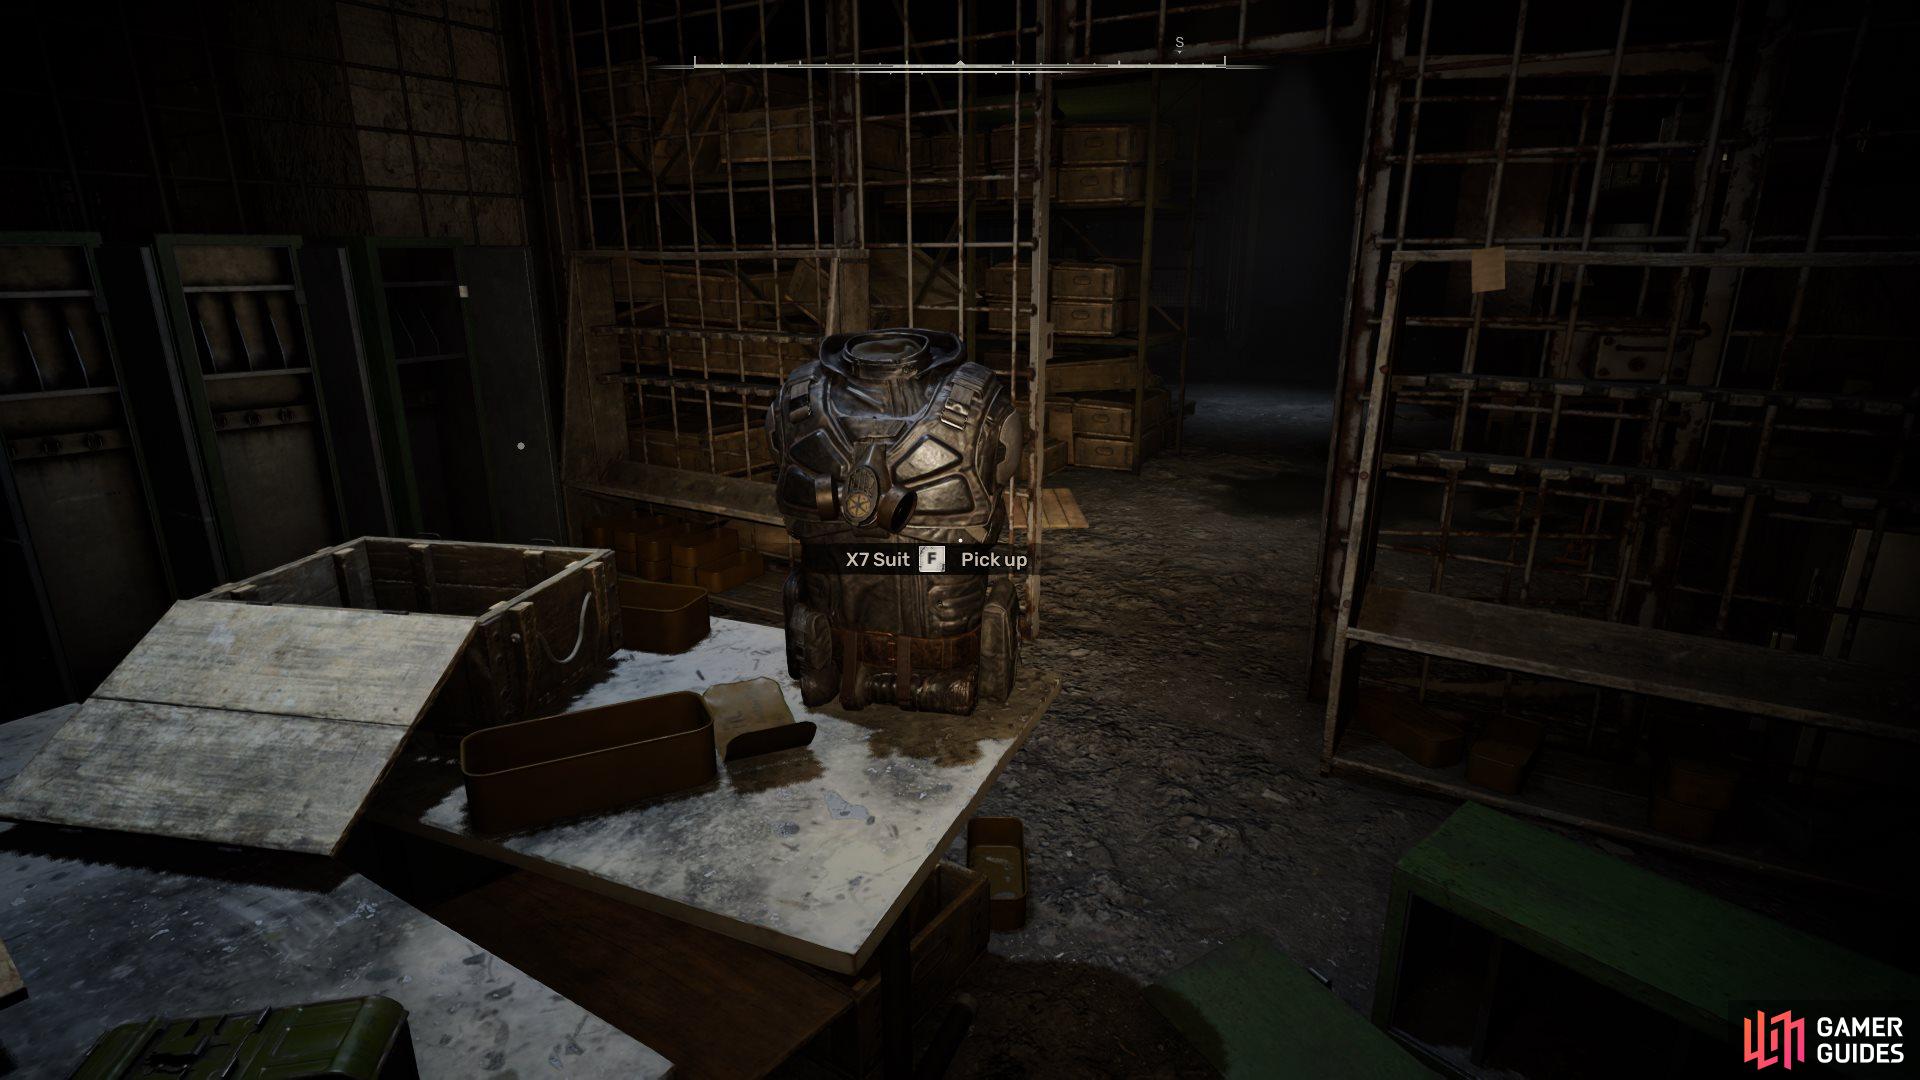
1. The Zone Map
X: 12570 Y: 7843
Found deep in the underground base, on the table in an armory you’ll enter soon after navigating an anomaly-filled storage room. Can only be accessed during a late-game story mission.
No Comments