December 6th (Night)
Once you get home after the Palace, get a massage from Kawakami, save your game, then go to Ichigaya for another round of fishing. If you don’t catch it tonight, then don’t worry, as you should have plenty of free time if you’ve been following this guide in a few days. When you get there, you should fish with normal bait a total of six times and on the seventh time, use your Top-Class Boilie. The Guardian is a longer than normal fish that is gold when you use your Third Eye. There are two problems, though, as all of the fish will go after the Top-Class Boilie, and the Guardian is a pain to reel in.
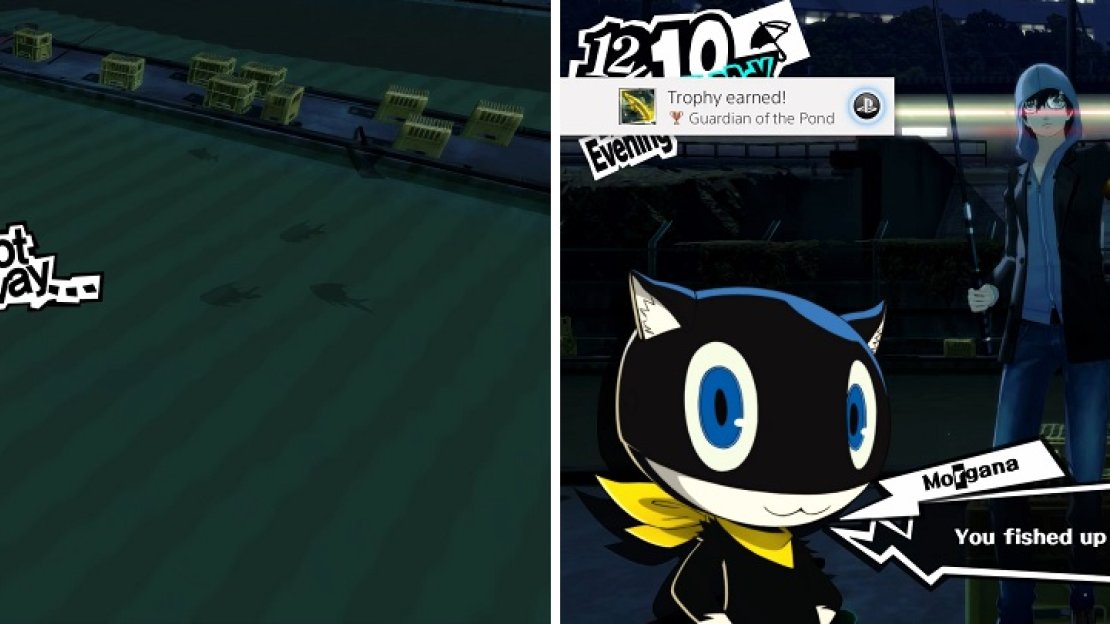
There is one little trick you can use to help with catching the Guardian. Once you cast the Top-Class Boilie and see the Guardian coming after it, recast your line and try to lure the fish closer to you. This way, when you finally do hook the Guardian, you hopefully don’t have to go too far in reeling it in. The closer it is, the more of a chance you have of netting the Guardian by just holding down X. Of course, this may not be the easiest thing and if you’ve done everything up to this point, you can afford to waste a few days to build up some points and possibly get the strongest rod. As soon as you reel in the Guardian, you will receive its respective trophy.
Try to lure the Guardian as close as possible (left) before hooking it and reeling it in (right).
December 7th
You are going to be sending out the calling card today, but you will want to prepare before you actually choose the option. If you have a Null Rage accessory, it might be a good idea to equip it on the MC, but you could also equip some armor with Resist Rage or have a Persona with the Null Rage skill. Personas that have this skill include Belphegor (learns at level 38), Daisoujou (at level 47) and Byakko (at level 54). It also is a good idea to purchase some items from Takemi, particularly Relax Gels, Nohar-Ms, and the heal all items, as they help those who don’t have healing skills to contribute more in battle. When you’re ready, meet with the others at the hideout, send the calling card, watch the scenes that happen and you’ll be fighting the first of a few bosses.
BOSS - Beast of Human Sacrifice
The Beast of Human Sacrifice is actually the first form of the first boss, which will change after you deplete around a third of its health. This form is probably the hardest of the three, since you can’t use physical or gun skills on it. That means you will need to stick to magic skills, so if managed to get Ann to level 62, she will have Concentrate, which can deal some big damage. First of all, the Beast can use two actions per turn and has access to Dekaja (removes buffs from your party), so you will want to use your buffs sparingly, since the party-wide versions use a lot of SP.
It also knows Masukunda, which can be a problem with a later skill, so counter it with Masukukaja to make sure your accuracy/evasion isn’t debuffed. You will also want to keep the Beast’s attack debuffed, especially since it can use Tarukaja to boost it. For attacks, its regular one deals around 130-140 damage, Beast King’s Wrath hits everyone for around 180 or so, and its ultimate move (Arm of Destruction) can do a whole lot, but it’s possible to mitigate this by guarding, since the boss will telegraph it by charging beforehand. The Beast will
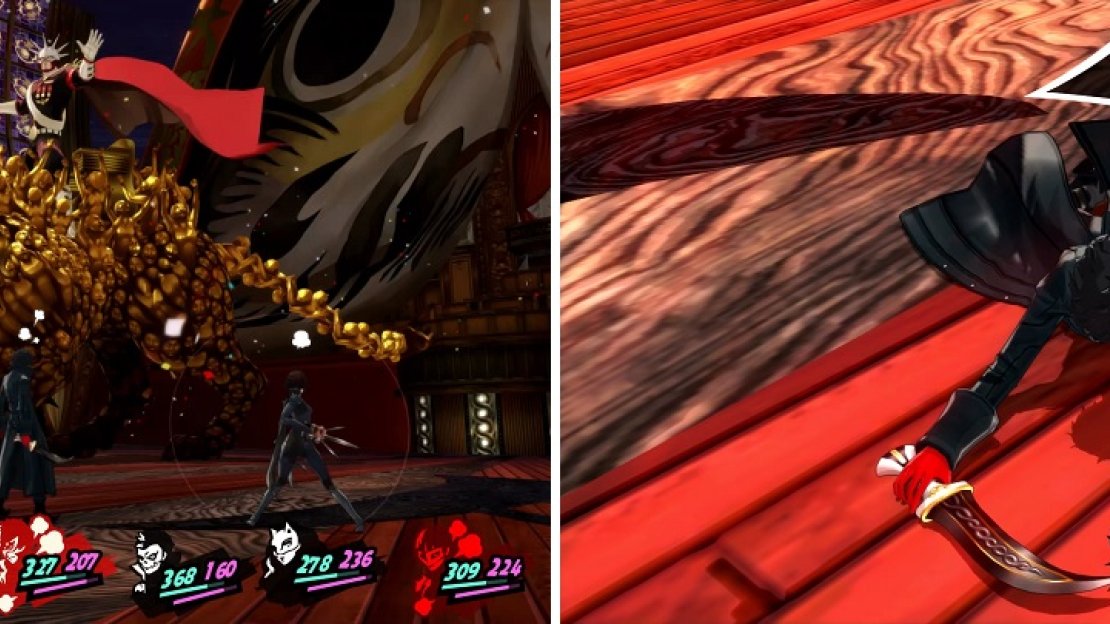
The boss will also cover its magic vulnerability with Makarakarn, but the worst thing the boss can do is use Wage War to try and put rage on your party. This is a pain, as they will physically attack the boss and considering it repels that, it will likely kill your characters in one hit. You might want to always keep Tarunda on the boss at all times, as this will make the damage easier to heal. Speaking of healing, Makoto’s Mediarama should be more than enough to cover most of the things, but you might need to step in with some healing of your own.
Be careful when the Beast tries to inflict rage on your party (left), as it repels physical attacks and you can kill yourself easily (right).
BOSS - Wings of Human Sacrifice
The boss will switch over to this form whenever it grows wings, hence the name, but this form is definitely a lot easier, since you don’t need to worry about being inflicted with rage. Unlike the previous form, this one resists all magic skills (not blocks them), so you will need to break out your physical/gun attacks to do the most damage, but it still attacks twice per round. The only problem with this form is that the boss can use all of the single target versions of the -dyne level of spells, and it’ll likely try to target the weakness of the party members to get an extra turn.
The boss seems to cycle through its magical attacks, starting with Agidyne, then going Bufudyne, Ziodyne, Garudyne, Psiodyne, Freidyne, Kougaon and Eigaon, in that order. After it uses all of these moves, it will break out his ultimate attack, Royal Wing Beam, which does a lot of damage and could possibly inflict Dizzy. It will then start over from the beginning, with Agidyne. Assuming the boss never strikes a character’s weakness, you should hopefully never see its ultimate attack if you strike with your best physical skills.
BOSS - Tomb of Human Sacrifice
This is the last form of the first boss and it will change into it when it reaches one-third of its total health left. You might find that this form is fairly easy, considering it has no resistances, so you can use whatever attacks you want. Also, it will only attack once per round, so you will have a lot of room to breathe and concentrate on using your buffs and healing. To make matters even better, its one attack (Cannon Fire) will only target a single character, although the attack does hurt quite a bit.
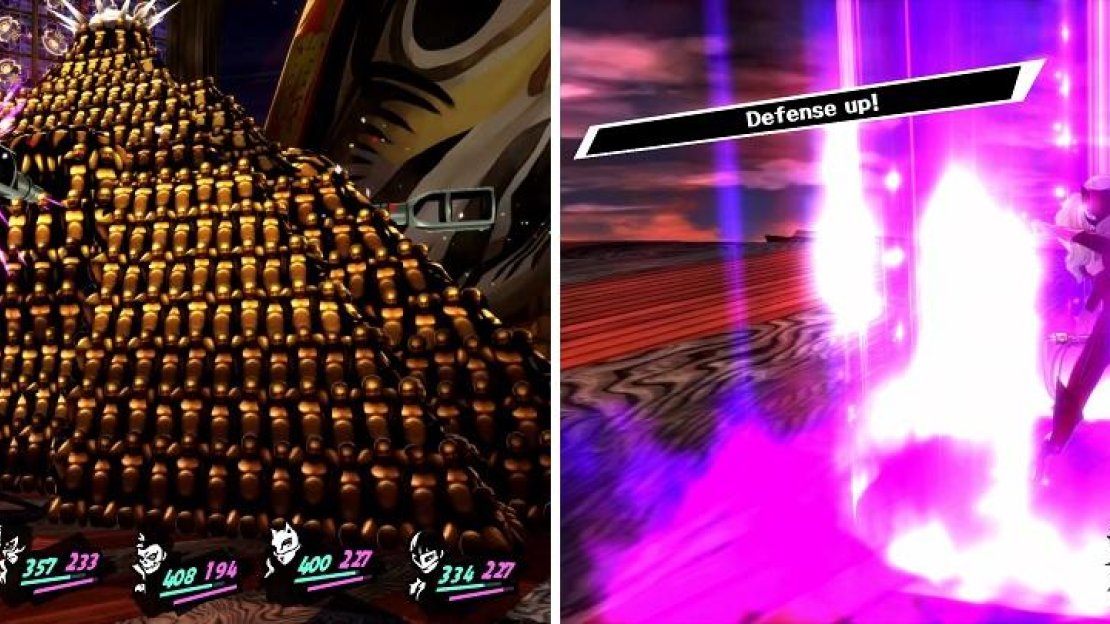
Note that your buffs carry over between forms, but the boss’ debuffs don’t, so make sure you apply Tarunda on it to reduce the damage done. When you see the boss use Unholy Convergence, it will be ready to use its ultimate attack, but you have a round in between to heal/apply buffs if you need to. On its second turn after using Unholy Convergence, it will unleash Pyramid Blast, which hurts a ton, even if you’re guarding and have Marakukaja active. It also seems to be able to inflict rage, but if you’re blocking, then that doesn’t matter, as guarding negates ailments.
When the Tomb uses Unholy Convergence (left), you have a round before it unleashes its attack, so use that to buff up (right).
BOSS - Mastermind
You thought you had won, but the boss rush continues, as you will now be fighting the Mastermind behind everything. In this first form (yes, there will be multiple forms here), the boss only attacks once per round and a large portion of the attacks are able to inflict the Fear ailment, which is why you should have bought the Relax Gels before coming here. Tyrant’s Fist will be the boss’ main attack here, which can hurt a lot, although it only targets a single character (can inflict Fear). You might also see the boss use Megidola, which hits everyone, but this attack isn’t too bad if you have Tarunda applied.
In addition to this, the boss can use Dekaja to remove your buffs and Evil Touch to inflict Fear on a single person. At around half health, the boss will begin using Deathbound, which can hit your entire paerty twice for physical damage (can also inflict Fear). It is towards the end of the battle that the boss will start using Heat Riser to completely buff themself, so either use Dekaja or debuff the important ones like accuracy/evasion and attack. You don’t have to worry about resistances, so use whatever you like for damage. Once the boss reaches 1 HP, they will switch over to their second form.
BOSS - Mastermind (Part 2)
Well, this boss is certainly something and they have gained a lot of moves to their repertoire, as well as two attacks per round. They have all of the same moves as last round, but has gained a bunch of other ones, including access to all of the Ma-Dyne spells, so you better hope your characters evade their respective weaknesses. Once the boss reaches half health, they will step it up a notch, opening with Tyrant’s Glare, which will give the boss an extra turn for that round only (so, three attacks on the same turn as Tyrant’s Glare is used).
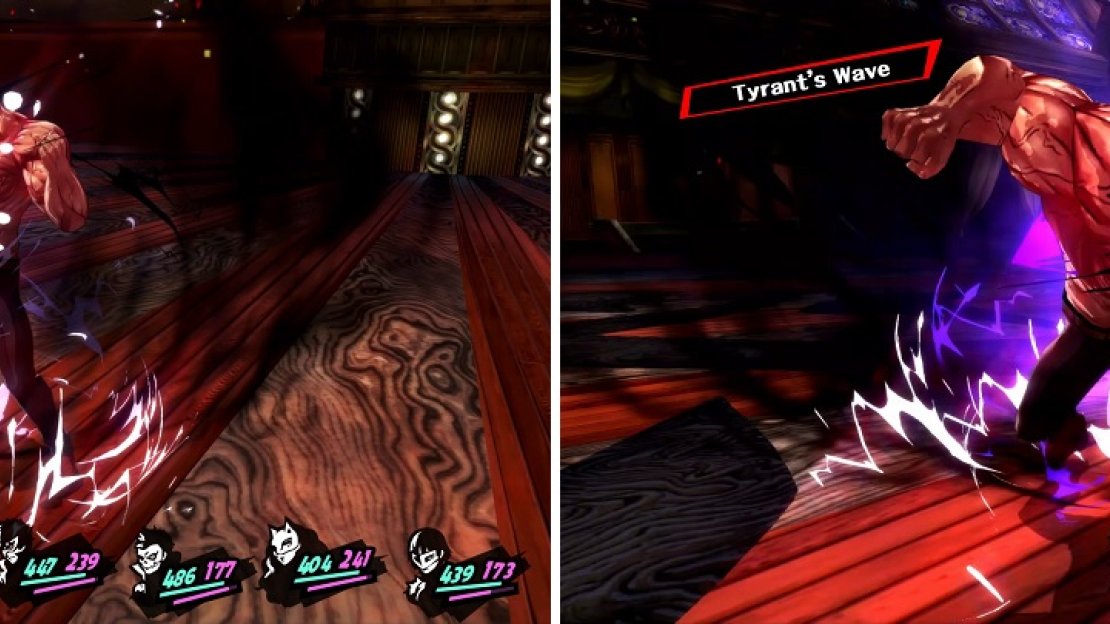
The boss typically does Tyrant’s Glare, a buff (Tarukaja or Sukukaja), a debuff (Masukunda; not sure if the boss has other debuffs) and then Tyrant’s Wave, which hits everyone in your party for some big damage. On turns when not using Tyrant’s Glare, the boss will upgrade their Ma-Dyne spells for the severe single-target versions (Inferno, Diamond Dust, Thunder Reign, Panta Rhei, Psycho Force and Atomic Flare). Should the boss happen to hit a character’s weakness, they will likely use their 1 More turn to either use Debilitate or Heat Riser (think of Debilitate as the Heat Riser version of debuffs and it only targets a single character).
Luckily, other than the Ma-Dyne spells, which go away under 50% health, and Tyrant’s Wave/Deathbound, all of the boss’ attacks target a single character. Considering the boss can use Dekaja to remove your buffs, it might not be a good idea to keep applying them, except for countering the boss’ debuffs. You will definitely want to keep Tarunda on the boss at all times, and if you want Rakunda and Sukunda as well, go for it. Having a dedicated healer is a good thing (Makoto fits the role without expending too much SP at this point), plus don’t forget you should have items as well in case of emergency.
Once his half is at 50%, he will begin using Tyrant’s Glare to get an extra turn (left), then finish the round with Tyrant’s Wave, damaging everyone (right).
The boss will finally go down and a lot of scenes will happen, with you eventually regaining control back in your room. As soon as you do, check your phone messages to see two from Mishima, one of which will contain a new Mementos request, The Head Honcho in Showbiz . If you’ve done every other one up to this point (you should have done all but one other), then this will be the final one. Go to bed, as there is nothing else you can do.


No Comments