April 9th
You get off the subway and regain control of your character, with the game offering a tutorial of sorts. If you ever get confused on where to go next, look to the upper right of the screen to view various hints. Your first objective is to head for your new lodging, so exit the station by either option on your map to get to the backstreets. Of course, your new place where you’ll be staying is in this area, but you have no idea on where the residence exactly is located.
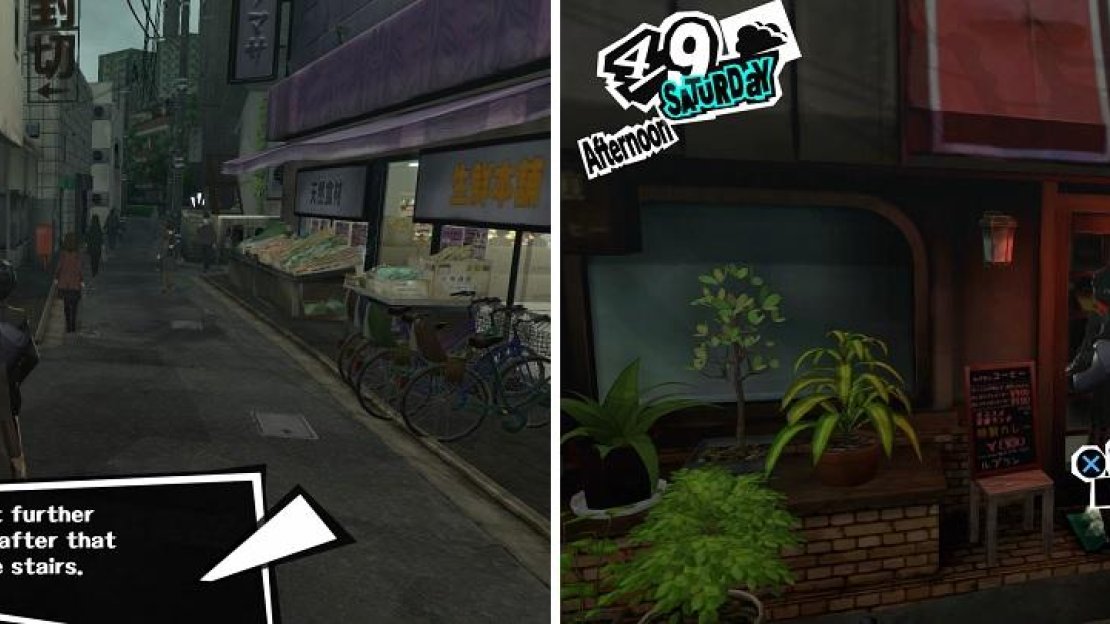
If you look at your map, you see a plethora of icons on it, but you can’t really do much of anything right now, so ignore them and set off for your main destination, Sojiro Sakura’s place. You should see a police officer with a speech bubble above his head not far from where you start, so walk up to him and press the X button to initiate a conversation. Ask for directions and you’ll be told the address is a bit further back, right after the apartment with the stairs.
You can talk to the police officer (left) to get instructions. The entrance to Leblanc is in the one alley (right).
Go northwest (according to the in-game map) and enter the alleyway with the mother and daughter, opting to listen to them if you want. At the end will be the entrance to Sojiro Sakura’s house, but it appears that no one is home at the moment. Luckily, a parcel deliveryman happens to stop by and mention that Sojiro is usually at his cafe around this time, so it appears you’ll be taking a detour. Leblanc is located in another alley and is marked on your map with an exclamation point, so it should be very easy to find.
Head inside and introduce yourself to the manager, who happens to be the Sojira Sakura you’re looking for. He’ll show you to your room, which is upstairs of his coffee shop and full of garbage and other junk. Sojiro will also explain why you were sent to him and mention you’ll be going to the school tomorrow to check it out. After he leaves, check out a few of the things in your room to get a prompt to start cleaning, which seems like a wise idea considering the amount of dust on the sofa and table. Sojiro will check in on you after you finish and mention you should go to bed early, which you should just do since you can’t do anything else.
There will be a flashback to the day of the incident that landed the main character in trouble. Just follow the street to the two people, then choose either option to continue and eventually go to sleep, only to awaken in some strange place. This is the Velvet Room and the man with the long nose is named Igor, while the children are named Caroline and Justine. You are merely introduced to this place for now, which will come into play as an important location in a bit.
April 10th
Back in reality, Sojiro comes into your room to bring you to meet the staff at your new school. You’re introduced to the principal and your new teacher, Sadayo Kawakami, who is less than thrilled with the current situation. With that out of the way, there will be more scenes, including one showing an accident and the prosecutor, Sae Niijima. Back at Cafe Leblanc, Sojiro will give you a diary, which is something you can use to save your game. Whenever you see the Options command in the lower left, you will be able to save, so make use of that and do it often.
Before you head to bed, though, go towards the stairs heading down to hear a phone ringing. It appears to be the cafe’s phone, so pick it up to hear Sojiro on the other line. He forgot to flip the sign on the door to “Closed,” so he asks you to do it for him. Go outside and flip the sign (you can’t go anywhere), then head back inside and use your bed for some well-needed rest.
April 11th
The next morning, it’s time to get to school, but you’ll have to use the subway to get there. This part can be a little confusing, as you will come to see, but it’s not too bad. Go downstairs and speak with Sojiro, who made you some curry for breakfast before you head to school. Eat it, give thanks, then exit the cafe. There are two markers on your map and either one will take you to the subway, so do that and when you get there, board any train to get to Shibuya Station.
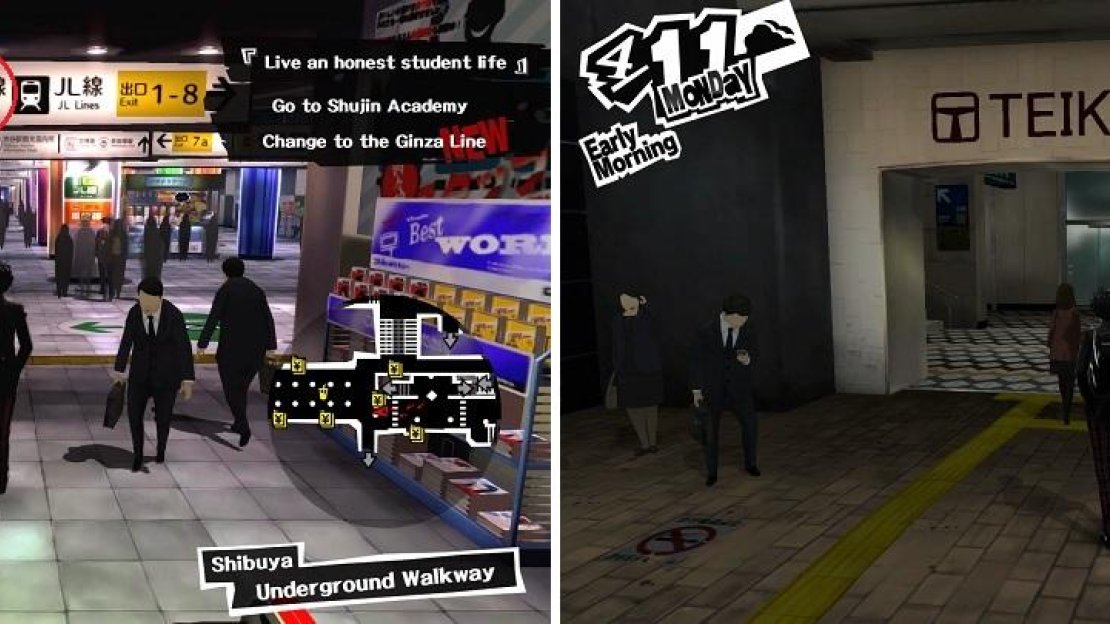
Follow the Ginza signs to get where you need to go (left). Go into the Teikyu exit for the detour (right).
Now, this is where it can get a bit confusing, as the map doesn’t point you in the right direction. Head up the stairs and make a U-turn, passing through the turnstile. Go to the northern end of this area here to find some escalators and more stairs, which you want to take. There will be three exits here, a left, middle and right. The middle is supposed to take you to the Ginza Line, but it’s being cleaned right now, so you’ll have to find another way around.
Take the right exit, up the stairs, to the Station Square. See the opening with “Teikyu” written above it? Go through there and up the stairs, then through the nearby turnstile to finally arrive at the train platform for the Ginza Line. Board the train and after a few more scenes, you will finally arrive at Aoyama-Itchome. Exit for some more scenes, where you’ll meet with some vulgar boy, who goes to the same high school as the one you’re heading to right now. There will be a flash forward to the interrogation room with Niijima from earlier, then it will go back to the time with the boy.
Mysterious Castle
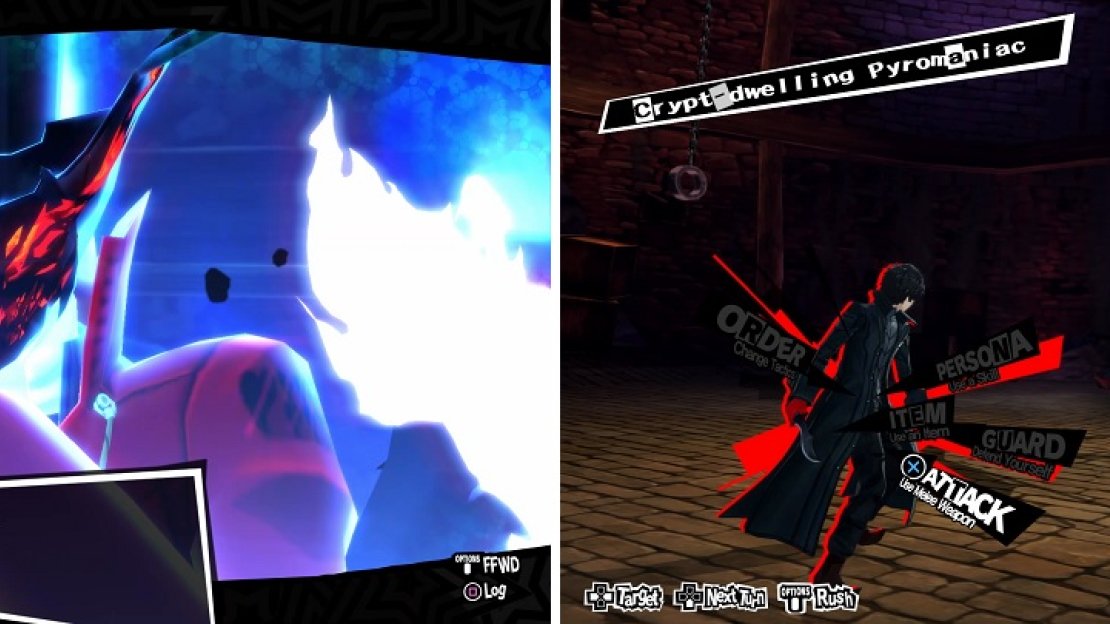
While walking with the boy you just met, you arrive at what is supposed to be the school, but it’s something else. Inside, some suits of armor approach and take you away, throwing you in a cell. When you finally regain control, you’ll be able to check the cell you’re currently in. Check some of the surroundings to initiate another scene, where you’ll see a familiar face and eventually be thrust into a battle after awakening to your Persona.
This is more of a tutorial battle than anything, as you’ll learn how to use Skills and your normal melee attack. Skills are accessed by pressing Triangle and there are two types, those that consume a set amount of SP (think of this as MP) and those that consume a set percentage of HP. SP-related ones are typically magic skills, while HP ones are usually physical skills. Access your Skills menu to only find one for now, something called Eiha. Hit either of the Crypt-Dwelling Pyromaniacs with it, then follow up with a normal attack to finish it off for good.
You awaken to your Persona, Arsene (left). You will be taught the basics of battling in your first fight (right).
Defeat the other in whatever way you want, ending the battle and causing your character to level up. Whenever the main character levels, his maximum HP and SP will increase. The aftermath of the battle leads to some confusion and an opportunity for you to escape, thanks to your “friend’s” help. It’s time to escape this place, so follow the path to another cell door to find it locked. If you look right next to it, there will be a broken bridge you can jump across, then ignore the dead end path and head through the opening.
You’ll find more platforms to jump across, leading to a southern path with another locked door at the end. Luckily for you, there is an open cell door right next to this, where you can crawl through a small hole, emerging past that previously mentioned locked door. Skip past the bridge and go to the end to find two guards standing watch, prompting Sakamoto to say to look for another way. So, cross the drawbridge and take the spiraling staircase at the end to find a door. This leads to some area with water and an open door to your left.
The open door leads to a long hallway of sorts that has another drawbridge, which is unfortunately raised, and a creepy looking statue next to it. Ignore those and head to the end, where you’ll hear a mysterious voice that belongs to some strange cat-like creature. After some deliberation, you set him free, so follow him to the statue to find a hidden switch on the statue that lowers the bridge. Cross it to initiate another scene, where you learn that Morgana has the same powers as you, leading to another fight.
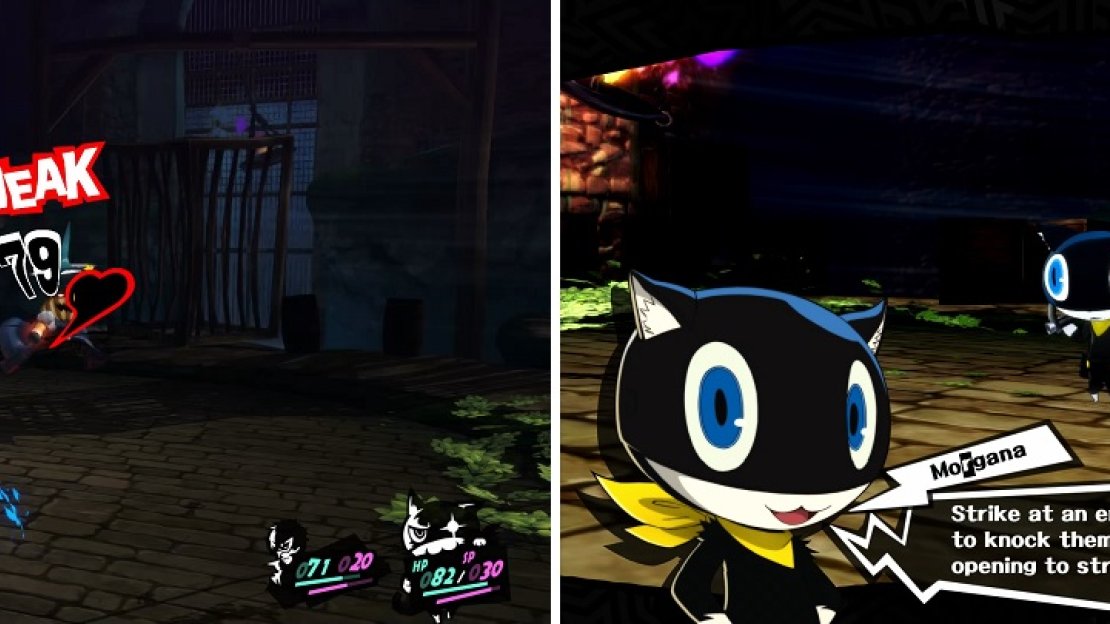
You are up against another of those Pyromaniac enemies, as well as a new one called a Bedside Brute. Choose whichever attack you want, with Morgana following it with Garu against the Pyromaniac, which is its weakness. You learn about weaknesses and their strategy in battle.
Striking an enemy with their weakness (left) will knock them down, allowing you to attack once more.
Finish the battle and not only will you get enough experience to get to level three, but your Persona will level to two, learning a new skill. Cleave is a physical skill and as mentioned briefly earlier, it will consume a percentage of your max HP when used. Morgana will talk a bit about Personas and hand over three Medicines. You will also receive a tutorial about Auto-Recover, which basically uses your party’s healing skills on all party members (Morgana comes with Dia). The problem with this is that you will consume SP like normal, which is a precious commodity, especially in the early game.
When you regain control and are finished, move down the hallway, up the stairs and to the end for a short scene before getting thrown into another battle. This time, you will be facing off against two Beguiling Girls and there’s something that needs to be said since the game doesn’t explicitly telling you. Press L2 when it’s your turn to analyze the enemy, issue tactics to your allies and even escape (you can’t do that this battle). Of course, analysis comes up blank, since you haven’t done anything against these foes, but they are weak to one of your attacks, specifically Curse. Use Eiha on them, more than once if you wish, to quickly finish the battle, then follow Morgana to the entrance hall. You eventually find the exit and after departing ways with Morgana, return to the real world.
Return to the Real World
After a little run-in with some police, you arrive at school and will need to head to the faculty office. It is located on the second floor, in the horizontal hallway; it’s the middle door there. You’ll introduce yourself to the class, watch some scenes and get invited to the rooftop from Ryuji after class has ended. Go up the stairs until you come to the door leading to the rooftop, where you’ll have a conversation with Ryuji. When it’s over, exit the rooftop and you’ll automatically head back home. There’s nothing to do right now, so head straight for bed, where you’ll witness another scene with Igor.


No Comments