Part 1: Rescue Chico
As we start the mission, if you turn around to face the ocean and look at the edge of cliff over to your right, you will find the first XOF Patch collectible [1/9] .
We can also grab the second of these patches at this time (or any time really) as well. It is actually attached to Snake’s clothing and you will need to go into a prone position and roll back and forth around 8-10 times. When you have rolled enough times a short cut-scene will trigger. Afterwards the XOF Patch will appear on the ground next to you [2/9] .
$$$item 4001
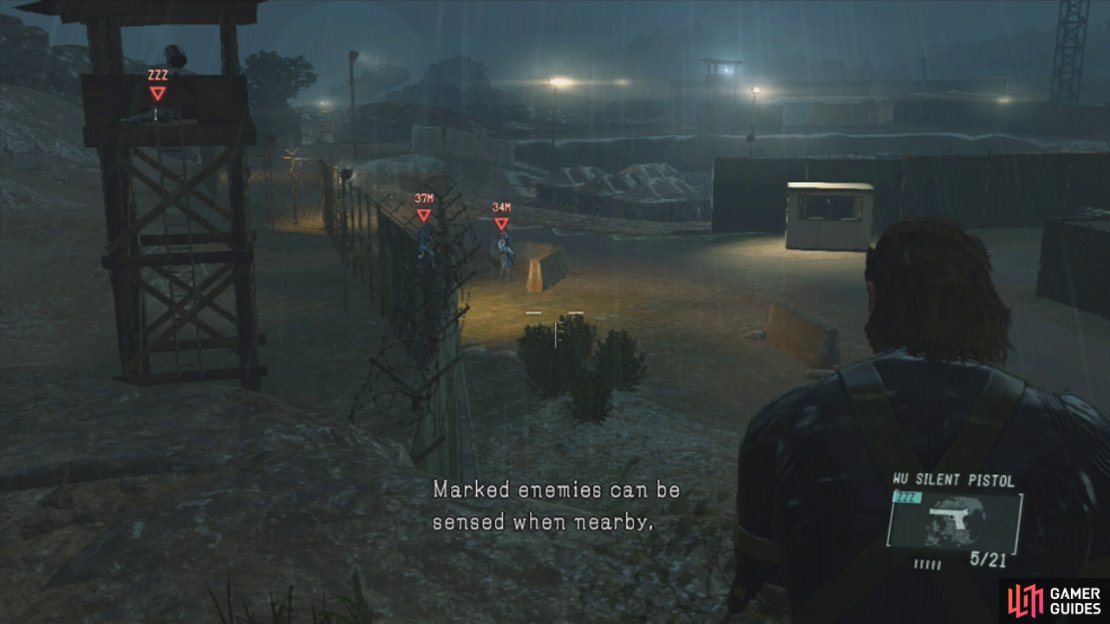
To begin the mission, move forward slightly until the game prompts you to pull out your binoculars. Take this opportunity to learn about tagging. Tag the guard in the tower with the search light ahead and the two additional guards behind the fence on the left.
Once you have done that, wait for the searchlight to swing back towards the fence, and then run forward, hugging the wall until you reach part of the cliff blocking your way. Quickly climb up onto this and follow the small dirt path to the right. At the end of the path, you’ll see the guard in the tower right in front of you. Switch to your tranquiliser gun and pop him in the head to knock him out.
Drop down to the path below and follow it to the right. When you can go no further and need to drop down, hang out on the ledge for a moment and use your binoculars to tag the enemies to the east. There should be one in the guard tower in the distance and another in the tent area just north of the guard tower that visible from the ledge. Wait for a vehicle to drive by, and then drop down into the base.
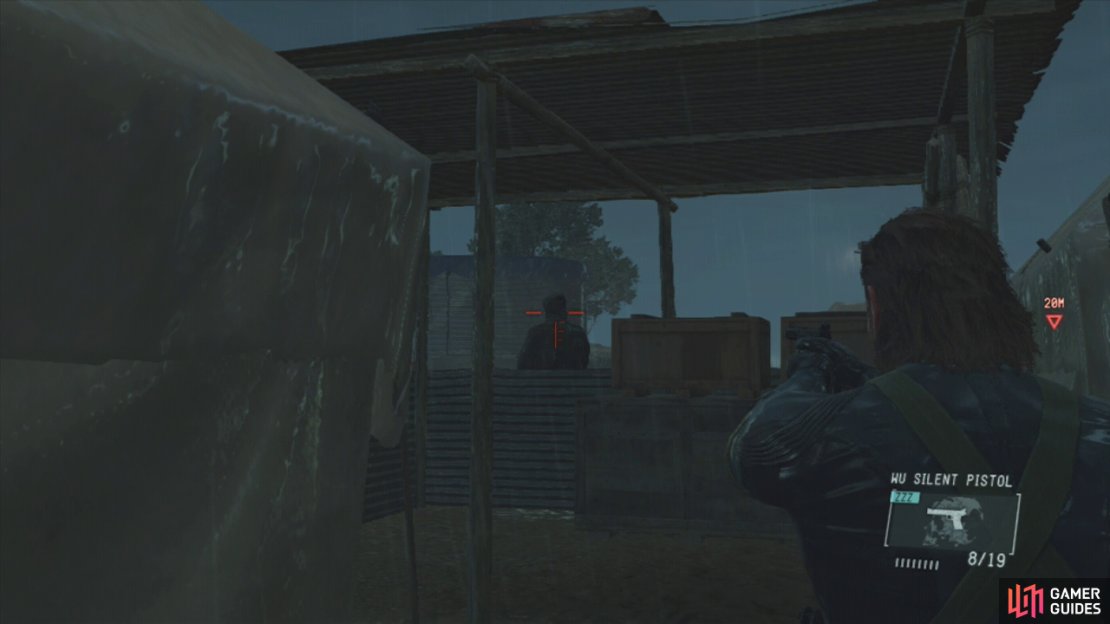
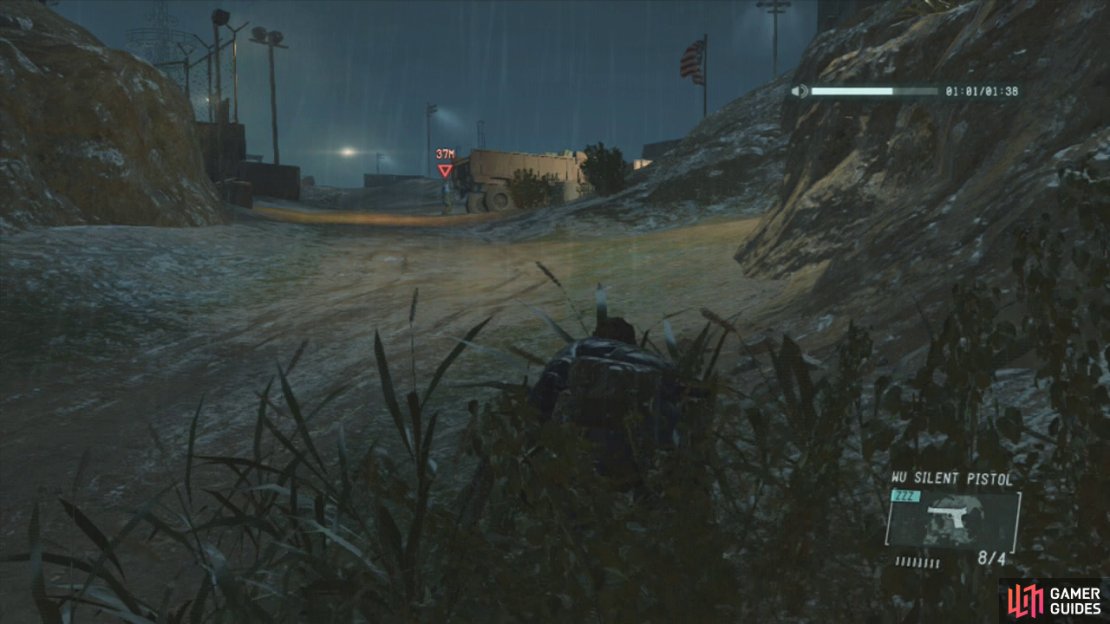
Stay in the shrubs here for a moment, as one of the guards we tagged earlier will walk past. Take him out and hide his body. Continue straight across the street and continue to the east towards the camp here. There will be 2-3 enemies in here. There will be 2-3 enemies in here. One is standing with his back to a shelter in the centre of the camp and another patrolling from north to south. Work your way through the camp here, taking out the guards whilst using the tents as cover and avoiding the spotlight.
Go to the far eastern side of the camp and hop the fence. Jump into some of the shrubs here so you are out of sight. You’ll spot a small guard hut across the road nearby. A guard will appear near this, so take him down when you get the chance. Hide his body inside the hut and grab the tranquiliser ammo from the corner.
Follow the path behind the hut down to the prison area. There are another two guards patrolling this area. There is one inside the fence and one along the northern perimeter on the outside. Work your way over to the guard outside and take him down quietly, hide his body and then do the same for the guard inside.
Once the guards are clear, you can look on the ground just to the right inside the gate for another XOF Patch [3/9] . Now take stock of the area. There are five prisoners inside cages here, and our mission target is the fellow in the cage just to the left as we enter the prison gate. Before checking it out, look in the cage directly behind Chico for a collectible Cassette [Metal Gear Solid V: Ground Zeroes Tape] . Now go interact with the lock on his cage for a story cut-scene. You’ll earn the ‘Reunion’ trophy/achievement at this point.
$$$item 4002
$$$item 4012
Exit the gate and move along the dirt path. Look for a small ledge appearing on the right as you go. We’ll need to use this to avoid being spotted by two guards who appear near the guard hut ahead. If you are quick enough, you can get by before they can detect you. Follow the top of the cliff until you reach the rendezvous area.
Pull out a flare grenade or use the call function in your iDroid to call your evacuation chopper. Load the prisoner/s onto it when the helicopter arrives for a cut-scene. At this point, you will obtain a collectible Casette [Chico’s Tape 3].
$$$item 4013
Part 2: Locate Paz
Backtrack along the Cliffside path until you reach the second guard post (there is another XOF Patch [4/9] on the roof of this if you are interested). Listen to the conversation of the pair of guards here – they speak about executing a prisoner. This is an optional objective that you can attempt if you wish to do so for an achievement/trophy. Once the guards separate, knock out the guy at the hut and then track down the enemy patrolling away. Grab and interrogate him to learn the location of the execution.
$$$item 4003
Follow the path back to the main base. As you approach, you’ll see a flatbed truck parked ahead. At this point you can make a choice – we can undertake an optional objective to rescue the guard who is destined for the firing squad for an achievement/trophy and some additional points towards your mission score along with another pair of XOF Patches to add to your collection. If you wish to do that, we needd to do it now as if we wait too long, he’ll be executed and we won’t be able to rescue him, alternatively we can hop into the back of the truck for a quick, easy shortcut into the base.
Optional: Rescue the Prisoner from Execution
If you plan to stay and assist the prisoner on death row, sit back and allow the truck to drive off.This prisoner is located in the execution ground, a camp on the western side of the map close to where we started the mission. Backtrack the way we came by working your way down the main road, using the bushes to the left as cover. Continue going until we are close to the starting point the mission. When you see the Anti-Air gun on the opposite side of the street, look to the left to see a large green fence. The execution ground is behind this.
Sneak over to this location, making sure to look out for enemies (there is usually one in the guard tower next to the AA gun and another in the tower west of the execution ground, an additional guard patrols the road to the north of the execution ground as well) feel free to go about tagging, avoiding and neutralising as you see fit. Crawl through a gap in the fence to the execution ground when you are ready (if you don’t the enemies below will likely spot you).
Below you’ll see a prisoner up against a wall with three enemies standing in front of him. Tranquilise all three from above, before dropping down and grabbing the prisoner. Note there is also a XOF insignia patch [5/9] on the pile of rubbish to the right of the prisoner.
$$$item 4004
To extract him, you can either stealth all the way back to where you extracted Chico earlier, or you can cross the street and unlock the gate to return to the mission start point. We can drop a flare grenade here to summon a chopper and load him up. You will earn the achievement/trophy ‘Rescue’ at this point.

Rescue
In the "Ground Zeroes" mission, rescued the prisoner to be executed and extracted him via chopper

50
Return down the hill and back through the gate. Follow the road north past the execution ground using the cement blocks and shrubs on the left hand side for cover. Keep an eye out for enemies as there is usually one or two patrolling between the warehouse buildings on the right of the road. Continue to follow the left hand fence and when you reach the end of the road, you’ll find a wire fence housing a transformer area. Pick the lock to enter here and climb up onto the westernmost transformer to find another XOF Patch [6/9].
$$$item 4005
Exit the wire enclosure and use the shrubs as cover to climb the hill to the north towards the heliport. From the top, look through the fence and use your binoculars to tag any enemies you can see.
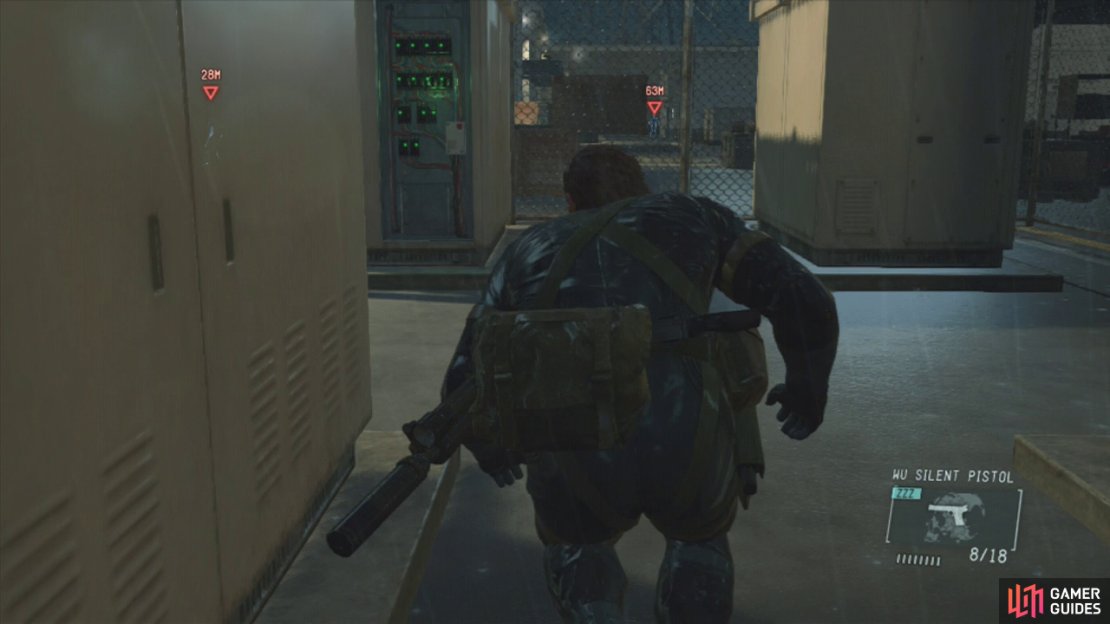
When it is safe to do so, hop over the fence and head to your left. Take out the guard by the orange door and enter the access tunnel via the open grating behind the red and white wooden barriers nearby. Crawl through and hop out when you reach the far side. You’ll be in a fenced-off transformer area. Once inside the transformer area, move up and interact with the loose panel with the glowing green lights behind it to disable the power. Now, skip down to Part 3: to continue.
If you want easy access to the base hop into the back of the truck when nobody is looking. A guard will get into the truck and drive it into the base. Convenient!
If you took the truck into the base, once the truck is through the main gate, hop out of the back of the truck and run into the small side-alley here. The guard will then reverse the truck and park it in the alley with you. Dispatch him once he is gets out of the vehicle. Note that the rack behind the flatbed has more tranquiliser ammo if you require it.
Now that we are in the admin area, you should note that there are security cameras everywhere. So in addition to avoiding guards, you’ll also need to take care not to be spotted by the cameras as well. Fortunately there is a quick and easy way to shut them down.
Stand with your back to the truck and look to the right to see a small gap beneath some pipes in an alley to the left. Crawl beneath these and hop up onto the fence at the end of the short passage.
Upon dropping down the far side, note the ladder to your left – we’re going to be going around the corner behind it in a second. But first inch forward into the area a little and look to the right. There are 3-4 guards in this large area here, so you should try and tag as many as you can at this point.
When you are good to go, turn back to the ladder and make your way around the corner to the left behind it. Follow the path alongside the wire fence all the way around until you find a locked door in the wire fence. Ignore this for now and continue until you find a red door nearby. Peek through the bars at the top of the gate and neutralise the guard on the other side with a headshot. Return to the locked gate and interact with this to unlock it.
Part 3: Disable Power & Rescue Paz
Once inside the transformer area, move up and interact with the loose panel with the glowing green lights behind it.
Interacting with the green lights behind the open panel in the transformer area will disable power to the building which will disable search lights and video cameras. This also triggers the closest enemy to your position to investigate.Keep an eye out for the approaching guard and ambush him as he moves to look at the panel. Hide the body.
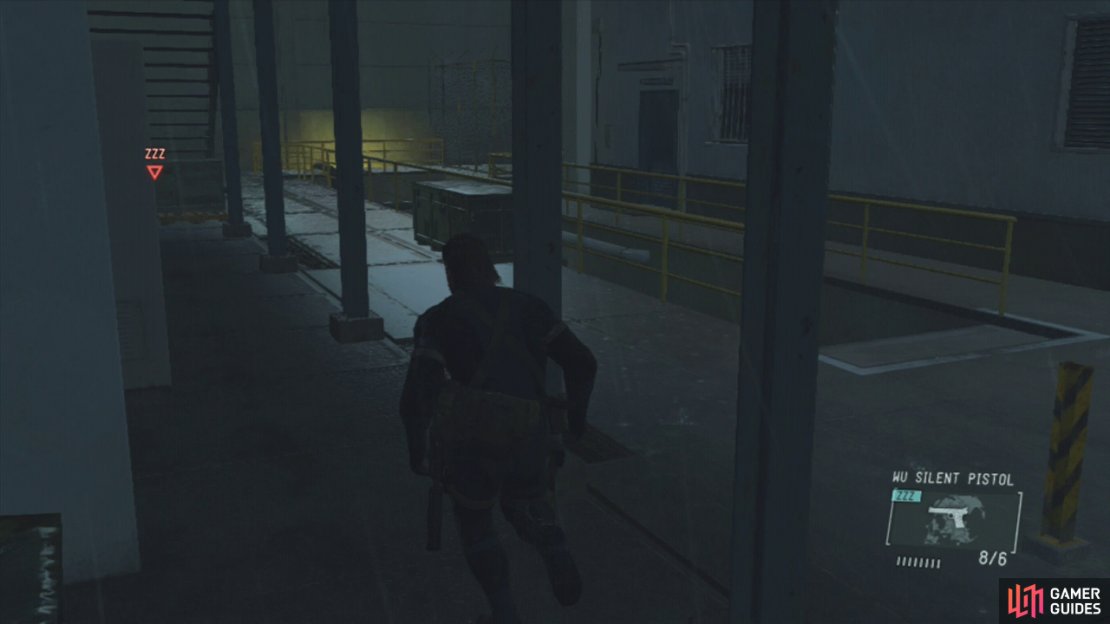
Exit the fenced area via the door to the left of the power panel and crawl beneath the building in front (you can unlock the door to this building to find an armoury with weapons, ammo and grenades/claymores). Pop out the other side and make your way down the narrow path to the left of the next building. Slowly crawl out the far end of the alleyway as there will be a guard straight ahead looking your way.
Slowly crawl up to tranquilise that guard. Now turn around and take out the guard just to the right of where you exited the passage behind the building. Finally, just across the street, you’ll see a third guard who is inspecting some machinery. Quickly sneak up and give his noggin a flogging! Just to the north of this location, you’ll see a set of stairs with a flashing yellow light.
Now that it’s clear, there is a collectible Cassette [Chico’s Tape 2] located up the ladder just to the east of the transformer area in the courtyard. You’ll find it on the desk of the guard tower at the end of the raised walkway.
$$$item 4011
Return down the ladder to the courtyard. Before descending the stairs with the yellow lights to the north, check that there are no guards on the balcony above and to the left or on the ground just behind the railing overlooking the stairs. If there are, move on up and tranquilise them before proceeding.
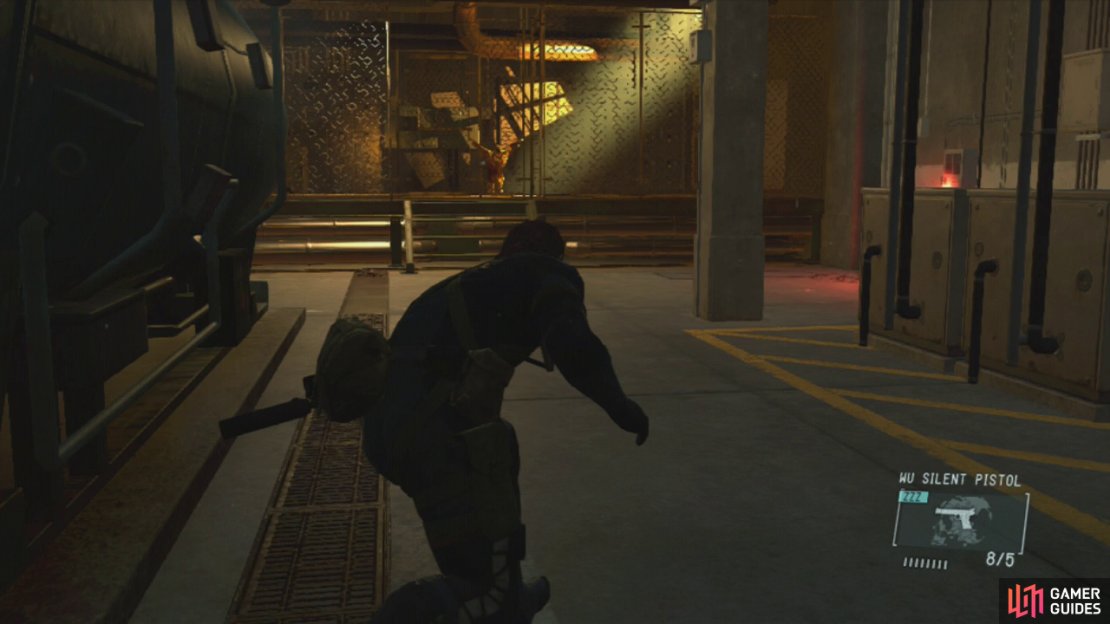
When it’s clear to do so, descend the stairs and look into the room to the right as you go. There is a patrolling guard in here, so use the machinery along the right hand side of the room as cover to sneak up on him and subdue him. Hide his body behind the machinery and continue through the door at the far end of the room.
Take the right hand door to find a second boiler room. If you have alerted any guards during the mission, there will be a pair of enemies waiting for you in here. If not, it should be all clear, but just to be safe, move up the right hand wall behind the machinery until you reach the far end, dispatching anyone by flanking them via the boilers along the way.
Paz is in the cage on the eastern side of the room. Note, that interacting with the door will cause a guard shift change, meaning new enemies walking about. As such, beforehand we can go and grab the final three XOF patches.
Paz is located in the cell of the second boiler room.
Optional: Collect the final 3 XOF Patches
Before interacting with the cage, return to the previous room and take the door opposite. Sneak up the stairs and tranquilise the guard in the courtyard. Note the orange door at the far end of the area. This leads back outside to the helipad area. Climb on the transformer in the middle of the courtyard closest to the door. From here jump across to the low roof nearby. Inspect the air vent to find another XOF Patch [7/9].
Now go through the door to the heliport and immediately turn left outside. Find the maintenance duct next to the scissor-lift by the crates here. There is an XOF Patch behind the grating here [8/9] . From here, look to the centre of the heliport and find the orange and white striped wind sock. Sneak out to this area and look on the ground slightly south of the flag, between two helipads you’ll find the final XOF Patch [9/9].
$$$item 4006
$$$item 4007
$$$item 4008
Part 4: Extract Paz
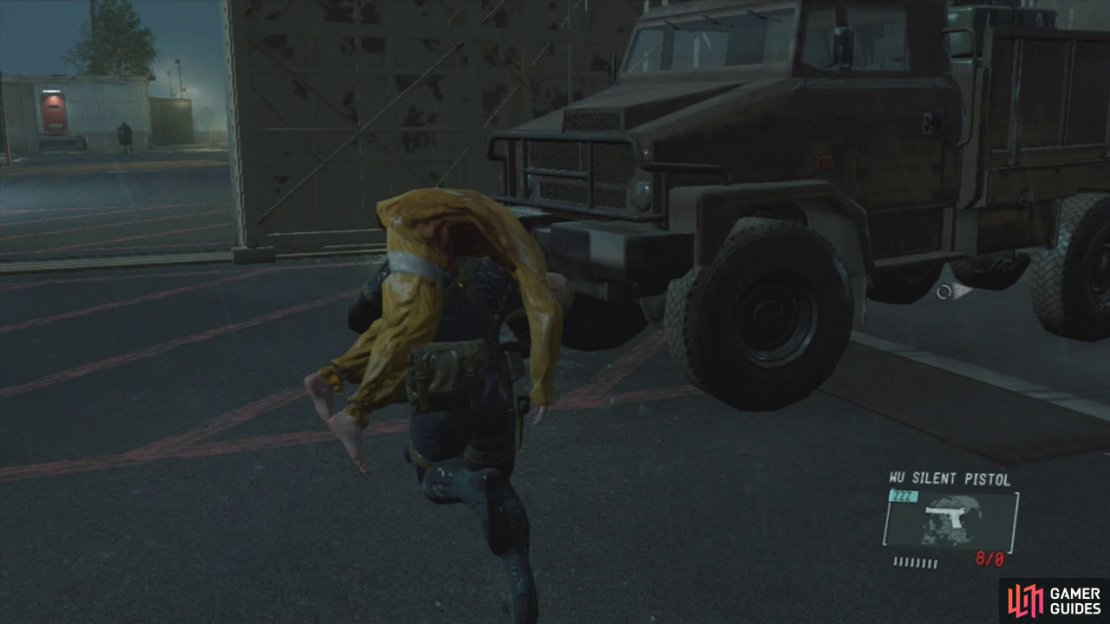
Interact with the door to Paz’s cell for a cut-scene. Following the scene, we’ll have the second target prisoner on your back. Make your way to the previous room and tranquilise the guard who is now occupying it. Backtrack to the first boiler room and put the prisoner down behind the machinery. A couple of new guards will have appeared on the stairs with the yellow light that we descended before. They will enter the room. Use the machinery as cover to flank them. Hide their bodies.
Exit back out to the admin building courtyard and clear it of any new (or recovered) guards in the area.
The quickest way out of the base (if you don’t particularly care if you get spotted), is to grab the target and return to the truck we rode in on (it’s down the street to the left near the large opening gate for those who rescued the prisoner instead). Walk over to this and place the target in the passenger seat.
At this point, you’ll want to pull out your iDroid and summon a helicopter to the mission start location or to the extraction point near the prison – your choice! Now get in the driver seat. Drive the truck through the base to the extraction point you called the chopper to. Note that unless you nave neutralised everyone beforehand you will most likely be spotted at this point, so make sure you don’t crash into anything or the tank on the helipads will get you!
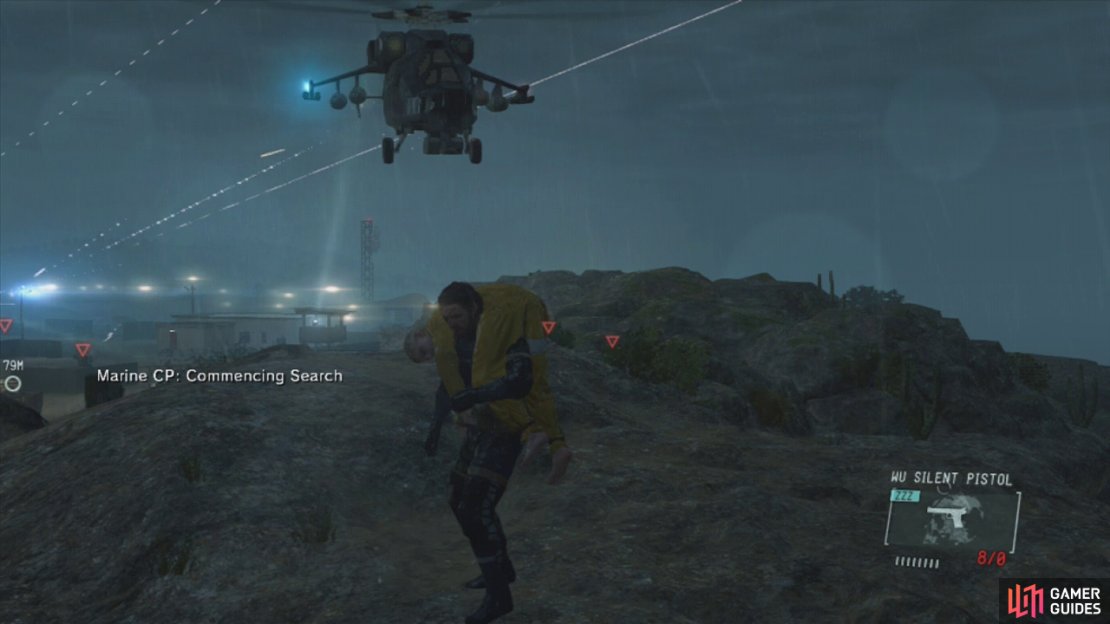
Once you arrive at the extraction zone, if you have alerted the guards you’ll need to quickly pull the prisoner out of the car and run for the landing zone. By the time you reach the extraction point, the helicopter will have arrived. Run over and hop aboard the helicopter to complete the mission.
Summon the helicopter to your extraction point of choice and get on to end the mission.
At this point you will earn the ‘Downfall’ Achievement/trophy. If you extracted the prisoner who was to be executed, he will also give you a cassette [Chico’s Tape 4].
$$$item 4014



No Comments