Part 1: First Target - Palitz
From the start, work your way along the cliff top path. Neutralise the guard on the outcrop above and make your way over to the nearby guard post facing the entrance to the prison area. Get into a prone position here and wait for a vehicle to arrive at the gate to the prison, if you have time, try to also tranquilise the guard patrolling from the prison gate to the cliff nearby and back before it arrives (but it’s probably not worth the risk). When the vehicle stops, two guards will emerge from it. Take all of them down.
Continue past the prison area and up the next dirt track. When you reach the guard post at the top here, pop the guy across the road with a tranquiliser and then tag the enemy in the spotlight watch tower further down the road. Deal with him as you see fit. Work your way down the road, using the bushes to the left as cover and continue going until we are close to the starting point of the Ground Zeroes mission. When you see the Anti-Air gun on the opposite side of the street, hide in the bushes. From here we can look across the street to the guard tower. Also of interest is the orange door to its right of the tower which can be unlocked for a range of ammo supplies and a collectible Cassette [Chico’s Tape 6].
$$$item 4015
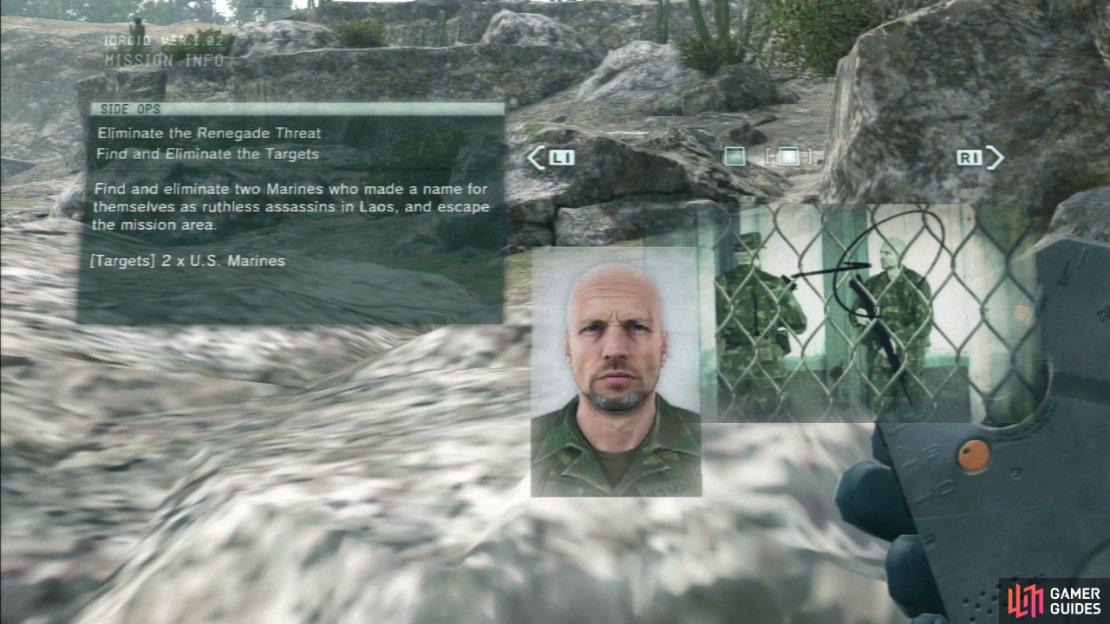
The first target as seen in the iDroid.
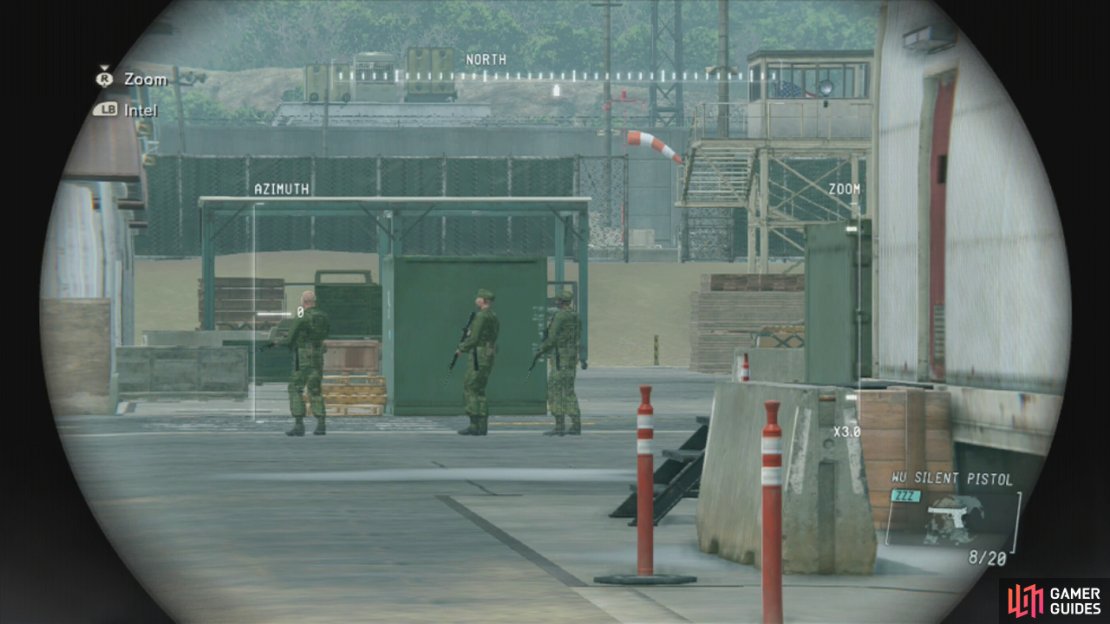
The first target patrols from behind the guard tower here, across to the execution area to the west and back fairly regularly and is flanked by two bodyguards.
The bald fellow is our first target.
Use your binoculars at this point to tag our target and his pals before doing the same for the other enemies in the area.
In addition to baldy and his pair of bodyguards, there is also a dude in the guard tower in the centre of the area opposite your location, another standing by a jeep behind it and to the left and another by the fence that lines the execution ground across the road to the left of the AA gun. There is one more patroller in the execution area.
You’ll have to pick your moments and methodically take them out one at a time. Once you have subdued the target, pick him up and unlock the fence along the main road nearby to get to the starting point of the Ground Zeroes mission. Pop a flare grenade here and place the captive onto the helicopter when it arrives.
Part 2: Second Target - Glaz
Return down the hill and back through the gate. Follow the road to the north, using the cement blocks and shrubs on the left hand side for cover. Keep an eye out for enemies in case you missed one earlier. Continue along the left hand fence and go behind the building via the passage on the left when you are able to do so. At the end, hop over the barricade and use the shrubs as cover to climb the hill.
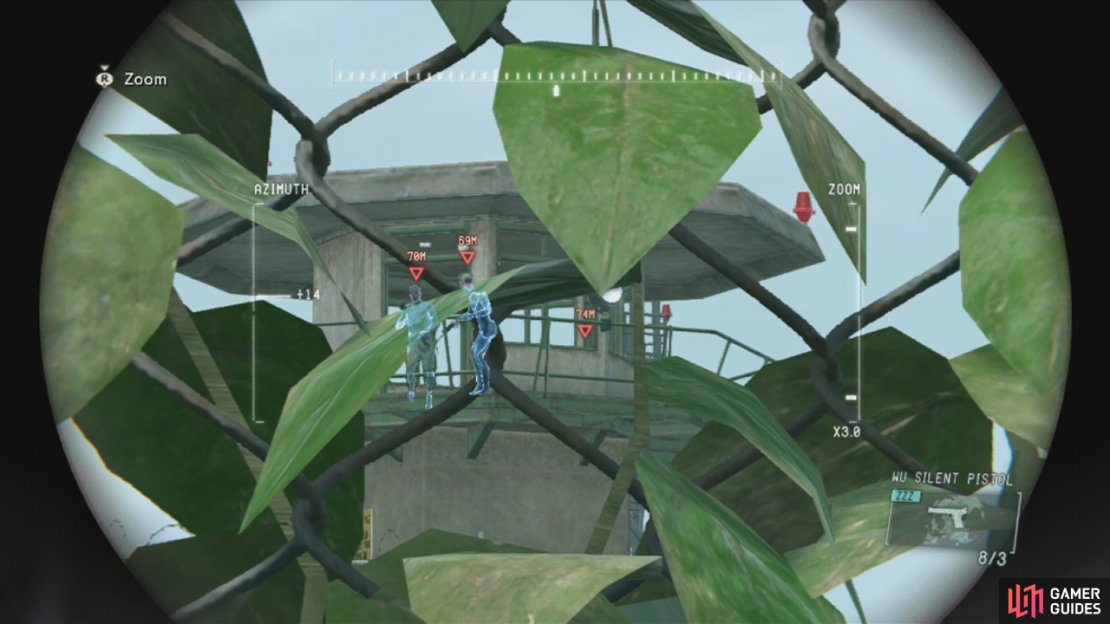
The second target as seen in the iDroid.
From the top, look through the fence and use your binoculars to tag the target who is currently located in the large guard tower overlooking the heliport and the guard by the orange door to your left.
When it is safe to do so, hop over the fence and head to your left. Take out the guard by the orange door and enter the access tunnel via the open grating behind the red and white wooden barriers nearby. Crawl through and hop out when you reach the far side. You’ll emerge in the fenced off area with the power panel that you may have used earlier in the Ground Zeroes mission.
As you cross the heliport, the second target will have moved and is now located just outside the fence in the admin building courtyard and again, like the previous target he is flanked by a pair of bodyguards. He’ll patrol between the stairs leading down to the boiler rooms and the gate leading to the helipad. In addition there are another two visible guards in the courtyard area as well (one leaning up against the building on the left and another near the stairs down to the boiler room). Chances are if you poke your head out you’ll be spotted by one of the enemies, so wait a few moments for the target and his entourage to turn away, then inch out and tag them all.
The second target is located inside the guard tower overlooking the heliport. He’ll move to the admin building as you move across the helipads.
Once the target is away, allow the guard leaning up against the building ahead to spot you for long enough so that he comes to investigate, he’ll unlock the gate for you. Take him out. Exit via the now open gate and crawl beneath the building in. Pop out the other side, and make your way down the narrow path to the left of the next building ahead. Slowly move forward at the end and look up the stairs directly in front of you. Neutralise the guard patrolling up here.
Now wait here for the target and his bodyguards to come back. Take them out one at a time until all three are sleeping. Pull out your assault rifle and shoot the video camera on the wall opposite the vehicle parked in the area. This will draw another enemy who was located near the gate to the helipad. Knock him out as well. Now we have a couple of options on how to extract him.
Firstly, you can backtrack through the base until you reach either the extraction zone where we started the mission or to where we extracted the other target earlier, summon a helicopter and board it with him.
Alternatively, if you want to be a bit quicker and don’t particularly care if you get spotted, we can grab the target and load him into the jeep here. Hop into the driver’s seat and drive it over to the gate to the helipad. Quickly pull out your map. Note the road just to the south of the execution ground, if we drive along this road we can exit the camp and complete the mission. Just drive through the base until you reach the exit trying not to hit any enemies as you go (as this will count as a kill).


No Comments