Part 1: Sabotage the Anti-Air Guns
As you start the mission, you’ll note that there is an Anti-air gun directly in front of you on the other side of the fence. In the distance, the other three AA guns will be marked on your HUD. Make your way over the fence and work your way to the first Anti-Air gun. Be sure to tag the enemies you see. There are usually 2-3 in the immediate area, with one by the AA gun to begin with, a second behind it amongst the crates and another by the red armoury door to the east of the AA gun. Tranquilise them, approach the target and plant a piece of C4 at its base. Don’t worry about detonating this one just yet.
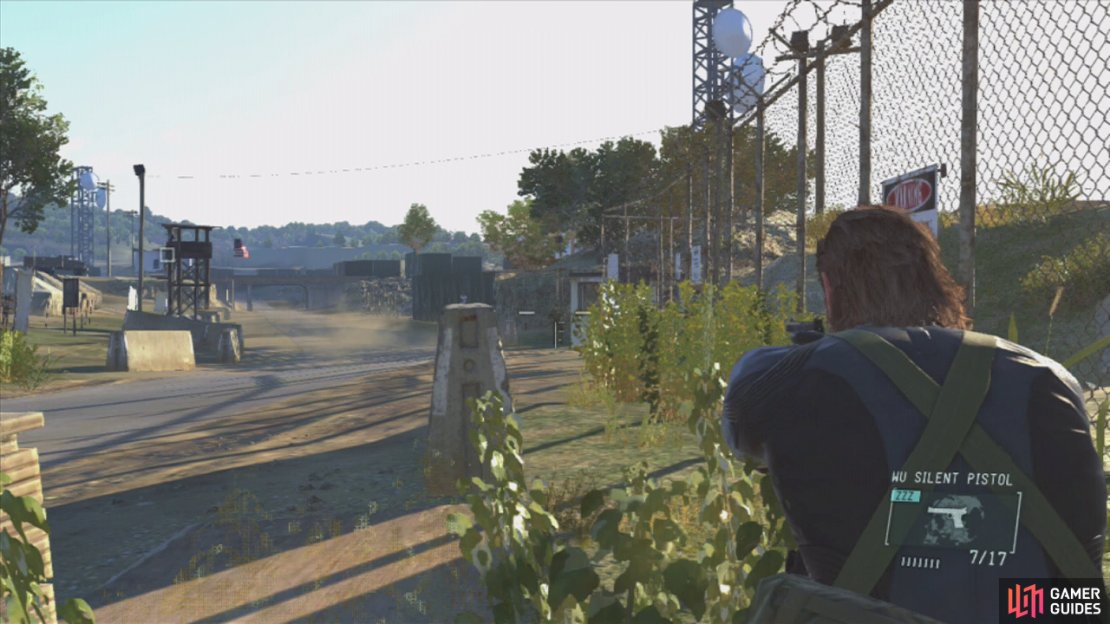
At around about this time, the guards will all go onto alert and their patrol patterns go out the window for the duration of the mission. Return to the road to the south and work your way along the fence to the east using the concrete blocks and grass as cover. Feel free to keep scanning to the left to check for any enemies to tag so that you can keep an eye on them. Continue along the fence around the corner until you reach the dirt path leading down to the prison area.
make your way olong the fence, using grass as cover.
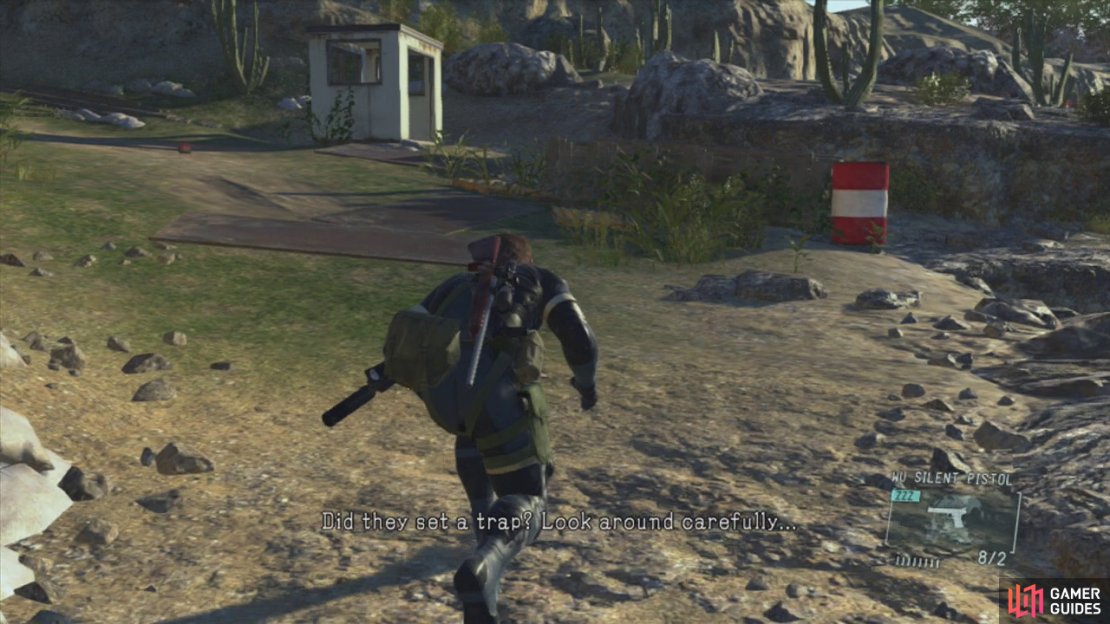
There is usually a guard patrolling between the guard hut here and the prison even in alert mode, so make sure you look for him. Grab the tranquiliser ammo from the corner and make your way down the hill to the prison. As with the Ground Zeroes mission, there are likely to be two guards in the area with one patrolling on the outside of the fence and another either inside the prison or in the guard tower. Neutralise them both.
There is usually a guard patrolling between the guard hut here and the prison even in alert mode, so make sure you look for him. Grab the tranquiliser ammo from the corner and make your way down the hill to the prison. As with the Ground Zeroes mission, there are likely to be two guards in the area with one patrolling on the outside of the fence and another either inside the prison or in the guard tower. Neutralise them both.
Beware, the mines!
It should be noted that the guard post outside the prison gate and the top of the hill beside it looking over the Cliffside path is now covered in proximity mines. To get past the booby-trapped road by the guard post, you can move around just to the right of the guard post to avoid the mines. Continue up the dirt path until you reach the major road. From this position, you should be able to see another two AA gun emplacements – one directly in front of you and another on the raised area at the edge of the helipad to the right.
Optional: Rescue the Final Prisoner
Before we do anything else, this is a good opportunity to go and get the last prisoner. He is hidden inside the admin building in the boiler room where Paz was being held during the Ground Zeroes mission. If you wish to do so, work your way up the road to the right and take your time crawling and working your way between various bits of cover, popping any guards who get too close and staying out of sight in general until you reach the orange door next to the large gate. Enter this and dispatch the guard inside.
Time your run to the stairs to avoid the video camera and then clear any enemies out of both boiler rooms before approaching the prisoner and picking him up. Backtrack back up the stairs (again avoiding the camera) and out the orange door. Once again, work your way across the helipad areas to the east, turn the corner and take the small side road down, past the guard hut to avoid the mines. Make your way tot he nearby extraction point.
Call a helicopter and extract this prisoner along with any others you brought down earlier from the beach here.
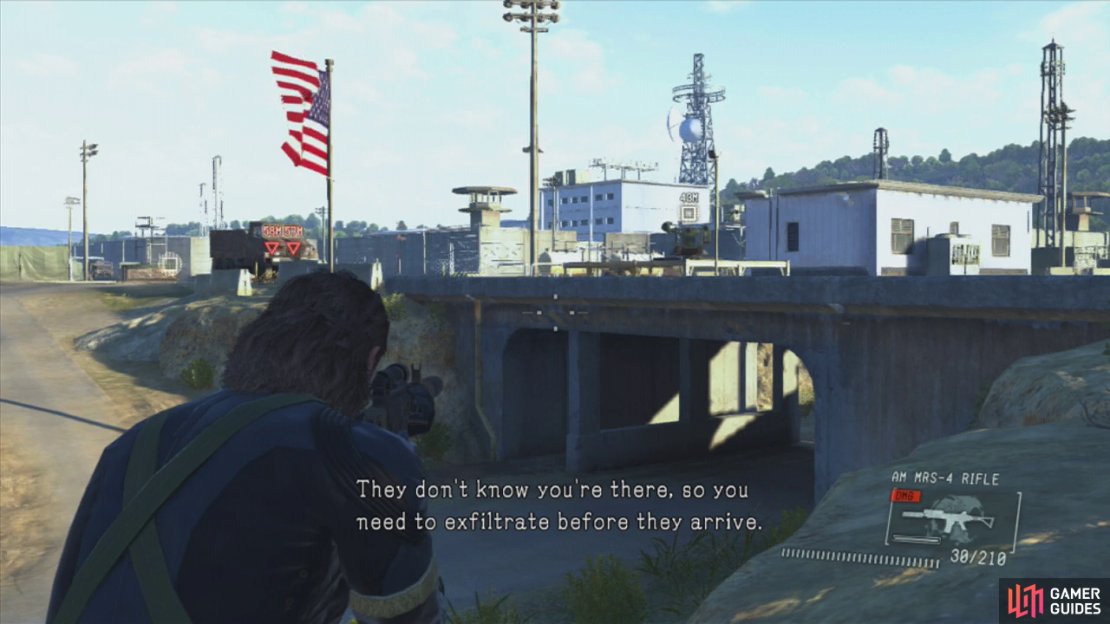
Return to the guard hut next to the dirt road leading up to the main base until you reach the main road. From here, you’ll want to look to your right at the AA gun above. Pull out an assault rifle and zoom in beneath it. You should be able to make out a red barrel. Shoot this to destroy the AA gun.
zoom in on the AA gun and you should be able to shoot the red barrel behind it.
Next, whilst the guards inspect this, crawl over to the other AA gun directly in front of you, neutralising any enemies in close proximity and plant another piece of C4 on it. Retreat back to the dirt path.
Pull out your C4 and detonate it (Hold L + Y for X360/XOne, Hold L1 + Triangle for PS3/PS4). This will destroy the other two turrets that you had rigged.
Part 2: Escape
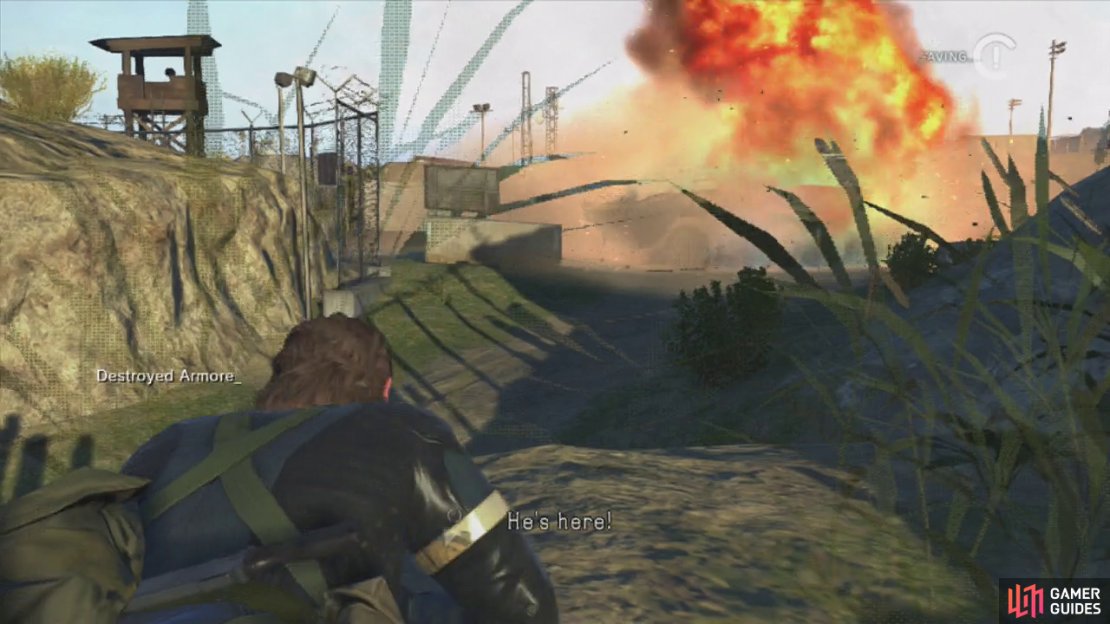
At this point, enemy armour will appear and you will need to destroy it before you can extract. To do this, simply run up to the main road and plant your remaining three sticks of C4 in the centre. Now back off down the path again, go prone in the grass and wait. As the armour travels along the main road to inspect the site of the explosion nearby, it will take it about 30 seconds to a minute to reach you. When it reaches the C4, detonate it to destroy the vehicle.
As the armoured vehicle is destroyed a timer will appear on the screen. We need to extract before it runs out.
Plant the C4 on the road and wait for the armour to drive over it.
When you are ready to finish the mission, with or without extracting the prisoners, run back down the cliffside path to the beach (where we extracted Chico in Ground zeroes). Pop a flare grenade to summon a helicopter and board it when it arrives to complete the side-op.
$$$item 4019

Extraction
In the "Destroy the Anti-Air Emplacements" Side Op, rescued and extracted all prisoners via chopper

50


No Comments