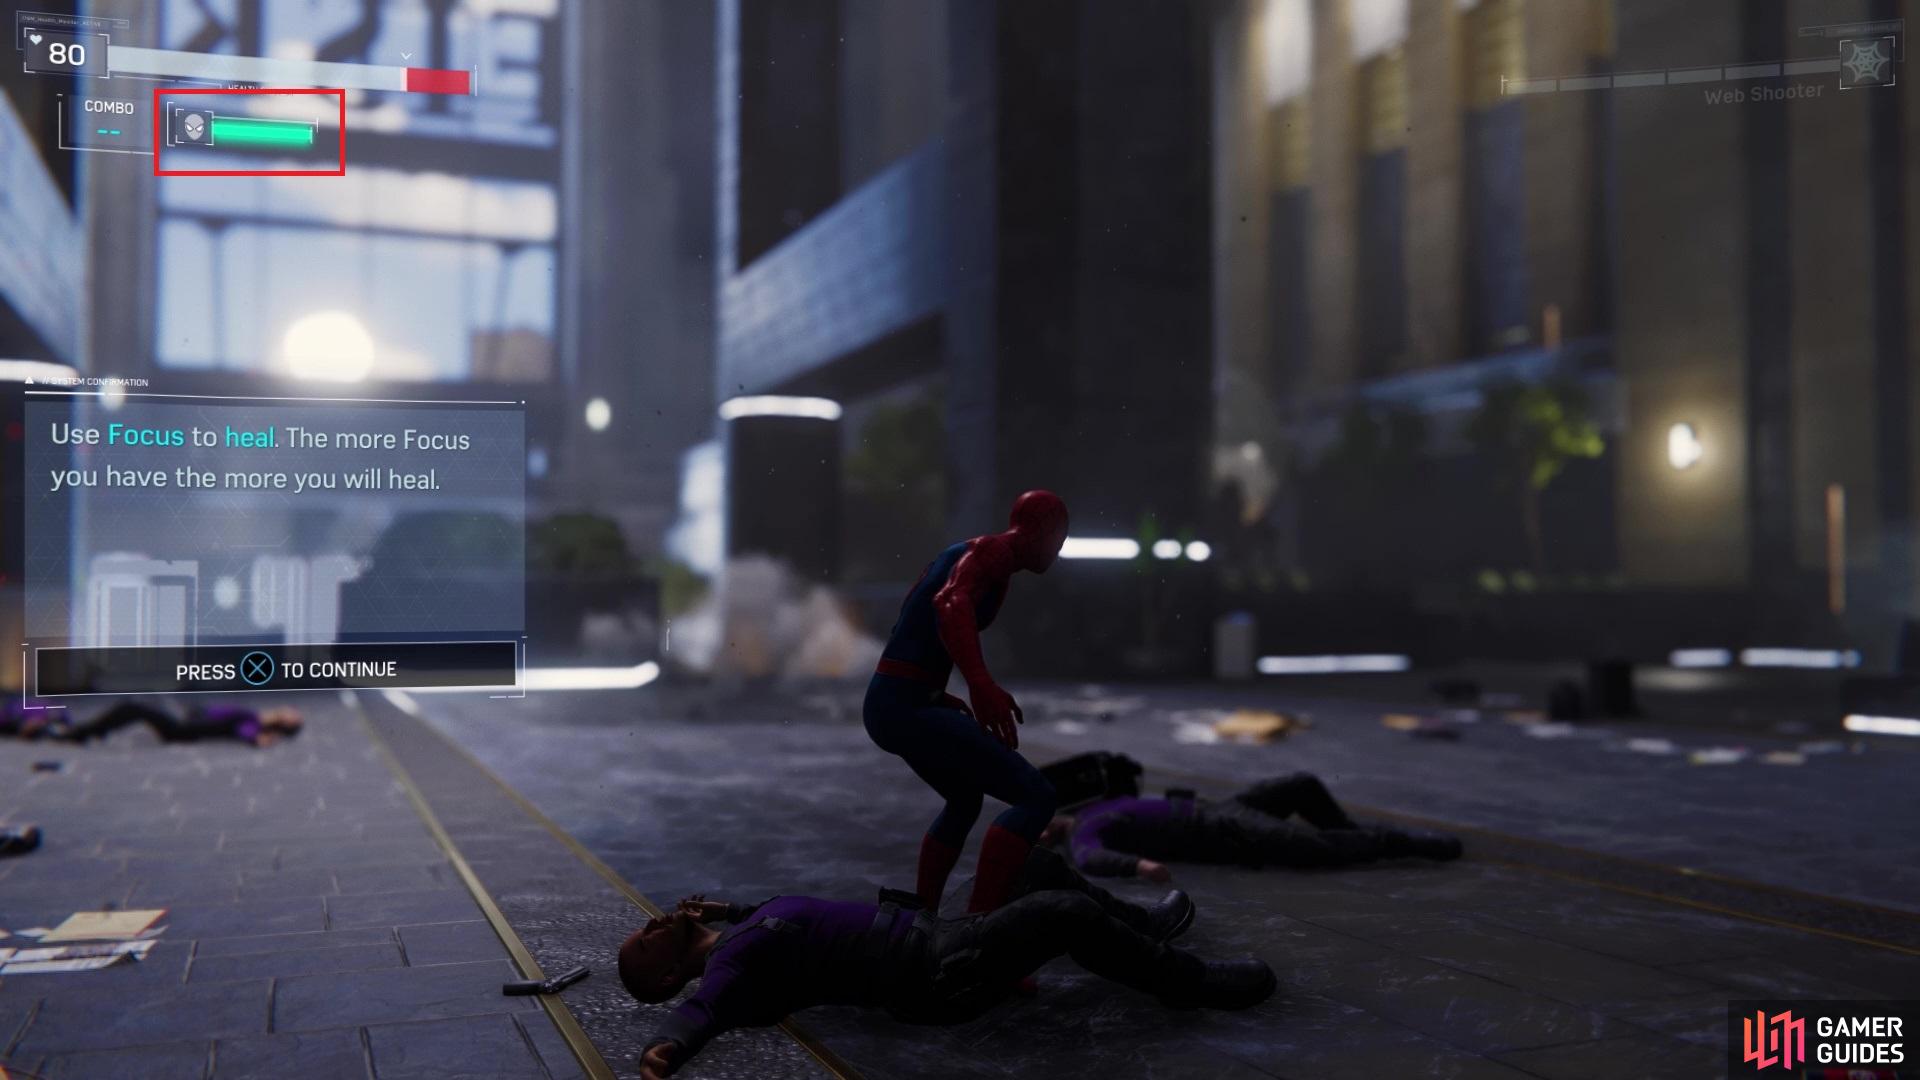
Your next destination is to the north, so head in that direction. When you approach, another scene plays out and Spidey will break through and into Fisk’s building. Swing into action and you’ll receive a quick tutorial about Focus, which is the bar underneath of your health in the upper left corner. Focus is built by attacking enemies and the more Focus you have, the more damage you will do. Focus also has another function, which is using it to heal Spider-Man. This is done by pressing down on the directional pad and you’ll heal more the more Focus you have.
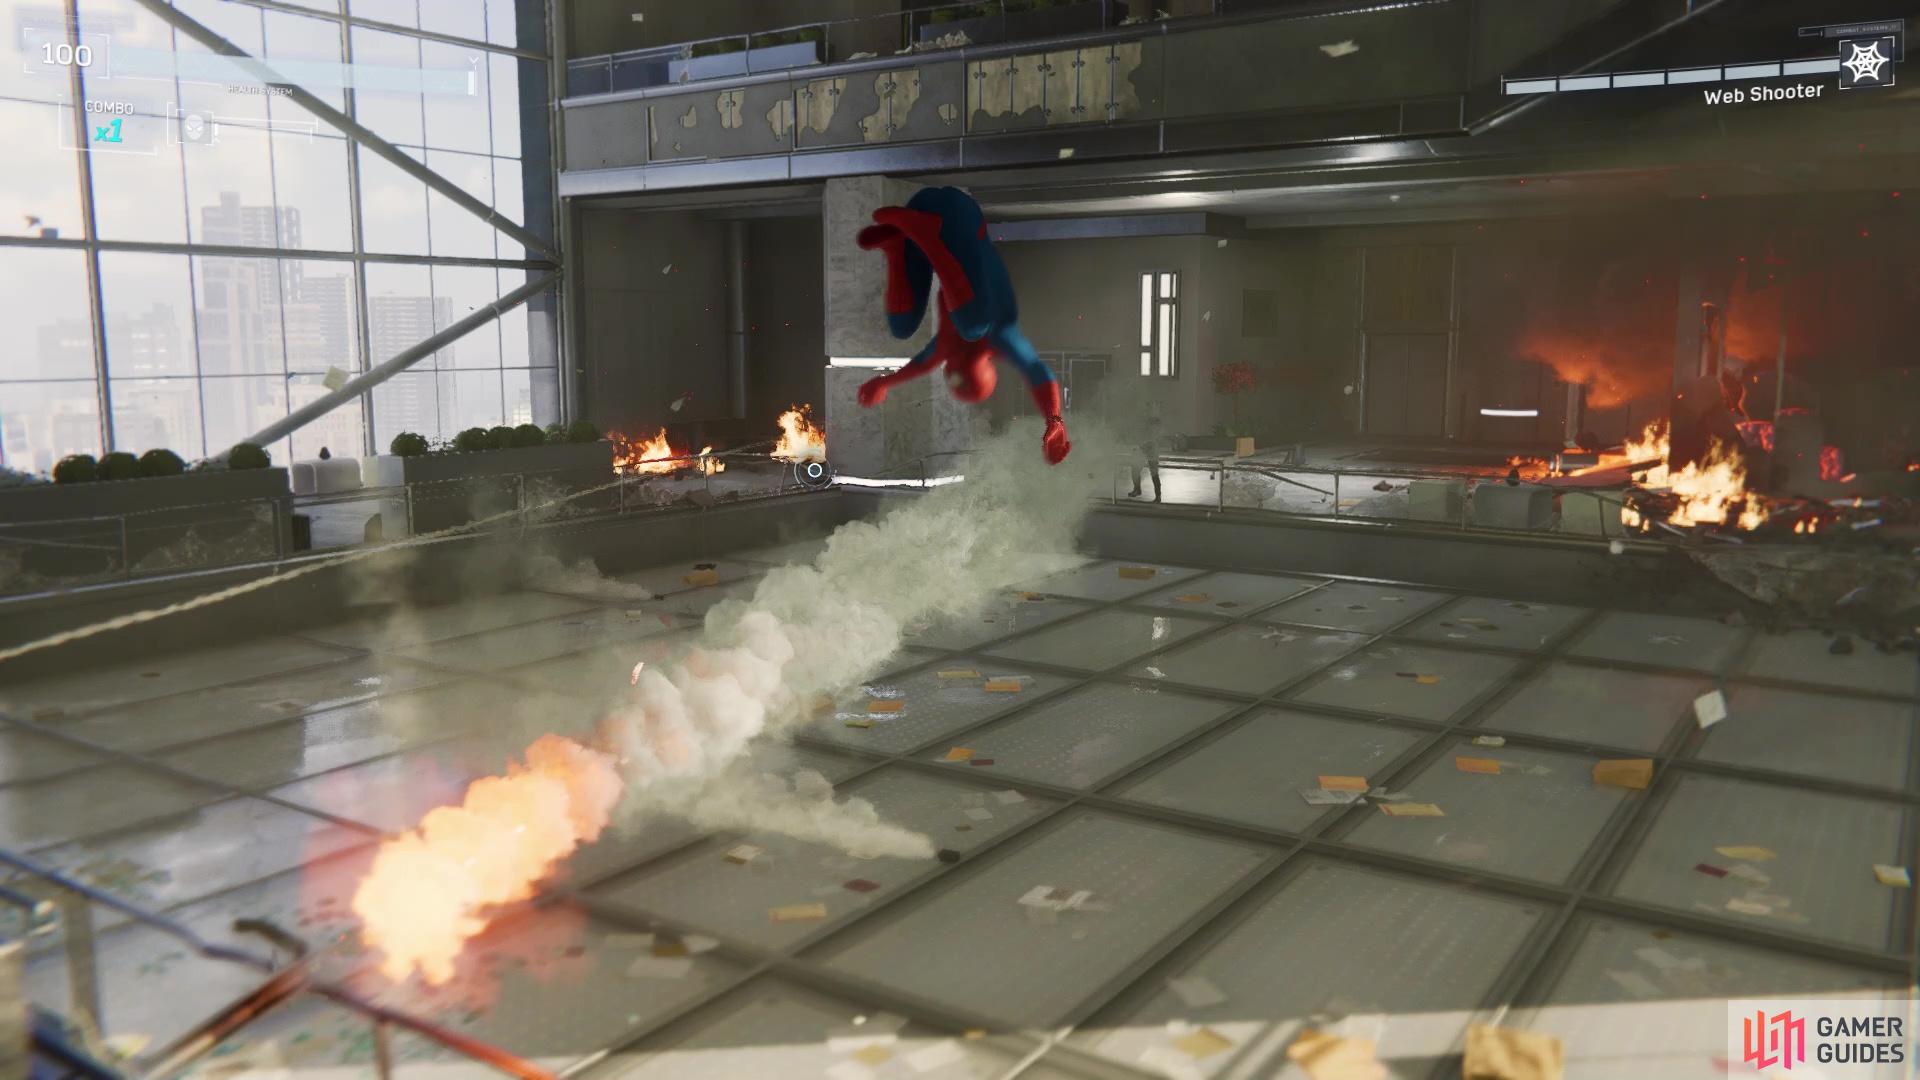
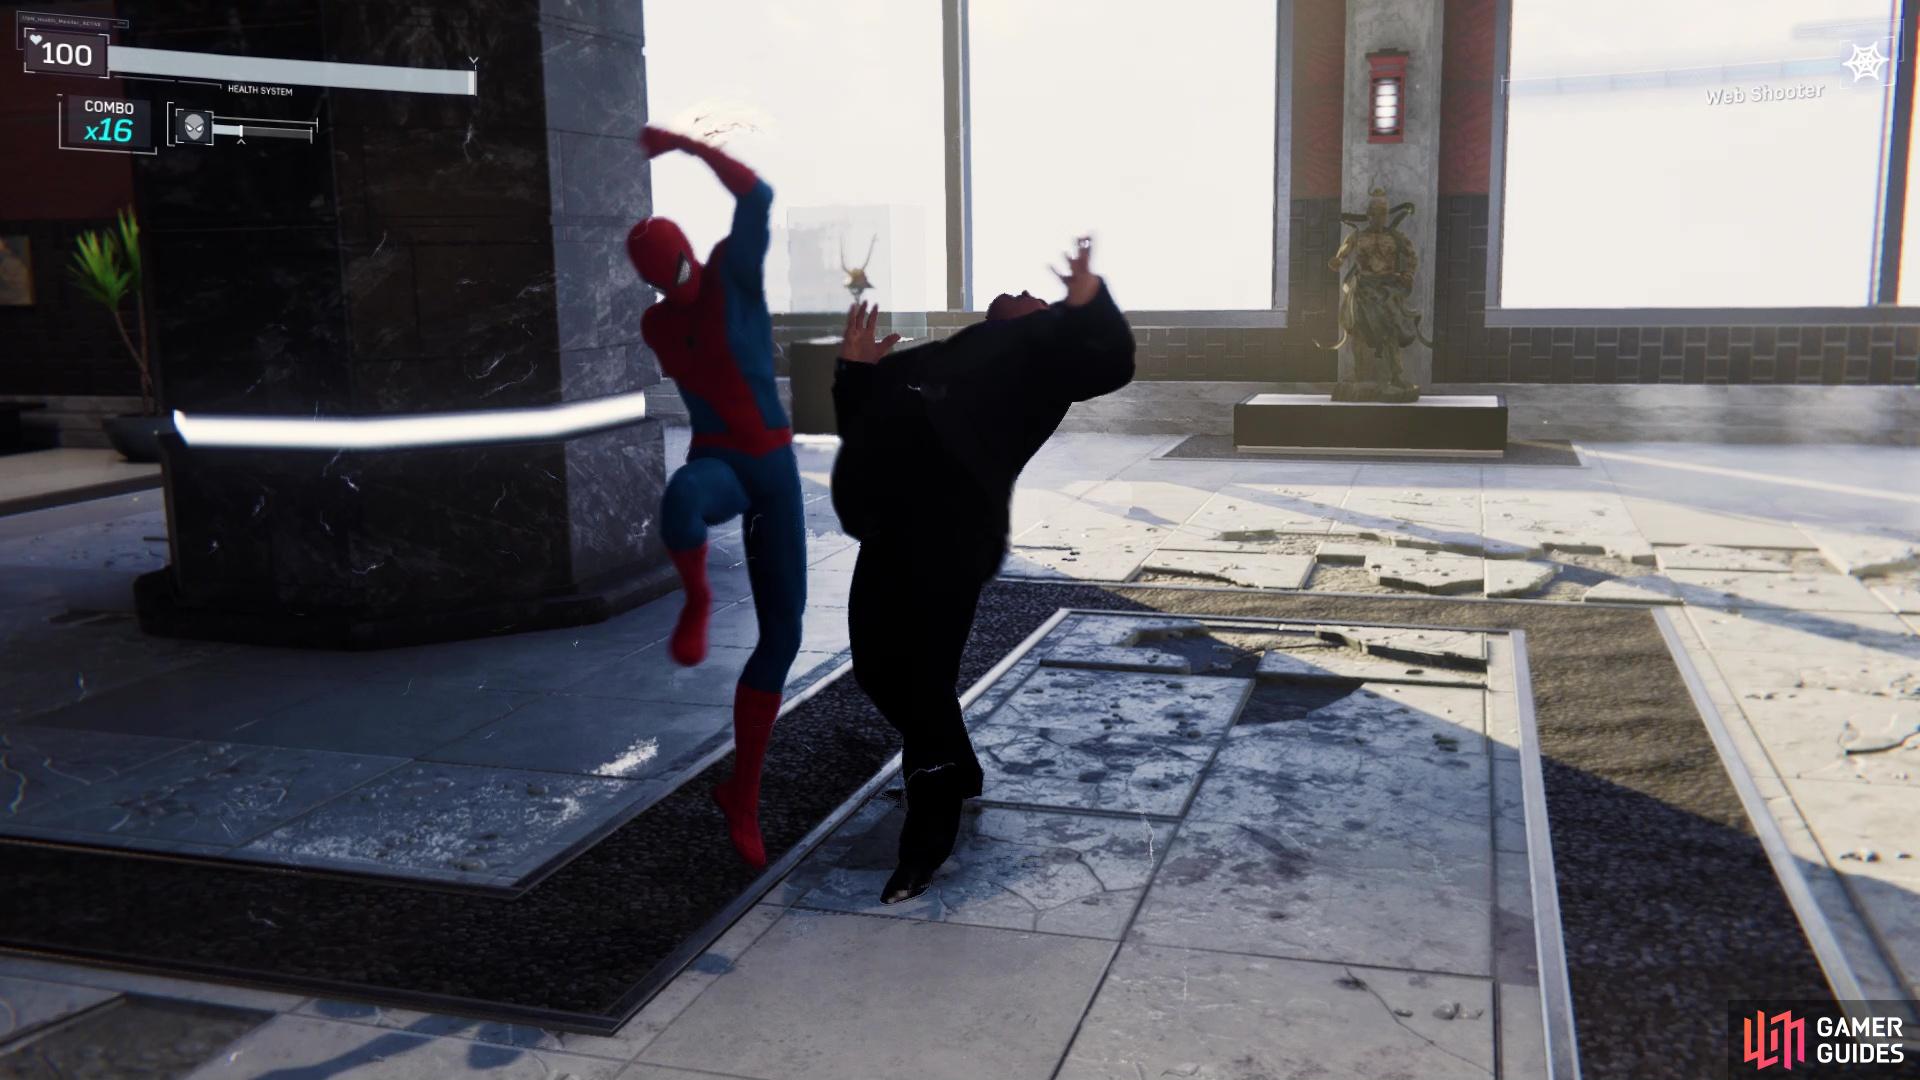
Clear out the atrium and and some more goons will show up on the floor above, although they won’t be focused right away on you. You can use a new traversal trick to get up to that floor, by pressing L2 and R2 together. Launch up to the second floor and start pummeling on the goons there. A few more will appear from an elevator, so keep a look out for them. When you’ve taken them all out, a scene will happen where the elevator will be out of service.
Of course, being Spider-Man, you don’t have to use the stairs to continue your ascent to the top. In fact, Spidey will pull open the elevator doors and opt to climb up that way. Approach the wall inside and either move up slowly or hold R2 to run up. At the top, there is a vent you can pass through by pressing the Triangle button. Crawl through the vents, which will go up at one point, and at the end, you can jump out of the vents to find more enemies waiting for you on the floor above.
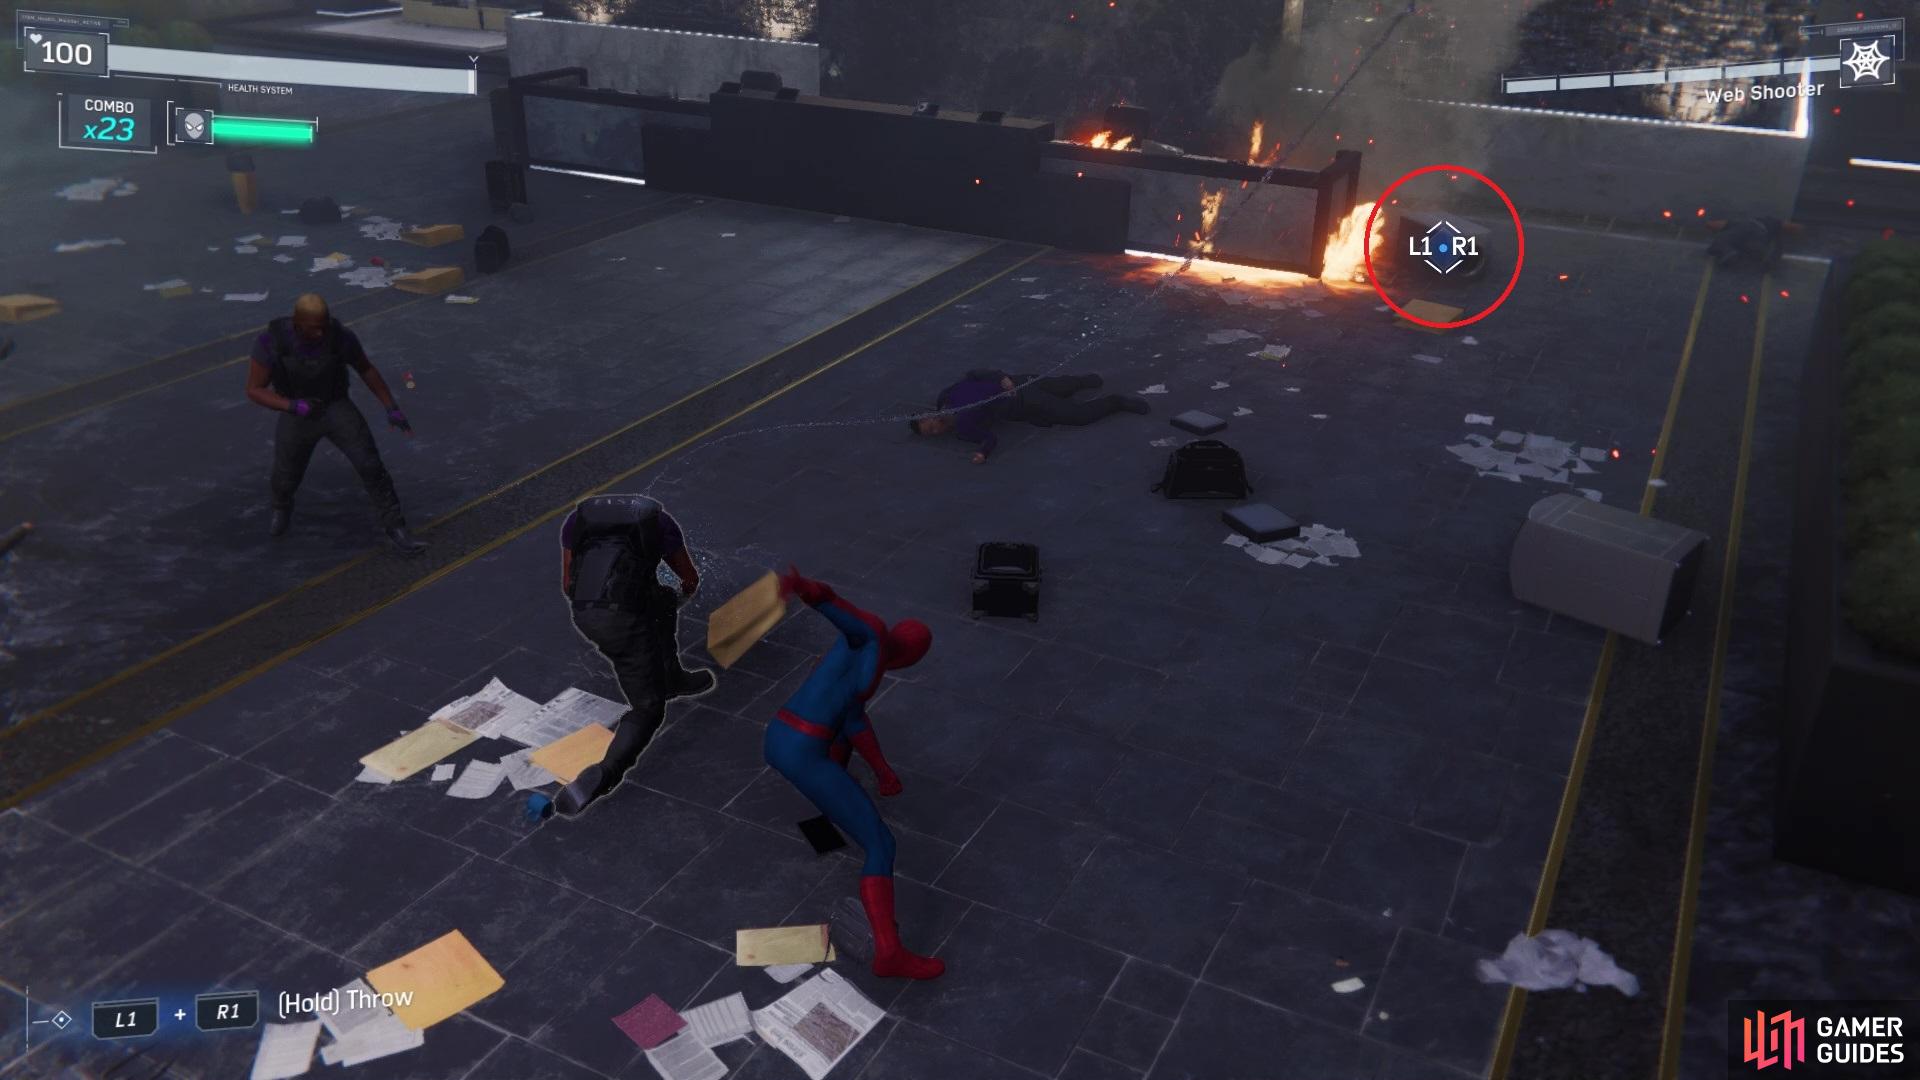
(1 of 2) Always keep an eye out for throwable objects during fights
Always keep an eye out for throwable objects during fights (left), Always keep some focus to heal in case of emergency (right)
Knock out all of the enemies here, then a lot more will show up, along with another tutorial. The Focus gauge has another use, when it’s full, as you can perform a finisher on an enemy to instantly defeat them. Of course, this is a case of what to use your Focus on, since you need it to heal, although if you can successfully not get hit at all, taking out a strong enemy is a wise choice. Either way, a lot of goons show up, so get rid of them by punching them in the face, then zip up to the next level, which will be right outside of the server room.
The Server Room
Unfortunately, the server room’s doors are locked, so you can head through the main entrance. When you reach the doors, you will be instructed to press the R3 button to use your sense, which will show the rough outlines of the enemies inside of the server room. So, you’ll need to find another way inside and if you happen to look up and to the left, you should spot a vent. Zip up to the vent and start crawling through it. You’ll eventually come to an opening where you will be instructed to do a vent takedown by pressing Square. After taking care of that thug, continue to the end of the vent and drop down.
Yep, there are more goons here, so work your magic and beat them down, then head to the main terminal and press Triangle to witness Peter’s hacking skills. Of course, Peter getting the data on Fisk ticks him off a little bit and more goons will break through the door, into the server room. Be careful of the armed thugs and be sure to use the various objects in the environment, which can be done when you see the L1 + R1 Button prompt (hold those buttons down). When you’ve finally finished cleaning up the mess, walk back outside and you will witness an explosion.
A few leftovers will be here, so knock them unconscious and zip up to the ledge, where you’ll meet up with the bomb squad. After a quick conversation that’s cut off, your next objective will be to rescue some civilians trapped on the floor above you. Zip up there and follow the marker, using L1 + R1 to pull the fallen pillar out of the way. Delve deeper inside and you’ll happen upon some people trapped under some debris. You’ll have to mash the Square button twice in this quick, little sequence, then you’ll be allowed to carry on.
Dodge out of the way at the last second to not get hit by rockets
Head to the end of the hallway and zip to the vent there, then crawl and climb your way to the exit. Things aren’t looking so good here, so follow the hallway back outside and you’ll encounter your first goon with a rocket launcher. These aren’t any different to the regular armed thugs, except rockets hurt quite a bit when you’re hit with them. You just basically dodge out of the way at the last second (or close to it) to avoid the rocket. Zip across and take care of the lone thug, then zip up to the next level to find a few more. Be careful of the one on the other side while you take care of the two in front of you. When the coast is clear, approach the next door and pull it open.
There will be some debris in your way, so just run with the R2 button (hold it down) and Spider-Man will automatically parkour over the debris. Some more thugs will be present just beyond the debris, so quickly close the gap and start pummeling them to the ground. Enter through the red doors to meet up with the bomb squad, who happen to be working for Fisk. This will be your introduction to enemies with shields, who block all attacks from the front. To damage them, you’ll have to attack them from behind.
To do this, attack them from the front once, then press the dodge button to go in between their legs, allowing free hits from the back. There will be two shield users in this battle, with the rest not amounting to much of anything new. After getting accustomed to the new foes and bringing all of them down, wait around until you have a call with Yuri, then it will be time to come face-to-face with Fisk.
BOSS - Wilson Fisk
The battle with Fisk will take place in three phases, with the first one having him sic some turrets on you. Just continually dodge to one side, keeping the second turret out of range, then when you have an opening, use your Web Shooter on the one turret until it’s disabled. When it’s covered in your web, hold L1 + R1 to break the turret out of its holder and launch it at the glass protecting Fisk. Do this with the second turret as well, then it’ll be time to get ready for an actual battle with Fisk.
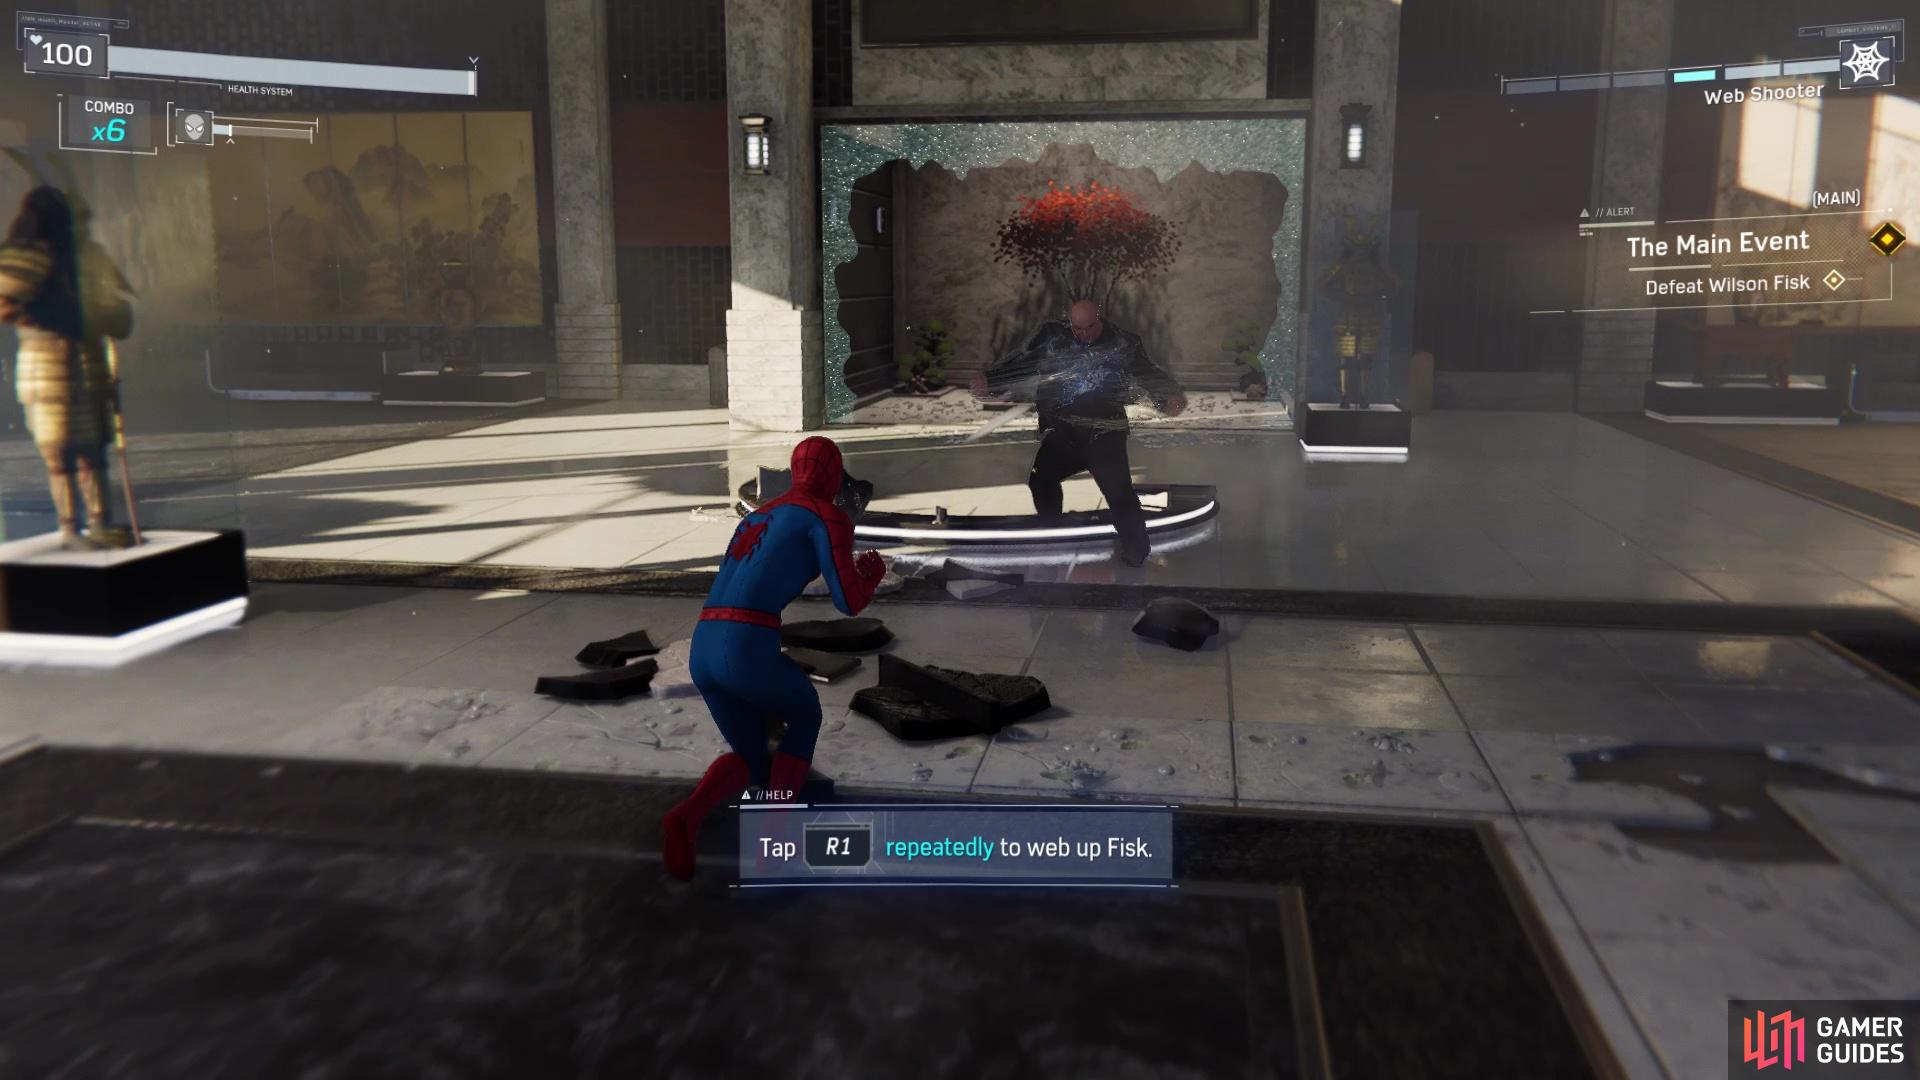
Fisk is strong and opens up by chucking a piece of his desk at you, so be ready to send it back to him when prompted (L1 + R1). His attacks hurt a lot, but he’s a really simple boss, since you can continually stun him with your Web Shooter. While he’s incapacitated with your web, you can perform a Web Strike to get in close and perform some melee attacks on him. When it looks like he isn’t being knocked back, quickly dodge away from him and repeat this. You can also stun Fisk with the throwable objects around the room, as your Web Shooters will have to regenerate enough to have him all tied up.
(1 of 2) Use your web to make Fisk immobile
Use your web to make Fisk immobile (left), then you can start smacking him down (right)
As for Fisk’s attacks, he likes to charge at you if you’re far away, which is easy enough to dodge. The harder attack to dodge is his three-hit combo, which while slow, has a little bit of tracking towards you, so completely clearing it is a little more difficult. If you really want an easy time in bringing Fisk to his knees, expend all of your web to tie him up, get a few hits on him, dodge away and swing around the room until your webs are fully replenished. Repeat this until a cutscene occurs, where Fisk will toss you into another room.
The third phase of the fight against Fisk is not much different than the second, except he will have some thugs join in to help. It’s best to always keep an eye on Fisk’s location, but you should concentrate on getting rid of the thugs first. There’s only so many of them and once they’re gone, they are gone for good, leaving you with a one-on-one situation with Fisk again. He doesn’t really do anything different here, but be aware that he can throw debris at you. Keep to the same strategy as last time and Fisk will go down for good, with a splash of quick-time events thrown in at the end.
| Objective | Reward |
|---|---|
| Put Wilson Fisk behind bars | 4100 XP |



 Sign up
No Comments