Regional Bestiary
| Monster Name | Max HP | GIL | EXP |
|---|---|---|---|
| Pugman | 171 | 96 | 360 |
| Far Darrig | 177 | 98 | 360 |
| Blood Rat | 208 | 100 | 380 |
| Petit Mage | 196 | 101 | 380 |
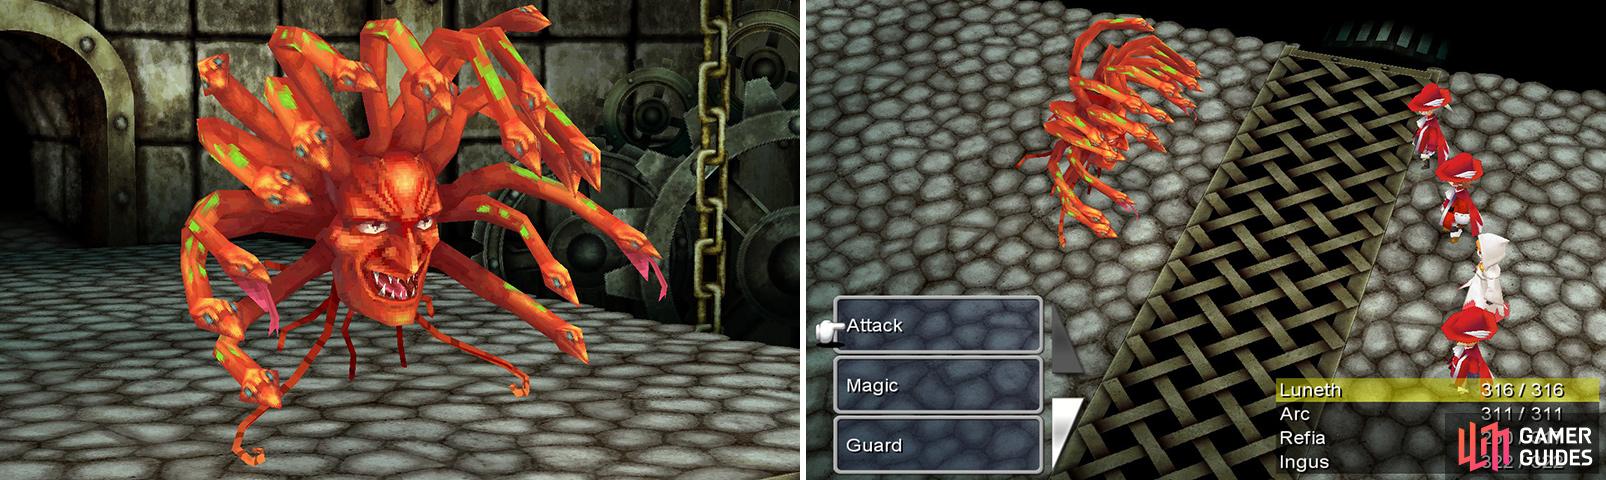
| Fury | 216 | 102 | 380 |
| Aughisky | 235 | 105 | 400 |
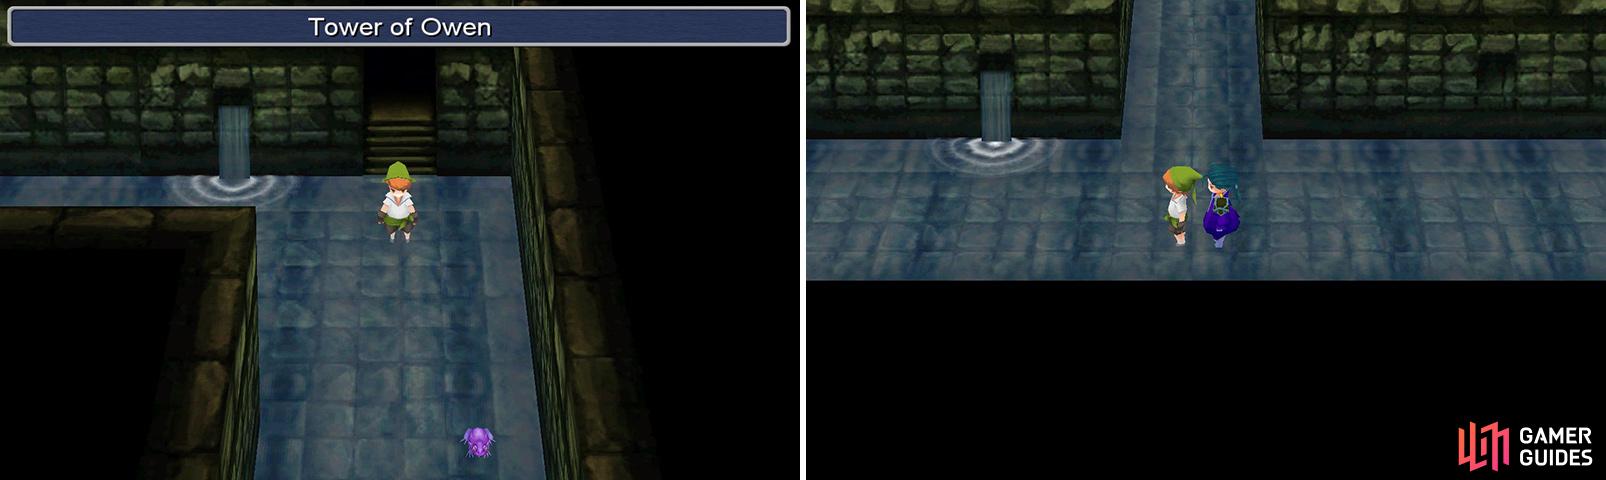
See all the frogs? They’re not just decoration…
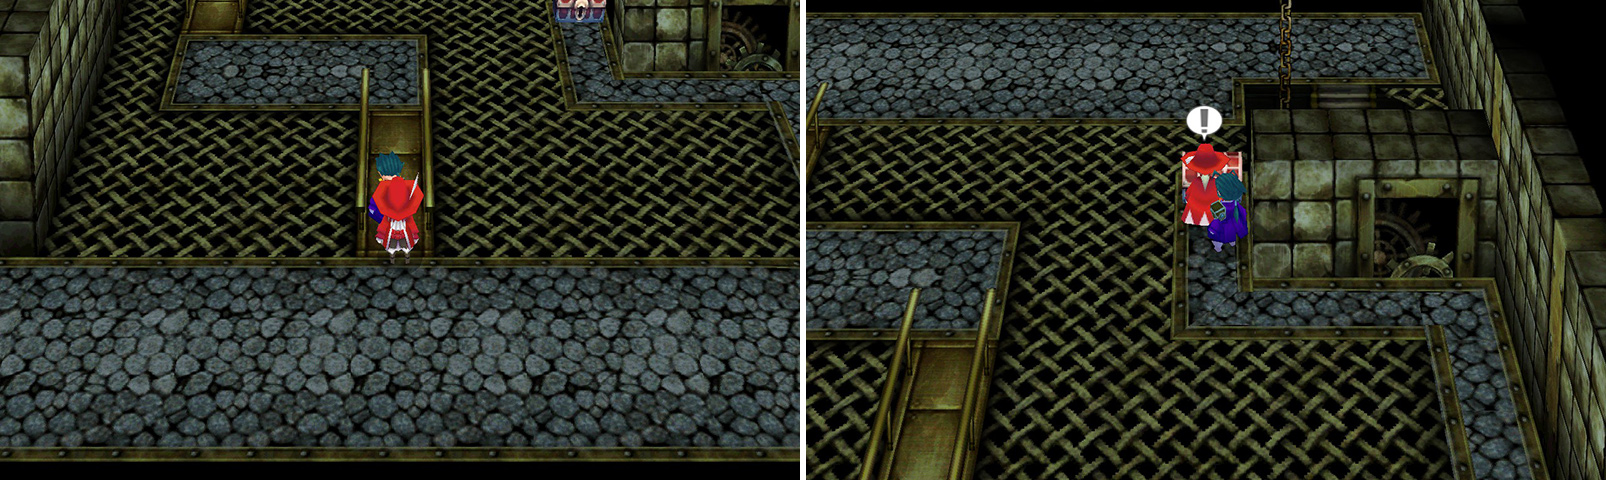
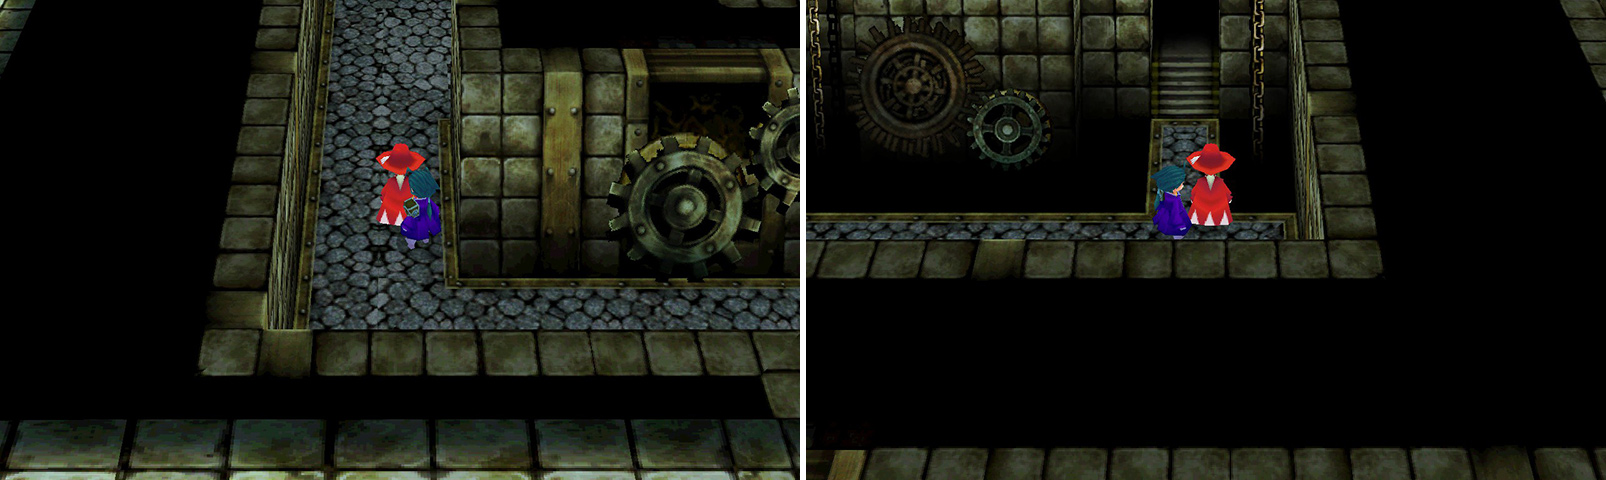
Once you arrive, go south, then west for a bit. Eventually, you’ll come across a hall going north. Follow it north, east, north, then go east at the fork to find another room.
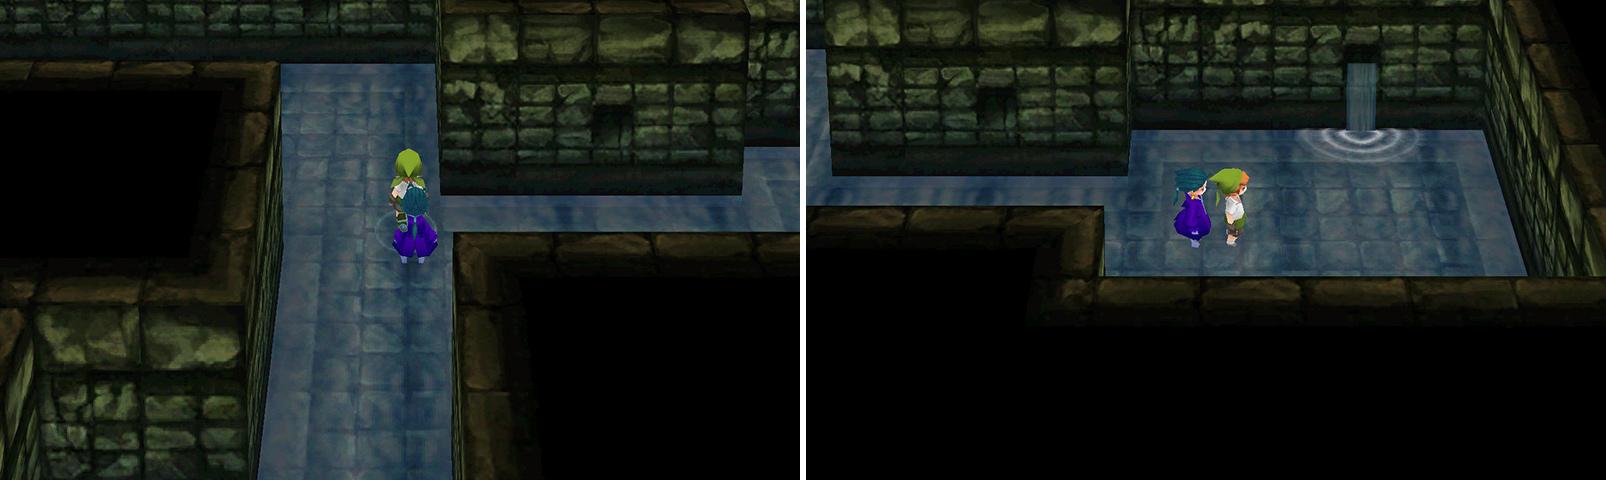
Poor Refia…
There, you’ll need to become a Toad via the spell to proceed, much to Refia’s chagrin. You can transform back to humans after going through, but you will need to use it if you choose to turn back. If you opt to stay Toads the whole way, switch to back row Red Mages and note how Furies and Blood Rats are weak to Wind/Aero. Go along the path, then continue after the scene and head to the next area.
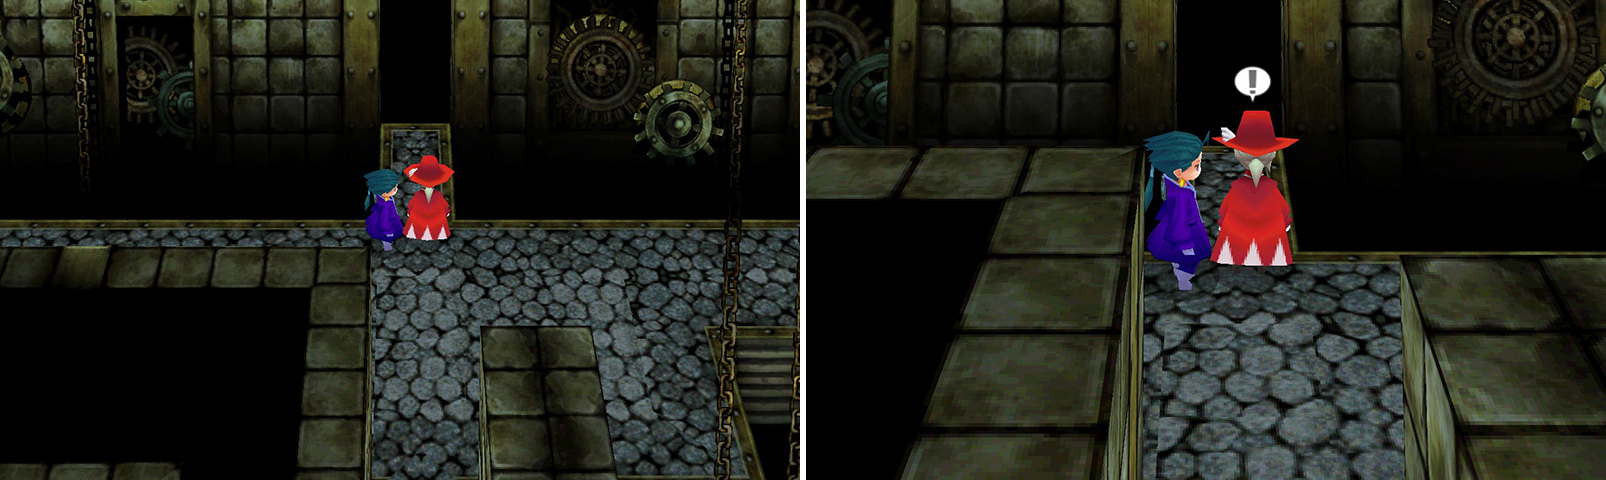
Here are the Echo Herbs.
Go west, then along the southbound hallway to another fork. Go east there to find some Echo Herbs , then go west and north to find the path to the next area.
Nothing of interest here!
There, go east, south, west, and north to the next area.
Here is the Spark Dagger.
Go west and watch the scene. Then go west some more, south, east, south, and then you’ll reach a fork. Go along the eastern path to reach a Spark Dagger , then backtrack and go along the other path to the next area.
Press A when you see sparkles show up.
Here, go west and bypass the southbound hallway. Watch the short scene there, then go just a bit east of the southbound hall. Zoom in with the camera and examine the “door” to open up a wall. Go south along the hall and east just before the room to reach it.
More Echo Herbs!
In this hidden room, go south through the hall, then west. Bypass the first northbound hallway and use the second to reach some Echo Herbs . Then use the hallway we skipped to hit the next area.
There, go west, south, east, and north to the next area.
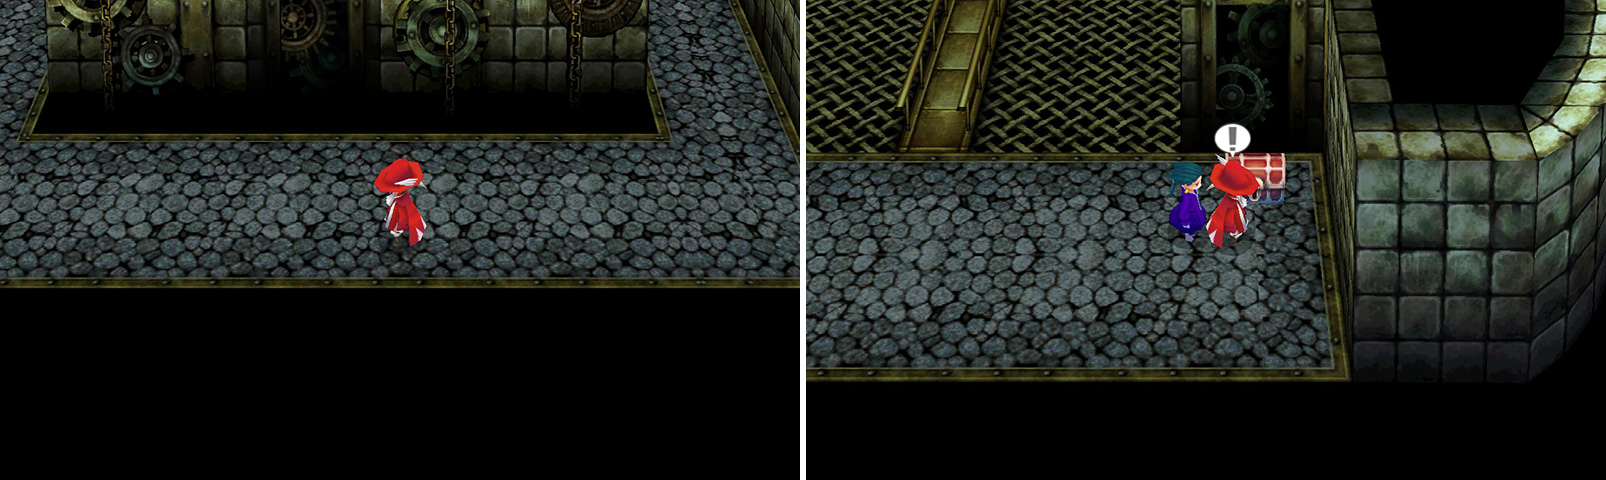
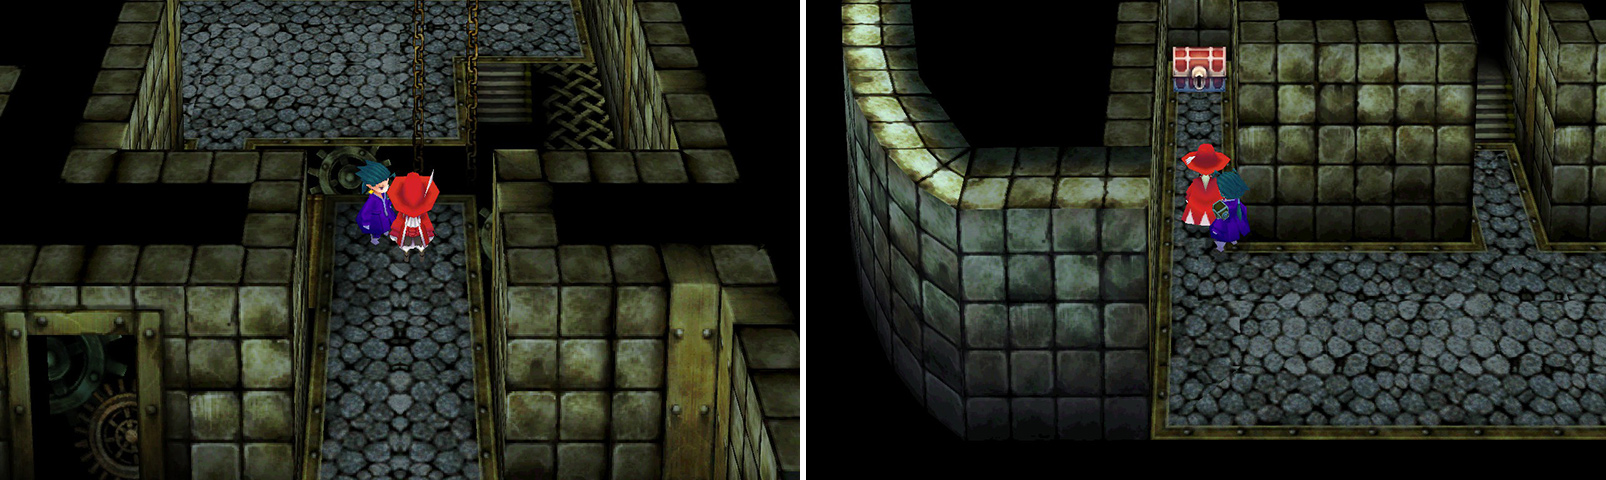
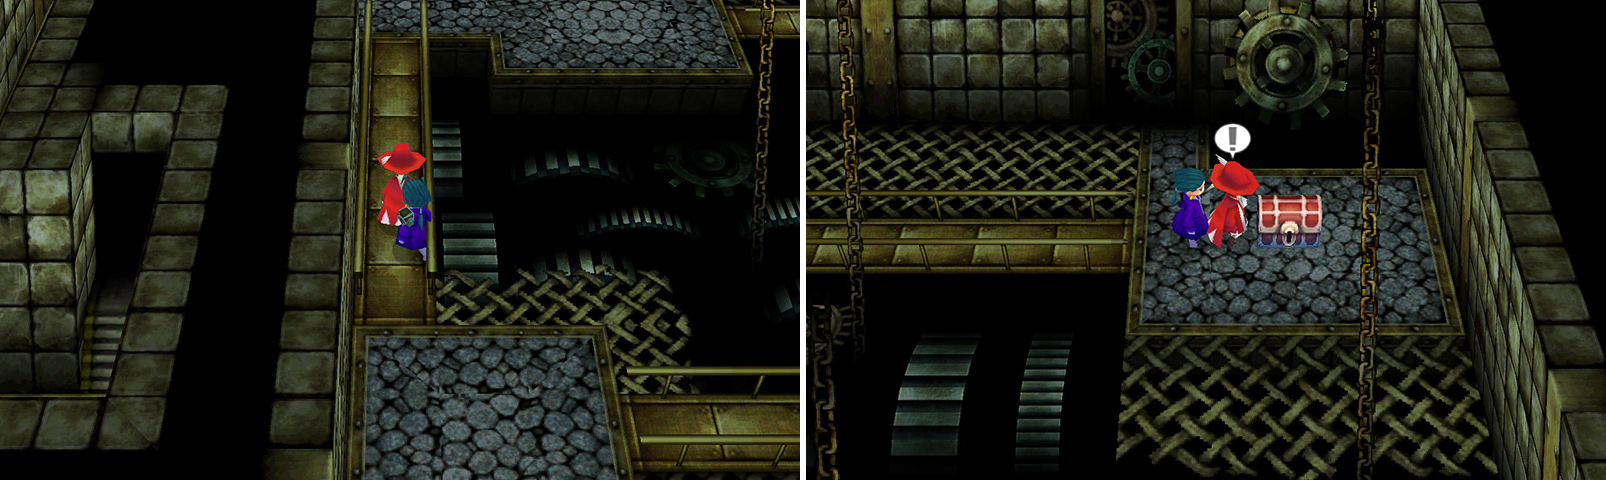
Grab the treasures here!
In this area, first go east to the wall and head north to find two chests; open them up for some Echo Herbs and a Bomb Fragment .
We’re almost done with this dungeon, I promise.
Backtrack to the entrance of the room, then go west, north, and along the hall to the fork. The short eastbound path is a dead-end, so go north to the next area.
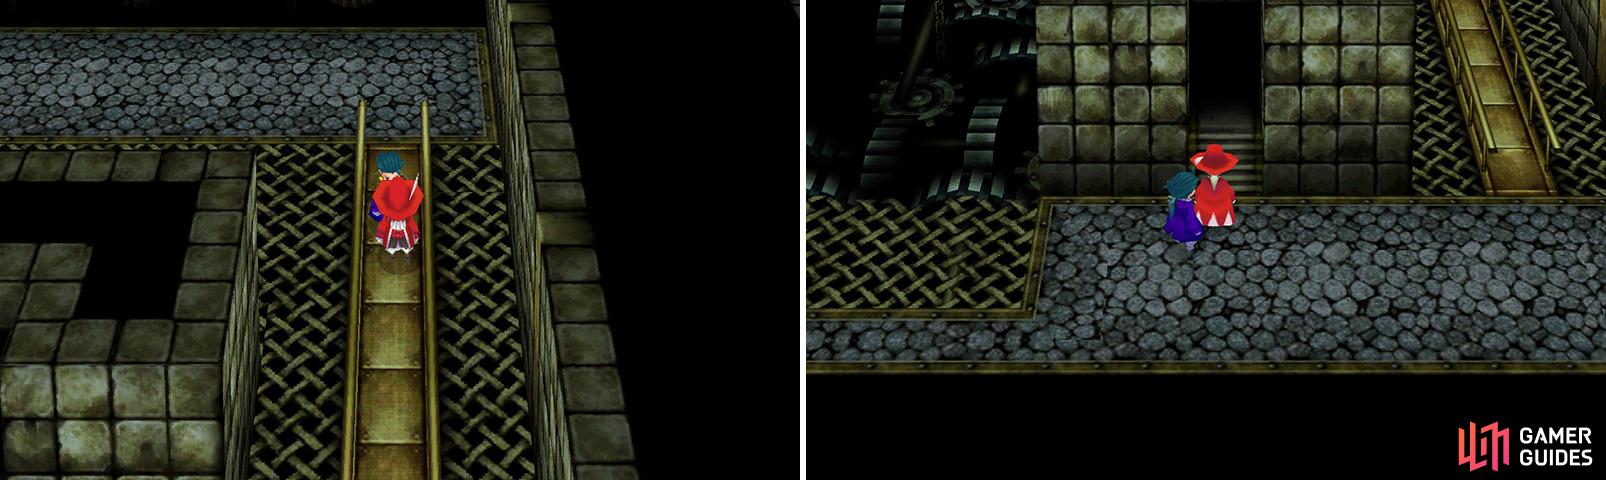
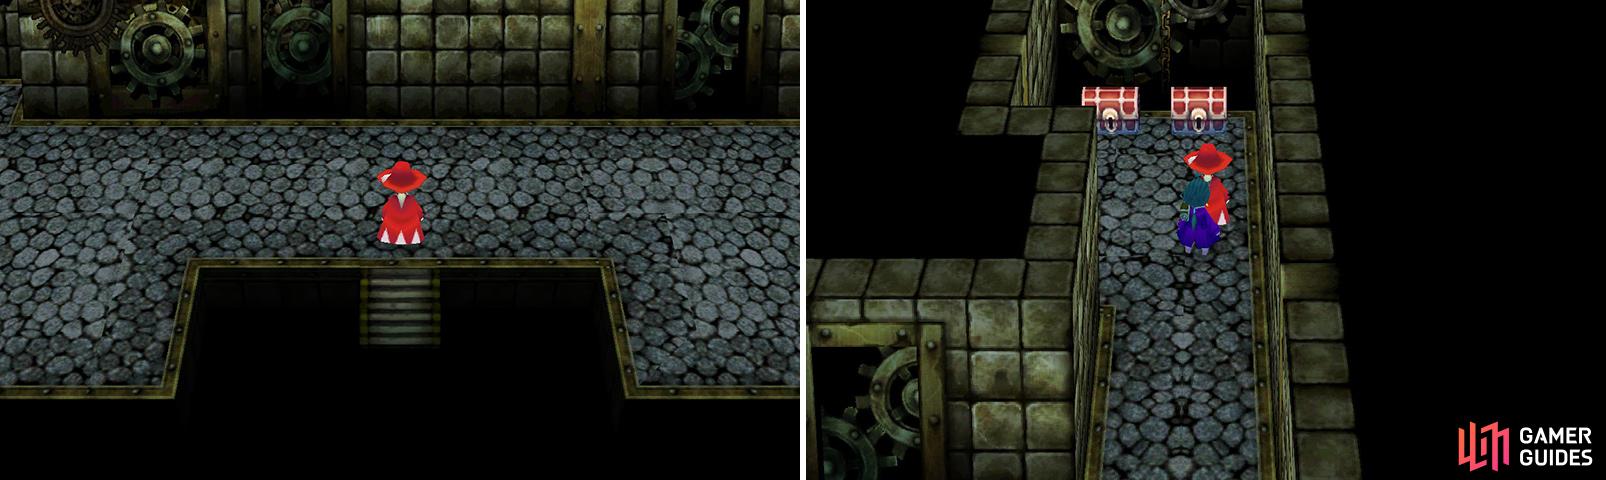
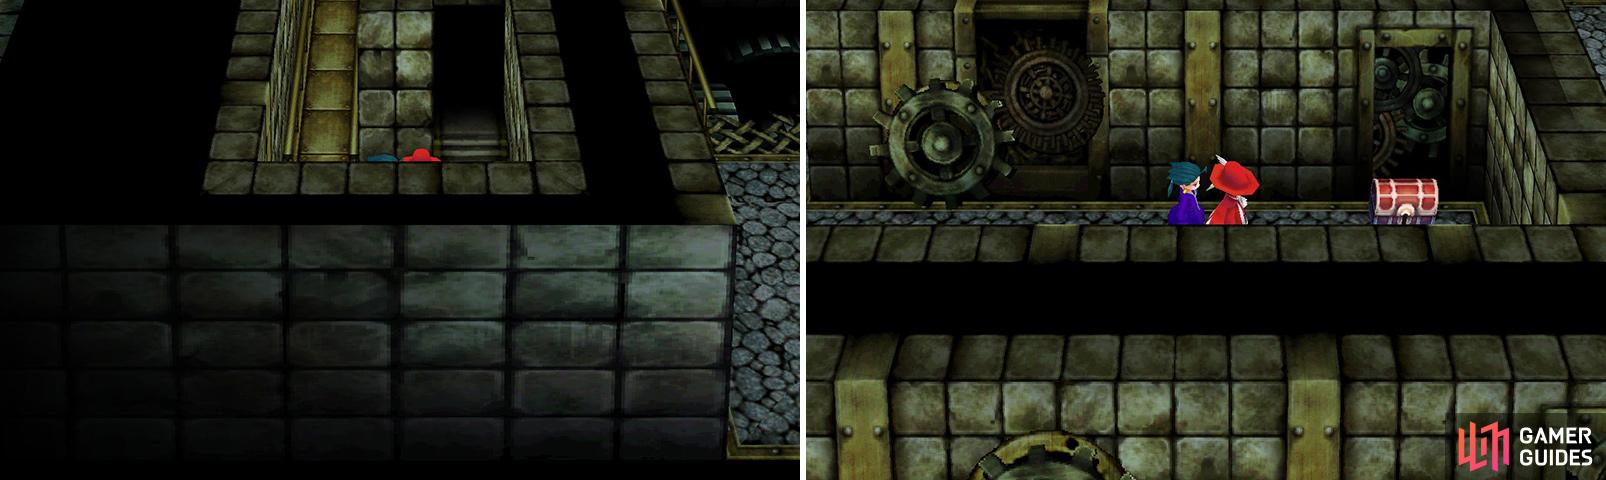
More weaponry!
From there, go west to the next room, then north from to another. Exit this room to the east and go along the path to find some Sonic Knuckles . Backtrack to the room and exit through the southeastern corner. Go along the hall to find the way to the next area.
Lots of things to add to your item storage. Isn’t it worth it?
Exit the room through the northwestern corner. Head west for a bit, then south when possible. There, at the fork, go east to find the Salamand Sword , then go west to the wall.
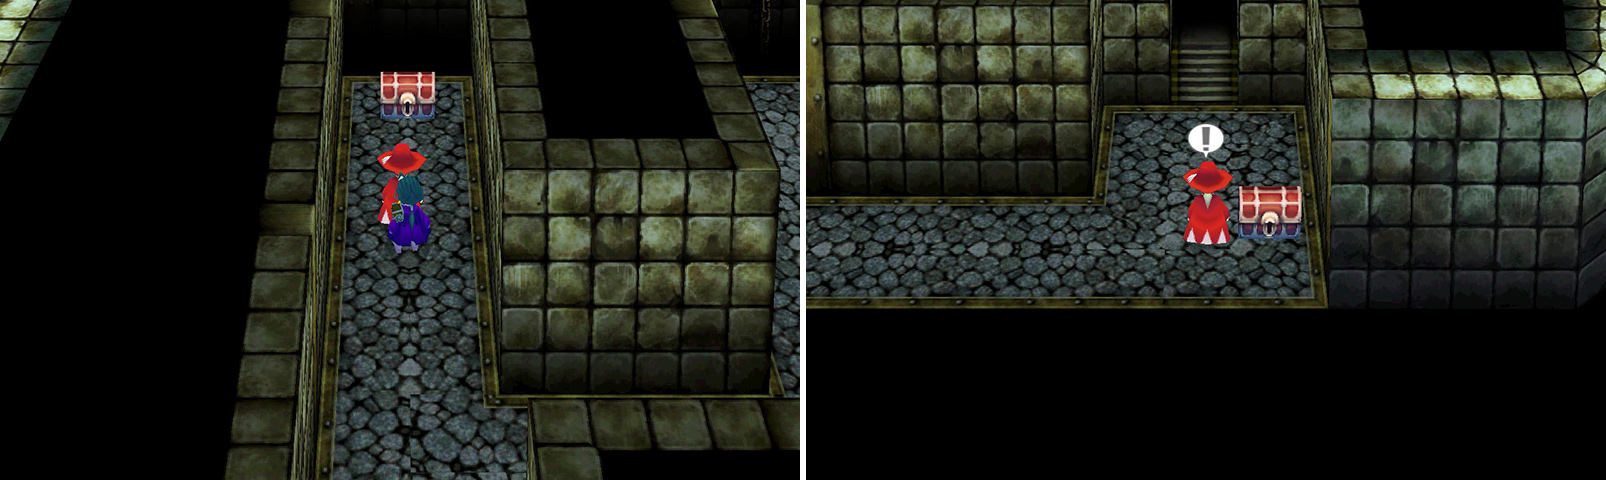
We’re almost to the end!
Go north at the fork to find the Flame Mail , then go south to the wall. Then head east. Get Zeus’s Wrath from this room and exit to the north. Here, heal up and follow along a linear path to meet up with the boss of this dungeon!
Boss: Medusa
| Attribute | Stat |
|---|---|
| Level | 17 |
| Max HP | 3,000 |
| EXP Earned | 1,680 |
| Gil Earned | 2,600 |
Well isn’t she gorgeous.
If you know Greek myth, you should see this coming: of course the Medusa would be able to use an attack that may turn you to stone (her Stare attack), which is thankfully fairly inaccurate, but use a Gold Needle if needed. Otherwise, a basic attack and Thundara make up her offense
There’s not much strategy to this fight, given the lack of weaknesses. If you have dual-wielding characters with Serpent Swords, you’re pretty well off. You’ll want a White/Red Mage for curative purposes, and pretty much just let everyone Attack, Advance, or use the “-ra” spells. If you have a Mage that runs out of MP, you can use an Elemental Staff as an item for pretty decent damage in the area of 200 points.
After the battle, you’ll watch a scene. You’ll be warped out to your ship, and the whirlpool near the Tower will be gone. Let’s keep going.
No Comments