Regional Bestiary
| Monster Name | Max HP | GIL | EXP |
|---|---|---|---|
| Shadow Master | 10,000 | 8,800 | 3,800 |
| Kage | 12,000 | 3,900 | 9,200 |
| Yourmungand | 30,560 | 8,800 | 13,800 |
| Thor | 12,540 | 4,000 | 9,600 |
| Hydra | 33,800 | 8,500 | 14,400 |
| Queen Scylla | 34,760 | 10,000 | 14,400 |
| Garm | 19,960 | 6,700 | 14,400 |
| Twin Dragon | 34,920 | 11,000 | 15,000 |
| Xande’s Clone | 39,000 | 15,000 | 24,800 |
You will begin in a room shaped like an X. There are five teleporters here: four at the corners of the X and one at the center.
Under no circumstancers should you ever enter the center teleporter. You need to go through all the other four teleporters first. The Ribbon is an incredibly critical piece of equipment you will need for the final boss, and they are beyond the other four teleporters.
You can take them in any order you wish. The central teleporter will be covered in this guide after the other four, as per the recommendation provided above in bold.
Northwestern Teleporter
You can take the teleporters in any order.
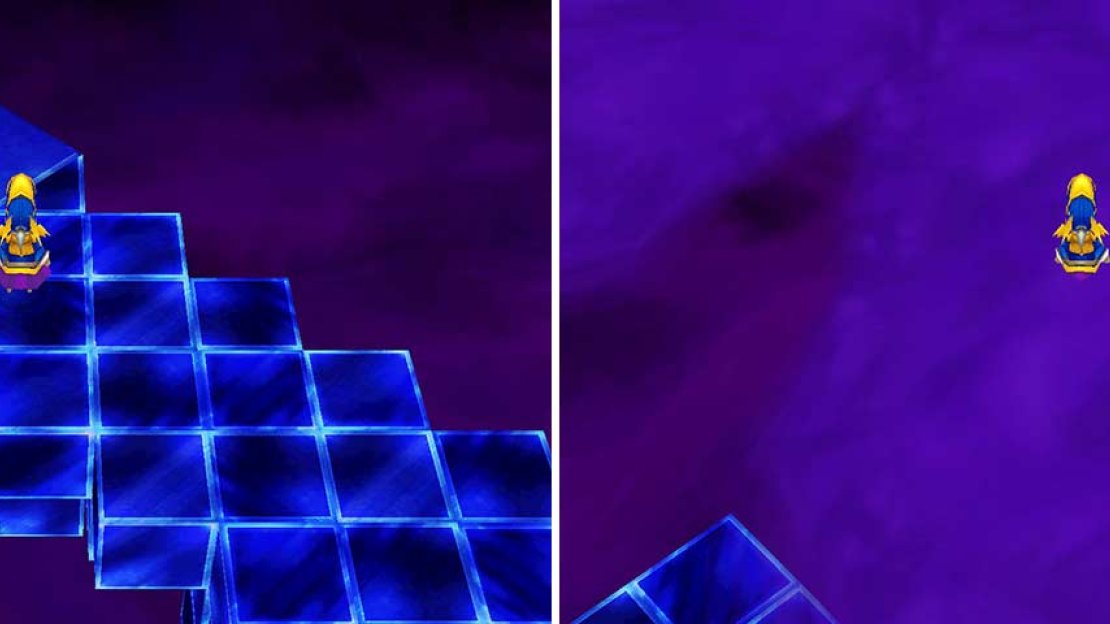
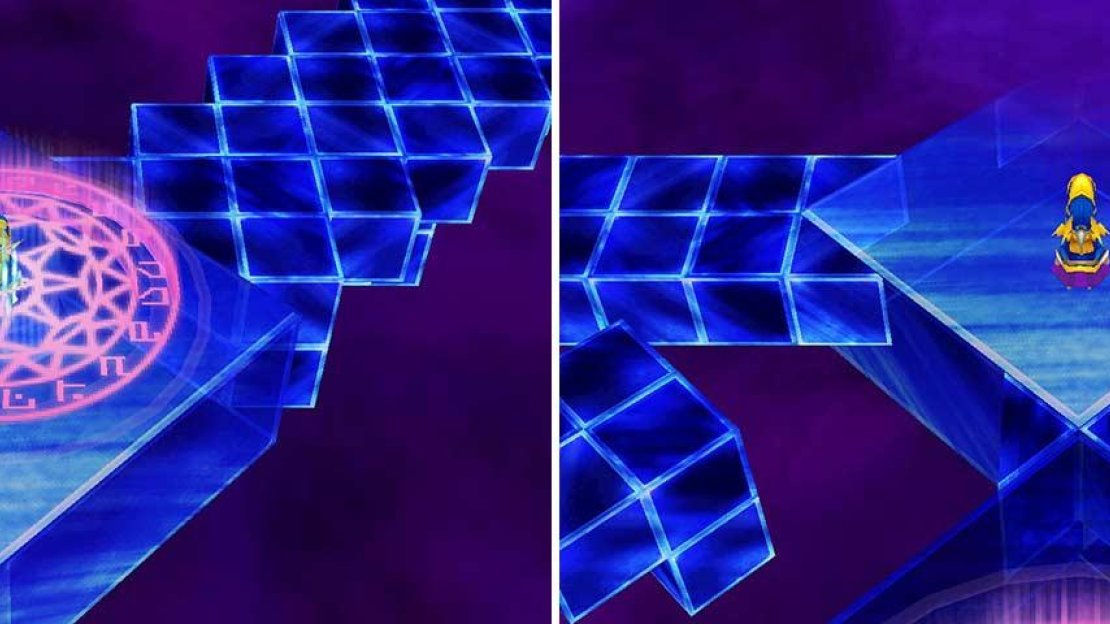
Go along the linear path for a bit. At one point, you’ll go southwest, then northwest into a room with a path going northeast and southwest out of it.
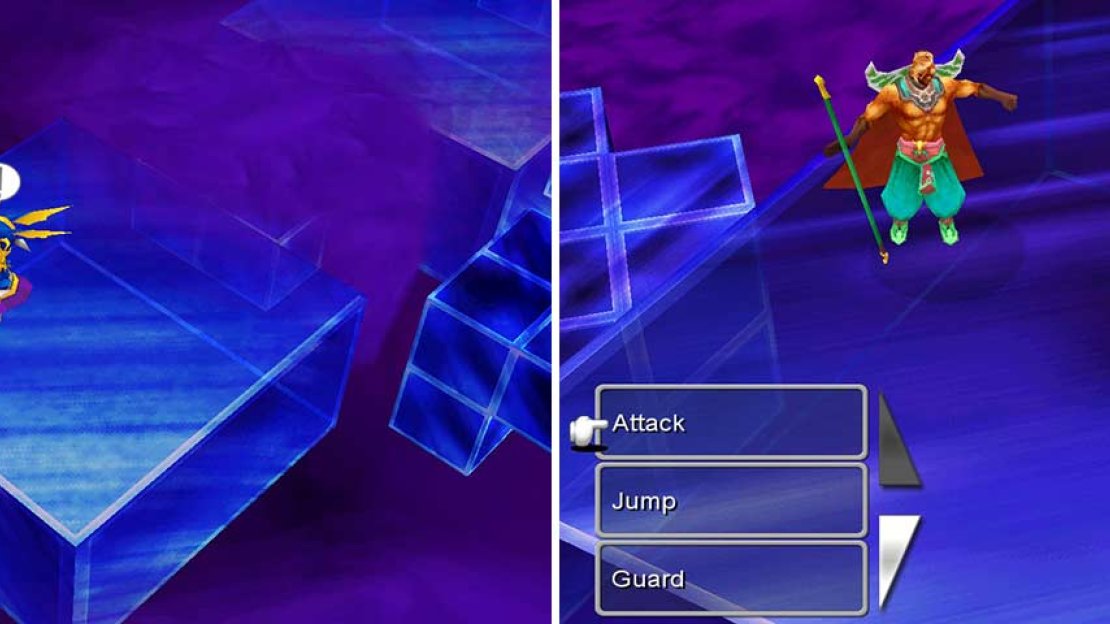
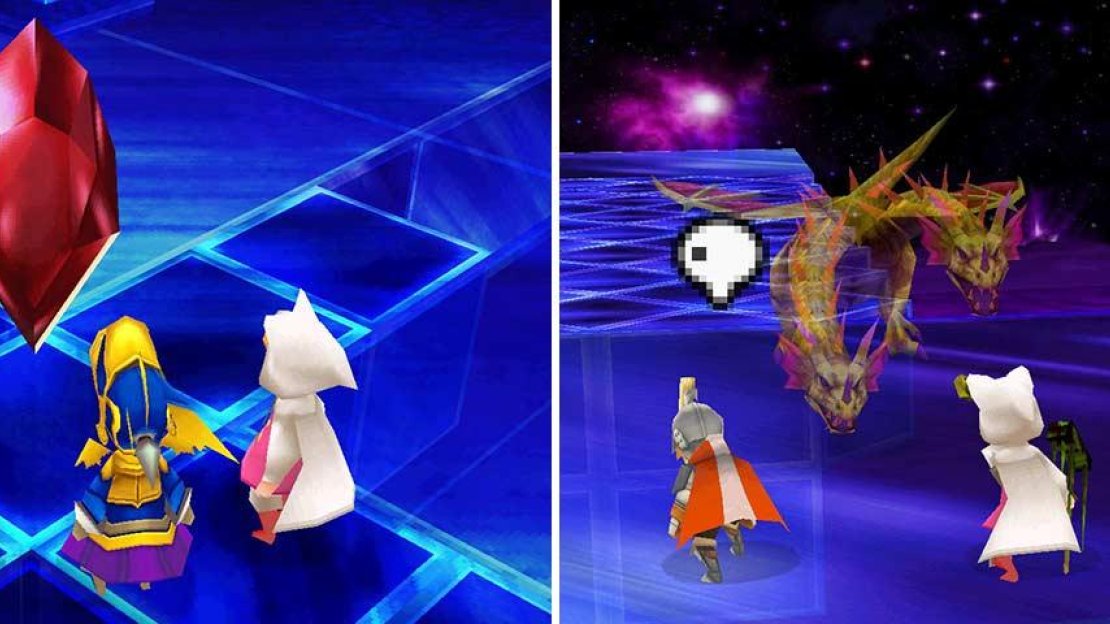
Just showing you Xande’s Clone for reference. All the chests will require you fight this enemy.
As with all of the chests here, it is guarded by a Xande Clone, weaker than some of the basic enemies around here.
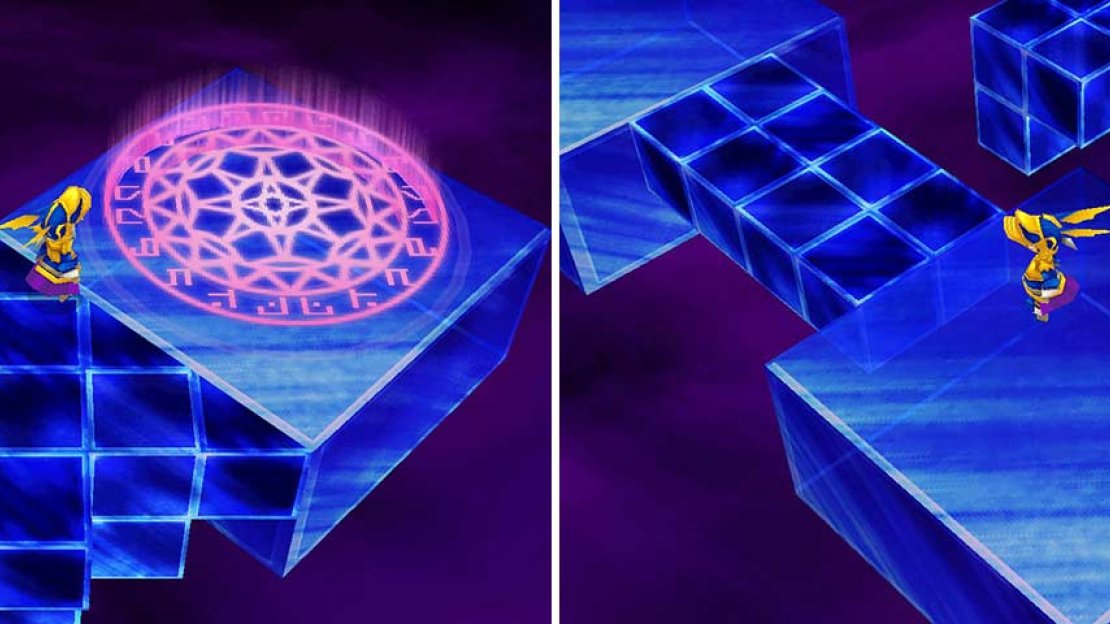
Go northweast and continue along the path. You’ll soon reach a teleporter: go on it to reach the next area, and a boss fight.
Boss: Cerberus
| Attribute | Stat |
|---|---|
| Level | 55 |
| Max HP | 99,999 |
| EXP Earned | 66,666 |
| Gil Earned | 66,666 |
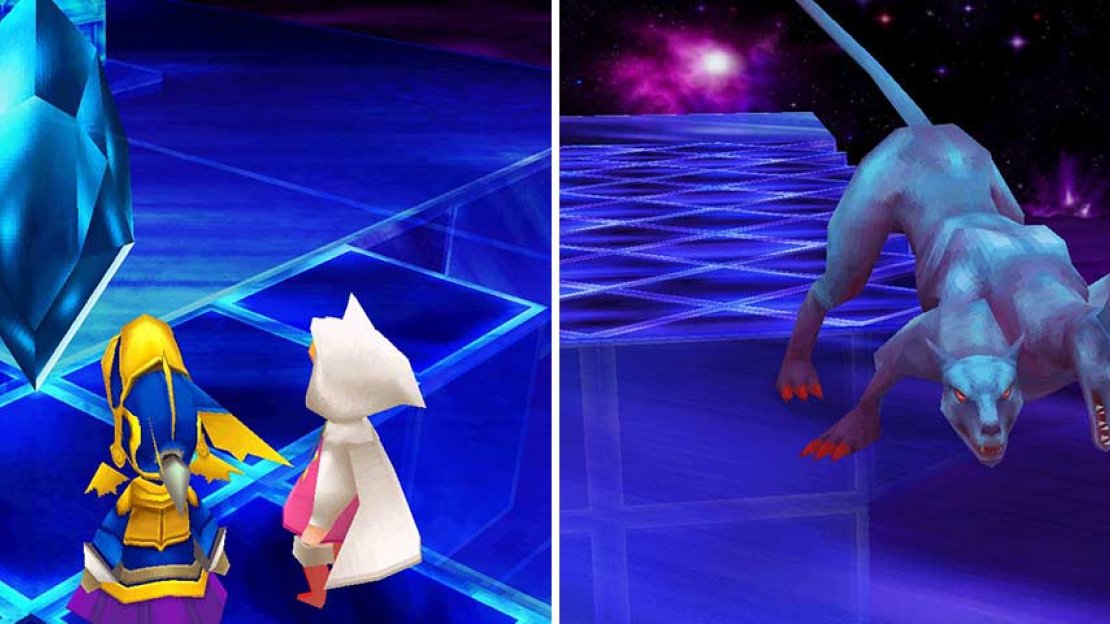
Hello, cliche three-headed dog.
Cerberus gets three attacks per turn, often doing a basic physical attack. It is not much stronger than the other enemies in this dungeon, but attacking three times before you can move once does add up quickly. Cerberus may also use the various “-ga” spells. Make sure you bring along somebody with Curaja. Reflect is not as necessary this battle. Dragoon Jumping again always works, but otherwise try your best and heal when you need to.
After the scenes, go back to the X-shaped room.
Northeast Teleporter
Just the usual routine here.
This area again is simple. Follow the linear path. Pick up the Ribbon on the way.
Then in the next area, you’ll find a boss.
Boss: Two-Headed Dragon
| Attribute | Stat |
|---|---|
| Level | 55 |
| Max HP | 99,999 |
| EXP Earned | 66,666 |
| Gil Earned | 66,666 |
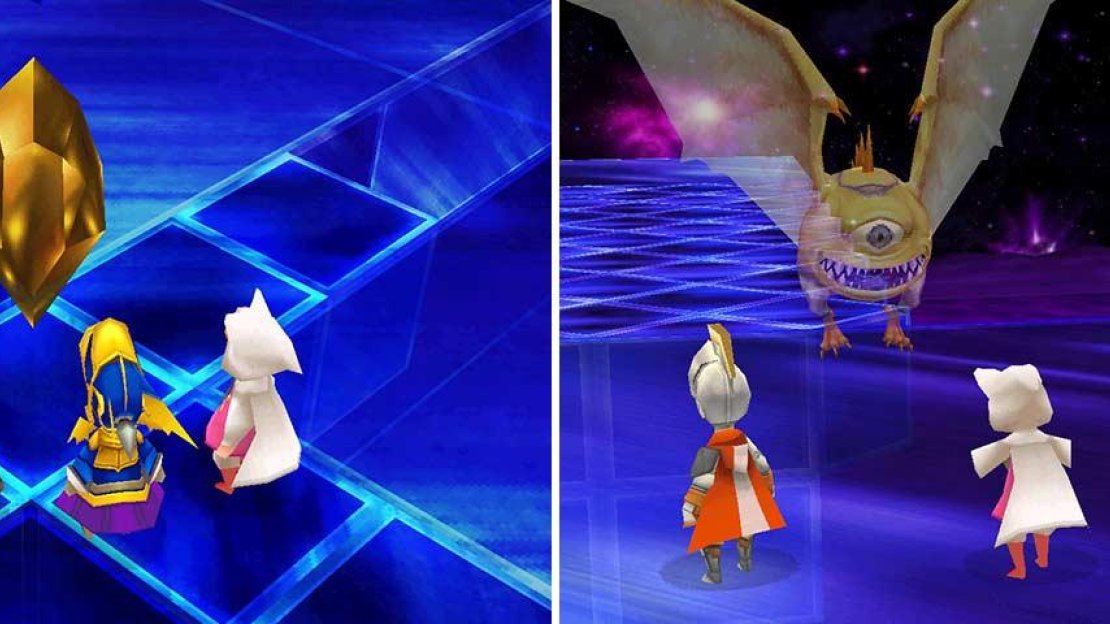
This boss has the most creative name ever, right?
The Two-Headed Dragon will mainly use physical attacks. They’ll hit for around 2,000 damage, which is a hefty amount, so make sure you bring along Curaja as always. And then just do what you’ve been doing to get this far!
Backtrack to the X-shaped room.
Southwest Teleporter
We’re halfway to being fully prepared for the final boss!
Here, go north and you’ll find some paths branching off in various directions. Go west to another similar situation. Don’t get confused: continue west and go along the northbound path to find a Ribbon .
Go back south to the previous room, then east and north to the next area for another boss!
Boss: Echidna
| Attribute | Stat |
|---|---|
| Level | 55 |
| Max HP | 99,999 |
| EXP Earned | 66,666 |
| Gil Earned | 66,666 |
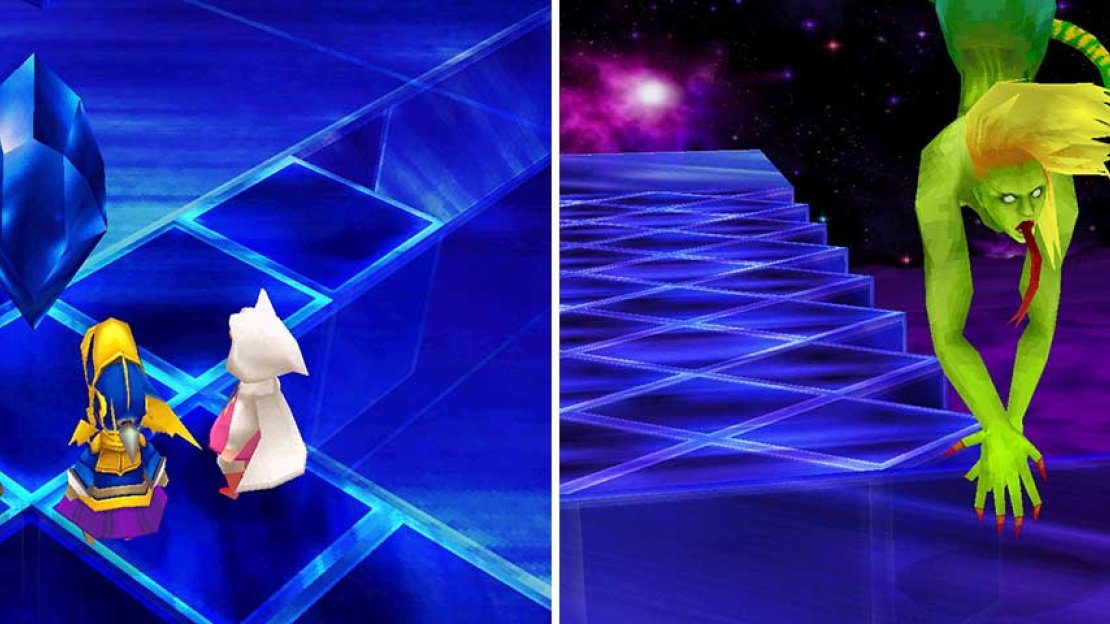
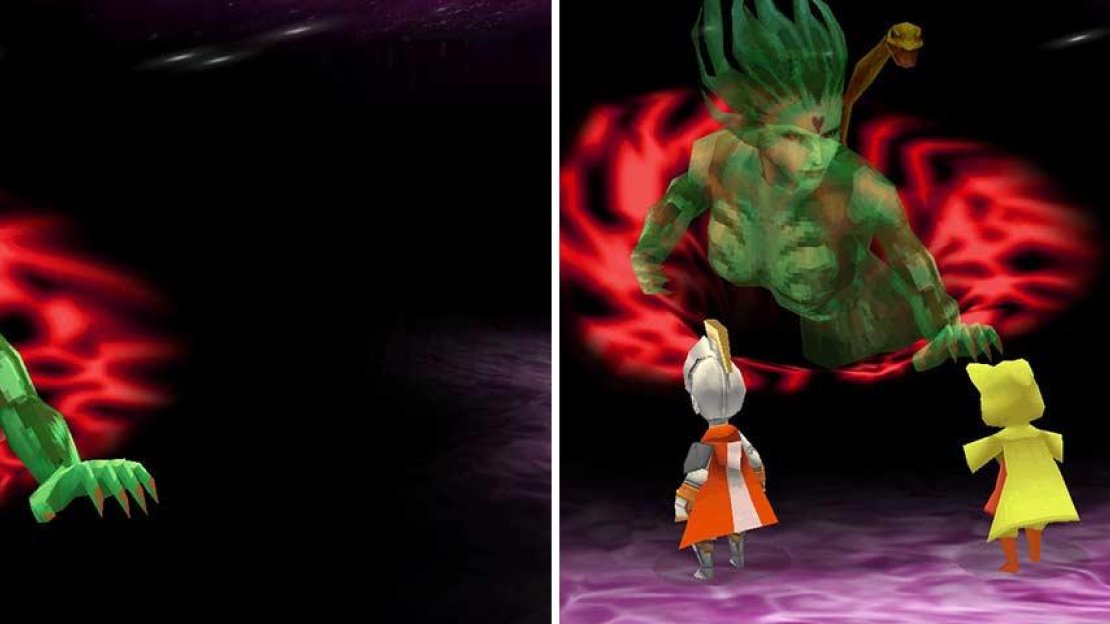
Oh she looks lovely.
The Echidna, as all the other bosses, will attack multiple times per turn. She can use a mildly-painful physical attack as well as Quake, Drain, Firaga, Thundaga, Blizzaga, and Tornado. You’ll really be hurt from that Tornado and, given the multiple-moves-per-turn thing, there’s about a 0.8% chance she can one-hit-kill your party. That happens if Tornado lands on everybody and is followed by a Quake.
Reflect theoretically can work, but then you lose the ability to heal yourself (it will bounce onto Echidna, of course), reducing you to using items. Dragoon Jumping, as with everything else, may well be the trick here, since it lowers the chance of you being exposed to attacks in the first place.
Again, backtrack to the X-shaped room.
Southeast Teleporter
This is the last place we need to visit before the final boss.
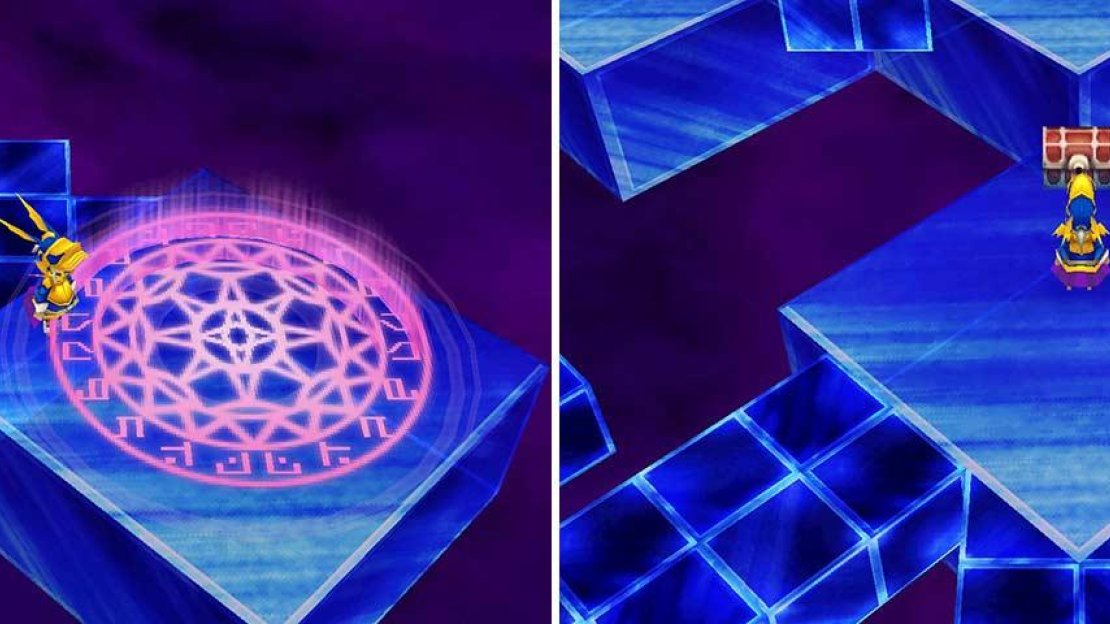
Here, go straight north and grab the Ribbon . Then exit the room to the southeast/southwest and go along the path. At one point, you’ll go south and then west/east into another room. There, go north to the next area to find another boss.
Boss: Ahriman
| Attribute | Stat |
|---|---|
| Level | 55 |
| Max HP | 99,999 |
| EXP Earned | 66,666 |
| Gil Earned | 66,666 |
Monster’s Inc., anyone?
As usual, this guy gets to move twice per turn. He has the “-ga” spells along with a weak physical attack. Don’t underestimate it though. It could potentially Petrify the victim.
This time it is definite: Dragoons are the ultimate strategy. Ahriman is incredibly weak to Wind/Aero, first of all, and by Jumping you can dodge the Petrifying Attack and all the other moves half the time, then smack him around for a lot of damage. Wind Spears are great, but if you have any other spear with a raw attack over 106, use that over a Wind Spear.
Backtrack to the teleporter room shaped like an X when you’re done thrashing him.
Central Teleporter
The suspense! The suspense!
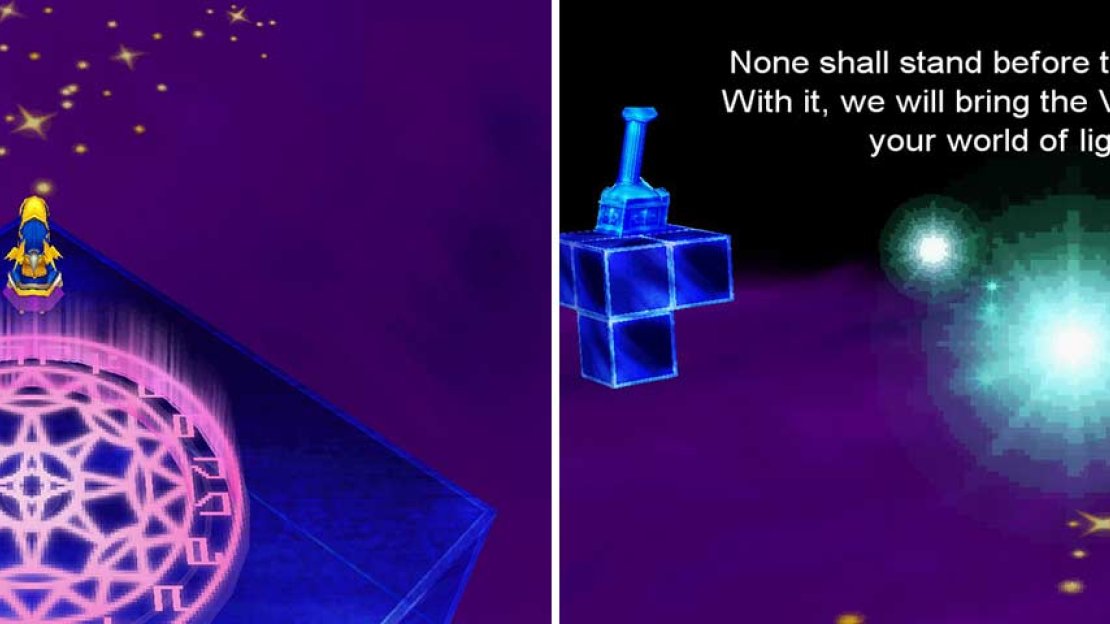
Go along the linear path north, east, north, west, north, east, north, and west to find the final teleporter.
Equip your Ribbons. Don’t forget to do this. We didn’t go through all that trouble for nothing. Then heal up, and prepare yourself for the final battle.
Boss: Cloud of Darkness
| Attribute | Stat |
|---|---|
| Level | 30 |
| Max HP | 120,000 |
| EXP Earned | 99,999 |
| Gil Earned | 70,000 |
This is it! This is what you have been working towards all game long! Good luck.
Take note of the tentacles that you can target when fighting the Cloud of Darkness. They have health bars and will take turns to attack you, making it highly recommended you attempt to get rid of them. Disposing of both will put Cloud of Darkness into rage mode and she will begin to use Particle Beam , her signature move which hits like a truck, very often. As a result, you should leave one alive while destroying the other.
The left tentacle is immune to all magic attacks. The right tentacle is immune to all physical attacks. Target the left tentacle, it is the one that will attack you for damage. The right tentacle is mainly devoted to statusing your team, which is why you have equipped the Ribbons, making it easy to ignore. Once the tentacle is dead, start hitting Cloud of Darkness.
Cloud of Darkness will also use Haste and Protect to buff herself, as well as a physical attack only slightly stronger than the rest of the enemies in this dungeon. She can also use Lightning/Thunder-based attacks that will hit the entire party. Plus, she has another unique attack called Flarewave which deals very heavy damage to your entire party as well. And don’t forget the aforementioned Particle Beam.
For this fight, it is recommended you have a certain four party members.
First is obviously the Devout. With their mastery of White Magic, you will have consistent, reliable healing. This is a long fight, so don’t worry about using all your hard-earned Elixirs to keep the Devout’s MP from falling down to zero. They will be needing to use Curaga/Curaja almost every other turn. Also, make sure that they use Haste and Protect on everybody (Haste only on physical fighters of course). This is one non-negotiable member.
The second is the Ninja. Their ability to Throw weaponry means that they are the true damage per turn kings of this game. Have them flinging nothing but Shuriken at the Cloud of Darkness and you can hit up to 9,999 damage per Throw if you invest in the job. I would say the Ninja job is very close to non-negotiable simply because you have acquired so many free Shuriken and since your Ninja is in the back, you’ve got free damage.
Another good job to have is the Summoner. They won’t be able to help out the rest of the party, but their Summons guarantee a truck of damage for the Cloud of Darkness. Bahamut should get used first, Leviathan. Then follow up with Titan (Odin is not going to work), and then Ifrit, Ramuh, and Shiva. If you get desperate enough, you can summon Chocobo. And if you run out of MP, start using those White Musks and Chocobo’s Wraths items that you picked up and should have saved, along with restorative items to heal the rest of the party.
The final slot is totally up to you. Vikings are great if they are decently leveled. Provoke can reduce the enemy’s defense down by a very noticeable amount if you are at a high enough level. Dragoons also come to mind (when do they not) because they can avoid damage and their Jump attack is so powerful. Dark Knights equipped with Ragnarok and Masamune can also hit very hard with Souleater. And of course, the Onion Knight is great, but only if you are around Job Level 95. Bards are also great for buffing and providing general support.
Of course if you just want to go on the all-out offensive, double up on Ninjas. Or if you want to be very safe with healing, double up on Devouts. Doubling up on Summoners means you can easily dish out the hurt if you bought Bahamut and Leviathan Summons in Eureka.
That is all that we can say. Good luck, Warrior of Light.
After the battle, enjoying the ending scenes…and congratulations on completing Final Fantasy III.
No Comments