Regional Bestiary
| Monster Name | Max HP | GIL | EXP |
|---|---|---|---|
| Mummy | 52 | 24 | 100 |
| Skeleton | 57 | 26 | 105 |
| Cursed Copper | 42 | 52 | 105 |
| Larva | 44 | 30 | 120 |
| Shadow | 66 | 32 | 120 |
| Revenant | 70 | 34 | 130 |
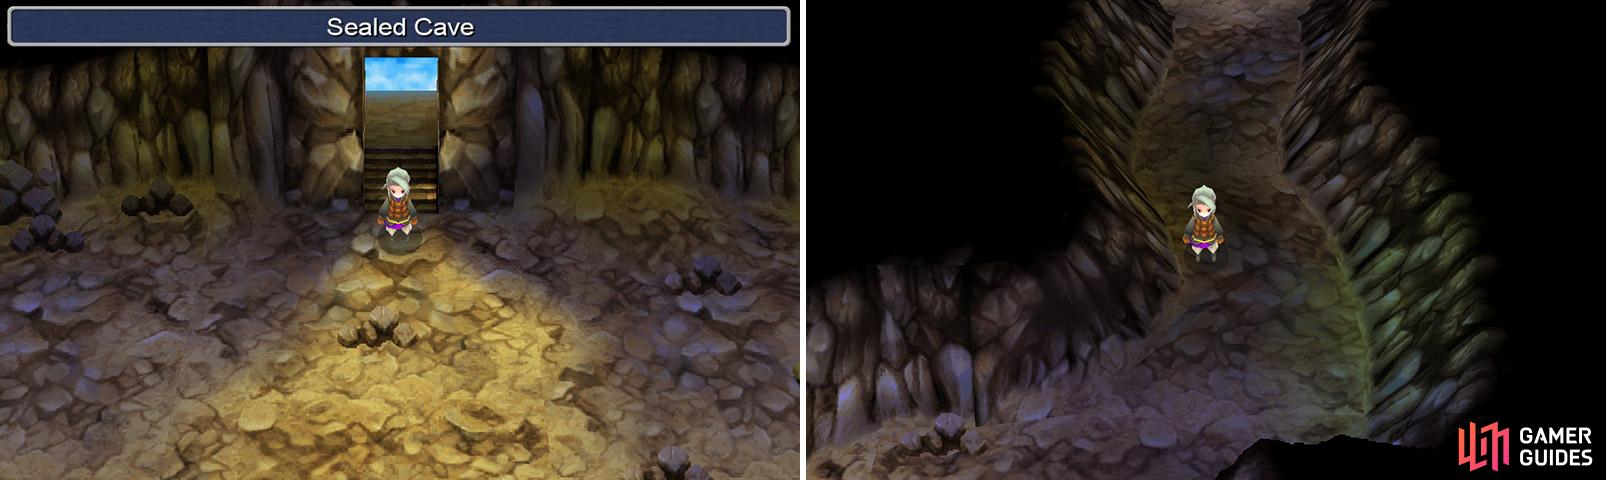
Welcome to Sealed Cave, the next dungeon in this game.
First and foremost, it’s highly recommended that you equip the following weapons: the Wightslayer you got from Castle Sasune, and the Bow with some Holy Arrows . Both of these abuse weaknesses of the enemies in this dungeon, as they are all weak to Light/Holy-elemental damage . If you lack these for a character, simply go with Longswords. Note that Bow-users should be in the back row, since Bows are long-range and do the same damage, but the user will take half-damage.
Final Fantasy veternas will know that Cure can also damage undead enemies, but I highly recommend against this unless you are desperate with no other options. MP is limited at lower levels so use it sparingly. Save your MP for curing your own team members!
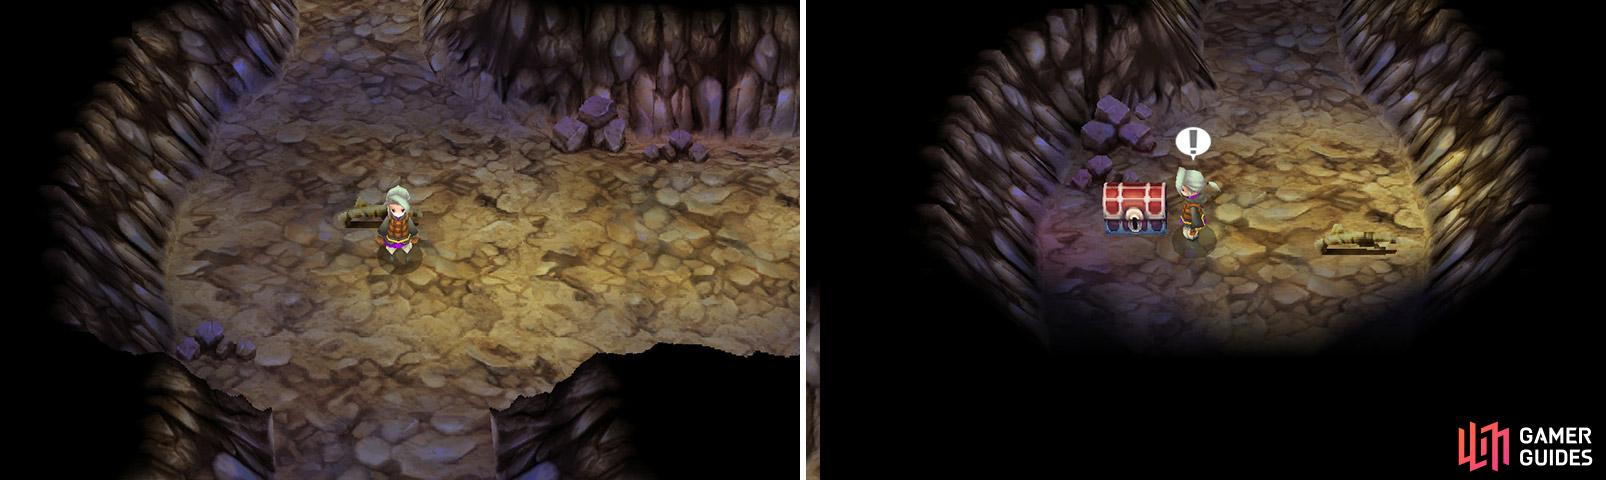
Once inside, go south along the path and you’ll soon reach an intersection. Go south to find a Potion, then go back north to the intersection and east along the narrow path. In the next room, go north and you’ll find a chest containing the Cure spell. Go back to the previous room and go along the path to the southeast until you reach the next area.
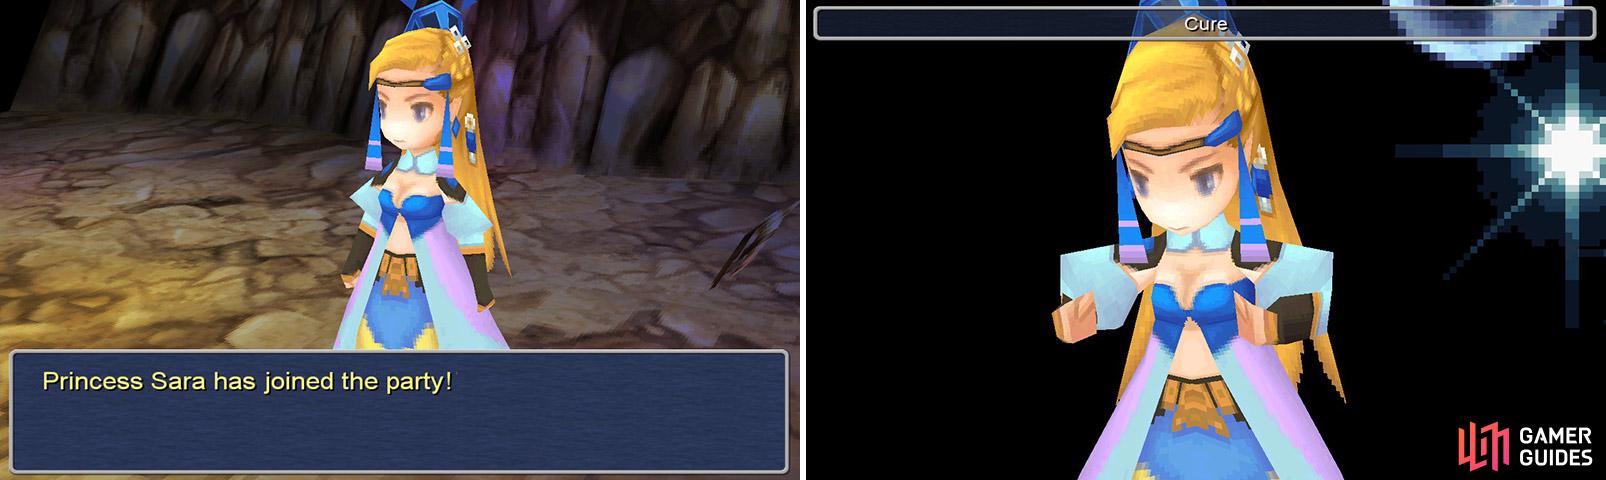
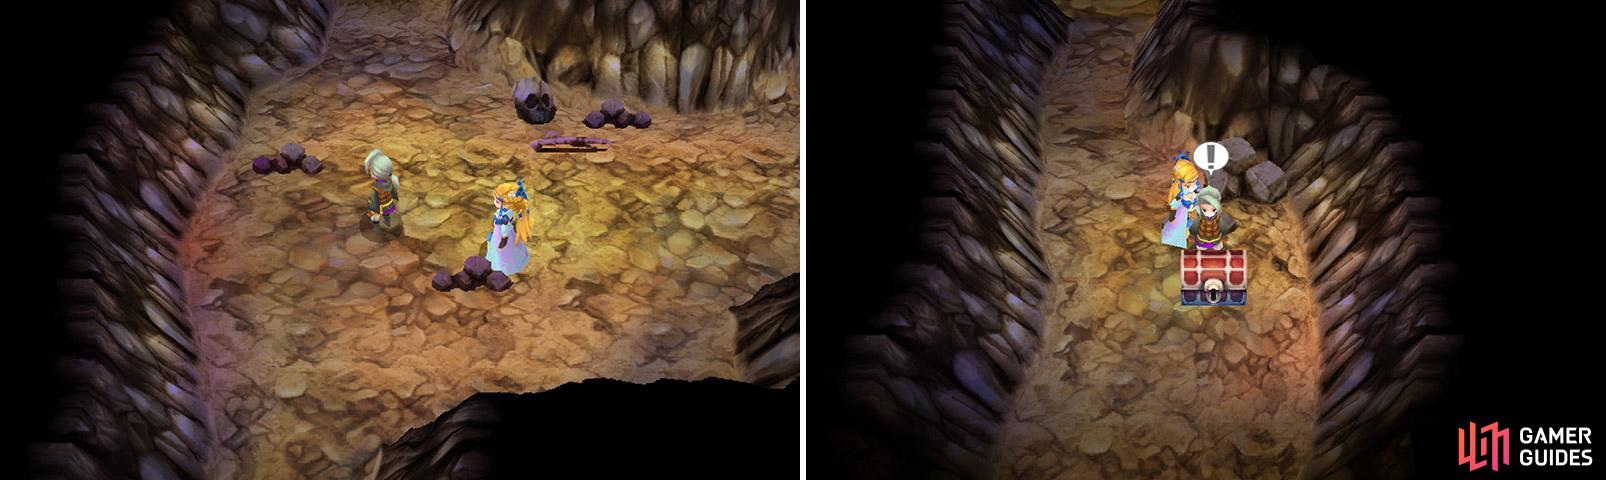
In this area, go southwest and you’ll find a chest with 500 Gil . Then go to the northeast corner and zoom in with the camera to find a sparkly. Examine it to lower the wall. You’ll meet up with Princess Sarah and she’ll join your party. She’ll be a support member, so you cannot control her in a battle. But she may come into the fight at any time to help by casting Aero or Cure! You can also speak with her in the field by pressing Y.
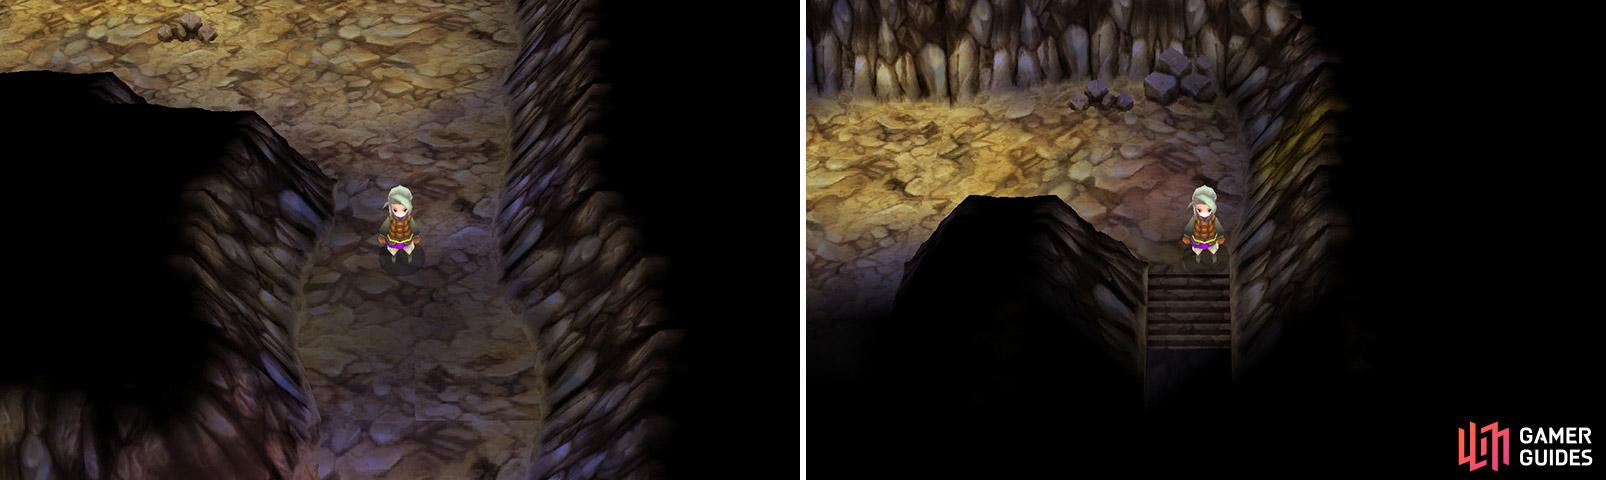
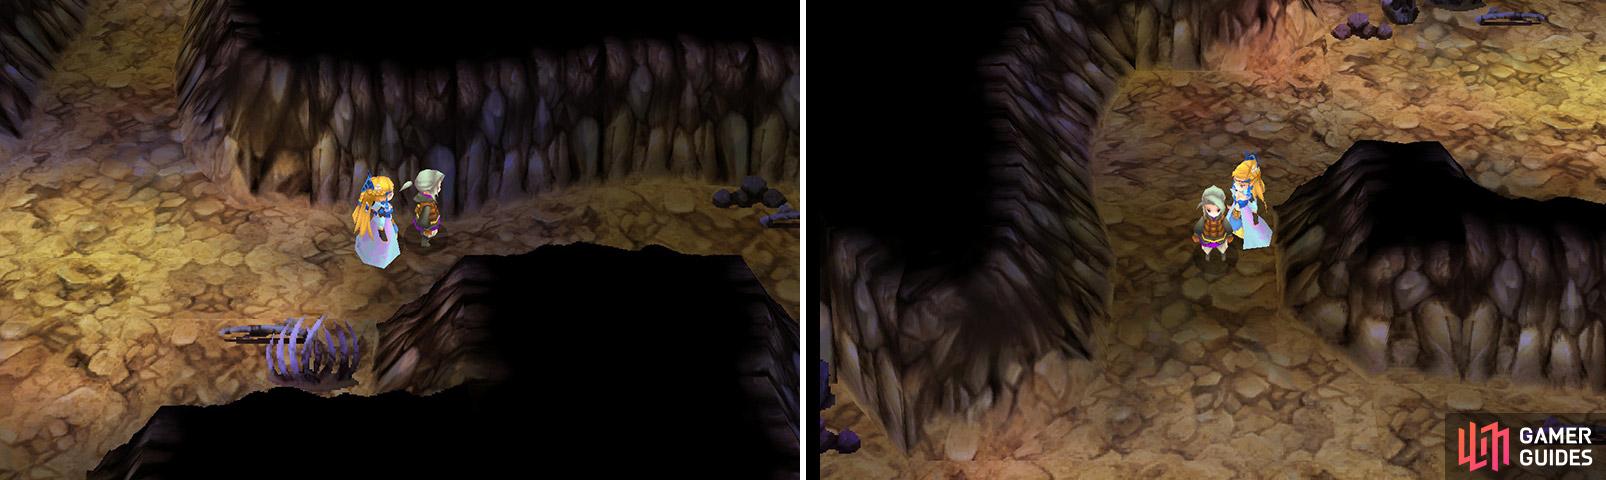
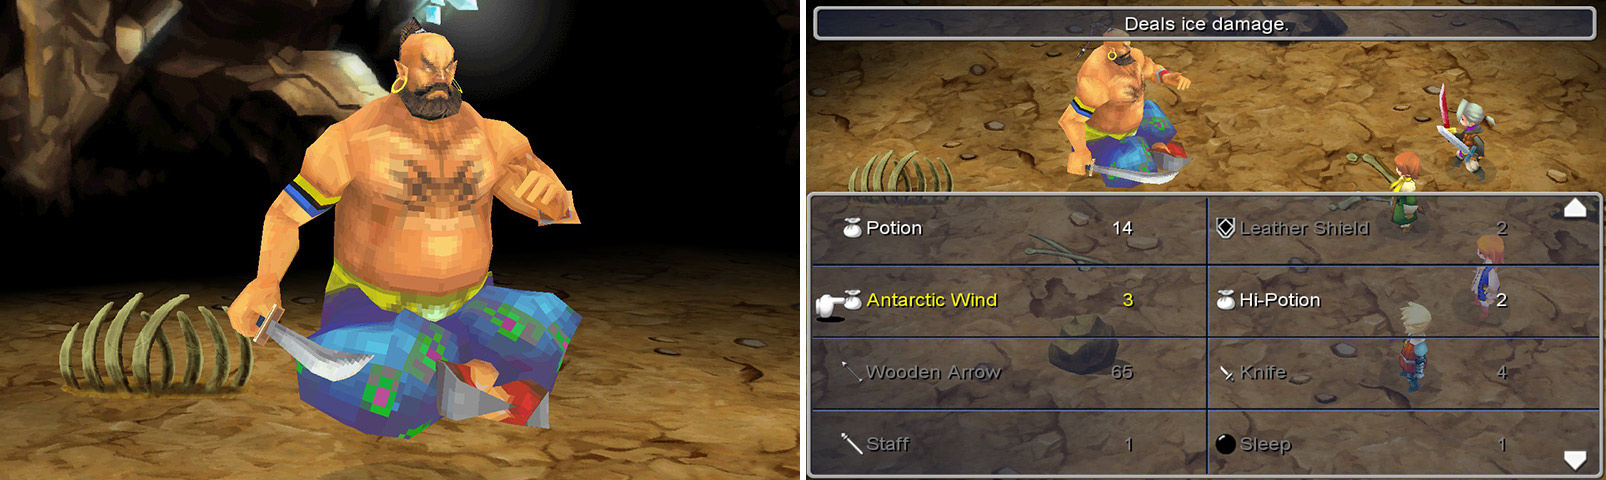
Now, continue along the path southeast to the next area. Go along the path southward to a fork. Continue south into a larger room, then exit it to the south and then east to find a chest with another useful Antarctic Wind ! Go back up to the fork you used earlier and head north. Follow the path until you reach a large room.
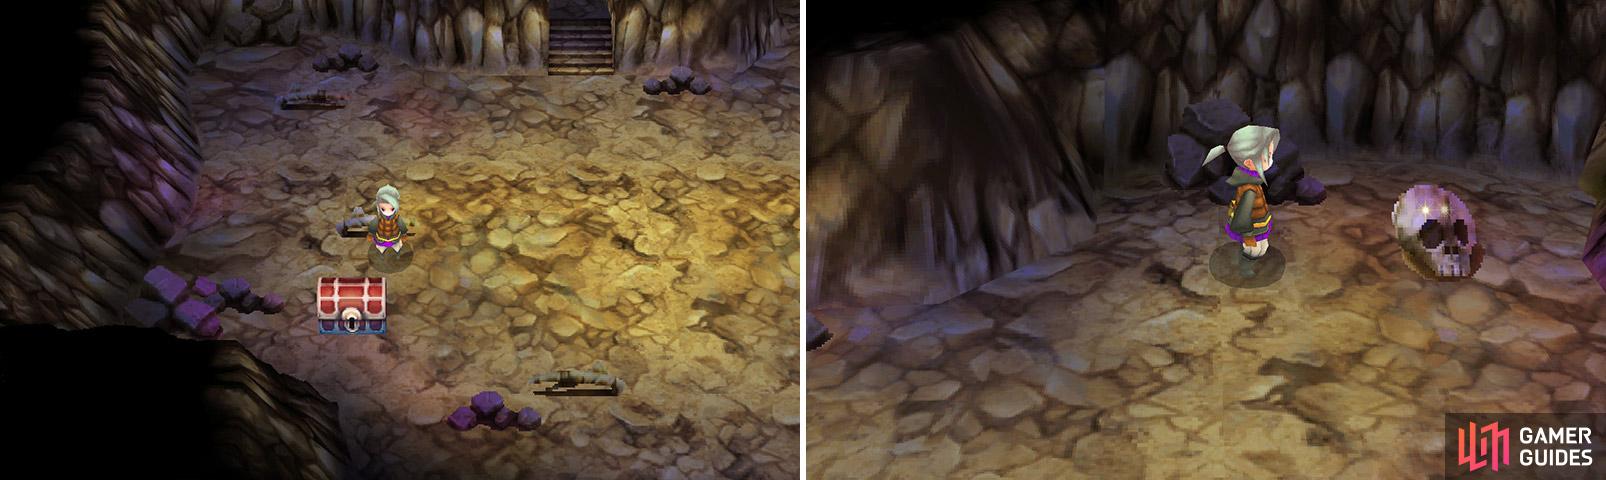
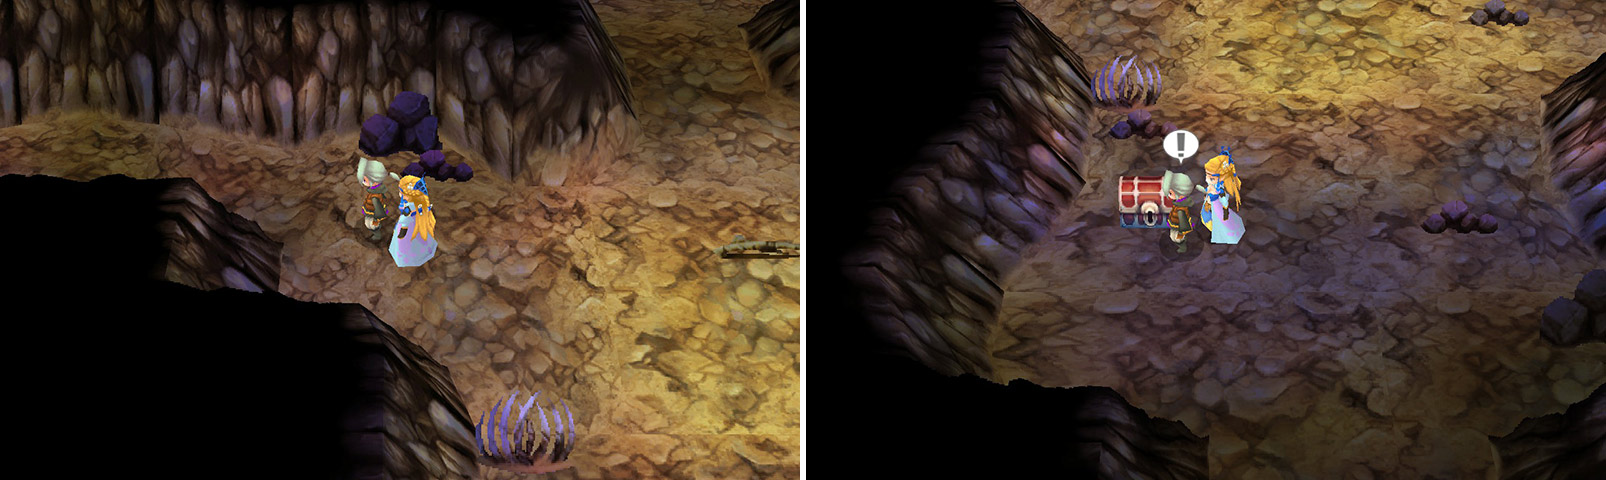
In here, grab the Eye Drops from the chest, then exit the room to the northwest and continue along to the next room. Exit it to the southeast to reach the room with the Djinn , our lovely dungeon boss. Heal up before approaching him to battle!
We’re going to clean this dungeon of treasure chests like usual so make sure you’re prepared.
Go south to find a Potion, then go back north to the intersection and east along the narrow path.
In the next room, go north and you’ll find a chest containing the Cure spell.
That finishes up this area of Sealed Cave!
Go back to the previous room and go along the path to the southeast until you reach the next area.
Remember to inspect weird, off-colored objects!
In this area, go southwest and you’ll find a chest with 500 Gil . Then go to the northeast corner and zoom in with the camera to find a sparkly. Examine it to lower the wall.
NPCs who join cannot be controlled.
You’ll meet up with Princess Sarah and she’ll join your party. She’ll be a support member and may come into any fight at any time to help by casting Aero or Cure! The latter is particularly helpful so if you get lucky you could have a pretty easy time going through this dungeon! You can also speak with her in the field by pressing Y.
The more the merrier!
Now, continue along the path southeast to the next area. Go along the path southward to a fork. Continue south into a larger room, then exit it to the south and then east to find a chest with another useful Antarctic Wind !
Almost there!
Go back up to the fork you used earlier and head north. Follow the path until you reach a large room.
Make sure you’re ready to for the boss.
In here, grab the Eye Drops from the chest, then exit the room to the northwest and continue along to the next room. Exit it to the southeast to reach the room with the Djinn , our lovely dungeon boss. Heal up before approaching him to battle!
Boss: Djinn
| Attribute | Stat |
|---|---|
| Level | 7 |
| Max Hp | 600 |
| Exp Earned | 200 |
| Gil Earned | 1,400 |
Jolly old fellow, right?
The Djinn is unexceptional as far as its attacks go. All I really noted were a basic physical attack and a Fire spell that may hit your entire team. His Attack is about 33% higher than the other enemies around here, so you may need to use Cure in this fight if it gets to be a little long.
Due to its weakness to Ice, it’s highly recommended you equip and use the Antarctic Wind you acquired, but only once; being of the Ice/Blizzard element, it’ll easily do about 500 damage. So why not a second use? Well, I’d save it for other fights. You should be able to trim down 100 HP in two turns or so anyways, especially if you had someone learn Blizzard beforehand.
After the battle, you’ll end up teleporting before Sarah’s eyes. But where in the world are you going…?
You end up in the Wind Crystal shrine. The Crystal bestows a task upon you, the Warriors of Light. The world’s light is fading, and the equilibrium of the planet is at risk. Much like the previous two Final Fantasy installments, the world’s ecology will go into chaos if the world’s Crystals’ light and the forces of evil are not restored and banished, respectively.
The Wind Crystal gives you the ability to switch jobs. Of the jobs you have just obtained, you’ll be allowed to be a Warrior, Thief, Monk, Black Mage, White Mage, or Red Mage. It’s recommended you choose Warriors, Thieves, and Red Mages (hybrid between Black and White Mages).
Also note you can now do the Wi-Fi-based sidequest concerning the Onion Knight. See the Wi-Fi Sidequests section for details. Backtrack to the overworld so we can continue with the main storyline.
No Comments