
Description
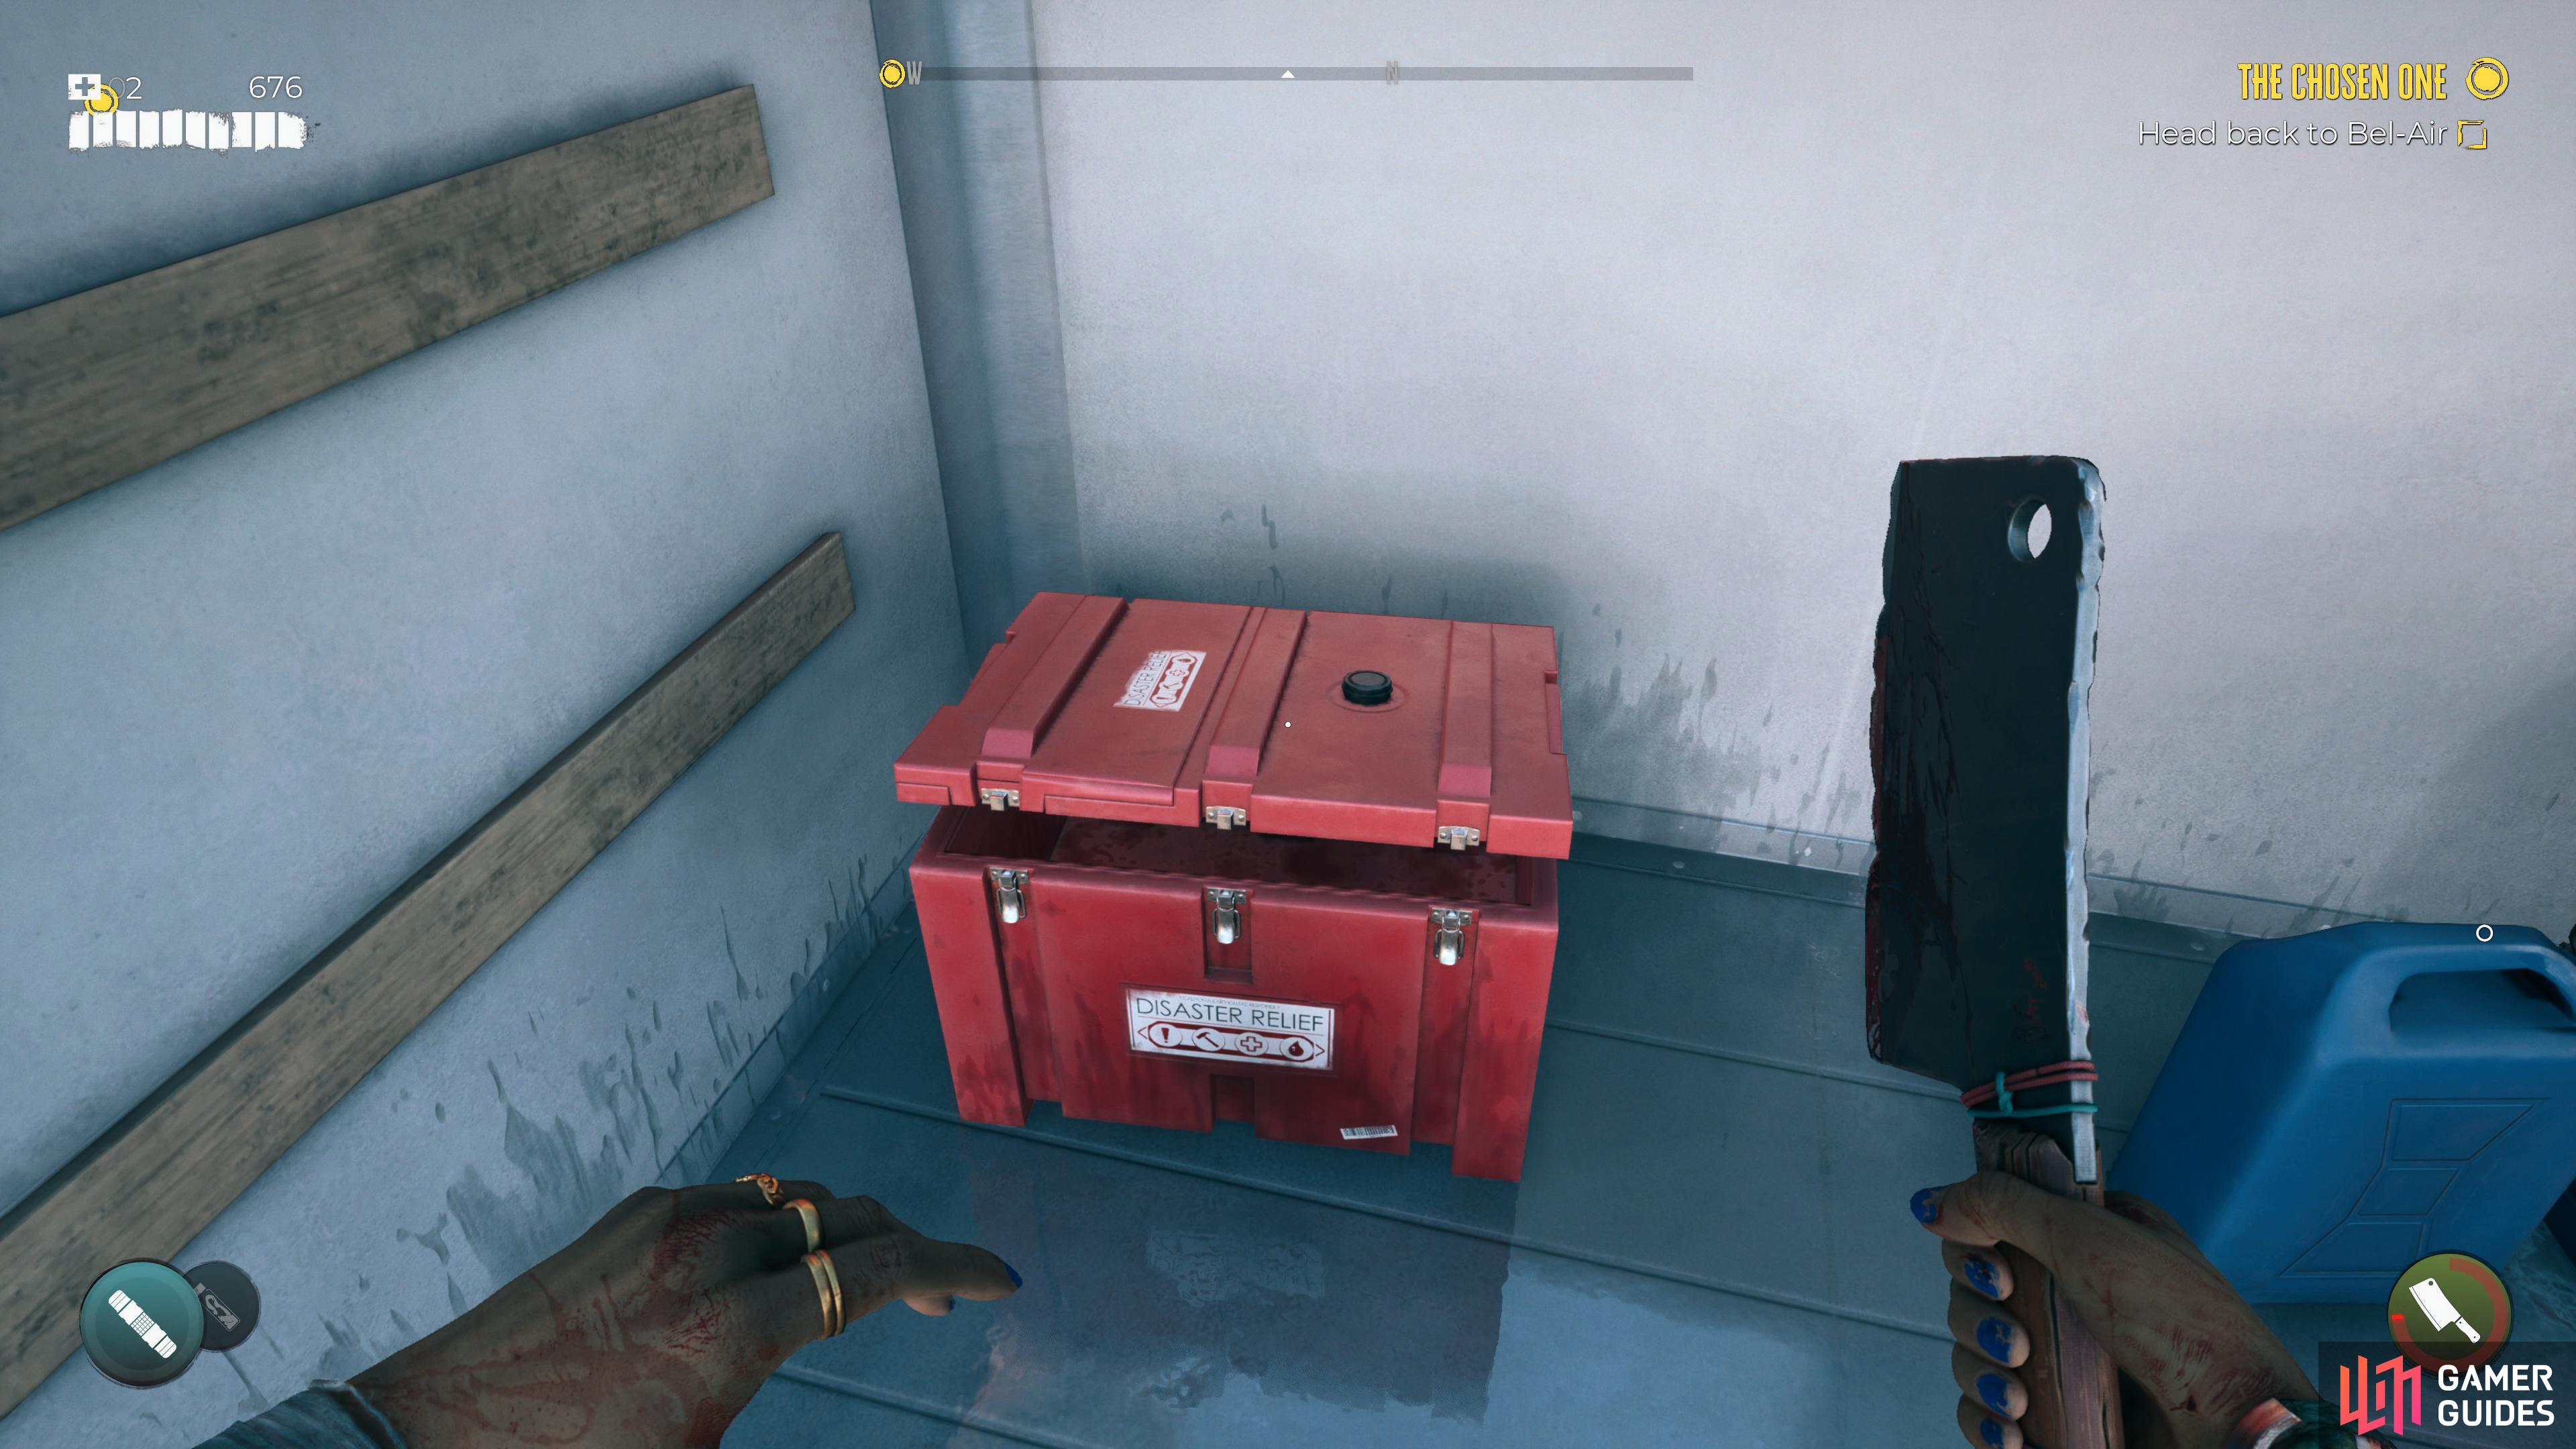
These large red crates contain a number of items you will find vital to your survival such as the ![]() Med Kit.
Med Kit.
Interactive Map Locations

1. Bel Air Map
Can be found in the sauna on the second floor of the mansion. Contains a random weapon.


3. Halperin Hotel Map
When inside the bus, toss a weapon at the electrical box to make it safely to the crate.


6. Halperin Hotel Map
Behind the locked door, you can reach it by going down to the pool and around.

7. Halperin Hotel Map
In the corner of this room, accessed after the story objective here.

8. Halperin Hotel Map
Found at the back of room 209, behind the electrified floor. Use the furniture to reach it without taking any damage.

9. Halperin Hotel Map
In the room to the side of the one you land in after exiting the vent.
10. Halperin Hotel Map
In the back of the Delivery Van next to the Fire Emergency Van.


12. Beverly Hills Map
Climb on the van, run along the roof and jump over the gate to reach it.

13. Beverly Hills Map
Use the Chembomb to gain access to the disaster relief craft inside the van.


17. Brentwood Sewers Map
You can’t access this on your first visit, when you return via the story, the door can be opened.


20. Beverly Hills Map
At the top of the stairs here, you must avoid the traps on your way up.

21. Brentwood Sewers Map
In the storage room, pull the ![]() Circuit Breaker out of the nearby
Circuit Breaker out of the nearby ![]() Breaker to stop the electricity and safely access it.
Breaker to stop the electricity and safely access it.

22. Beverly Hills Map
Head to the top floor of the house, and go through the doors on to the balcony. Drop off the roof to the south, and follow that roof to the west.

23. Brentwood Sewers Map
Found behind the locked gate, this opens as part of the ![]() Flushed Story Quest.
Flushed Story Quest.

24. Beverly Hills Map
Found on top of the scaffolding, use the boxes nearby to climb up to reach it.

25. Ocean Avenue
![]() Disaster Relief Crate can be found in a small room. Contain a random weapon.
Disaster Relief Crate can be found in a small room. Contain a random weapon.


33. Monarch Studios Map
The door to this trailer is partially closed, crouch to crawl through the entrance.

34. Monarch Studios Map
![]() Disaster Relief Crate that can be found sitting on a platform above Studio 7.
Disaster Relief Crate that can be found sitting on a platform above Studio 7.

35. Monarch Studios Map
Can be found sitting in the corner next to some bins. Contains a random weapon.

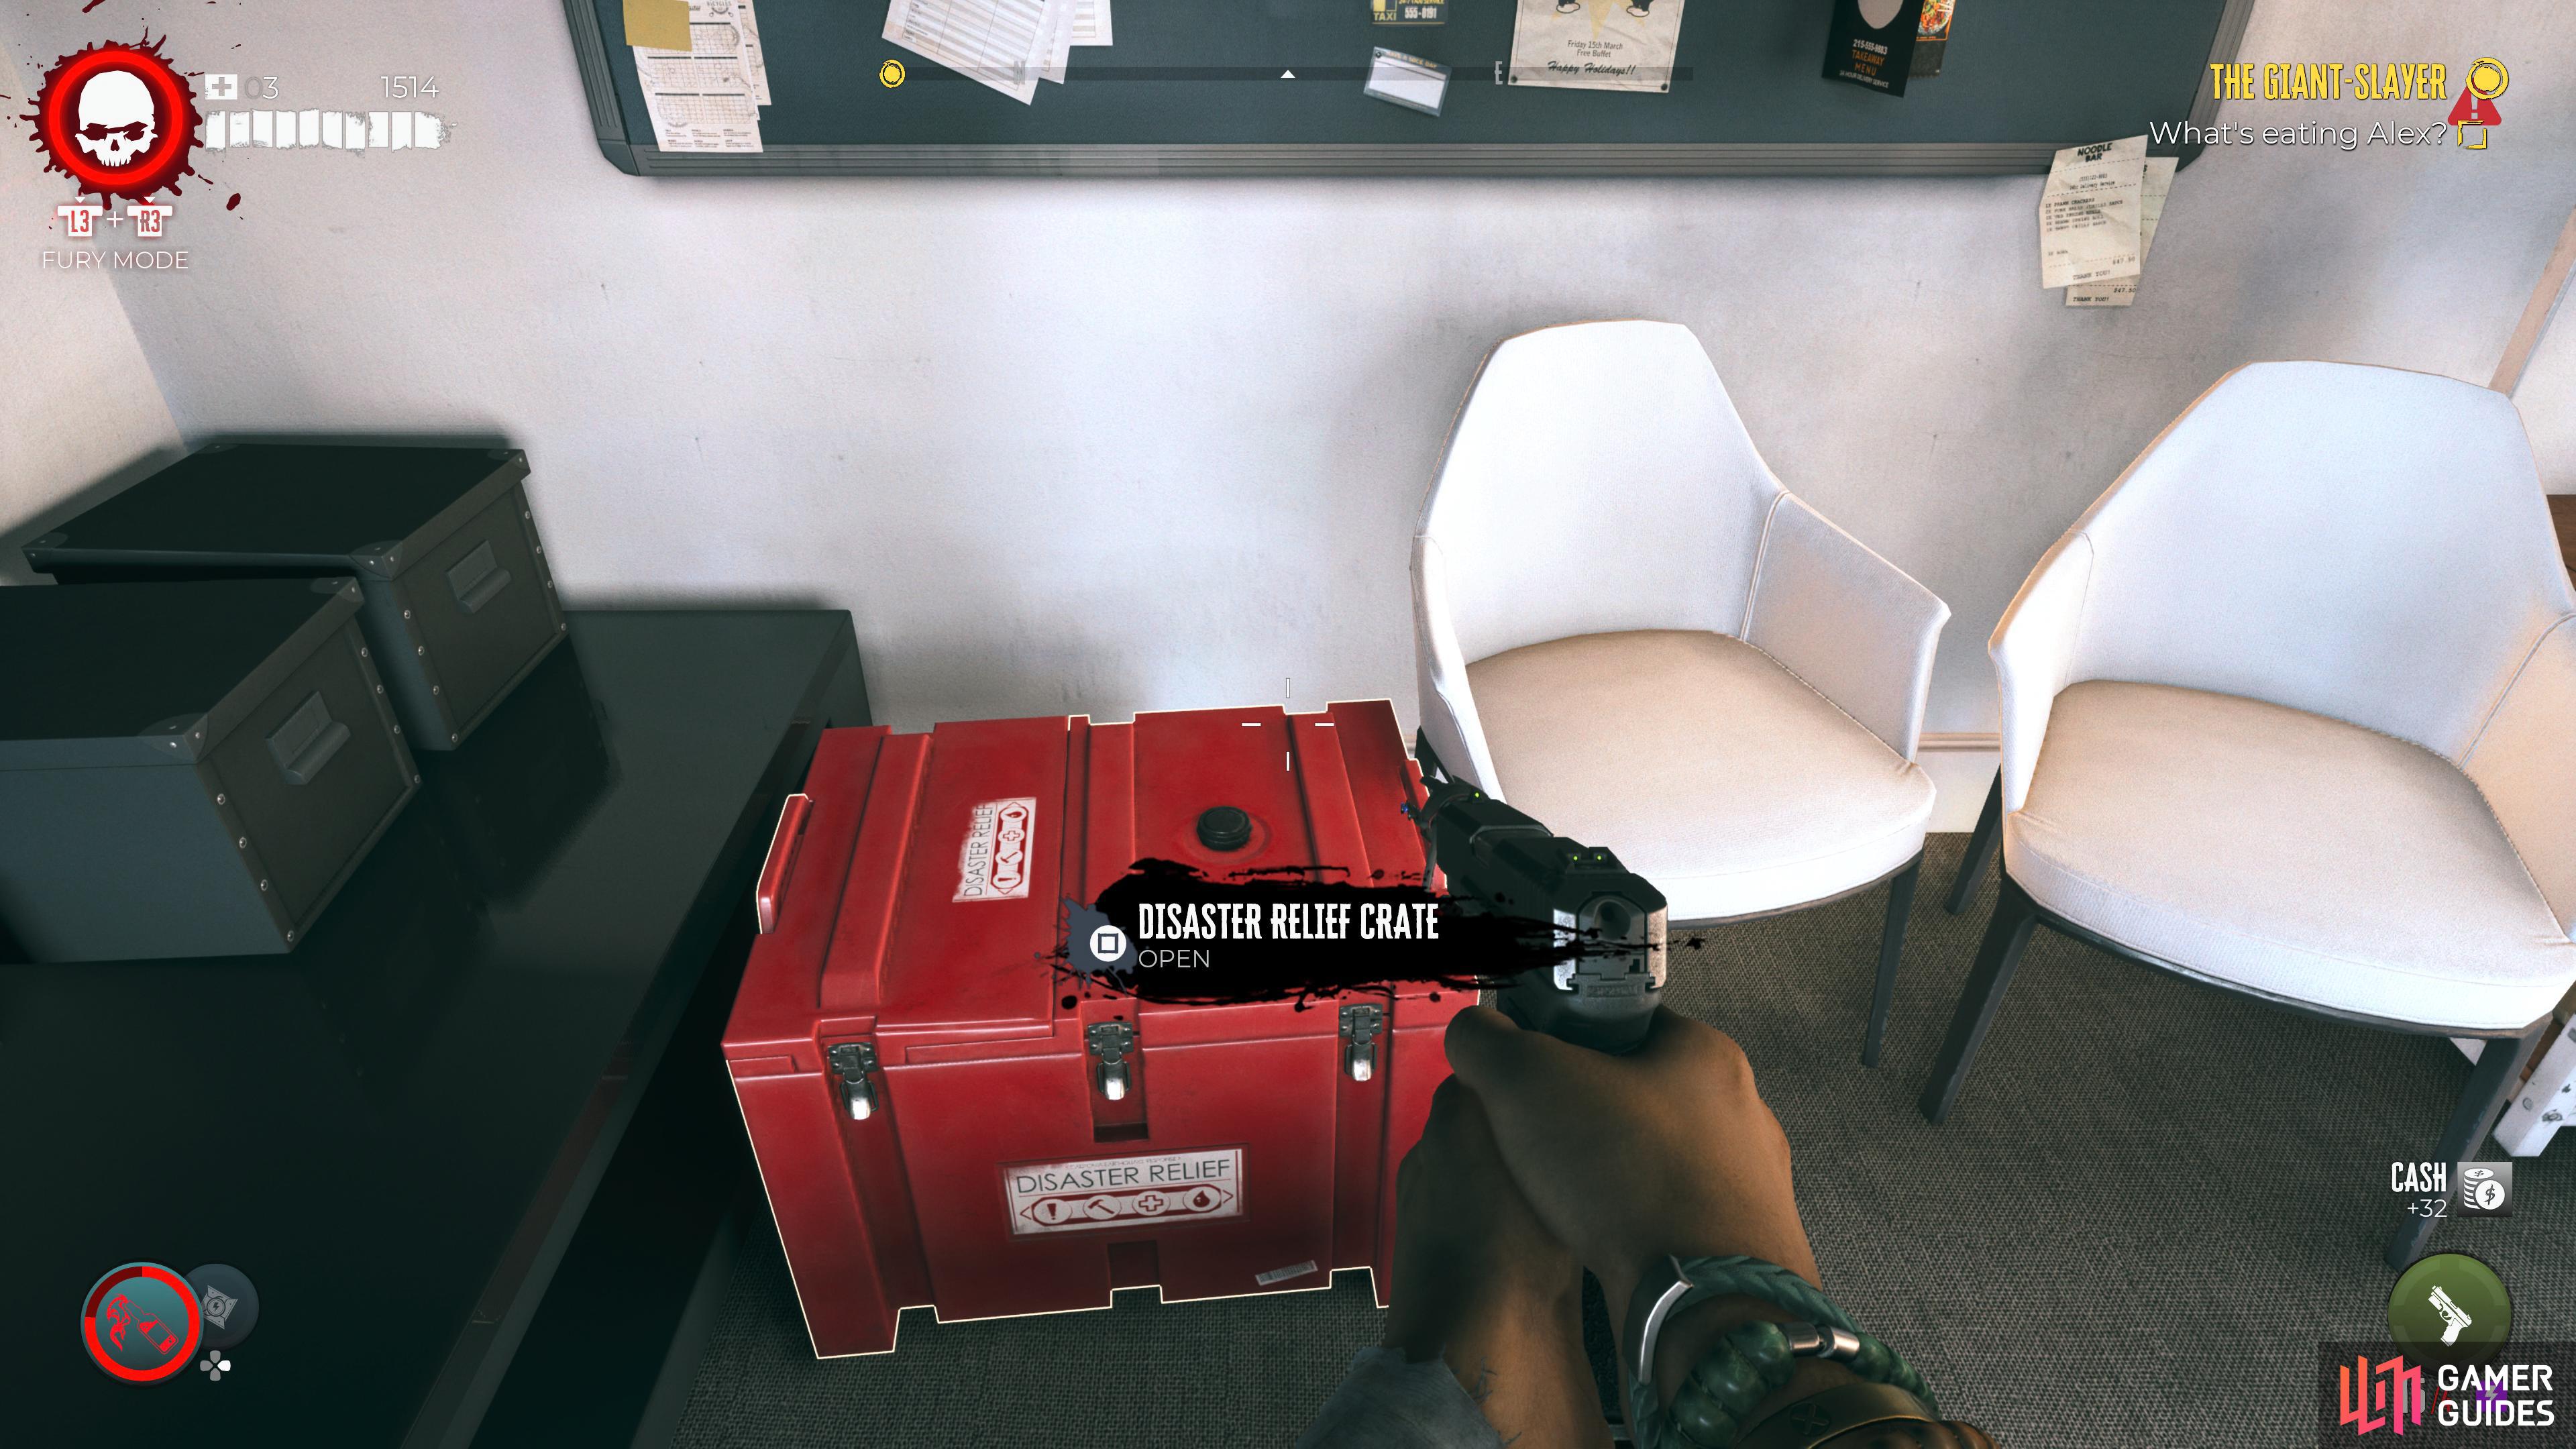
36. Hollywood Boulevard Map
take a right when you reach the Re-Aging Clinic Lab to find the Disaster Relief Case on the floor.

37. Hollywood Boulevard Map
You can find this ![]() Disaster Relief Crate sitting behind the large Romeros Wall. Contains a random weapon.
Disaster Relief Crate sitting behind the large Romeros Wall. Contains a random weapon.

38. Hollywood Boulevard Map
You can find the ![]() Disaster Relief Crate sitting behind a wooden crate that’s located under the third set of seats. Contains random weapon.
Disaster Relief Crate sitting behind a wooden crate that’s located under the third set of seats. Contains random weapon.

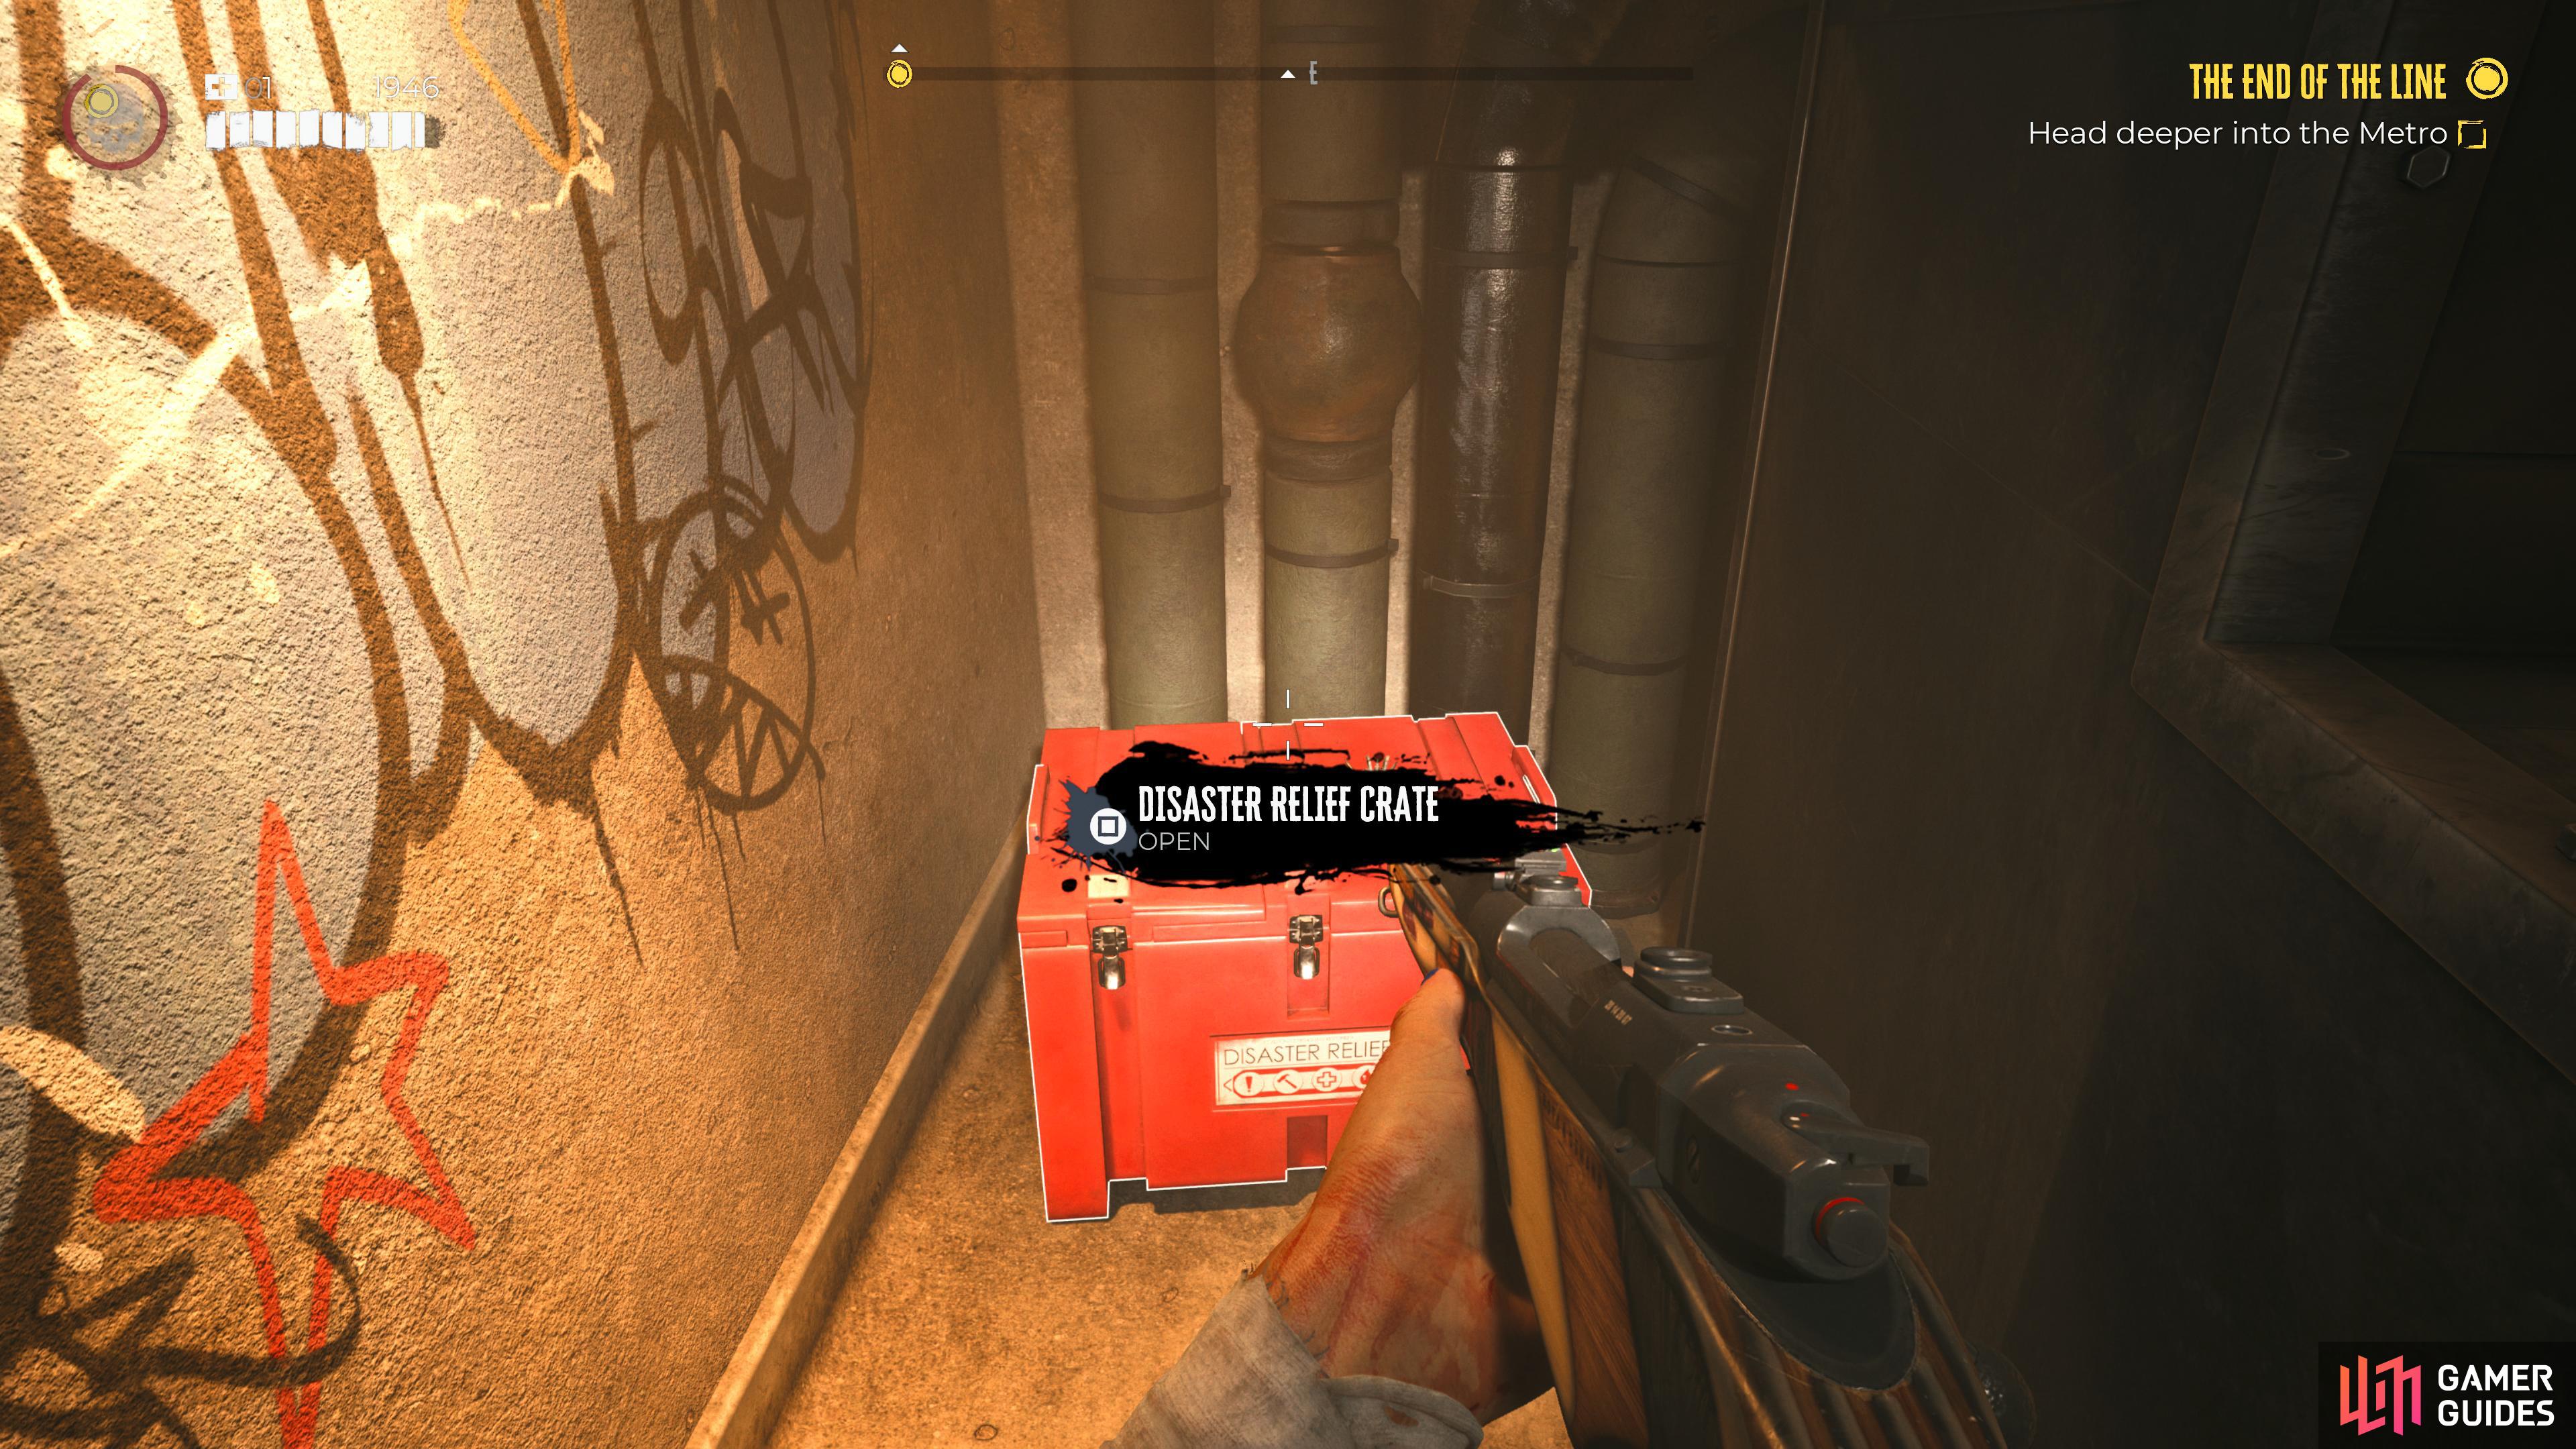
39. Hollywood Boulevard Map
can be found in a corner to the right of the stairs leading down into the metro.


42. Hollywood Metro Map
Head to the other side of the main room and shut off the electricity before returning for this crate.


44. Santa Monica Pier Map
In the room next to the ![]() Workbench, open the door and stand back to avoid the explosion.
Workbench, open the door and stand back to avoid the explosion.

46. Santa Monica Pier Map
While in the sewers, go through the other tunnel to reach the crate.

47. Beverly Hills Map
Found by dropping down the grate and turning back on yourself.

48. Beverly Hills Map
Found upstairs on the second floor, use a ![]() Chem Bomb to remove the caustic acid on the ground to reach it.
Chem Bomb to remove the caustic acid on the ground to reach it.

49. Beverly Hills Map
In the back of the large container here, use a ![]() Chem Bomb to remove the acid on the ground.
Chem Bomb to remove the acid on the ground.

50. Venice Beach Map
Inside the metal container somewhat obscured by the toxic chemicals.

51. Venice Beach Map
On top of Marla’s Tapas roof. Climb the pallets behind the shop to reach it. The crate will be next to ![]() Jo’s Secret Stash.
Jo’s Secret Stash.

52. Venice Beach Map
Behind Venice Motors. Jump over the tripwire covering the gap in the chain-linked fence then head to the dead end in the southeast.
53. Venice Beach Map
In the Venice Auto’s Sales/Enquiries Room.
This is a high level area (Red Skulls), but you can still kill the enemies with elemental damage.


55. Venice Beach Map
On the roof of the Hot Dog shop. You’ll need to use the nearby pallets to reach the roof. Be careful of the Shotgun Trap near the crate.


57. Venice Beach Map
Found inside the Lifeguard’s Hut. Use the nearby crates to avoid the electricity then turn off the generator.


60. Venice Beach Map
Found in Jail 02 of the Police Station, requires the Jail 02 Key found in the reception.


63. Santa Monica Pier Map
Found under the pier, turn off the water to access the crate safely.

64. Santa Monica Pier Map
Found under the pier, navigate yourself through the storage room to reach it.


66. Beverly Hills Map
At the end of the balcony on the first floor which can be accessed by going past the locked door in the kitchen. Requires ![]() Rikky’s Kitchen Key to get through.
Rikky’s Kitchen Key to get through.

No Comments