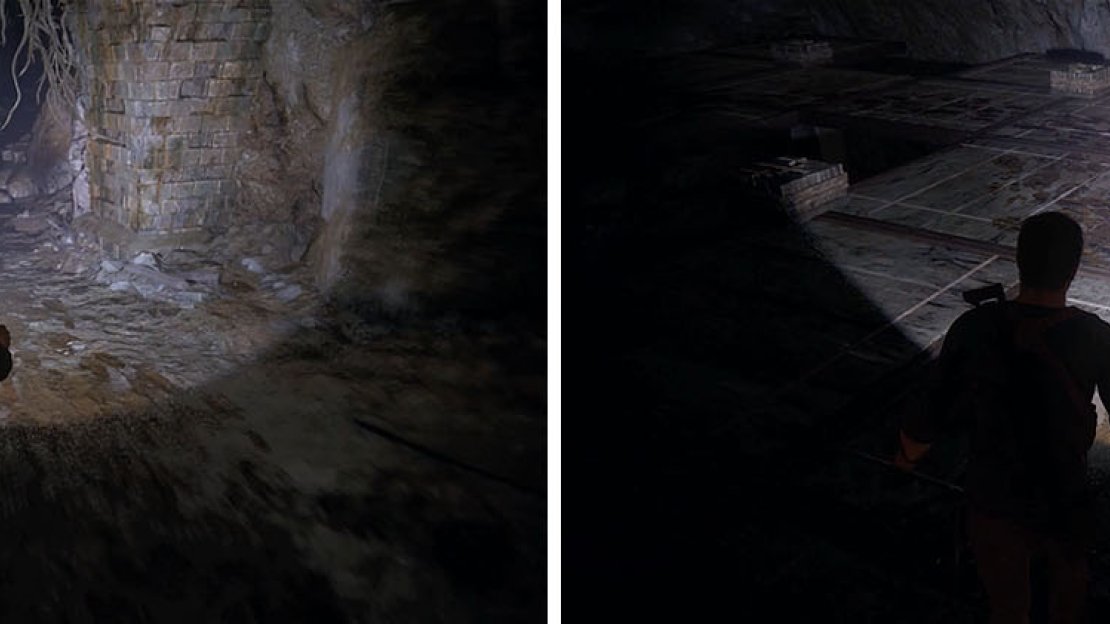
Follow the path until you spot a number of footprints on the ground and then follow them left. Nate’s flashlight has seen a lot of use throughout the game, so it’s no wonder that the batteries begin to die as you head through the tunnel. Shake the controller to turn the light back on and then continue to follow the footprints until you reach a floor puzzle.
Thanks to Nadine’s men the path is already littered with footprint - let’s hope a few of them died finding the correct path - stick to their path to reach the other side.
Follow the Shoreline footprints through the tunnels and across the first puzzle.
The footsteps lead to a collapsed tunnel that Nate can’t move and to add insult to injury his flashlight goes out as he begins to look for another path. Shake the controller until Elena suggests using Sam’s lighter and then press Triangle repeatedly.
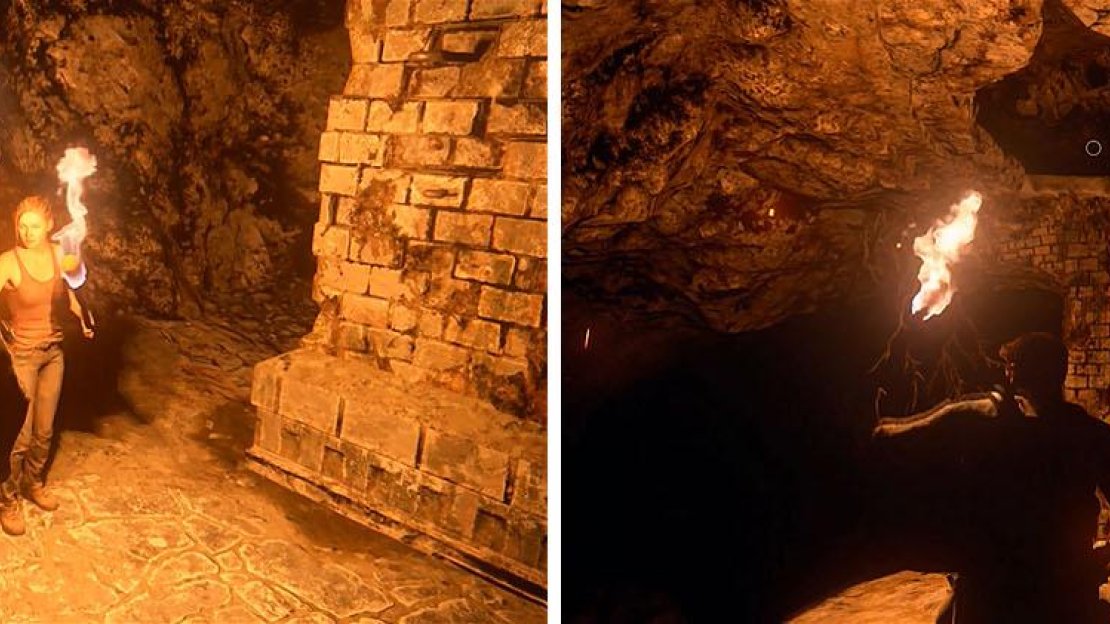
Luckily Elena is resourceful and brought her own matches. Make your way to Elena and then wait for her to light some torches. After grabbing a torch, look for the rock formation in the center of the room with a pillar and then boost Elena up to the hole.
Grab the torch from Elena and then boost her up through the hole in the ceiling.
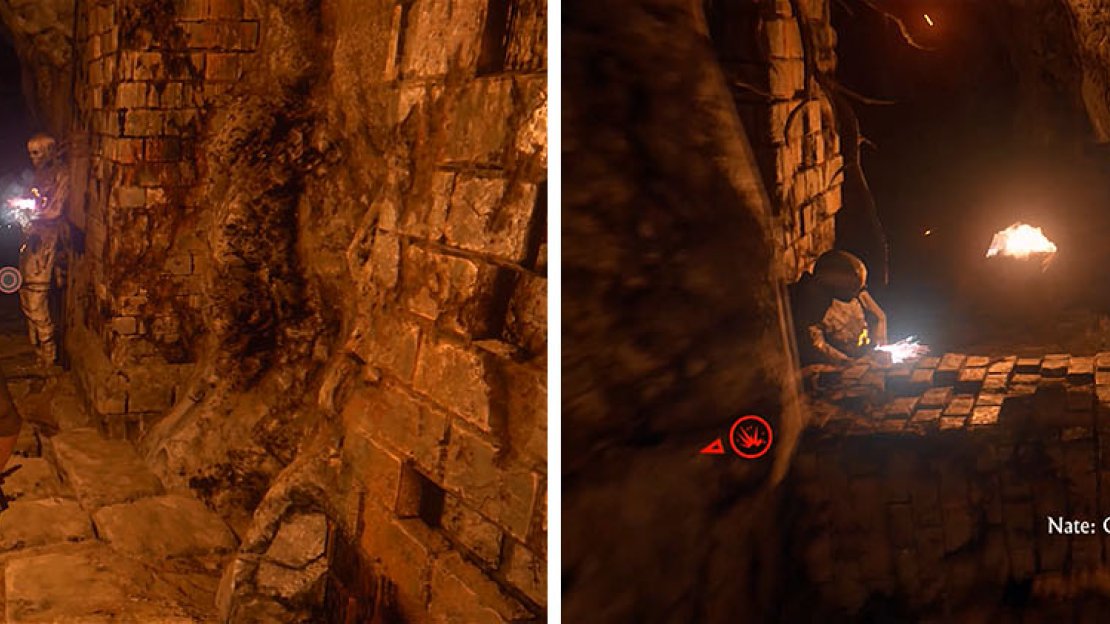
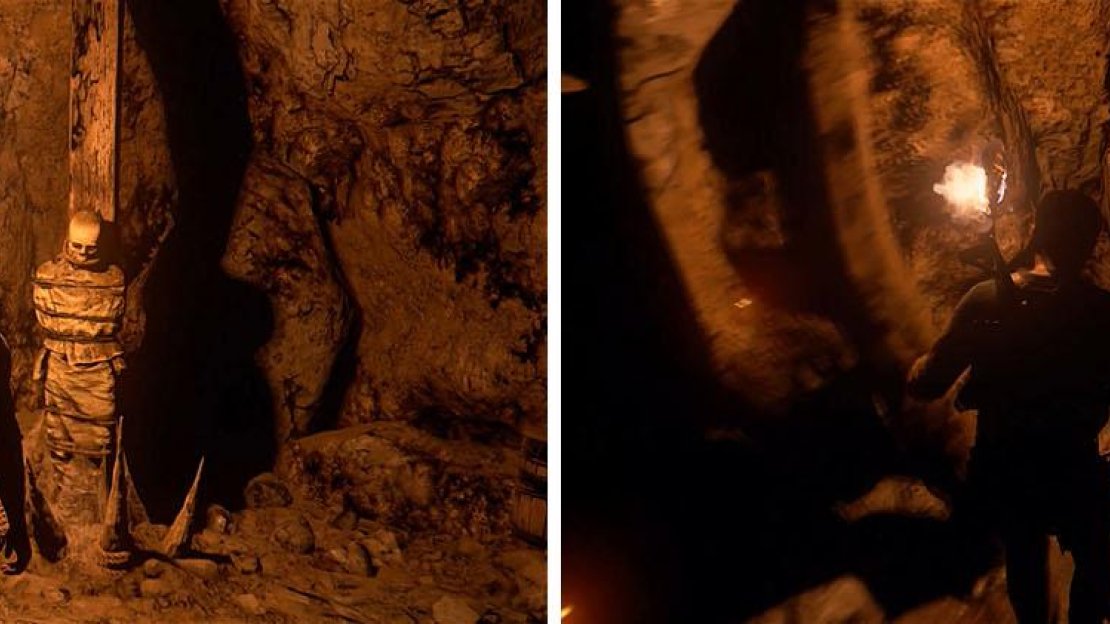
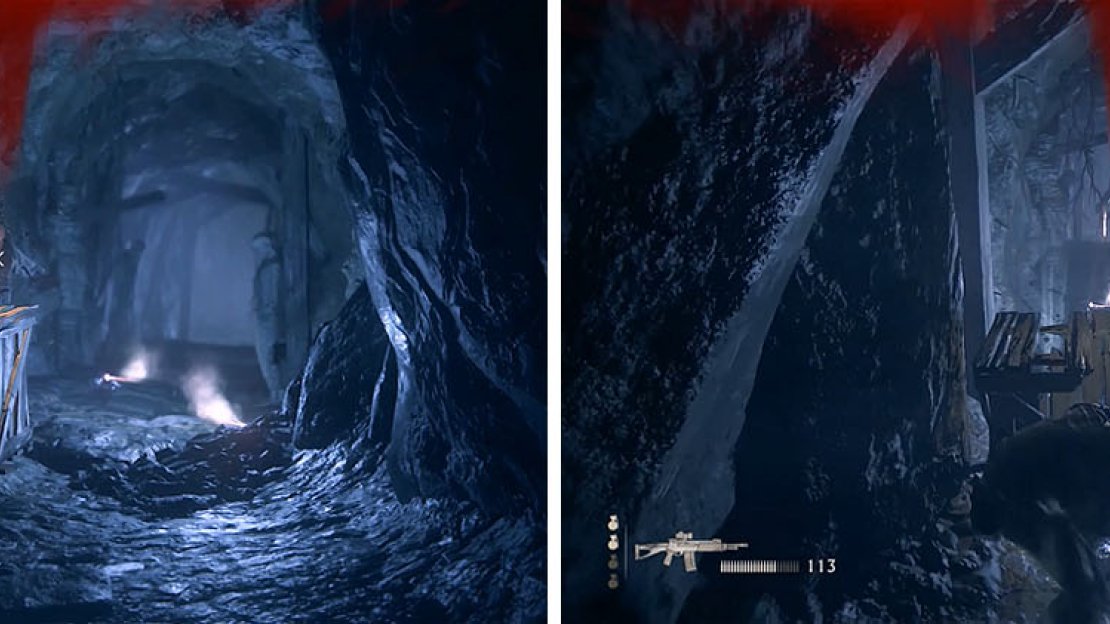
Follow the tunnel until you drop into a room full of arms and take the left path to reach a room with some “gibbets”. The tunnel to the right leads to a group of mummies that explode when you walk close, so roll backwards the minute they light to avoid death.
Get used to this because there are a number of these booby traps throughout the tunnels. Walk forward and repeat this process on the next set of mummies and when you continue you’ll find one more group. This set won’t light until Nate jumps over the rubble on the ground, so roll forward instead of back once they ignite.
Watch out for the mummy booby traps that’re located throughout the tunnels.
Continue forward while looking for a hole in the wall on your left to slide down and then climb up the ledges to enter another room full of Avery’s demented hanging mobiles. The left tunnel leads to a group of mummies that will explode and block the passage forward.
Take the right path until you reach another set of booby traps and this time roll back, as the right side will ignite and then the left. When you slide down the slope ahead you’ll end up right in the middle of a group of mummies; quickly roll forward to avoid the first two and then backward to avoid the three in front.
To the left of the one mummy that didn’t explode is a dead end with the Ancient Stone Vessel and then take the right tunnel to get back on the trail of Nadine’s men.
The tunnel next to the unexploded mummy leads to a treasure at the bottom.
In fact you’re closer to the Shoreline goons than expected and when you enter the cavern marked with blue lighting and a pool of water you’ll encounter an ambush.
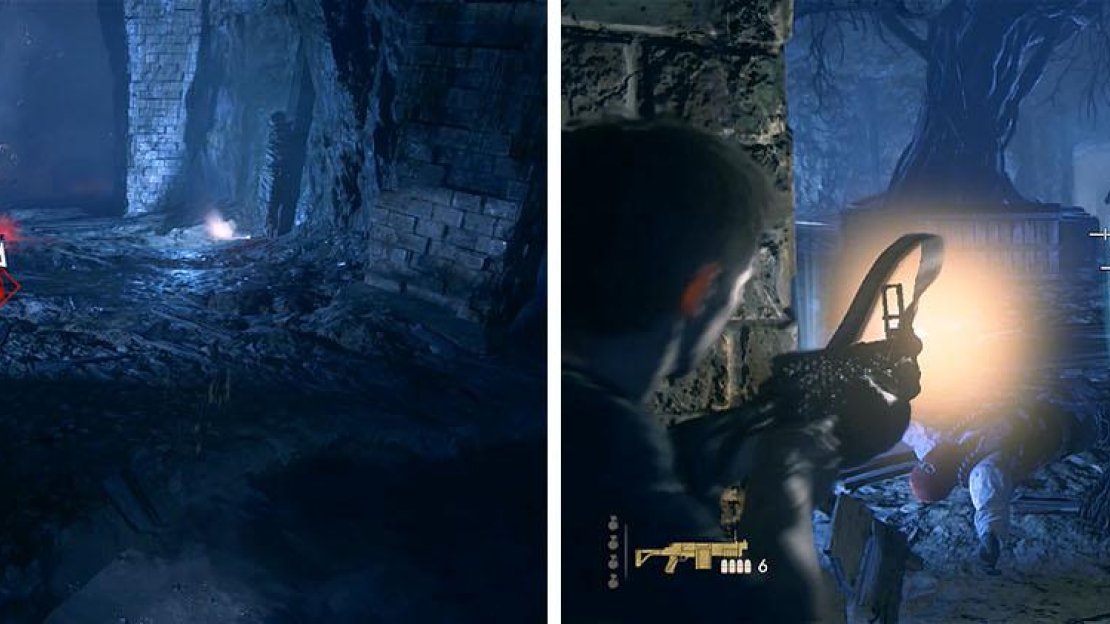
Stick next to the pillar, as the crates are destructible, and use your grenades to deal with the first shotgun enemy. There is another shotgun totting enemy further back that’ll make his way forward as you kill the standard enemies, so don’t waste all your grenades just yet.
You’ll want to deal with the two enemies carrying shotguns before any others.
After clearing the first room you should stock up on ammo for any of the guns before you continue down the tunnel because you’ll encounter more enemies ahead, including another shotgun wielding one.
Down the tunnel further there is a mummy that will explode, killing the Shoreline goon with another shotgun, so back up and let it do its thing before you take cover against the wall to clear out the next room
When you drop down the tunnel at the back of the second area you’ll immediately be attacked. Take cover behind the crate and take care of the first enemy with gunfire, in order to keep the crate from being destroyed, and then stay in cover as the DShK heavy armor enemy spews bullets down the tunnel. Your objective isn’t to attack, but to stay alive long enough that he walks straight into the booby traps ahead.
Deal with the normal enemy and then take cover behind the crates from the DShK, waiting for him to walk into Avery’s traps.
You can now drop into the hole made by the massive explosion to find another of Avery’s pleasant warnings.
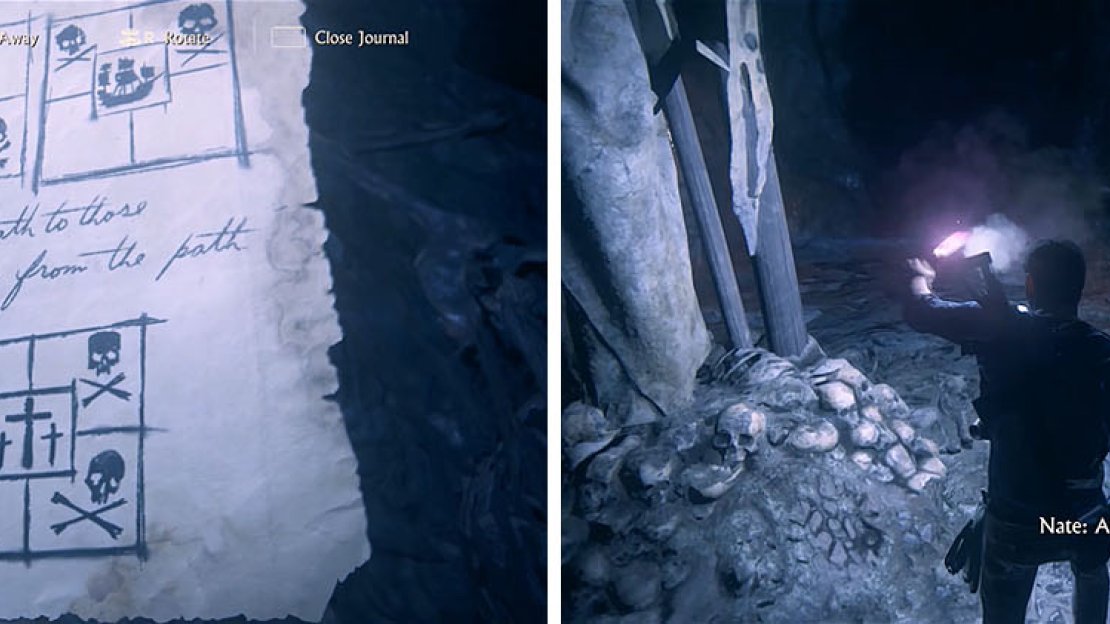
Turn around and head up the stairs to find the corpses of Avery and Tew’s men and then examine the door to obtain a key. The note has some important information on the back that you’ll use shortly, but don’t worry about it just yet.
In the next area there are a large amount of mummy booby traps that all go off at different times. You need to enter the room far enough to trigger the explosion, but quickly roll back out of the room to avoid death… which will happen if you try and roll anywhere else.
Soon after finding the letter with a warning is another group of traps. These will all trigger at different times, making them difficult to avoid.
Follow the path until you drop into a room with more mummies and quickly jump over the rubble and then roll left. In the next room there are some mermaid-like statues that you can examine and to the left is the Mughal Decorative Cudgel sitting on some barrels.
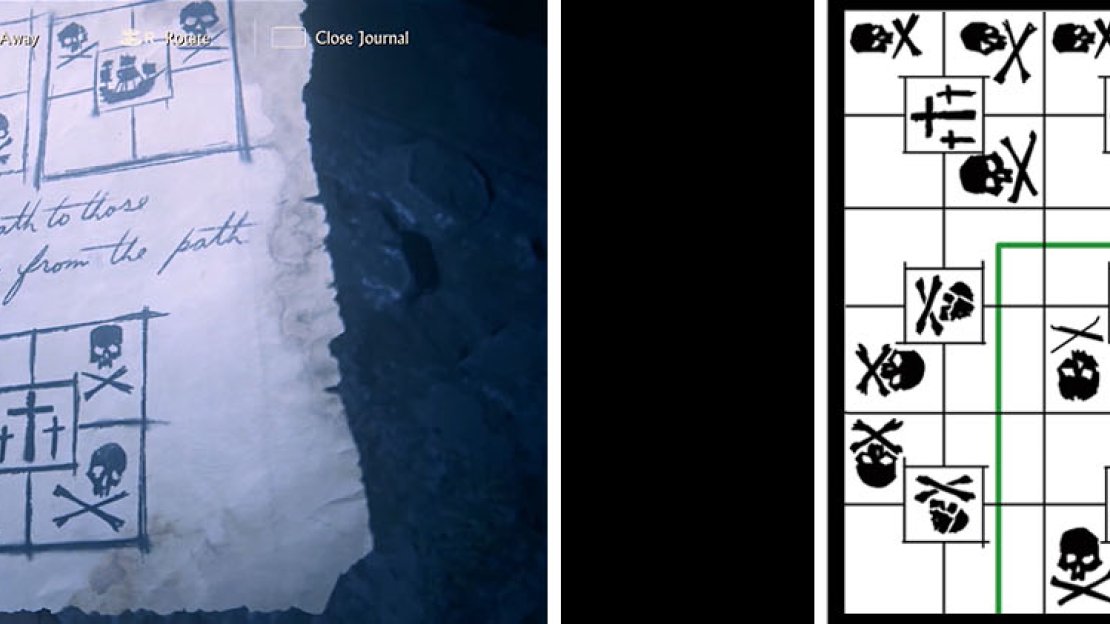
You can now head back toward the mermaid and take the other tunnel to reach the floor puzzle. The trick to this is to use the drawings on the back of the note to spot which panels will explode.
The notes on the back of Tew’s letter will help you across the floor puzzle safely.
Head for the door to trigger a cutscene and then use the Left Analog to swing to the cutlass. Press Triangle to grab the cutlass and then tap it repeatedly to cut yourself free and then run for your life to the end of the chapter.
No Comments