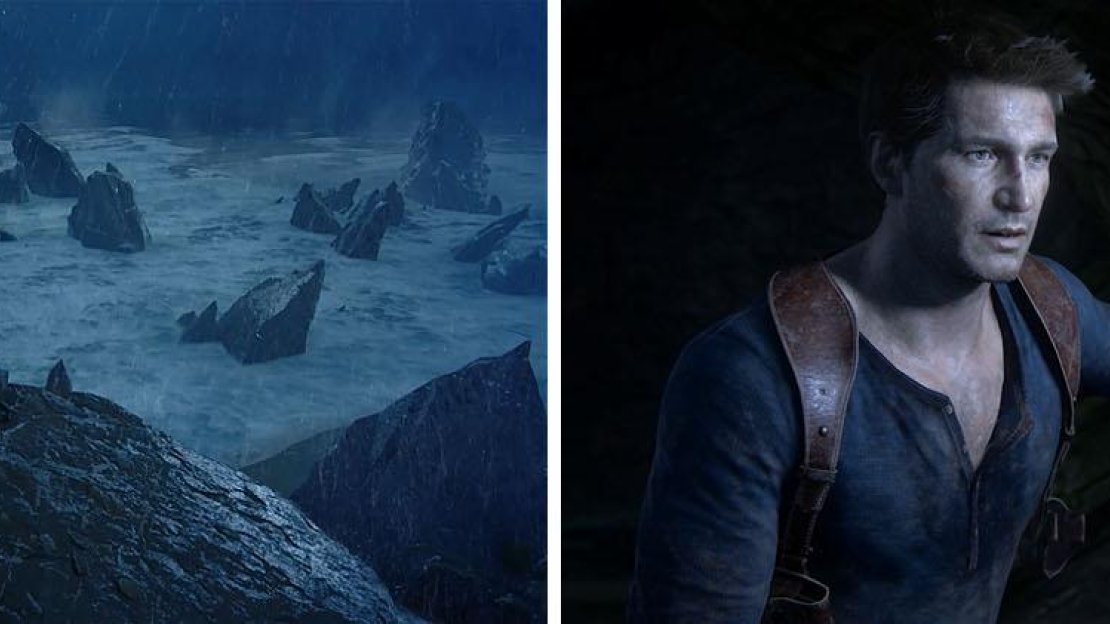
Nate finds himself marooned on the supposed Libertalia island with Sam no where in sight and a storm in full swing. Tired and bruised, Nate has limited mobility and sort of fumbles across the beach in search of Sam.
Make your way along the rocky cliffside until you find the supply crate and then pass under the palm tree and continue up the rocks.
When climbing ledges you won’t be able to press X to make a jump, do to the weather and Nate’s condition, so you’ll need to use the Left Analog to reach Nate’s hand to the next hand hold to move forward. Keep moving forward until Nate falls into a cave and you trigger a cutscene.
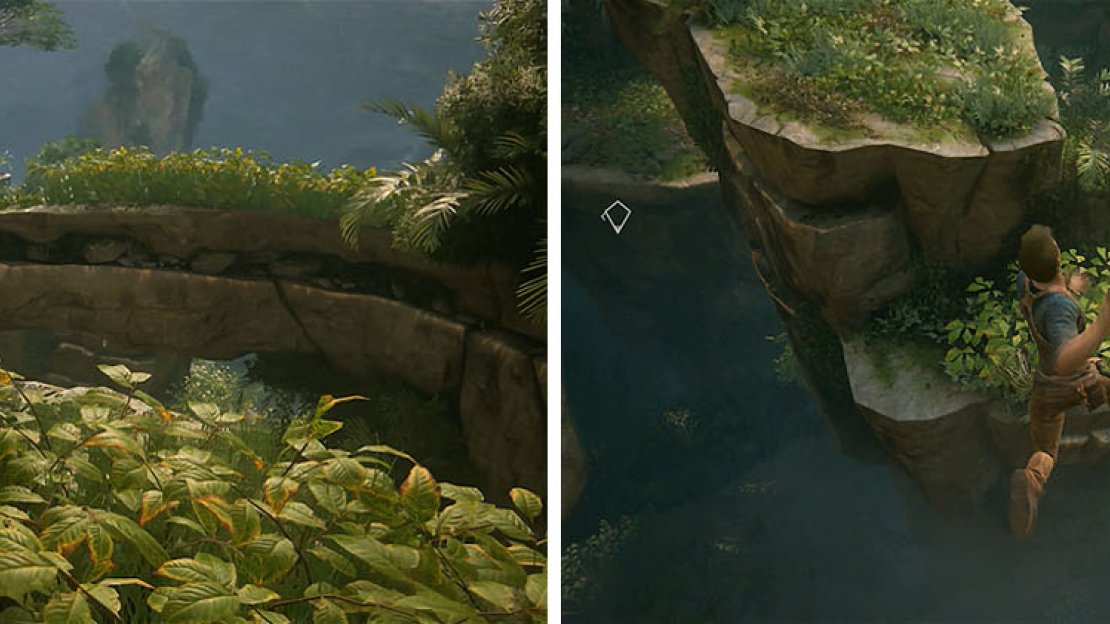
Climb the storm wrecked coast until Nate falls (left). After the storm you’ll get a glimpse of Sam and be on your way again (right).
After some rest Nate is in a better position to continue the search for Sam. Note that there a a few ways to continue forward, but the way that follows is the one that will get you to the treasures the easiest. Stick close to the coast and use the ledges to reach a higher platform and then jump to the wall with more ledges nearby.
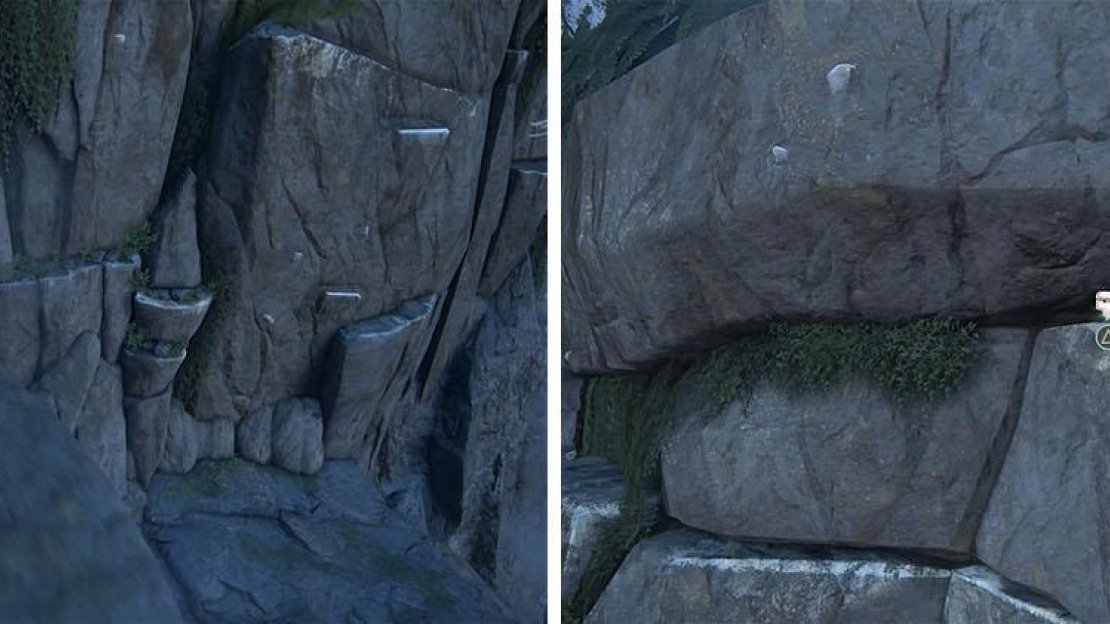
Continue to make your way right and when you see the scratches on the wall look for the long horizontal ledge with the Persian Ring . From here you’ll need to make your way up to the top of the area near the large waterfall for a short scene.
Keep an eye out for a treasure in a crack as you climb the cliff ledges.
Attach the grappling hook to the nearby tree and drop off the ledge, on the waterfall’s side, and then swing to the landing with two tunnel openings. Enter the left tunnel and jump across the gap, getting the Wood Tankard near some debris on the left, and then climb the column in the center of the chamber.
Examine the skeleton with the “No Quarter For Thieves” written by it for a Journal Entry and then slide down the gravel and jump to the ledges to continue.
Collect the treasure in the cavern and then climb up the ledges to find a corpse.
Wade through the watery cavern for the Spy Glass and then head out the opposite side and look up for another Journal Entry . Beneath the hanging corpse is another skeleton with a Journal Note , so grab it and then climb up the wall.
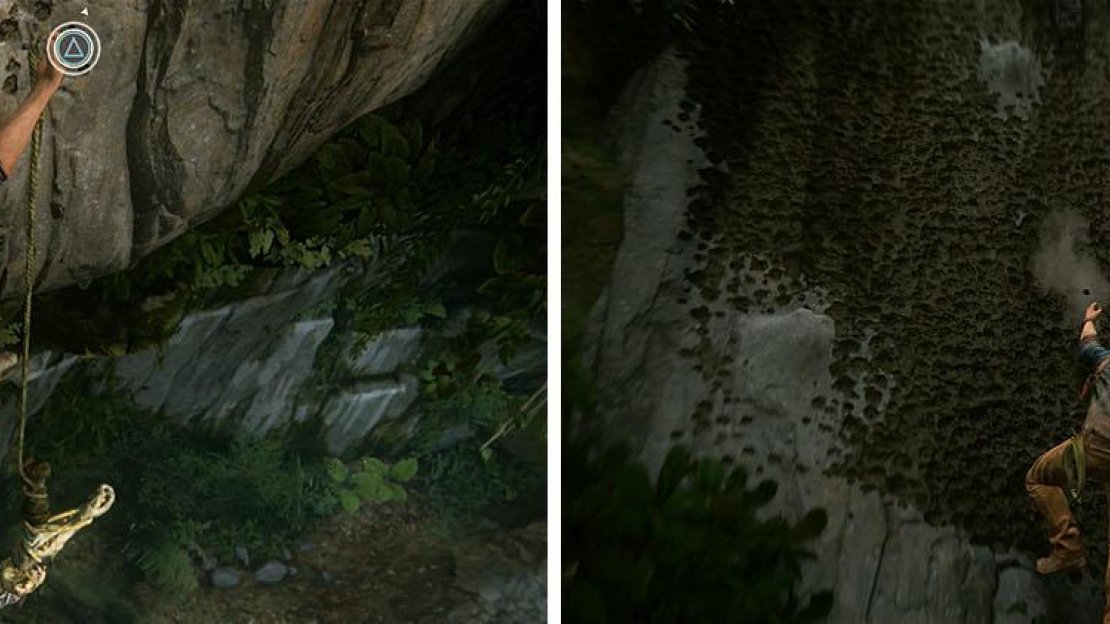
The wall is too fragile for Nate to use the ledges, but the piton that the corpse is hanging from provides a perfect new tool. This item can be used on any wall with the pitted surface by pressing Square to create a hand hold for Nate.
Test it out by climbing up to the landing above and then make a jump for the opposite wall and press Square to strike the wall so Nate doesn’t fall to his death. As you jump to the next area you’ll encounter your first set of enemies in on the island.
Collect the piton from the corpse to climb the porous walls that he can’t otherwise.
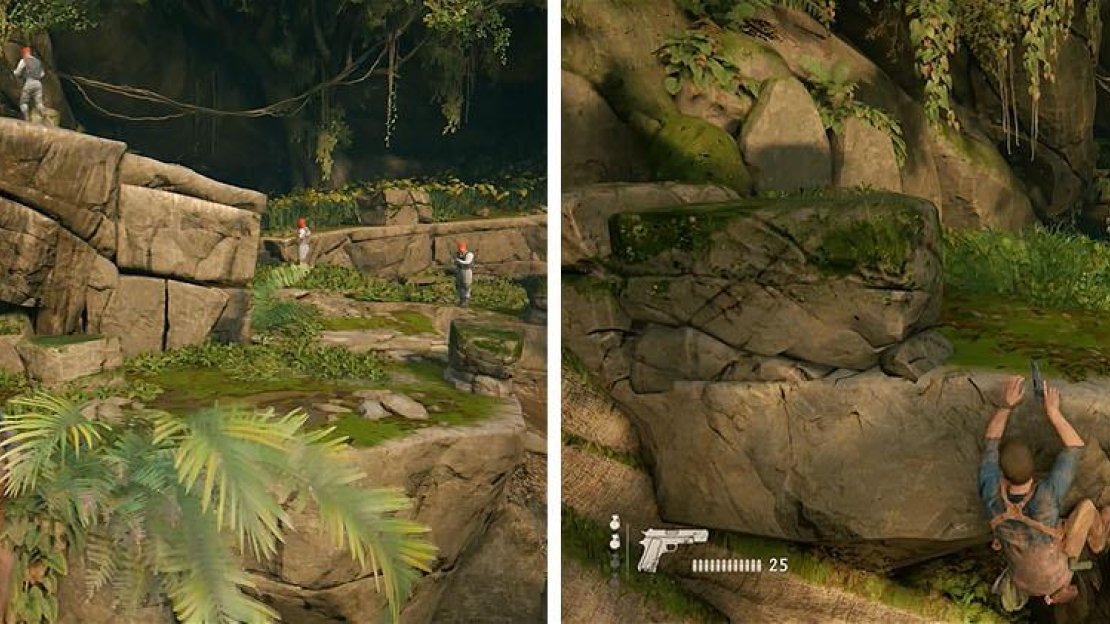
Follow the plants to a ledge you can climb with the piton and then shimmy left along the ledge as an enemy above patrols past. Climb up when the red capped enemy turns right and drop off to the left and take cover behind the large rock on the lowest level.
Wait for the enemy on the upper level to turn around and then make a dash and take cover behind the smaller rock before a guy on the lower level spots you. Wait for the enemy to walk right and then climb up the ledge to reach the tall plants on the upper level, where the other lookout was earlier.
Move around the outside and use cover to avoid detection from these two enemies.
Head straight through the plants to an overturned tree and cross when no one is looking and then re-entering the plants on the other side. You should be able to easily follow the plants right to reach the opposite ledge and drop to another landing.
Look at the column in the center of the area with some plants on its lower level, you’ll want to jump to these and then grapple swing to the opposite area with more plants. Pass through the plants to the back of the area and climb up, following the outside of the area to a Shoreline crate with a gun and grenade.
Move through the plants to a landing where you’ll have to leap to another area.
There are two pillars here that you can climb, but be careful when back jumping from one to the other since there may be an enemy nearby that can see you. Once you reach the top ledge of the second pillar take a look across the way.
This is the hardest part of this section because there are so many enemies that cross the same areas of sight. You need to wait for the two enemies on the lower level to be faced away before you pull up to stand on the pillar and then jump across and head for the ledges straight ahead.
Grab on to the top ledge and shimmy left until you can’t anymore and pull up when the patrol is walking forward and right. Run across the platform and drop on the other side and you may land right in front of an enemy, just quickly turn left to enter the plants or head right around the pillar depending on his location.
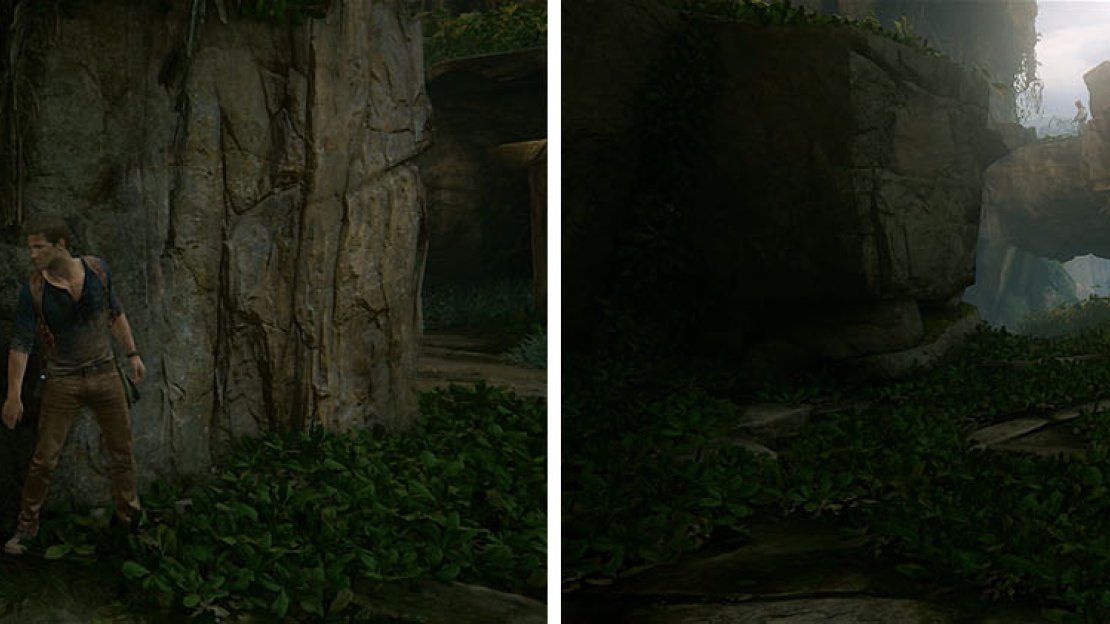
Pull up to the top of the pillar when it’s clear and jump across to the ledge ahead (left). Wait for the right opportunity to climb up next to the enemy (right).
There are more plants on the other side of the area that you can take cover in while the enemies lose interest, if any went to yellow, and then follow them to a Shoreline crate with the Mettler M-30.
There are only two enemies that stand between you and safety: a sniper and a patrol. Make sure the enemies behind you aren’t looking and the patrol near the sniper is walking away and then jump the gap and climb up behind the sniper.
Follow the patrol into the plants and when he heads back toward the sniper follow the left wall to some ledges and use the piton to climb up. You can now jump to the pillar, shimmy left to where you won’t be seen, and grapple backward to a new landing.
Jump across when the patrol begins to walk away and follow him.
Pass under the roots of the tree and take either path and then climb up the ledge to find another skeleton with a Journal Note . Head down the dark tunnel next to the skeleton leads to a Dress Dirk and when you climb the ledges the rocks will start to break away, so prepare to jump to the ledge as soon as you pull up to the top.
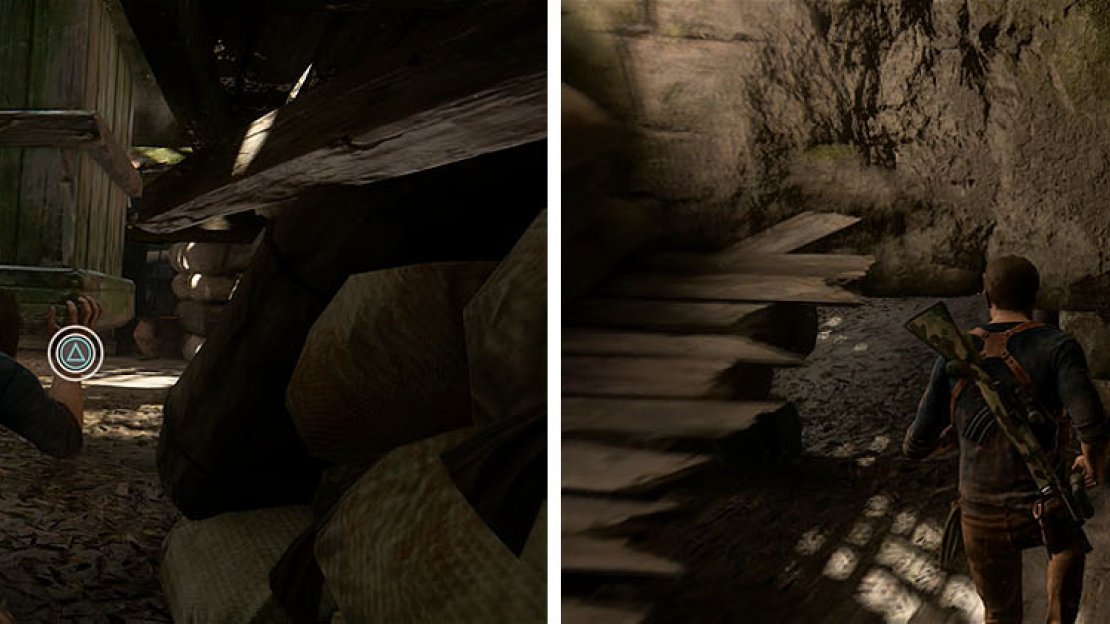
After finding Avery’s sigil the search is back on! Make your way through the jungle until the path opens up into a lighter lit area and follow the stairs around the building to jump onto the roof and fall through a hole. Turn left and crawl under the crate by tapping Triangle and then head right through another part of the building until you find a gap in the right wall.
It’s a good thing that Nate isn’t afraid of tight confined spaces, huh.
Drop down to the floor and turn right to crawl under the floorboards for the Frechen Bearded Bottle and then return to Sam and continue right.
Press L3 to note your destination and then follow the slanted floorboards into the next room and crawl under the roots on the right. Here you’ll find a crate that you can use to climb through the window and complete the chapter.


No Comments