
No Mere Bandits
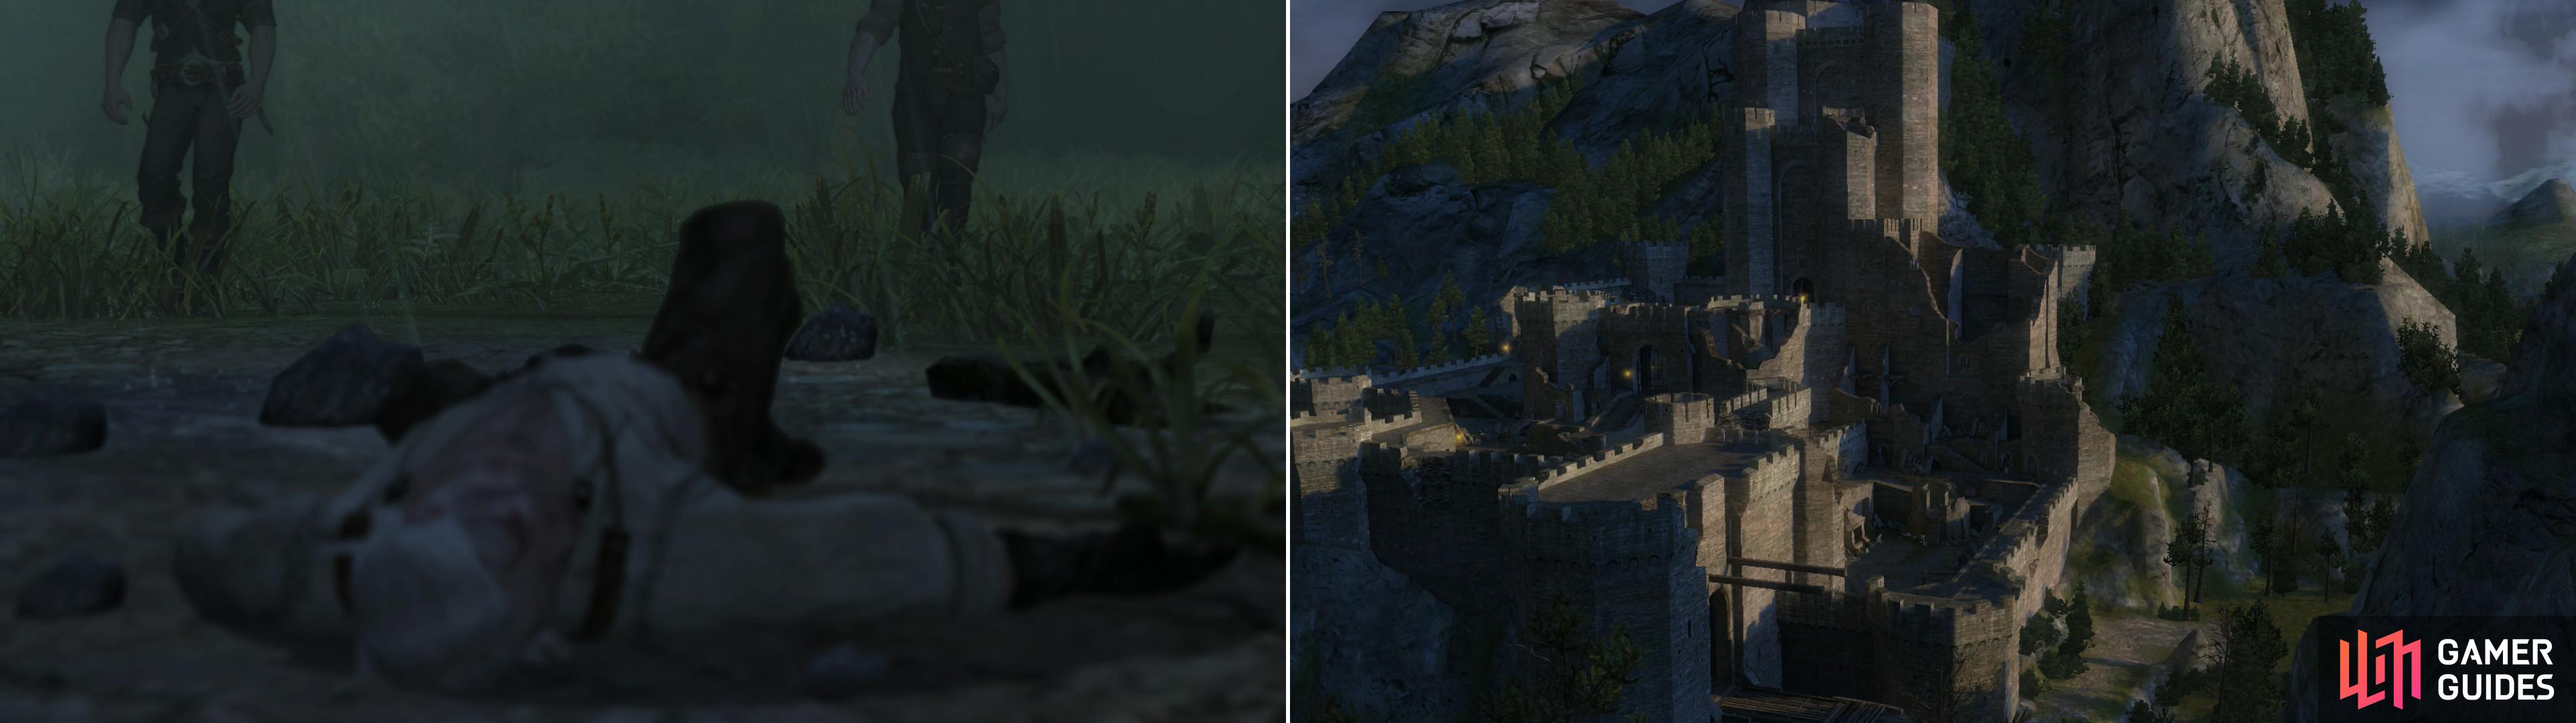
Pursued by the Wild Hunt, an exhaused Geralt collapses (left) and is brought to the fortress of Kaer Morhen to recover (right).
One must admit, things don’t start out too promisingly for Geralt. Chased through the woods and ultimately dragged to Kaer Morhen on a shoddy cart by people he no longer knows, it’s an intro that just begs explanation. You’ll be introduced to the various characters inhabiting Kaer Morhen, including your fellow Witchers Vesemir, Lambert, Eskel, the prospective Witcher, Leo, and the sorceress, Triss. Life isn’t easy, however, not even for Witchers, and before too much exposition can occur a band of human bandits attacks. And so it begins…
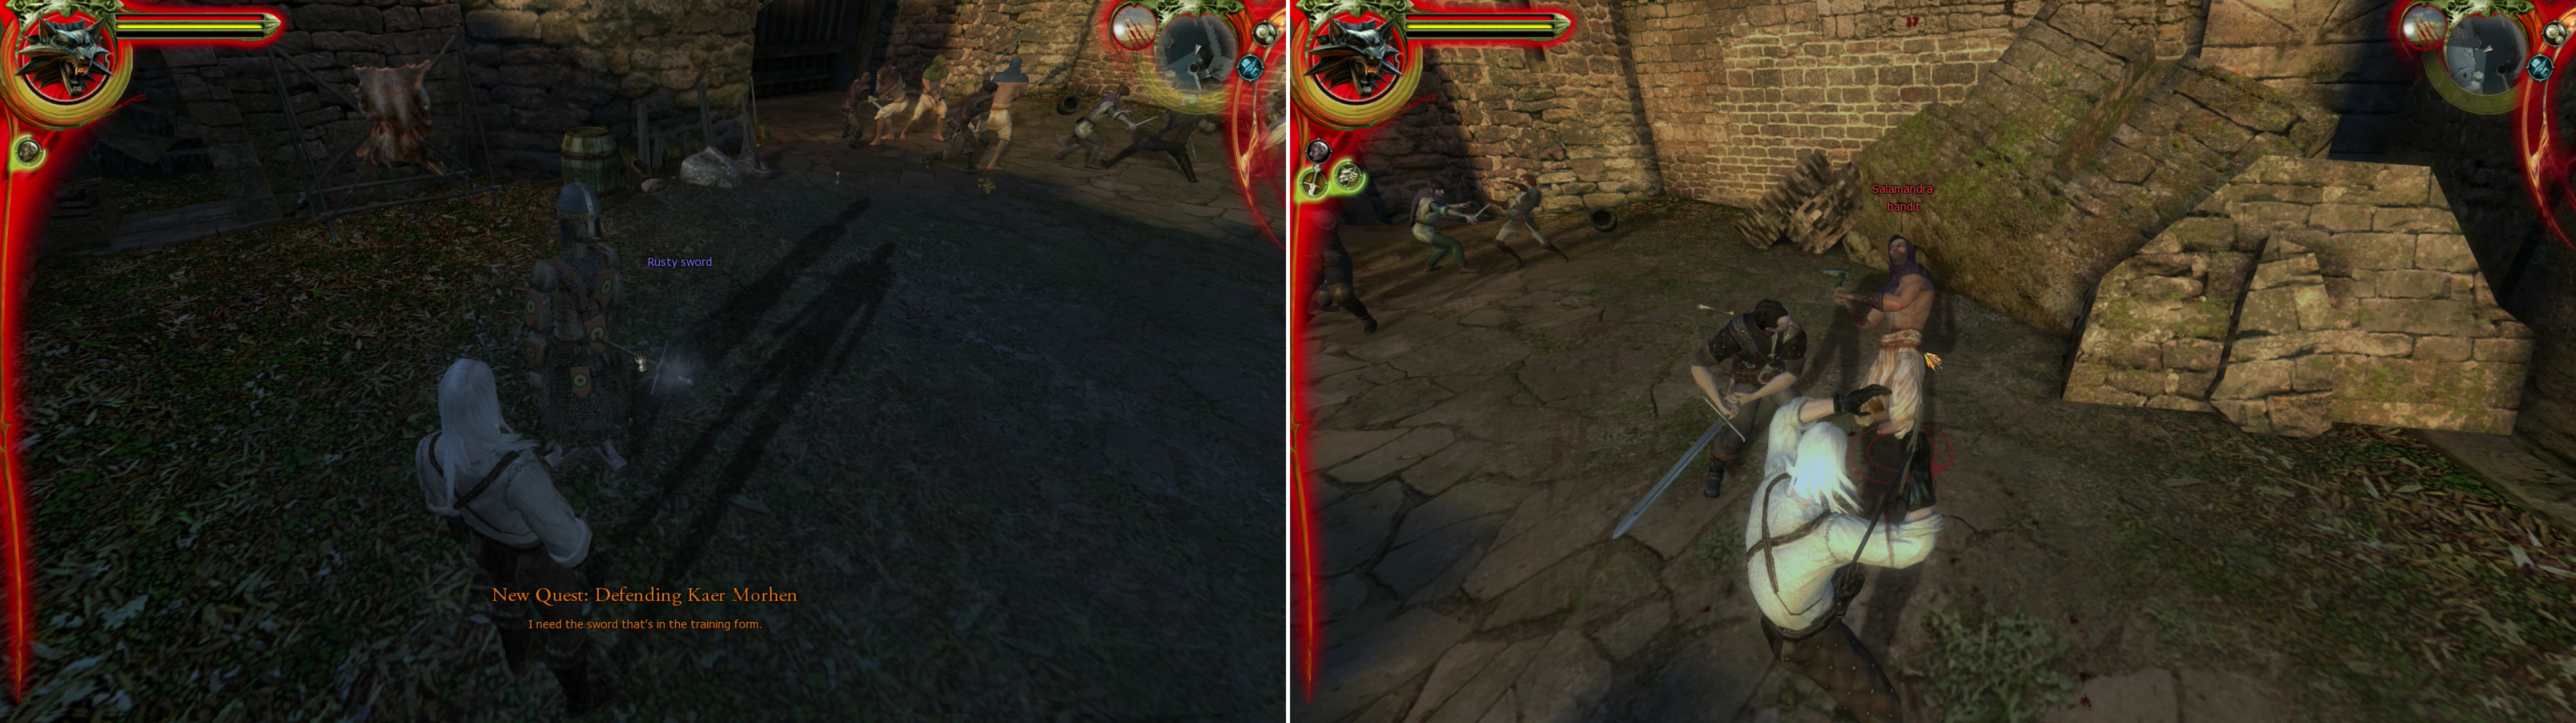
Grab the Rusty Sword off the training dummy (left) and test how rusty your own skills are against the nearby bandits (right).
Grab the Rusty Sword from the training dummy and promptly use it to smite some Salamandra Bandits. Too much isn’t expected of Geralt as this instant, and whatever your proficiency with the sword, you can rely on your allies to pick up the slack. Once the bandits are dead some more talking will ensue.
Follow your companions until they reach a gate for more dialogue and a cutscene. Apparently, despite seeming like pissant bandits at first, they’ve come with a mage named Savolla and his pet monster-a Frightener which provides the muscle the bandits clearly lack. Behind you, more Salamandra Bandits led by an unknown Sorcerer and a notorious murderer named the Professor casually walk into the un-guarded citadel. Even without your memories, your allies are confident enough to send you-alone-to the upper courtyard to secure passage for them while they hold off the more immediate threats of Salamandra, Savolla, and the Frightener.
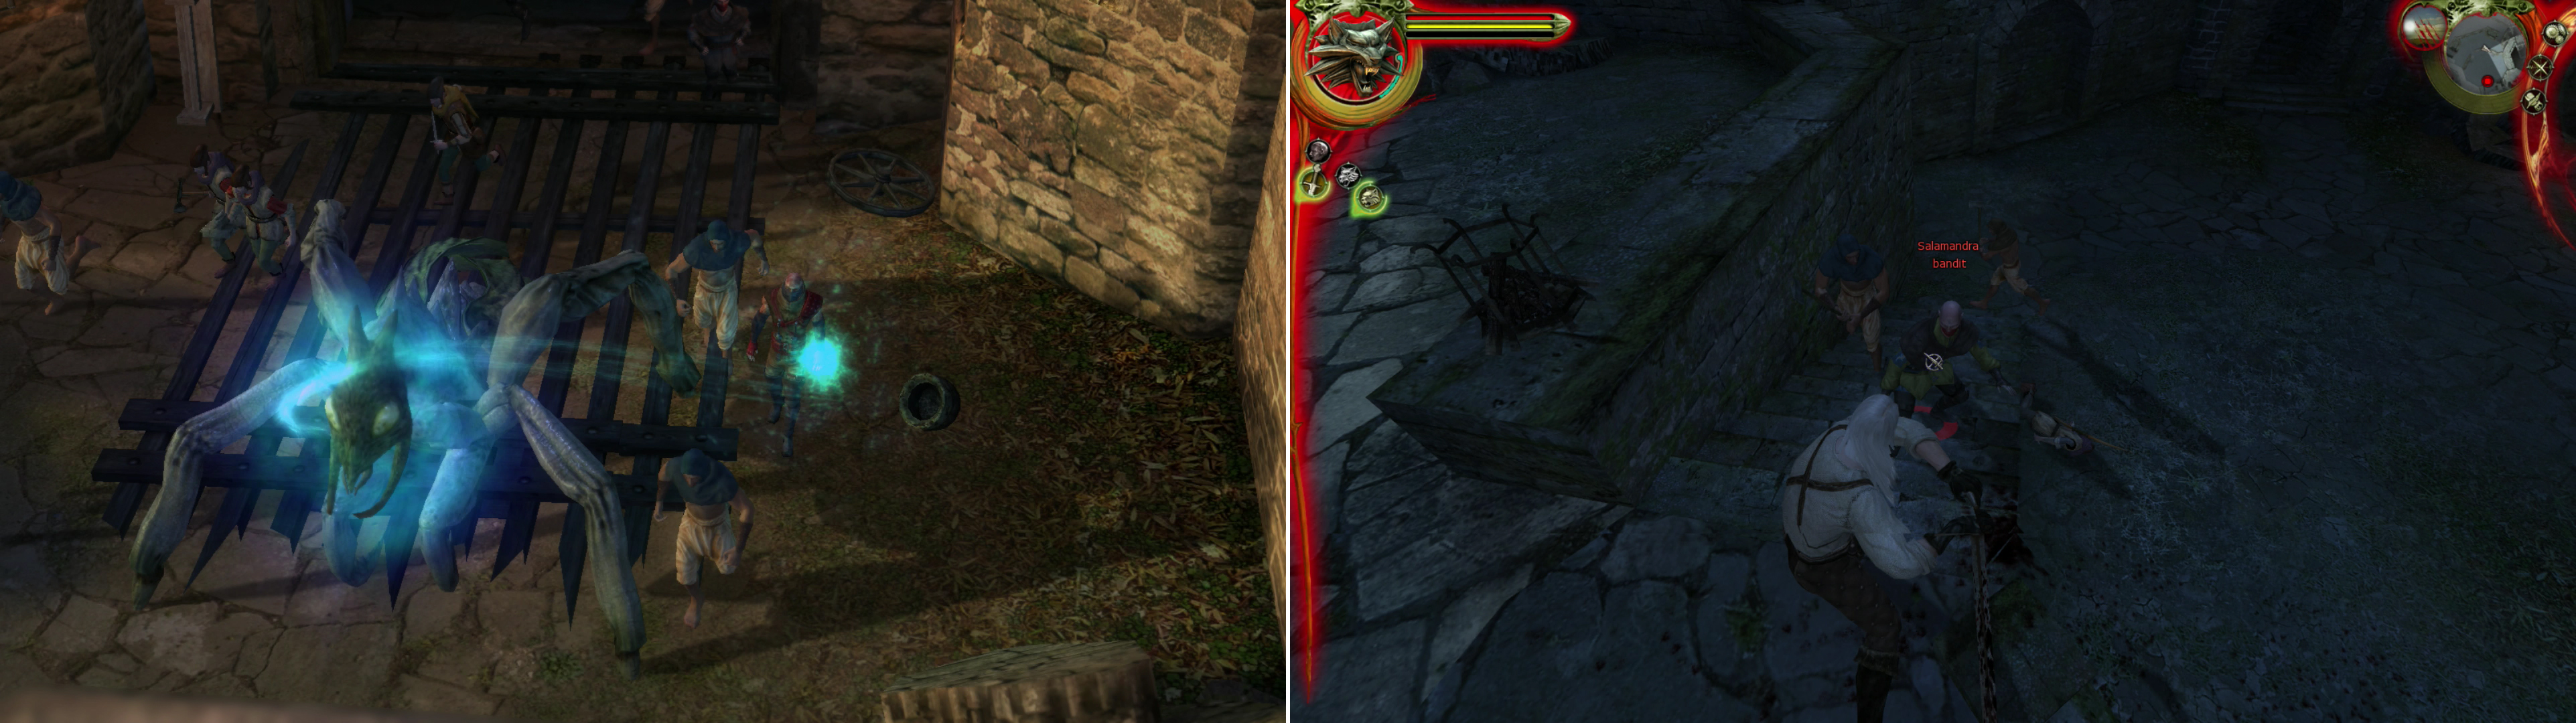
The Frightener’s arrival, commanded by the mage Savolla, dispels any notion that Kaer Morhen is under attack by mere bandits (left). Use the Strong Style whenever you can, as it’‘ll deal the most damage when it hits. Against faster foes, however, you’ll have to settle for the Fast Style if you want to strike the enemy regularly (right).
Now begins the game’s combat tutorial. Follow the enemies and kill them, and as you go the game will introduce you to its combo system. Every attack after the first your “attack” icon will turn into a flaming sword, prompting you to wait for that moment to attack again. Right now there’s not too much use for the combos aside from the fact that it keeps your enemies off guard and largely incapable of responding to your assaults. Later on, however, higher combos will deal considerably more damage. The game will also introduce you to coup-de-graces, by which Geralt can kill a stunned or prone enemy in a single attack. The game is fairly generous with them now, but once the tutorial is over, you’ll pretty much only get to enjoy these brutal finishers when the Aard sign is used.
Keep following the enemies. In all honesty this party is pretty self-explanatory, and there’s little chance of losing all of Geralt’s 250 Vitality to mere bandits. The next lesson is the all-important combat styles. Essentially, use the Strong Style to kill heavily armored opponents and use the Fast Style to kill agile opponents. If you find that the enemy is dodging or parrying too many attacks, you need to switch to the Fast Style.
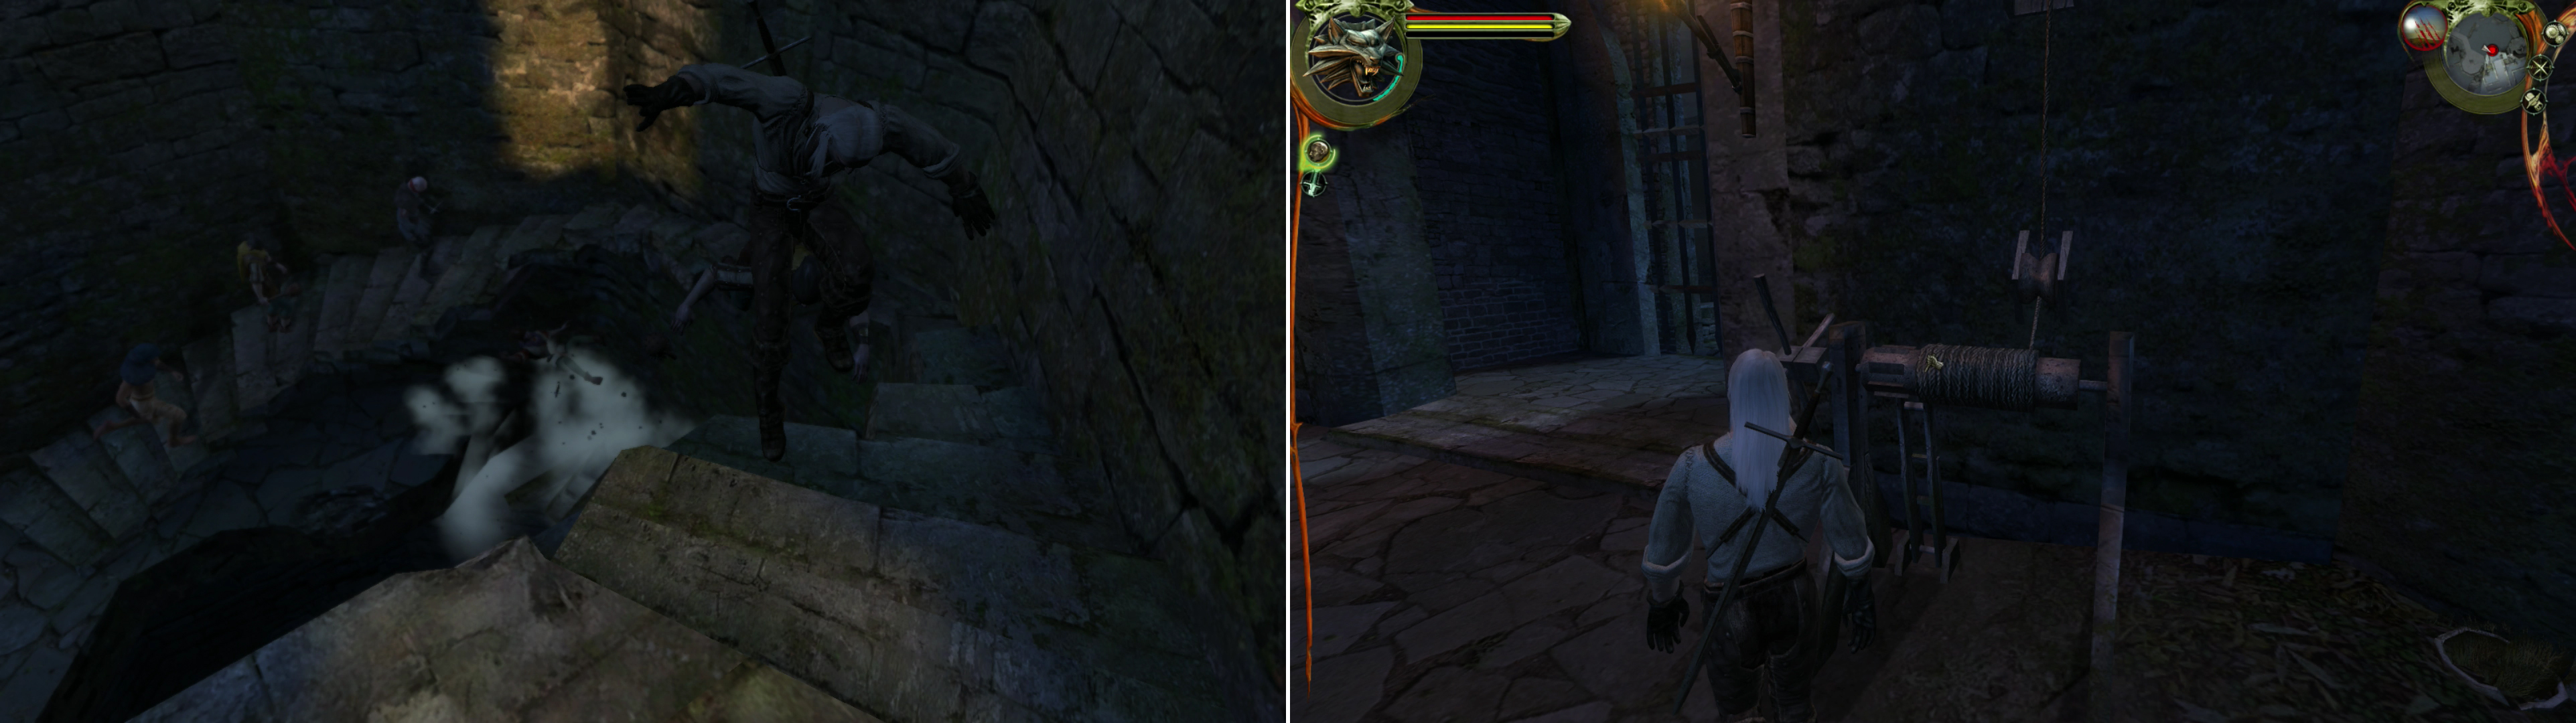
Make your way through Kaer Morhen, thwarting Salamandra bandits along the way (left) and activate the winch to rescue your friends (right).
After cutting your way through the enemies up on the battlements you’ll come across several enemies armed with ranged weapons which you cannot reach. Run past them to the stairs, where a cutscene will ensue. Once you’re back in control of Geralt, proceed to cut your way through the enemies in the upper courtyard. Ignore the “Siege Cauldrons” and “Bells” for now, but be sure to loot the barrel along the walls of the citadel. Work your way down to the gate opposite the doors to the citadel, kill all the Salamandra Bandits, and activate the “Winch”.
After the cutscene you’ll be sent on another mission-to explore the citadel and try and prevent the Salamandra Bandits from obtaining the Witcher’s mutagens within. In addition to the Witcher with amnesia, they’ll send Leo, the understudy, while the real Witchers guard the courtyard with Triss. When you’re this short-handed, there really are no good options. You’ll be given two potions-Thunderbolt and Swallow. The former increases your damage output, but takes away your ability to dodge and parry. In the rest of the game, this potion is only really useful against enemies that are difficult to dodge and parry anyways. Swallow is less of a mixed blessing, Vitality regeneration is always good. It might be a good idea to talk to everybody for a bit of background. When you’re ready to move on, drink your potions and enter the citadel.
Into the Citadel
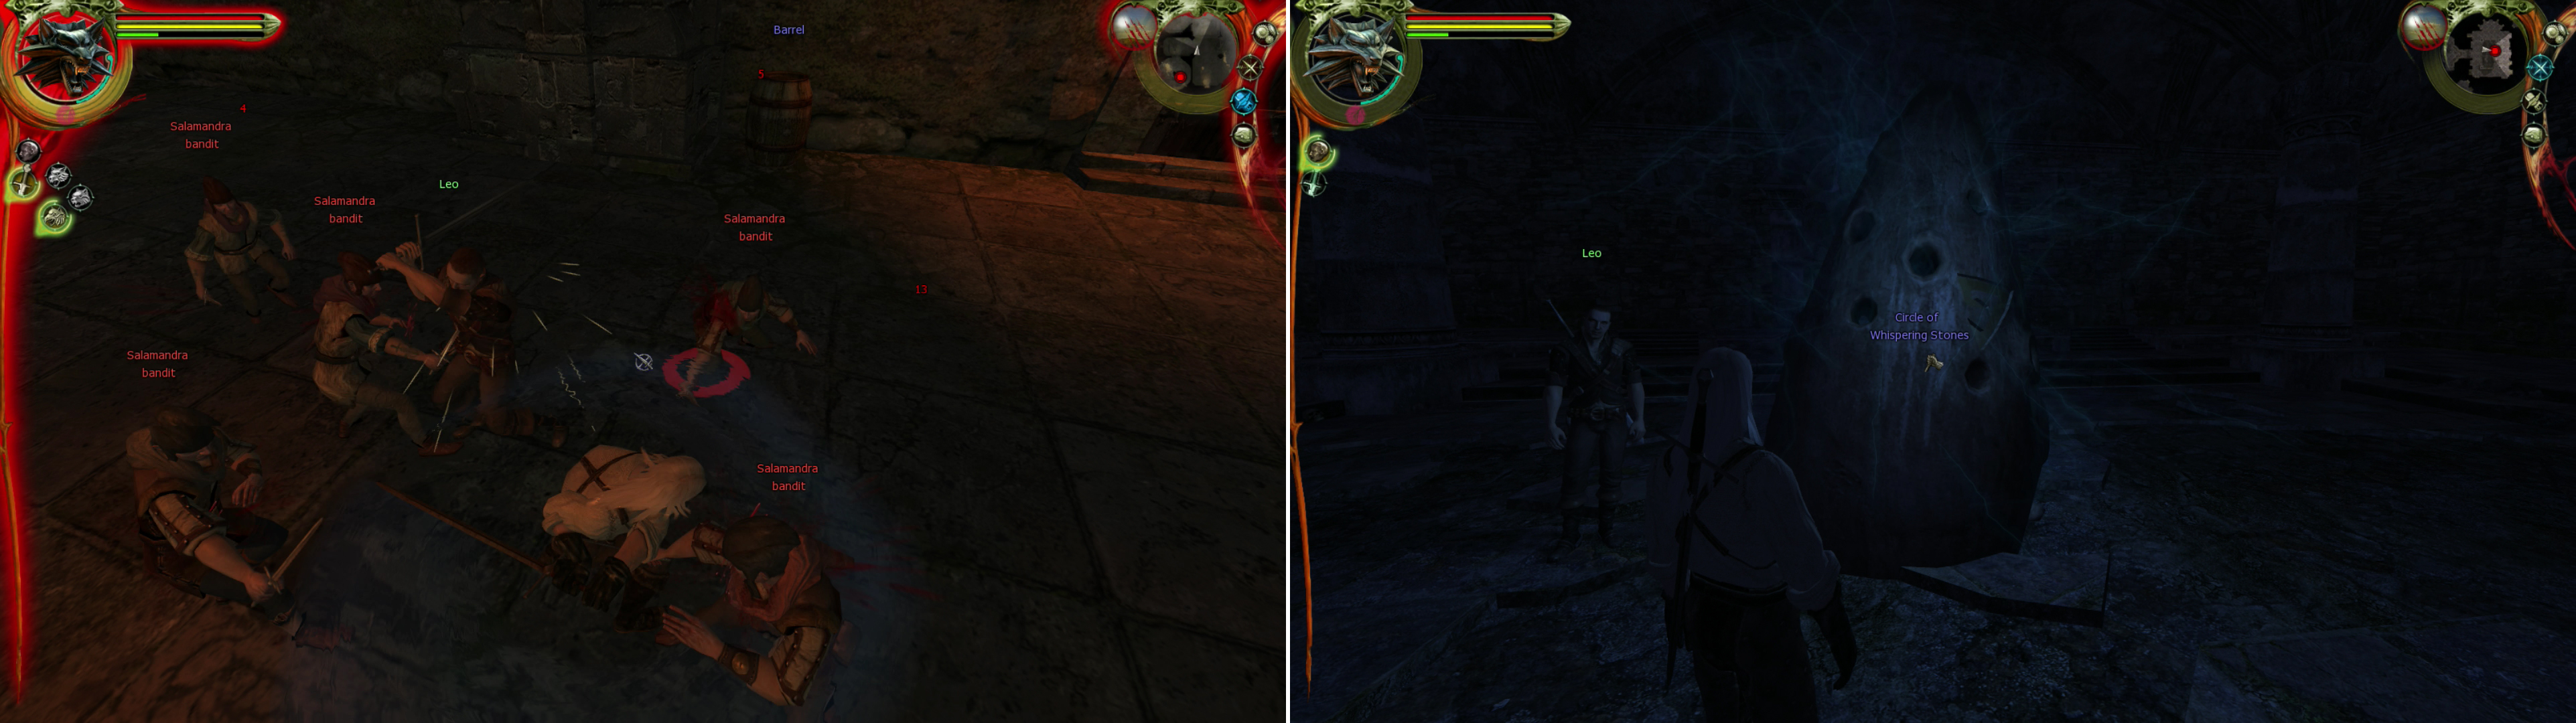
Use the Group Style when you’re fighting three or more foes at once, as it’ll do great damage in these situations (left). Activate the “Circle of Whispering Stones” to learn the Aard sign (right).
When you enter, Leo will babble for a bit about his progress as a Witcher’s apprentice-striking even a distracted Witcher is something of a feat for a normal human. Continue on and smite some Salamandra Bandits. The game will helpfully tell you about dodging, something which won’t really come in handy for a while. Continue and you’ll encounter a rather large group of Salamandra Bandits, and the game will prompt you to use the Group Style-a real life saver, and Geralt’s only real way of providing crowd control with his sword. Loot any dead Salamanders that can be looted, and a barrel near the kitchen door before following Leo to some stairs.
Head into a new area and watch a cutscene. The mysterious sorcerer leading the assault on Kaer Morhen will taunt the Professor’s waning bravado before creating a magical barrier that impedes our progress-and causes a partial cave-in that blocks the stairs back up. Leo implores you to learn the Aard sign, which will clear the debris. Follow Leo to the “Circle of Whispering Stones”, looting a crate along the way, and another within the room containing the elemental circle. Click on the circle to learn the Aard sign-a telekinetic blast which is probably the best sign in the game. Head back to the blocked stairs and right-click on the debris (while standing fairly close) to clear the way.
Once done you’ll automatically return to the courtyard. Triss is needed to take down the mysterious sorcerer’s magical barrier, but Savolla and his Frightener return to cause a dilemma-and your first real choice in the game. Accompany Triss, or fight the Frightener. Your decision will have a minor impact on the next chapter, but it’s not too monumental one way or the other. Follow the text under “The Frightener” heading or the “Savolla” heading, as per your choice. Either way, you’ll get a Tawny Owl potion to help with your upcoming fight.
The neutral Geralt will decide to fight the Frightener-he is, after all, a Witcher, and Witchers fight monsters. The other two “moral” Witchers are more pragmatic. Evil is evil, and the laboratory must be defended.
The Frightener
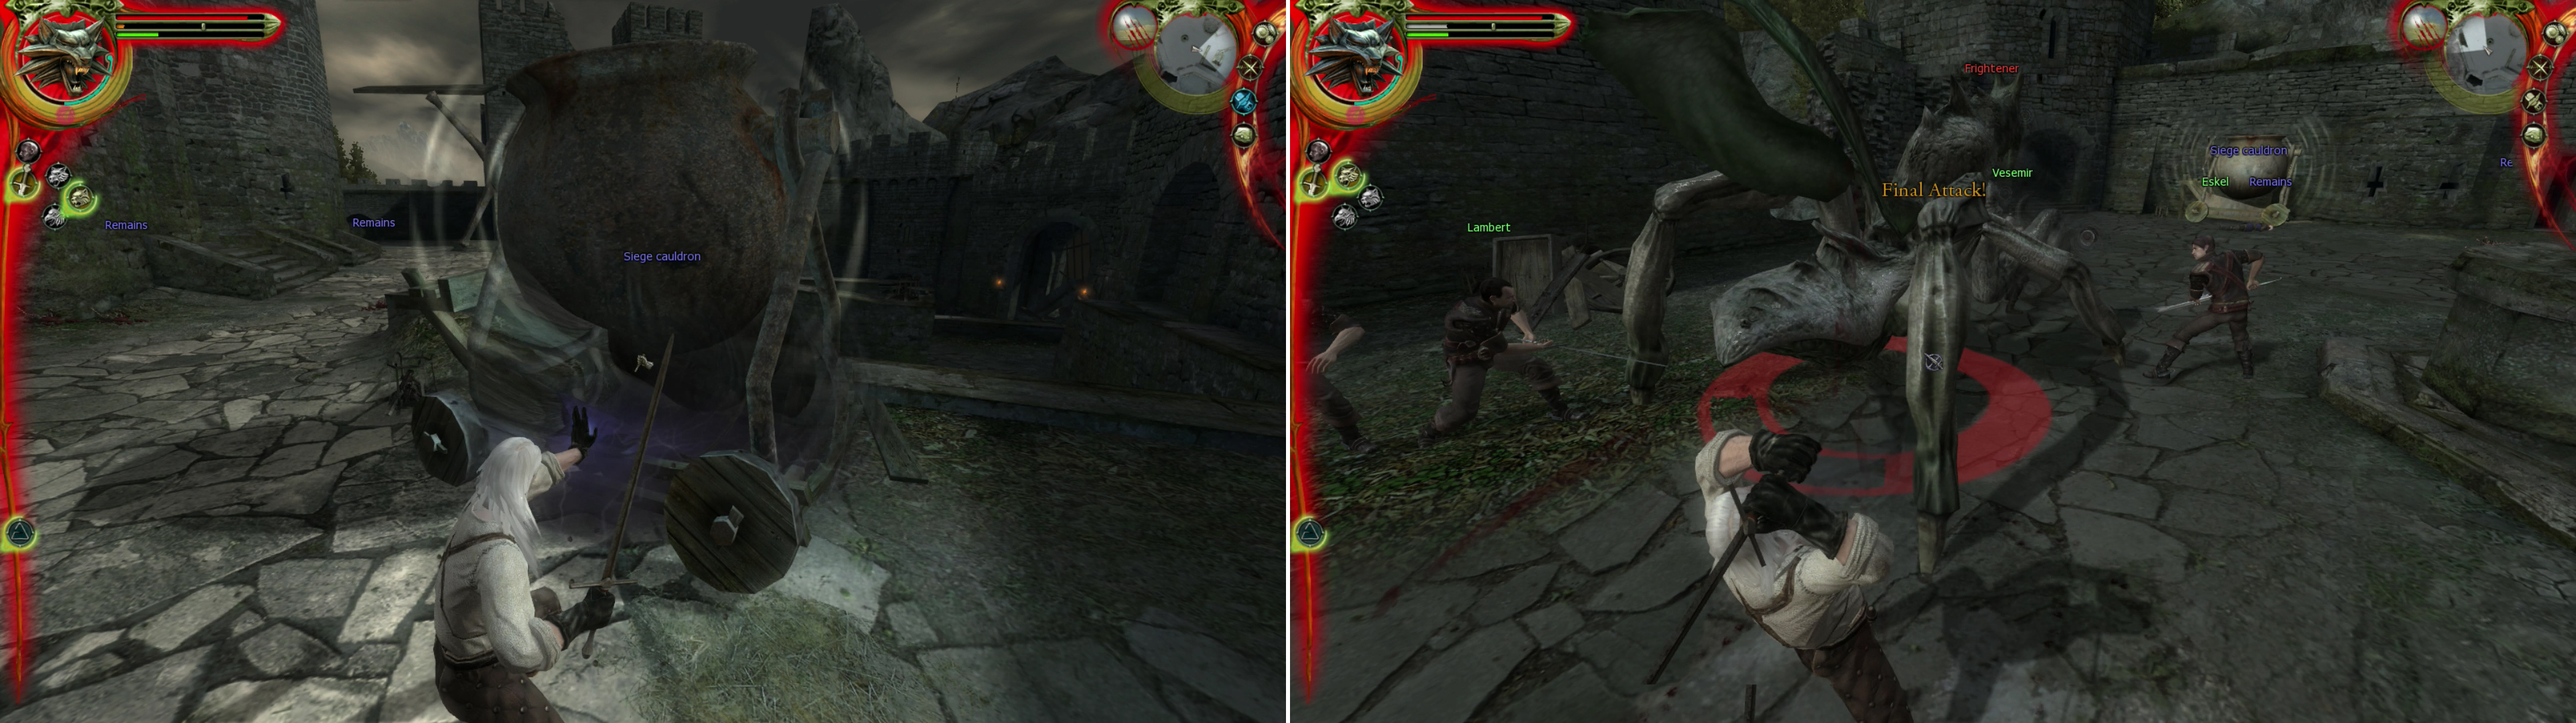
Ring the bell, then hit the “Seige Cauldrons” with the Aard sign (left) to leave the Frightener vulnerable (right).
If you decide to fight the Frightener, you’ll be joined by all your Witcher buddies. Start out by eliminating the Salamandra Bandits running around, as they’ll get in your way, and try to avoid engaging the Frightener for now-it can’t be effectively hurt, and it-unlike most everything else in the Prologue-is capable of taking Geralt down, especially if it knocks him down. Once the Salamanders are dead, go to the two “Siege Cauldrons” and hit them with Aard to get them reverberating. Once both of them are vibrating, go ring the ‘Bell’. All this noise will harm the Frightener, and leave it vulnerable to more abuse. Head into melee combat with it and use the Strong Style to deal as much damage as possible before it recovers. Repeat as necessary until it dies. Once it falls, Triss will teleport back to the courtyard, injured, and inform the Witchers that she underestimated the sorcerer currently ransacking the laboratory.
| Objective | Reward |
|---|---|
| For defeating the Frightener | 2000 XP |
Savolla
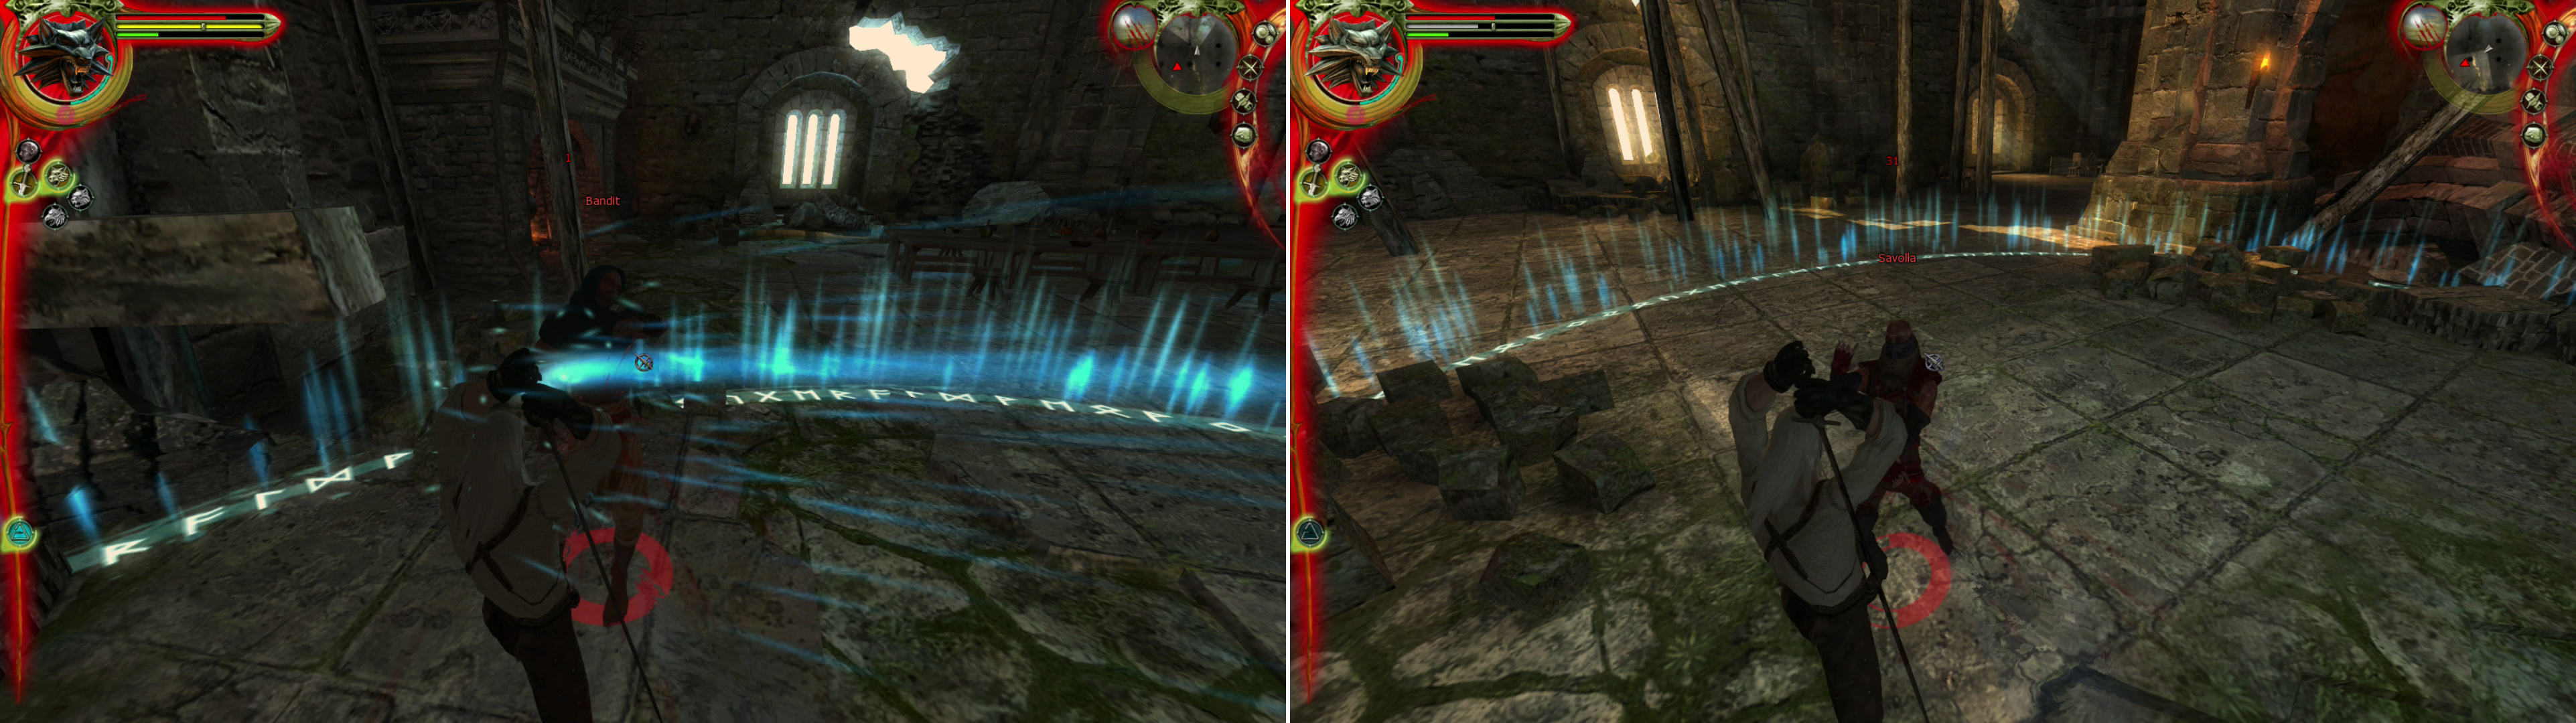
Kill the bandits Savolla is siphoning energy from (left), then focus on the vulnerable mage, himself (right).
After Triss is done talking head up into the larger room to trigger another cutscene. Despite Savolla’s bluffs, Triss is confident that the mage is mostly spent. Triss will run off to deal with the barrier, while Savolla will conjure a magic circle around you, himself, and his goons. Some rather inappropriate music will start up to let you know that this is, indeed, a boss battle. Kill the four Bandits first, as they make Savolla invulnerable while they’re alive. Savolla will, for his part, hit you with a fire spell that can cause inceneration if you’re unlucky and use an electrical nova that is considerably less threatening.
Once the Bandits are dead, Savolla can be injured, but after taking a few combos he’ll teleport somewhere else. Use the Strong Style and keep up the pressure, and hit him with Aard whenever he appears-provided you have the Endurance. It’s not impossible to stun him and leave him prime for a coup-de-grace, but more likely you’ll have to hack him to death. When he dies he’ll leave behind a Sapphire, Goose Fat, Flint, Saltpeter, and 10 Orens. Head over to the Laboratory, and en-route you’ll find an injured Triss, who apparently underestimated the Sorcerer currently ransacking the laboratory.
| Objective | Reward |
|---|---|
| For defeating Savolla | 2000 XP |
No Comments