
Force Recon
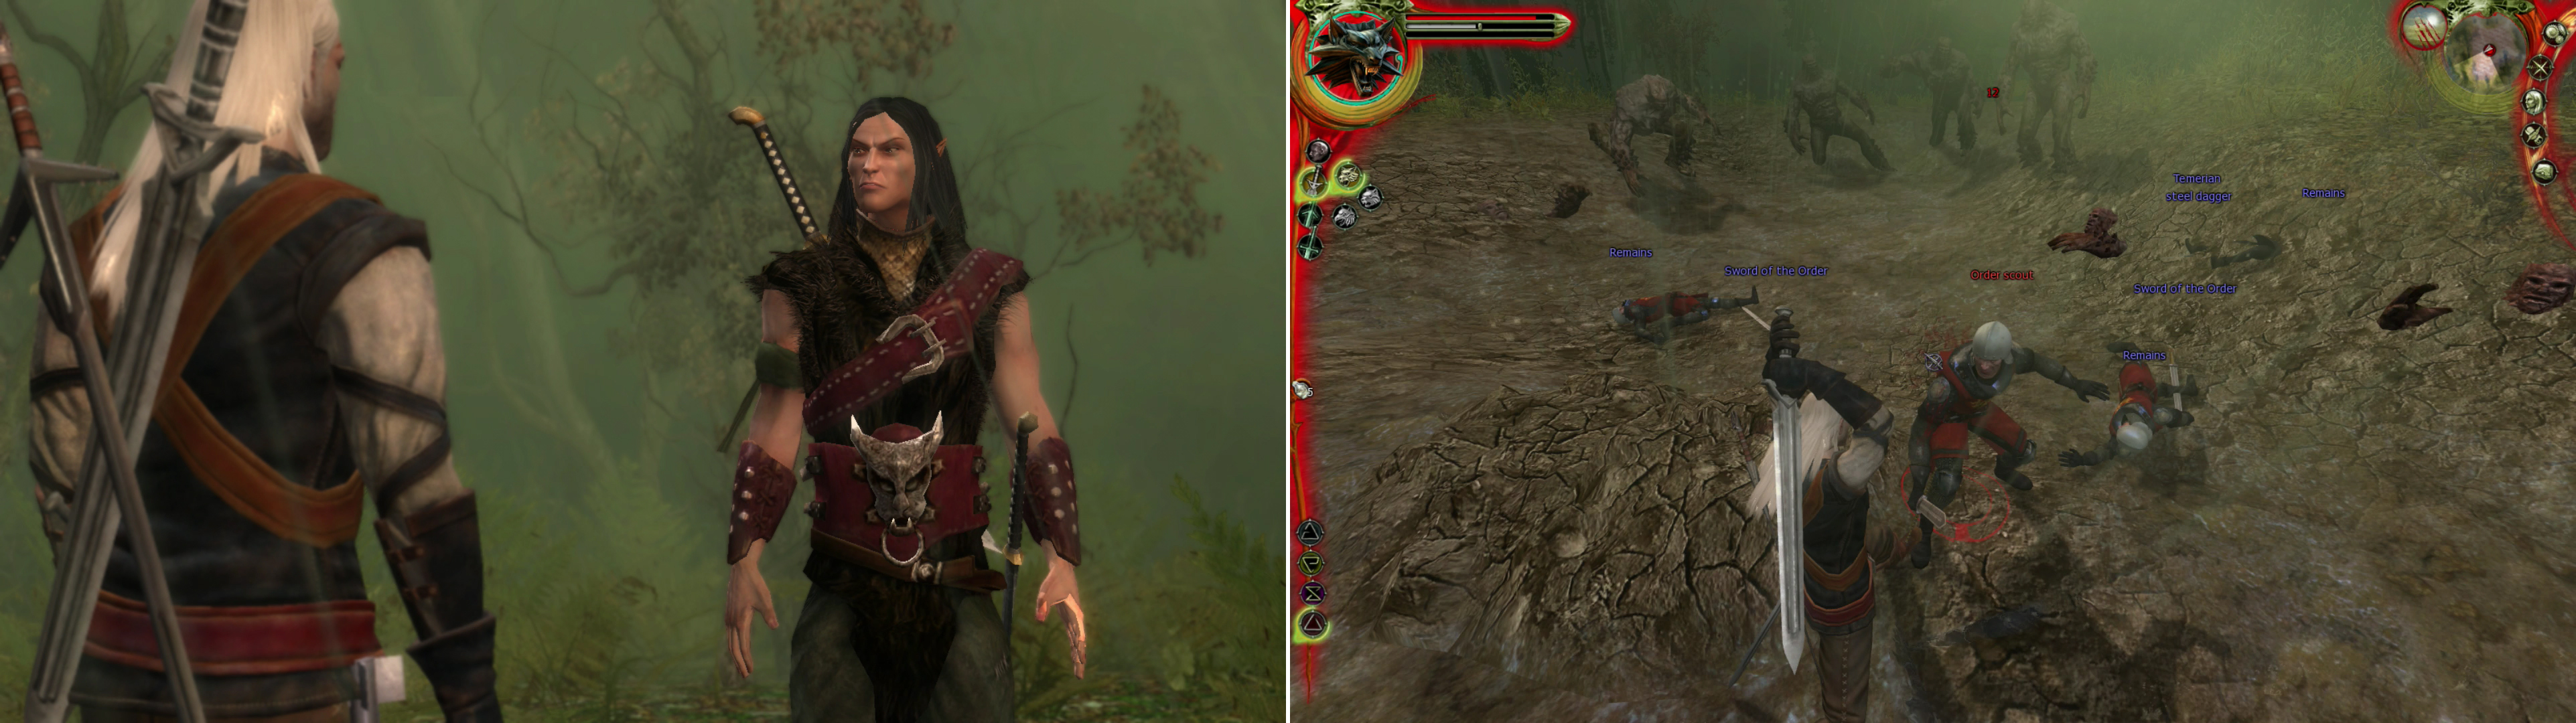
Yaevinn, the leader of the local Scoia’tael (left) seeks to ambush the Order. Either take command of the Order patrol for an injured Seigfried, or lead Yaevinn’s Scoia’tael (right)
Remember when you were told you to ponder the direction in which to take your Geralt, because it’ll come up in the very near future? Yeah, that means now. You have two choices-either go talk to Yaevinn, or go talk to Siegfried. We know where the former is, but you can find the latter in the camp just south of the Druid Grove.
Regardless of which one you speak to, the story is the same-some Hawkers are supposed to meet the Scoia’tael at the Golem Cemetery. If you side with the Scoia’tael, you’re supposed to meet these Hawkers, if you side with the Order, you’re supposed to find and kill them, and their nonhuman customers.
Pick your side and you’ll be assigned a squad to lead to the Golem Cemetery. When you arrive, you’ll be attacked by the opposing side. This fight can be kind of rough if you didn’t level up earlier, so having potions handy might not be a bad idea. If you leveled up like I did at the beginning of the chapter… well, with Harvall and a level 20ish Geralt, these guys can’t do much. Use your styles depending on the situation, both sides will have archers and melee combatants. This fight always seems easier when fighting for the Order, but it’s probably just due to the fact that the heavily armored humans present more of an obstacle.
The Geralts polarize politically on who they side with, since the reward is the same. Neutral Geralt sides with the Order, since he ignored the Scoia’tael earlier (during the quest “Strangers in the Night” ), he had been on good terms with the nonhuman blacksmithy. No longer. But now he can purchase new loot from the Order blacksmith. Regardless of who you side with, return when you are victorious to gain a decent reward. Siegfried/Yaevinn will also tell you that Berengar is alive-although he is in the hands of Salamandra. This updates the quest “Berengar’s Secret” once more.
| Objective | Reward |
|---|---|
| For speaking to Siegfried after routing the Scoia’tael | 3500 XP 200 Orens |
| For speaking to Yaevinn after routing the Order | 3500 XP 200 Orens |
The Cannibal
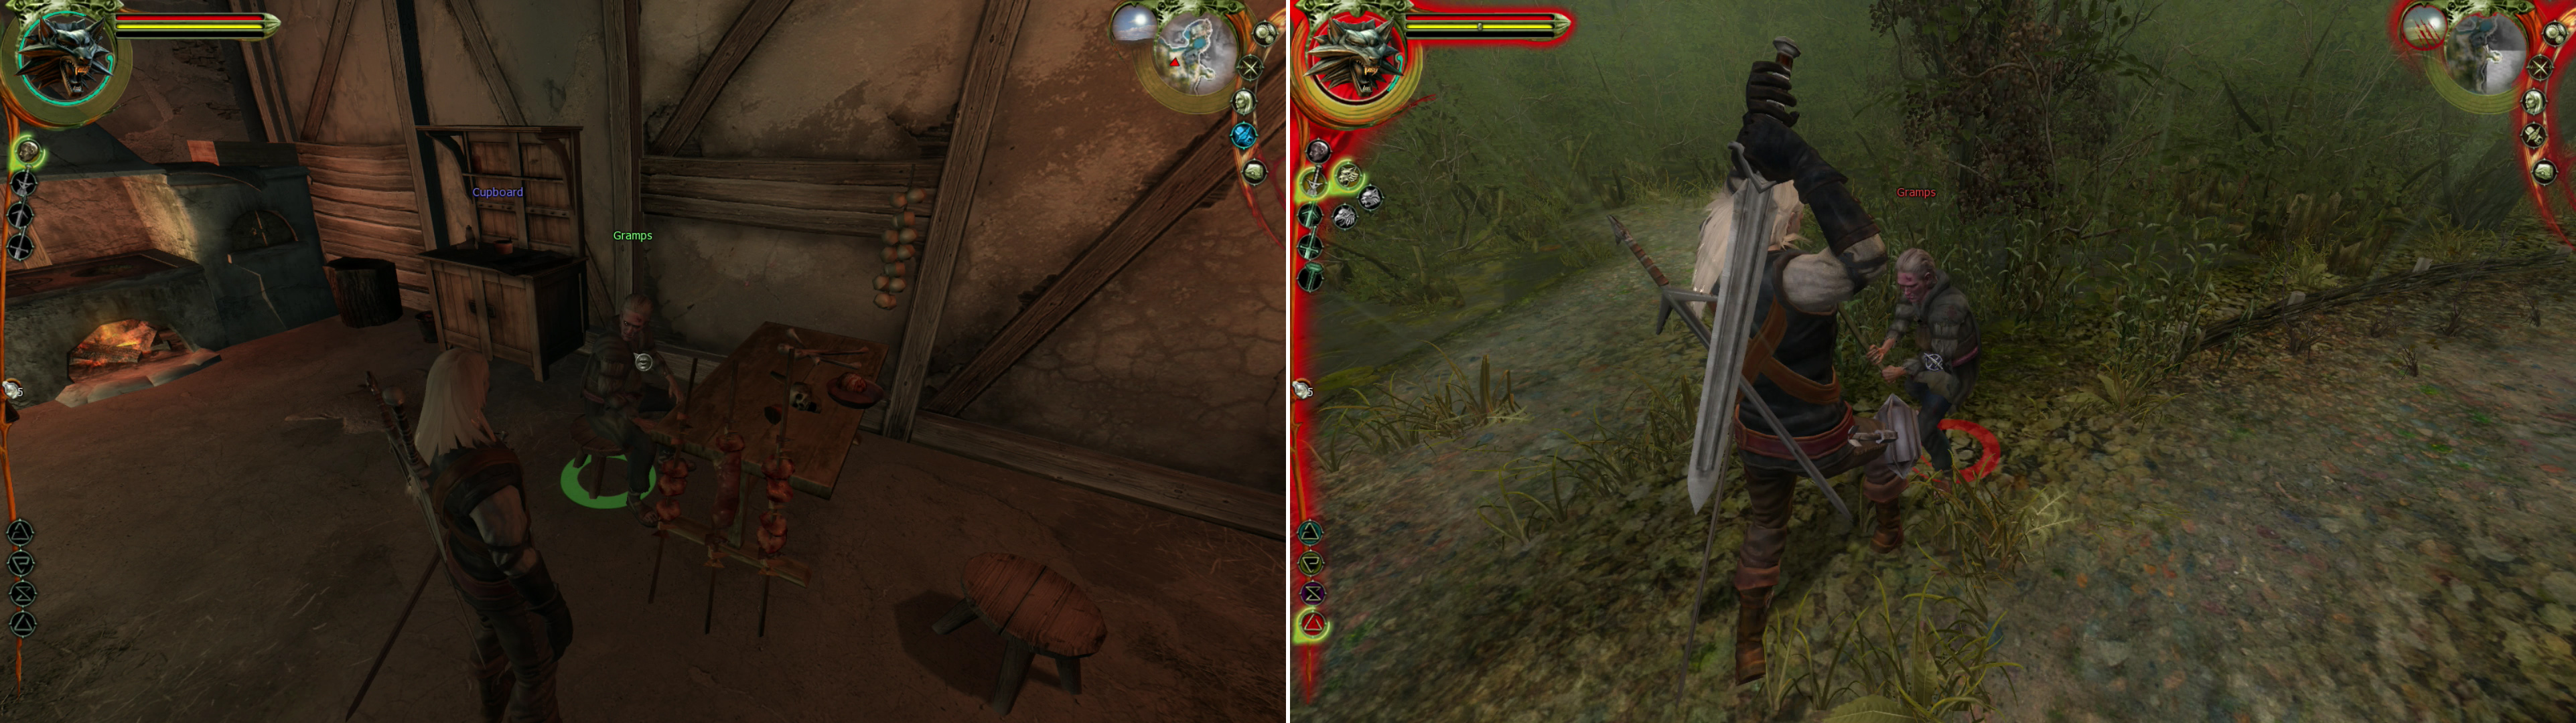
Pay Gramps a visit to find out about his… unsavory diet (left). If your Geralt’s perception on monster is more figurative than literal, eliminate the cannibal (right).
After all that, it’s finally time to pay Gramps a visit. Head back to the Nonhuman Camp and go south along some bridges. When the bridges end, turn east until you find Gramps House (alternatively you can head north from the Brickmaker’s Village).
Either way you get there, head into Gramps’ Hut and loot it-this is where you can obtain a copy of “Ain Soph Aur” for free, if you’ve been really, really frugal. When you approach the table and see what Gramps is eating the quest “The Cannibal” will start. It’s pretty much self-explanatory, isn’t it? The game has Geralt (and the quest log) react the same way regardless of whether you’ve completed “A Pilgrimage” earlier-as if there’s any question as to who the cannibal is.
Talk to Gramps and he’ll openly admit to being a cannibal-he apparently has no qualms about, although he does have standards-he never kills children. He really doesn’t help himself out as he talks, but you can spare him as you wish. Of the three paths, only the neutral Geralt will consider keeping him alive-as he’s a rather indiscriminate feeder. The neutral Geralt has to ponder, however. Gramps might be monstrous, but he’s not technically a monster. It’s not a Witcher’s job to hunt down every criminal and murderer-no matter how heinous. Then again, it’s being murderous man-eaters that make the monsters Geralt hunts worthy of extermination. If you spare him, you’ll get a Blade Coating recipe-but you can always just look it up below to get it, or get it later. In the end, he’s just expendable, and it’s more rewarding to kill him.
Threaten to do him in and Gramps will bolt outside. Follow him outside, draw your Steel Sword (Harvall is ideal by now) and go down the narrower path to the south. Immediately after clearing Gramps’ Hut you’ll see that Gramps has company-five Echinops and an Archespor-which is probably too much trouble to deal with all at once. Immediately run down the path away from the house and the monsters. Gramps should see-and follow you. This allows you to cut down Gramps while staying out of the range of the Echinops and Archespores. Kill Gramps and then attack the rest of the monsters. This is another fight which shouldn’t be too hard if you leveled, but if you didn’t could require the use of potions. Make extensive use of the Igni Sign to burn down the plants, and chop them up with the Strong Silver Style. This is, of course, a great spot to score Echinops Rootstocks, if you still need any.
| Objective | Reward |
|---|---|
| For discovering who the cannibal is | 500 XP |
| For sparing the cannibal | 1000 XP Formula for Hanged Man’s Venom |
| For killing the cannibal | 4000 XP |
Yarens Monster Problem
Now it’s time to deal with Yaren’s monster problem. Although it’s tempting to talk to Vaska since she’s closer, save the Vodyanoi discussion until after the mosnters are cleared out-it tends to make the quest markers fickle.
First, kill a trio of Bloedzuigers near the Swamp Cave. Next, smite three Drowners east of the Altar of Melitele. Lastly, mulch a pair of Echinops east of the Drowners. You’ll gain a tid-bit of experience for eliminating each group, and a slightly smaller reward for destroying all three totaling 500 experience-plus whatever the monsters give.
| Objective | Reward |
|---|---|
| For killing the Bloedzuigers | 100 XP |
| For killing the Drowners | 100 XP |
| For killing the the Echinops | 100 XP |
| For clearing out all the monsters | 200 XP |
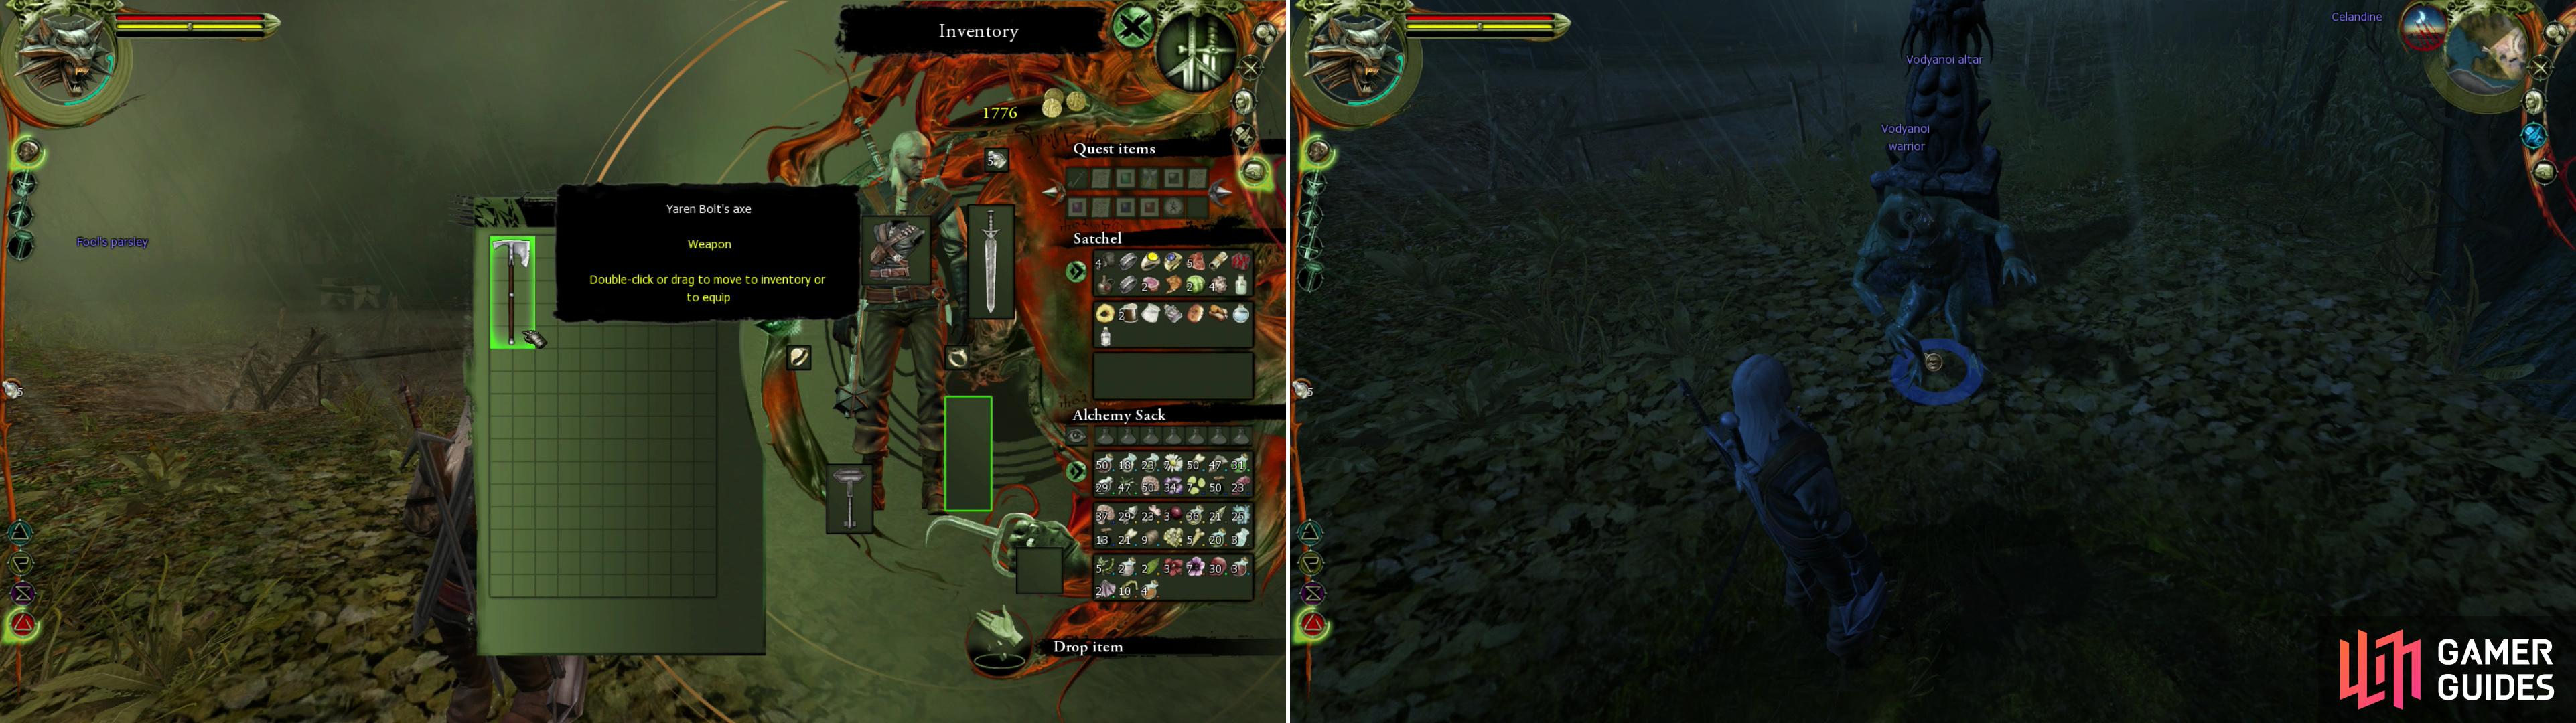
Convince Yaren Bolt to give up his axe and make an offering of it at the Vodyanoi Altar (left). Return at midnight to obtain a sign of the Vodyanoi’s favor (right).
Go talk to Vaska after the monsters are dead. You can just kill the Vodyanoi, but it’s slightly more rewarding to take the peaceful route, so lets do that. Vaska will tell you about the Vodyanoi, how they communicate with them, and how to appease them. To obtain safe passage from the Vodyanoi, the lumberjacks will have to demonstrate peaceful intent and humility-both can be served by having Yaren Bolt offer up his axe as a sacrifice at the Vodyanoi Altar near the Clay Pits.
Talk to Yaren and get him to agree to give up his axe, then place it on the altar. Rest until midnight and return to the altar and grab the Vodyanoi Amulet from it. With the Amulet, return to Yaren Bolt to claim your reward.
| Objective | Reward |
|---|---|
| For killing the Vodyanoi near the altar | 500 XP |
| For obtaining the Vodyanoi Amulet | 1000 XP |
| For dealing with the monsters and Vodyanoi | 1000 XP 400 Orens |
Calling the Thunder
Go complete whatever side-quests have yet to be completed. It’s time to plunge head-long towards the end of the chapter.
When you’re ready, rest until daytime and return to the Druid Grove. Talk to the Elder Druid and ask about conjuring up a storm. He’s modest, but capable, although the storm you need will cost you 500 Orens. it’s probably fair to say we’ve wasted more money helping Kalkstein out than this quest reward is worth…
Anyways, the Elder Druid will tell you several things before you run off. First, there are three Pylons near the Golem. If you activate all three you can call down lightning-just be careful not to hit yourself. Second, he blatantly tells you to bring potions with you. If you didn’t level up earlier, this is a good suggestion.
Head over to the Golem Cemetery and drink whatever potions you might need-Swallow is recommended for low-level characters. At level 25, however, you can be fairly confident in your strength. Activate the Golem to have Geralt place the lightning rod.
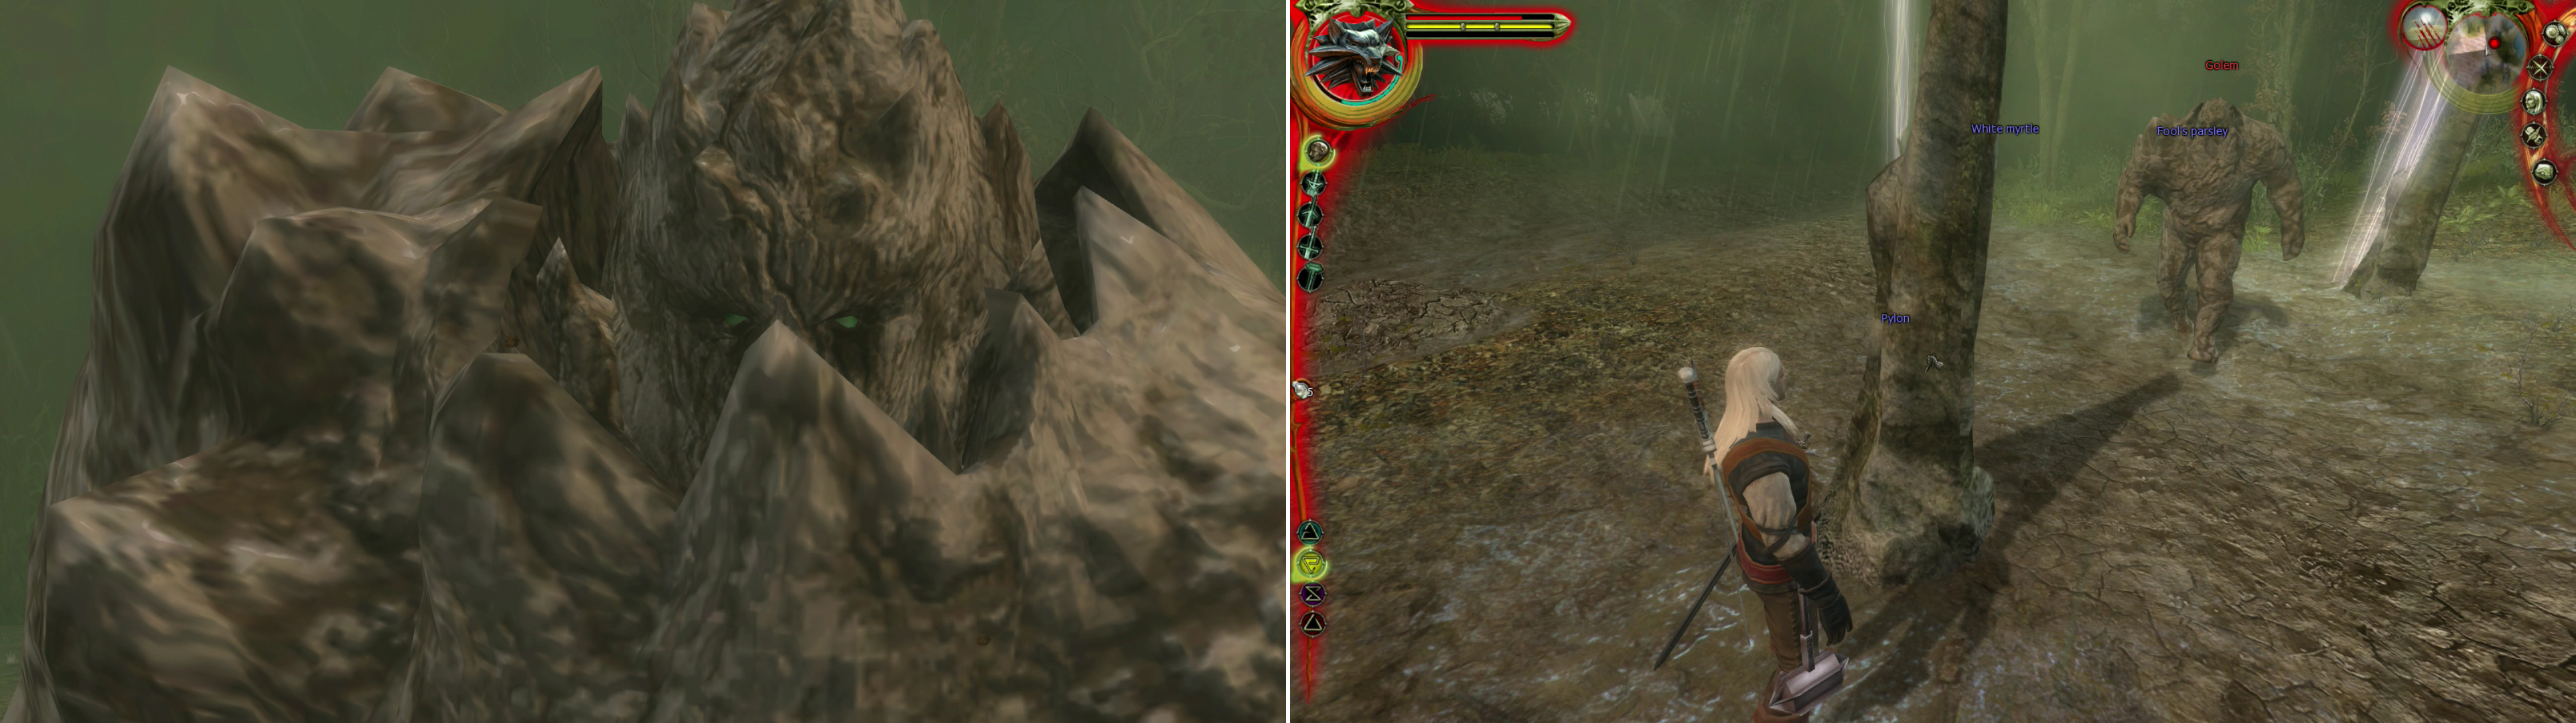
Like everything brought to life by lightning, the Golem turns violent (left). Keep the Golem between the three Pylons, and activate them all (right), being sure to stay outside of them. Lightning will strike whatever stands in the imaginary triangle formed by them.
Predictably, lightning strikes and the Golem reanimates… and it doesn’t look too friendly. You can damage it somewhat with the Strong Steel Style… but even at level 25 you’ll be doing between 2-5 damage per hit. Igni fares a little better, doing about 30 damage per cast (Igni Level 3). What the game wants you to do, however, is to activate the three Pylons to call down lightning, which will strike anything within the “triangle” formed by the Pylons. This includes Geralt, and a single lightning strike can deal about 350 damage to him-more than enough to kill an unleveled Witcher. Do this several times and the Golem will fall. Note that there is an element of timeliness involved-if you take too long to activate all three Pylons, you’ll have to try again.
Once the Golem is dead-or destroyed, if dead doesn’t apply-grab the “Neh’Tza Sephirah” from it, as well as the “Golem’s Obsidian Heart” . This completes the quest “The Sentry” , updates the quest “A Mysterious Tower” , and starts “Monoliths” .
| Objective | Reward |
|---|---|
| For defeating the Golem | 2000 XP |
| For obtaining the Sephirot | 100 XP (per Sephirah) |
Springing the Trap
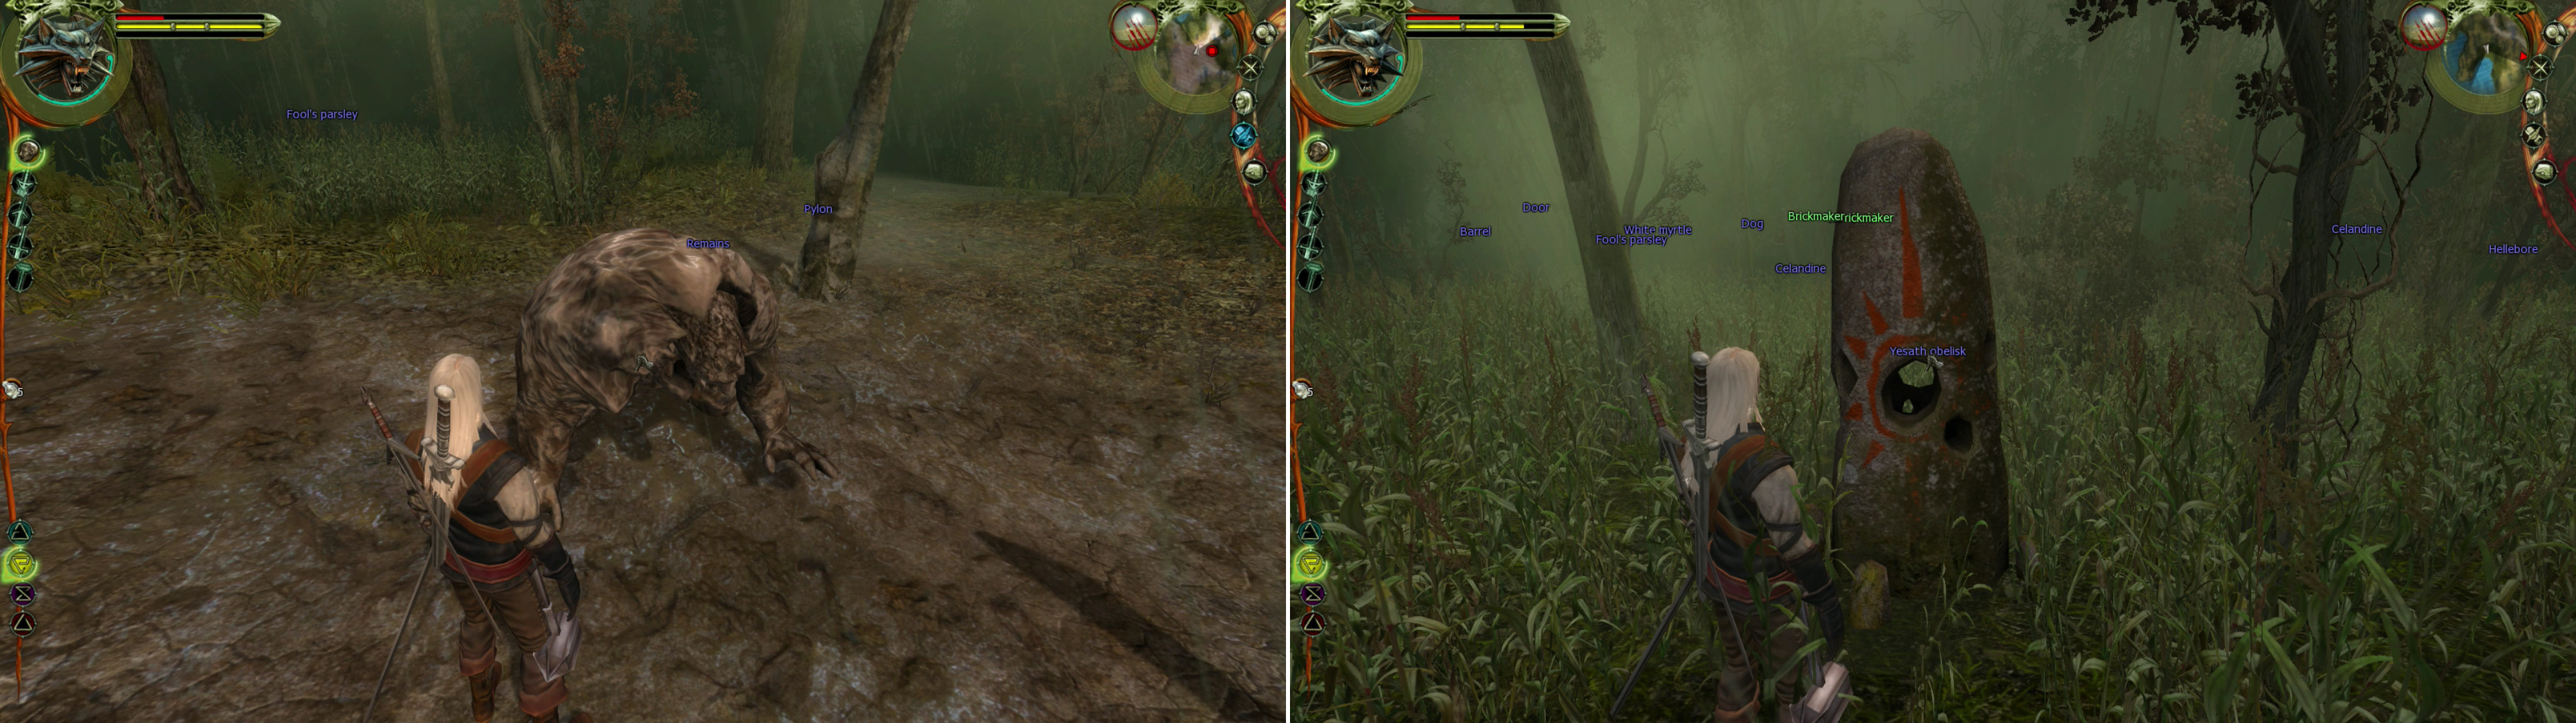
Loot the Golem after defeating it (left) then place all ten Sephirot in the correct Obelisks scattered throughout the Swamp Forest (right).
Now that we possess all ten Sephirot and our trap is set, there’s not much to do but put the Sephirah in the Obelisks scattered through-out the Swamp Forest. If you’ve been placing them as you explored, just as well, if not, head to the Obelisks still on your map, place the Sephirah in the Obelisks with the same name… you really can’t mess this up. Ideally you’ll end with the recently acquired “Neh’Tza Sephirah” , near the Mage’s Tower. Once done, proceed to the aforementioned tower.
| Objective | Reward |
|---|---|
| For placing the Sephirah into their Obelisks | 100 XP (per Sephirah) |
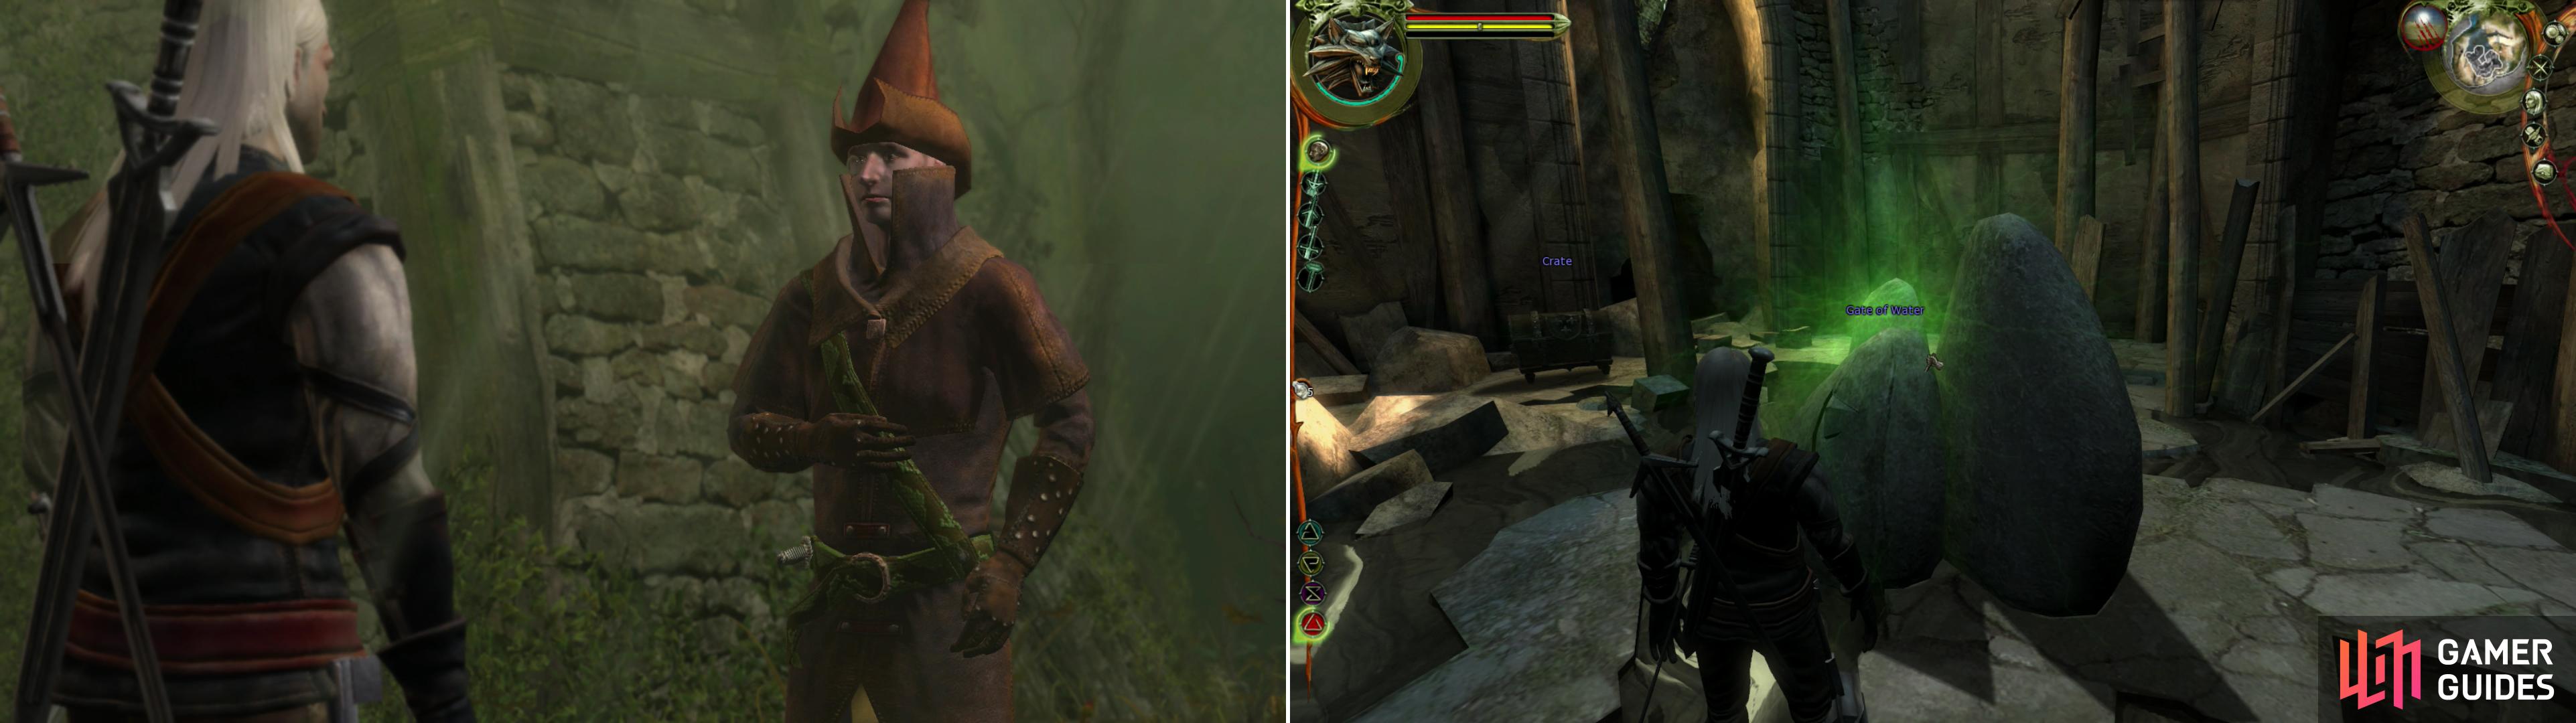
When the trap is set, meet Azar-as-Raymond outside the Mage’s Tower (left). Once inside, be sure to tap the Gate of Water to learn the Axii Sign (right).
Talk the Azar-as-Raymond and he’ll implore you to enter the tower before the murderous Kalkstein can appear. Right… Geralt will display a little innuendo, then head inside. Loot the tower to obtain the “Tower Mages” Book, and while you’re here, activate the “Gate of Water” to learn the Axii Sign.
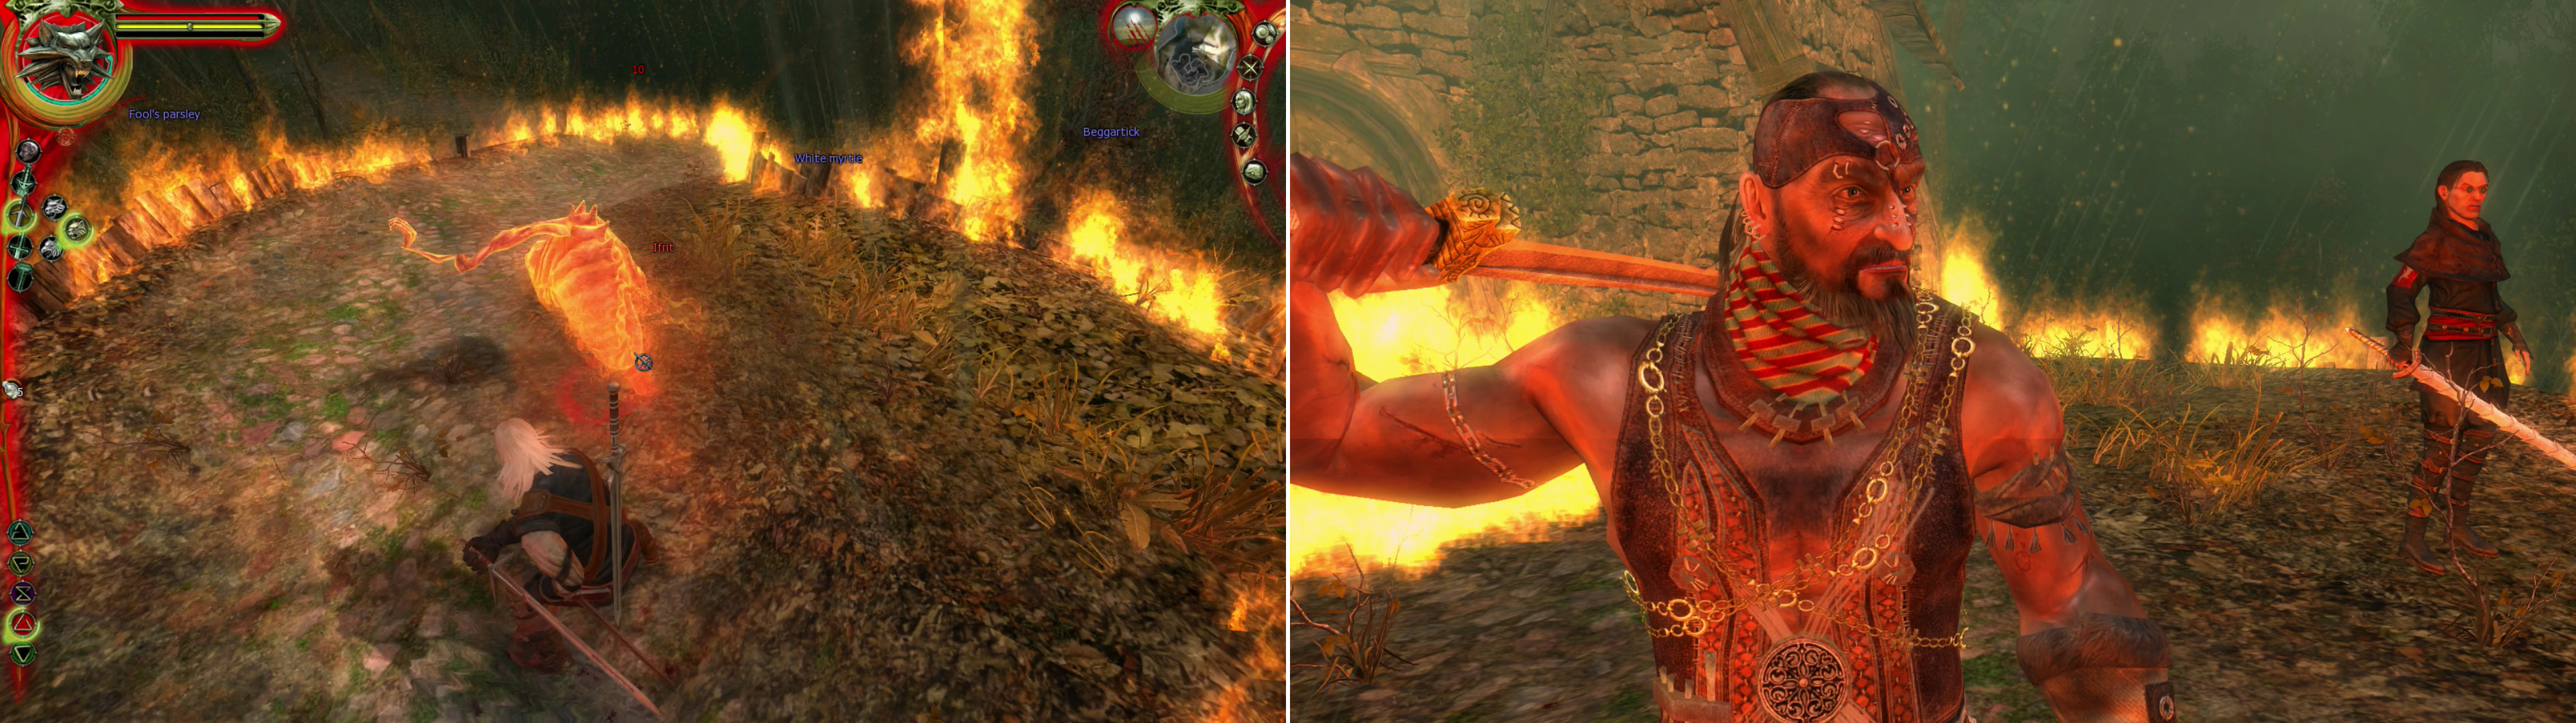
After getting the drop on Azar, he’ll summon an Ifrit (left). This is merely a delay, however, buying him time until he can create a portal through which the Professor joins the fray (right).
Once done, head back out and Geralt will confront Azar, finally coming face-to-face with no illusions. Naturally, a fight ensues, and to buy himself time Azar conjures magical flames to hide behind and summons an Ifrit-a weak fire critter that can cause pain. Use the Fast Silver Style to kill it, after which Azar will gate in the Professor and they’ll both attack.
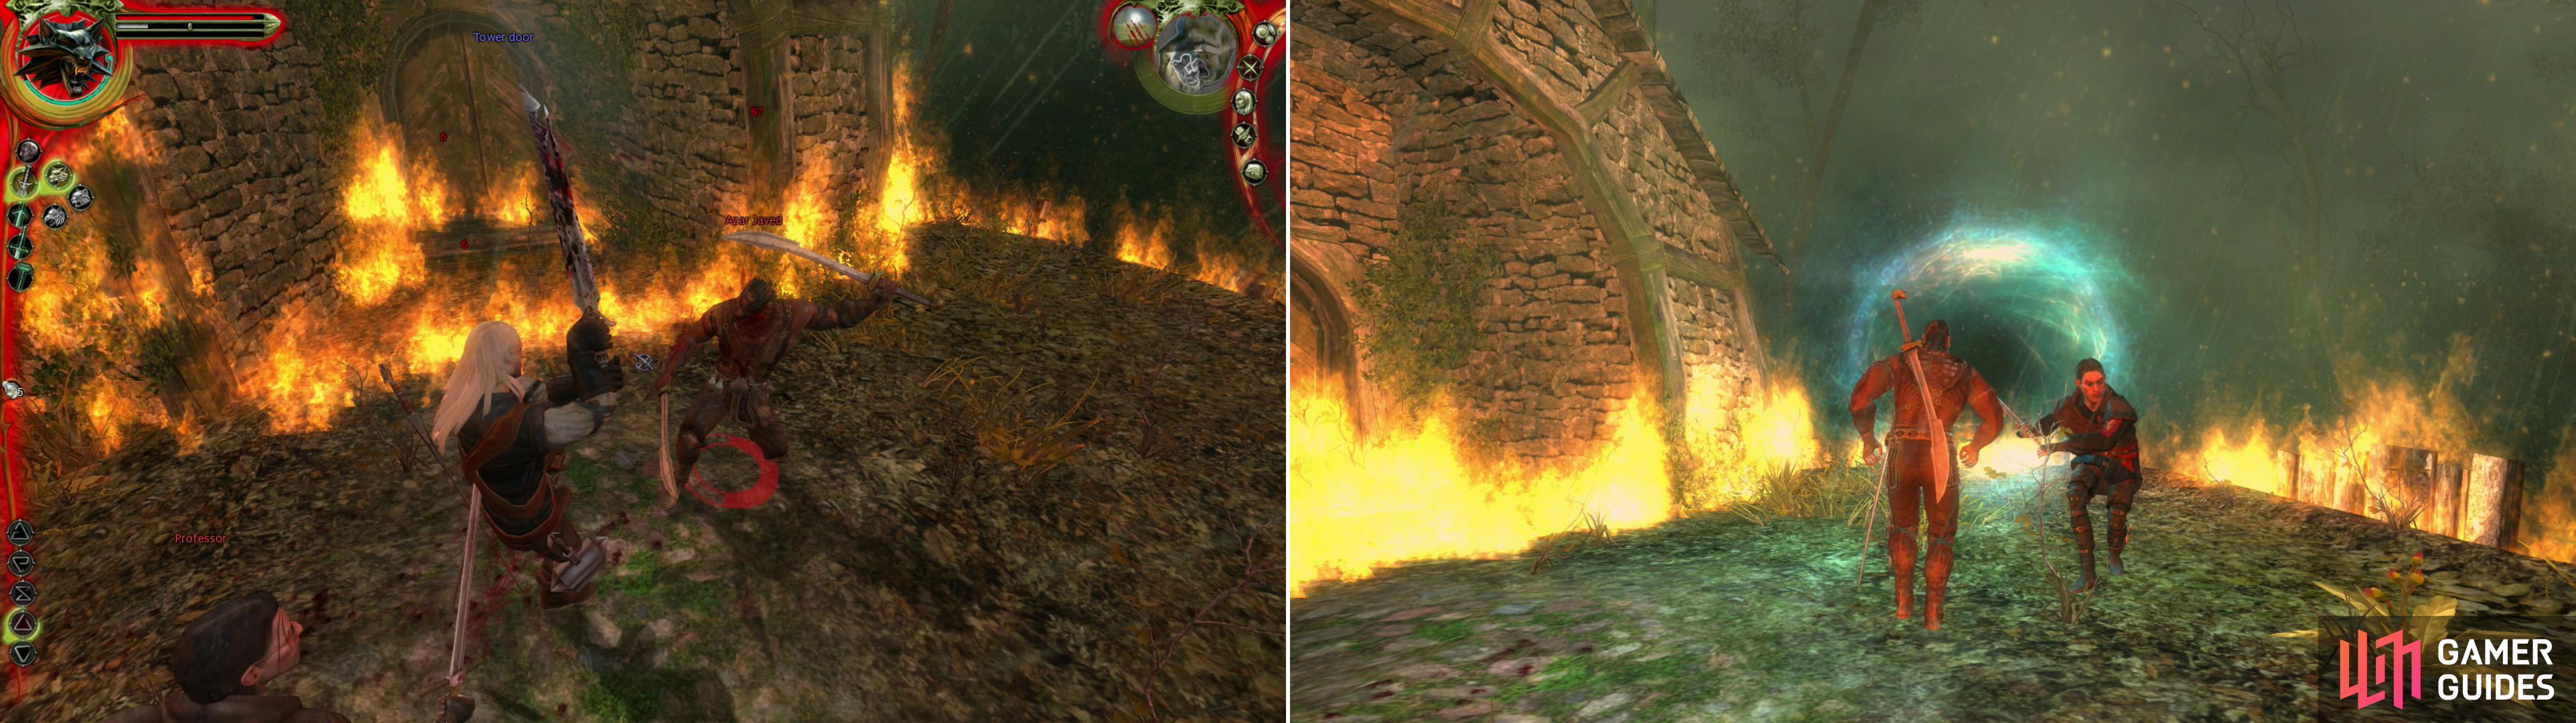
As you start to get the upper hand against Azar and the Professor (left), you’ll be incapacitated long enough for the two to flee (right).
If you’re lower level, use potions to help you out-Willow will prevent you from being stunned, and Swallow will boost your Vitality regeneration during the fight. Even if you didn’t grind, if you’re near level 20 by now, you shouldn’t have too much trouble with them on the normal difficulty setting. Use the Strong Steel Style and pummel them until one is low on health, at which point they’ll flee.
| Objective | Reward |
|---|---|
| For defeating Azar and the Professor | 2500 XP |
No Comments