Directive: Follow Lakshmi
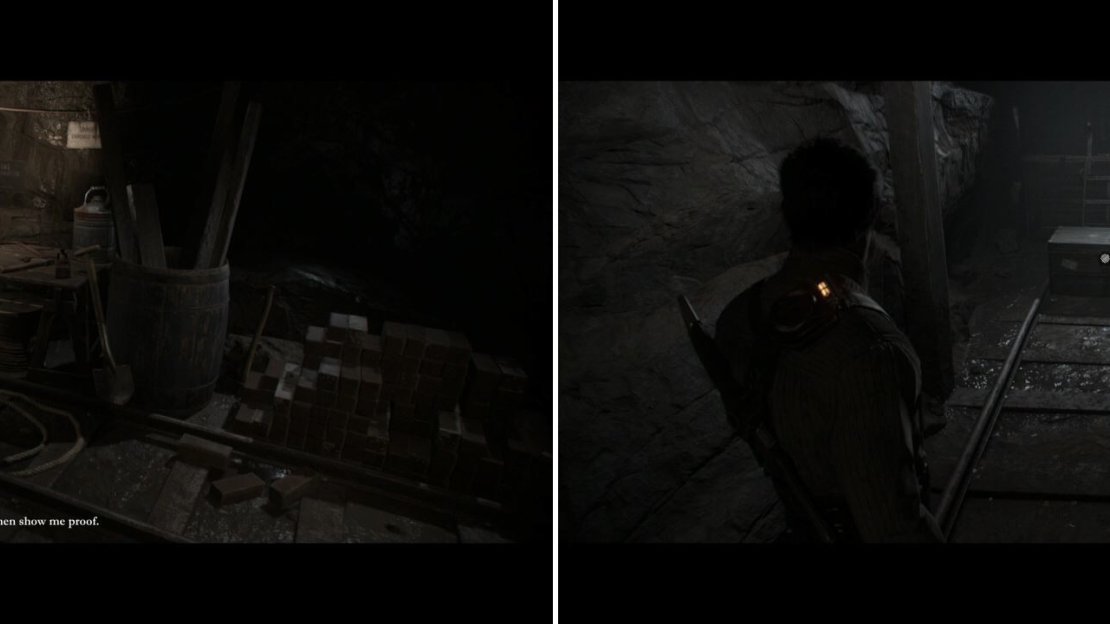
Start off by moving forward and moving the beam to pass underneath it. On the other side check the desk to find a Document . Continue and move the mining cart. Instead of following Lakshmi go left into the other tunnel to find a crate with Phonograph Cylinder - The Anarchists 16.10.86 .
The Document (left picture) is near the beginning while the Phonograph Cylinder (right picture) comes after pushing the cart.
Directive: Deal with the guard
Follow Lakshmi this time and you’ll take down a guard… or rather she will take him down. Proceed along the train tracks and our directive will update:
Directive: Find a qay to the street
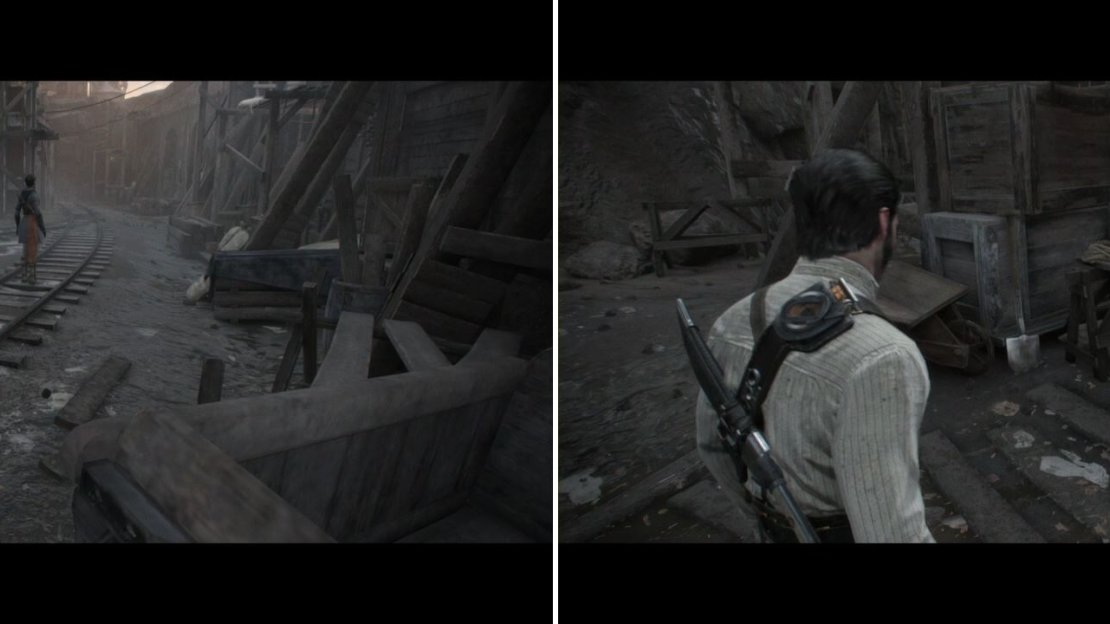
Before we do that though, head to the end of these tracks. On the other side of the wooden wall is a desk with an Object . Now pull the lever near Lakshmi to change the tracks, then go push the large cart. Climb it and get on to the streets. Move towards the gate and help Lakshmi jump over it.
This one is somewhat out of the way so make sure to get it!
Directive: Get to the sniper
A little scene triggers and now we have to take care of the sniper. Run up the stairs next to the building and you’ll see some enemies in the next building. Take cover behind the chimney, take care of these guys and jump across. Grab the Carbine rifle from one of the enemies and start shooting the enemies on the street. Be quick on your feet so they don’t get to Lakshmi.
Now go through the next door to find a single enemy here. Kill him and check the end of the walkway for a grenade, then drop down once. Look for some ammo at the end and drop down again to to have many more enemies come in through the door (we can kill quite a few with that fore-knowledge). You know what to do. When you try to go outside though there will be a Shotgunner or two around here so be careful and take them out as quickly as your Trigger Finger can handle.
As you proceed you’ll find an enemy with a Thermite Rifle. If you can, pick up a shotgun and kill the Thermite user, even if you have to empty all your ammo on him. Grenades can do the job as well. Don’t even worry about picking up the Thermite Rifle, however, we’ll be losing it soon enough. Follow the path, up the stairs, across the gap and stealthily kill the sniper.
Directive: Help Lakshmi to safety
We’ll get ahold of his sniper rifle and be charged to protect Lakshmi. Snipe down all the enemies on the street and proceed to the next room to trigger a QTE. You’ll need to press “ O “ fast. Drink your blackwater when you can and quickly crawl out of the gunfight using the small pieces of wood for cover. Be ready for a turning point action and target the grenade to see a scene and make your way inside the foundry.
Directive: Find a way out of the foundry
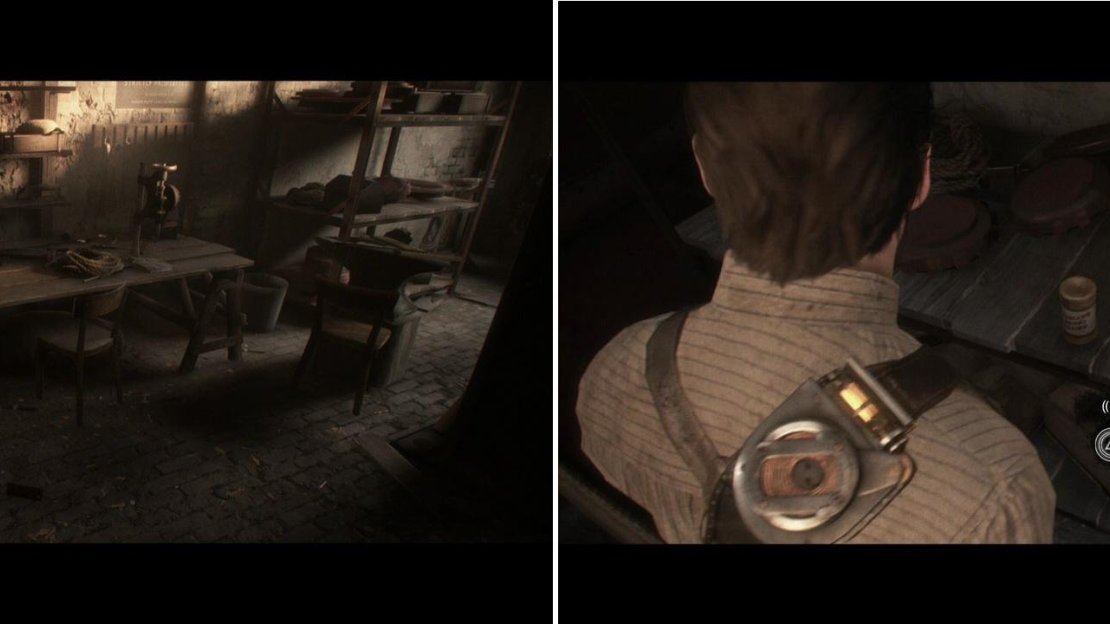
The first thing we shoud do in here is to check out the desk on the left side of the room to find a Photograph . Try opening the door to find its locked. Pull the chain behind you and now go up the stairs. Climb on the platform and Lakshmi will pull the chain for you to get to the other side of the room. Go down the stairs and grab Phonograph Cylinder - Cable From the New Continent .
The Photograph can be found in the first area of the foundry while the Phonograph Cylinder is in the next room.
Open up the door now and help Lakshmi open up a second door just to be ambushed. Use the turning point to push Lakshmi out of the way. From there, use your pistol to kill the man above us. We are conveniently given a shotgun here as well. Throwing a smoke grenade and then wading into the enemies below with it is extremely effective and slightly dangerous. Kill the enemies here and leave the building.
Before helping Lakshmi out, check out the left side for a desk with a Newspaper . Squeeze through the carriages to trigger a scene with Devi. Once you’re inside the house go up the stairs and instead of going outside enter the small office on the right to find a Photograph .
Grab the Nespaper as you exit the foundry and grab the Photograph from inside the office on the second floor.
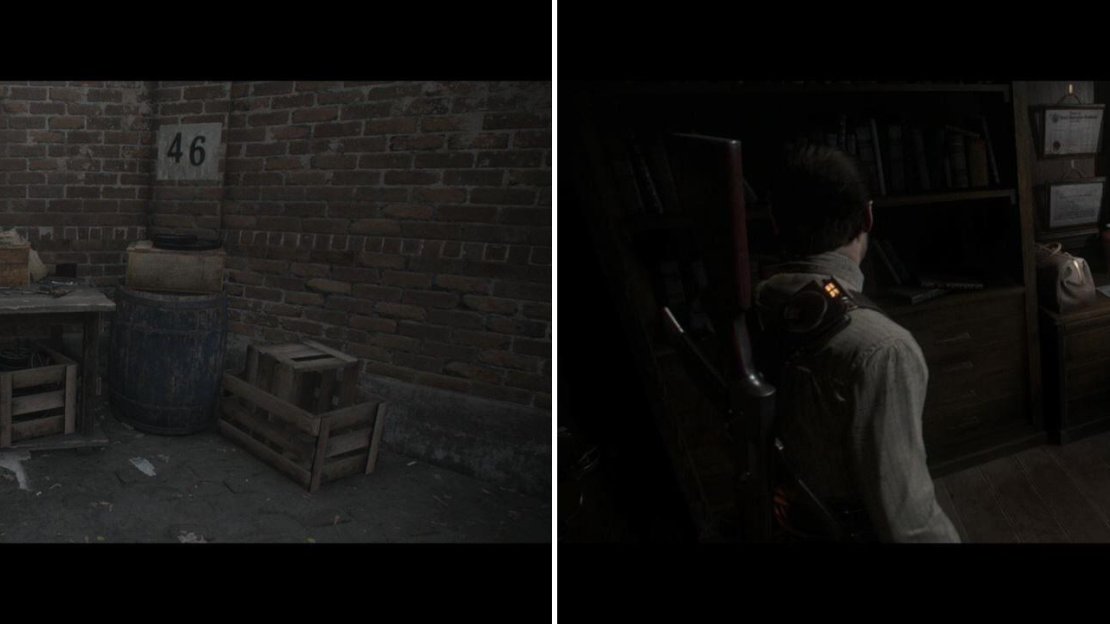
Now go outside following Lakshmi and Rani and as soon as you enter the building go inside the office to find an Object . Go left from the office (there’s nothing to the right) and you’ll see a scene. Follow them down the stairs and head past them to the hallway in the back. There’s a door locked here, so its time to pick it open. Do so and enter to find the Phonograph Cylinder - Cargo Inspection Log phonograph. Head back and rejoin Lakshmi.
Enter the first office to find the Object while you can find a Phonograph Cylinder in an office on the floor below.
Leave the building and continue following Rani… or Lakshmi. We have to man a crank and then jump to the platforms to the right. Be aware of the “Turning Point” here and grab Lakshmi’s arm when you need to. We get on top of the ship… but alert the guards.
Directive: Take out the guards
There are many enemies here, which are as easy as always, but there is an enemy with a new weapon, the TS-17 ‘Detonator’ . This thing shoots out mines that are remotely activated. Be extremely careful.
Pick up the sniper rifle from the start of the area and start sniping everyone down, especially this Detonator guy. A sniper appears on top of the crane on the right side as well so take care of him before taking the Detonator (note that the sniper only appears once you push into the ship, so you may get to take out the Detonator enemy first). There will be enemies on the ground to the right of the ship and this is the perfect opportunity to use the Detonator and have a little explosive fun. Now use the platform near the back of the ship to go down with Lakshmi. Check to the right for some more Detonator ammo, then go outside and cut the rope to clear a path to the back section of the ship.
Many enemies will be here and most of them will be on the floor below you so that’s always good, especially if you have the Detonator. Kill the enemies up above (there should be the one near you, one by an explosive barrel (heh…), and one across the way. Use up the Detonator on the lower enemies and switch out when you run out of ammo.
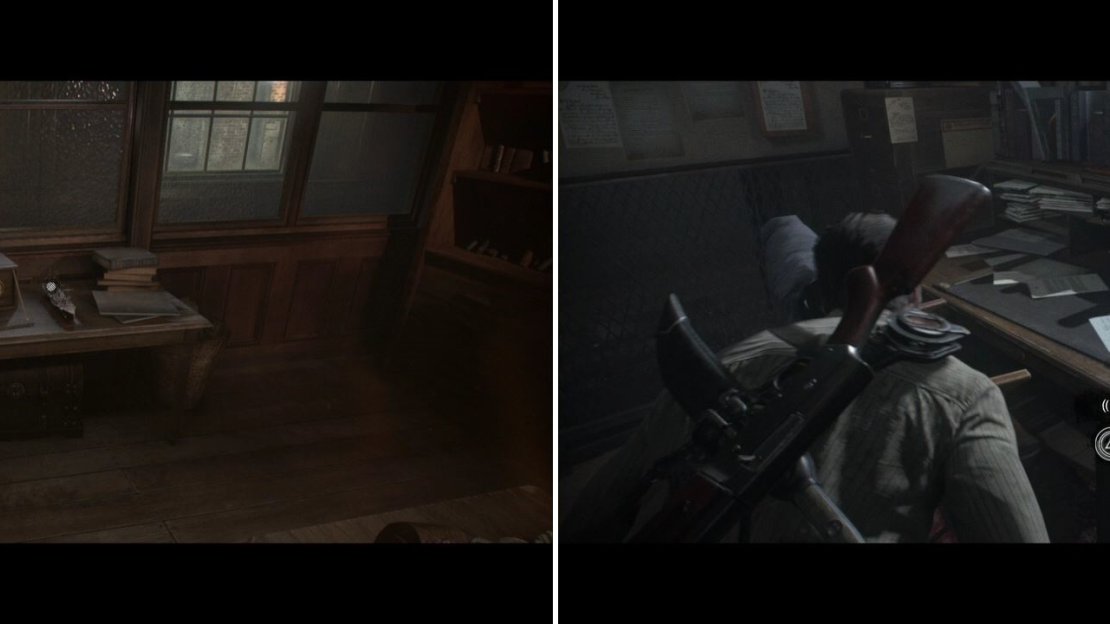
Kill them all and when you go to the lower floor some more enemies will come out from a ramp nearby. There’s a grenade down here, so try to blow them up while they are coming out if you can. Kill these and follow the bridge into the storehouse. Check the corner (to the left of the entrance) to find a Document , then go upstairs to find a Photograph . Go through the door and into the Shipping warehouse.
The Document is on the first floor while the Photograph is on the second floor.
Directive: Search for the companys insignia on the crates
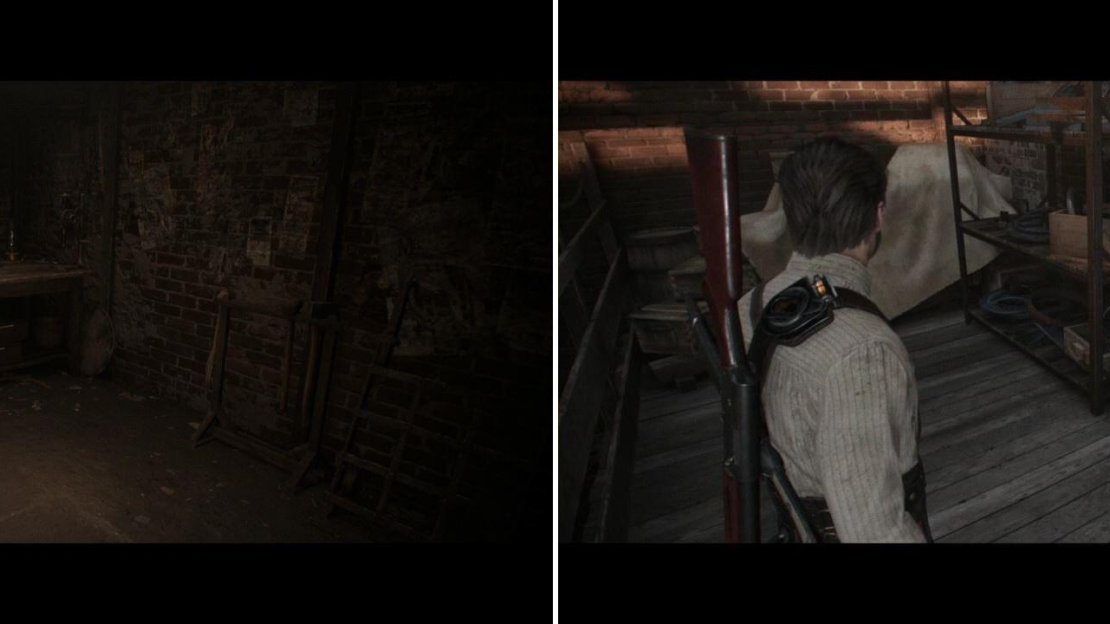
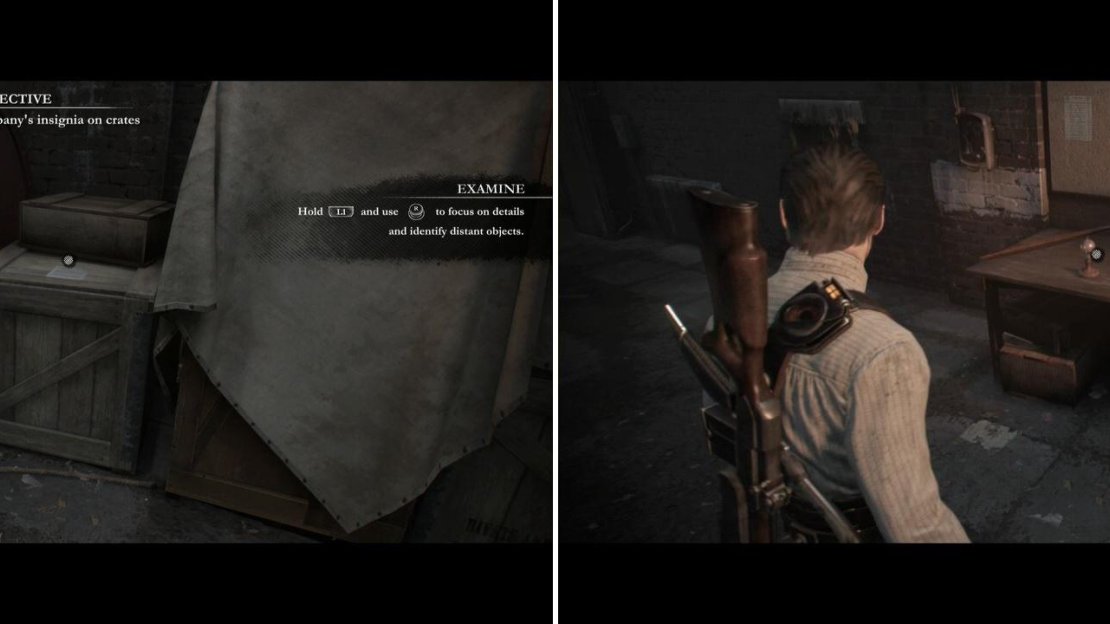
Check the crates on your right as you enter to find a Document . Now proceed to the back of the warehouse to find the last collectible of the chapter, an Object . Behind this object, on the shelving, is the crate you are looking for. Zoom into it to continue.
The Document and Object are in the same warehouse, but on opposite sides.
Directive: Help Lakshmi destroy the crates
Light up the crates and then help Lakshmi up. Go up yourself and you’ll have to deal with some more enemies. Hooray! They are far away from you so that’s a plus. In case you have a shotgun (like me), there’s a Carbine Rifle around the center to make this fight easier. Now go down the elevator and prepare to fight many more enemies.
They come from the same place but now there will be an armored Detonator amongst them. He stays on the platform above so toss a grenade at his feet to get rid of him (he needs to die ASAP). Once all of the enemies are dead we’ll see another scene and move into a new room.
Directive: Eliminate the Lycans
The scene continues and we now have to fight some Lycans, two to be exact. You remember how to kill these guys right? The scene resumes after the fight and will have some QTE so stay focused (we are mashing “ X “ here an then in the turning point slowdown, pick a circle and shoot with R2 ).
No Comments