Directive: Meet with Igraine
Look for the Indian building, which is right in front of you and start following the rooftop. Enter the attic and go down both set of stairs. The game will tell you how to look at your directives at this point ( R3 ). You’ll see a guy in the room in front of you. Go in here (there’s nothing for us to the right) and look to your left to find your first collectible, a Newspaper . Now go down the stairs in here and look at the table in front of you to find a Photograph . Note that you can look at the back with the triangle button.

Newspaper on the left and Photograph on the right.
Enter the next room and check the table on the right to find your first Phonograph Cylinder - Le Morte d’Arthur , which are pretty much Audio Logs.
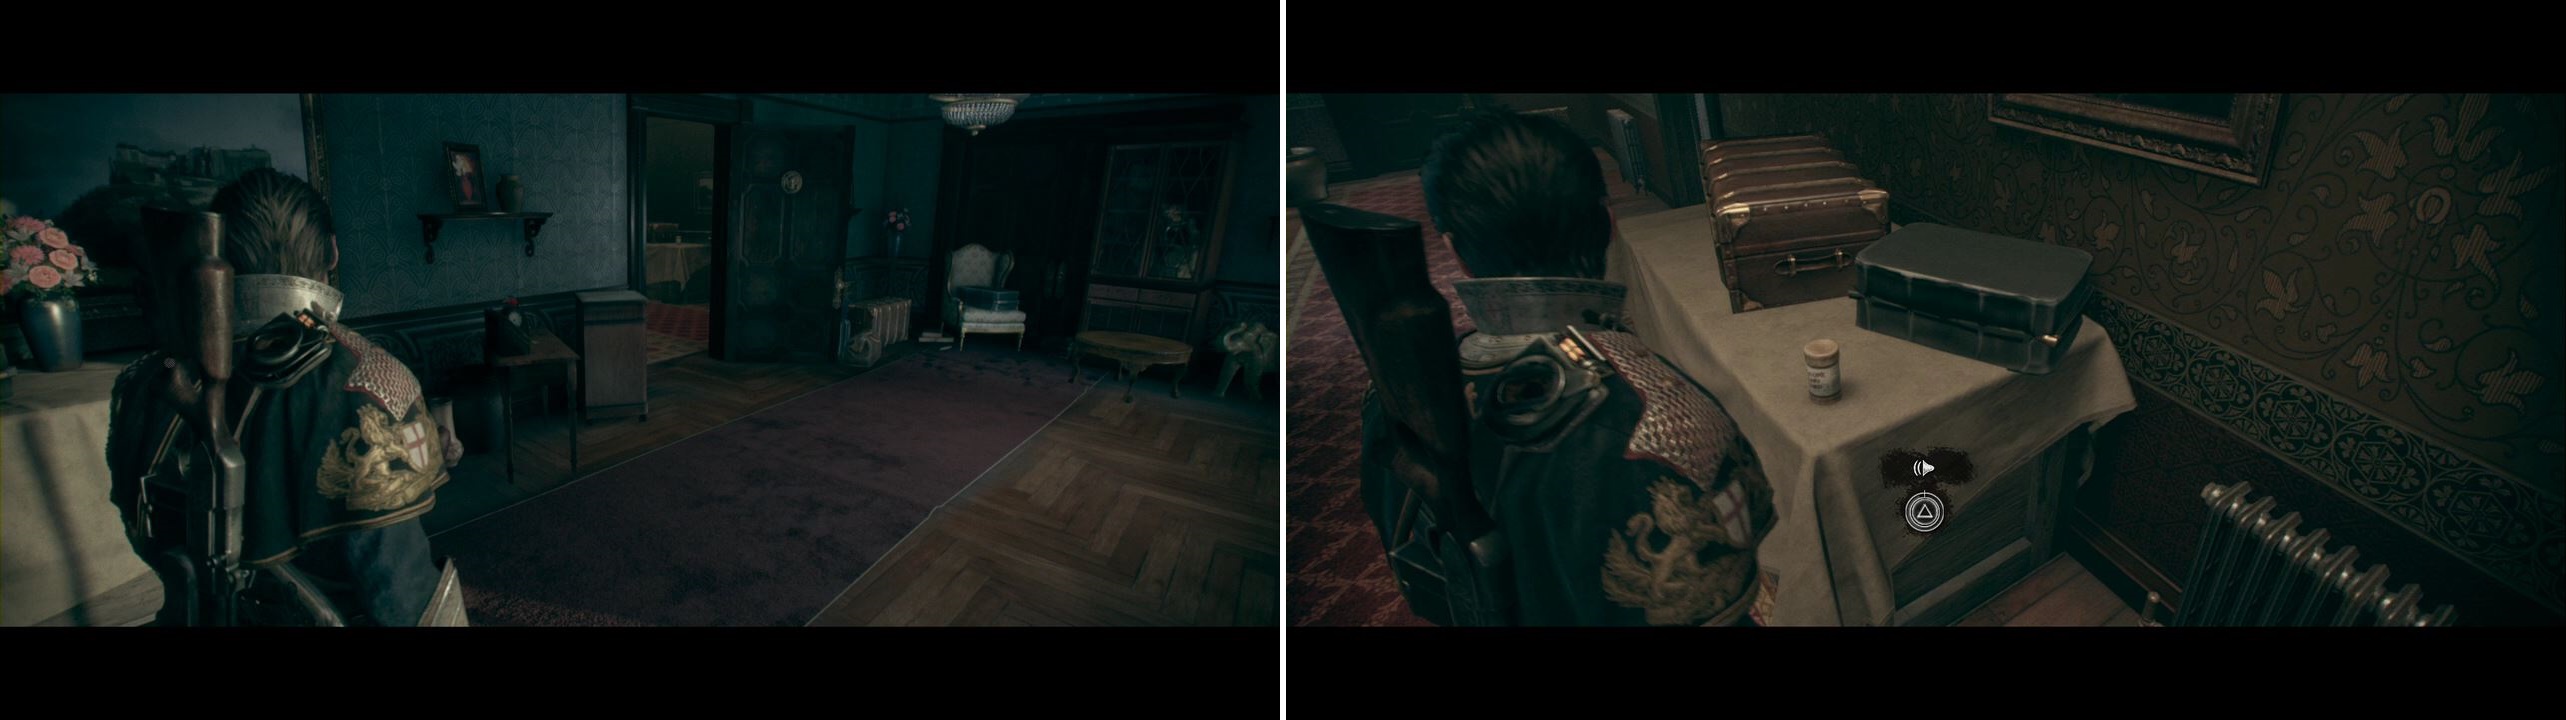
Phonograph Cylinder right outside the room with the Photograph.
Continue moving forward and when you jump across an alley, go down the stairs and then jump down from the ladder. When you reach the actual street you’ll see a man go inside the building in front of you. Check the trash cans in the corner just to the left to find a Document highlighting some of the artists of the day.
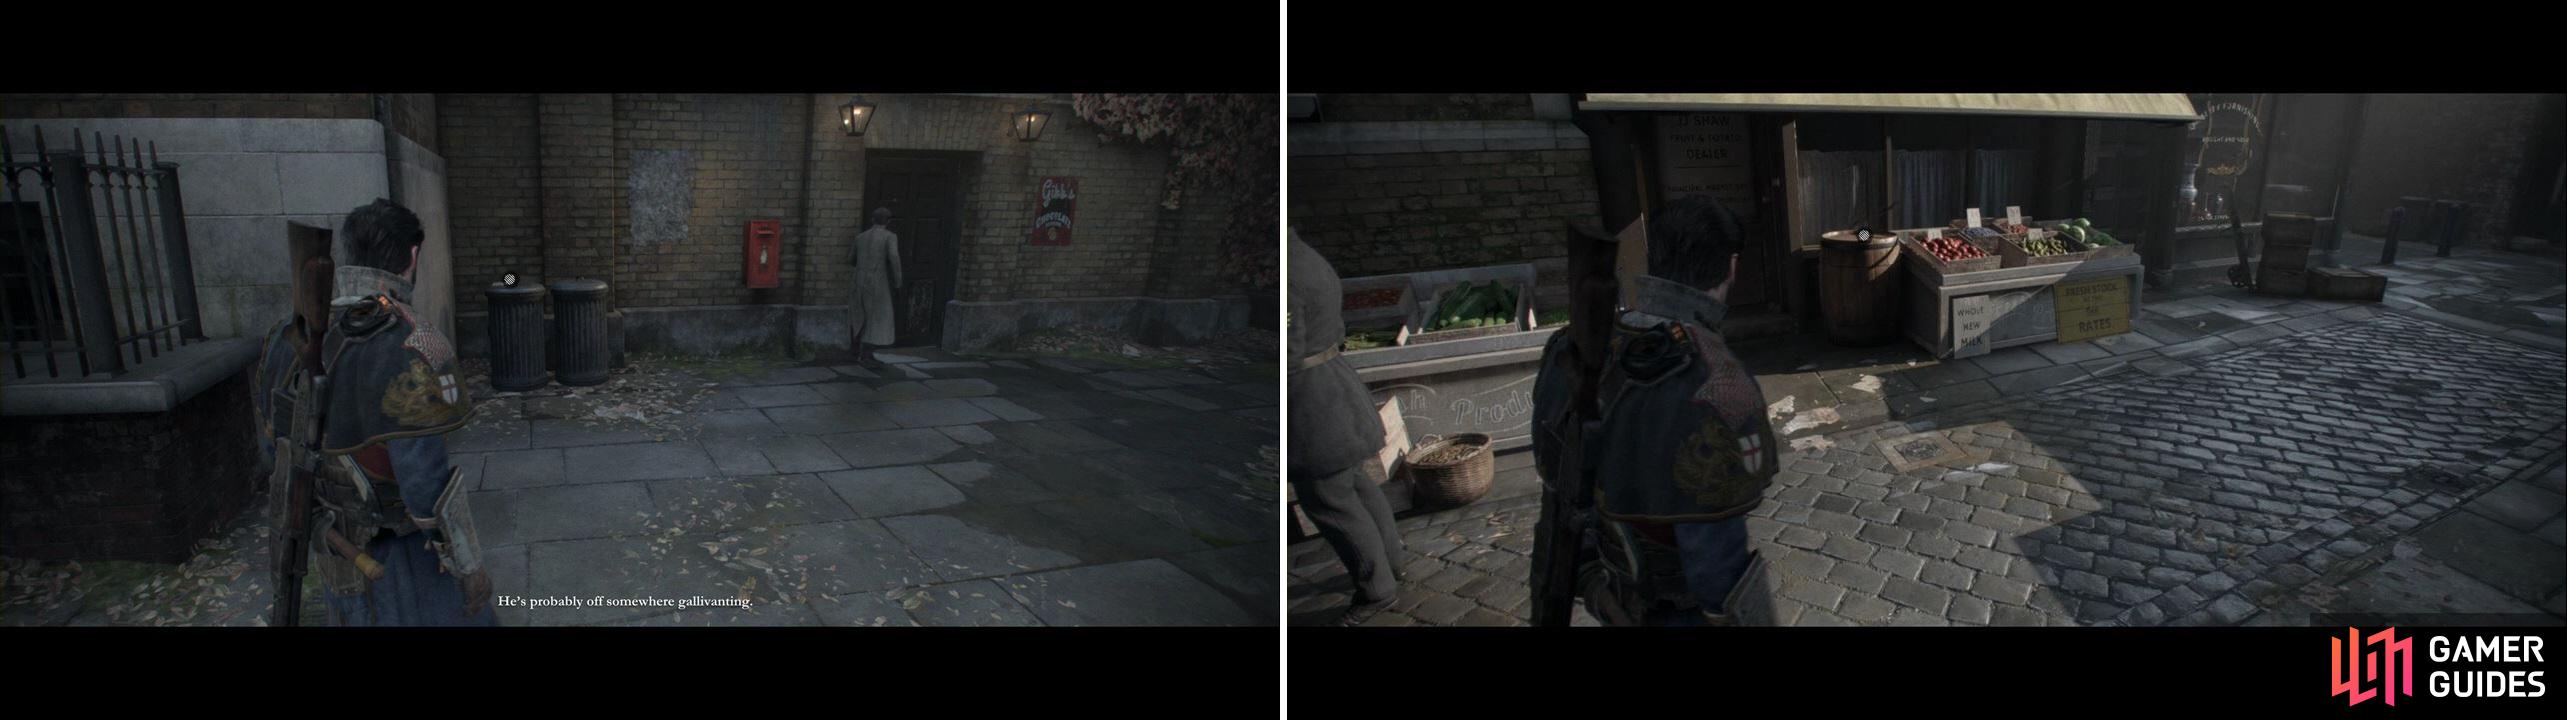
Document on top of the trash cans is on the left picture while the Object from the next paragraph is on the right.
Continue walking down the alleyways and you’ll reach a little fruit shop on the left side, which has an Object on top of the wooden barrel. Soon enough you’ll have a little scene with Igraine.
Directive: Follow Igraine
You’ll finally be able to sprint after this so start doing so and follow Igraine, who has a white marker over her head. Follow her underground and now you’ll have a escapee threat. You’ll also learn how to take cover, to aim and shoot. There will be two enemies here. Take care of them with your default pistol (the C-78 Autoloading Pistol , which strongly resembles a Luger) and proceed to trigger a little scene and you’ll have to fight some more baddies.
Time to take out the main weapon, the M2 ‘Falchion’ Auto Rifle . Take out these two enemies and two more come out of the alley an the back. No problem. Take cover at all times and pop out to shoot once they stop shooting. There is a crate with ammo on the left side before the cart and again on the right side, right before the alley and look to the left to find a garden where even more escapees will appear.
Not a problem at all. Use the concrete and statue as cover. Try to clear one side of the area and use the pillars for cover, making the enemy split focus between you and Igraine (and making the easier to kill). Head to the building once you clear the threat out and you’ll see an escapee with a hostage.
Directive: Pursue escapees into the Exchange building
Break the door open and use the Falchion’s Alt Fire to stun the escapee, allowing you to take the shot. When you reach the court Igraine will be shot. This puts you into cover and shows you Blackwater for the first time. It is also time to use our Smoke Grenades . The game will tell you how to use the grenade (which is pretty much like every video game ever).
Directive: Clear the Grande Lounge
Select your smoke grenade (Up Directional Button) and throw one into the middle of the area. This lets you get to the left and take out the escapees pinning you down. From there, stick to the left, by the wooden cafe, where you can likely melee a man to death.
Check for enemies to your immediate right next and then simply clear out the remaining enemies in front of you. Like the noted box above mentions, your melee strikes are basically your deadliest attacks (against THESE enemies at least) so don’t be afraid to get close-quarters with the enemy! When their numbers are low and when you have the health, you can outright bum-rush foes and put an end to things with your fists. Once you’ve cleared the lounge we’ll have a new directive.
Directive: Follow Igraine
Go to Igraine and up to the second floor. Take care of the two guys talking (the game is just now getting around to telling us about melee attacks… heh) and we’ll get another directive:
Directive: Clear the 2nd Floor East Wing
Tilt the analog softly to walk stealthy and kill the guy in the next part of the room. More escapees attack from here, so take cover and kill the man in front of you and to the right. From there you can likely move up to the wall and focus to your right, killing the remaining escapees when they peak around their cover from your ideal position).
When Igraine waits for you at the next door, you’ll do a special ability called Blacksight in which you’ll move in slow motion and automatically aim at enemies. When the reticle is white that means the enemy is still alive whilst red means he’s dead. Be sure to move between enemies with the right stick after they are dead. After the first three 5 more will come.
Watch the scene after the fight where Marquis Lafayette is introduced. After the scenes we’ll be on our own again, with a new directive:
Directive: Pursue the remaining escapees
Follow these walkways (the rooms don’t have anything so explore them if you’d like to) until you get to a bigger room. Climb up the wall and traverse through the walls. After the talk with Igraine jump across the gap and watch the scene where some Half-breeds appear.
Directive: Eliminate the Lycans
There’s only one in this small part of the room and its where you really have to learn how to kill these things. They are really easy to be honest, or at least this one. They charge at you and while they do this you’ve got to shoot at them as much as you can. While charging, a small X appears before they tackle you. Pressing the X allows you to evade the attack. Always know where the Half-breeds are coming from so you can put more shots into them.
Once you’re done with the shooting you have to run up to them and press Triangle to kill them. In the next part of the room there will be two, so you need to keep that in mind so that you’re not attacked by one of them while shooting the other one. When you try to kill the second one though, it flees the area and you now chase after it, not after you exchange weapons with Igraine.
Directive: Pursue the Lycan
We’re now in possession of the Arc Gun , which shoots a really powerful lightning bolt, but its got to charge first. Start pursuing the Lycan and when the little info box on the right side of the screen appears these are your best bets at shooting the Lycan. After killing it a scene triggers leading into the next chapter.
No Comments