Directive: Infiltrate the Agamemnon
Hell yeah! We start this chapter big! Time to rappel down the side of the airship. You won’t die here so rappel down with X and get inside. There’ll be a quick scene once you get inside. After that the team will split up past the door. Follow Lafayette down the stairs and you’ll see your marker on the left with a new directive:
Directive: Disrupt power to the magnetic lock
BEFORE we do that, let’s head right first to find an Object . Now use the TS-27 Inverter you got from Tesla on the lock and hold L3 and R3 in place as the mercury goes between the rods. This blows a light and lets us go down the ladder. Seems the guards are using deadly force. We will be using it too soon enough.
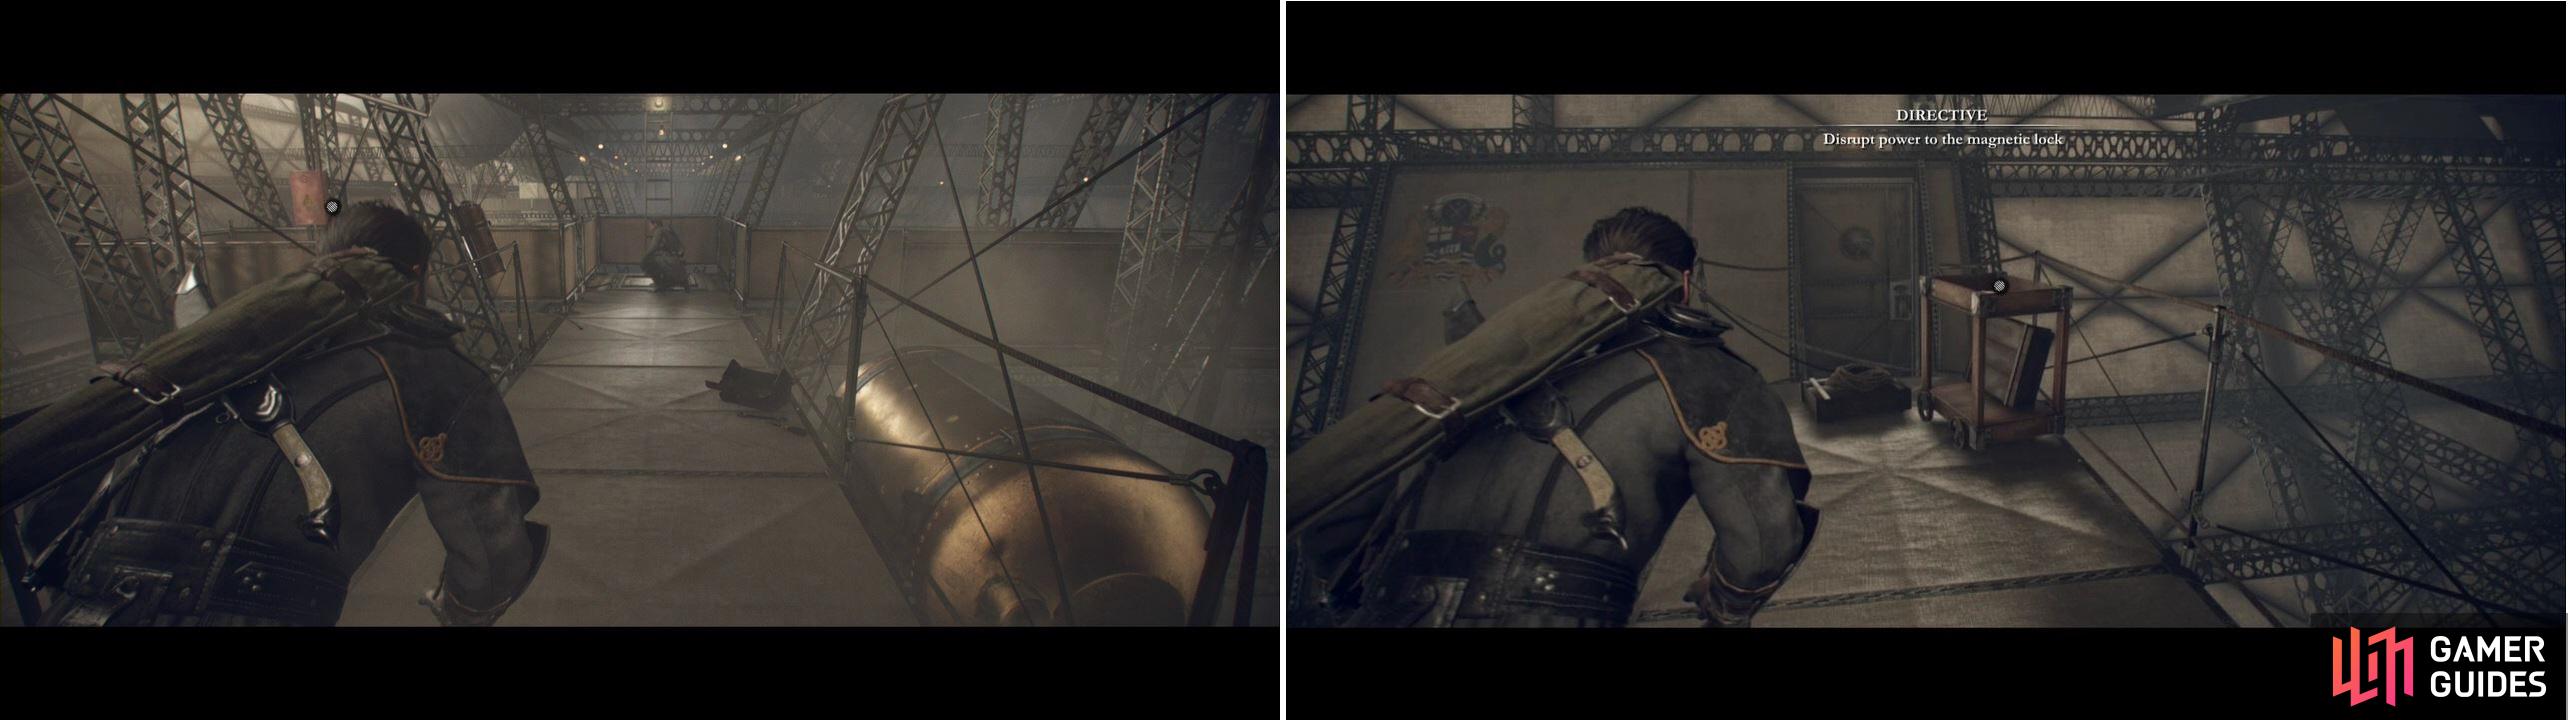
Make a right to get the collectible.
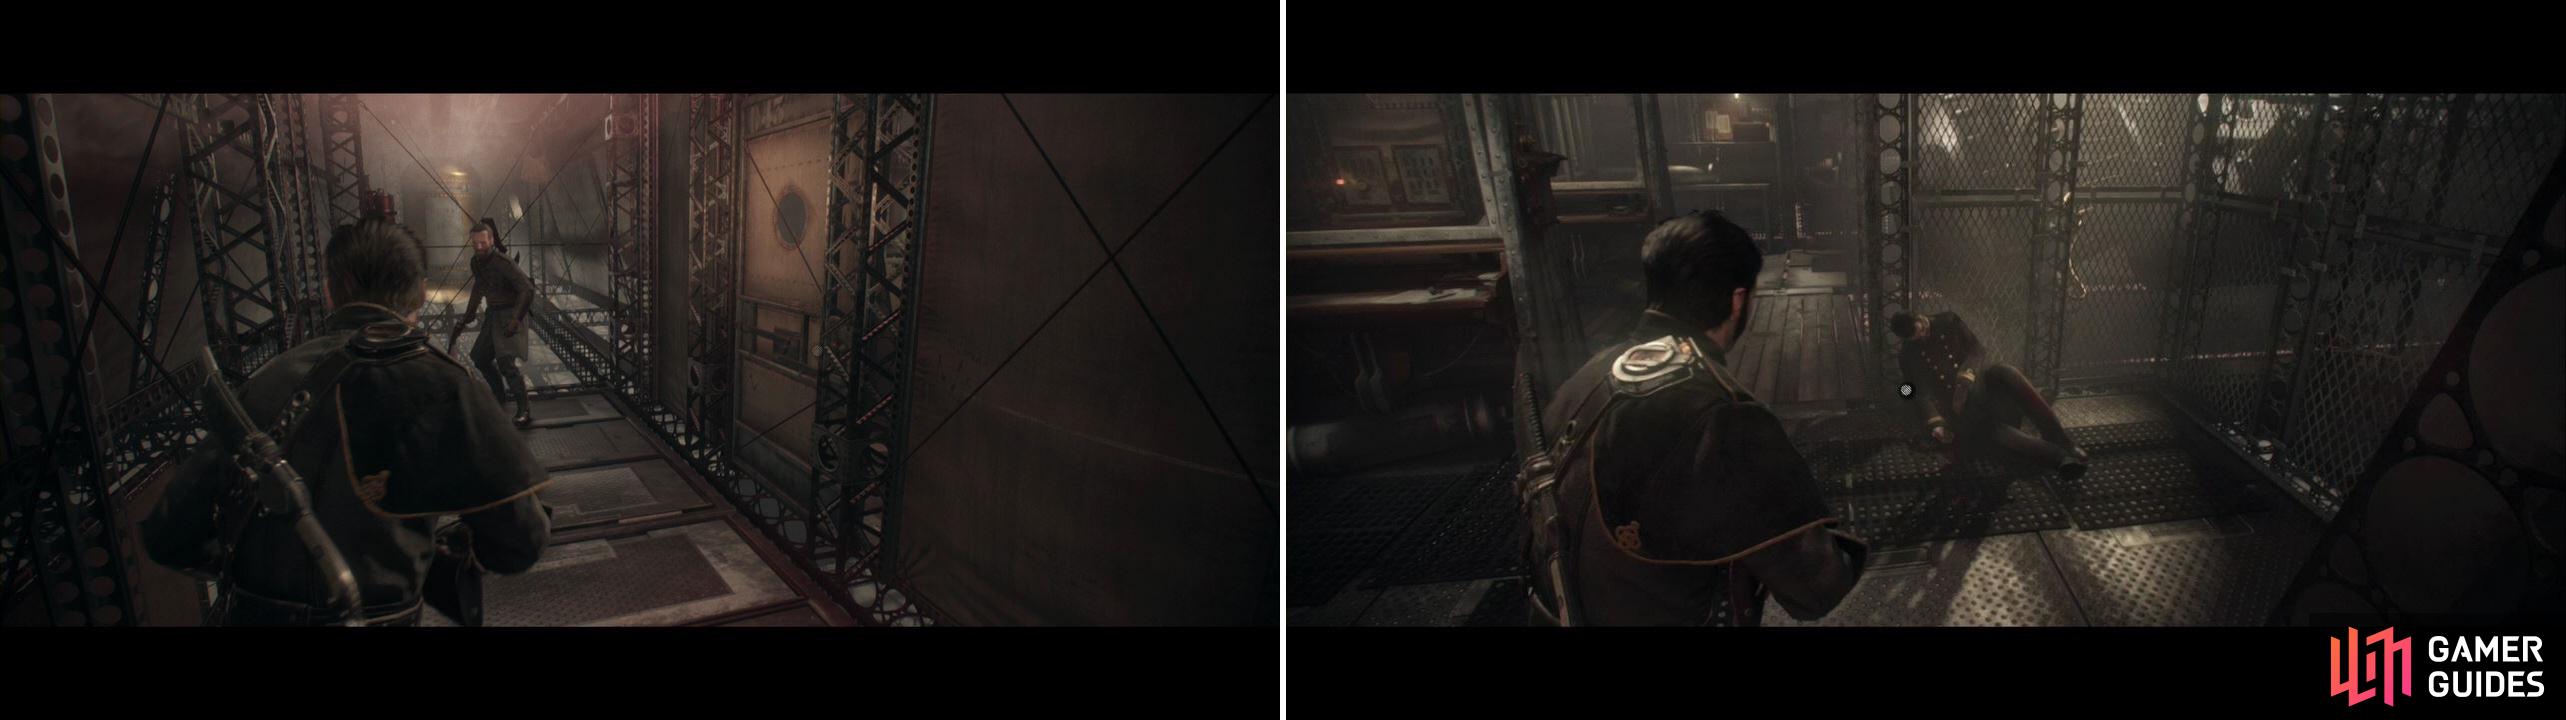
Directive: Take out the guard undetected
Stealthy kill the guard here by pressing Triangle when the outer circle reaches the center. We’ll die if we mess this up, so be smooth! After you kill him you can explore behind you or to the left, but its just empty space. We’ll get a new directive as well:
Directive: Find a way to the cockpit
From where you killed the guard, head right and continue following the path to a door on the right. There’s more empty space here, especially to the left, but follow Lafayette to the right and you’ll soon reach the cockpit where a set of QTE start after you throw a smoke grenade. These button presses are Square, Circle , and then a turning point where you’ll want to grab the cylinder off of the wall. We’ll have secured the cockpit after that. Lafayette stays behind so its time to head to the ballroom.
Directive: Head to the ballroom undetected
Return to the previous area up the stairs and there will be a guard here this time around. Stealthy kill him and enter the door in the opposite direction of the cockpit. We’ll need to pick the lock here, but that’s no obstacle to you at this point.
In this next room make a left when possible to find a Phonographic Cylinde - Agamemnon Christening.
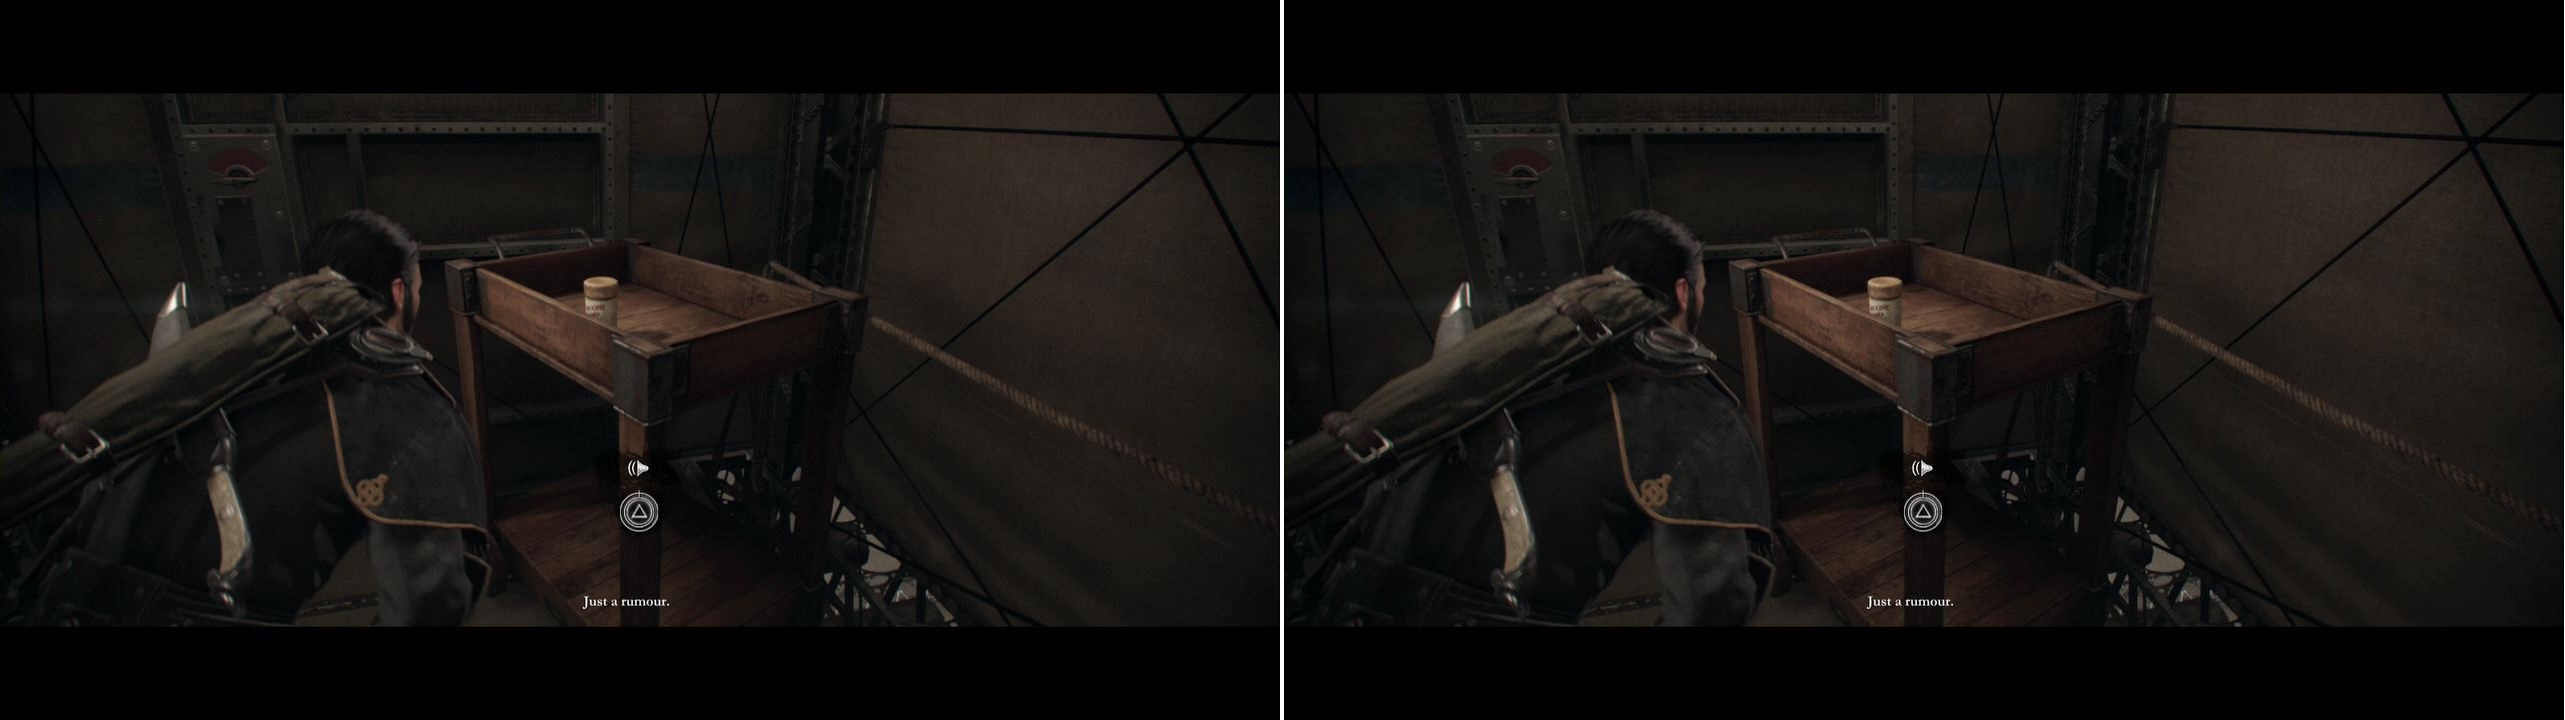
Make a left here to get the collectible.
Proceed to the right this time and then into the side of the room where the guards are. There are only two guards here, but the corridors are really tight so make sure to take cover at the corners to see what’s going on behind them. The first guard can be killed easily by waiting at the start of the room for him to show up, as he walks away from the room entrance. Use that moment to take care of him, then travel up the walkway you killed him at (the one with the low cover - be sure to duck) and wait at the end. The second guard will be down below. Wait for him to head to the right, then back to the left so you can kill him easily.
Once you’ve successfully killed both of them proceed to the next hallway and wait for the guards to pass. Go up the stairs and enter the room to the left when you come to it to find a Newspaper . Continue onwards until you reach the ballroom and a set of scenes trigger.
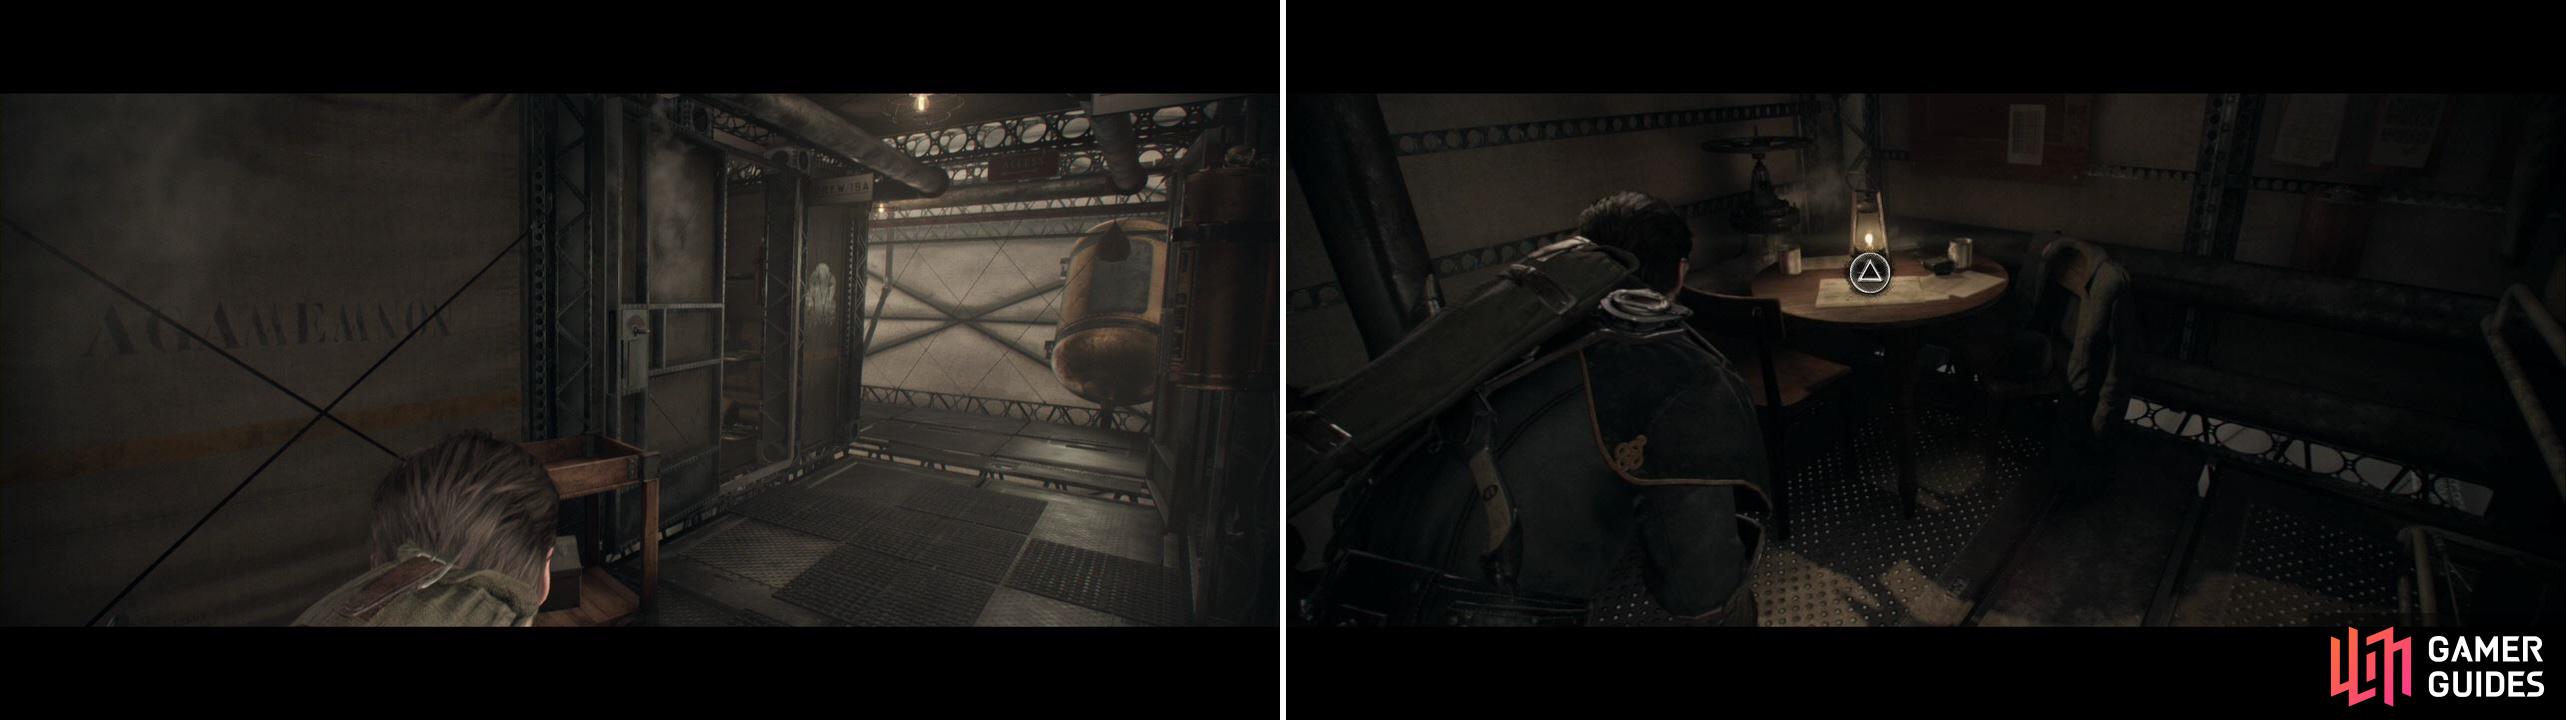
Grab this before entering the ballroom.
Directive: Identify the disguised rebels
You now have to check out who are the rebels here. Check out their patches on their shoulders to see if they are legit or not. The guards closest to Lord Hastings are both legit (the one on the ground floor and the one up the stairs where he came from). The ones by the door and across the way on the balcony are both rebels. Search each of them to advance.
Directive: Take out the disguised rebels
When you’re given the order, feel free to engage. We recommend killing the rebel on the opposing balcony first, as this won’t alert anyone. You can then kill the one below, but note that if you wait he will try and take out his target. We can actually kill him in the act… for, um… Drama’s sake!
Directive: Stop the rebels from entering the foyer
After we kill the lower one, many rebels will come at you. Stay here under cover and start sniping the enemies. They come from the opposing balcony and from down below, but we have a good position here so start sniping. There will be one Shotgunner so be extremely careful and watch your stairs (or note him when you go down below). There is a smoke grenade to the left if you want to use it to obstruct the men below so you can wipe out the opposite balcony. Once the fire calms down, feel free to go downstairs and wipe up. You need to head to the opposite balcony to trigger the next scene, but watch out for an enemy by the doors!
Directive: Pursue the rebel leader and her accomplice
The same woman we’ve been seeing is here and its time to chase her down. There will be a couple of rebels coming in but they are hardly a challenge for us. Go through the double doors on the ground floor and follow the path, taking a right at the hallway to find a ladder. Keep chasing the mark until you’re told to regroup with Perceval and some scenes trigger.
Directive: Find the rebel saboteurs
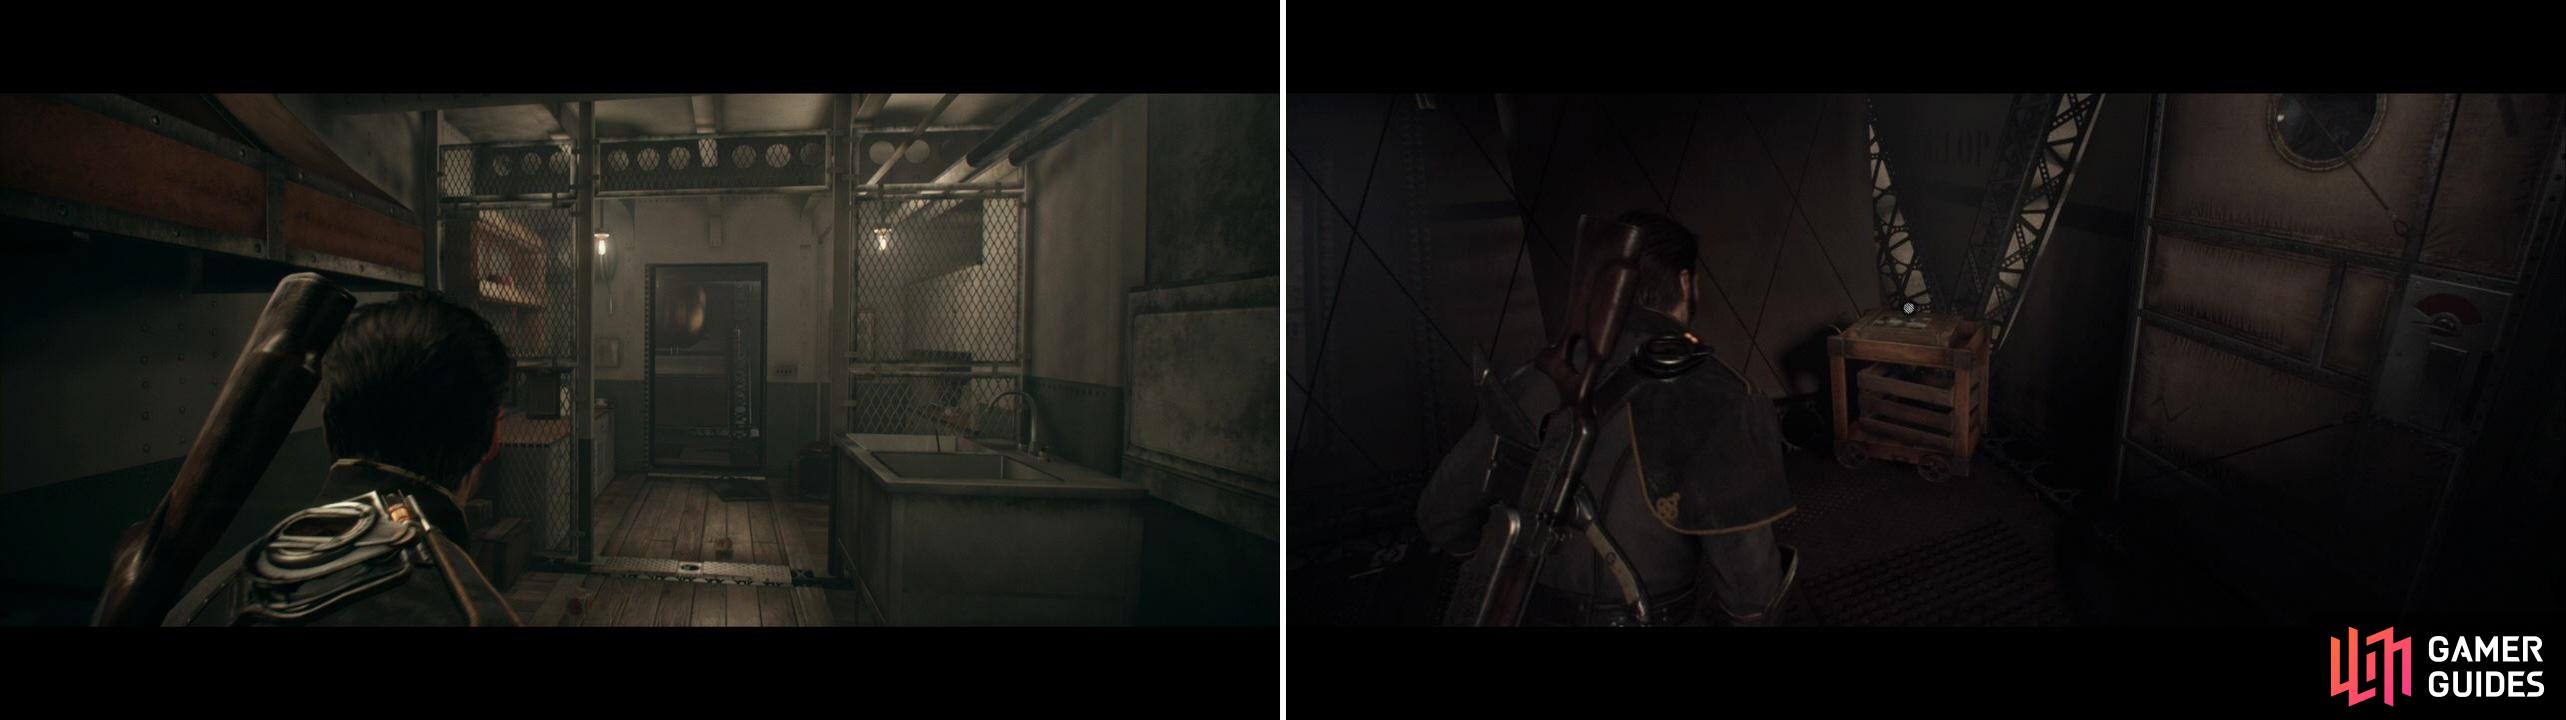
Once you gain control, follow Perceval and go inside the room, where you’ll find the Phonograph Cylinder - Evacuation Procedures on the desk. Now break open the door and to the armory and grab any weapons you want, as well as the ammo crate. DO NOT FORGET to grab the Document in the back as well. Return to Sebastian when you are ready.
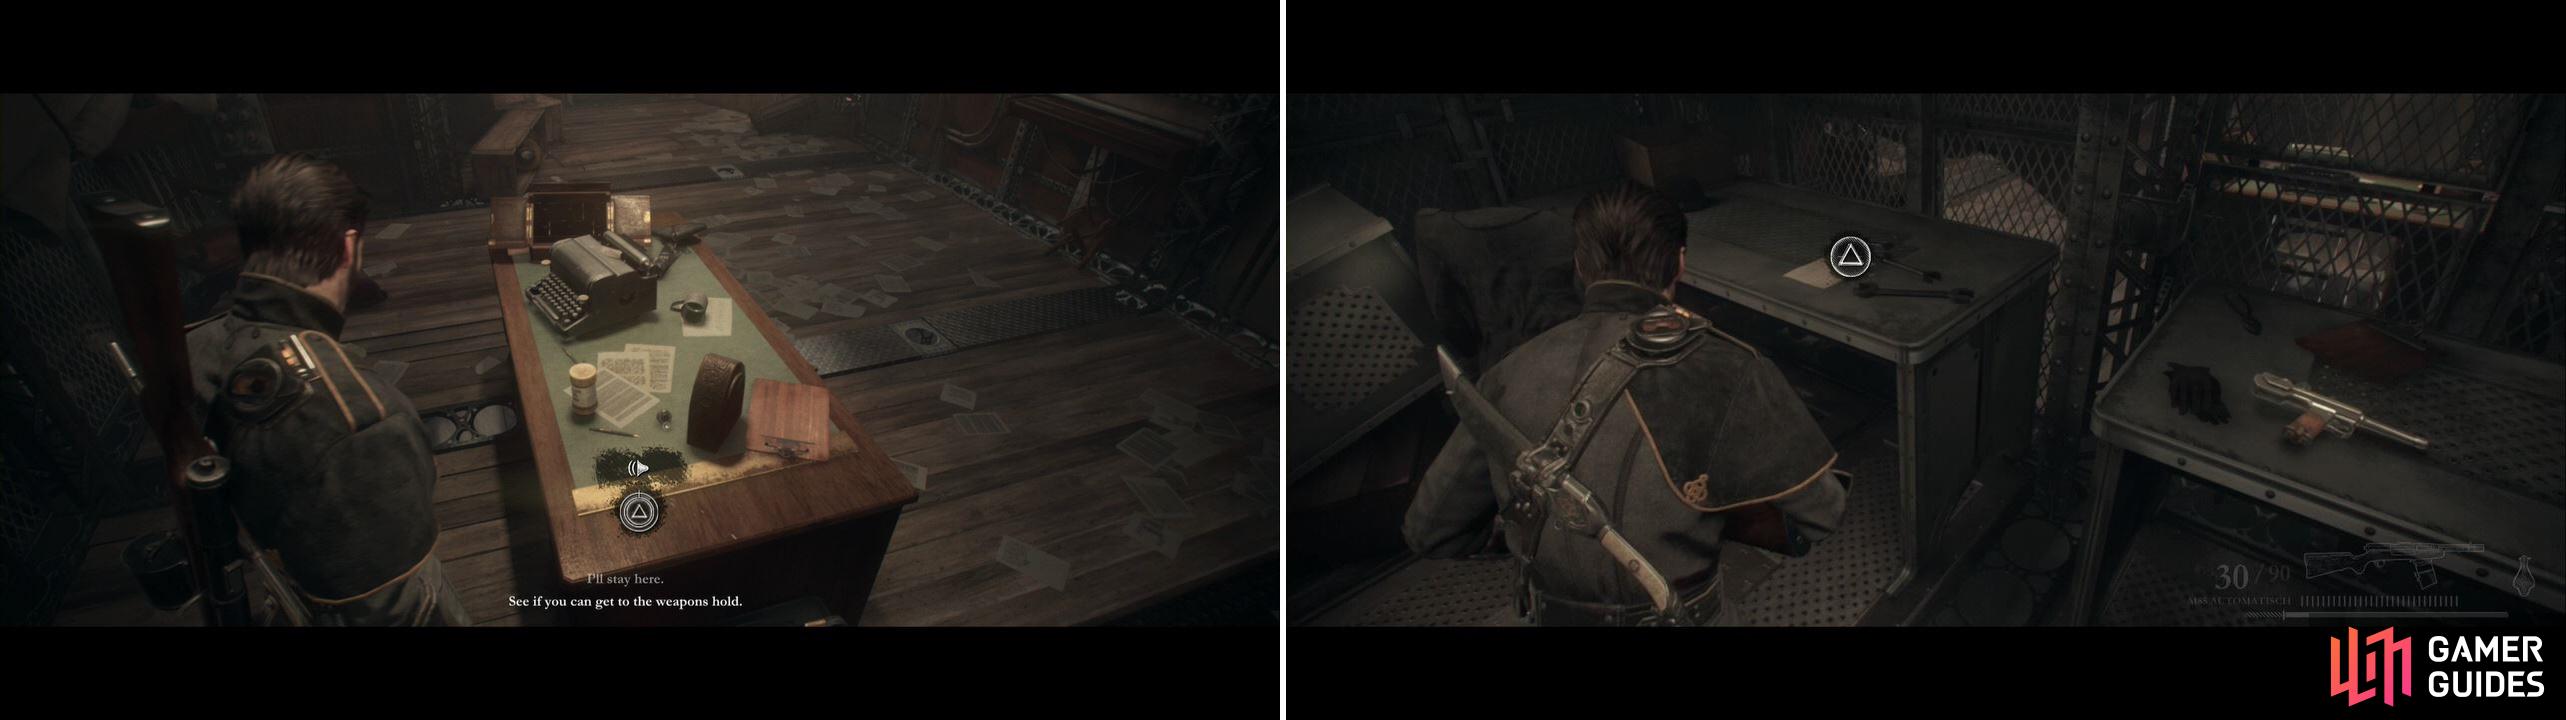
Enter the door and examine the corpse for an Item .
Perceval covers your back so go in and find this corpse.
Grab the grenade nearby and proceed. You’ll get to the kitchen where there will be many rebels. There is a Shotgunner here so make sure to take him out ASAP when he shows up. We also like to move up to the central counter, where you can get quite a few melee kills over the counter just by proximity (which is amazingly efficient). Proceed to the next part of the kitchen where you’ll find more enemies. Note that you can head left instead of straight for a more open view of the area.
Kill them and proceed to trigger a scene where Perceval and Galahad are separated. Proceed to the next room and go right to find the last collectible of the chapter, a Photograph .
Get this right after you and Perceval are separated.
Proceed and you’ll see some enemies running away, meaning there will be some in the cabins up ahead. Be extremely careful because there’s an armored Shotgunner here and its extremely powerful. Your best bet is to use your Blacksight to kill him. Kill the rest of the enemies and proceed down the stairs. Head down another set of stairs one floor lower and press onward. There’s two more enemies for you to kill, so be ready after the short scene. After that, open the door ahead of you to see a scene and end this chapter.
No Comments