
Locating the Compass & Stone Beak
From the entrance of the dungeon head left until you find yourself being attacked by Bats, kill them and go through the door on the left and collect the Compass from the Chest.
Head down the stairs and you’ll need to hop along the stones before they get too low to the ground, climb up the ladder to take out the enemies whilst destroying all the Crystals in the room.

(1 of 2) Make your way left until you come across some Bats, kill them and collect the Compass from the Chest,
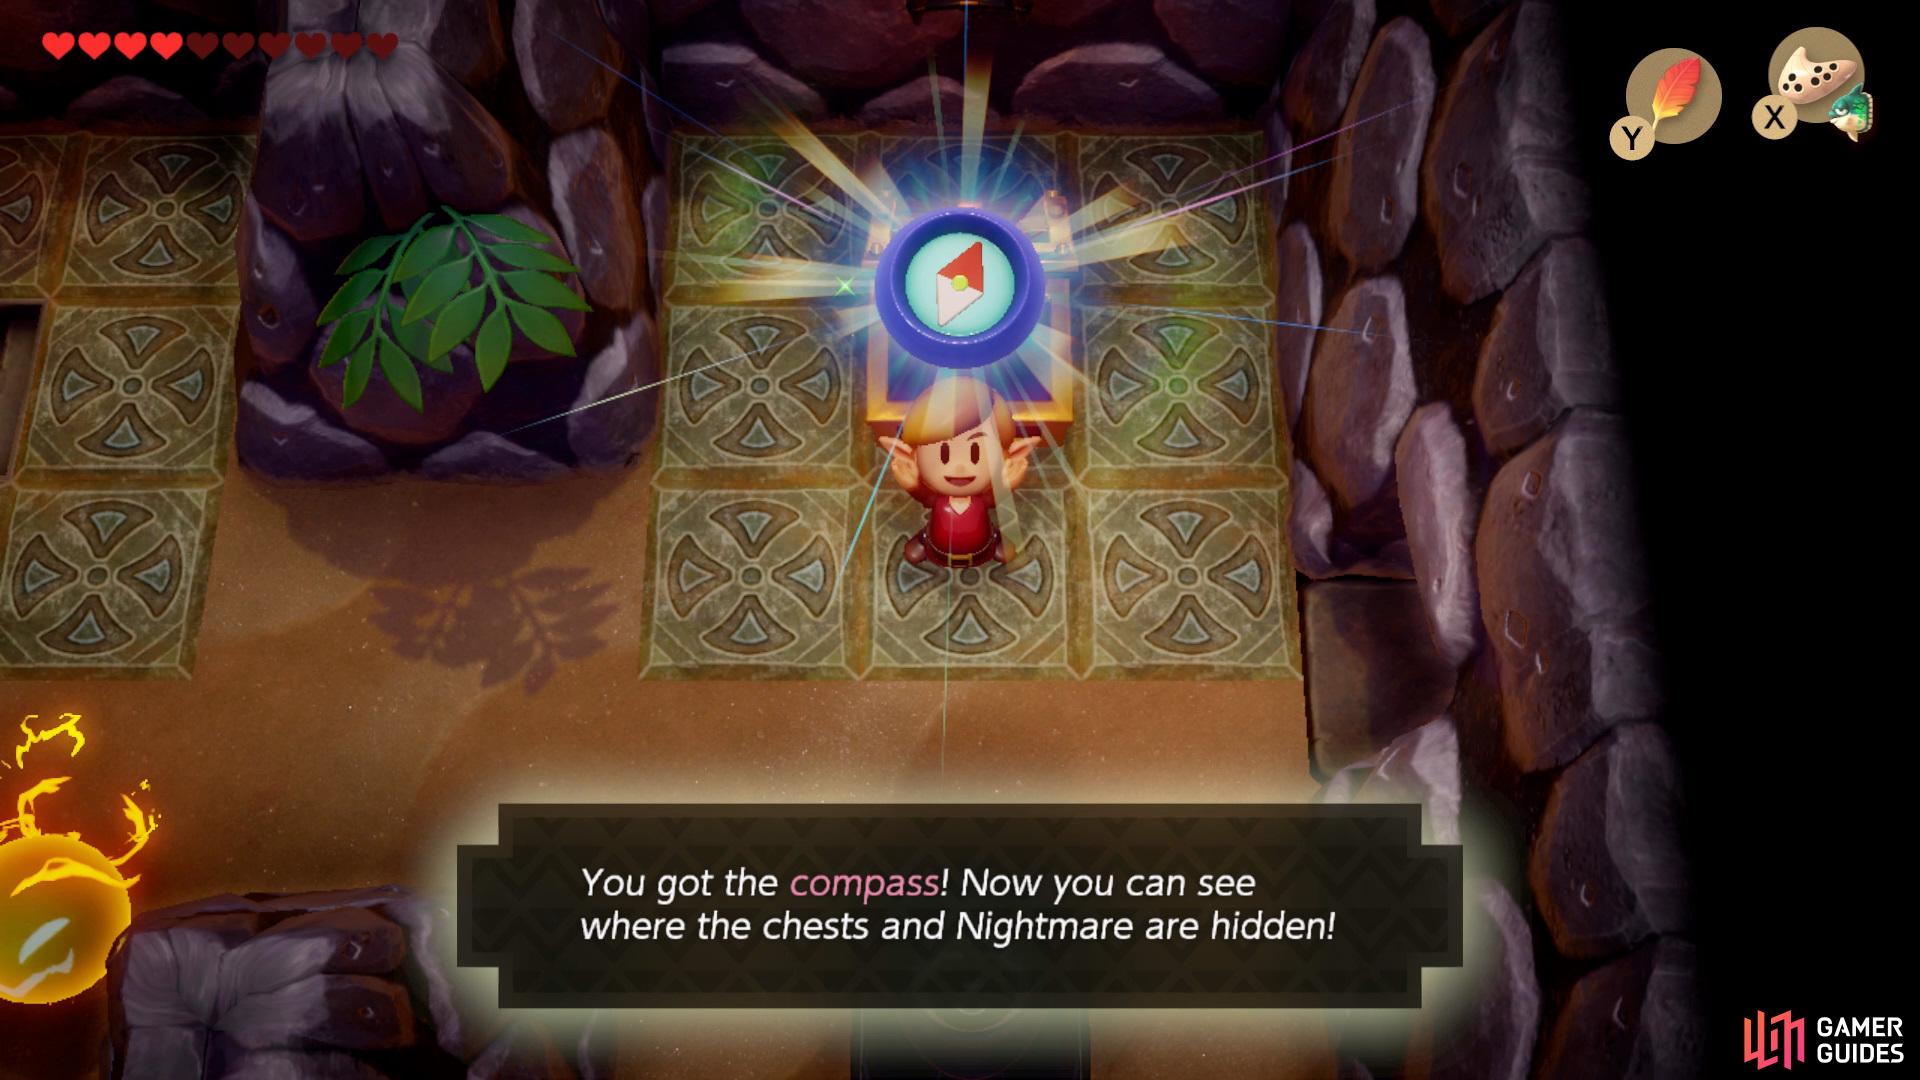

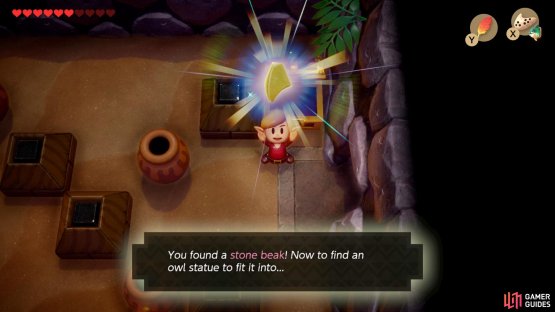
Make your way left until you come across some Bats, kill them and collect the Compass from the Chest, (left), now make your way back to the room with a locked door and open it, head up and then left twice and kill the enemies to get another Chest to drop with the Stone Beak. (right)
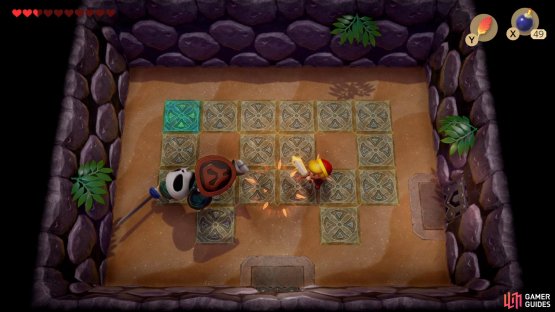
Once the room has been cleared push all the blocks together to get a Small Key to drop, head back the way you came until you reach a room with a locked door that requires a Small Key above, open it and proceed through.
Take out the all the enemies and continue left and take out some more enemies, now head through the door to the left, kill some enemies and a Chest will spawn with the Stone Beak.
Mini-Boss: Master Stalfos
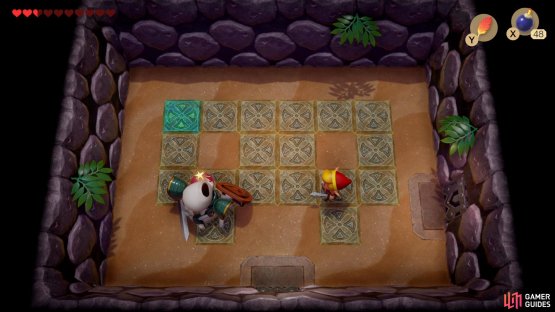
(1 of 2) Counter Master Stalfos’s attacks to cause him to fall,


Counter Master Stalfos’s attacks to cause him to fall, (left), then place a bomb near his body to damage him. (right)
Exit the room and head right, then north, speak with the Owl to get a clue and proceed into the room ahead to fight Master Stalfos, in order to defeat him you’ll need to wait for him to go in for a swipe with his Sword where you’ll then need to quickly counter by hitting him before he damages you, if countered correctly the Boss will fall to the ground allowing you to place a bomb near him, repeat this until he escapes.
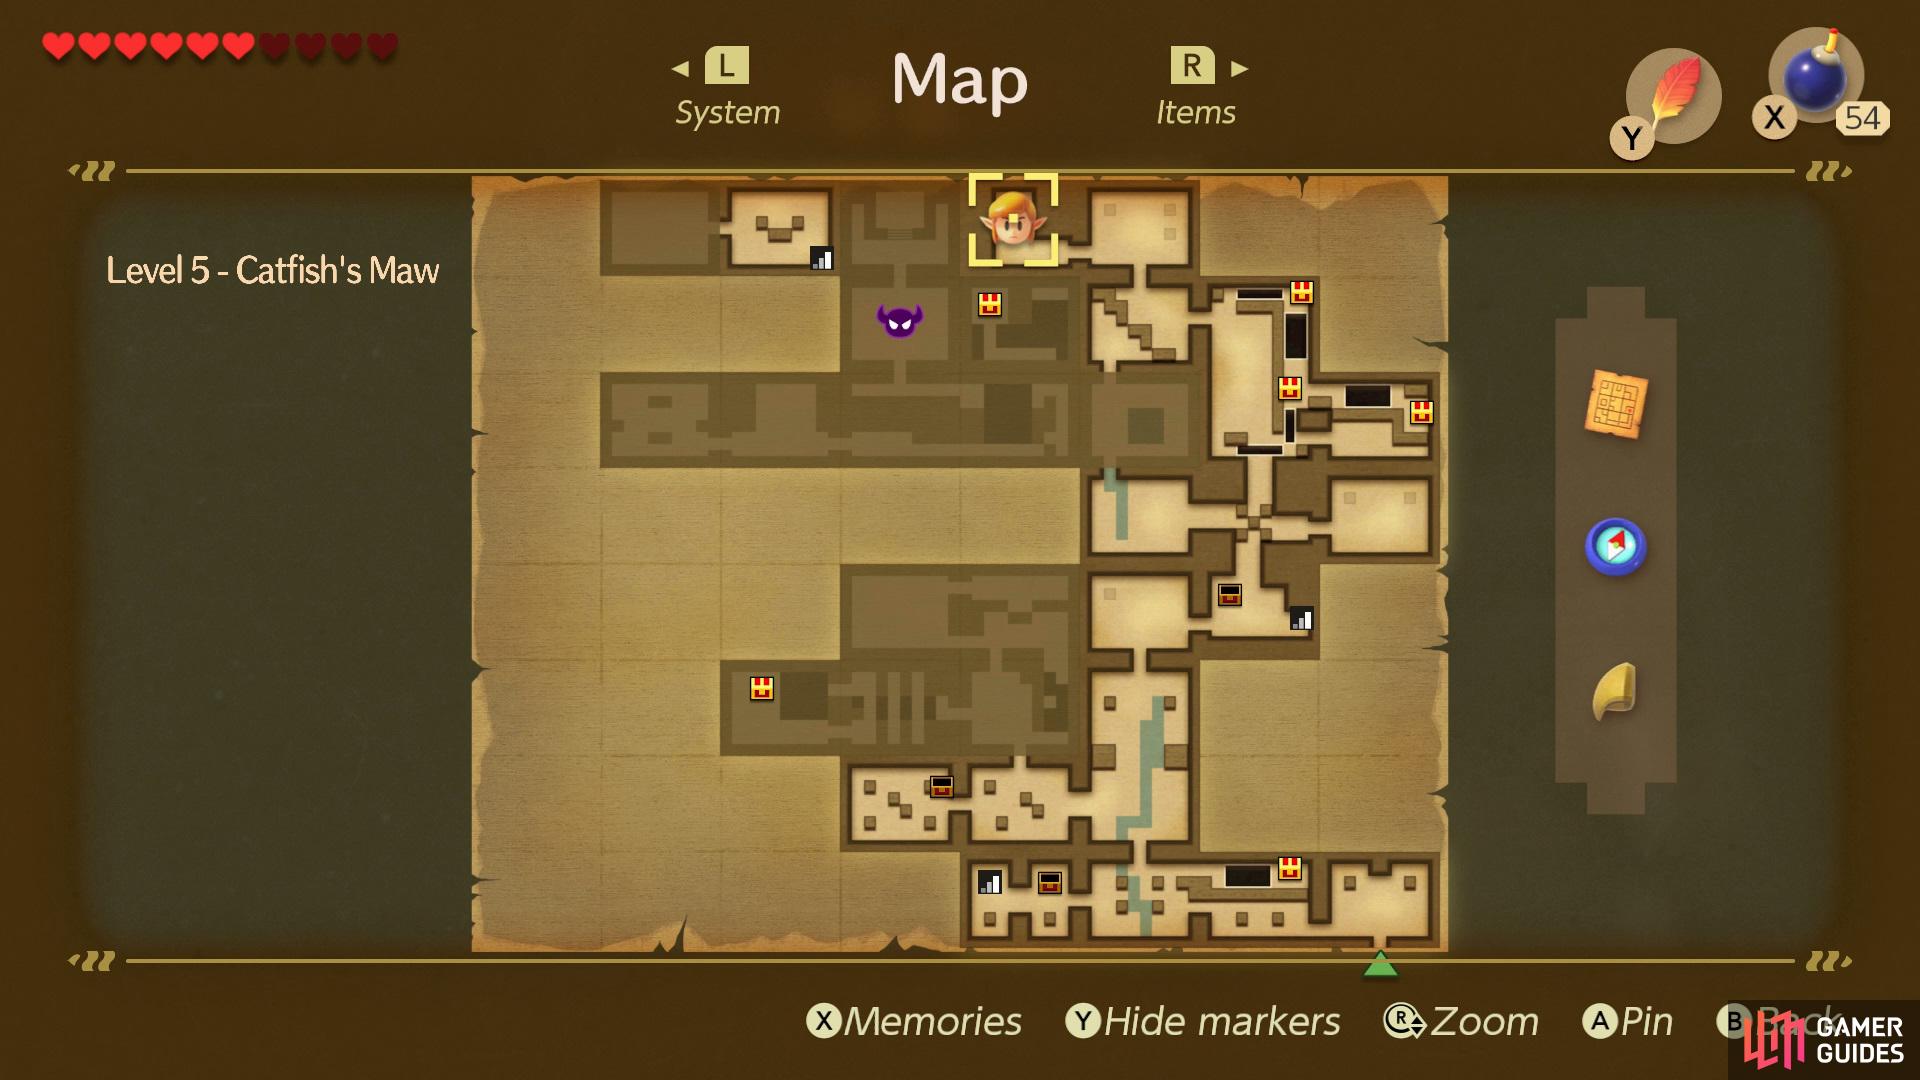
Locating the Map to the Catfish’s Maw
After he has escaped, head into the room on the right and open the Chest, inside will be a letter from Master Stalfos. Continue forward and move blocks to let you get into the room on the left, come back out into the corridor and move the blocks to let you get to the top and step on the button, now head all the way up to reset the blocks again, and come back to take the right route where you’ll fight Master Stalfos for the second time.
Repeat the same process as the first time and he’ll escape again, after you’ve won round two with Master Stalfos, head back out into the corridor and go up, hop over the gap and take out the enemies, go into the left room and take out the enemies inside to open the door ahead.
Here you’ll face Master Stalfos again, repeat the same process that you did in the previous two encounters and he’ll escape again, head through the door on the left and open the Chest that has the Map to the Catfish’s Maw inside.


(1 of 2) Take the Map to the Catfish’s Maw from the Chest to the left of the room that you had your second encounter with Master Stalfos in,
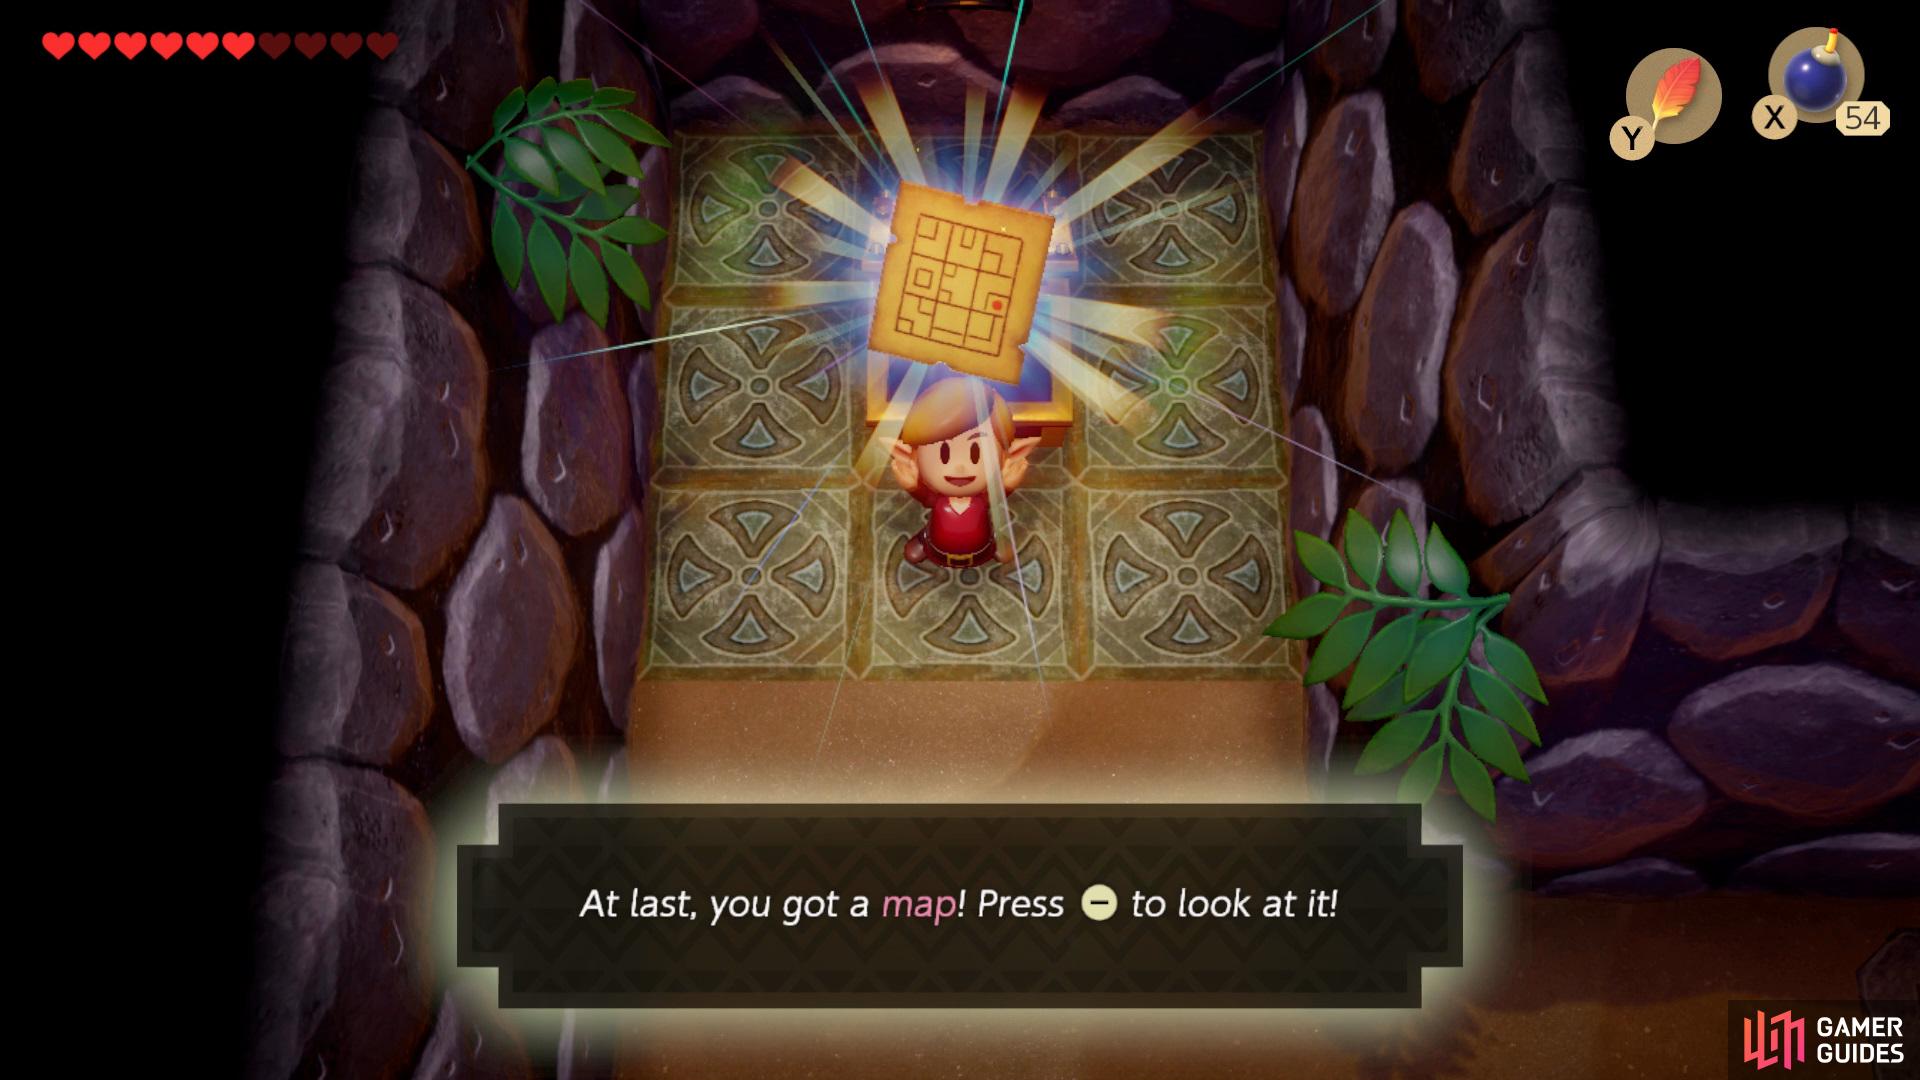
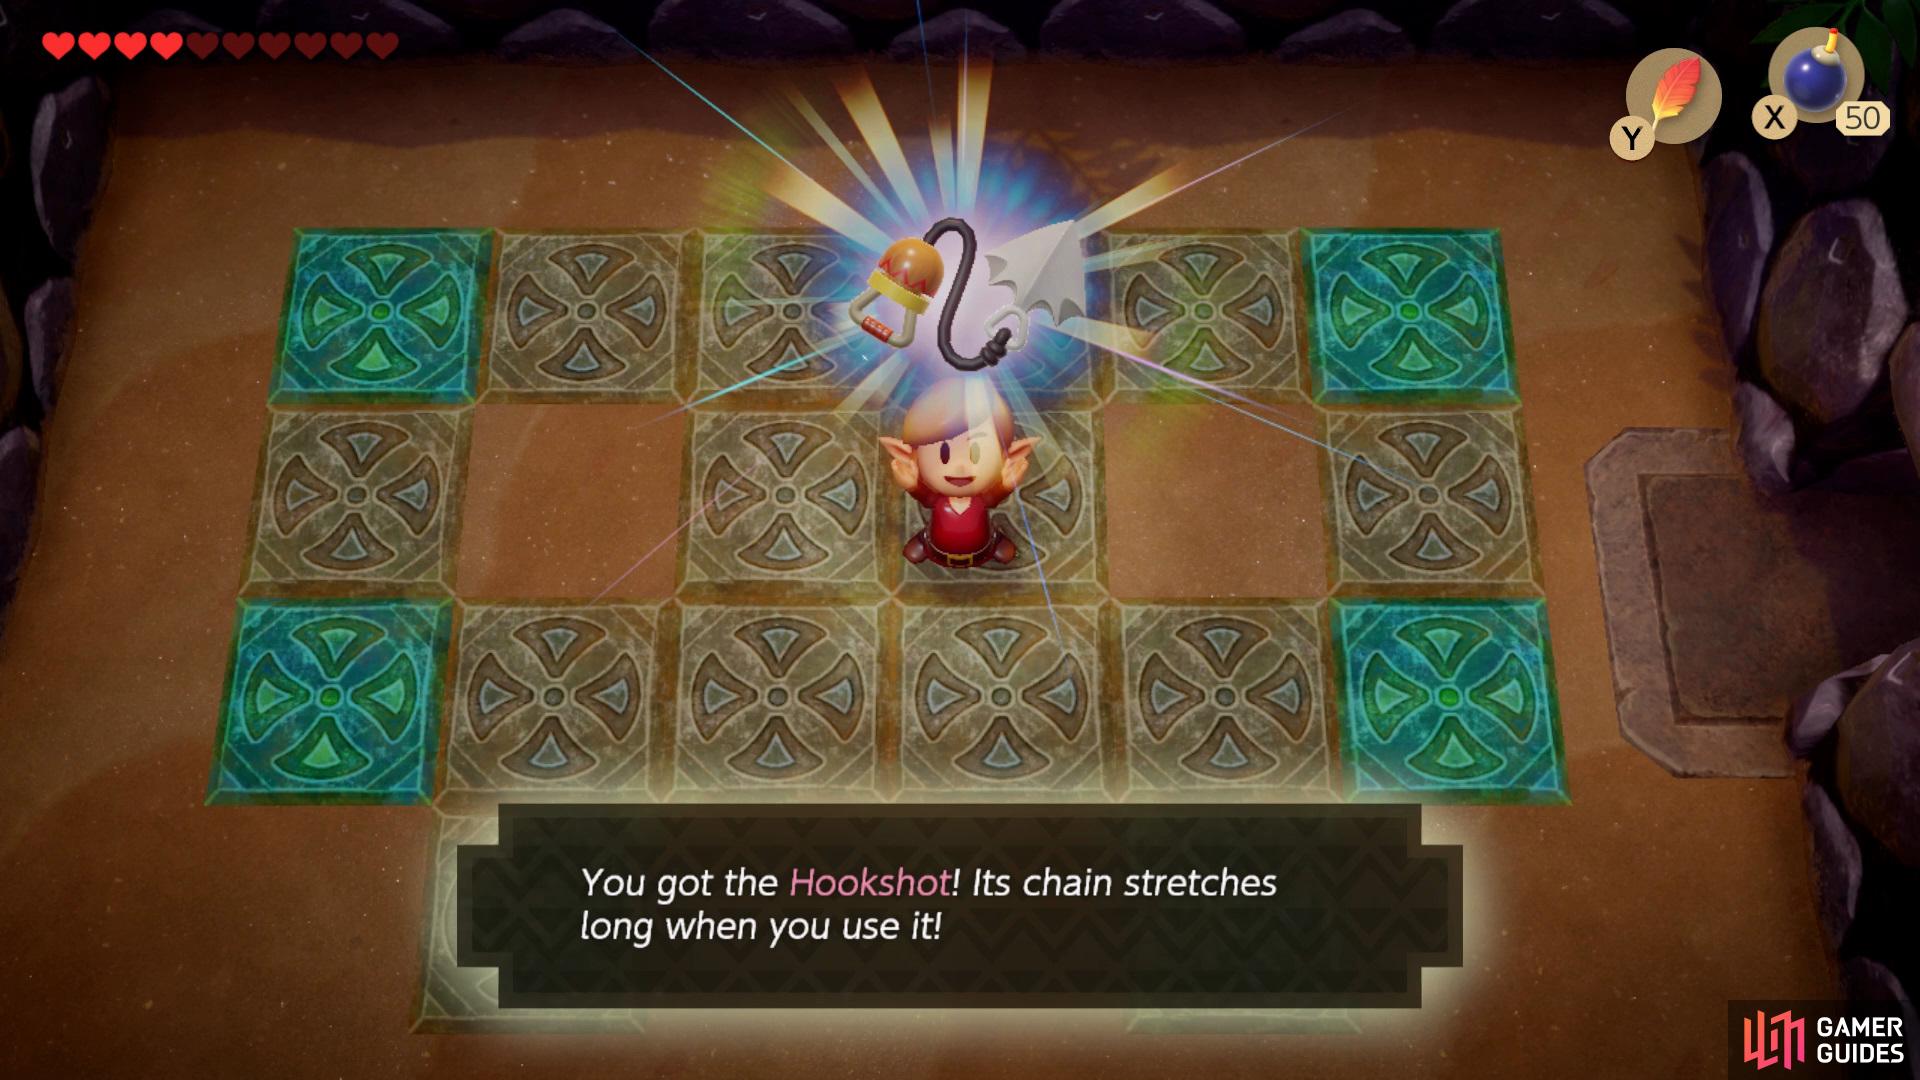
Take the Map to the Catfish’s Maw from the Chest to the left of the room that you had your second encounter with Master Stalfos in, (left), after finally killing Master Stalfos he’ll drop you a Hookshot. (right)
Make your way back to the first room in the dungeon, from there, make your way as far left as you can go and head down the stairs, hop along to the other side and climb up, now proceed into the room on the left to fight Master Stalfos for the final time.
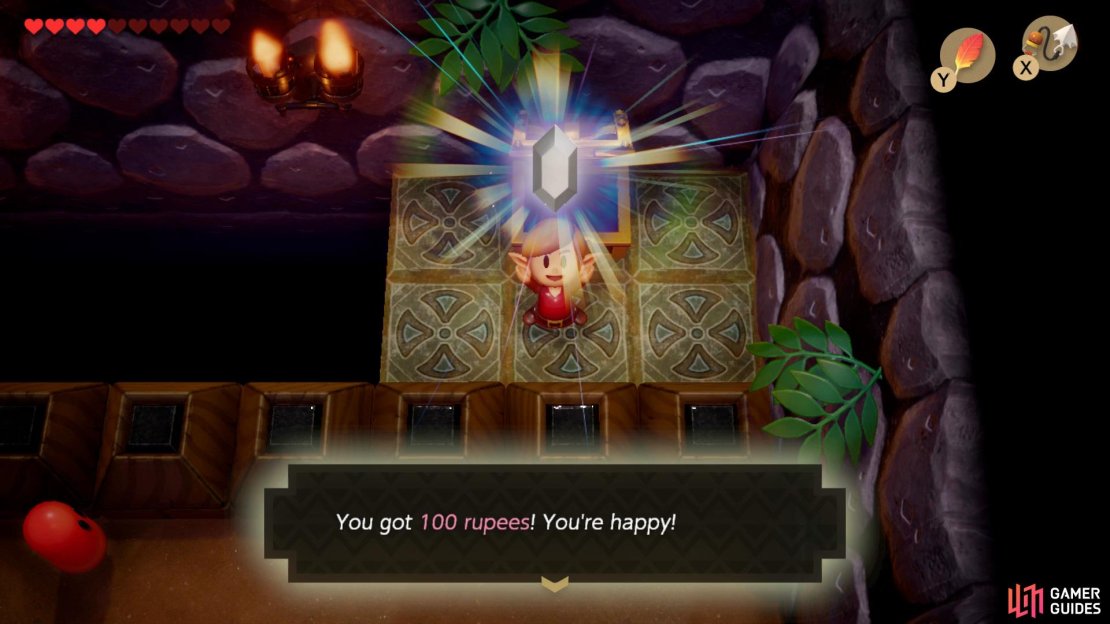
After you’ve finally killed him he’ll drop the Hookshot, pick it up and make your way back to the upper section of the second room and use the Hookshot to pull yourself over to a Chest that has 100 Rupees inside.
Follow this path, left, up, left and left once more, use the Hookshot and fly across to the otherside of the room, continue into the next room and open the Chest, inside will contain a Small Key.
Mini-Boss: Gohma
Head all the way back to the right and use the Hookshot again to pull a bridge towards you, go across it and unlock the stone to the left with a Small Key, continue to the next room to face two Mini-Bosses, Gohma’s.

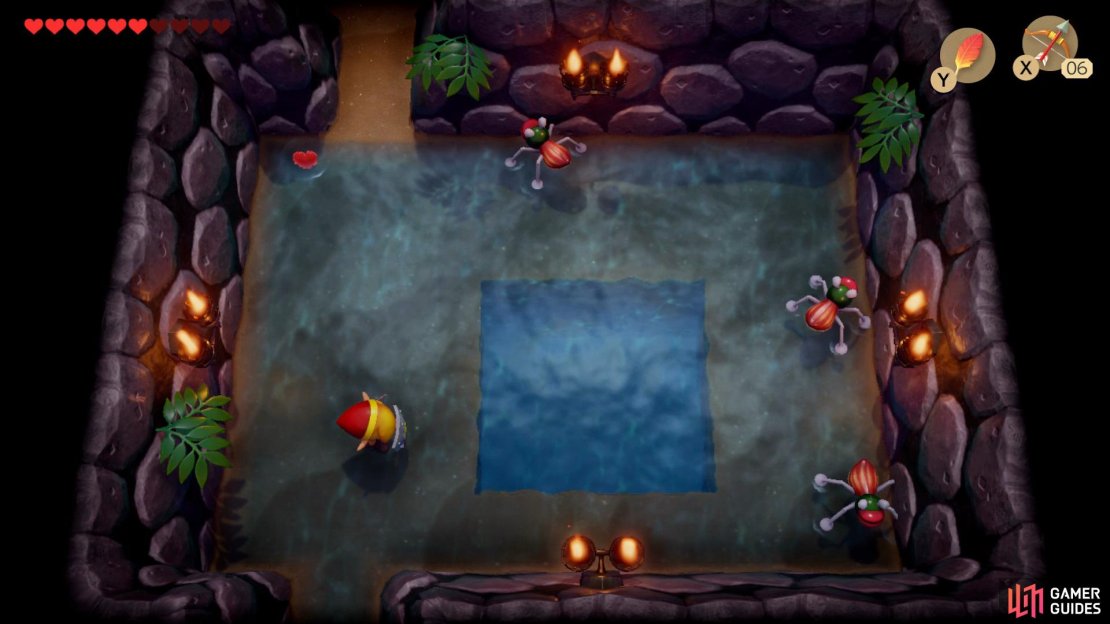
(1 of 2) Deflect the Gohma’s Orb attacks with you Shield,

Deflect the Gohma’s Orb attacks with you Shield, (left), then shoot them in the eye with you Arrow when they open it. (right)
In order to defeat them you’ll need to keep your Shield up at all times, wait for them to stop and open their eyes, deflect the orb they shoot at you and fire and arrow into the eye, repeat until they’ve been defeated.
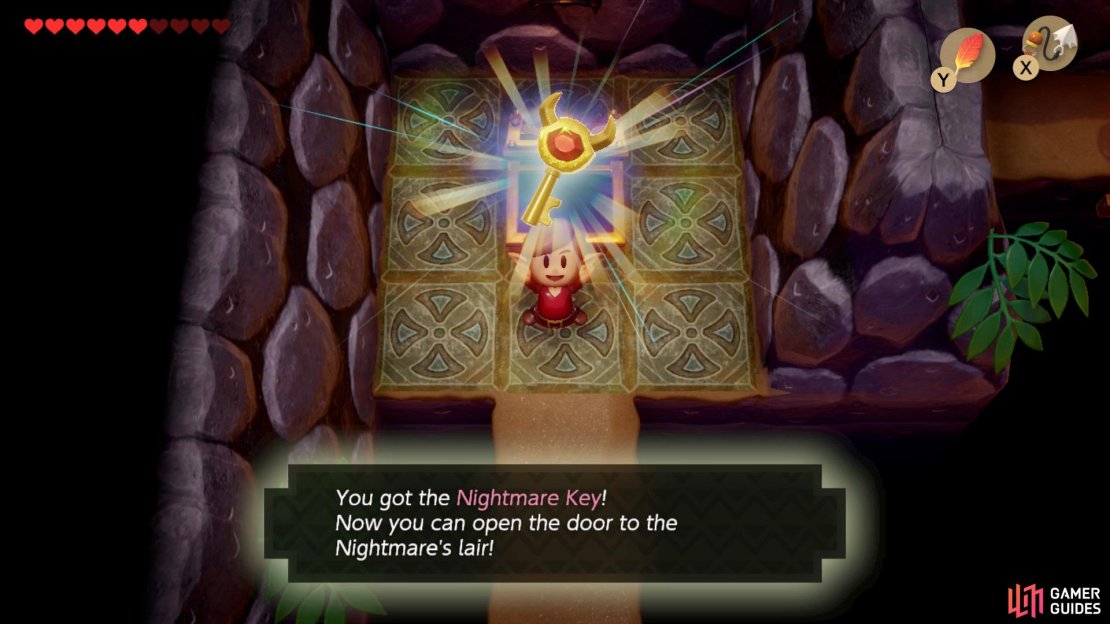
Locating the Nightmare Key
Make your way back to where the stones are blocking your path, and take the left route, continue up to the top left and dive down into the water, swim across to a ladder on the left and climb up, use the Hookshot to expand the bridge and open the Chest to collect the Nightmare Key.
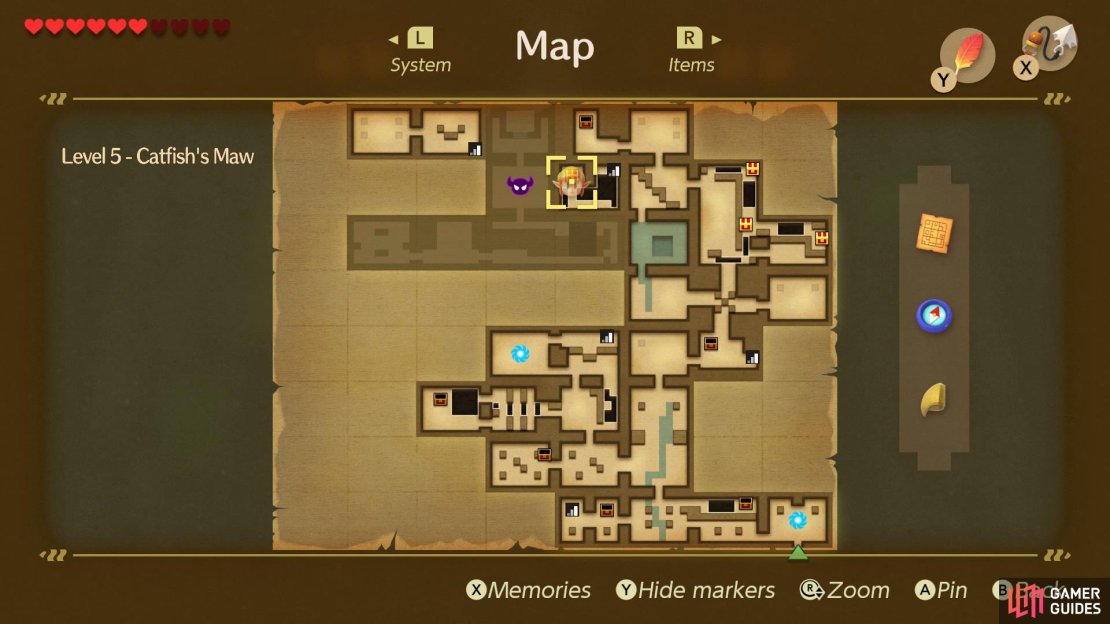

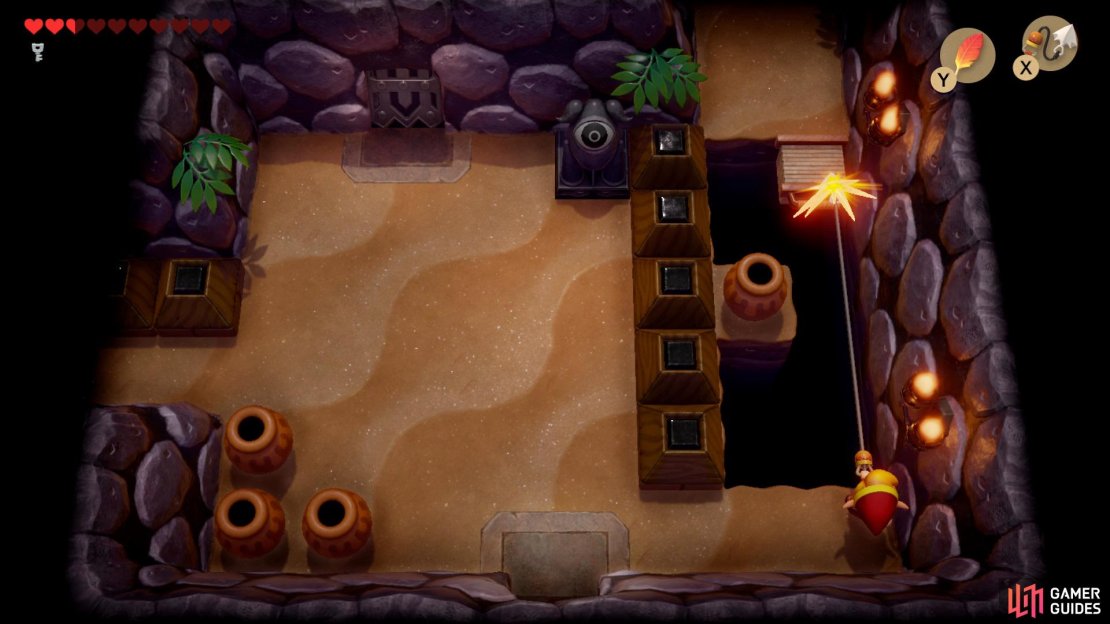
(1 of 4) Head towards this location on the map,
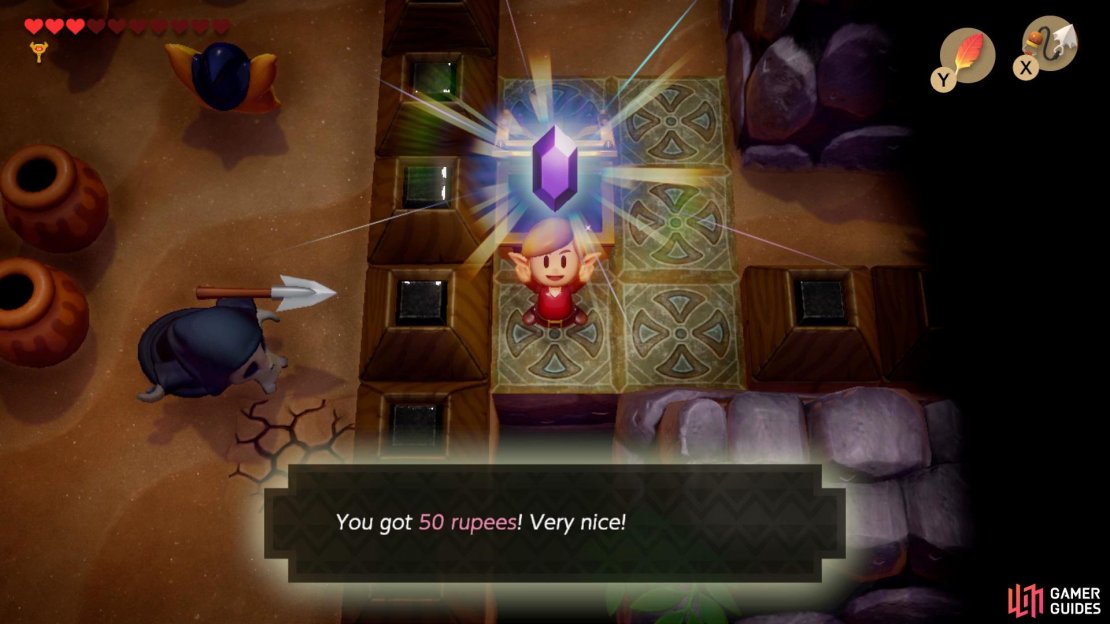
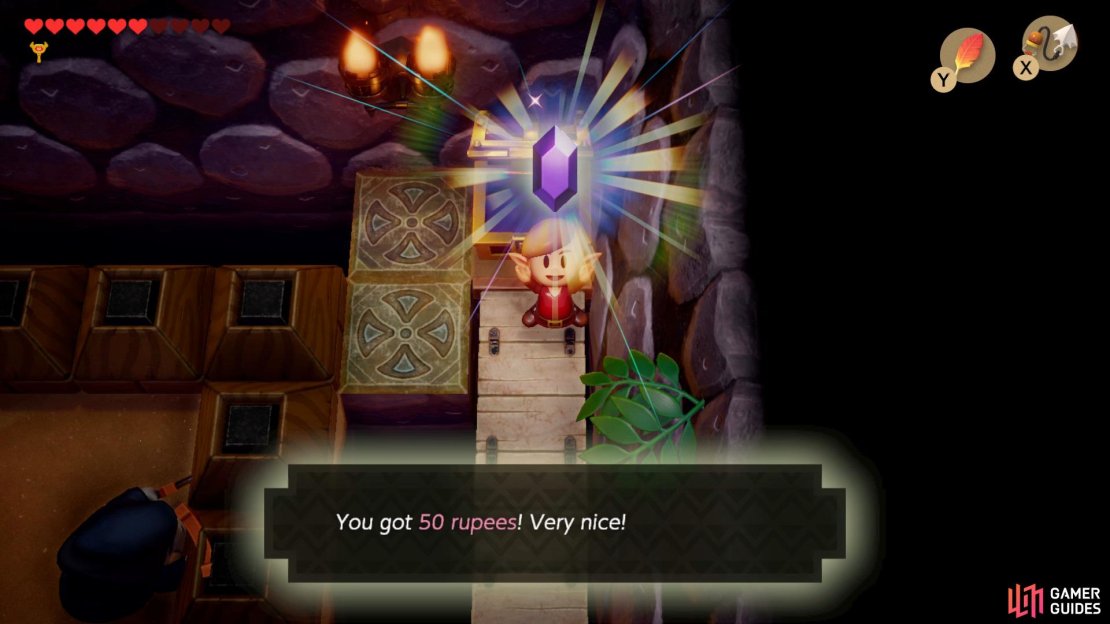
Head back to the path blocked by stones again and take the north path, go right in the next room and use the Hookshot to pull yourself over to the Chest, open it to collect 50 Rupees, extend another path above to open another Chest with 50 Rupees, then walk down to the right and use the Hookshot to pull yourself to a third Chest that holds a Small Key.
(1 of 4) Extend the bridge with you hookshot then walk across it,
Play the Manbo’s Mambo song on your Ocarina and teleport to the start of the dungeon, use the portal in the center to be teleported back up to the Mini-Boss room, exit out of the far right door and proceed down some stairs, now head all the way left and use your Hookshot to pull yourself up to the ladder and climb up the ladder to the left.
Unlock the path with a Small Key and use the Hookshot to pull yourself across to the left, open the door ahead with the Nightmare Key and head inside to take on the main boss.
Boss: Slime Eel
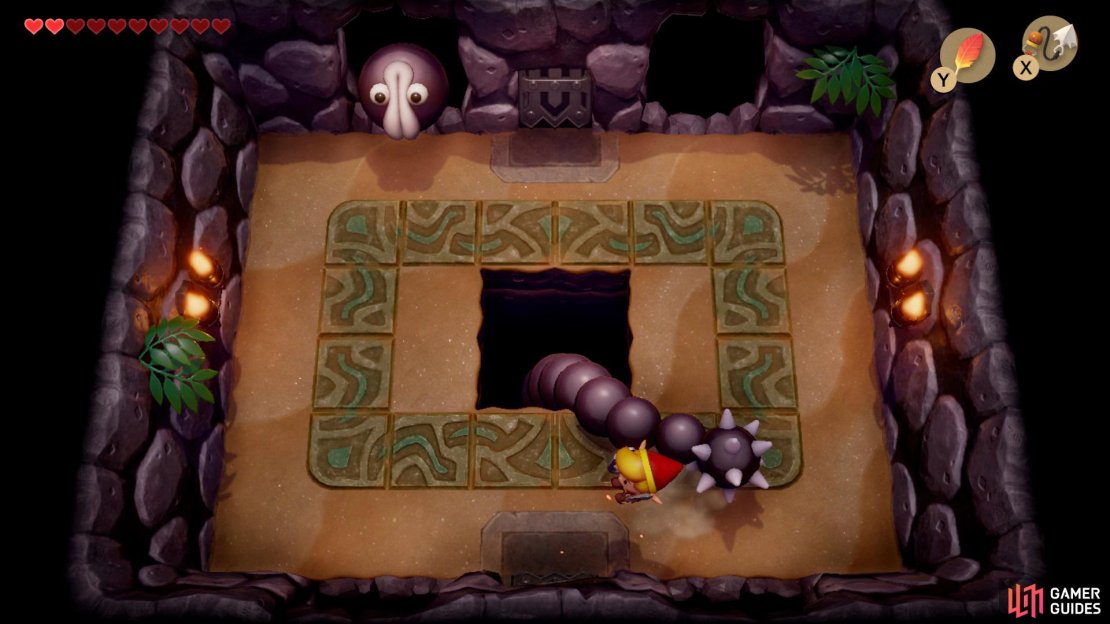


(1 of 4) Hop over the Slim Eel’s tail,
In order to defeat the Slime Eel you’ll need to wait for him to poke his head out of one of the four corners in the room, then use the Hookshot to stretch him across the room, quickly attack his glowing red neck before he slips back into the hole. You’ll also need to watch out for the smaller enemy that will pop out when you use the Hookshot, just keep your distance until he explodes. Whilst repeating the process above, you’ll need to hop over his tail as it comes towards you.
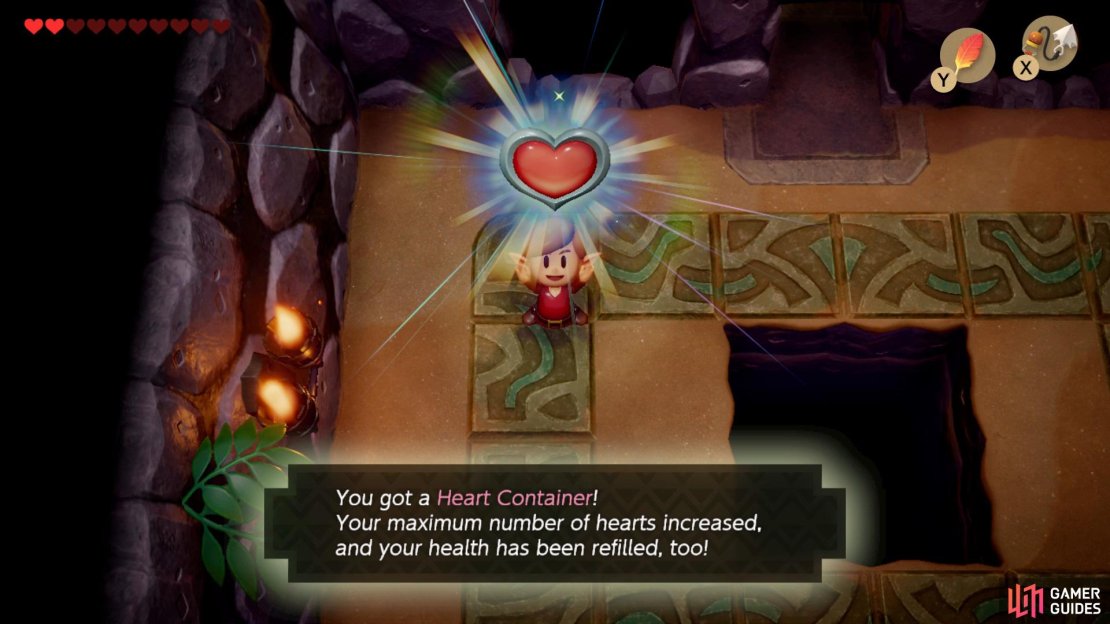
After the boss has been defeated, collect the Heart Container then head through the door ahead and pick up the Wind Marimba.
No Comments