
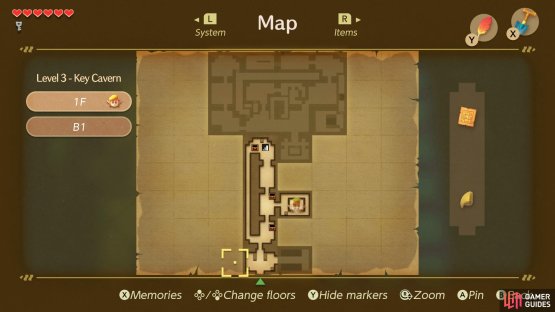
(1 of 2) 1st floor Key Cavern Map,
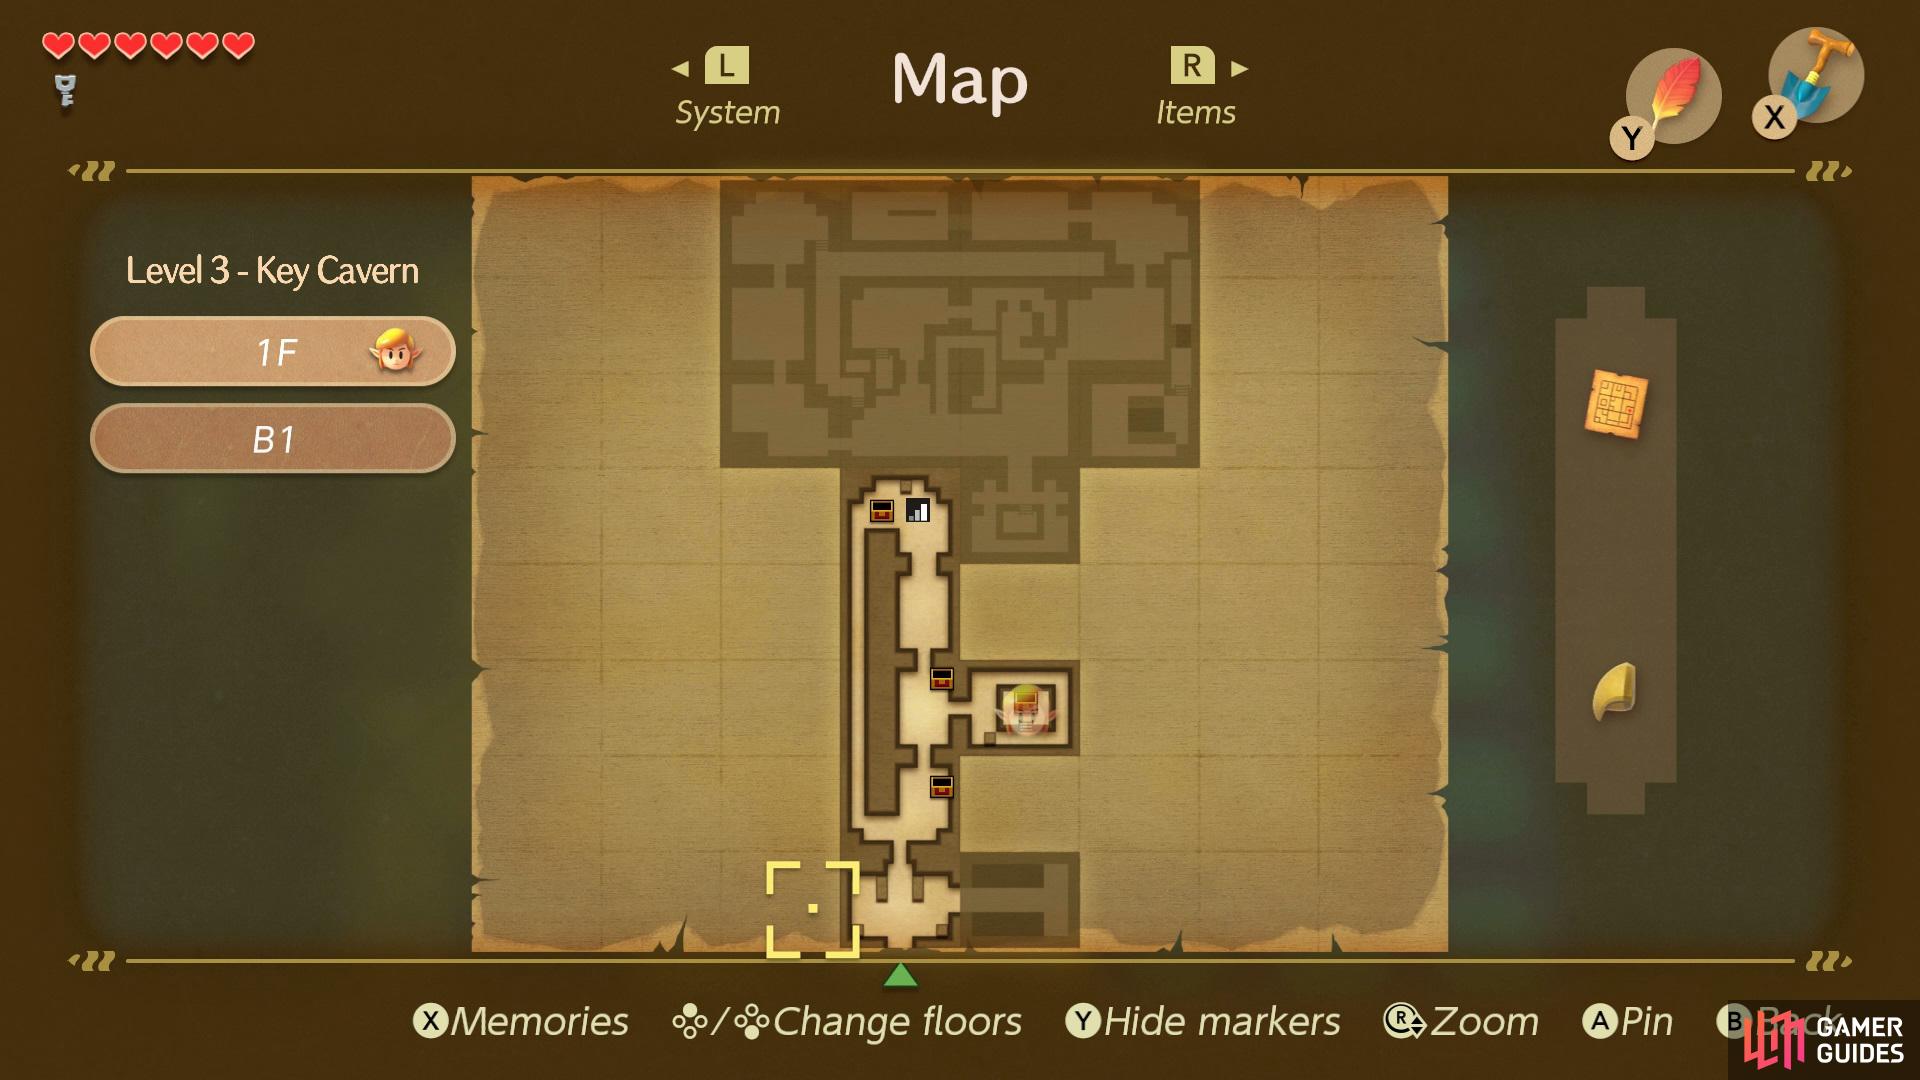
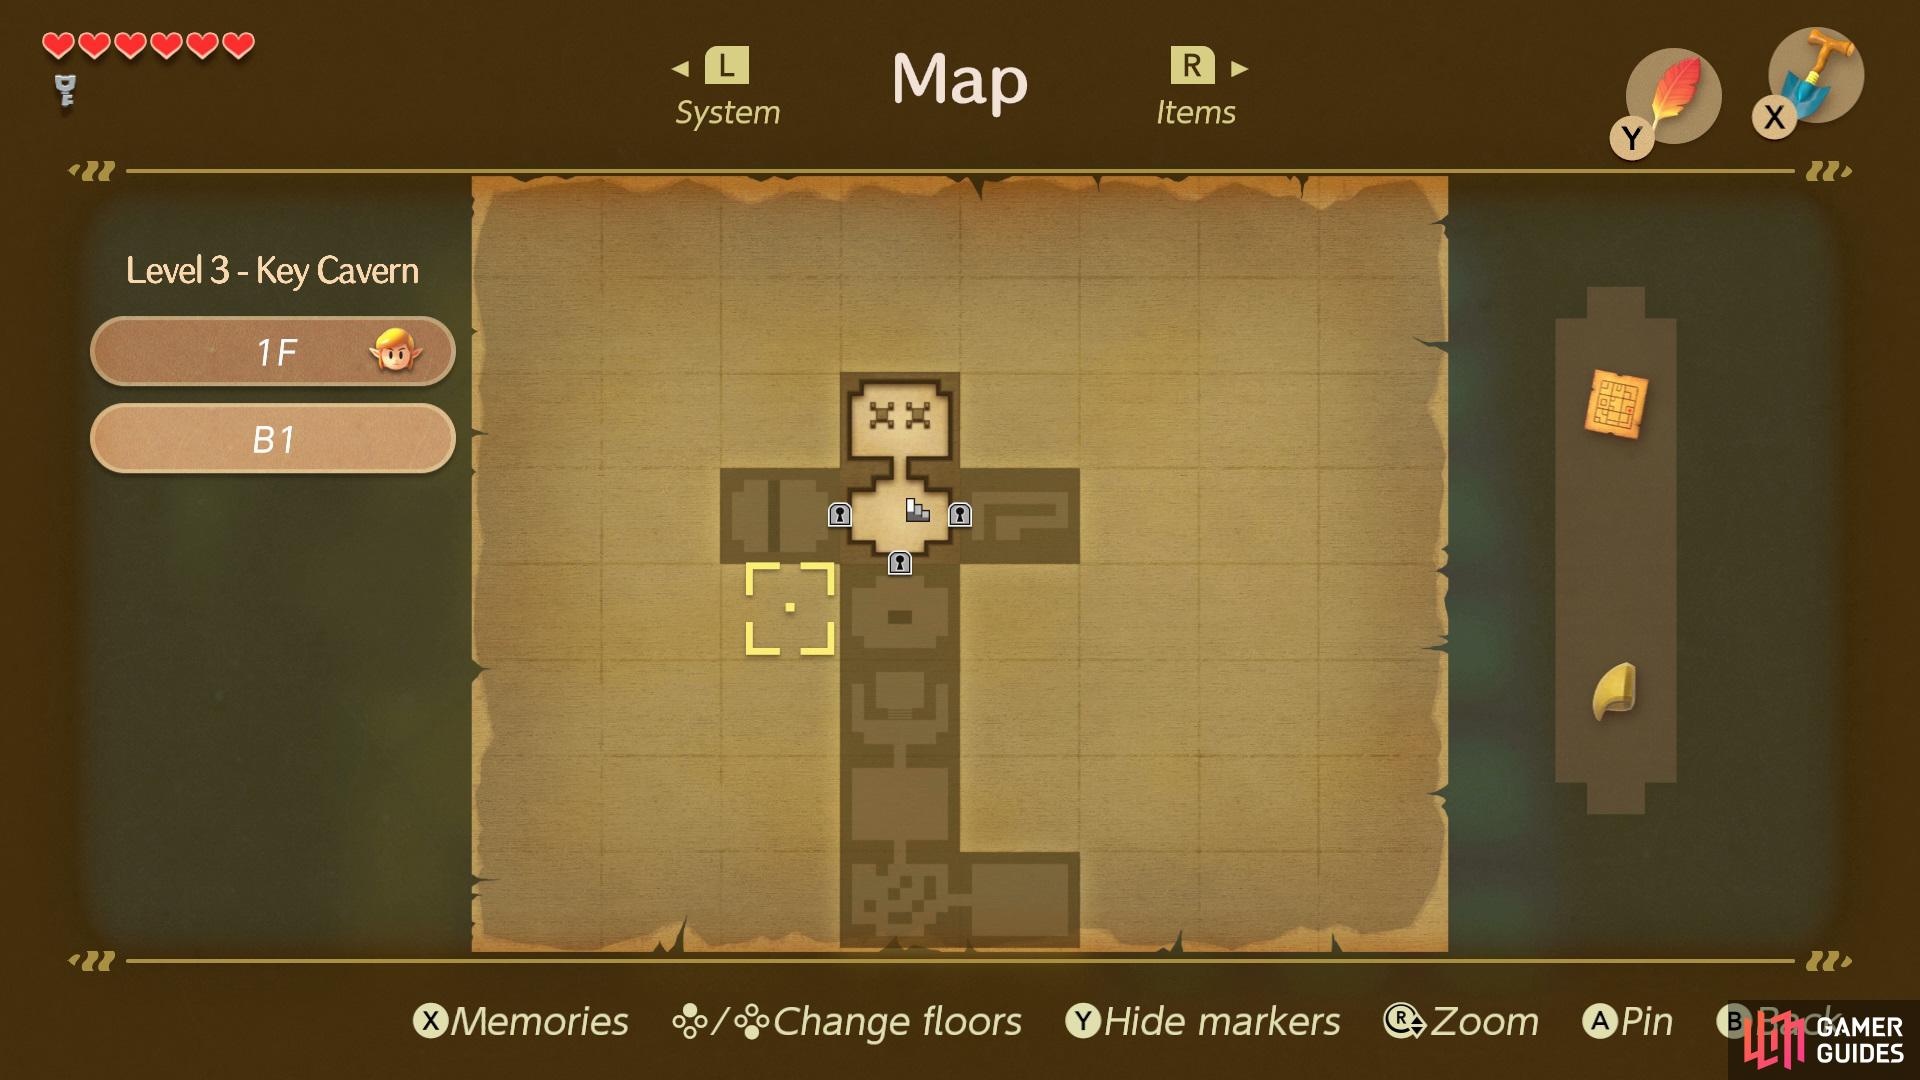
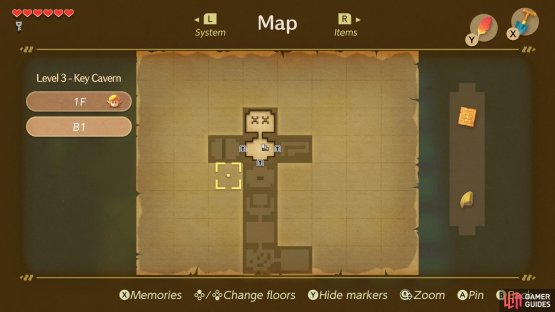
1st floor Key Cavern Map, (left), Basement floor Key Cavern Map. (right)
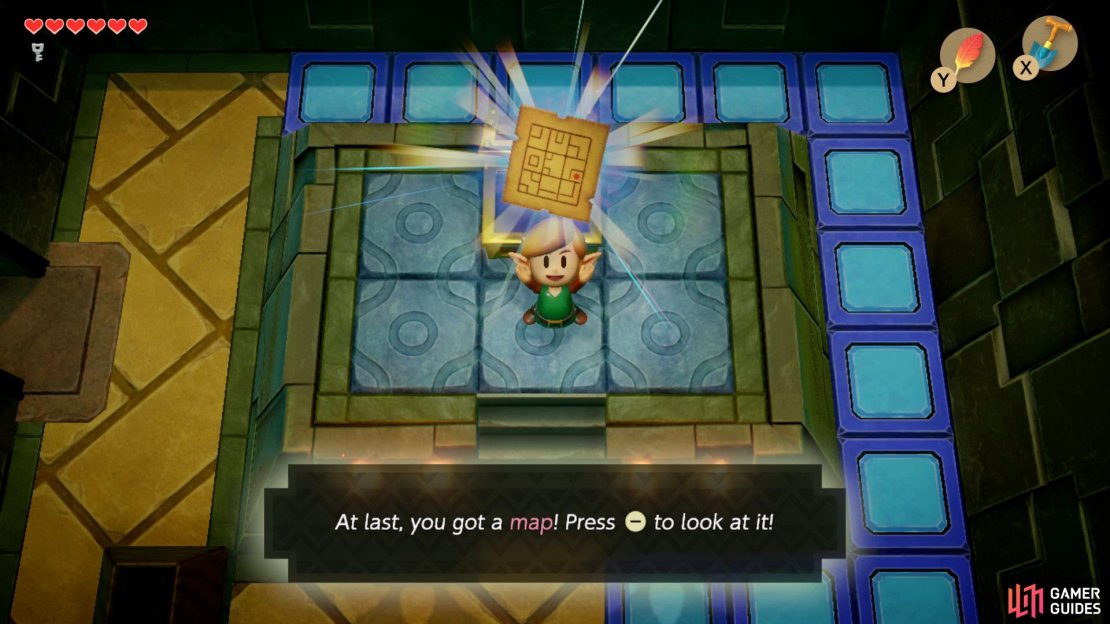
Locating the Stone Beak & Map to the Key Cavern
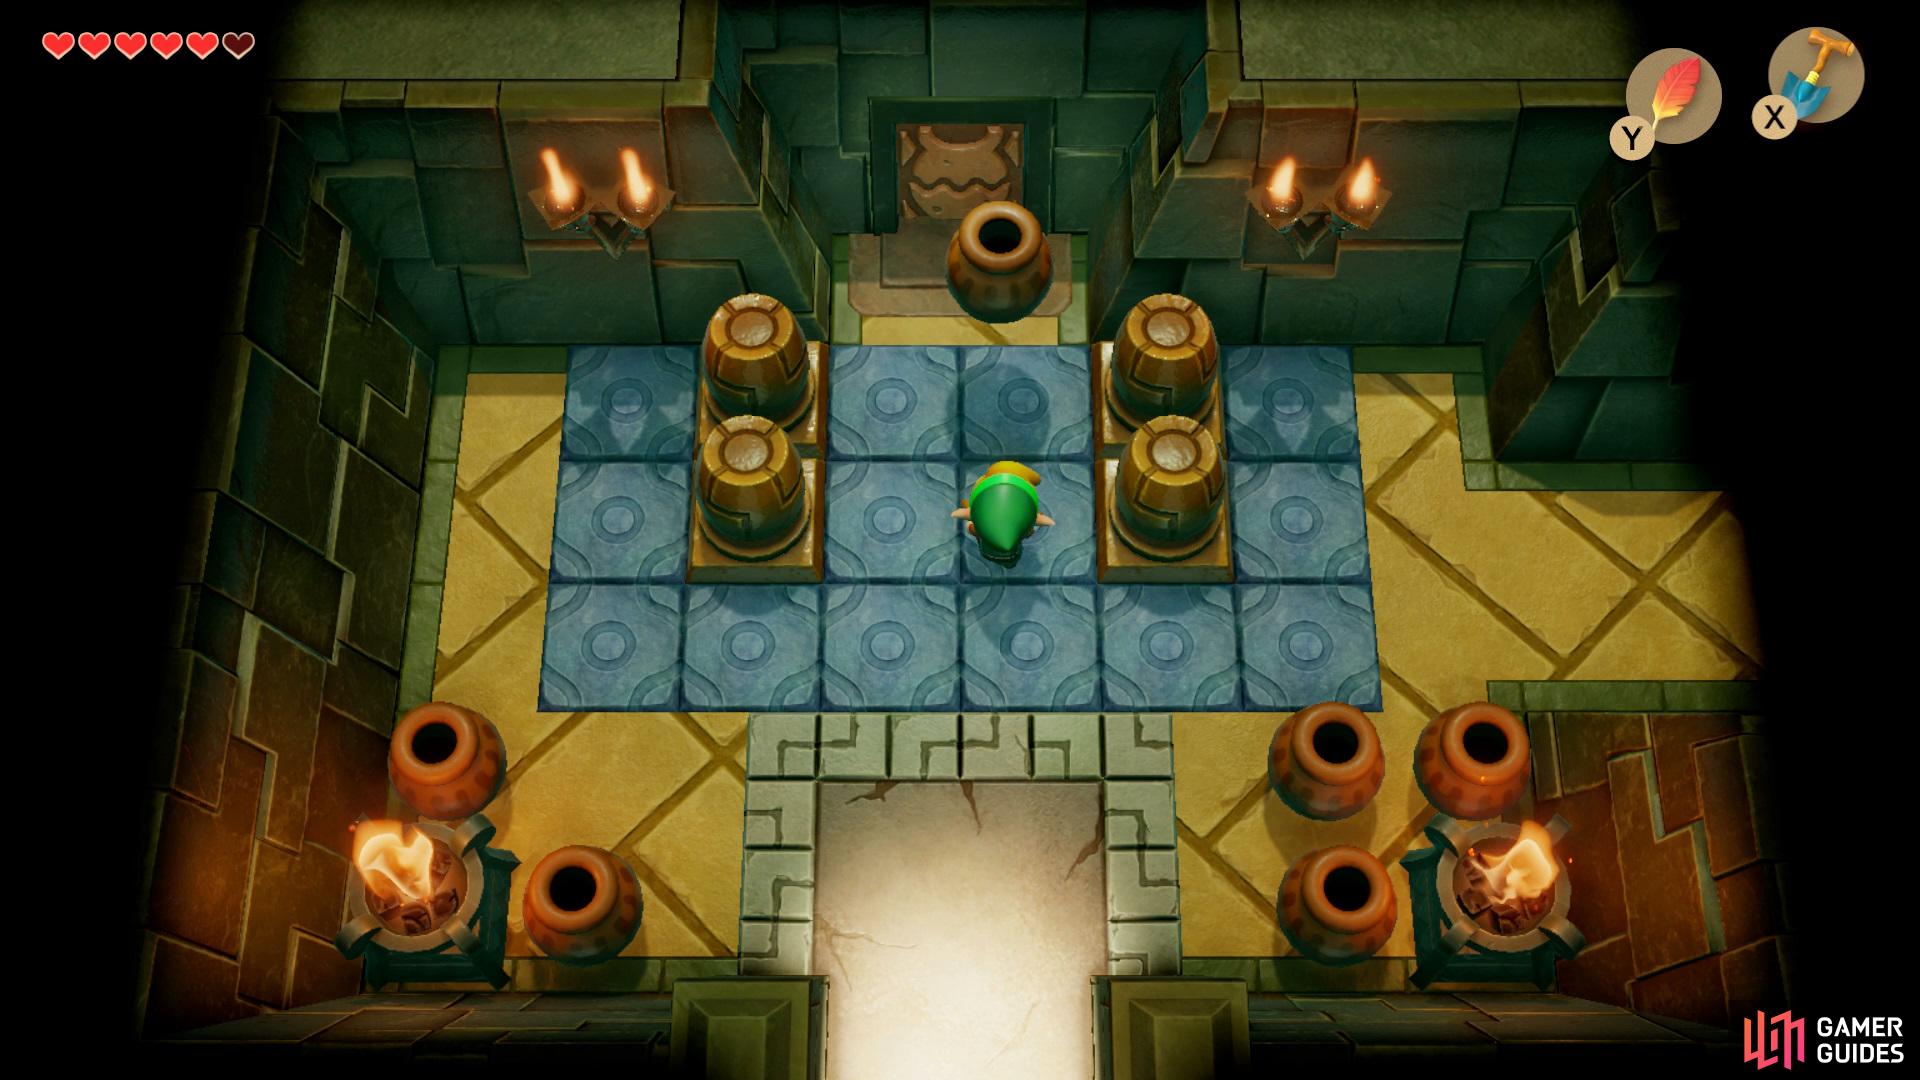
Once you’ve entered the Cavern you’ll want to pick up a nearby vase and launch it at the door in order to open your path through, head into the next room ahead and kill all the enemies in the area to get a Chest to spawn with the first Small Key.

(1 of 2) Enter the Key Cavern and pick up a Vase and launch it at the door to get past,

Enter the Key Cavern and pick up a Vase and launch it at the door to get past, (left), then head into the room above and kill the enemies to get a Chest to spawn with a Small Key. (right)
Proceed through the next door ahead and kill the enemies to open the doors for you, now open up the Chest and kill the enemy that pops out. Head through the next door ahead and continue walking forward until you approach some stairs, make your way down it to reach the lower section of the Cavern.
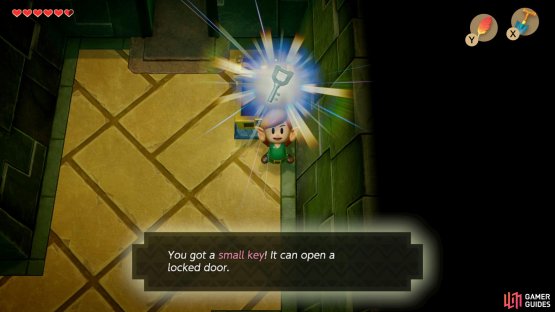
Use a Small Key to open the door to the north and kill the enemies inside to get a Small Key to fall, collect it and hit the Crystal to make it glow orange.
(1 of 3) Head down to the basement level and head into the room to the north and hit the crystal,
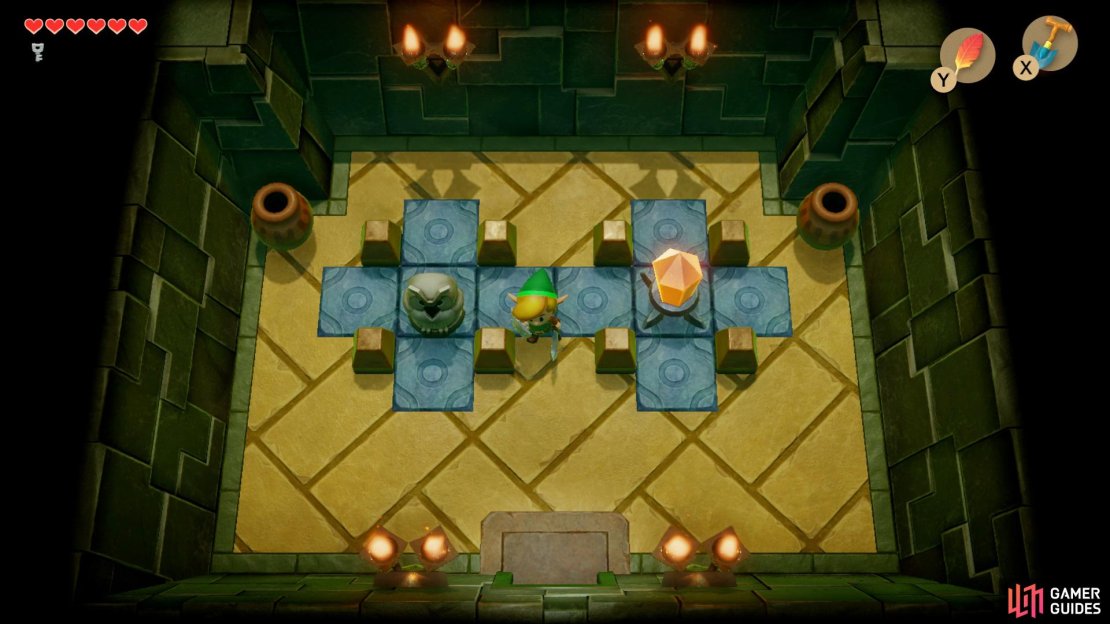
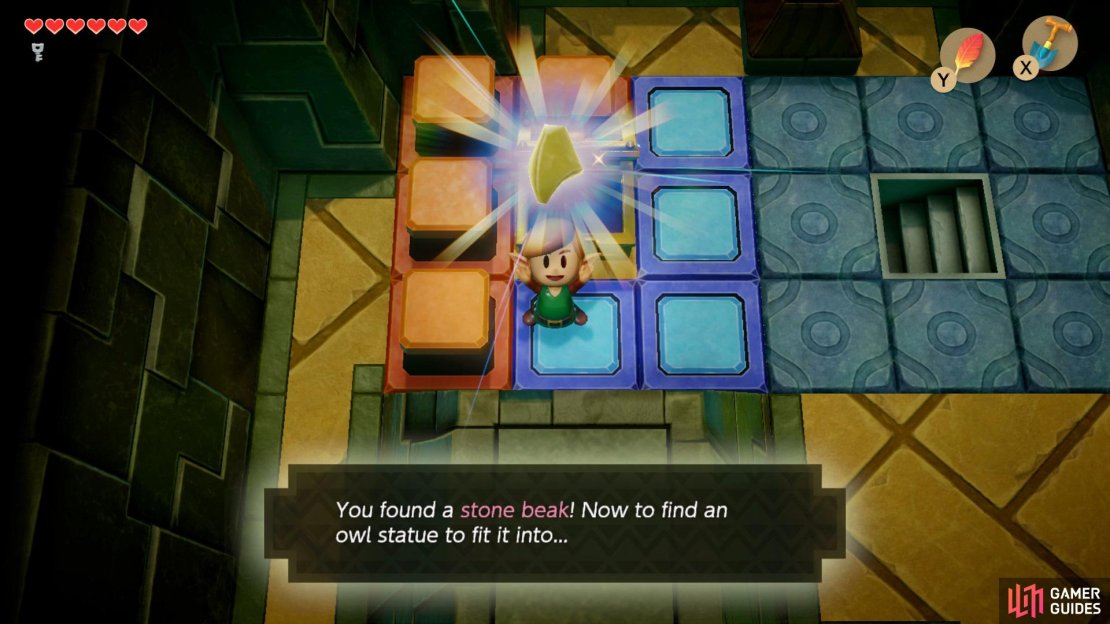
Head back up the stairs and collect the Stone Beak from the now accessible Chest, now proceed back down the corridor until you see an opening to the right.
Take out the enemies in the area and collect the Map from the Chest, now travel back to the lower section of Cavern and use another Small Key to open the bottom door.
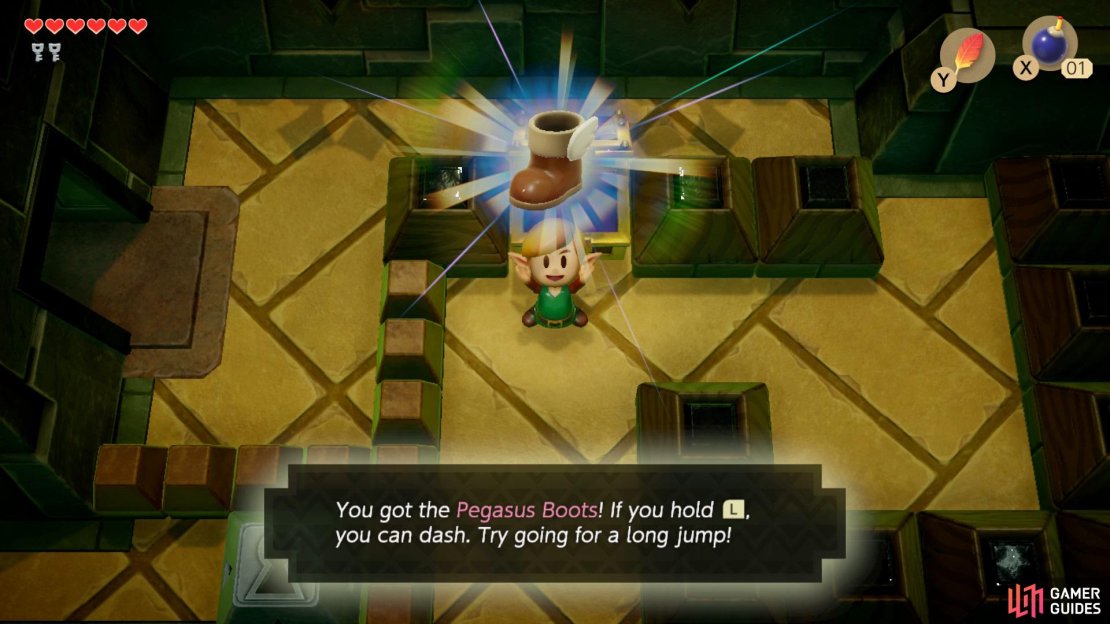
Locating the Pegasus Boots
Kill all the enemies in the room then collect the Small Key that has fallen and exit, now open the door to the right and make your way around to the stairs and head up. Walk around the room and kill the enemies to get another Small Key to fall, collect it and make your way up the corridor and head left to kill the enemies which will open up two doors, proceed through the left one first.
You’re now about to take on some more Pairodd’s, once they’ve been defeated collect a Small Key that has dropped and head through the door ahead, kill all of the nearby enemies and go through another door ahead.
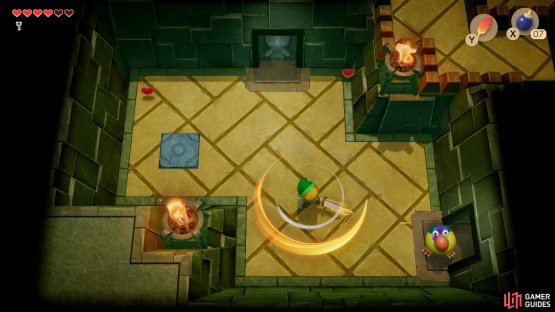

(1 of 2) In order to take out the Pairodd you’ll need to perform a charge attack and release it as you approach the enemy,

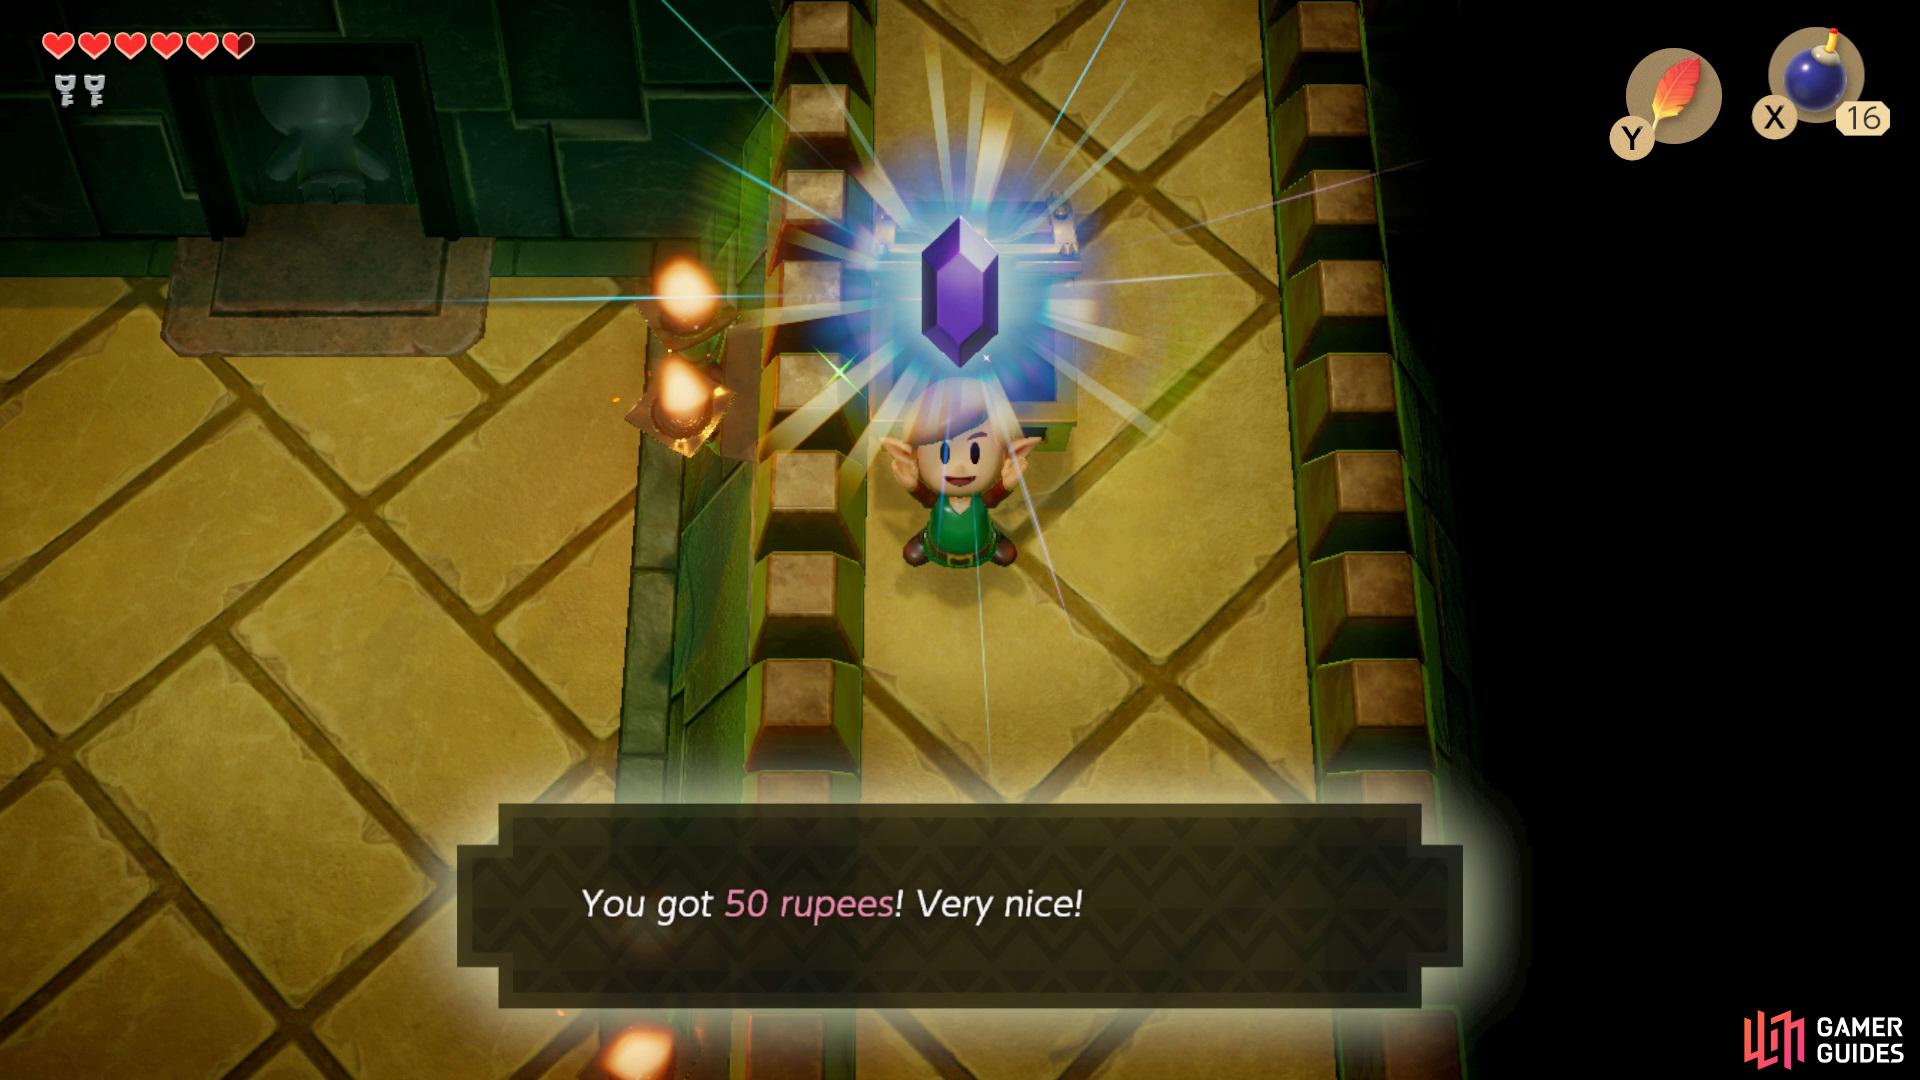
In order to take out the Pairodd you’ll need to perform a charge attack and release it as you approach the enemy, (left), continue up to the next room and head around to collect 50 Rupees from the Chest. (right)
Inside you’ll want to jump up and collect yourself some Bombs and then interact with the Owl to gain a clue, now take the stairs and follow the corridor down to the stairs, but make sure to collect 50 Rupees from the Chest first.
After you’ve made it down the stairs, head through the door above to face some Dodongo Snakes, once they’ve been taken care of, proceed through the door to the right and position the stones to allow you to reach the Chest to collect the Pegasus Boots.
Locating the Nightmare Key & Compass
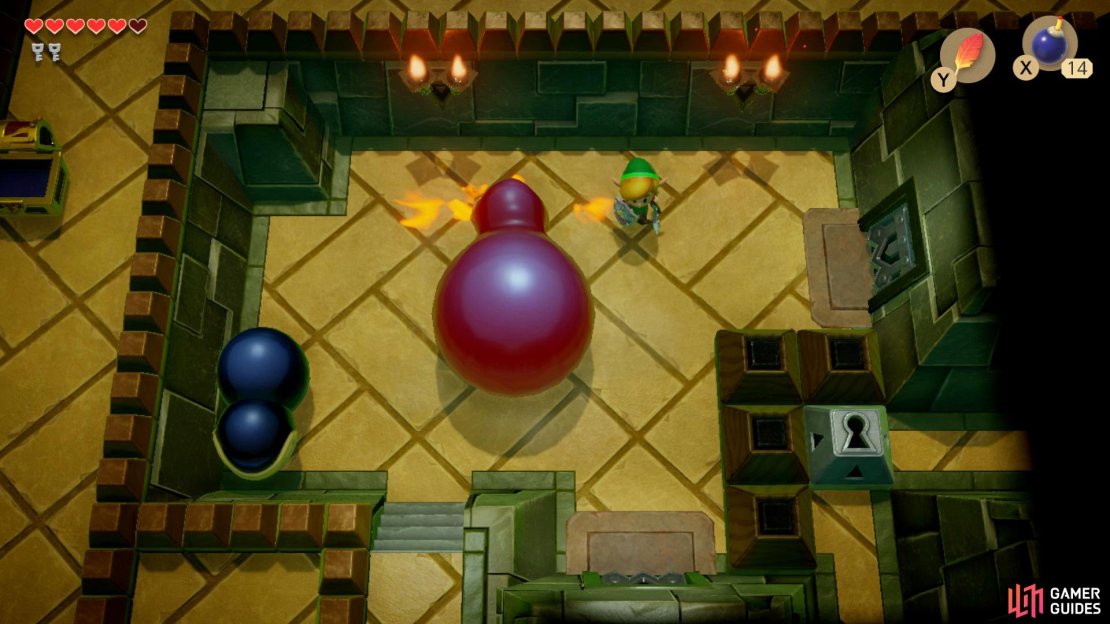

(1 of 4) Place a bomb in front of the Dodongo Snakes mouth to make them eat it,
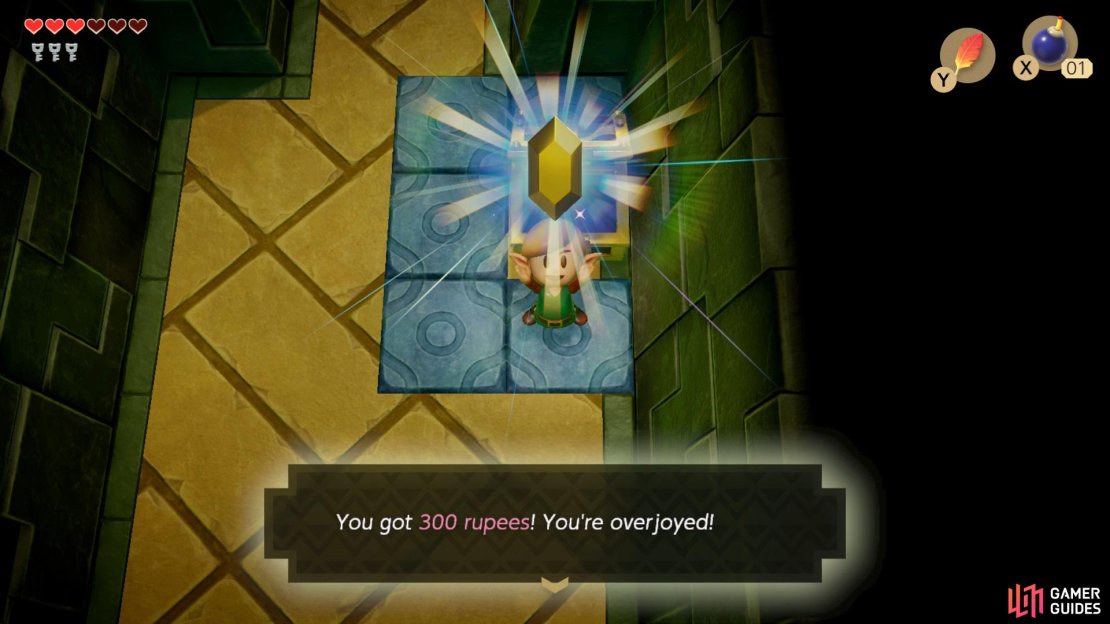
Head back to where you killed the Dodongo Snakes and use the portal, once you’ve spawned back in head north and go through two sets of doors and kill the enemies there to spawn a Chest that will reward you with 300 Rupees, now head back to the Portal room and head right through the hall and kill the enemies to get a Small Key.
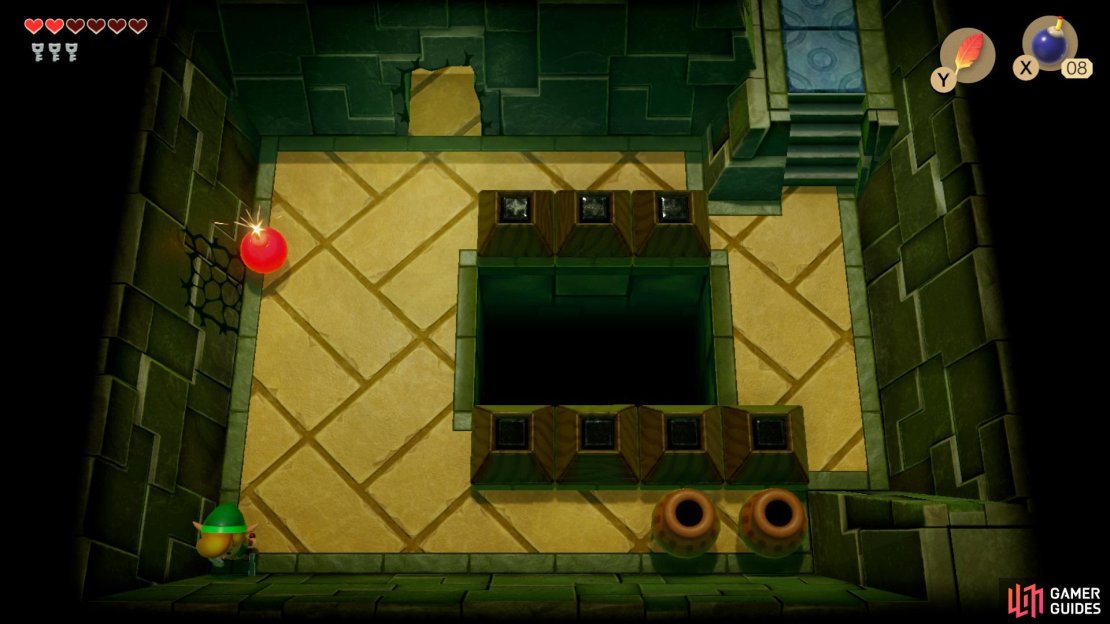
Take the Portal back to the Dodongo Snakes room and exit out of the bottom door, head right and place a bomb on the bottom grey floor piece to open up the wall, inside the hidden room place another bomb against the crumbing part of the wall to allow you to get through to the other room.
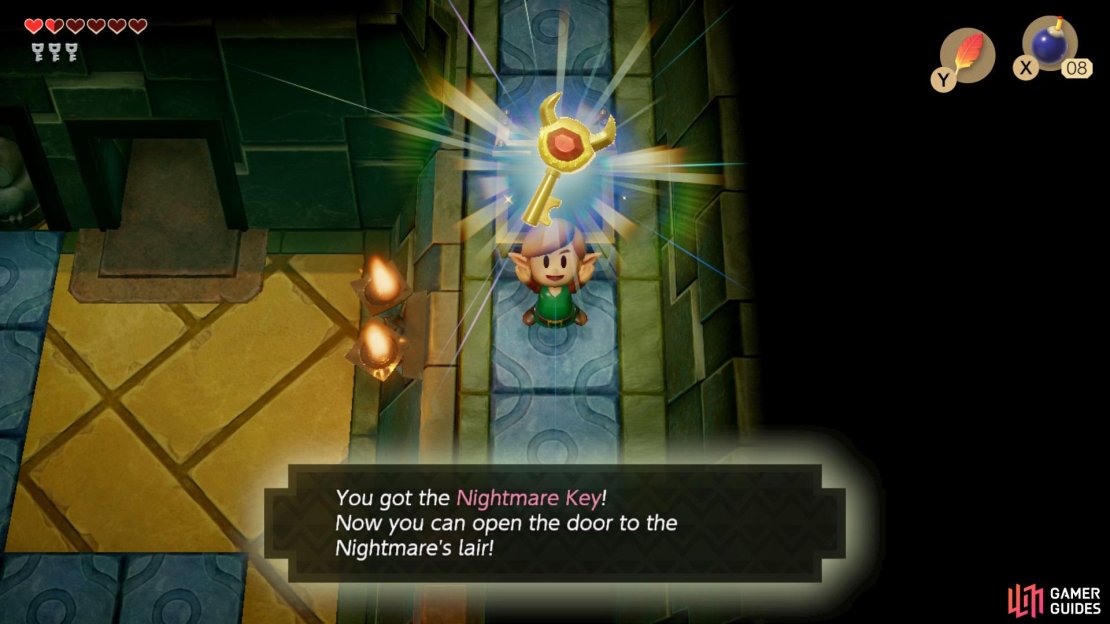
Use your new boots and dash towards the large pit and jump across as you approach it, now head up the stairs and open the Chest to gain the Nightmare Key.
(1 of 4) Break a hole into the wall in the hidden room and use it jump across the hole with the dash ability,
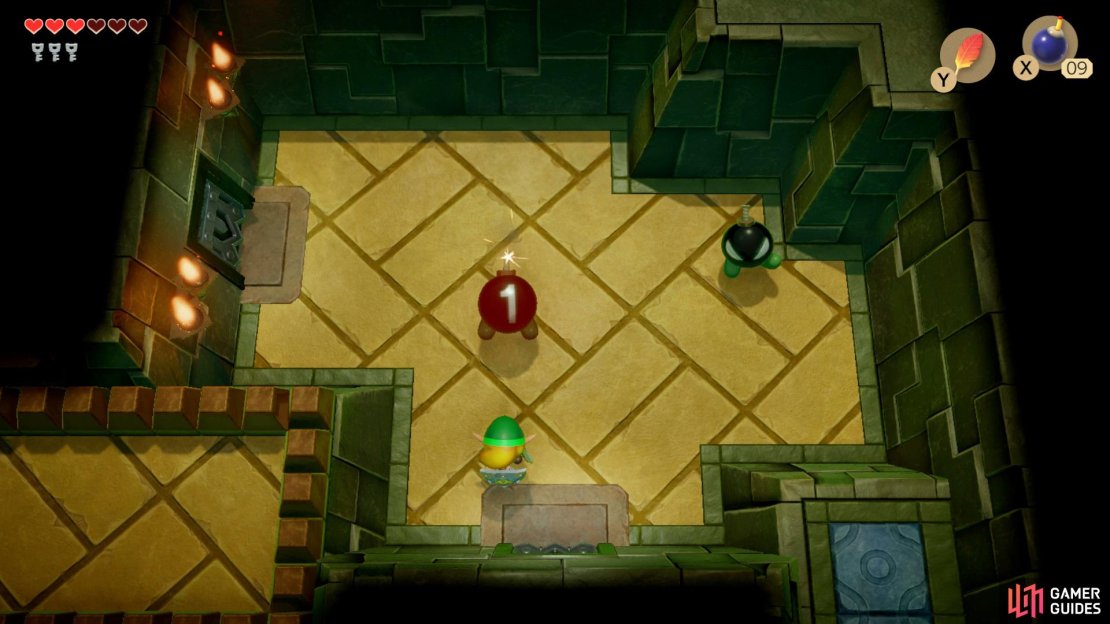
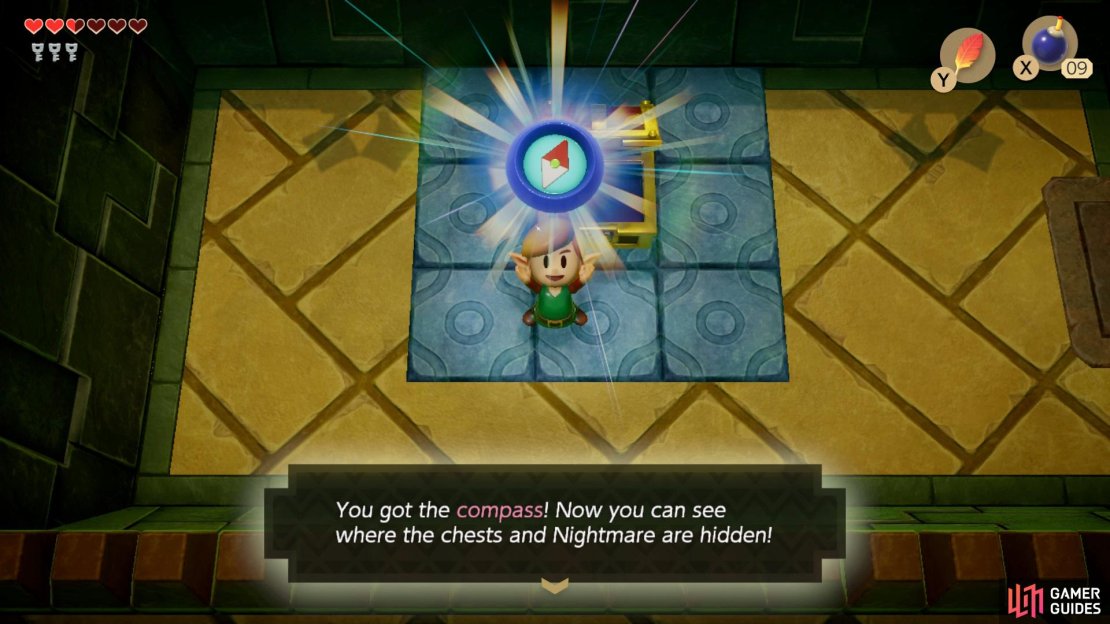
Head back into to the room with the grey floor and head through the door ahead, take out the Bomb enemies and proceed into the room to the left to open a chest that holds the Compass inside.
Place another bomb against the crumbling wall to the left, head through the now open path and kill the enemies inside to find a Small Key.
Boss: Slime Eye
Head back to the room with Owl Statue and go through the southeast door and follow the corridor, now use your small keys to remove all the stones leading to the stairs and proceed down to face the Nightmare.

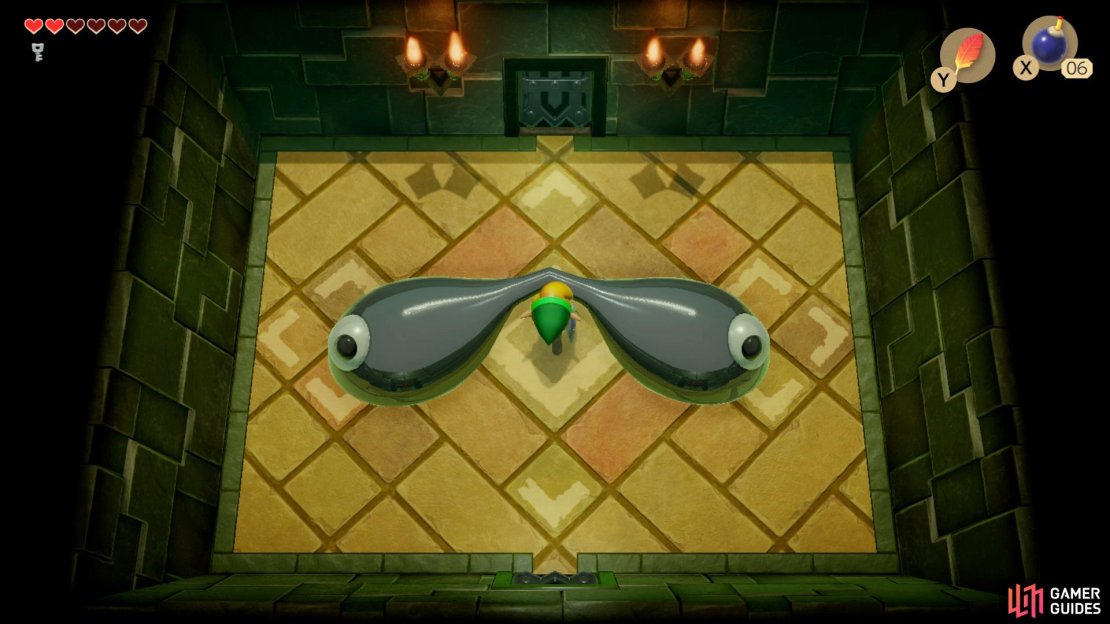
(1 of 3) In order to defeat the Slime Eye you’ll need to hit one of the eyes to stretch them apart,
To begin the fight, dash into the wall to cause the Slime to come down, keep hitting one of the eyes until they stretch apart and then dash through the middle to split them apart.
Keep focusing all your attacks on one of the eyes until it’s killed, but beware they will jump up into the air and try to land on your head, so you’ll need to pay close attention to the shadows on the floor in order to dodge them in time.
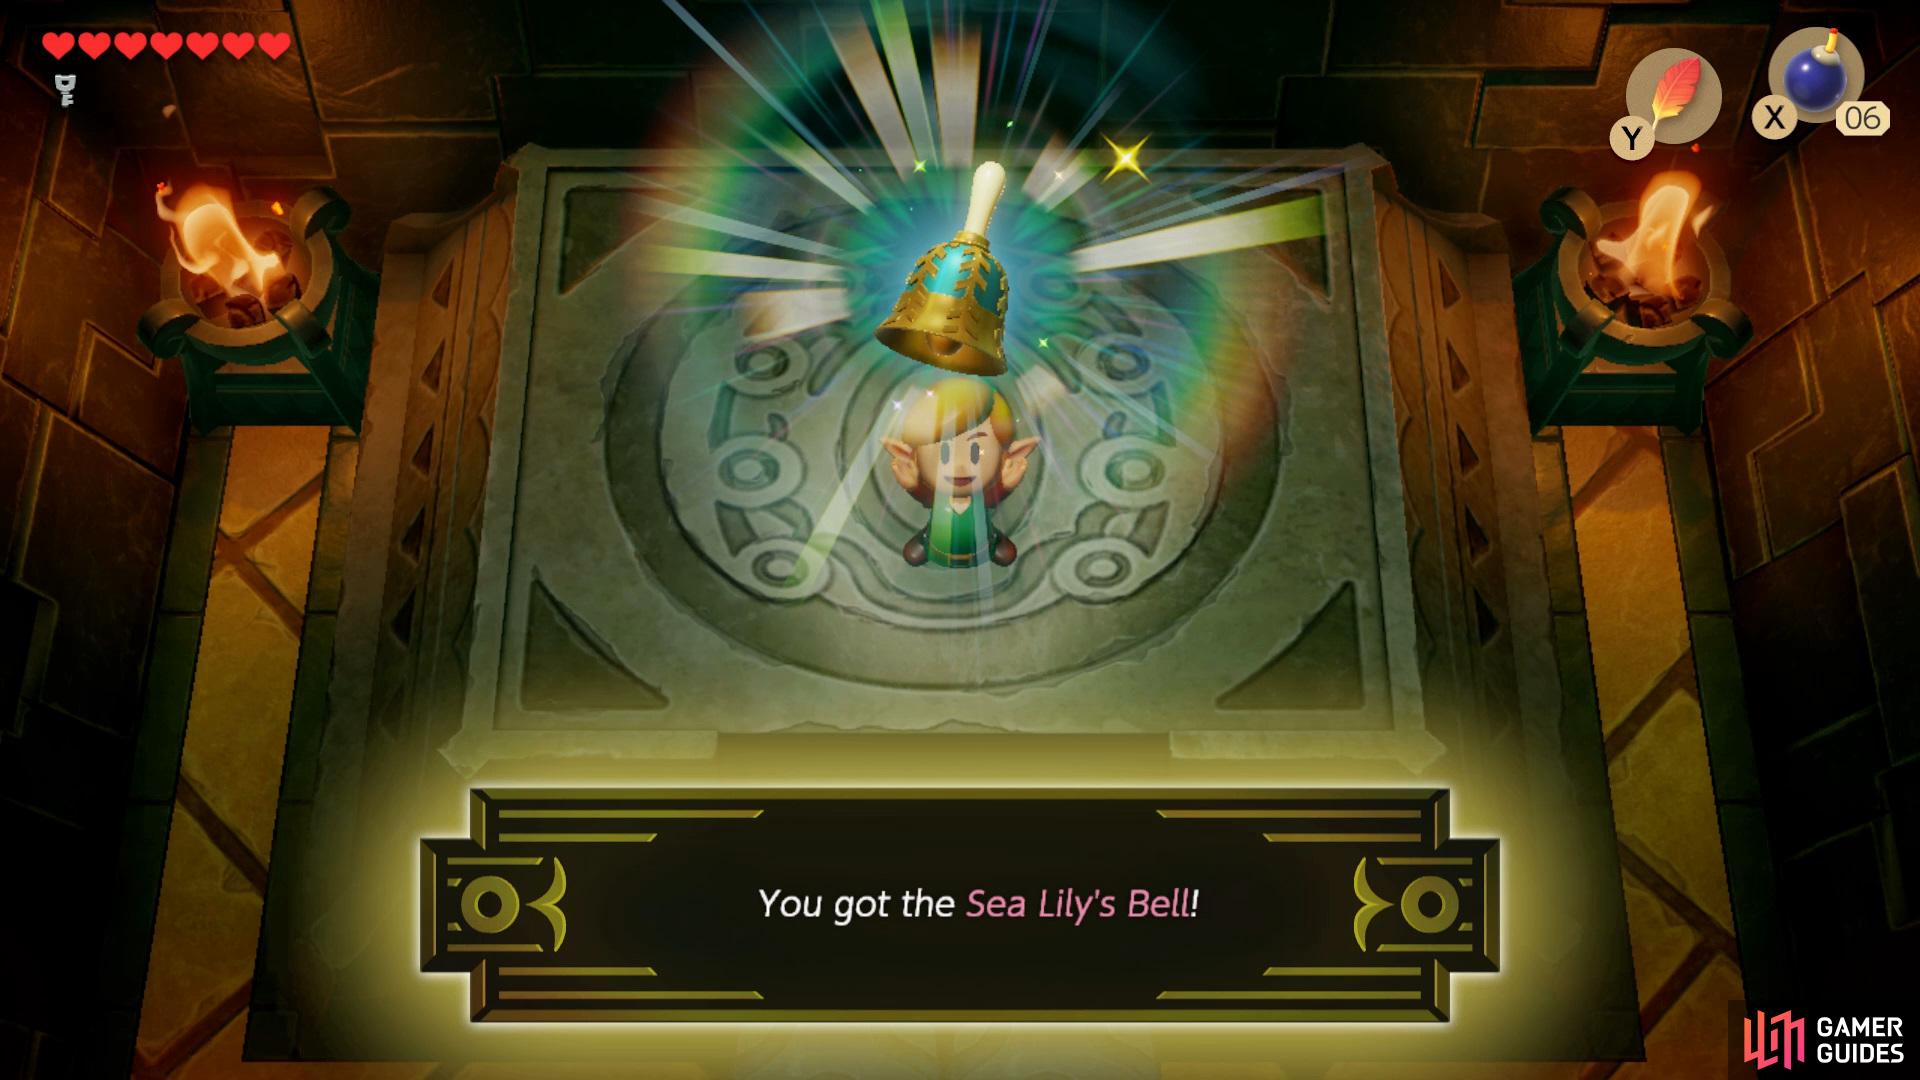
Collecting Sea Lily’s Bell
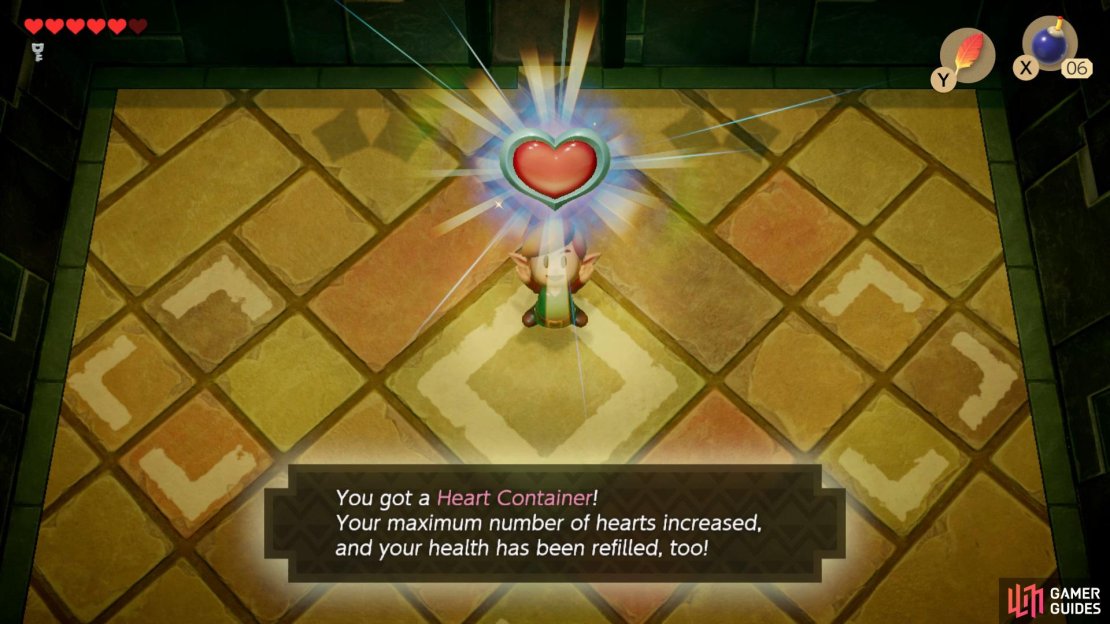
Once the two Slime Eyes have been defeated, collect the Heart Container and then head through the door ahead to collect the Sea Lily’s Bell.
No Comments