
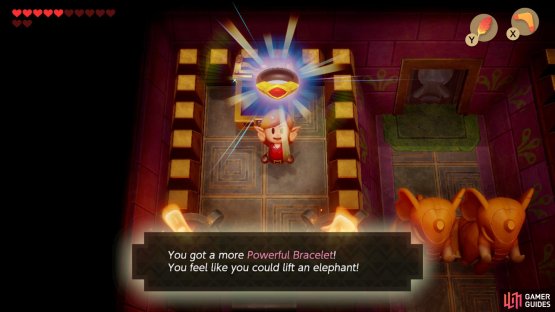
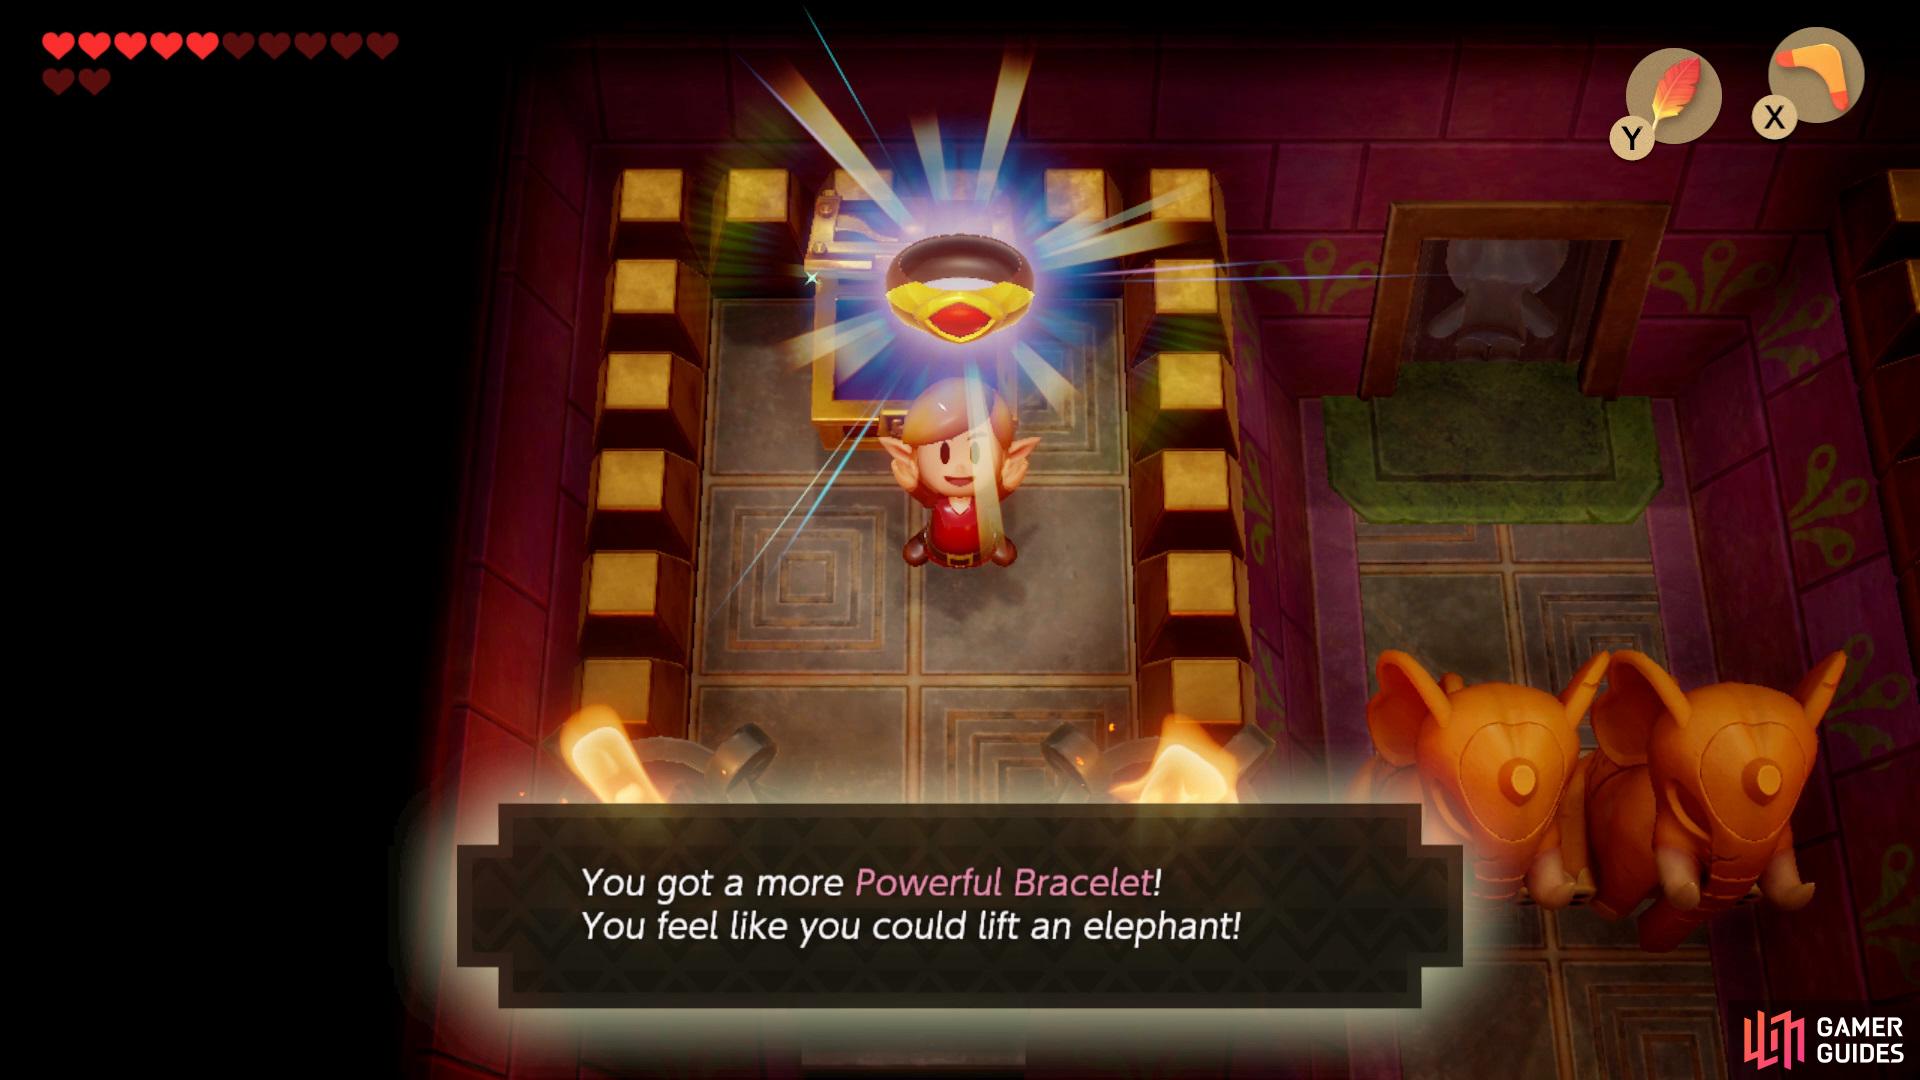
Obtaining the Powerful Bracelet
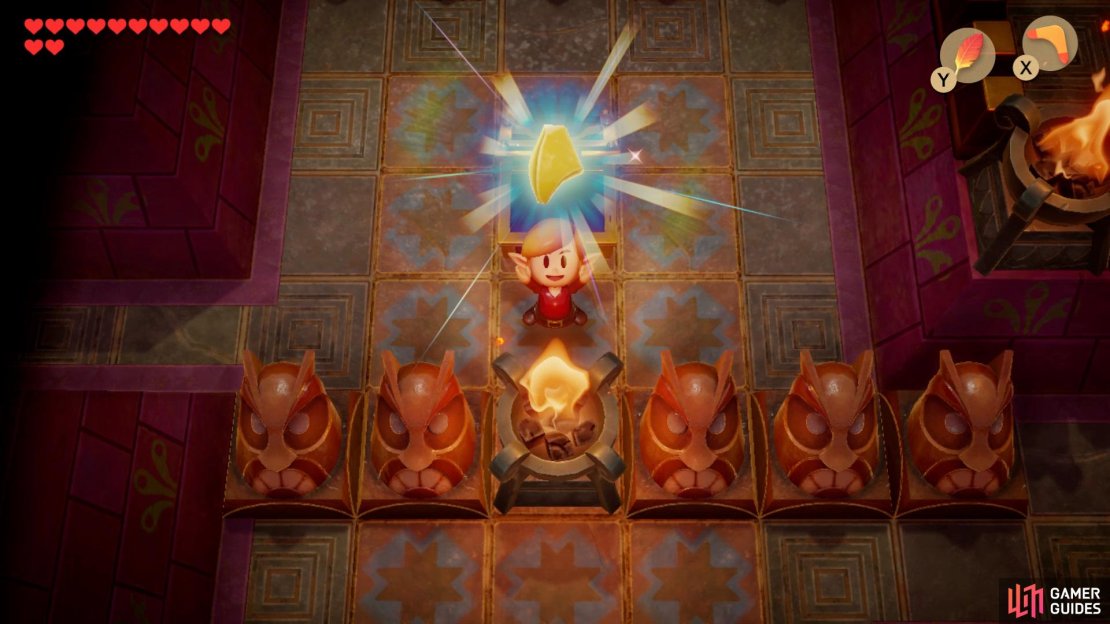
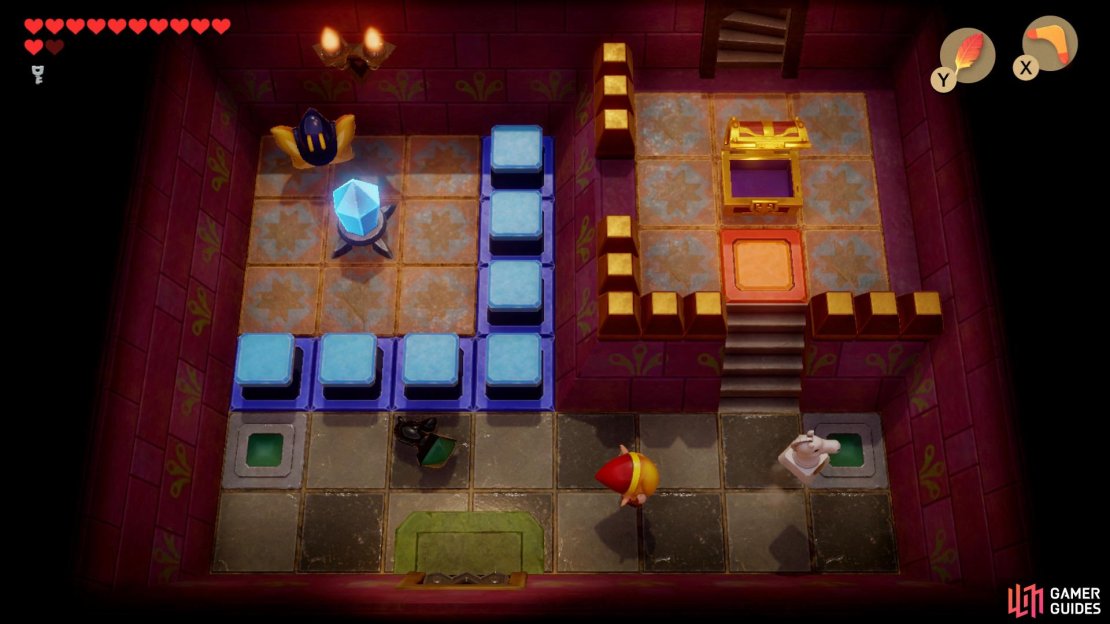
Once you’ve entered the dungeon make your way to the left and continue following the path up, you’ll eventually come across a room that has a Crystal in the middle, place a Bomb near it and run behind the right orange block. Now place another Bomb against the crumbling wall and proceed through to the room on the right, take out all the enemies and a staircase will be revealed, head down and use the ladder to exit out of the opposite side.

(1 of 2) Place a Bomb near the Crystal and stand behind the orange floor to the right,

Place a Bomb near the Crystal and stand behind the orange floor to the right, (left), then follow the path around to find a Chest with the Powerful Bracelet inside. (right)
Take out the enemies in the room by hitting them with your Boomerang and head through the door ahead, collect the Powerful Bracelet from the Chest on the left then pick up the Elephant Statue in the center and throw it at the door ahead to allow you to get back to the room with the Crystal.
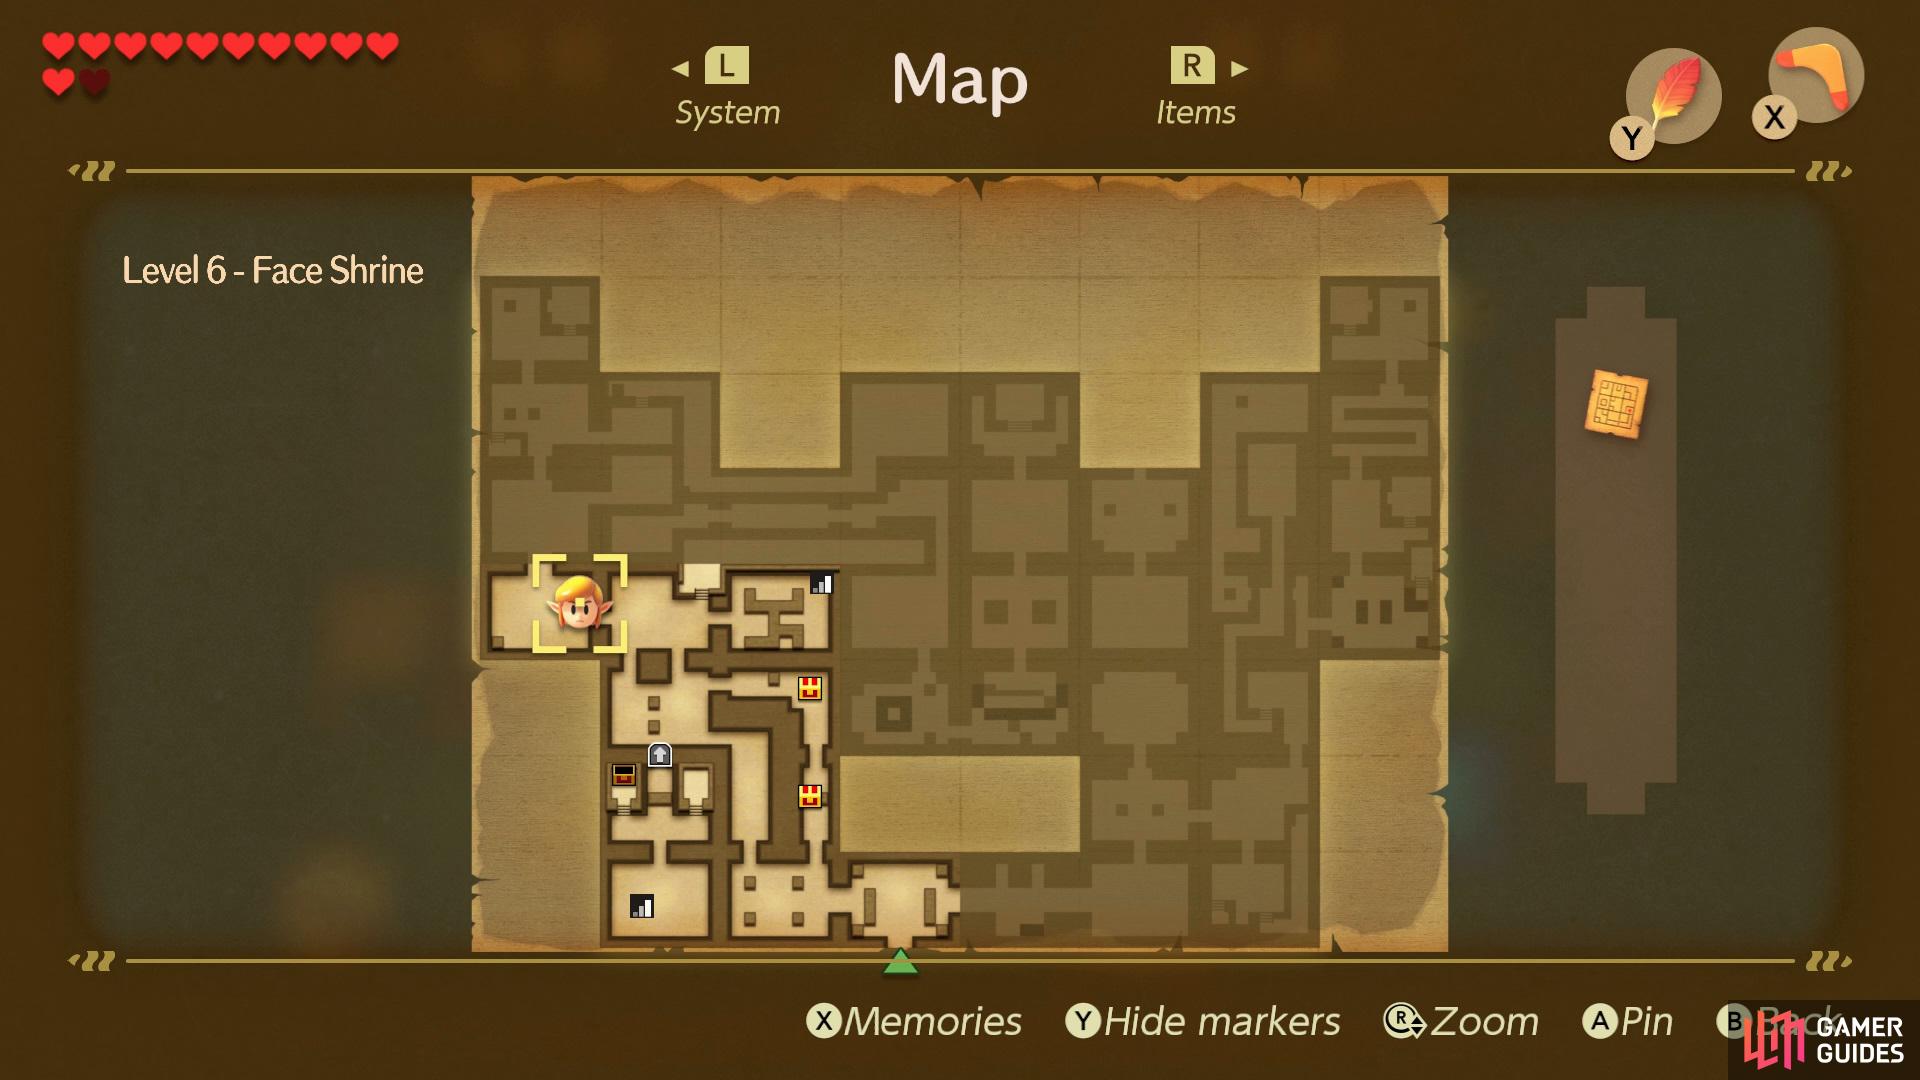
Locating the Map to the Face Shrine & Compass
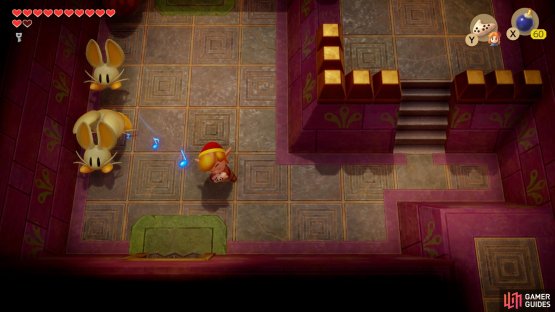
Repeat the same process you did to take the right path, but now head left, break all the vases in the room to find a button and step on it and go to through the door on the left, take out all the enemies to get a Chest to spawn with the Map to the Face Shrine.
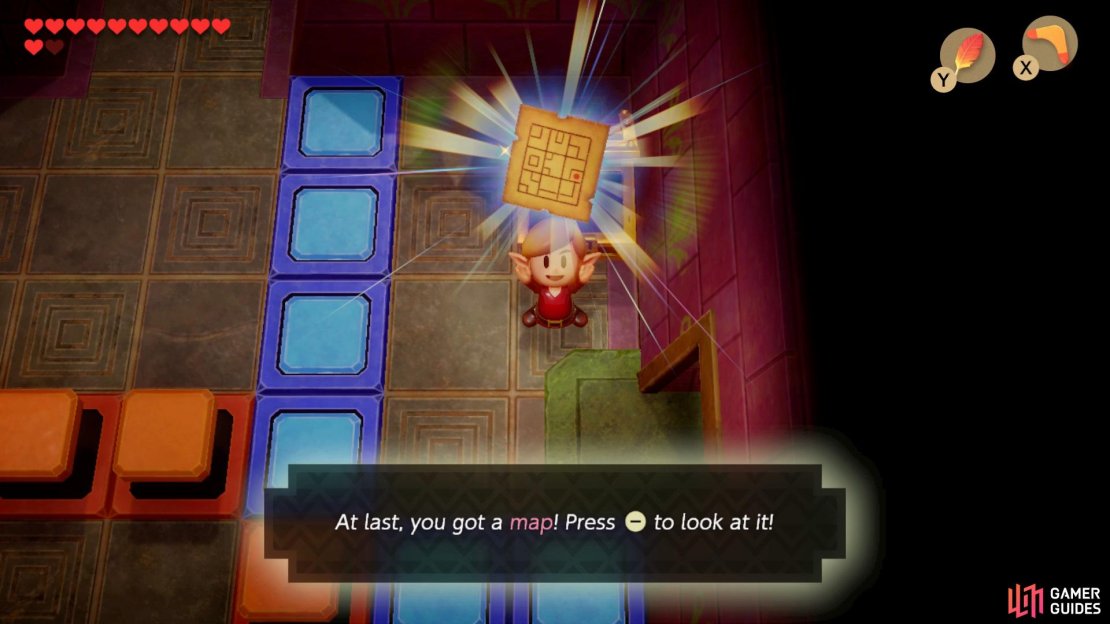
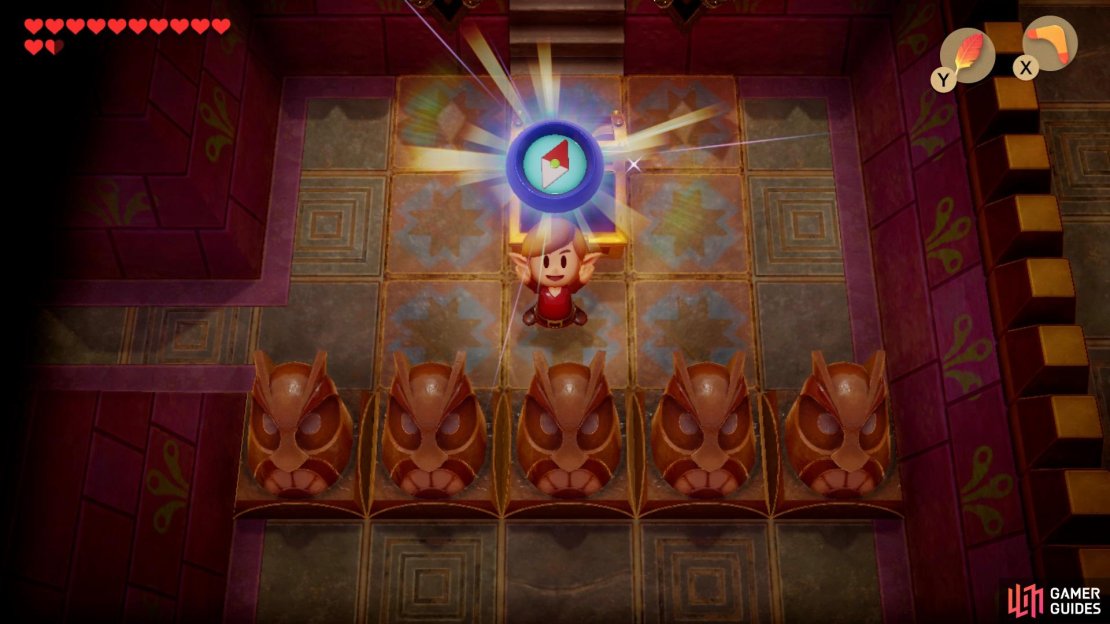
(1 of 3) Take the left path from the Crystal and break the vases in the room to reveal a button, step on it and head through the door on the left, take out all the enemies and open the Chest for the Map to the Face Shrine,
Head up and right to find another Chest that holds the Stone Beak inside, head back left and up, take another right turn to find a second Chest with the Compass. Now go up the stairs and hit the Crystal to make it Blue and then follow the path all the way around to the right, take out all the enemies on the Orange floor and a Small Key will drop down.
Finding some Secret Medicine
Make your way back to the room to the left of where you obtained the Compass and throw an Elephant statue at the door ahead, go through and open the Chest to find 100 Rupees, continue up the stairs ahead and open another Chest to get a Secret Seashell. Head back down and open up the door below by throwing the Chess pieces onto the correct platform, the white piece goes on the right and the black goes on the left.
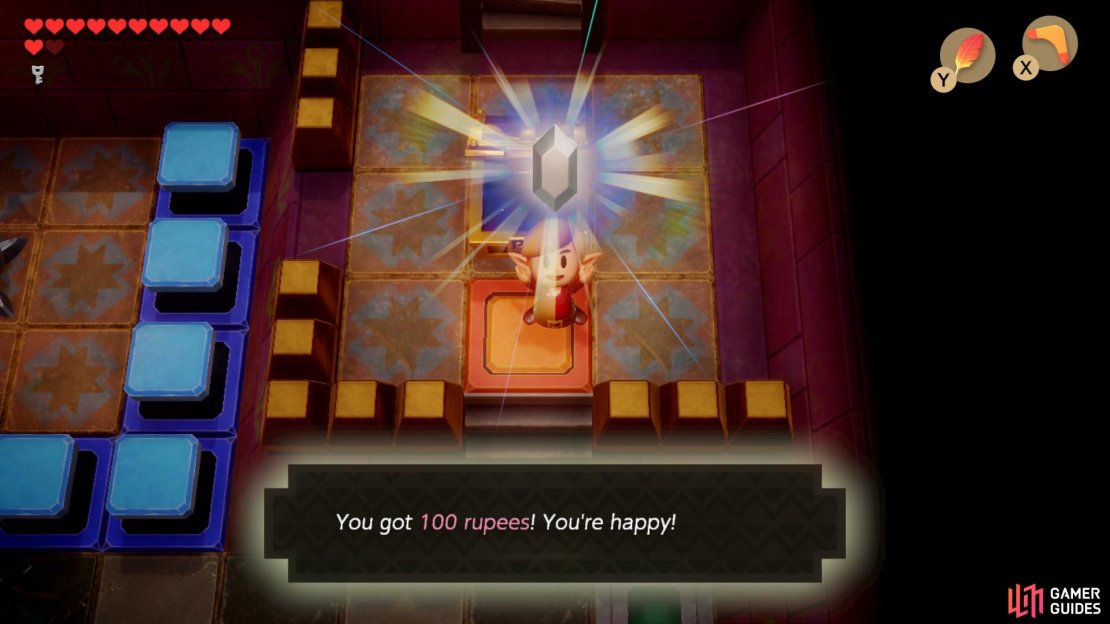
(1 of 3) Throw the Elephant Statue at the door ahead of where you obtained the Compass and head through to find a Chest with 100 Rupees,
Make your way back down to the room with the Crystal in the bottom left corner and switch it so the color blue before going into the room on the right, now make your way back down and switch the Crystal in the center to orange, continue following the path down to the bottom right and kill all the enemies.
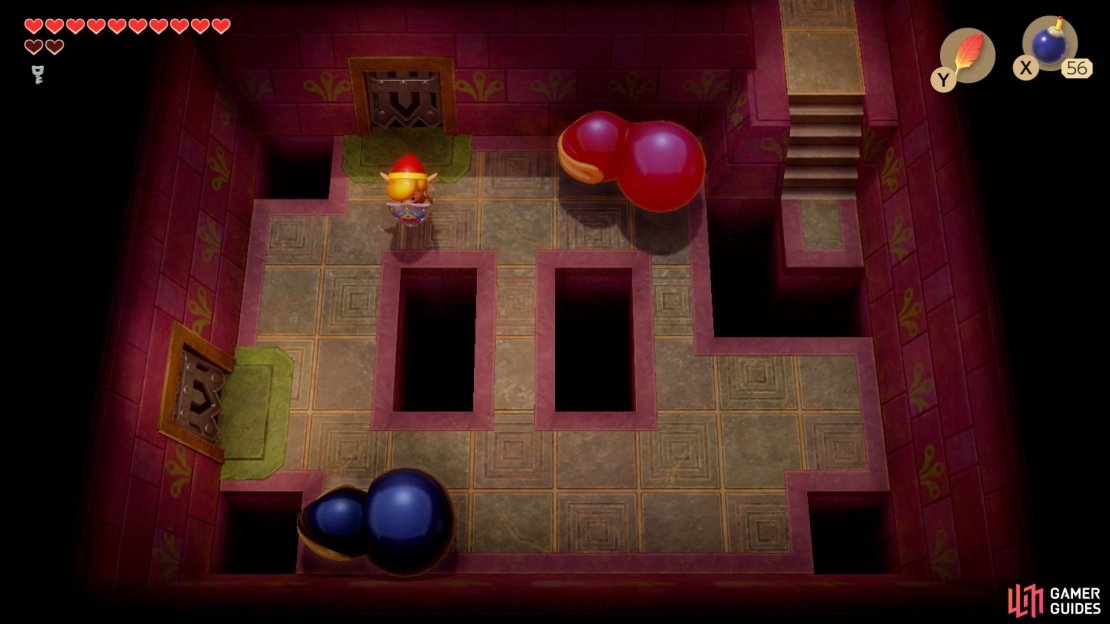
Go through the door to the top right and open the Chest for 50 Rupees, smash the Elephant Statue and head through the door ahead to open another Chest that has 100 Rupees inside, now head back the way you came and take the right path, sprint past the moving floor to a room with orange pieces.
Wait for them to come near you and hop over it, once they’ve all been destroyed the door ahead will open, go through it and use an Elephant Statue to break open the door on the right, kill all the enemies inside and proceed through the door below.
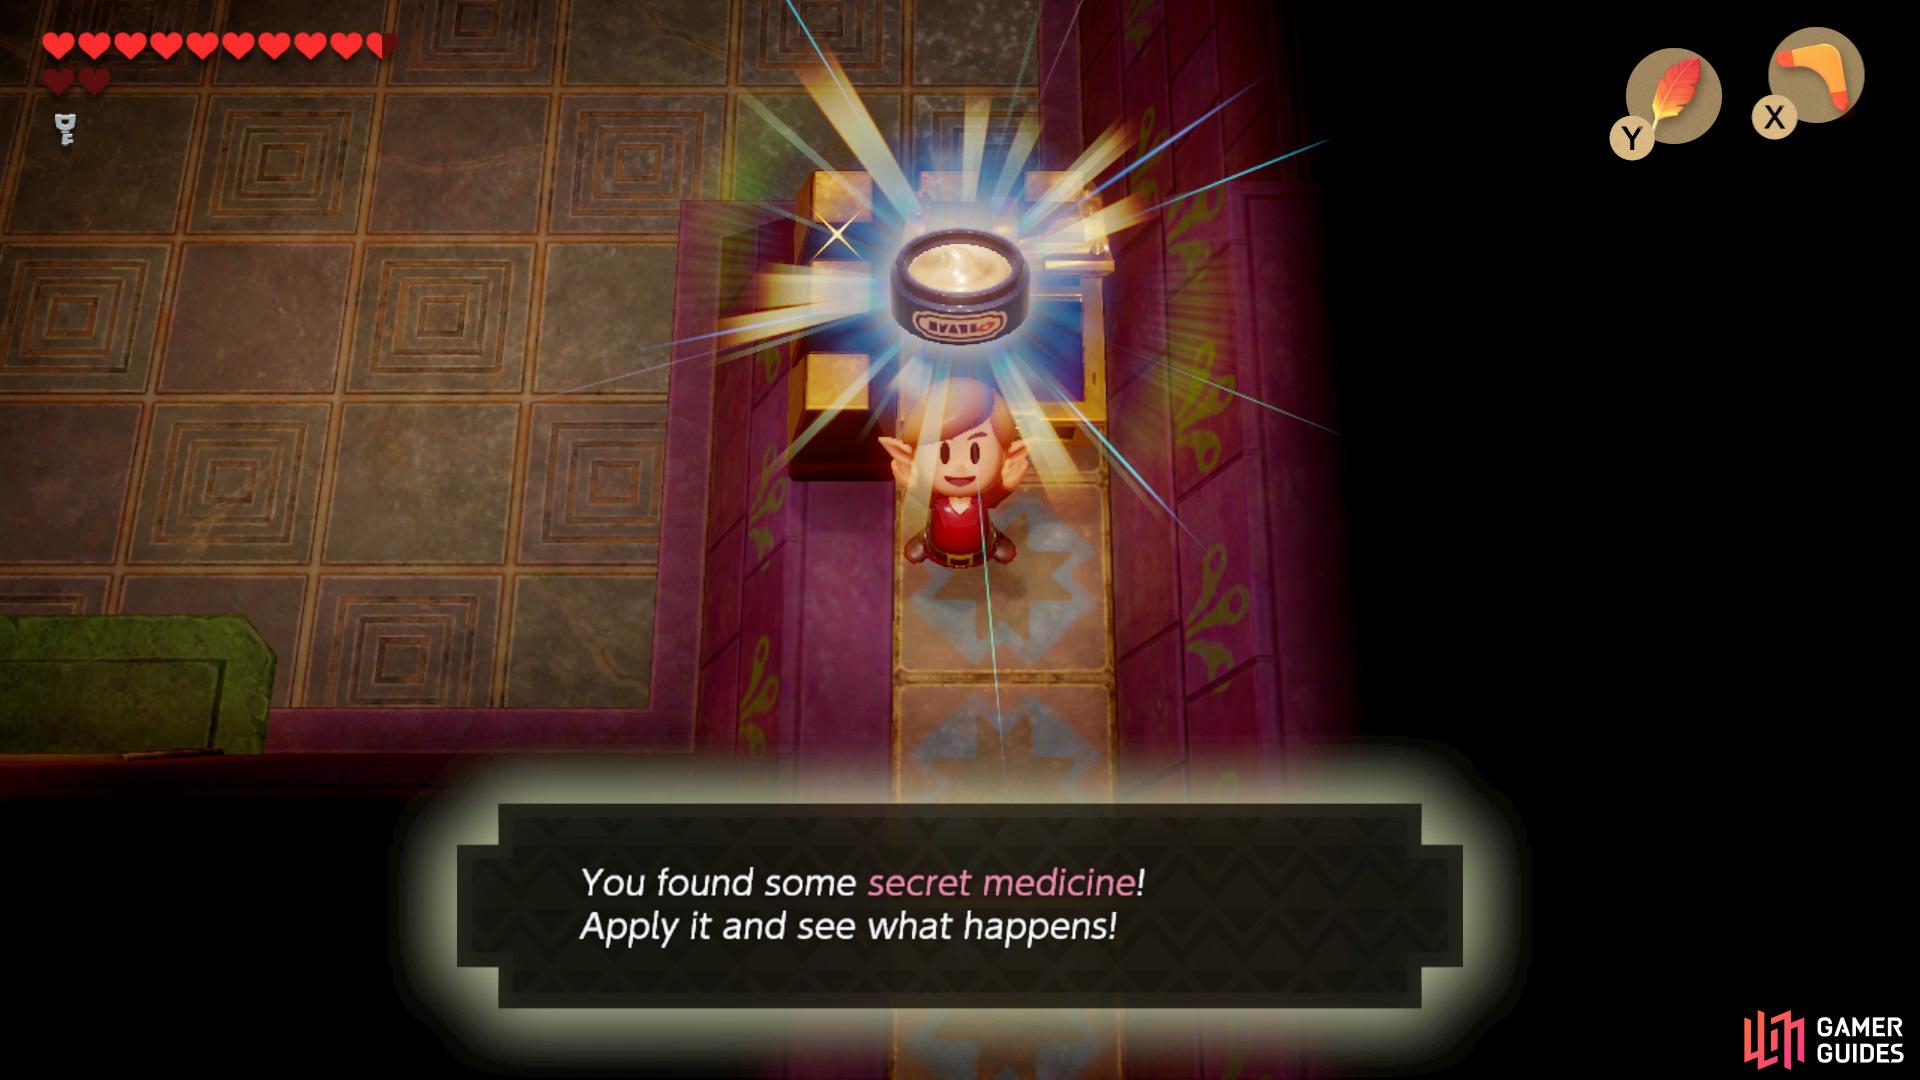
Dodge all the moving floor pieces and head into the room below, use the stairs to hop over to the right orange block and follow the path around to find a Chest with the Secret Medicine inside.
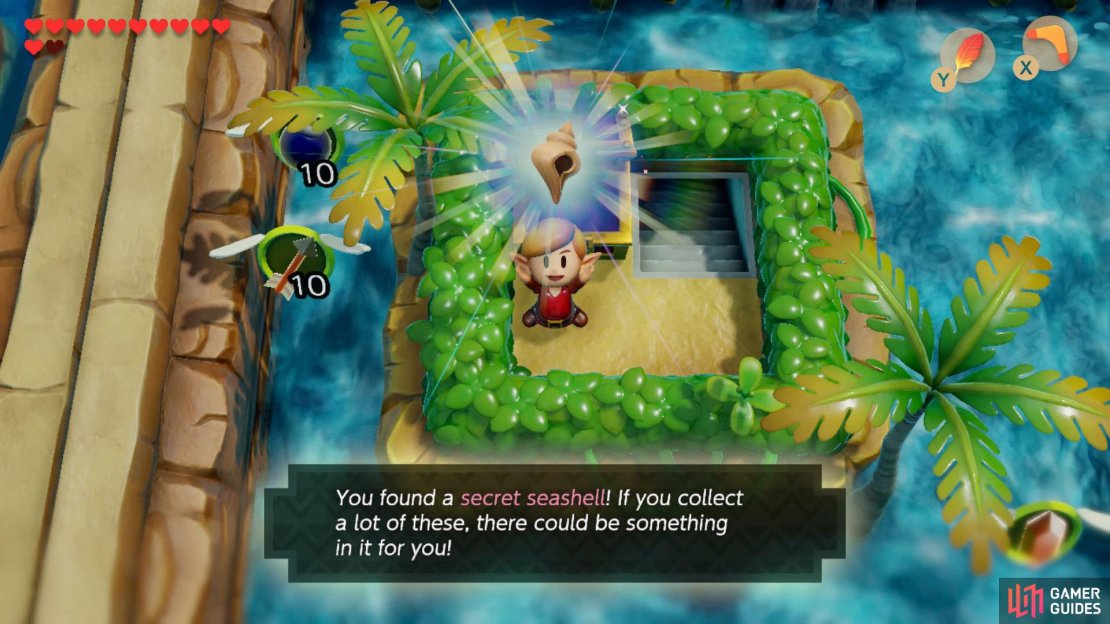
Head up the stairs and drop down onto the orange blocks then hop over to the block that’s blocking that stairs, follow the stairs around to find a Chest with some Secret Medicine inside. Drop off the side to the left and head through the door to the top right, follow the path of water up until you approach a Chest, open it to gain a Small Key.
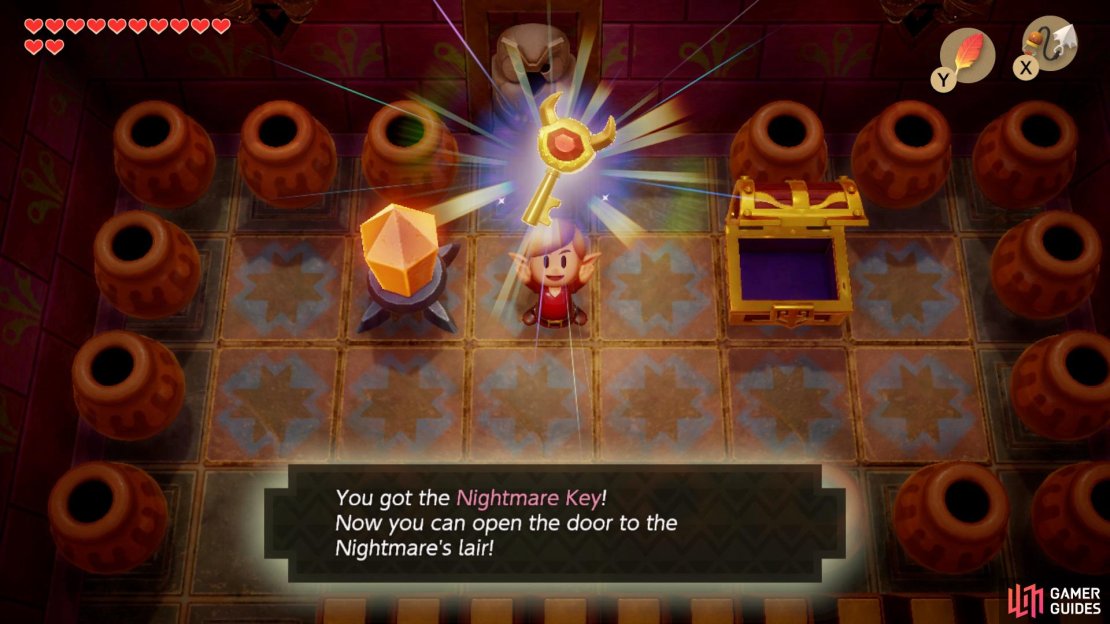
Locating the Nightmare Key
Go back the way you came and head left, open the locked door with a Small Key and place a Bomb against the crumbling wall, head through to face a Mini-Boss. In order to kill this boss you’ll need to wait until it throws the ball at you then pick it up and throw it back, repeat until it’s dead.

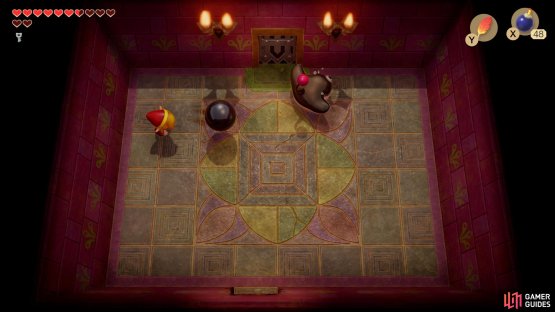
(1 of 2) Wait for the enemy to throw the ball at you,
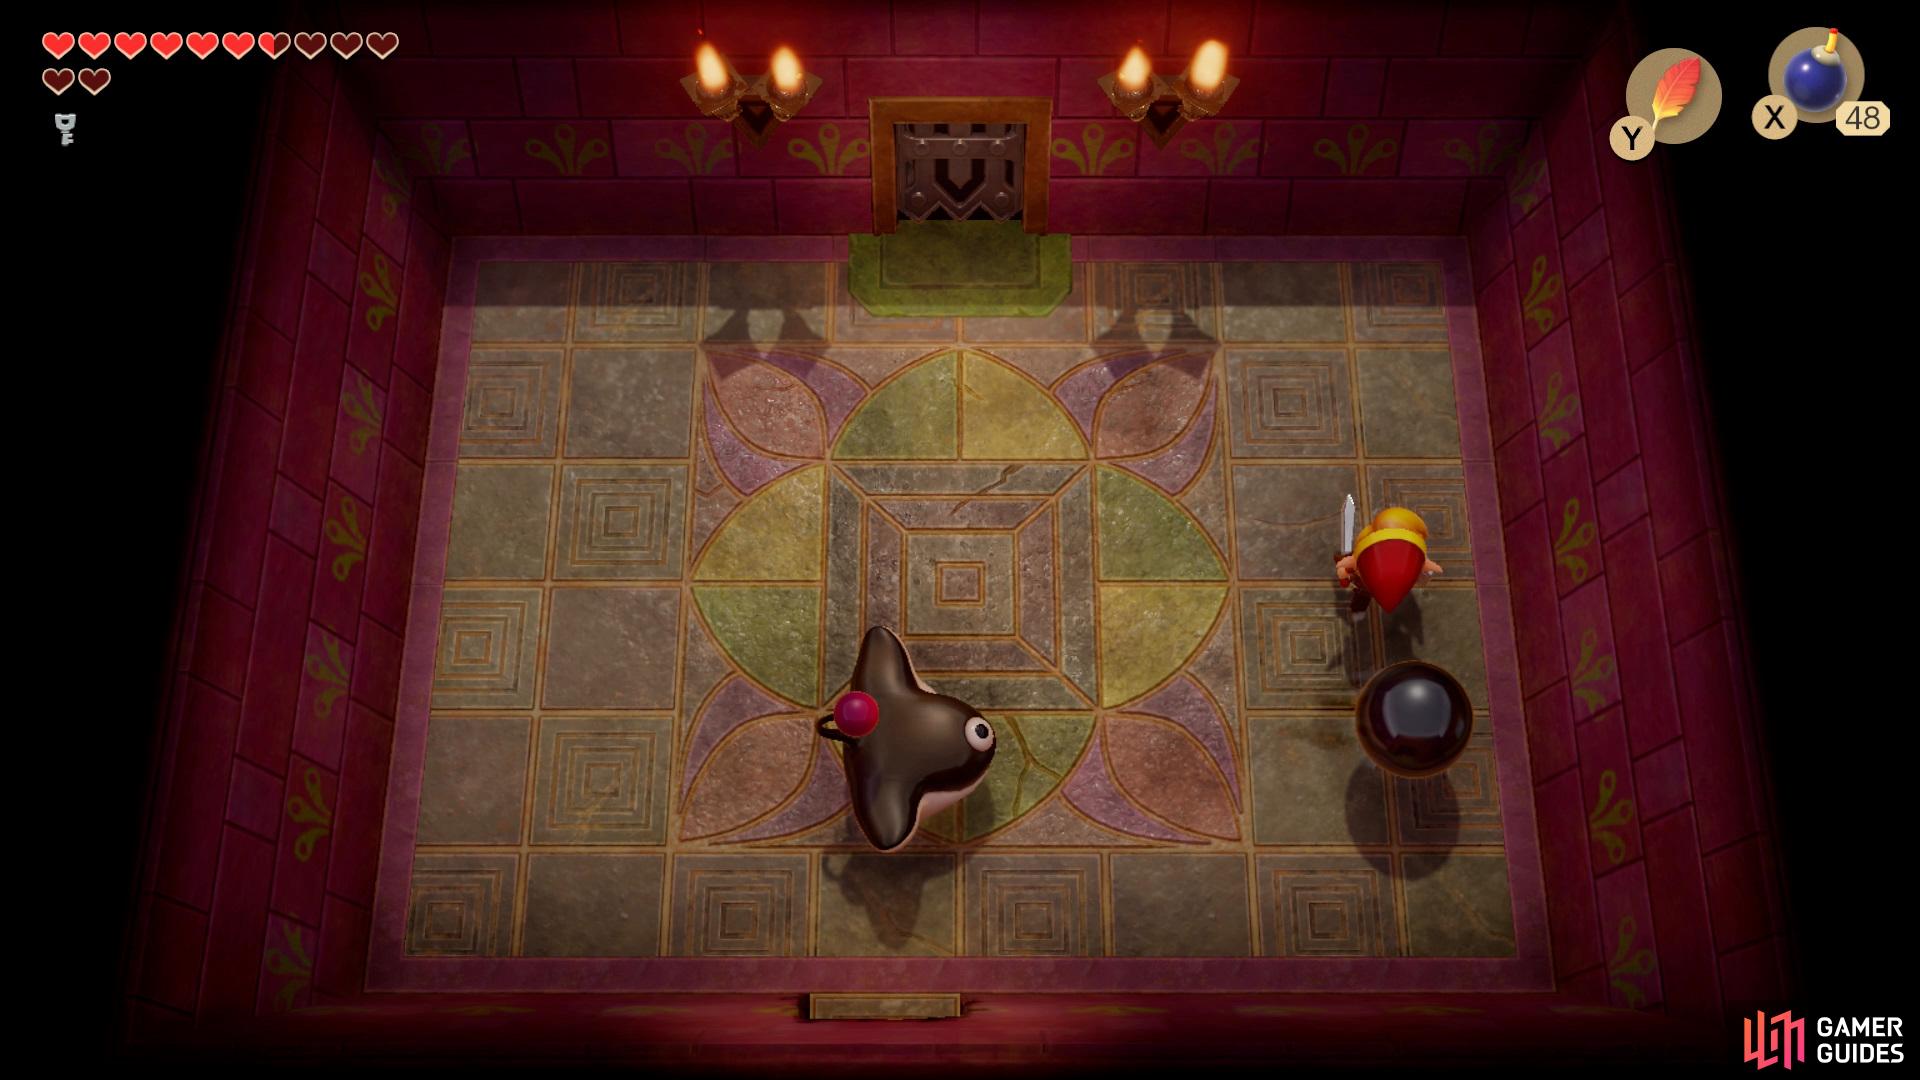

Wait for the enemy to throw the ball at you, (left), then pick it up before he does to launch it back at him which will deal some damage. (right)
Head through the door above and remove the left statue to reveal a staircase, go down and make your way across to the left side and climb up the ladder, dodge all the floor pieces then pick up the Small Key, now unblock your path to the right and follow it up, throw the statue at the door and proceed through.
Place the White Chess piece on the right platform and the Black on the left to open the door, head through and go down the stairs, quickly sprint past all the falling enemies to climb up the ladder. Play the first song on your ocarina to cause the rabbits to die, then go through the door ahead and follow the path into the next room above. Here you’ll need to hit the Crystal and open the Chest to get 300 Rupees.

(1 of 2) Play the first song on your ocarina to get the rabbits to disappear then head into the room ahead,

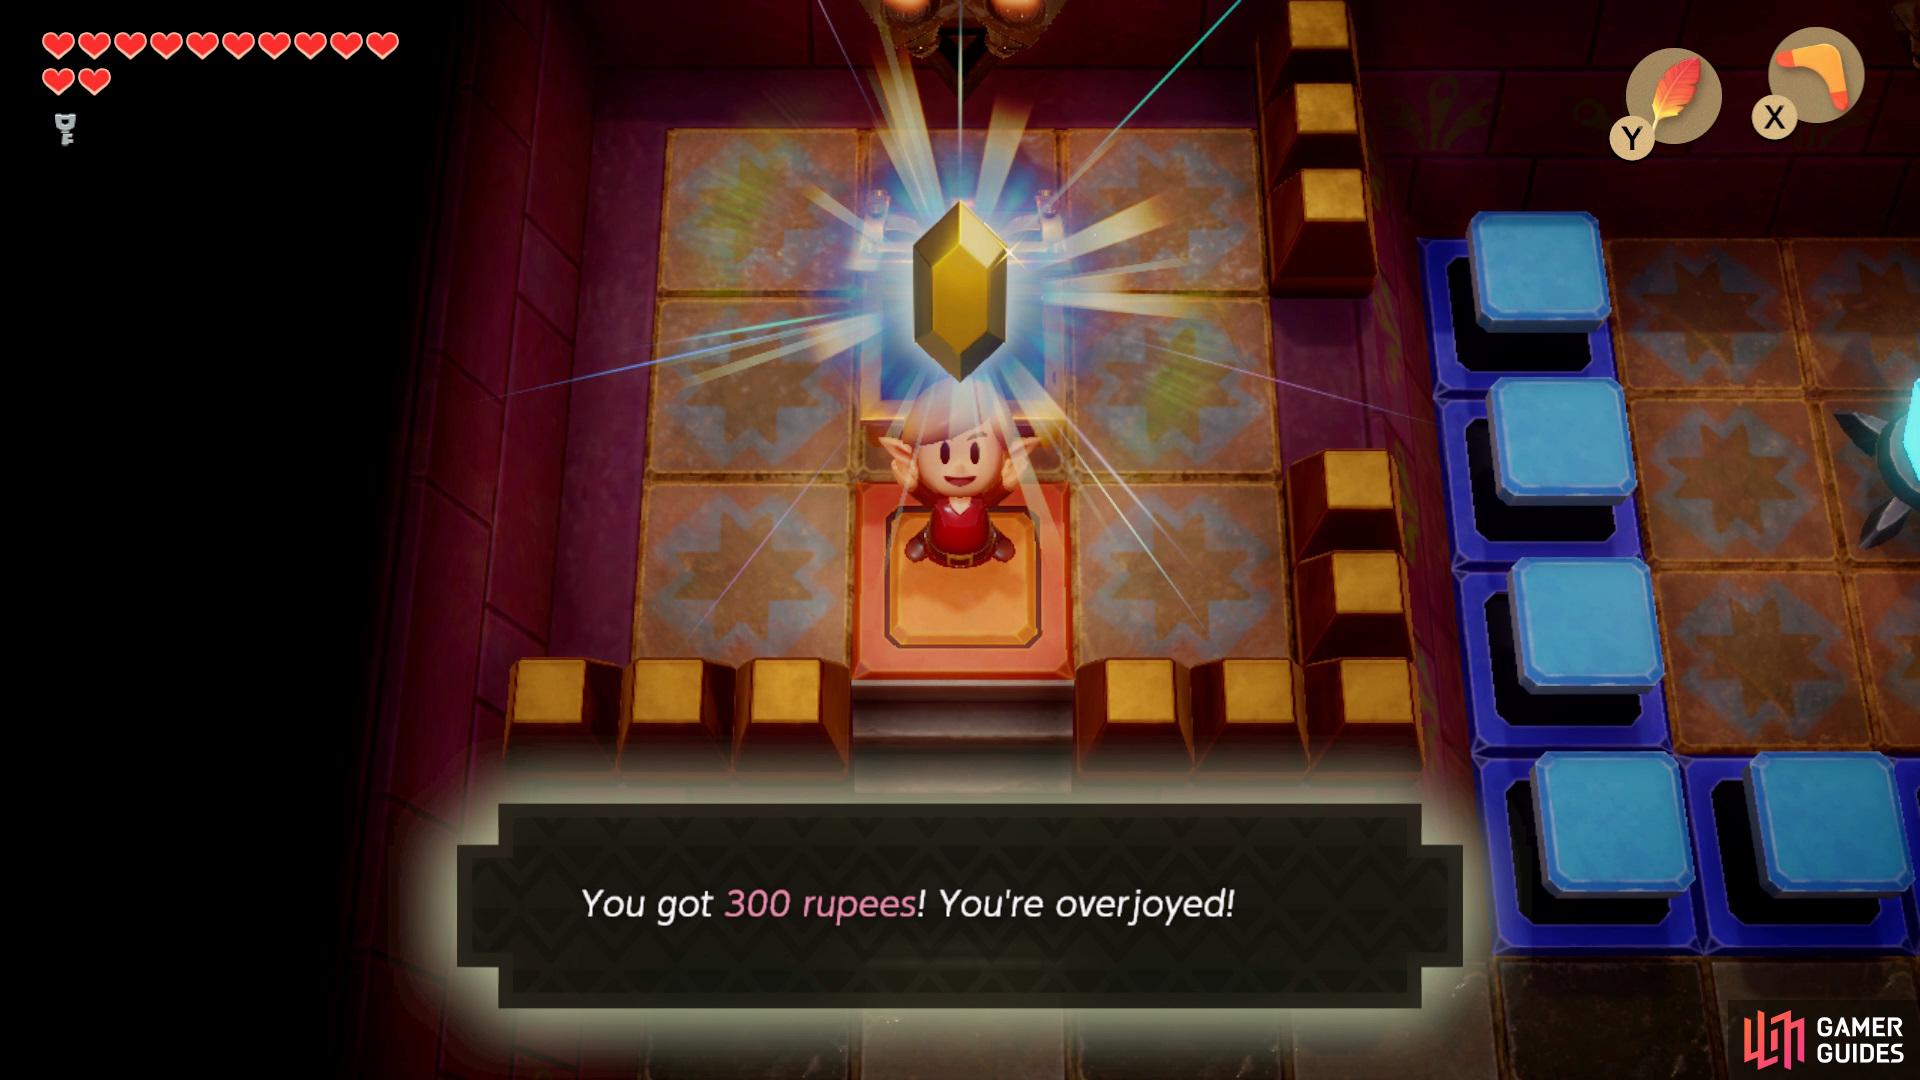
Play the first song on your ocarina to get the rabbits to disappear then head into the room ahead, (left), hit the Crystal on the right to open the Chest with 300 Rupees inside. (right)
Place the Black Chess piece on the right platform and White on the left, then head down to the room where you killed the rabbits, now go through the bottom door to face some Dodongo Snakes, same as the previous dungeon you’ll need to make them munch up some Bombs to kill them, once they’ve been slain go through the door on the left and use the Hookshot to pull yourself to the other side.
(1 of 3) Place the Bombs in front of the Dodongo Snakes to make them consume it,
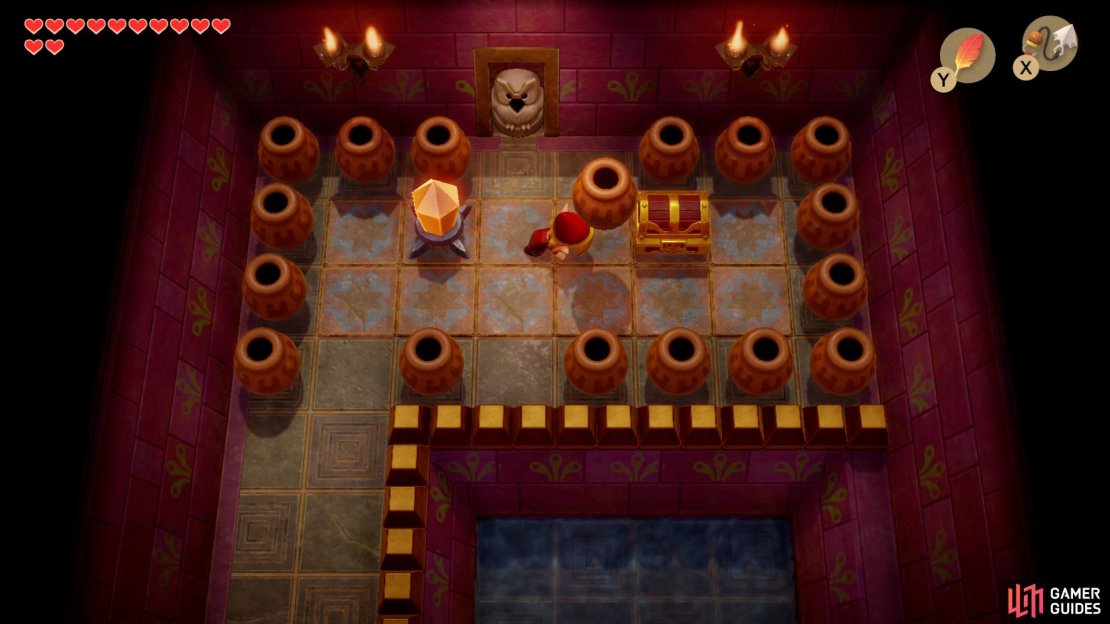
Unblock your path by using a Small Key and head up, throw a vase at the Chest to obtain the Nightmare Key, before leaving, hit the Crystal to make it orange and drop down to the bottom, then exit through the door below. Head left, then up twice and head down the stairs, make your way over to the other side and climb up, go through the bottom door and shoot the purple enemy to go into the room on the right.
Boss: Facade
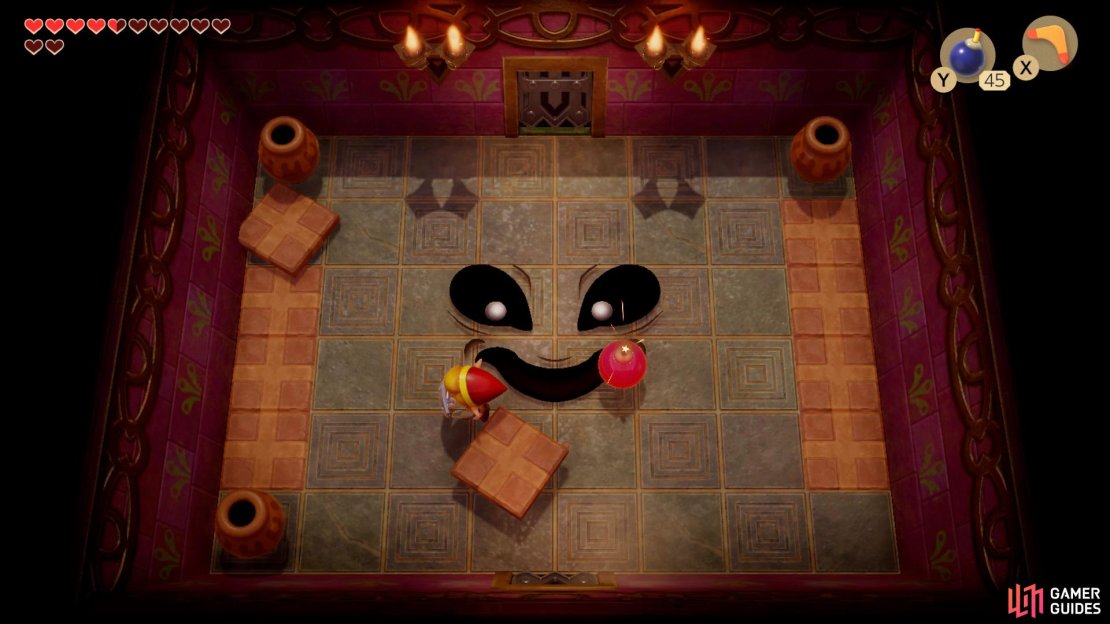
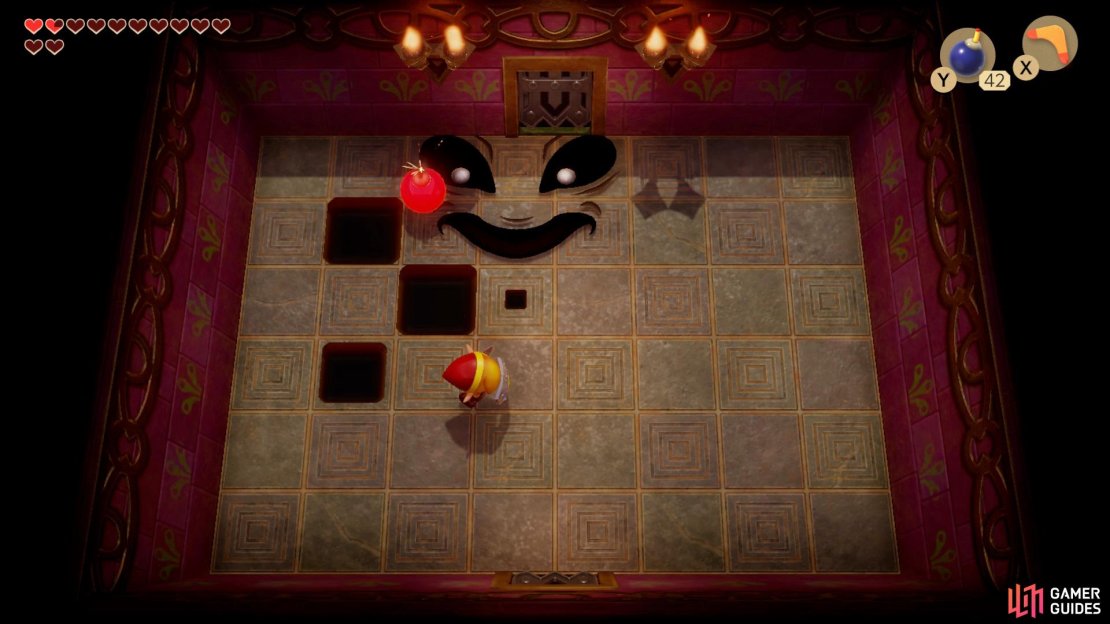
(1 of 3) Place Bombs on top of Facade when he shows his face for a moment and jump over the floor pieces that are coming at you,
Kill the enemy inside and open the door ahead with the Nightmare Key, proceed straight through the room into another room where you’ll face the main boss of this dungeon, Facade. In order to kill it you’ll need to place Bombs on the location the face is shown on the floor, whilst you’re doing this you’ll need to watch out for the pieces of floor that fly at you.
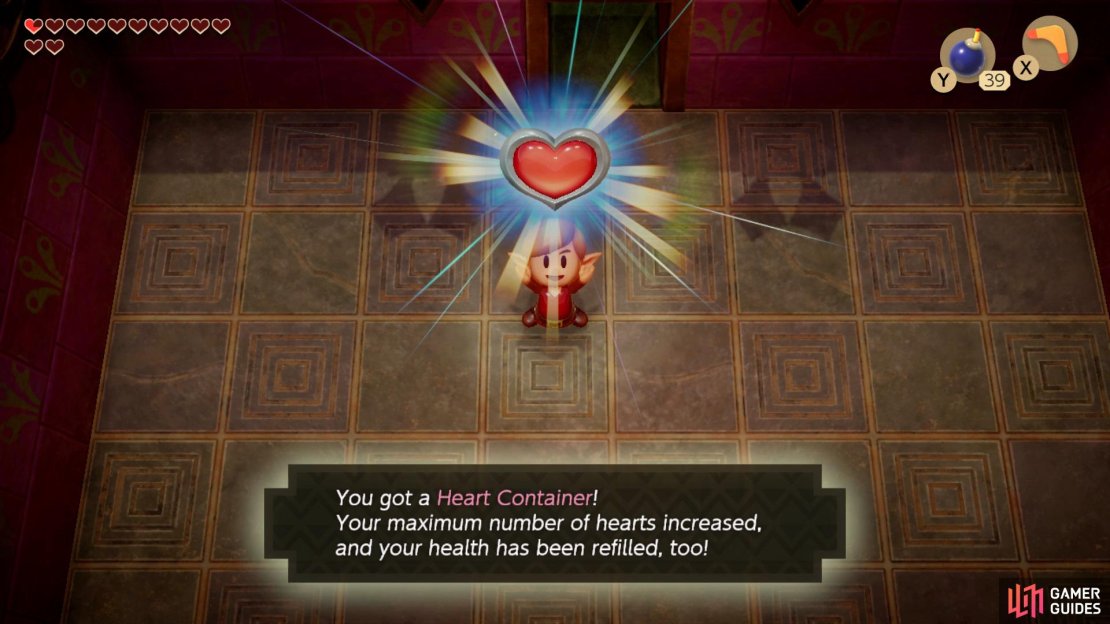
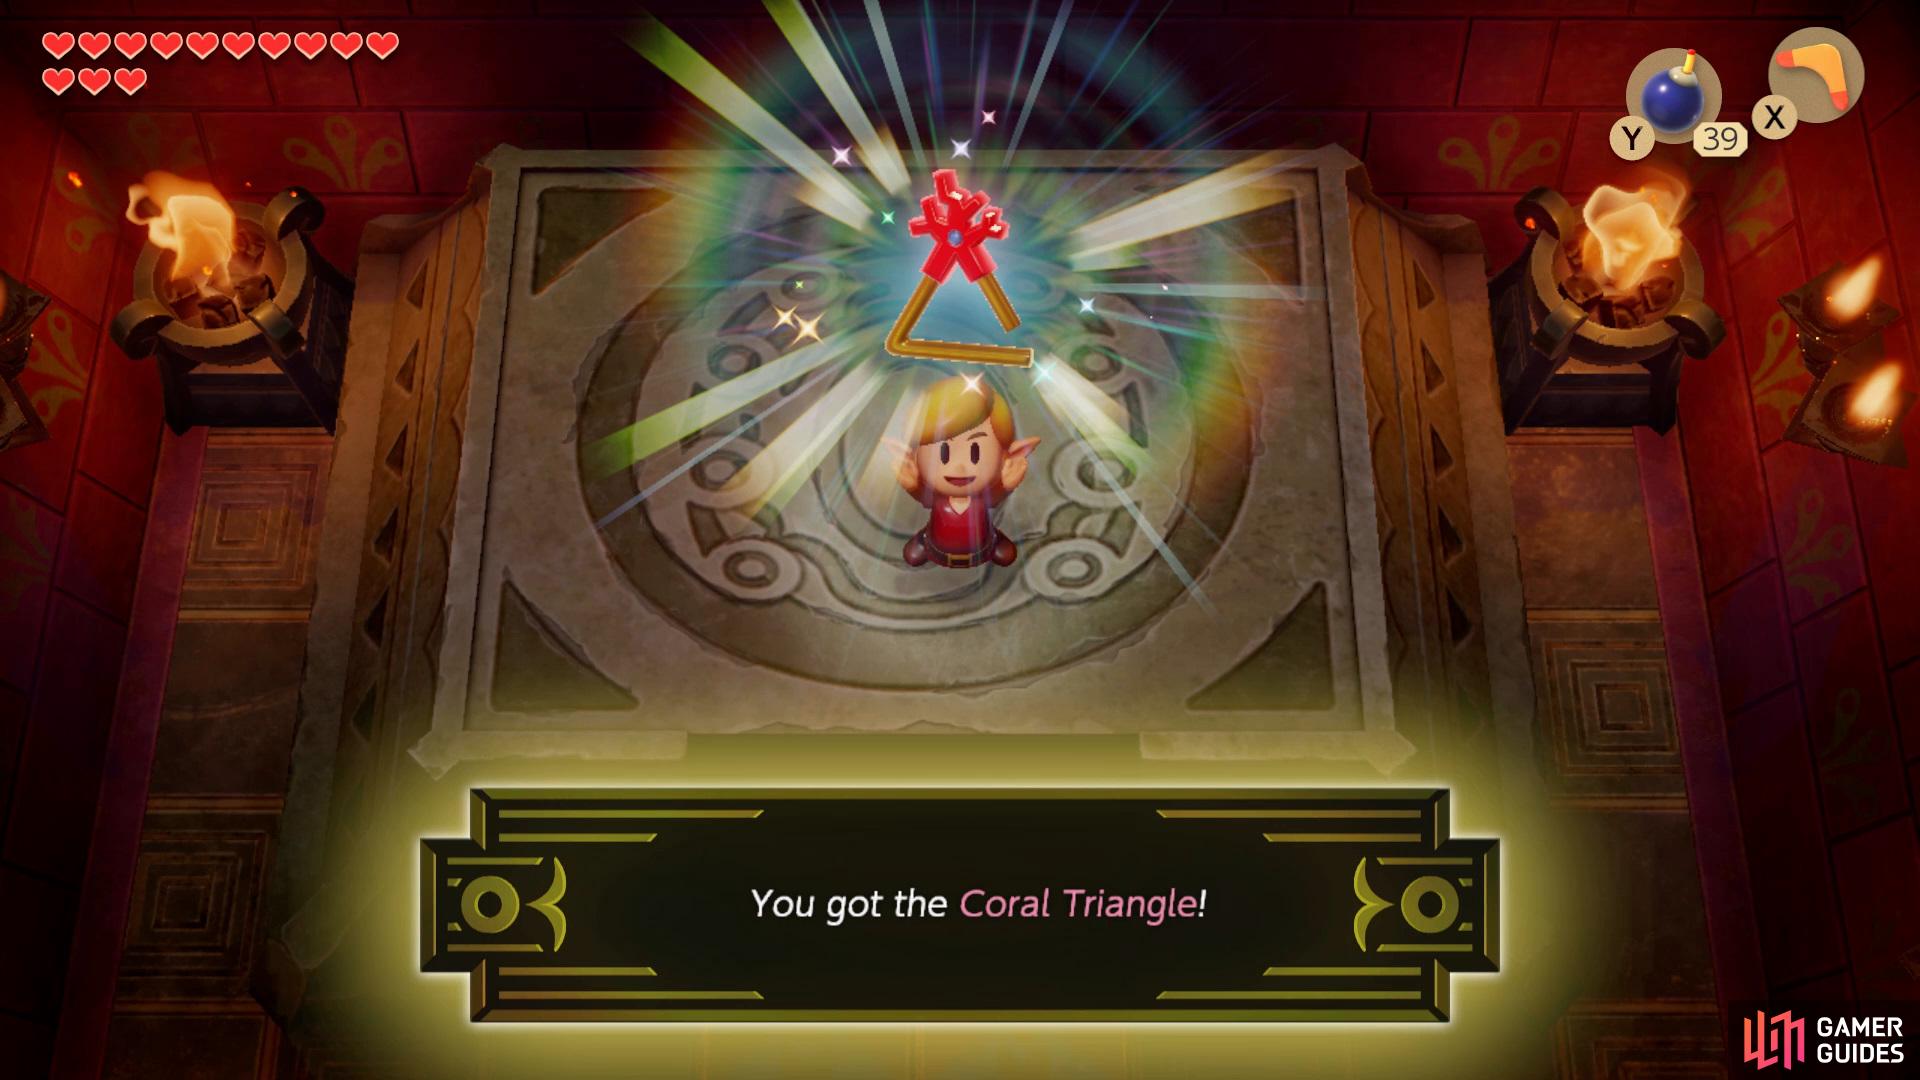
Once the boss has been defeated, pick up the Heart Container and proceed to the room ahead where you’ll be able to obtain the Coral Triangle.
No Comments