
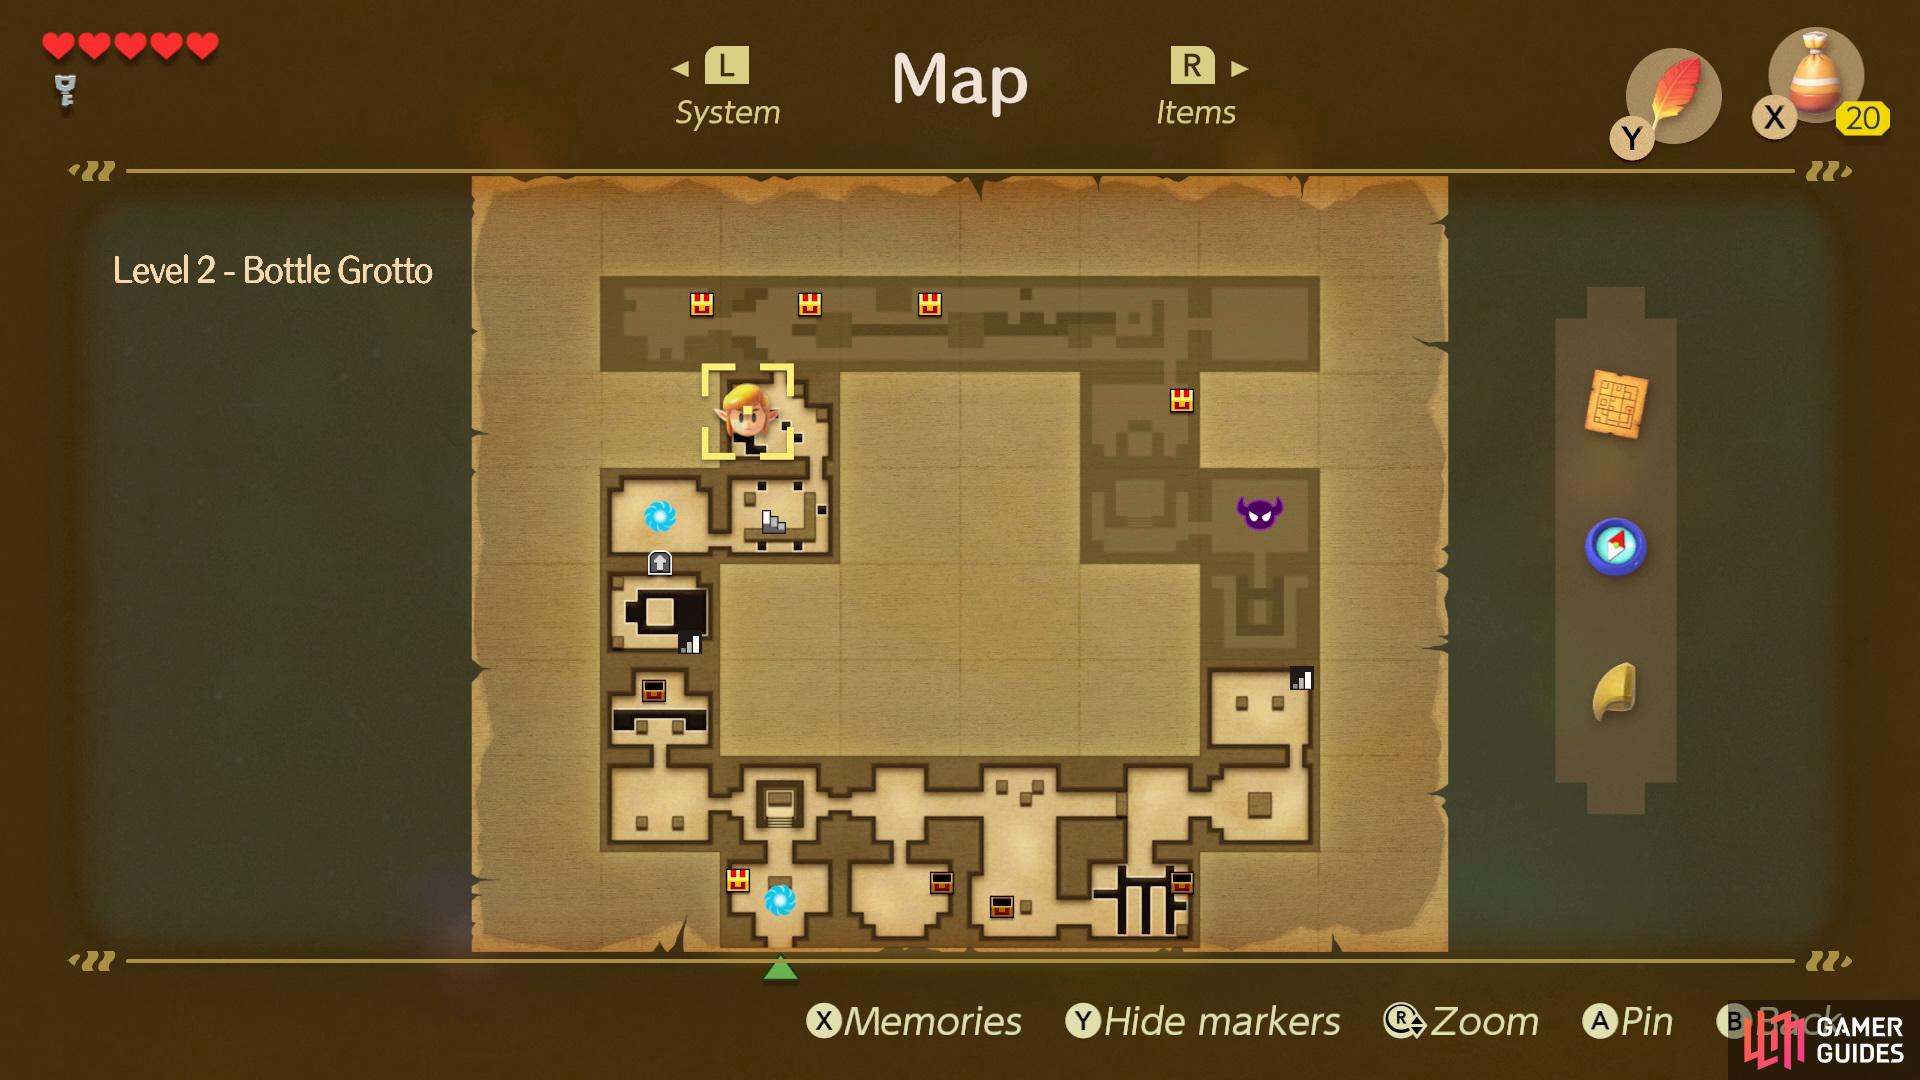
Locating the Stone Beak
Once you’ve entered the Bottle Grotto head up into the room ahead and light the two torches in the center with your Magic Powder to unlock the door to the right, head through it and kill the enemies there to get a Small Key to drop.
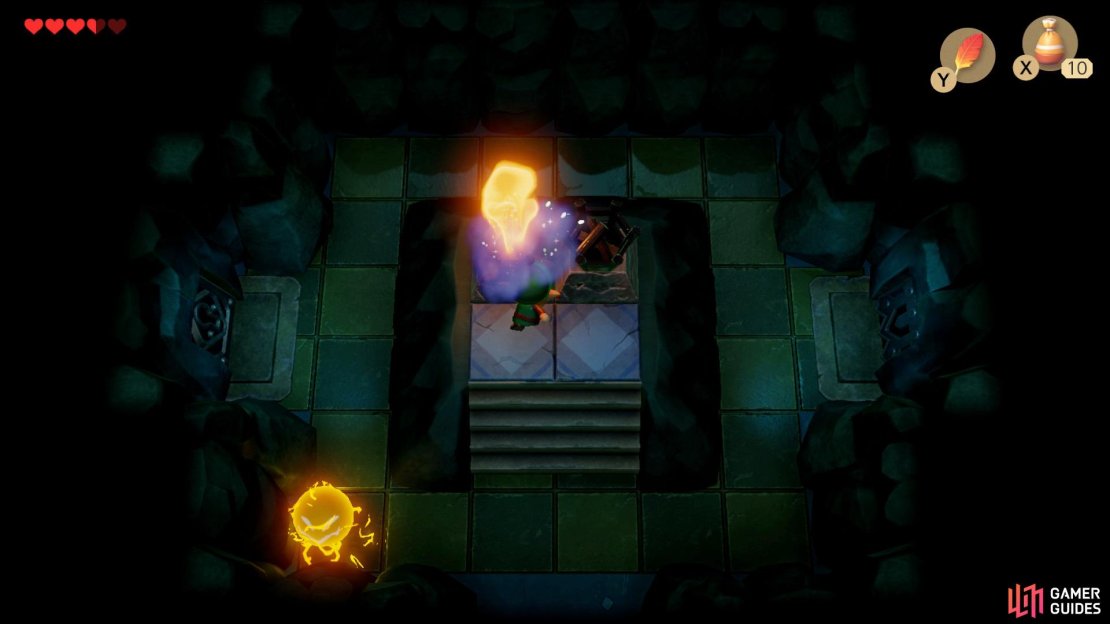


(1 of 4) Head north from the first room in the cave and light the torches with your Magic Powder,
Collect it and head back through the room with the torches and use the Small Key to unlock the left door and proceed through, kill the enemies inside to get the door to the north to unlock and then head through that. Jump across the gap and open the Chest to get the Stone Beak, kill the enemy nearby to unlock the door for you after.
Locating the Compass
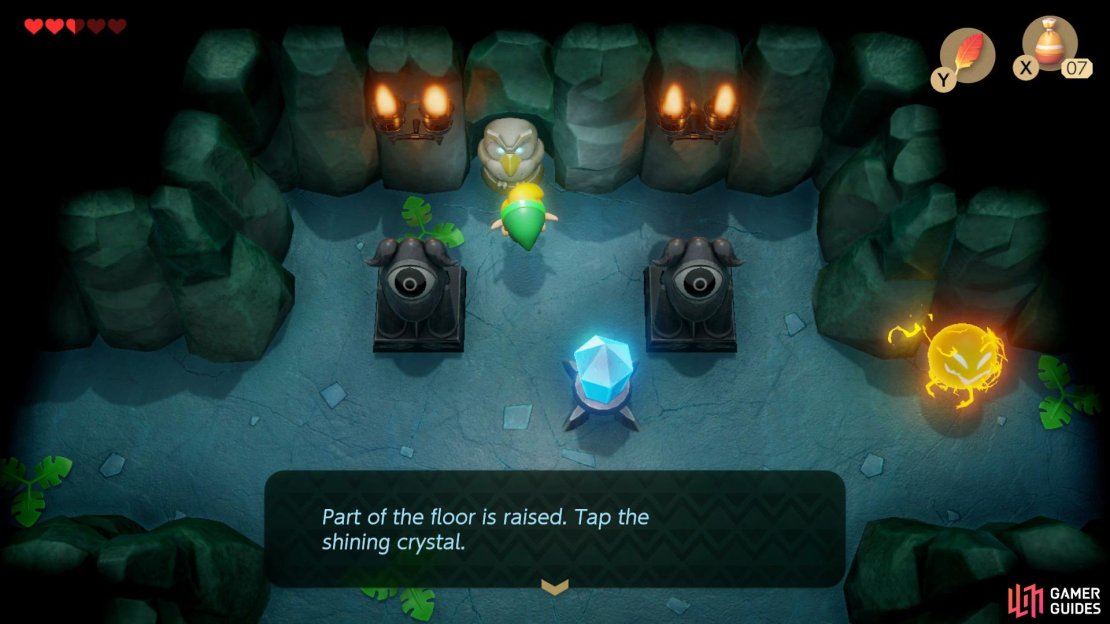
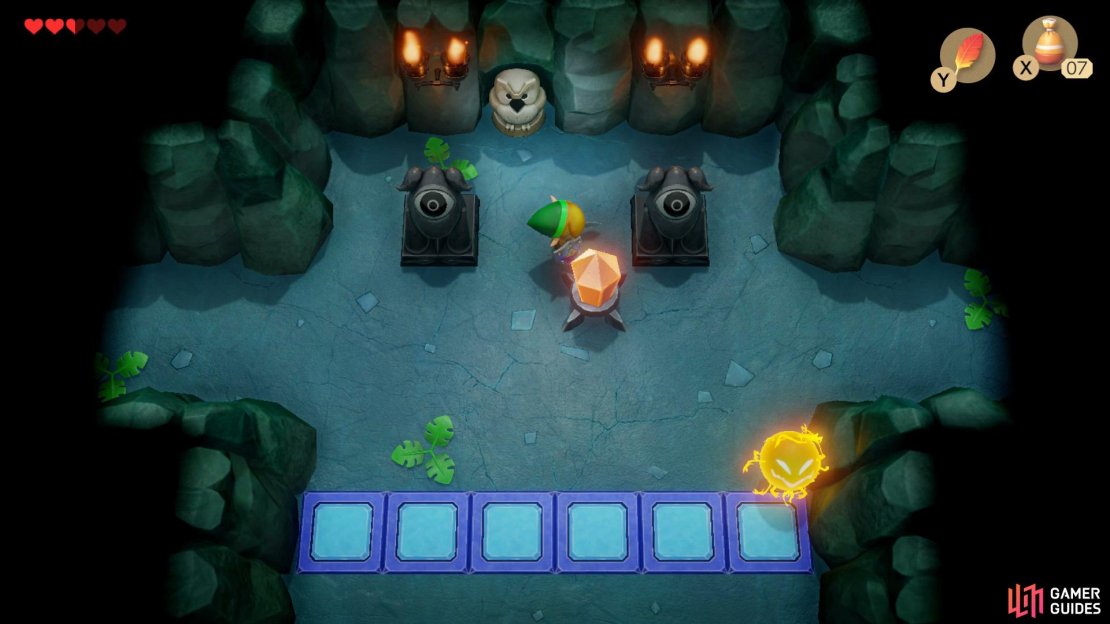


(1 of 4) Head to the room to the right and interact with the Owl for a clue,
With the Small Beak now acquired, head back to the room where you collected the Small Key and then make your way into the next room to the right, use your Sword to hit the Crystal in the center to cause it to glow orange, opening the path to the south of the room for you.
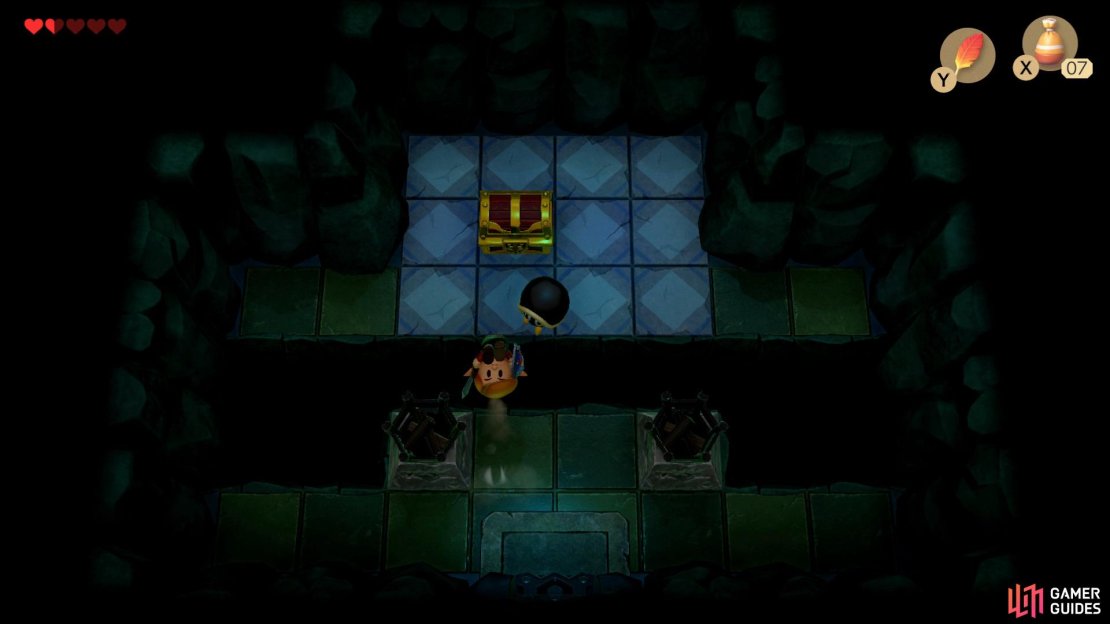
Head down and hit the second Crystal in the room to gain access to the Chest with a Small Key inside. Now head right and jump across the room to the button in the bottom right corner to cause a Chest to spawn with a Small Key, hit the Crystal to change the block formation allowing you to get to the upper section of the room after.
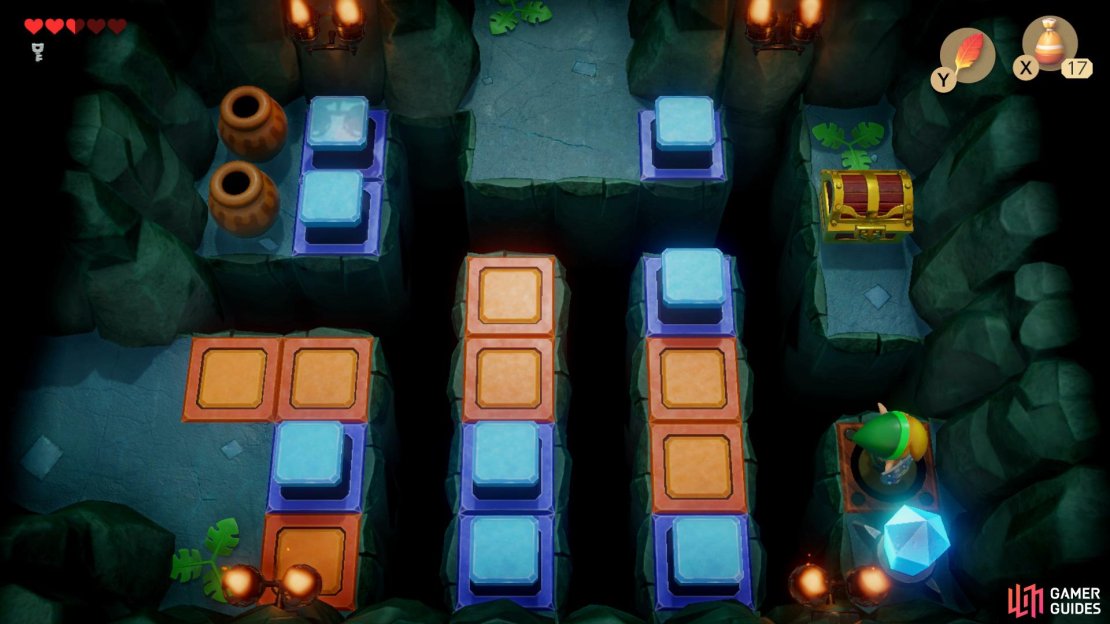


(1 of 4) Head right from where you got the previous Small Key and jump across to the button in the corner to spawn a Chest,
Enter the room ahead where you’ll find two Mask Mimics inside, in order to kill these you’ll need to position yourself close to them and do a Spin Attack with your Sword by holding down the A button. After the Mimics have been defeated, head back to where you found the first Crystal and follow the path around to the right and collect another Small Key.
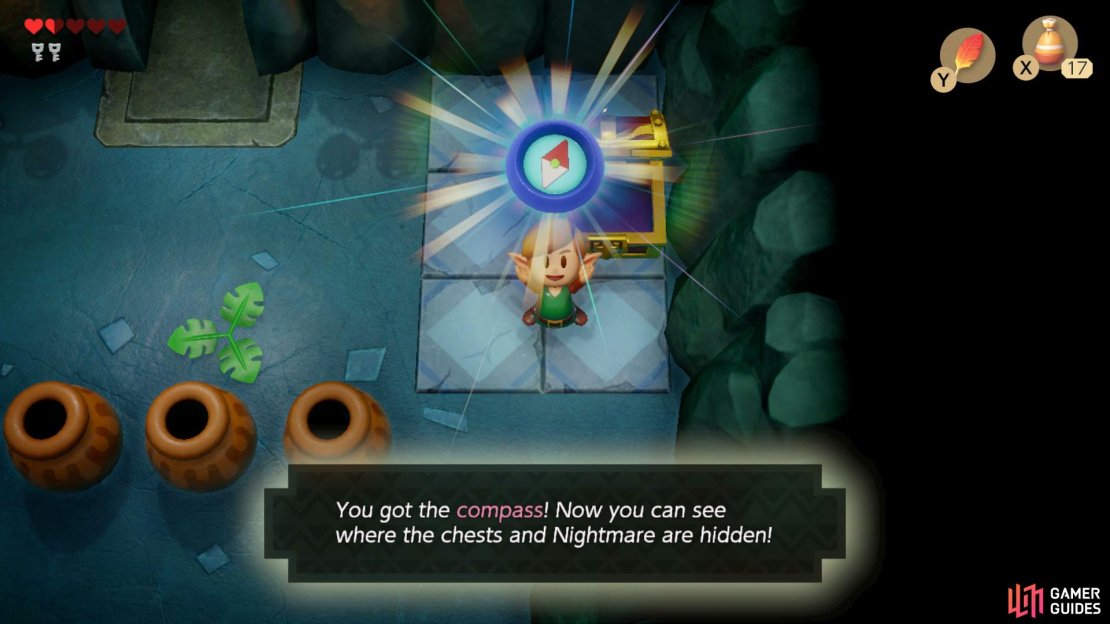
With the Key collected, head into the left room and go through the bottom door, kill the enemy inside to spawn a Chest with the Compass inside.
Mini-Boss: Hinox
Once you’ve collected the Compass, head back to the room with the two Mimics and then head right into the next room, use the Small Key to open up the door in the top right corner. Speak with the Owl for a clue and then move the two blocks together in the center of the room to reveal a hidden staircase.


(1 of 2) In order to defeat Hinox you’ll need to keep moving around the arena,
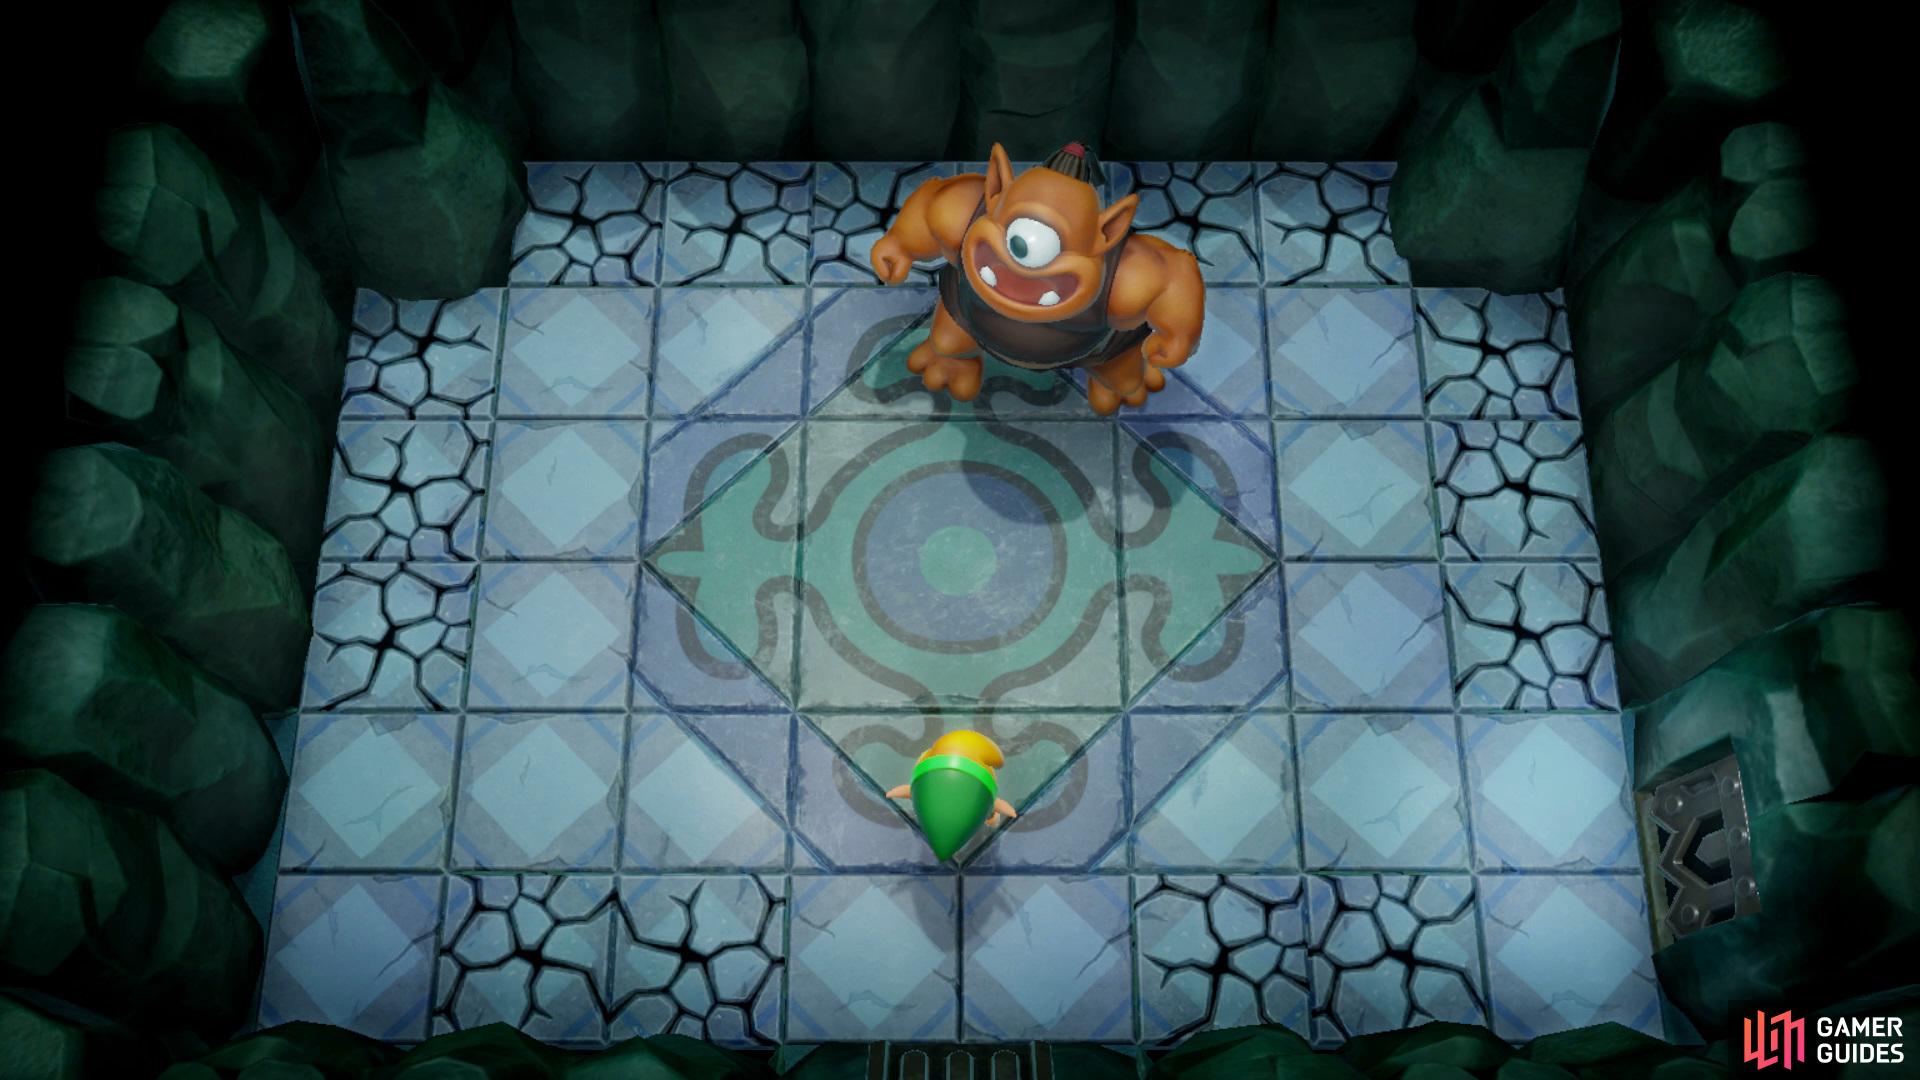
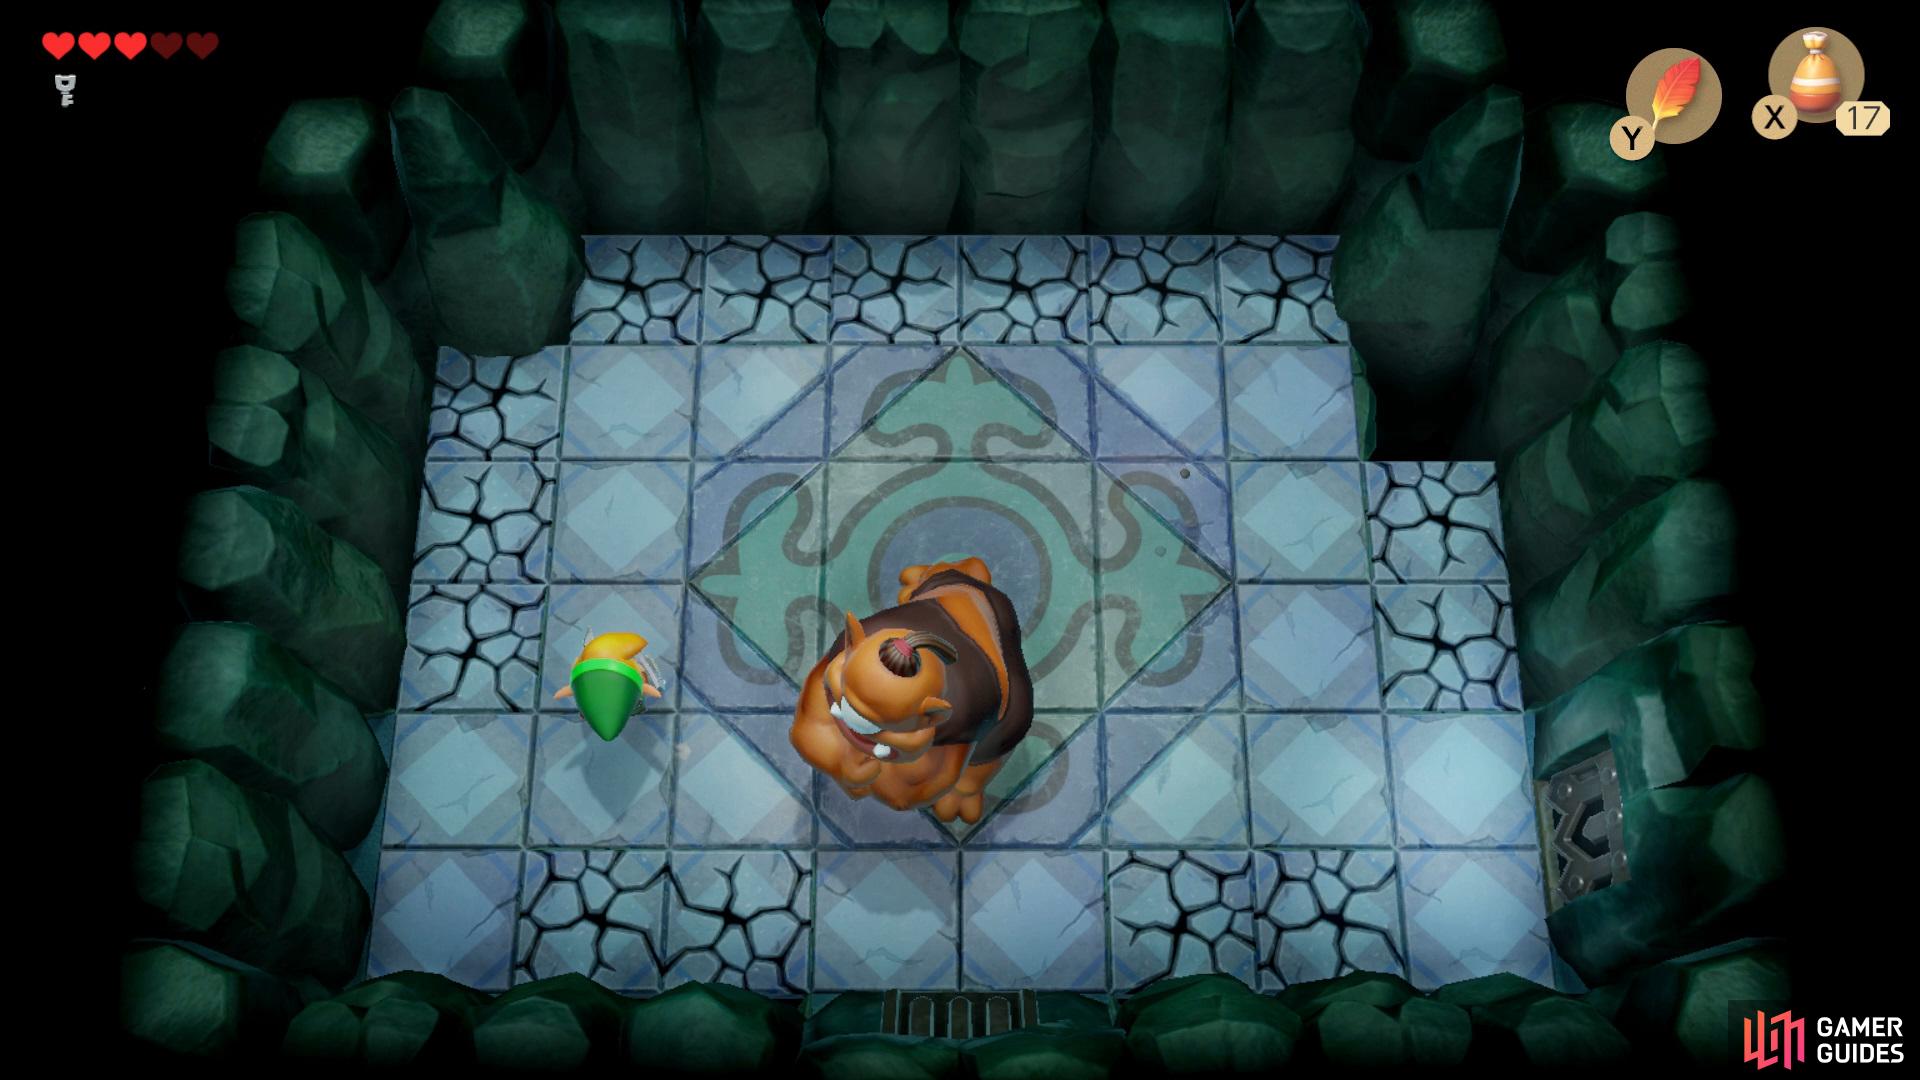
In order to defeat Hinox you’ll need to keep moving around the arena, (left), keeping out of the way of his grab attack. (right)
Head down the stairs and hop along the moving platforms to help you get to the other side and climb up, after you’ve spawned quickly hop over into the middle and collecting the hearts along the way and proceed into the next room ahead and take on the Mini-Boss of this dungeon, Hinox.
In order to defeat Hinox you’ll need to move out of the way of his grab attacks and then hit him, repeat this until he is slain. Be wary while you’re dodging his attacks however as the cracked floor will give way if you stand on it for too long.
Locating the Map of the Bottle Grotto
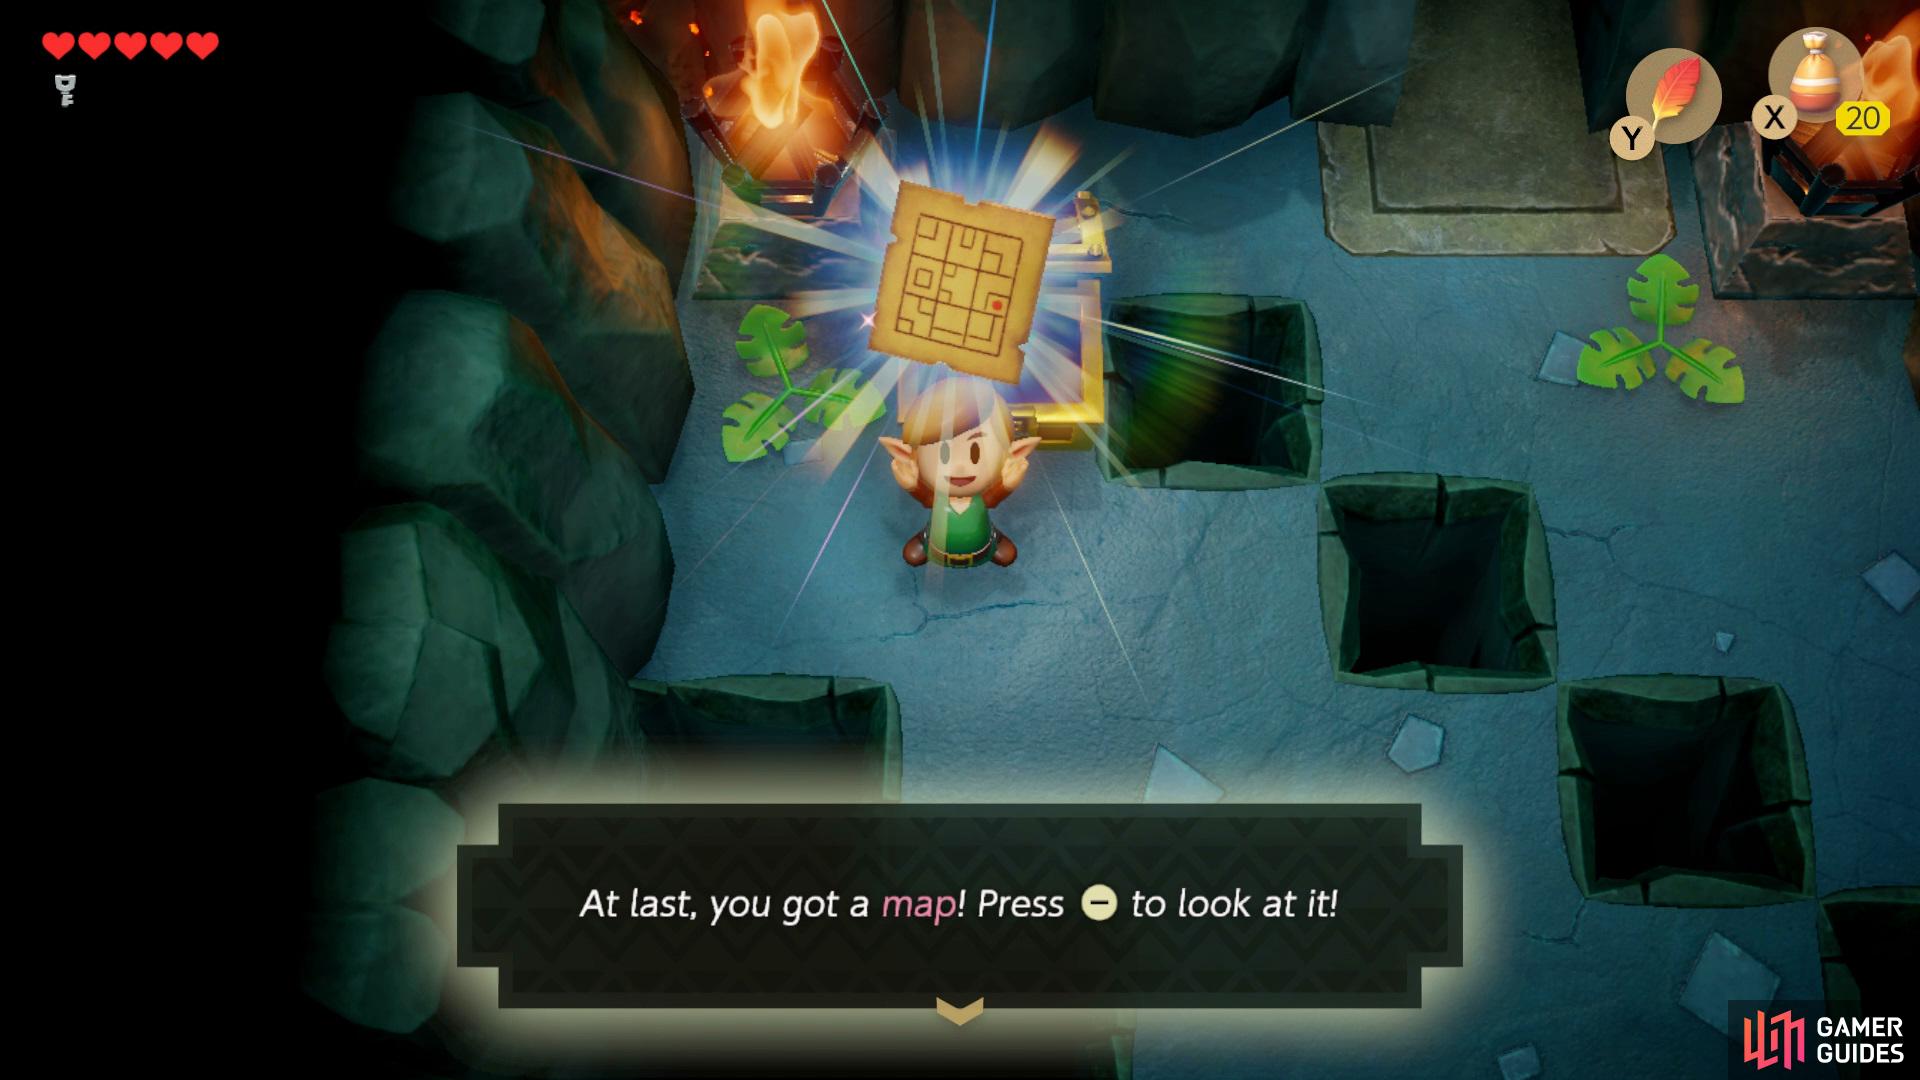
Keep moving the opposite direction of the purple enemy and grab the map out of the Chest.
Once you’ve defeated the Mini-Boss, exit out of the door on the bottom right and follow the path around into the next room, inside you’ll find a Chest with the Map of the Bottle Grotto but in order to get this you’ll need to move in the opposite direction of where you’re being sucked in by the purple enemy in the corner.
Locating the Nightmare Key
With the Map collected head into the room ahead and open another Chest with 20 Rupees inside. Open the door to the left with the Small Key and quickly light the torches with you Magic Powder to kill the enemies which will spawn in a Chest with a Power Bracelet.


(1 of 3) Head left from the room where you collected the 20 Rupees and swipe your Sword to get the Ghost to move,
Make your way back into the room where you collected the Rupees and remove the vases from behind the Chest to allow you to get through, now head towards the Crystal and hit it once to allow you to get to the other side and hit again to open up the Chest and collect a Small Key, hit the Crystal one last time to allow you to get to the right side of the room.
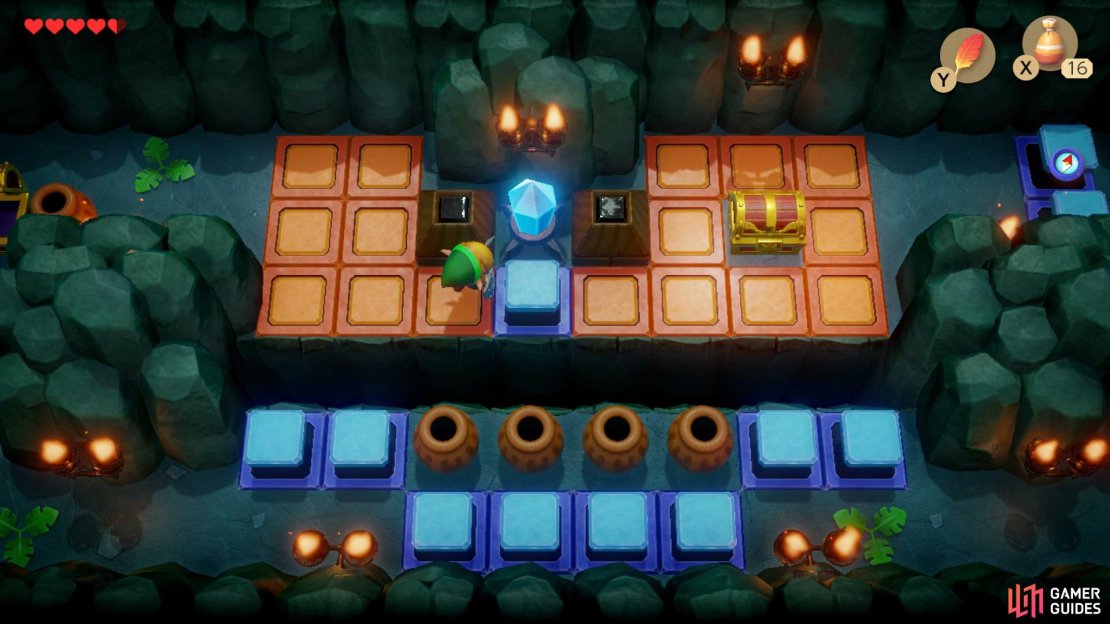


(1 of 6) Once you’ve destroyed the three vases, hit the crystal to get across and then hit it again to open the chest,
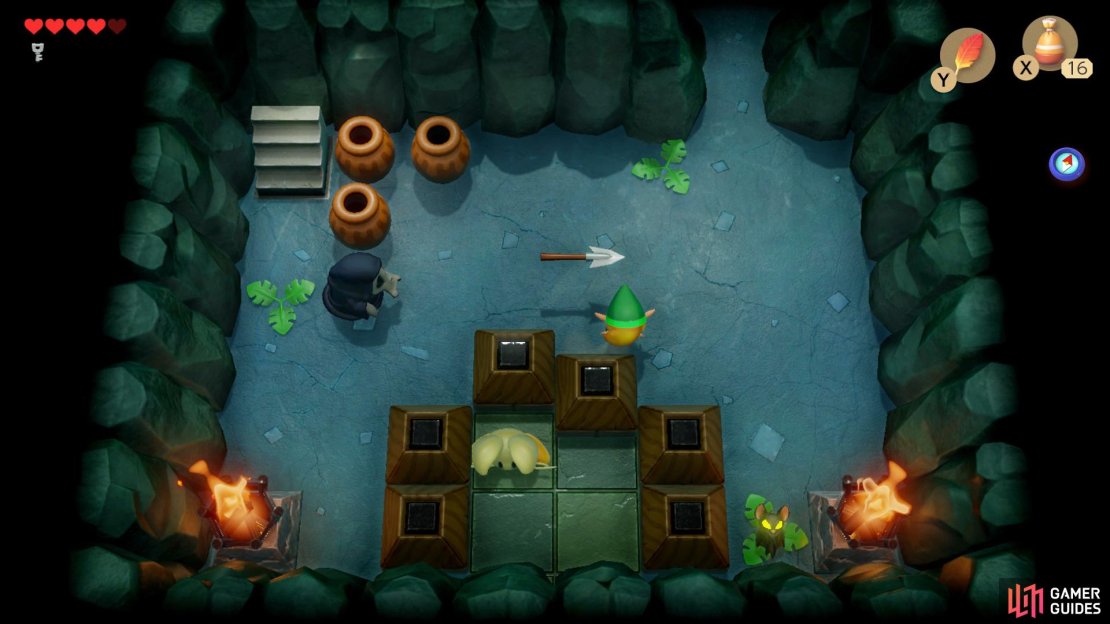
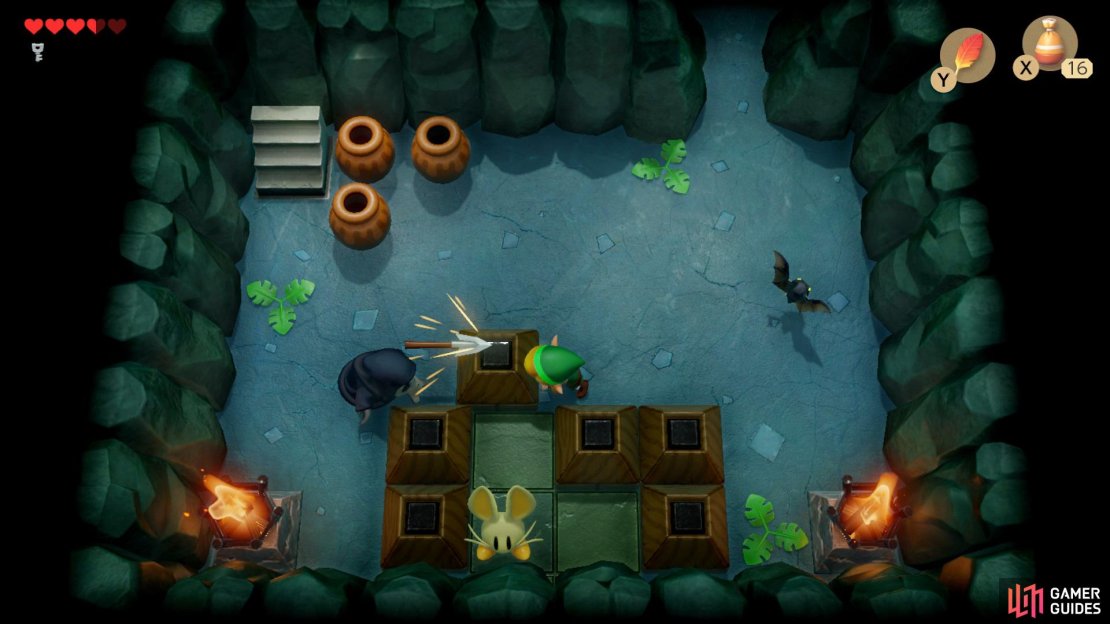
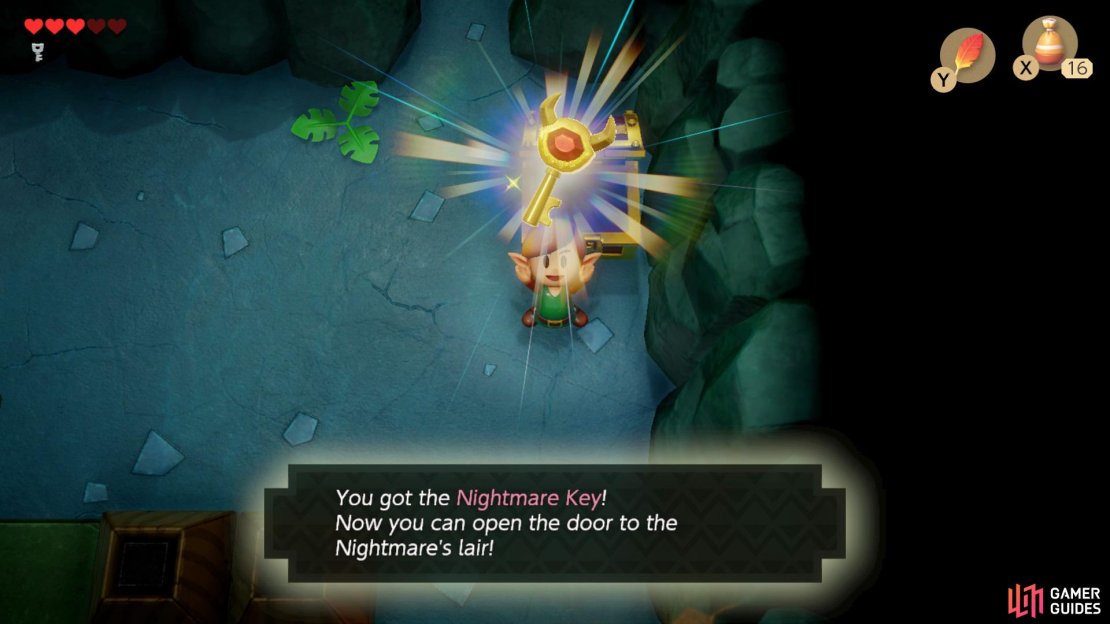
Follow the path around and enter the room to the southwest, inside you’ll see some blocks, here you’ll need to move one down towards the rabbit and another to the left, grab a vase and throw it over the rabbit’s head to kill it. Now take out the Bat and Skeleton in this order to get a Chest with the Nightmare Key to spawn.
Exit the room and head through the door to the right and use the vases to take out the rabbits and then use the now accessible ladder to head down. Make your way to the left side of the area and grab a vase and step on the platform to allow you to go down and use the ladder to climb up.
Follow the path around and jump across to unlock the door, enter to fight the Nightmare of this dungeon.
Boss: Genie
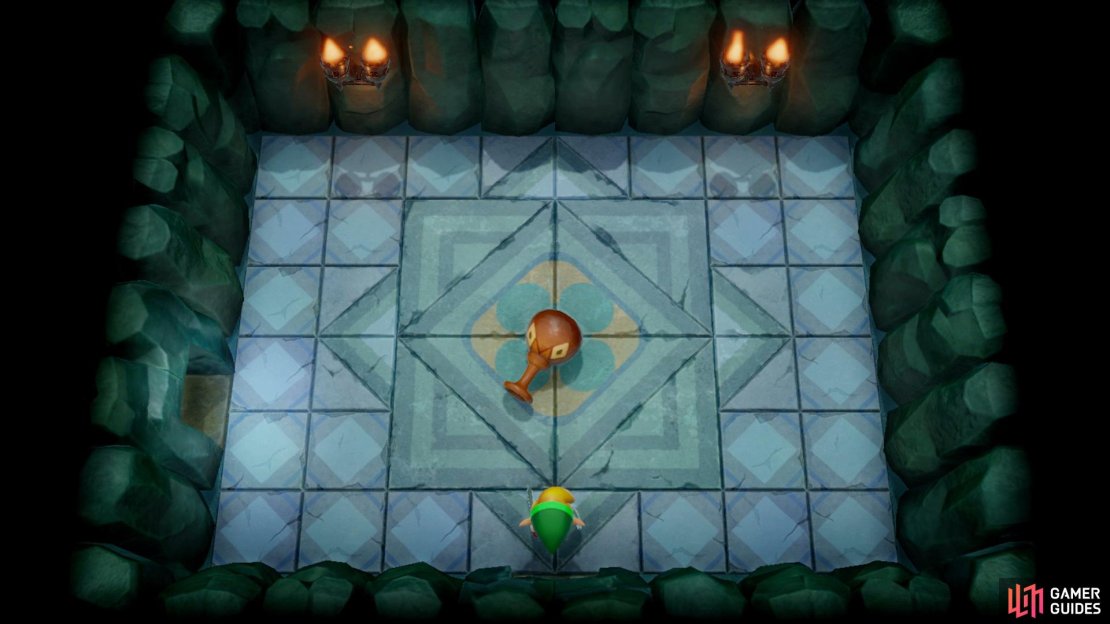
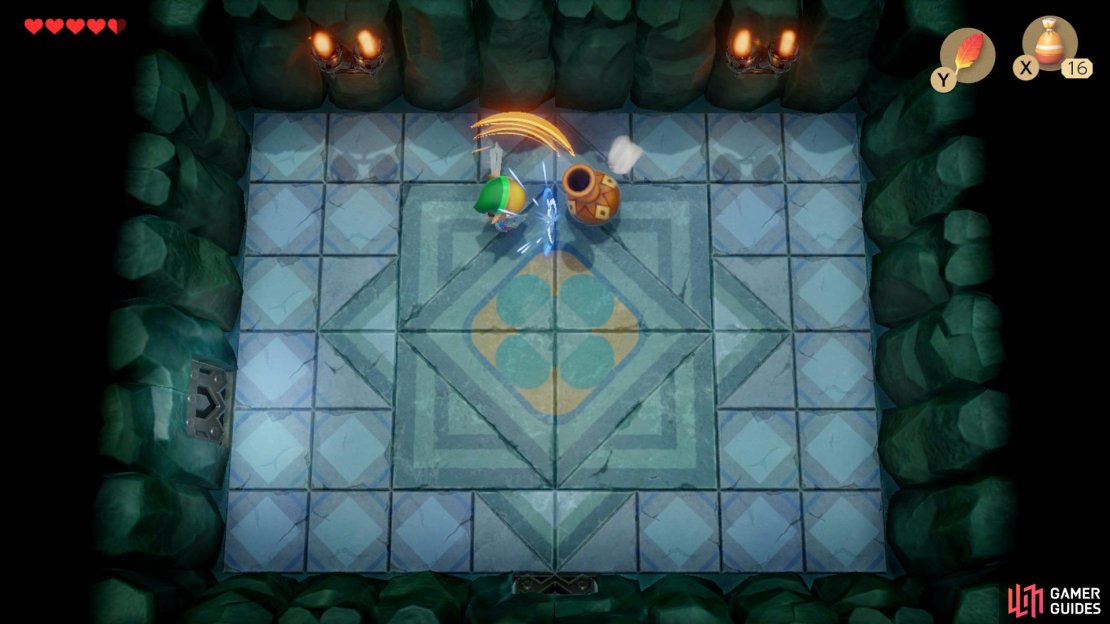


In order to defeat the Genie you’ll need to dodge his fireballs by circling the arena then wait for him to hide in the bottle and hit it once, now pick up the bottle and launch it at the wall. You’ll need to repeat this a few times until the bottle breaks allowing you to finally defeat the Genie.
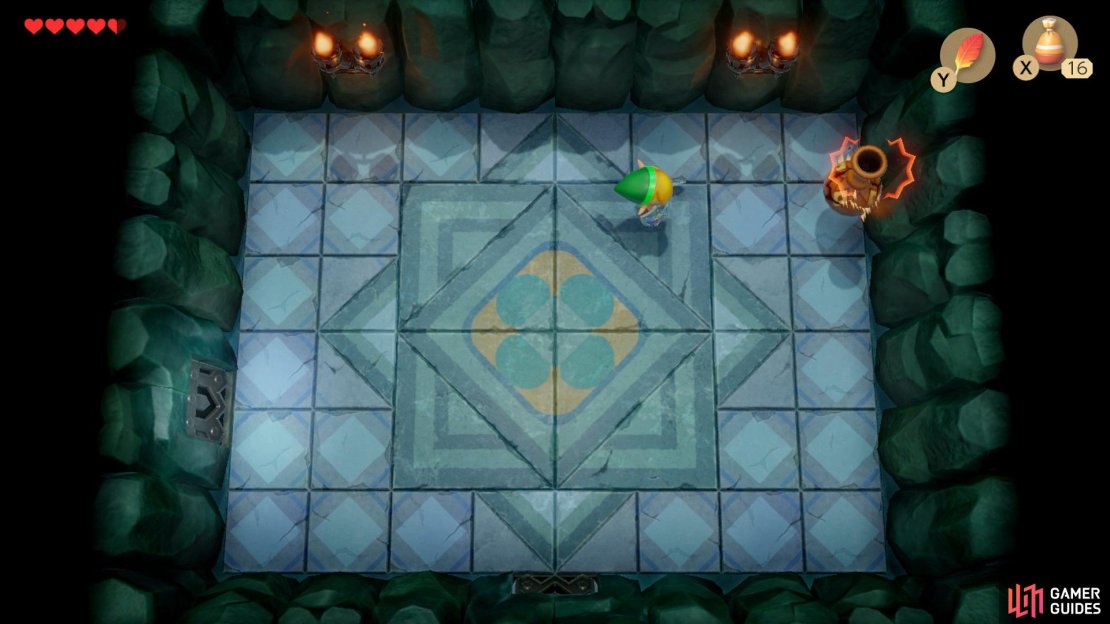
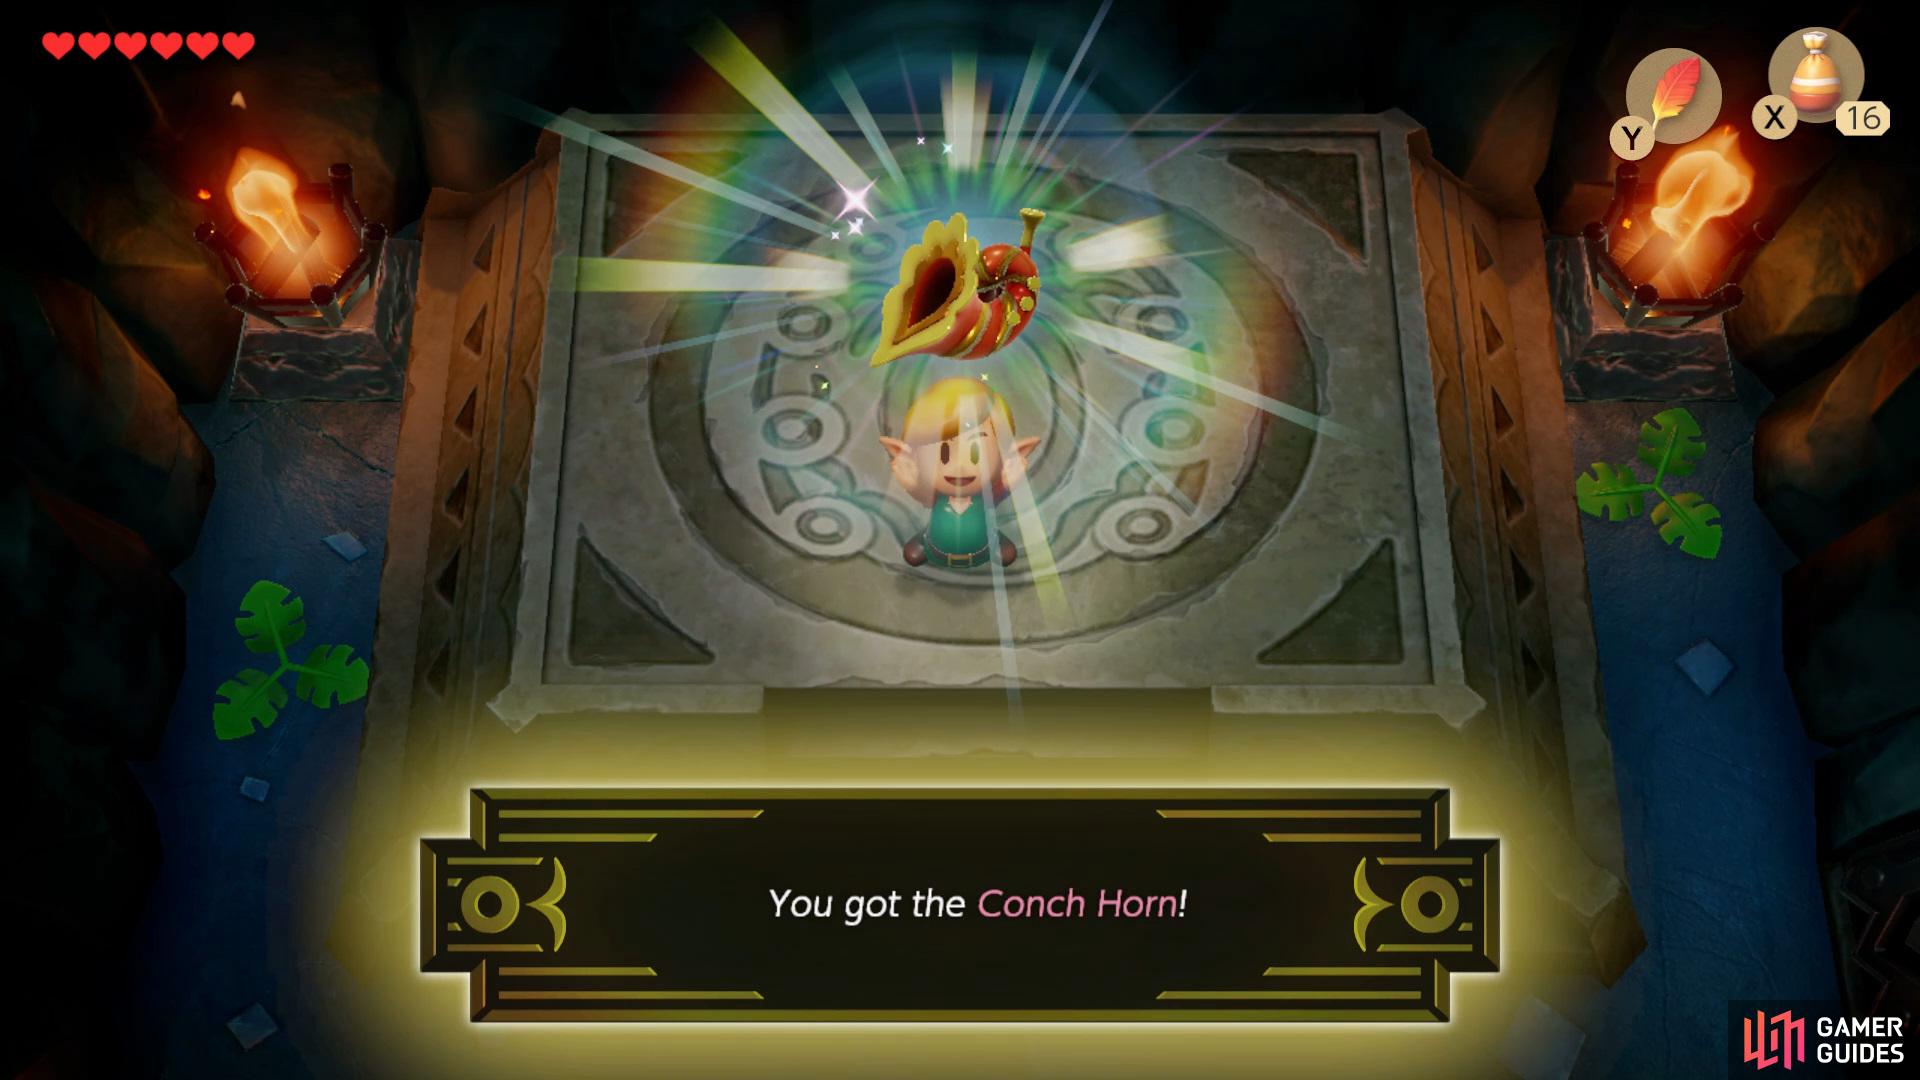
Locating the Conch Horn
After you’ve defeated the boss, collect the Heart Container from the ground and enter the now open room, inside will be the Conch Horn.
No Comments