
Return to Dathomir
Use the Holotable and set course back to Dathomir. Once you’ve landed make your way back up the ruins and you’ll face the Bounty Hunter, Murdie. The easiest and quickest way to get past this mini-boss is by lifting him up using Grasping Pull and launching him off the side, after he has been taken care of head into the ruins and use the Meditation Point to restore any lost Stims and then interact with the back wall.
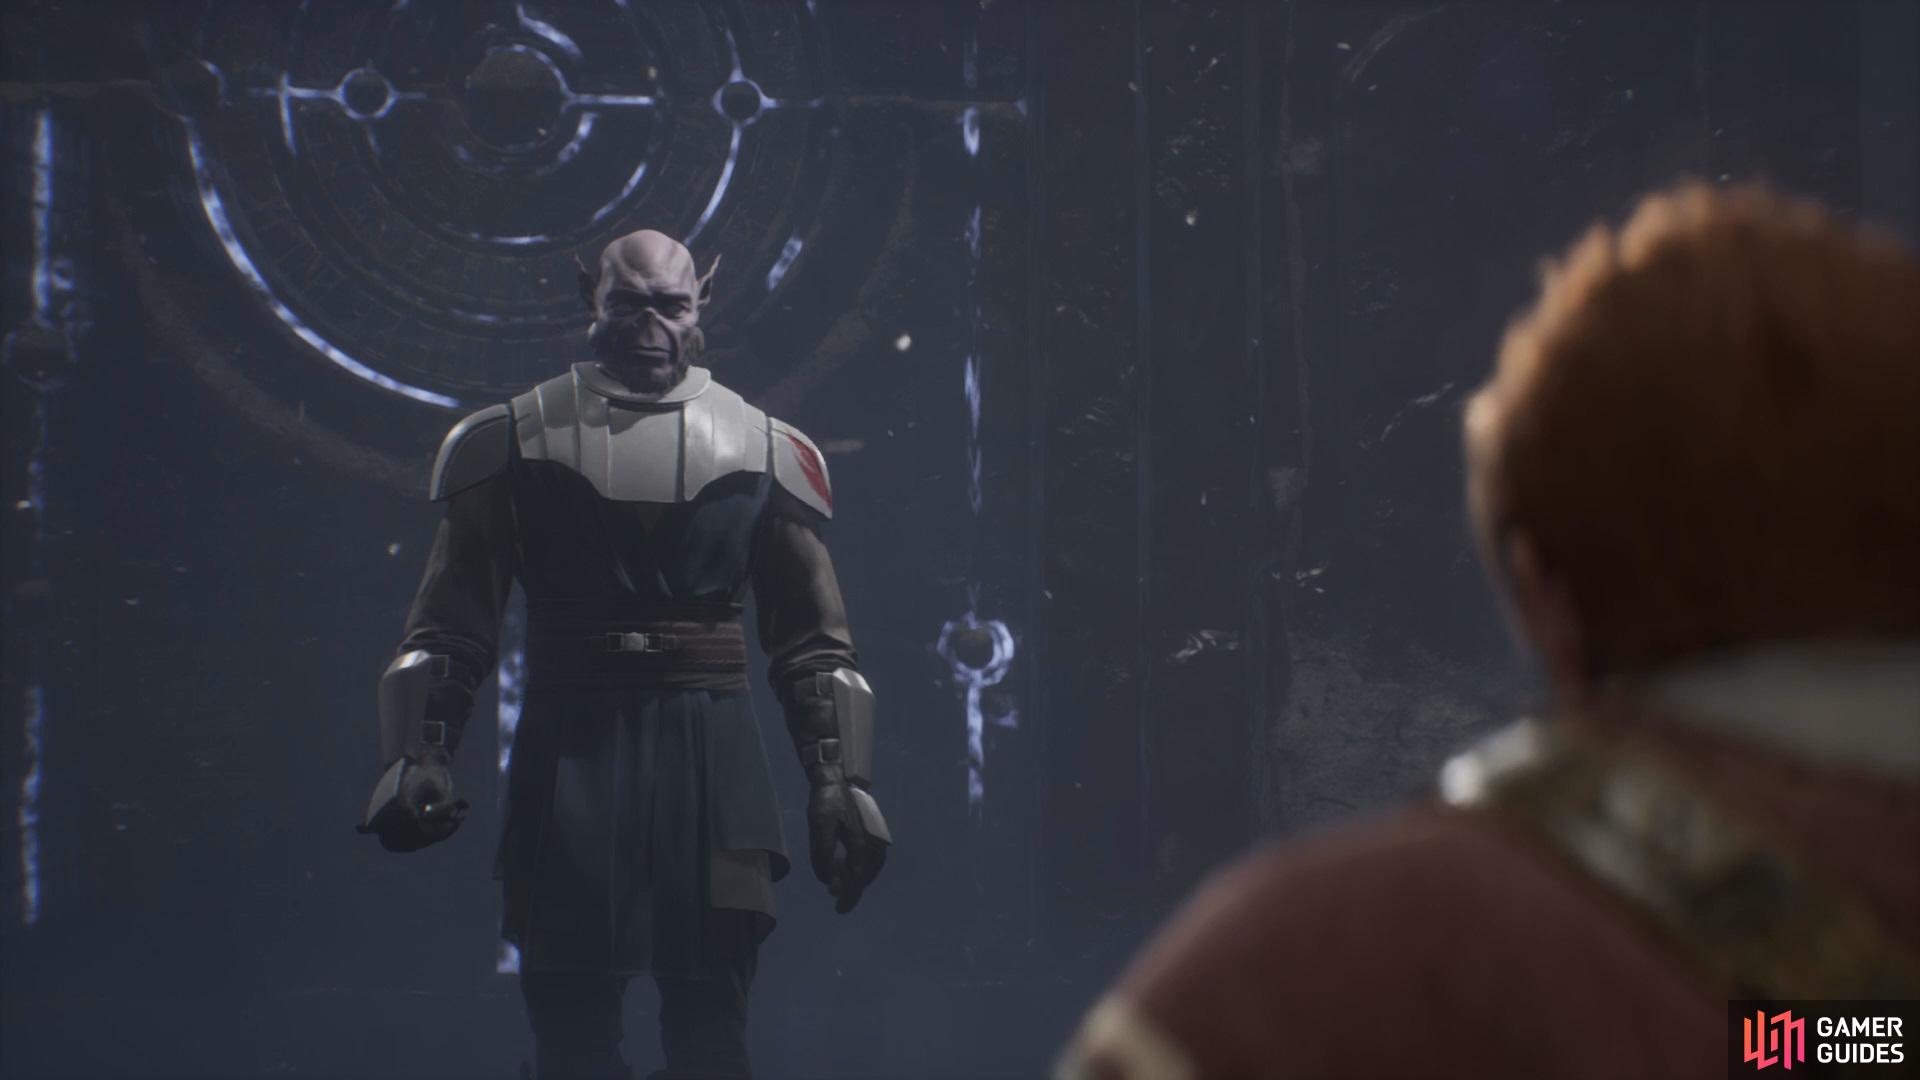
Face Jaro Tapal once more.
Here you’ll face Jaro Tapal again, simply deflect his swipes and then go in for a couple of hits. After a couple of hits Cal will put away his Lightsaber and a short cutscene will play out, after it has concluded follow the path ahead into the Tomb of Kujet to face Taron Malicos.
Boss: Taron Malicos
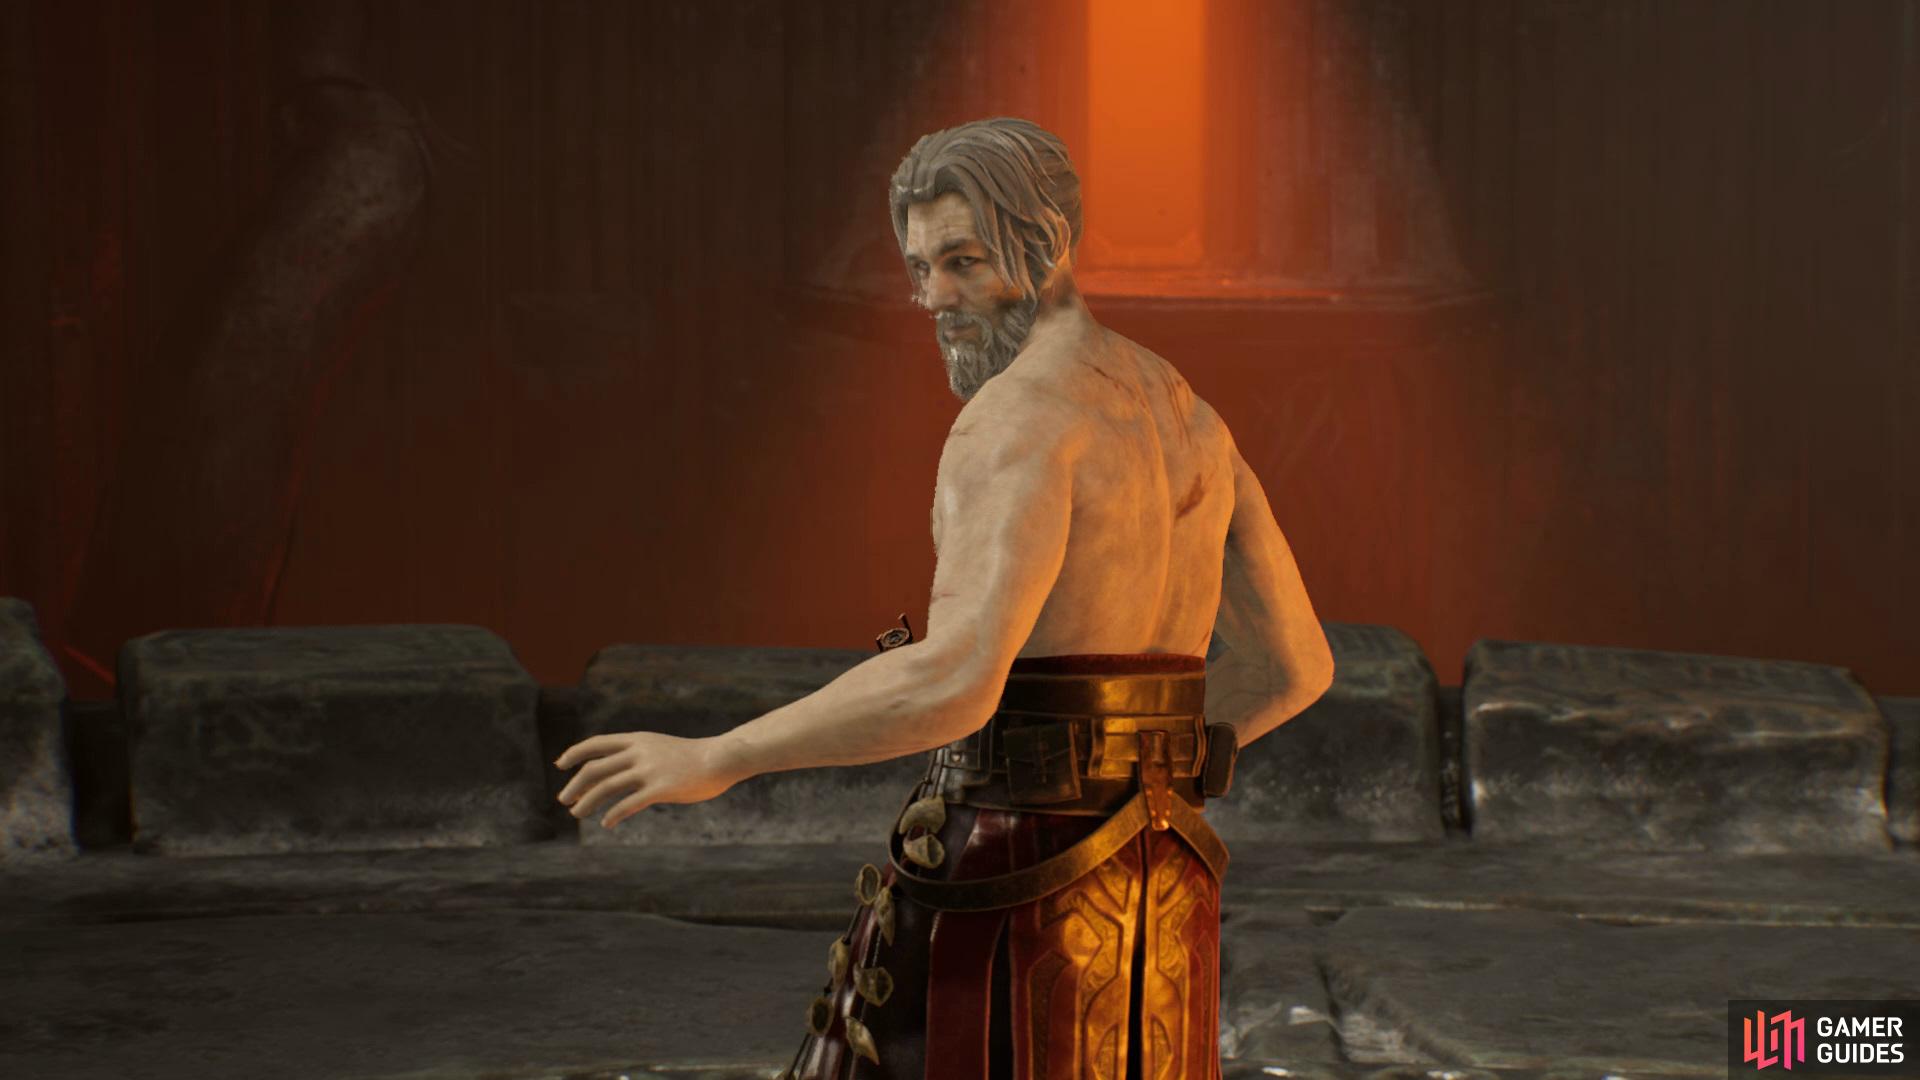
Boss: Taron Malicos.
Taron Malicos is arguably the toughest boss within this game as he has a lot of attacks as well as a nice chunk of health to go with it. In this battle Force Push is your best friend as it will allow you to counter most of his normal attacks. The first Red Attack will involve him jumping up into the air and slamming his two Lightsabers into the ground, this attack cannot be countered so quickly move to the side.
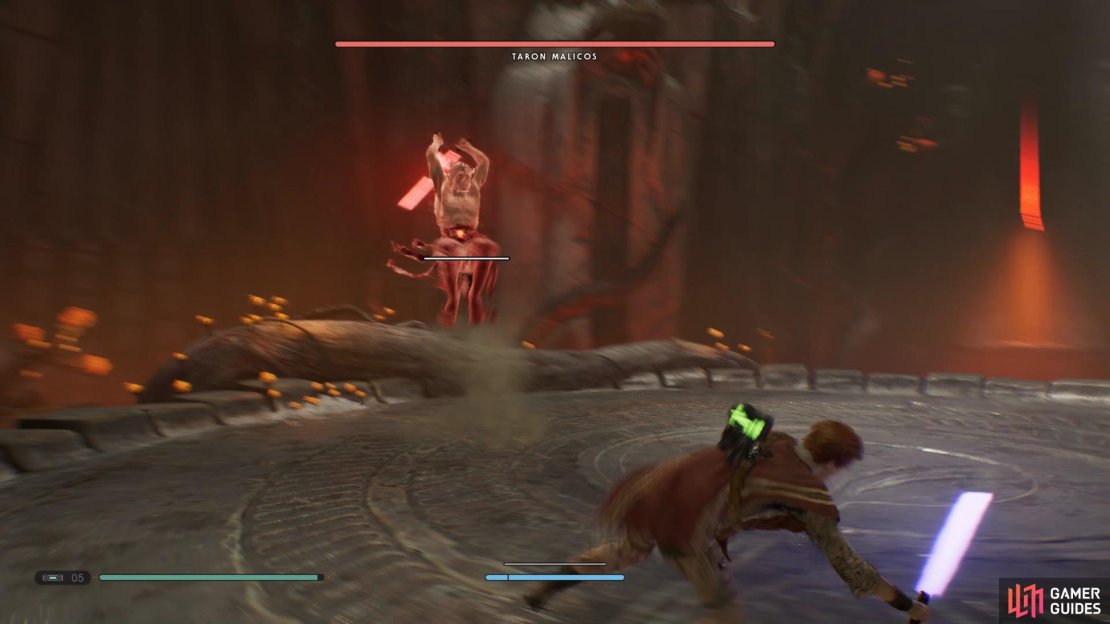


(1 of 3) Watch out for his slam attack
Next up he’ll throw one Lightsaber into the air and then he’ll chase you, simply keep rolling away from him and use your Lightsaber to deflect the airborne one. He’ll also perform another Red Attack which will involve him jumping into the air and doing a spinning slam, after he’ll pick up a large stone and throw it at you.
Once you get him down to half health a short cutscene will play out and you’ll gain a companion for the second phase. The most damaging attack within this phase is when he uses the Force and picks up several stones and throws them at you, these can either be dodged by looping the arena or if you time it correctly you can Force Push the stones onto him which will deal a little bit of damage.


Obtain the Astrium & Head to Bogano
Upon defeating Taron Malicos head further into the Tomb and collecting the Astrium, now exit the Tomb and you’ll be ambushed by another Bounty Hunter, simply throw him off the side like the previous one and return to the Mantis. Onboard the Mantis you’ll want to take a trip back to Bogano.
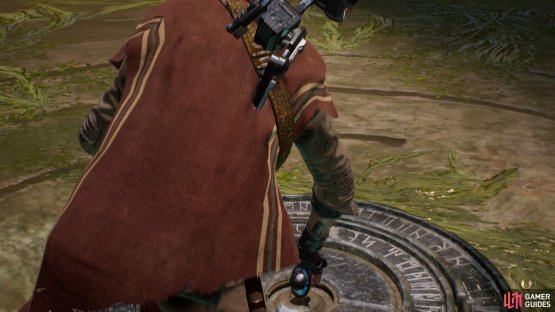
(1 of 2) Insert the Astrium in the center of the vault

Insert the Astrium in the center of the vault (left), and then you’ll enter an interactive cutscene. (right)
Once you’ve landed, head back up to the Vault and insert the Astrium in the center and then interact with the wall on the left, here you’ll begin an interactive cutscene. After it has finished touch the square cube in the middle to begin a battle against Trilla.
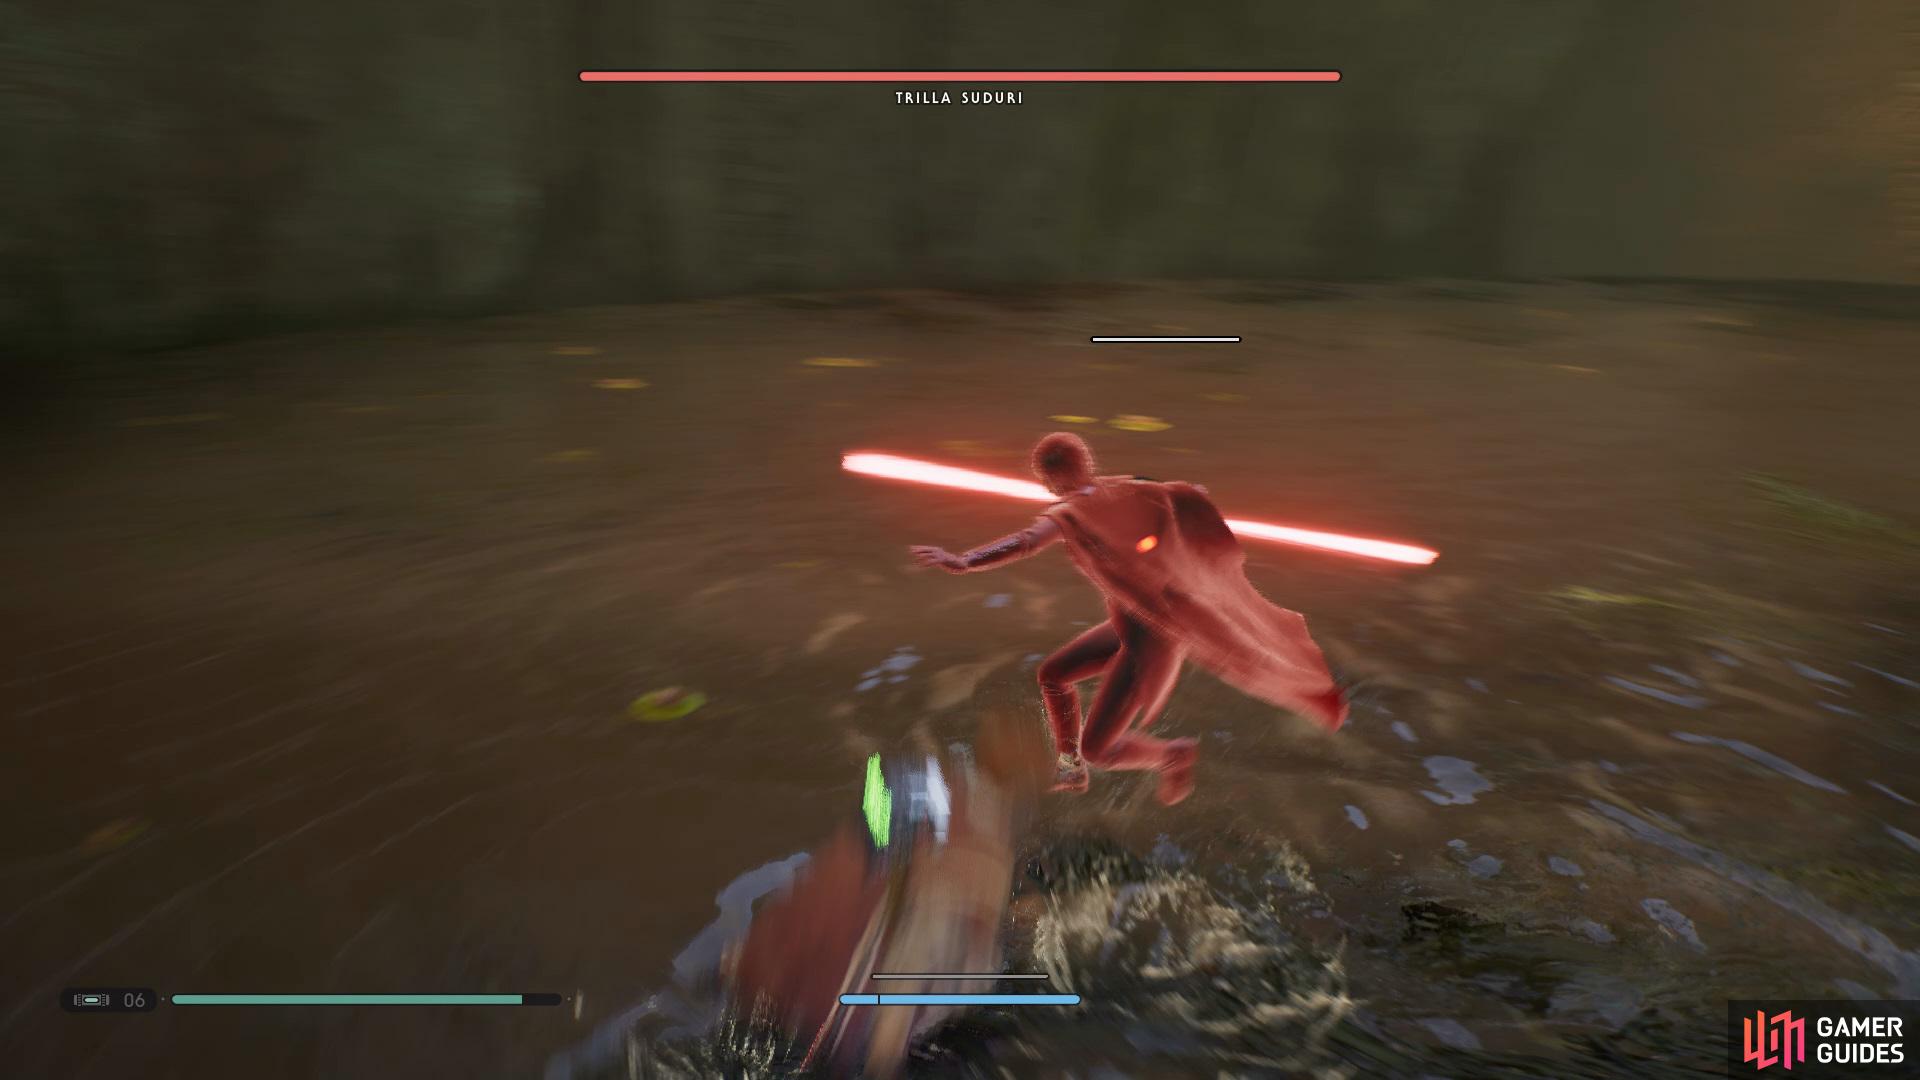
Boss: Trilla
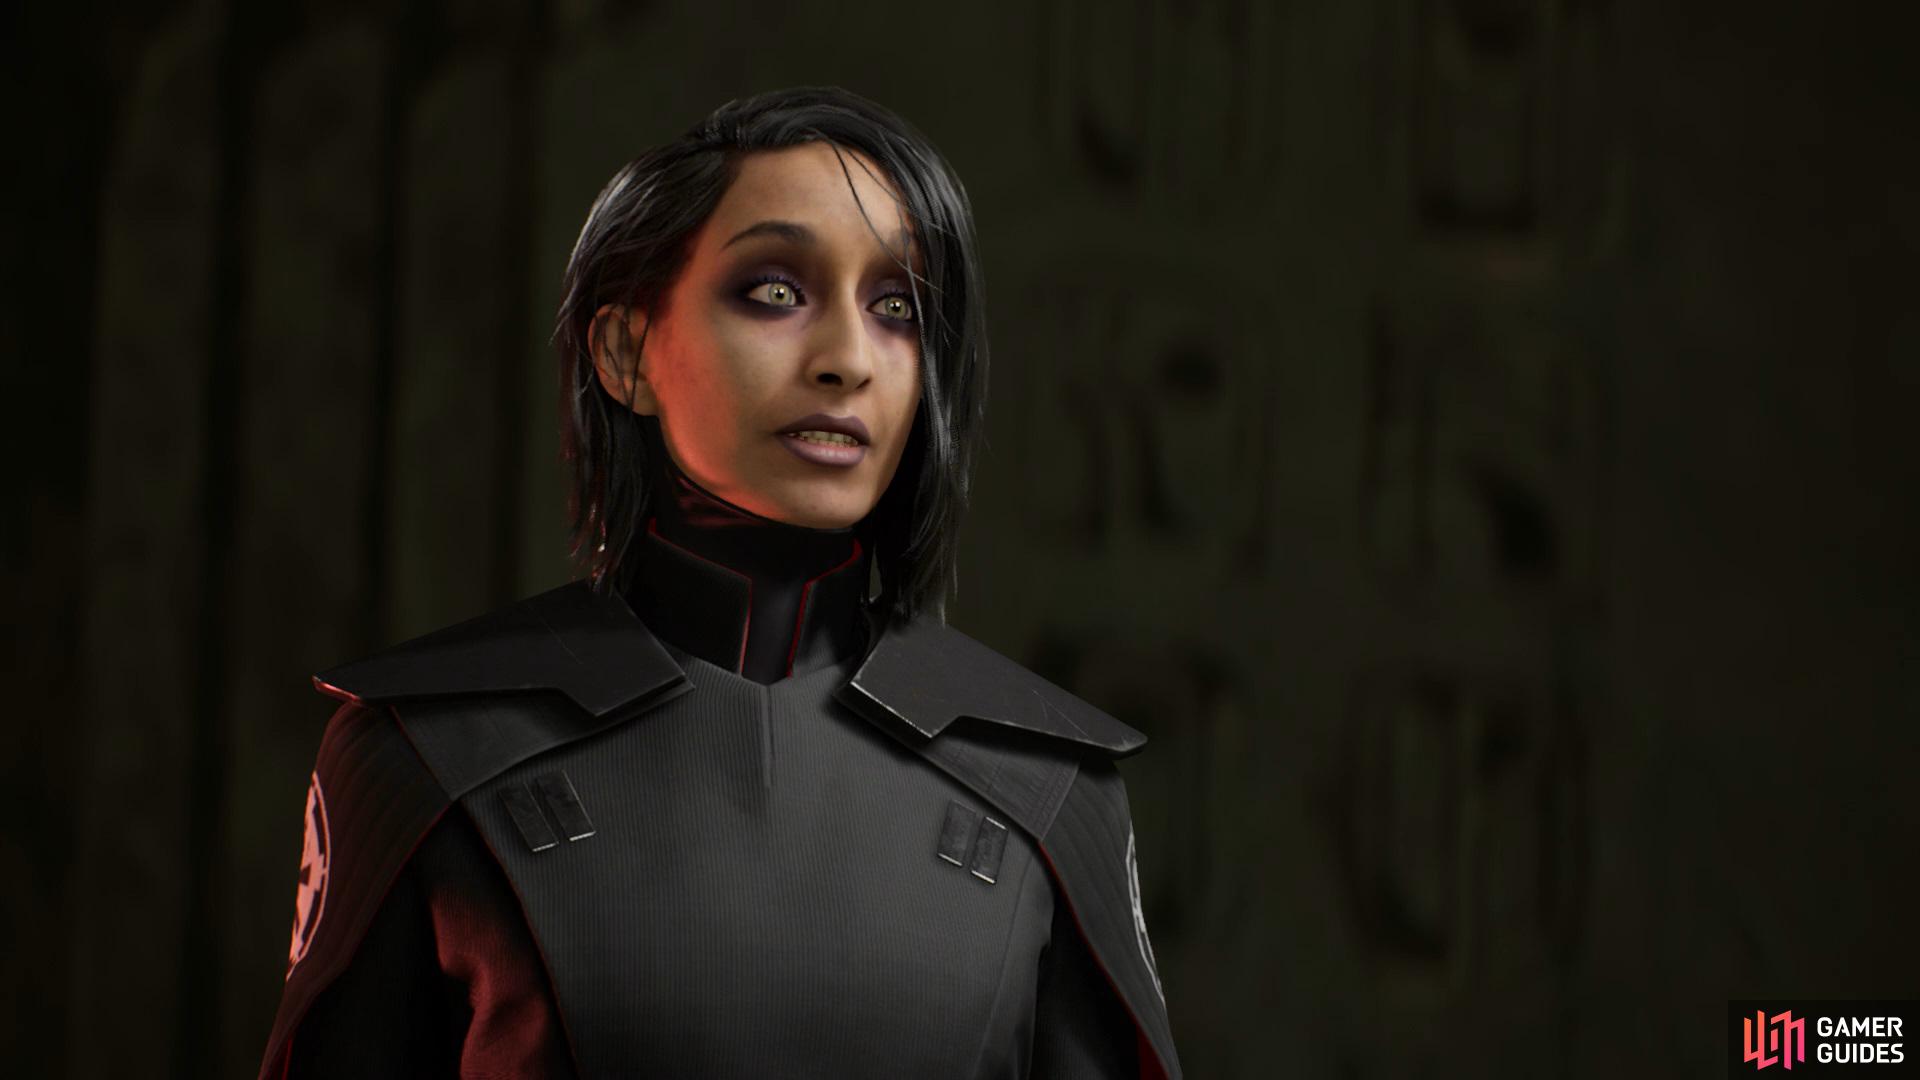
Boss: Trilla
Same as Taron Malicos, Trilla isn’t an easy battle but she hasn’t got as many attacks up her sleeve. In order to deal damage to Trilla you’ll want to slowly break away her Stamina bar by countering her attacks and then going in for a couple of hits when it’s empty. Whilst taking away her Stamina bar, she may glow red and grab Cal to throw him on the floor before taking a swing with her Lightsaber, if you see this make sure to get away quickly.


(1 of 2) Make sure to get away when Trilla attempts to grab you
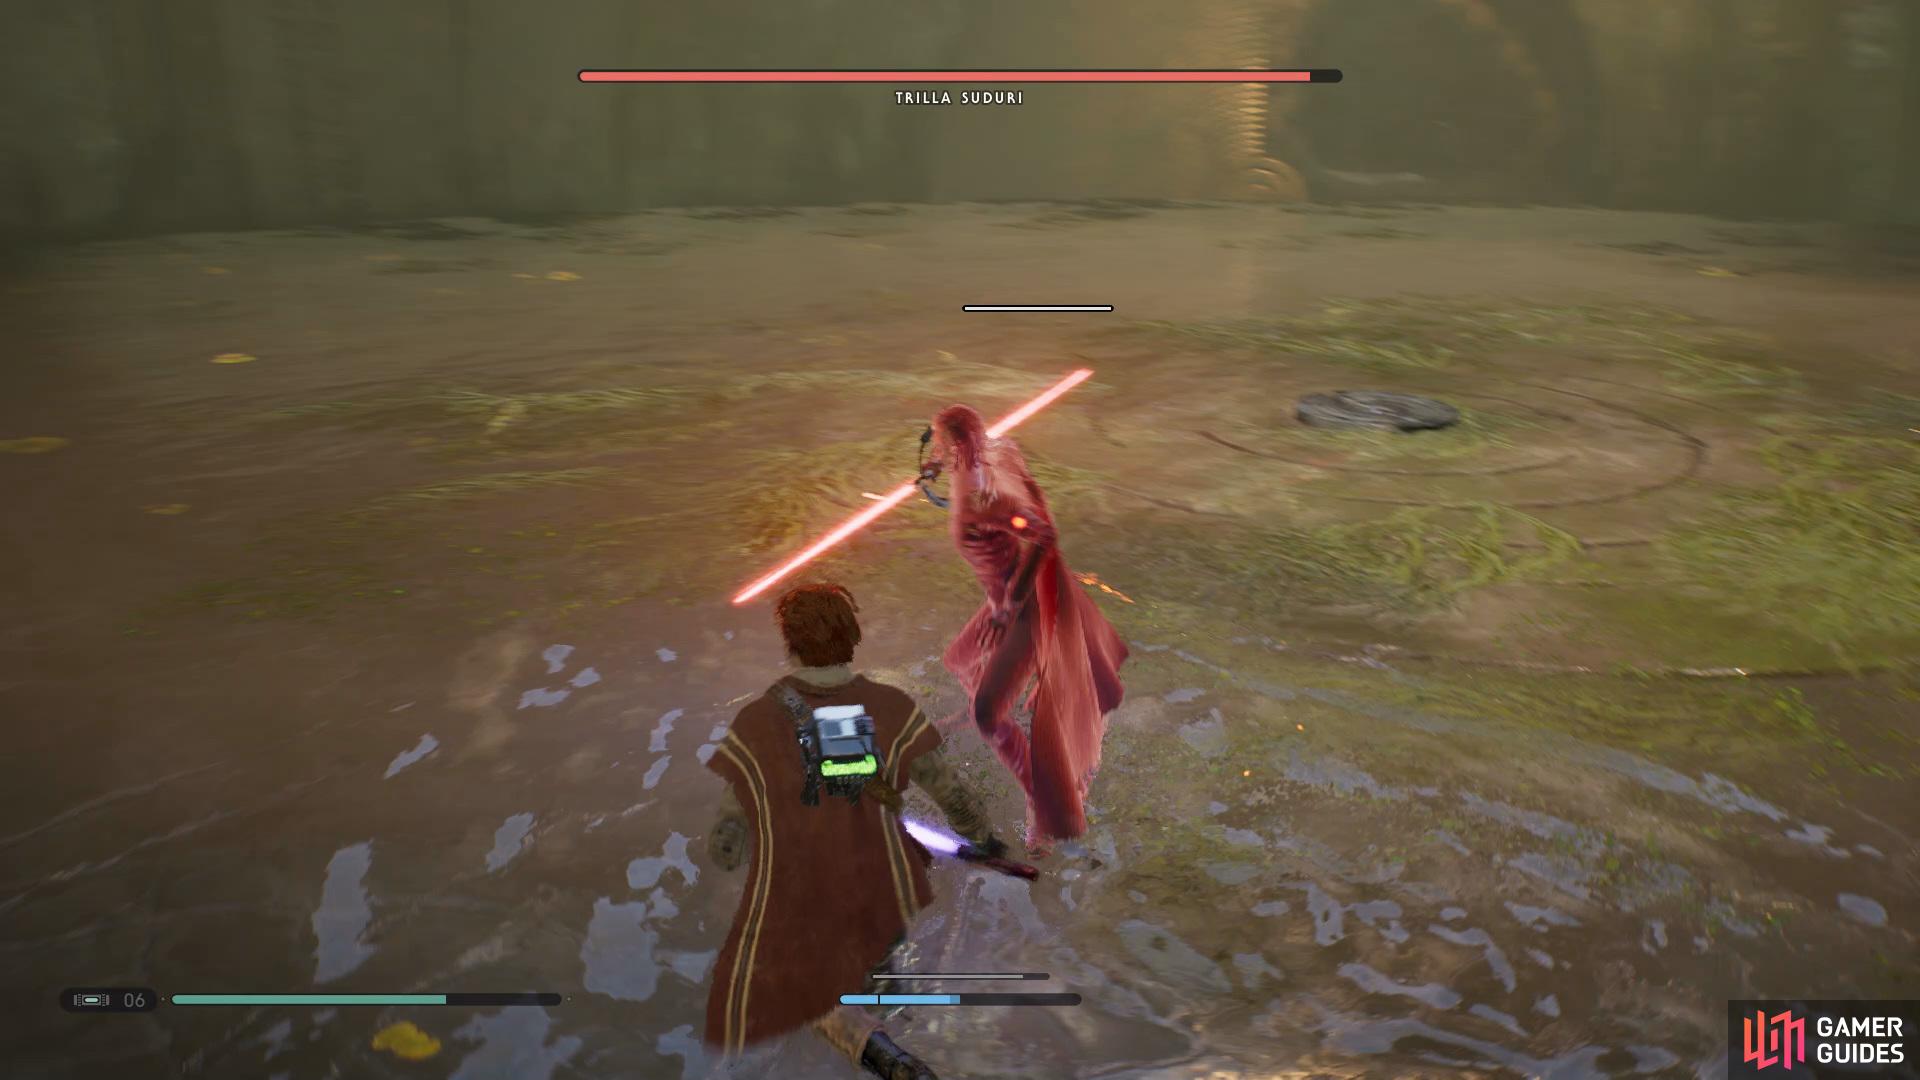
Make sure to get away when Trilla attempts to grab you (left), and roll out of the way of her poking attack. (right)
Another Red Attack she can perform is to simply dart forward to attempt to get you with the end of her saber. If you find yourself with a large gap between you and her she’ll dash towards you and then quickly do a spin attack which can be painful if you were to get trapped in it.
Once you’ve taken a quarter off her health bar you’ll be prompted to repeatedly press the [Circle/B] button and a cutscene will begin. After the cutscene has concluded you’ll want to return to the Mantis.
No Comments