Meeting BD-1
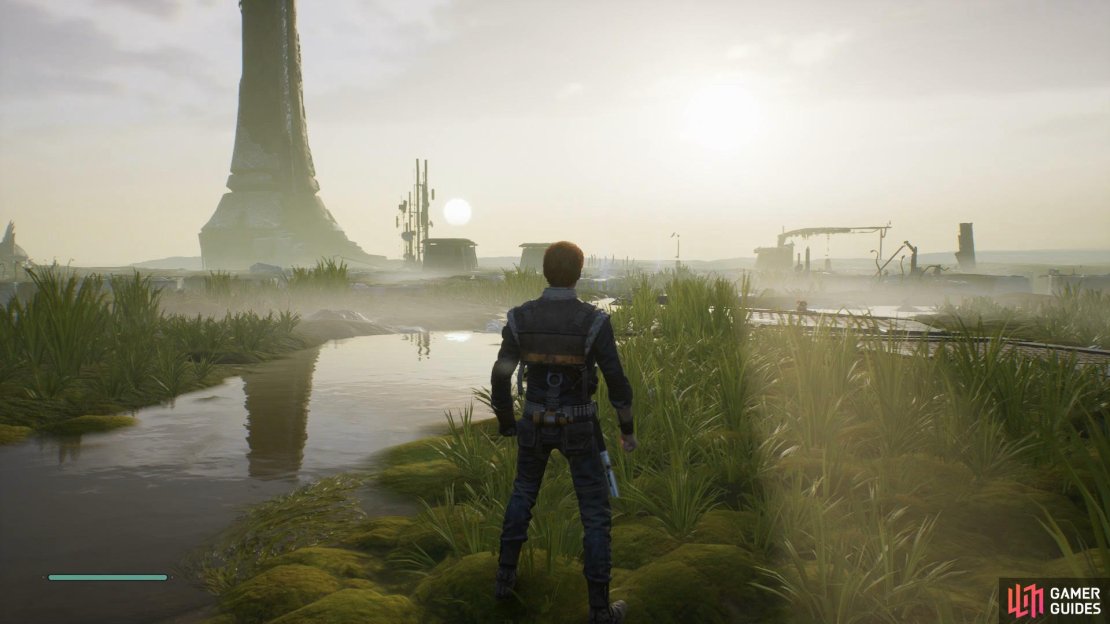
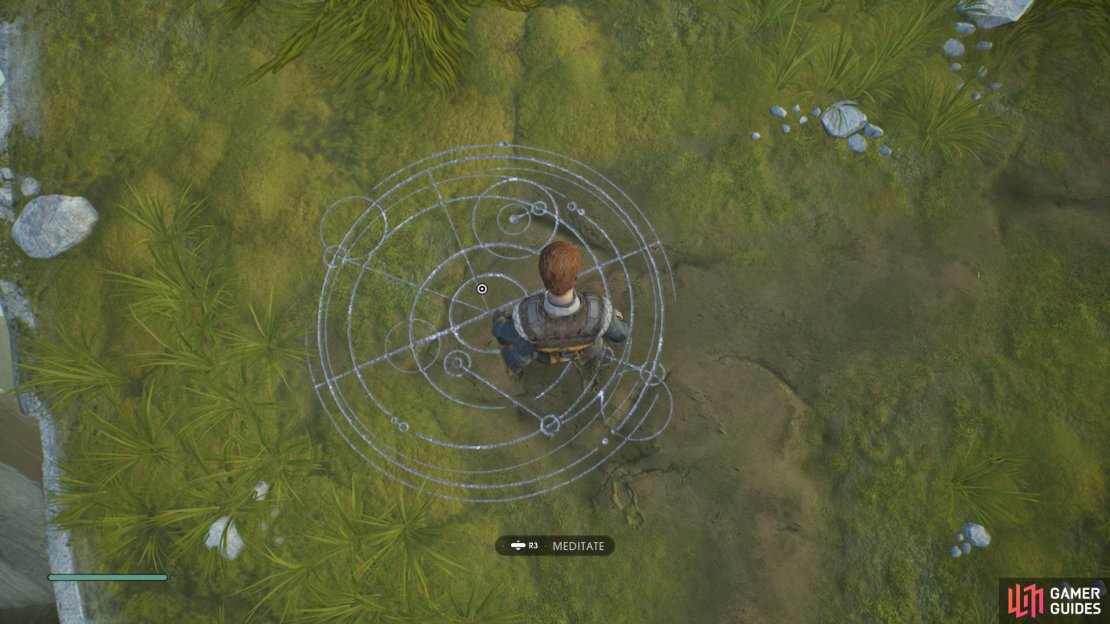
Once you’ve landed in Bogano, head north and drop down and go left to find a place to Meditate, interact with the Meditation Point by pressing the [R3]/[RS] button. Here you’ll need to purchase your first skill, Overhead Slash, which performs a powerful downwards strike on enemies by pressing the [Triangle]/[Y] button.
(1 of 3) These circles that are scattered around the planets are your Meditation Points,
After you’re done, come out of the Meditation Point to enter a cutscene where you’ll meet the friendly Droid BD-1, this Droid will join you on your adventure throughout the galaxy and help you survive as well as giving you useful information along the way.
Acquiring the Stim Canisters
Once the introduction has concluded, follow BD-1 and use the path he has opened and climb up to the raised area, follow the instructions on-screen showing you how to use the Holomap and then continue ahead.
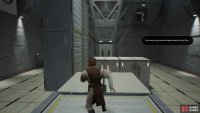
(1 of 2) Use the slow down ability with [R1] or [RB] to slow down the fans and then run across to the opposite side,
Use the slow down ability with [R1] or [RB] to slow down the fans and then run across to the opposite side, (left), to collect a Force Essence. (right)
Use the Zip line down and then head right, walk across the pole and then drop down into a room with fans blocking your path, press [R1]/[RB] to activate your Force Slow ability and run across to the opposite side to obtain a Force Essence.
Turn around and interact with the button on the right to switch off the fans allowing you to safely go back the way you came, now head right of the Meditation Point and walk along the pole to the left, press [Circle]/[B] to hang and then proceed into Hermit’s Abode.
Take out the enemies inside and then go right to find the Echo Larder, now go back into the open room and use the Force Slow ability to get past the fan on the right where you’ll find a workstation that Cal will use to temporarily repair BD-1.
(1 of 3) Due to the explosion from the pipes you’ll be hurt badly,
Proceed back into the open room again and then go left through the small gap, climb up and then use your Lightsaber to attack the pipes. Due to the explosion from the pipes, Cal has found himself hurt, luckily BD-1 has come prepared with Stim Canisters that can heal you.
Acquiring the Wall Run ability
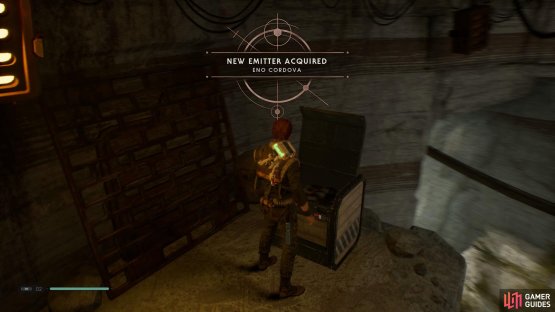
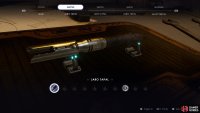
Head through the now open path and cut the yellow rope to activate a shortcut, now head left to open a Chest that holds the Emitter Eno Cordova inside. Go back to the workstation where you repaired BD-1 earlier and interact with it to be shown the customisation options for your Lightsaber.
(1 of 2) Open the chest to find an Emitter for you lightsaber,
Open the chest to find an Emitter for you lightsaber, (left), and then head back to the workstation where you repaired BD-1 and change your lightsaber design with items you’ve gathered. (right)
Once you’re done customizing, use the recently opened shortcut and then go left, continue onwards and use the zip line down into the Great Divide. Here you’ll be shown some more stuff about your Holomap, simply follow the instructions on-screen and drop down to the right.
Before swinging across, turn around to open a Chest that holds a fancy new Poncho inside, Bogano Dawn. Head across to the other side and activate the Meditation Point to the left, then proceed around the corner and interact with the wall to get the Echo Traveling to the vault, now go right and use the Zip line down.
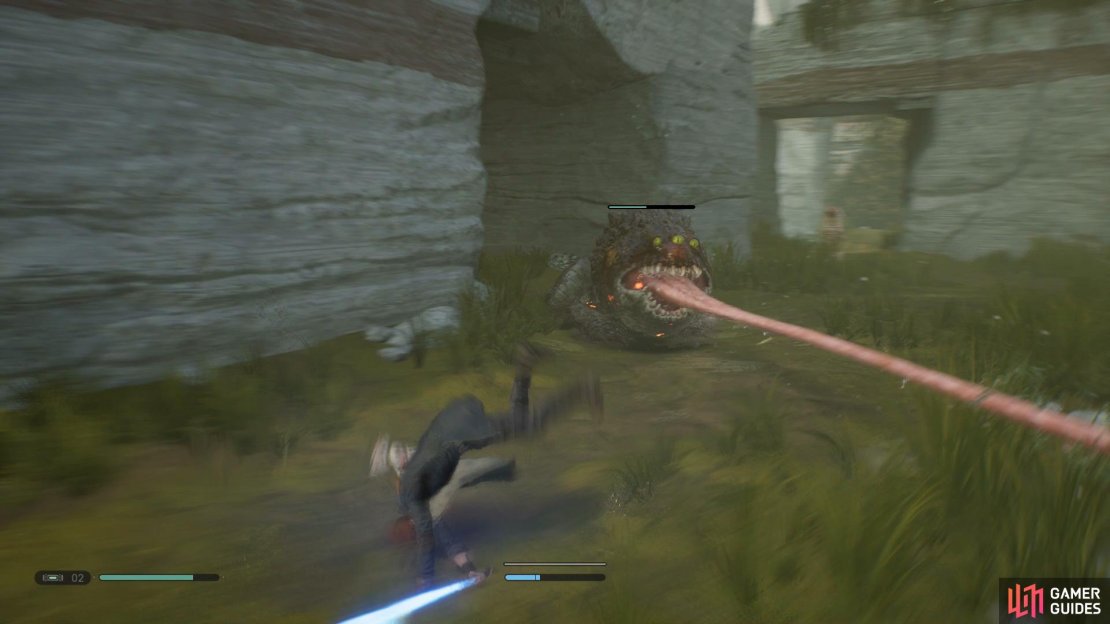
Wait for the Oggdo to attack you and then dodge out of the way before getting a couple attacks in.
Here you’ll face your first Oggdo, in order to take them out you’ll want to wait for them to attack and then dodge to the side, use your Force Slow ability and then get a couple of attacks and get back. Once the enemy has been defeated, climb up the wall to the back to enter the Subterranean Refuge.
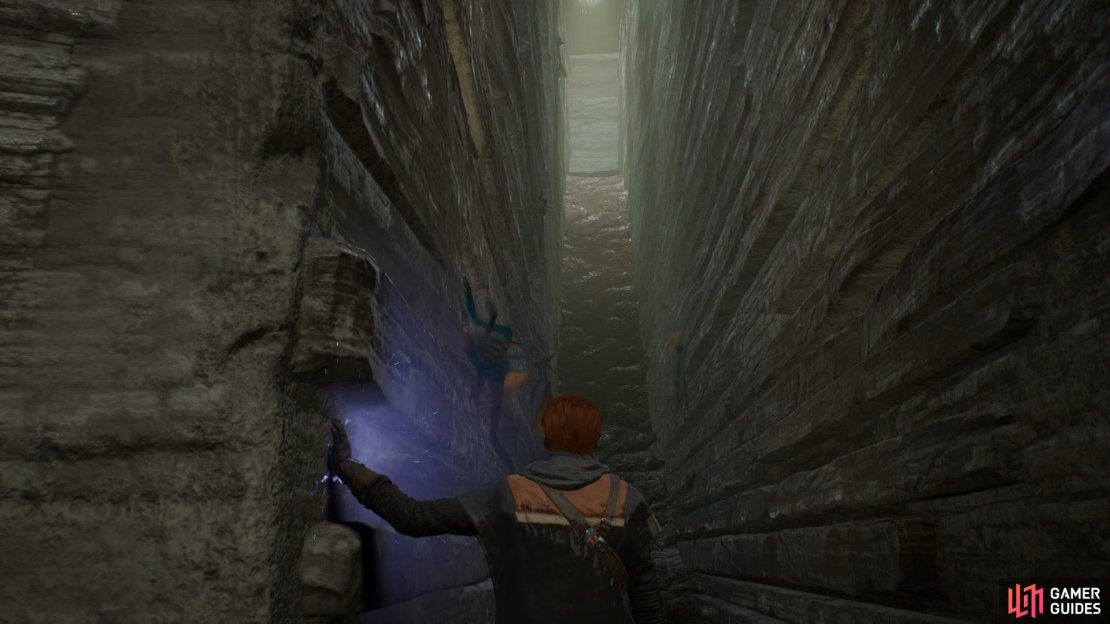
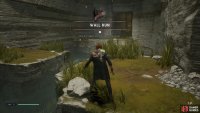
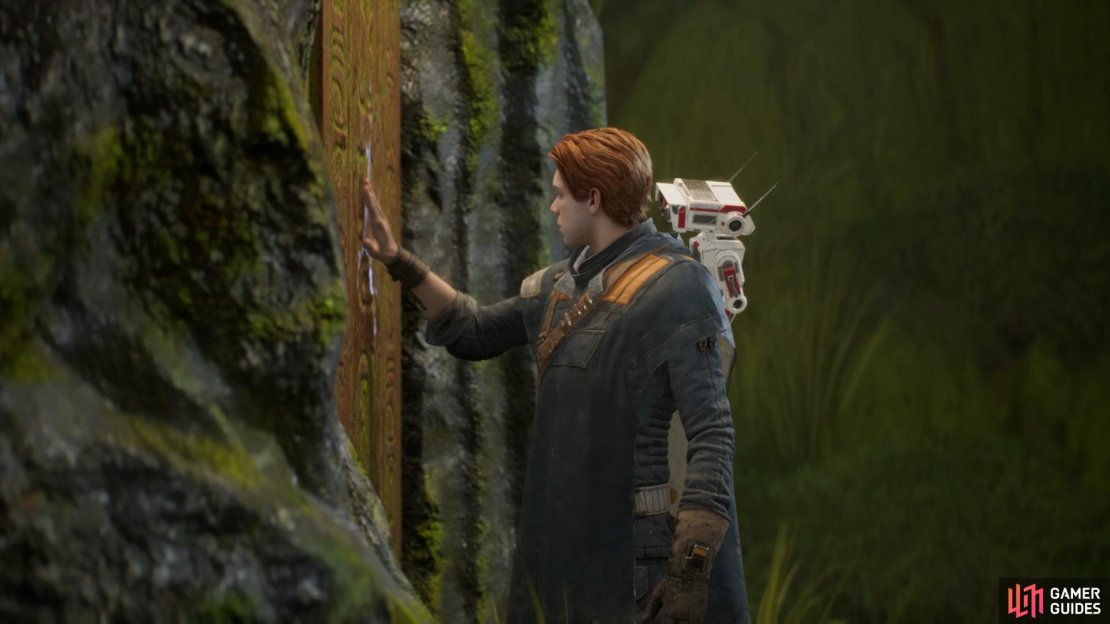
Head right and follow the path around to the back of the room and interact with the wall to get a flashback to when you were a child, here you’ll need to jump across the walls to reach the Jedi at the end. Upon completing the memory you’ll have gained the ability Wall Run.
(1 of 3) Head to the back of the room and interact with the wall to activate a memory,
Head back up to the Meditation Point in the other room and then wall run around to the right to find the Echo Frustration, go back to the Mediation Point and then drop slightly and then wall run to obtain another Echo Meditation.
Exit the room and walk across the pole, wall run across to the end and open a Chest that’s hidden to the left to acquire a new Lightsaber Switch, Valor and Wisdom II, now drop down and take the elevator up to open a shortcut.
Proceed up the hill to the left and drop down, take out the enemies and collect the Echo Research Camp, now climb up to the left and take out the enemies, climb up further and open a Chest to obtain the Lightsaber Sleeve, Valor and Wisdom II.
Take the zip line back down to the Great Divide and wall run across to the Ancient Vault, run up the hill and interact with the vault door to go inside, proceed into the center of the room where BD-1 will show you a message.


![Use the slow down ability with [R1] or [RB] to slow down the fans and then run across to the opposite side,](/assets/guides/183/Reach_the_Vault_Slow_Down_Fan_Star_Wars_Jedi_Fallen_Order.jpg)








No Comments