Obtaining a Force Essence
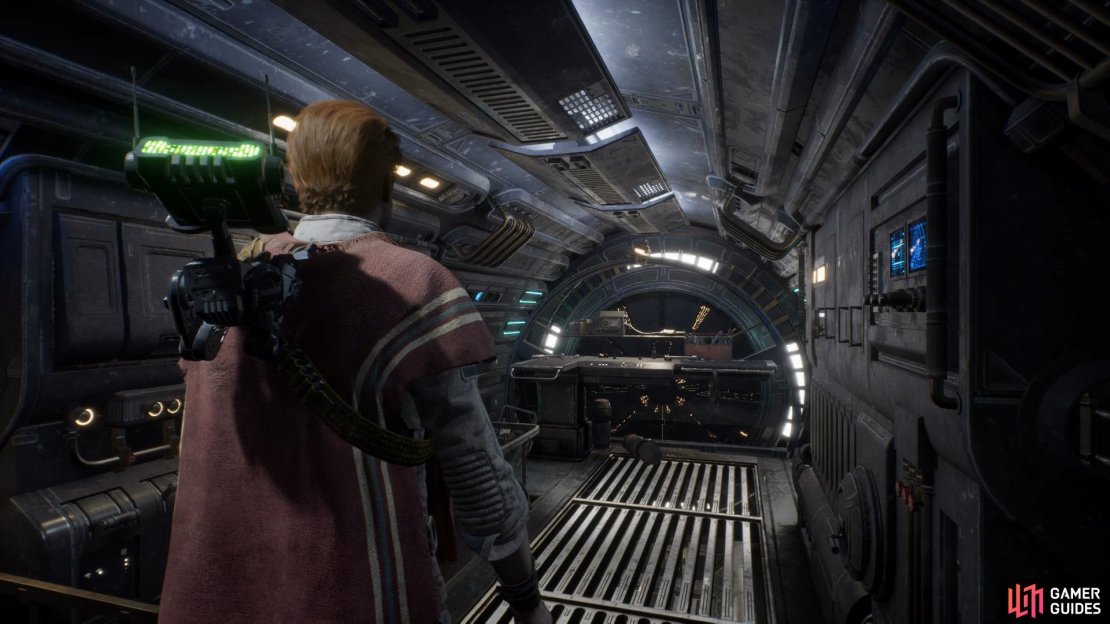
Once you’ve returned to Kashyyyk head through the door you originally took on your first visit but go right instead and then left, here you’ll be able to take the zip line up to collect yourself a Force Essence, now make your way through Kashyyyk until you reach the Overgrown Pass. Before entering the Overgrown area you’ll have to quickly take on a boss that will ambush you in the Imperial Refinery.
Boss: The Droid Hunter
Boss: The Droid Hunter
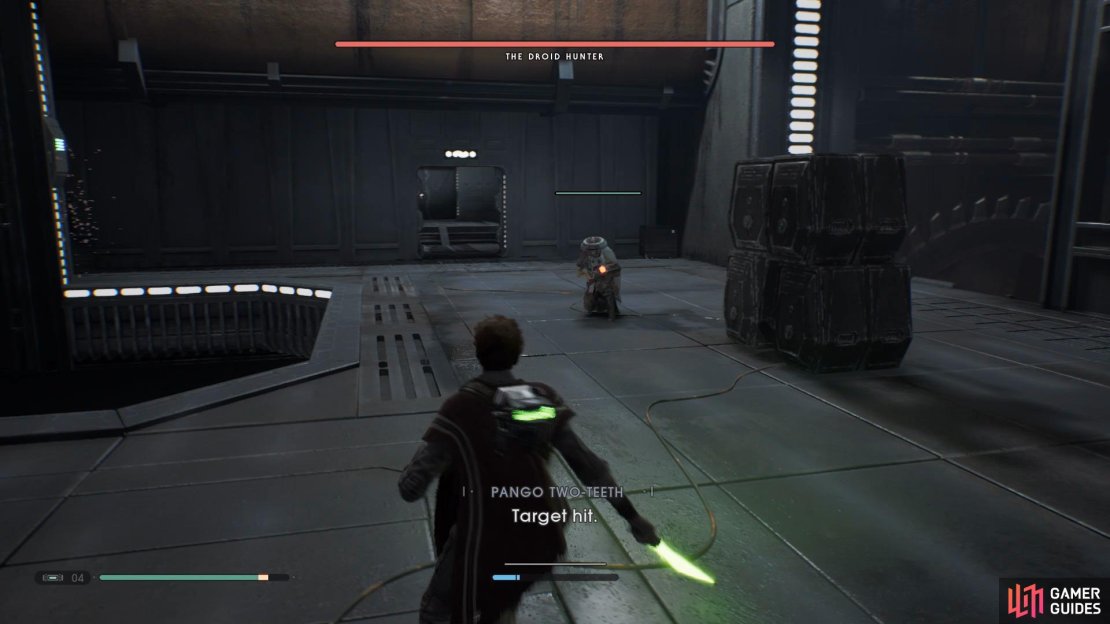
The Droid Hunter isn’t an overly difficult boss to take out in terms of what you’ve fought in the past, but he can still be dangerous if you don’t go in prepared. The first thing in this battle that you’ll notice is that you’re going against two enemies, don’t worry though as the second one can quickly be taken out as he has the health of a normal enemy rather than a boss.
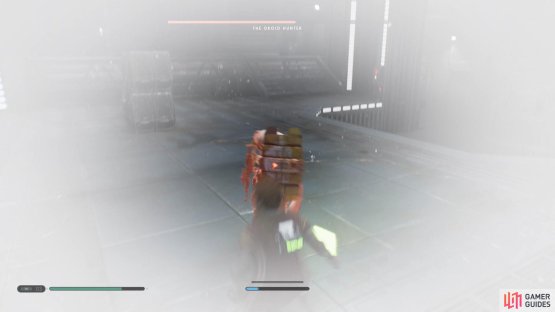
(1 of 2) Watch out for his stun grenade as he’ll charge you with a shield
Watch out for his stun grenade as he’ll charge you with a shield (left), and remember to deflect any bullets that come your way. (right)
Upon defeating the normal enemy it’s time to go head to head with The Droid Hunter, during this battle you’ll need to watch out for a couple of attacks, the first being a bullet that he’ll fire at you that can not be deflected, if you see him glow red immediately get out of his line-of-sight.
Next up he’ll temporarily equip a shield and dash towards you with it, simply roll to the side and hit him from behind, now the final attack are some normal bullets which you can use to deflect back at him.
Locating Tarfful and Marl
After that boss has been defeated you’ll want to make your way up through the Overgrown Pass, eventually you’ll come across a bridge that you’ll need to Force Pull towards you and then another a little further ahead that requires Force Push, use the Mediation Point and then swing across to the opposite side.
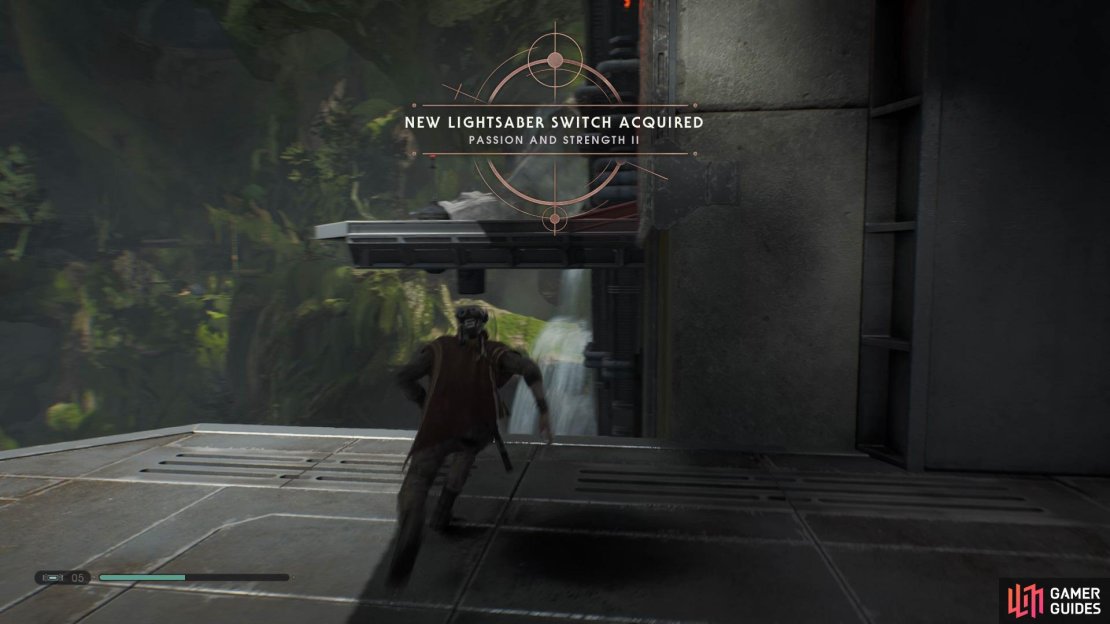
(1 of 4) Use Force Push to break down the wall to find a Chest that’s hiding the Passion and Strength II Lightsaber Switch
Here you’ll need to quickly take out the enemies and then get BD-1 to open the door, proceed through and Wall Run across to the left and Force Push a wall open to find a Chest that contains Passion and Strength II Lightsaber Switch, now climb up and open a shortcut. Continue through and use the Zipline to take you down into the water. Swim across to the left side to find a Chest that holds the Crodium Lightsaber Material and swim to the back of the area to find another Chest that contains the Passion and Strength Lightsaber Sleeve, now climb out of the water and go right to find one more Chest that is holding The Guardian Poncho.
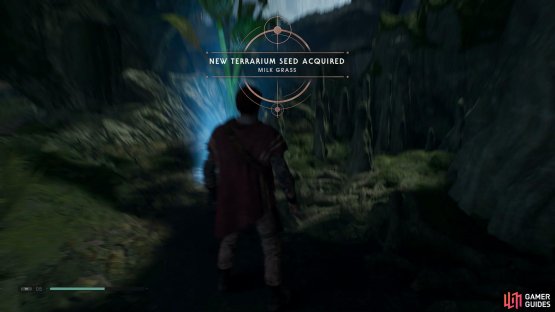
(1 of 2) Collect the Milk Grass Terrarium Seed from the the floor
Collect the Milk Grass Terrarium Seed from the the floor (left), and the Sacred Shadowlands Force Echo from up above. (right)
Continue further up and you’ll find yourself in a large area that is covered in Jaw Plants, here you’ll find a Breaking Point Force Echo ahead, now take a right and collect the Milk Grass Terrarium Seed, then climb to the area on the left and follow it around to find the Sacred Shadowlands Force Echo, drop down and follow the path further to the right and then jump down. You’ll fall through the floor so you’ll quickly need to climb back out.
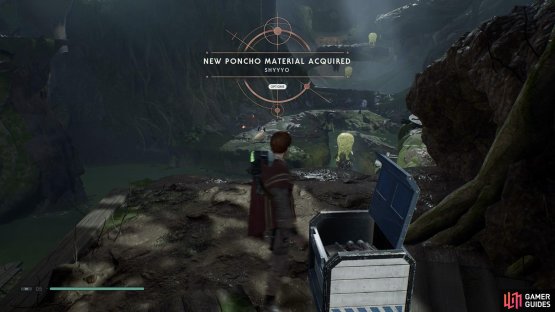
(1 of 2) Get the Shyyyo Poncho from the Chest above
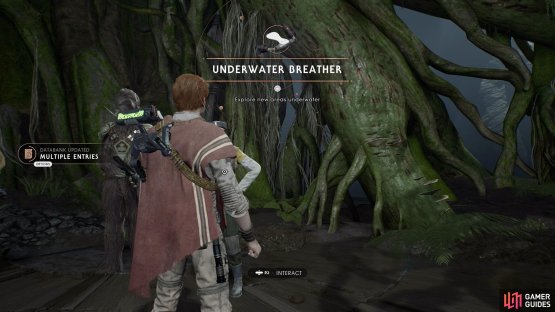
Get the Shyyyo Poncho from the Chest above (left), and Underwater Breather from Tarfful and Marl. (right)
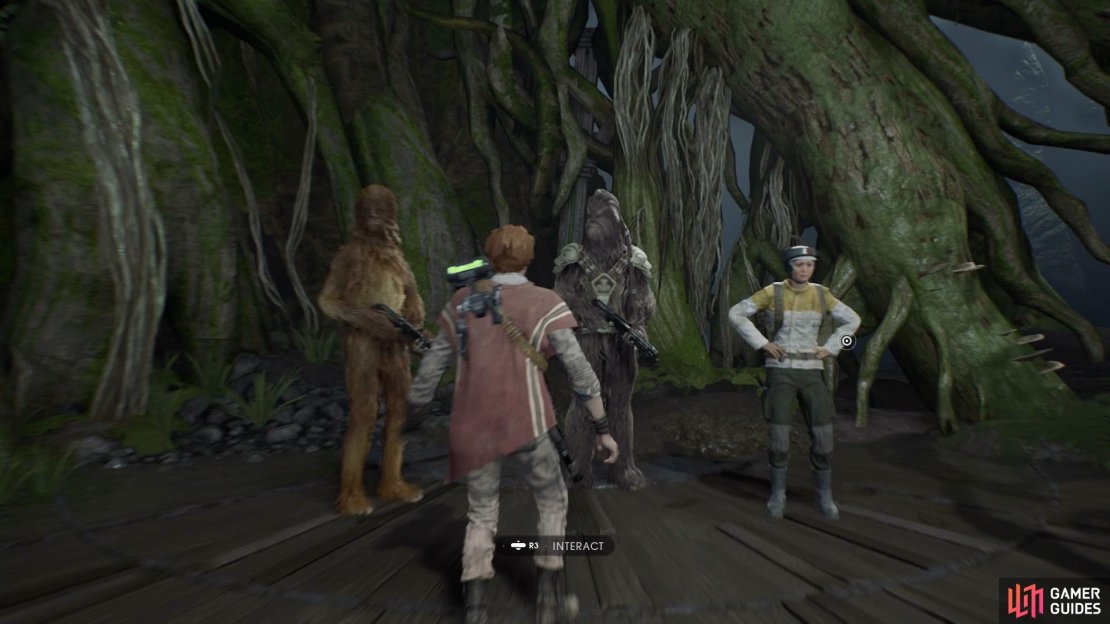
Proceed further up and Wall Run across into Origin Lake, use the Meditation Point on the right and then use the Lung Flower to reach the area above that has a Chest with the Shyyyo Poncho Material, now use the Lung Flower in the center to find Tarfful and Marl.
Find Tarfful and Marl above.







No Comments