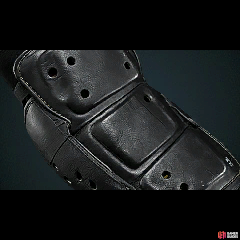
Description
The aramid lining efficiently disperses impact force, providing effective resistance against shrapnel and bullets in appropriate circumstances.
Compatible Armors
Image
Interactive Map Locations
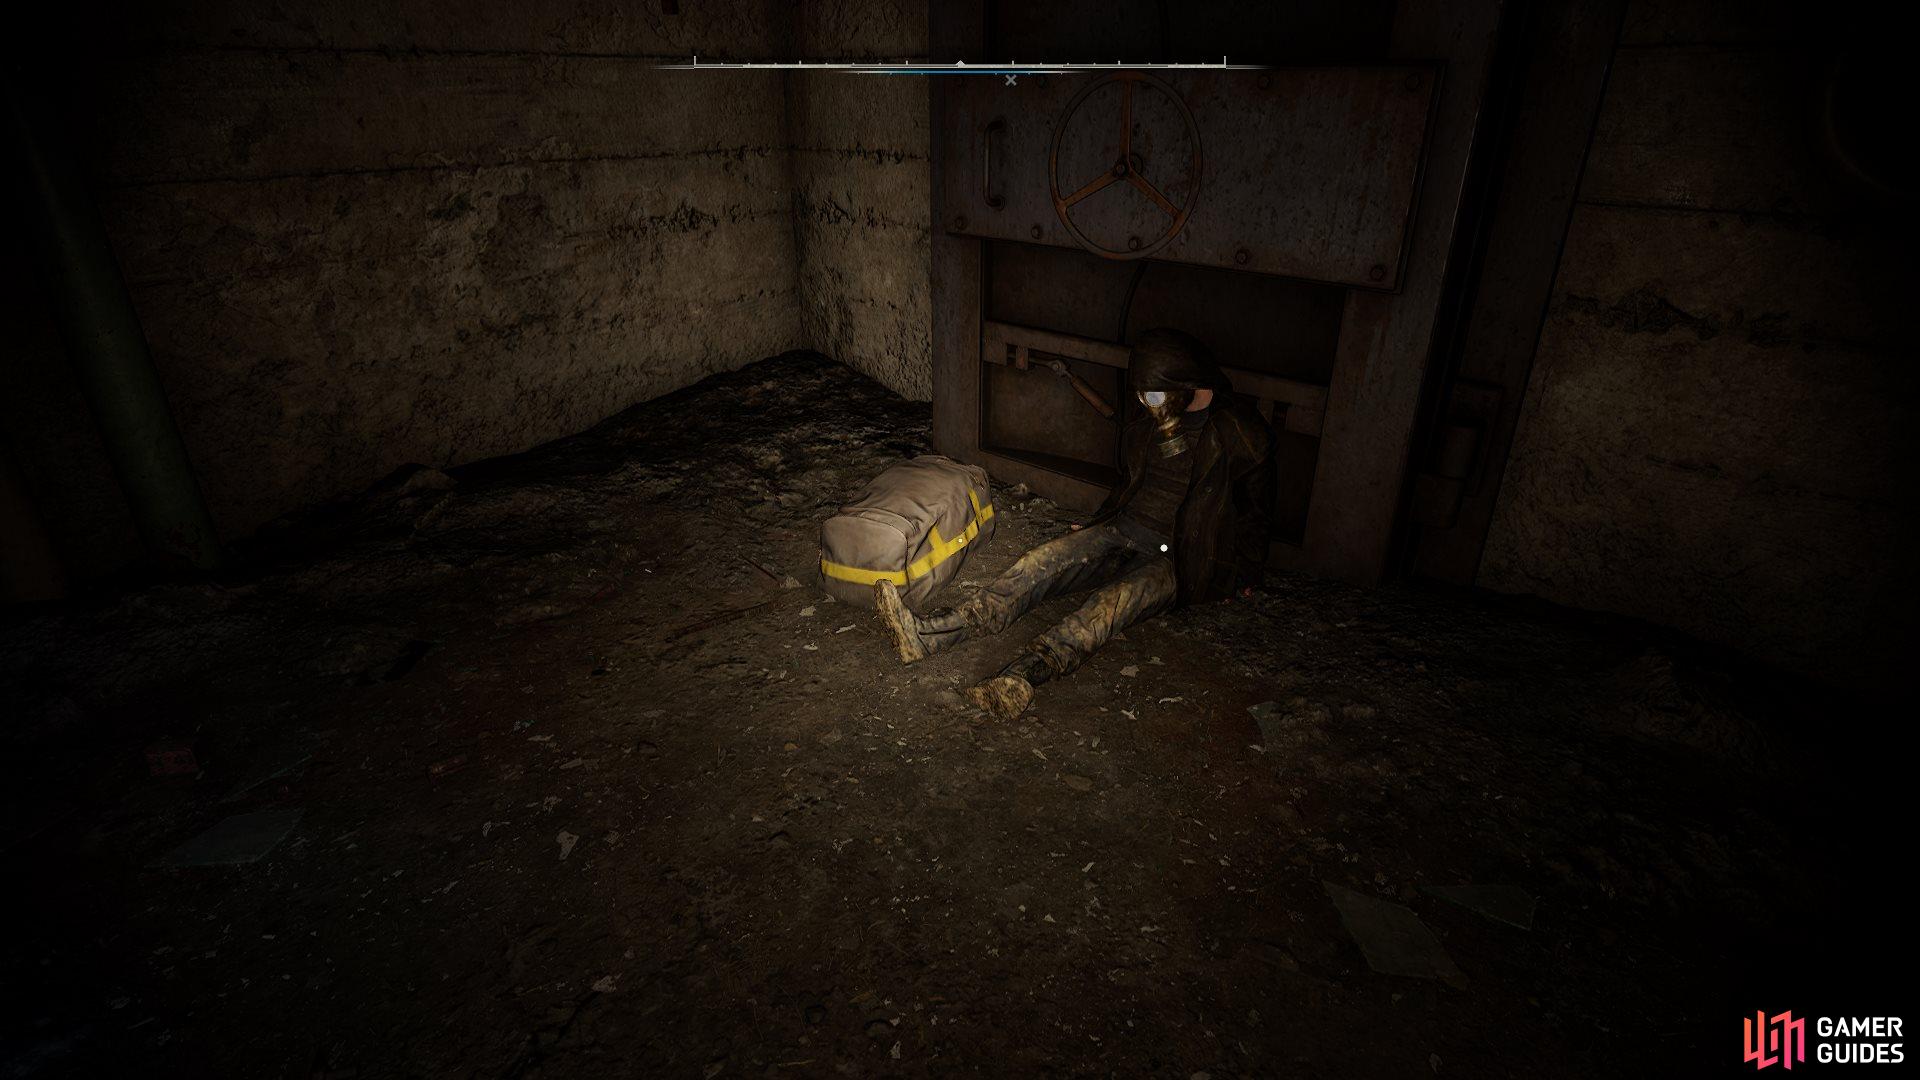
1. The Zone Map
Inside a bag next to a corpse in the bunker, accessed via an entrance to the north. Guarded by a pair of telekinetic mutants. Works with the ![]() SEVA-D Suit.
SEVA-D Suit.
2. The Zone Map
Inside a boarded up room at the end of a boobytrapped corridor. To get inside, you’ll need to destroy the board blocking the door by shooting through the window outside, then disarm a few tripwires. Works with the ![]() SSP-100 Discovery.
SSP-100 Discovery.
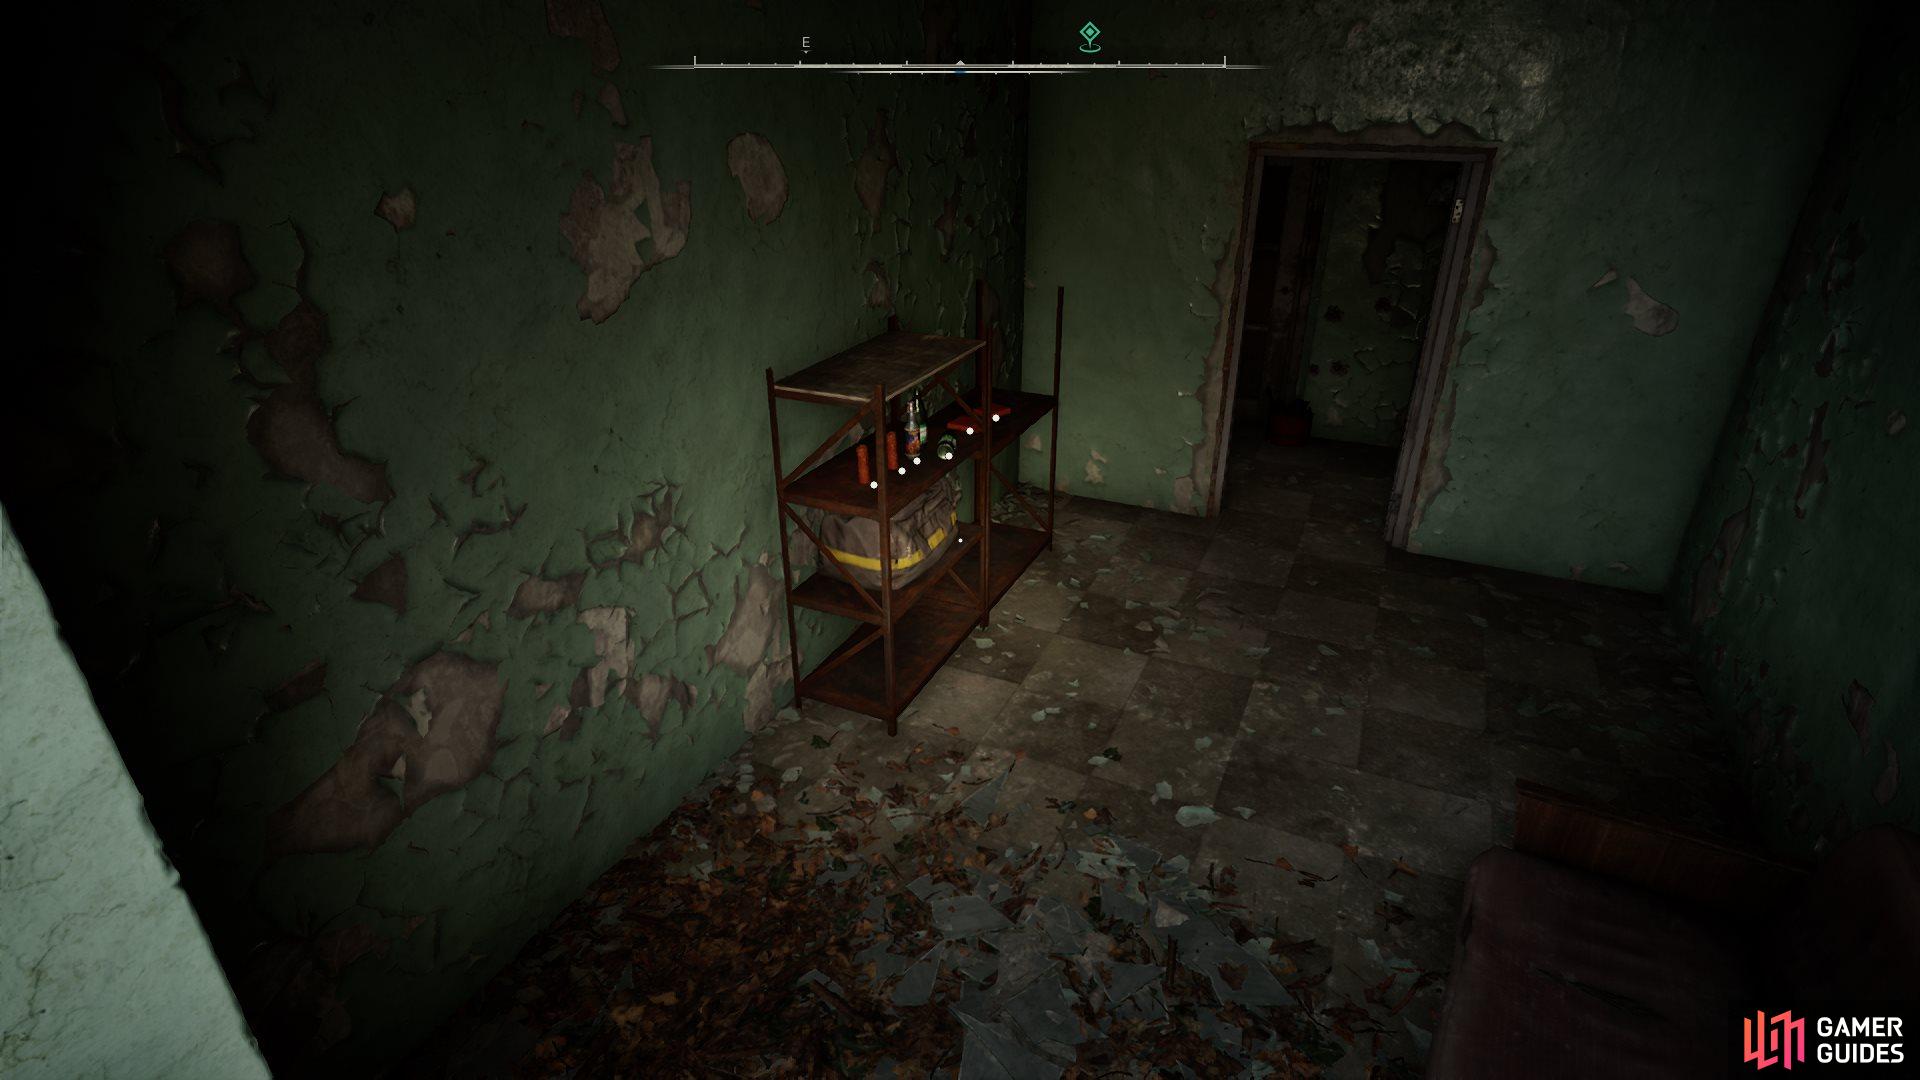
3. The Zone Map
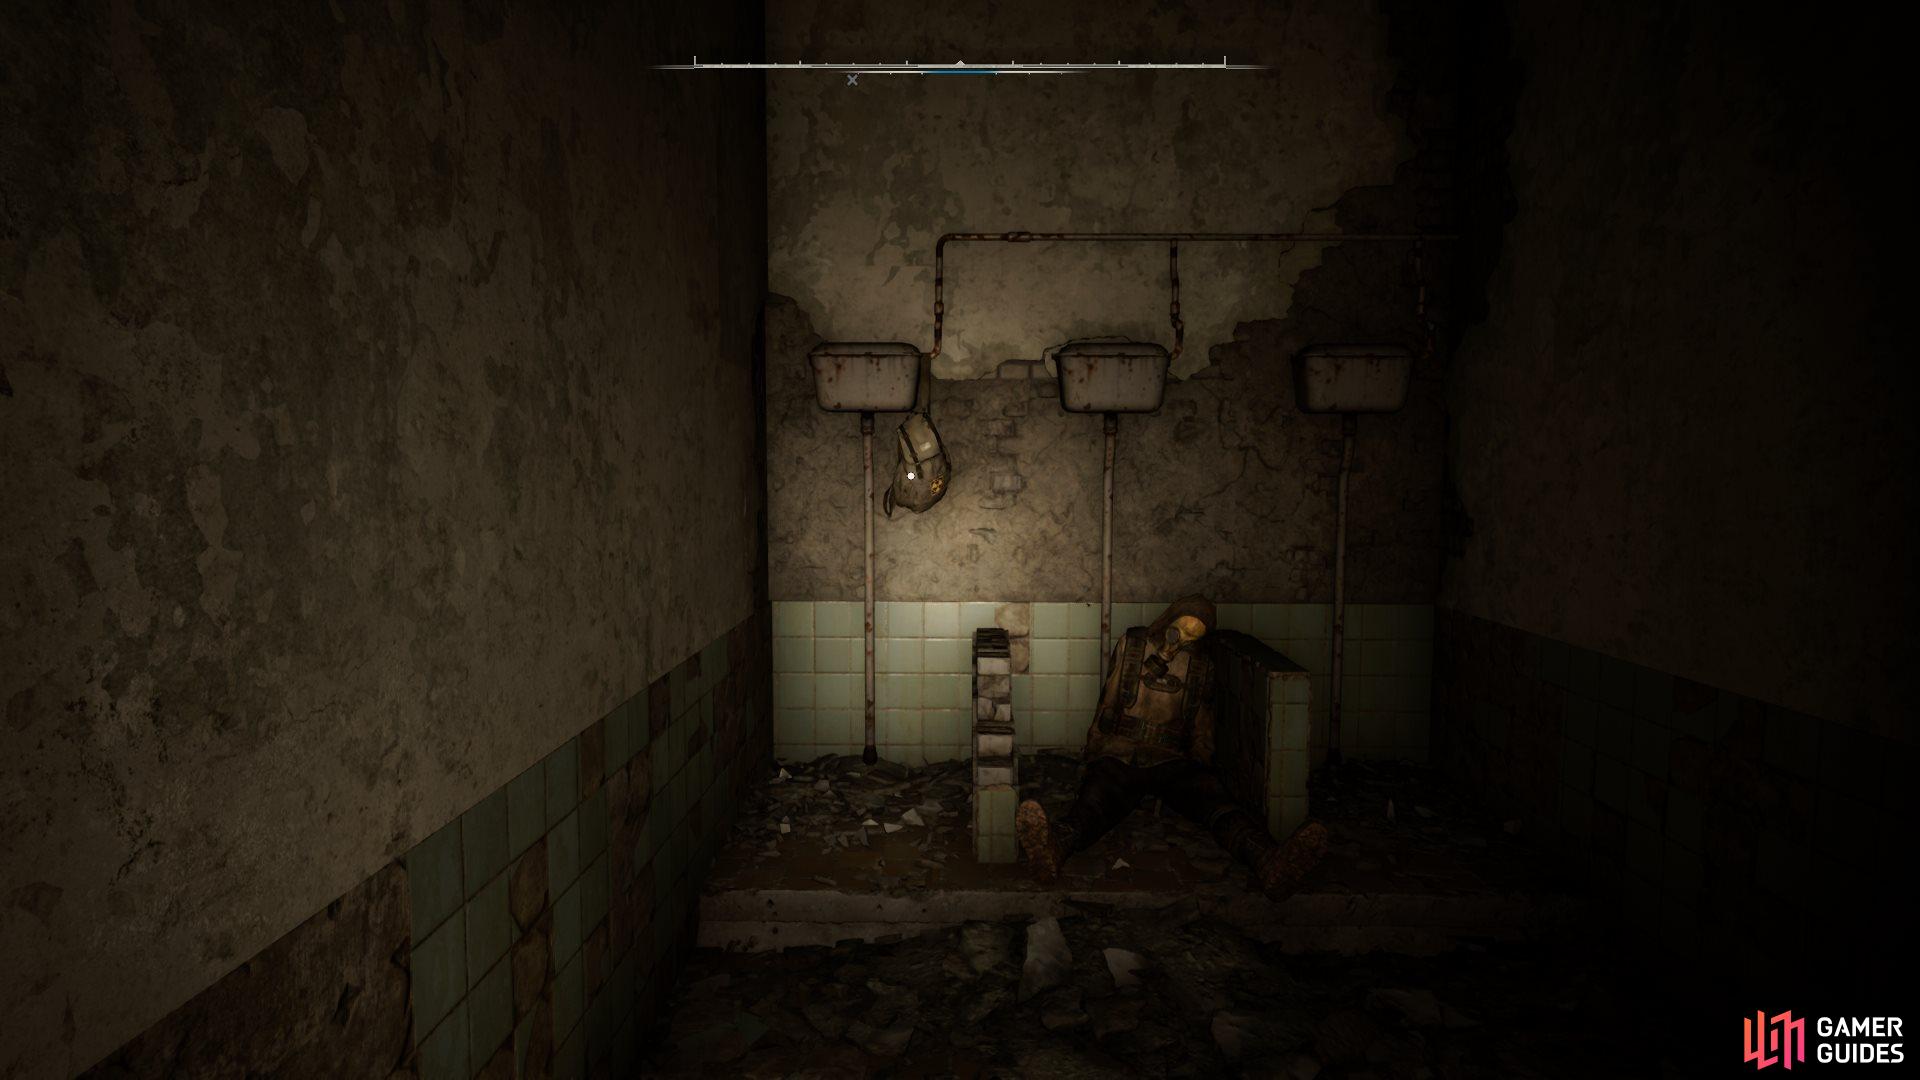
Inside a backpack in the kindergarten’s boobytrapped bathroom. Works with the ![]() PSZ-9D Duty Armor.
PSZ-9D Duty Armor.
4. The Zone Map
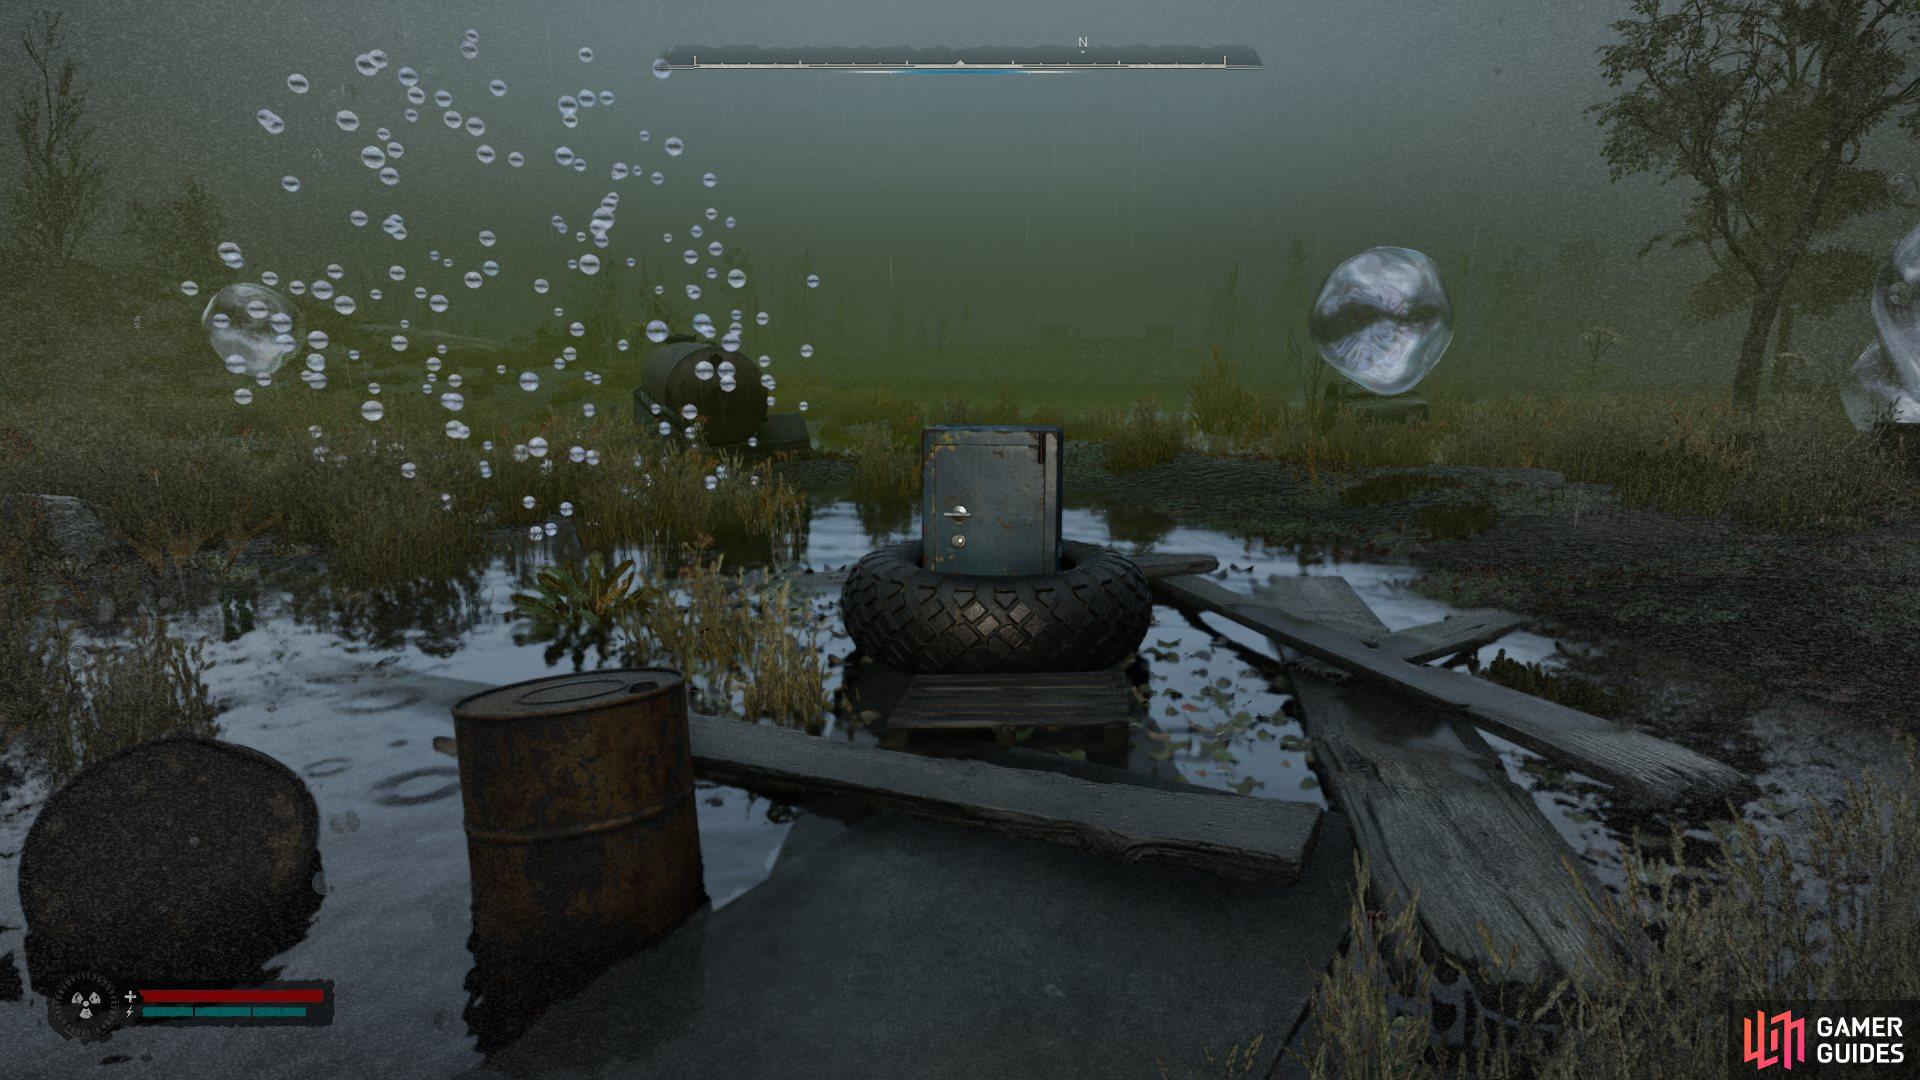
Inside a safe in the middle of an old tire. Works with the ![]() Ballistic Helmet.
Ballistic Helmet.
5. The Zone Map
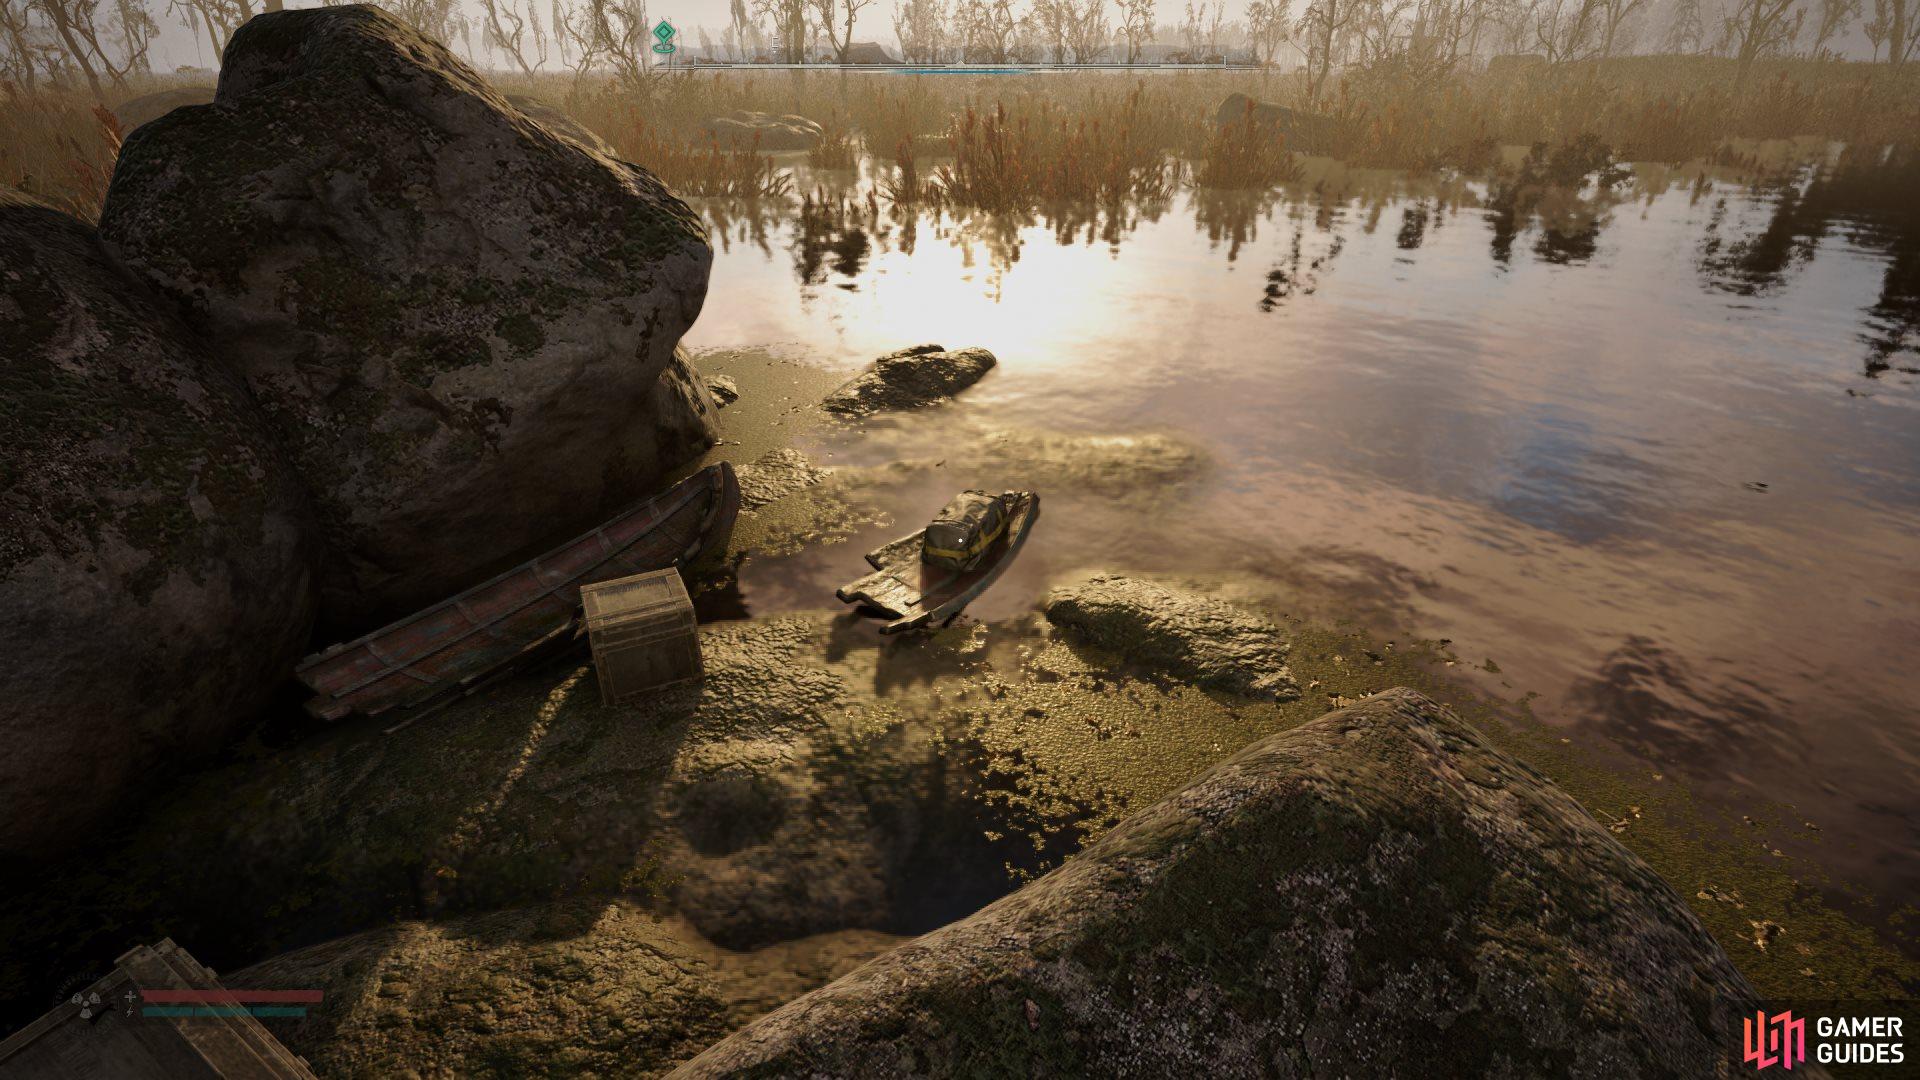
Inside a duffel bag on a broken piece of boat at the water’s edge. Works with the ![]() SEVA-V Suit.
SEVA-V Suit.
6. The Zone Map
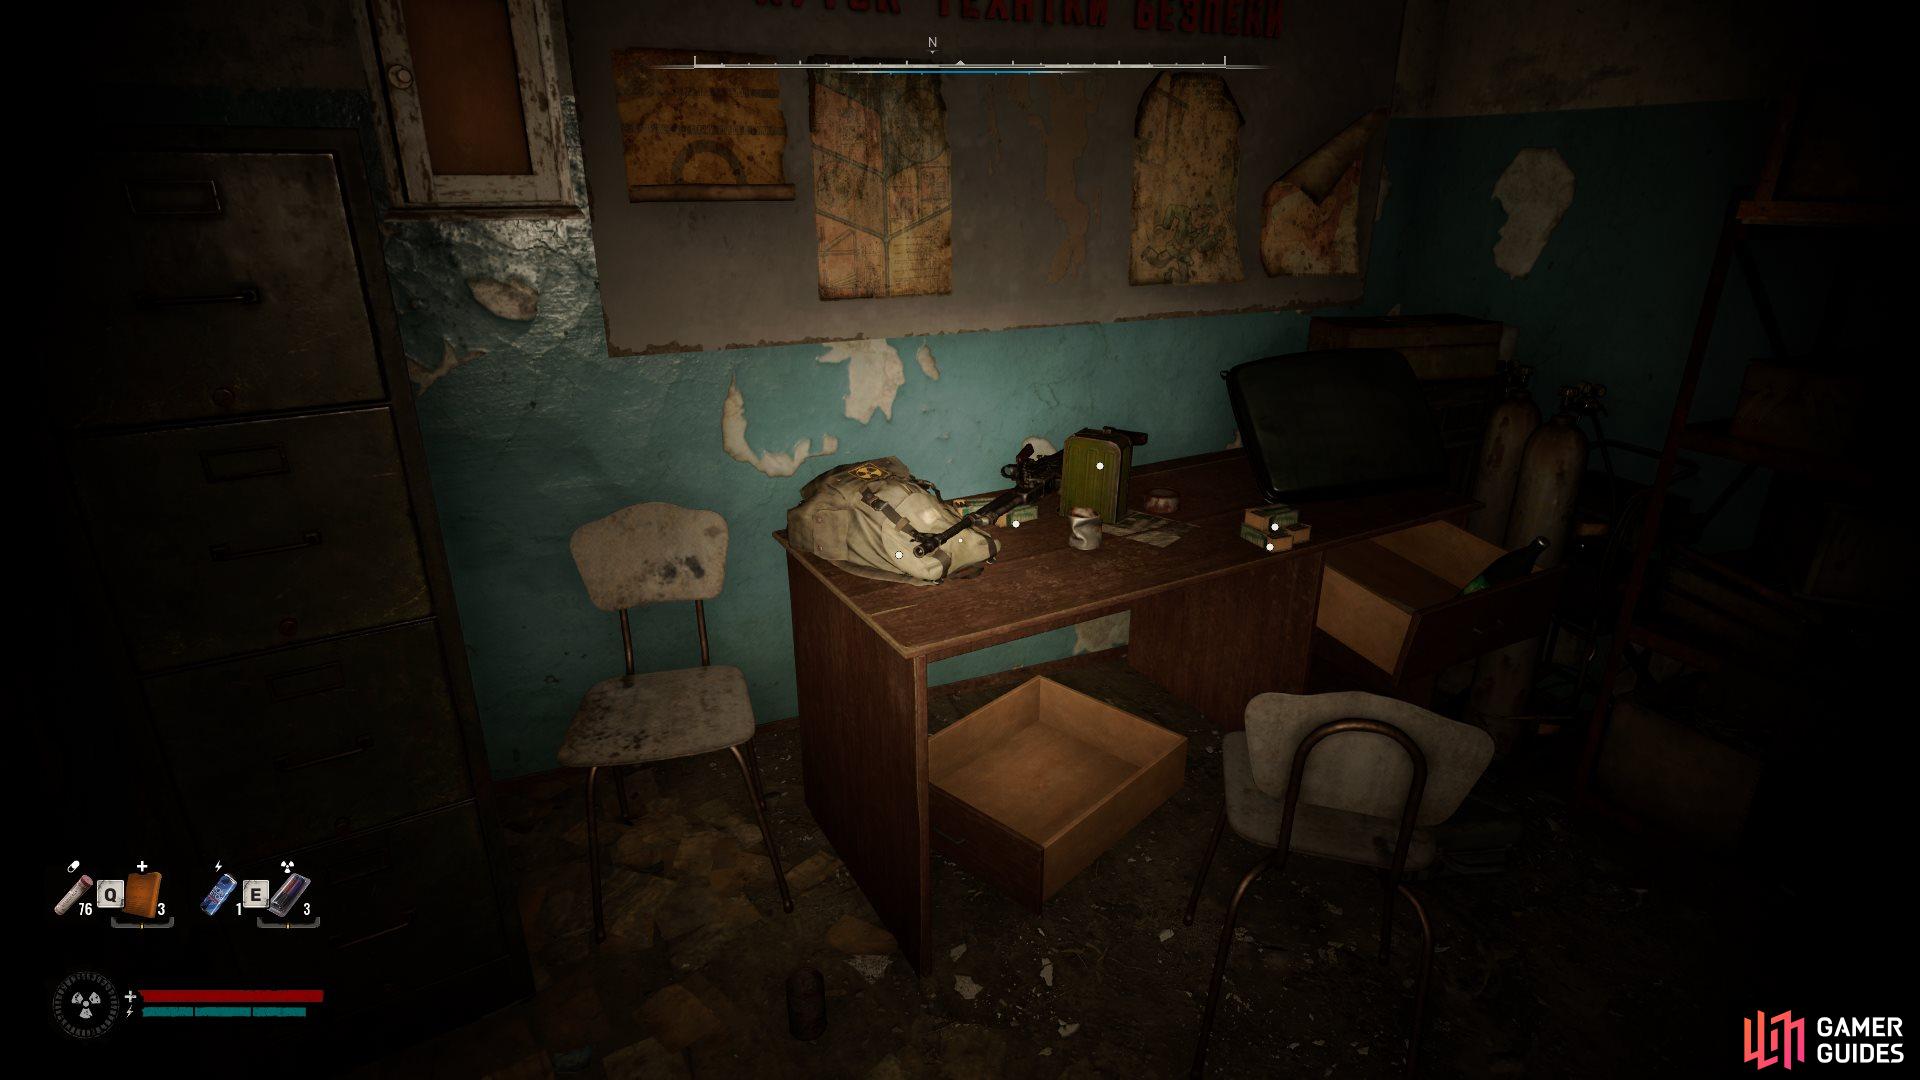
Works with the ![]() Mask-1 Helmet. Found inside the underpass, accessed through a tunnel to the north. In the room filled with vehicles, pull a lever on the wall - you’ll then need to climb some stairs inside a room in the corner, and go through a heavy-duty door to find the blueprint inside a backpack on the table.
Mask-1 Helmet. Found inside the underpass, accessed through a tunnel to the north. In the room filled with vehicles, pull a lever on the wall - you’ll then need to climb some stairs inside a room in the corner, and go through a heavy-duty door to find the blueprint inside a backpack on the table.
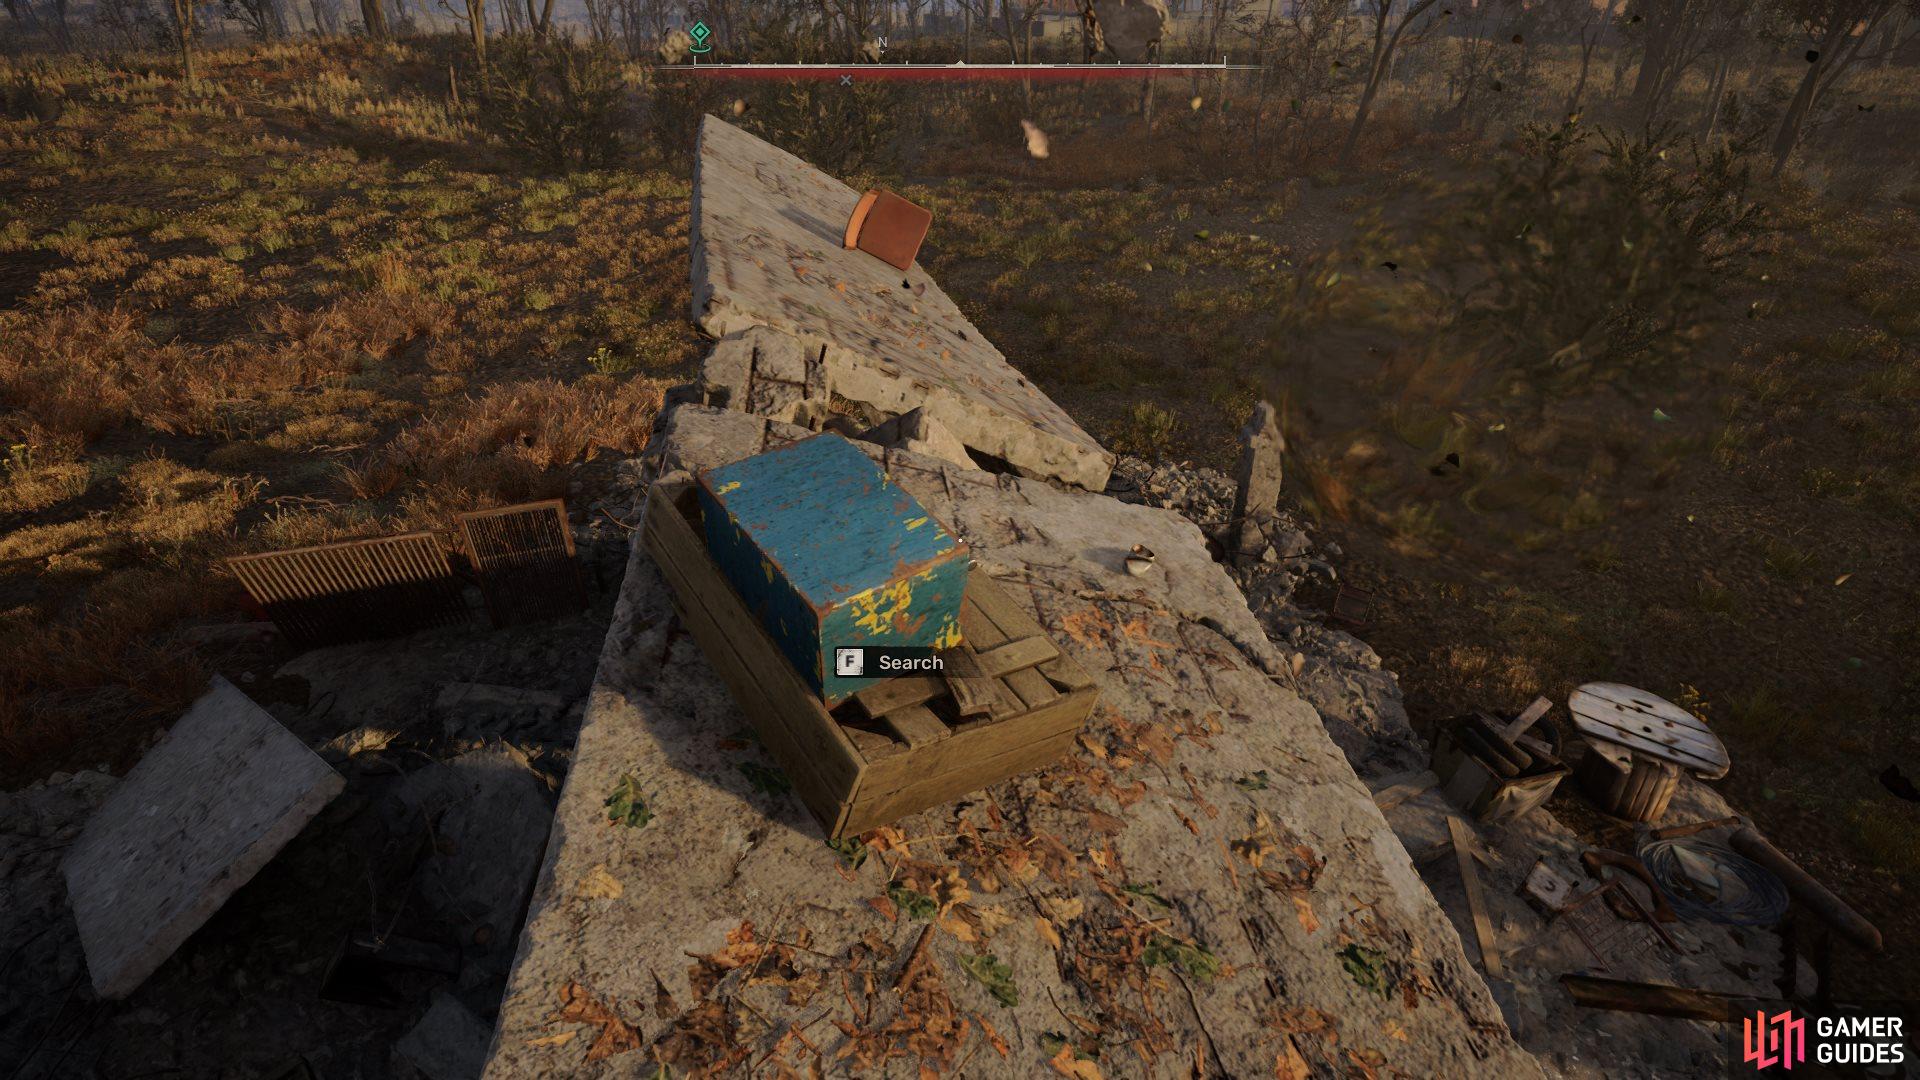
7. The Zone Map
Inside a safe on top of the ruins. To reach it, you need to be sucked into the teleportation anomaly in a chasm directly south of Rostok. Works with the ![]() Sphere M20 Helmet.
Sphere M20 Helmet.
No Comments