

Restore power to the elevator
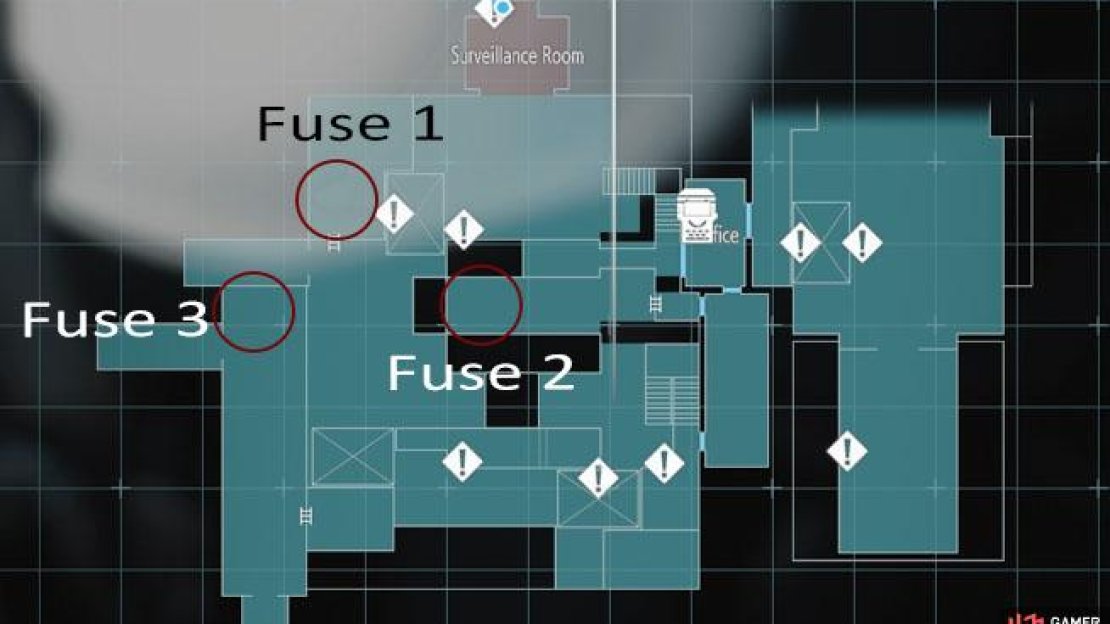
Once you’ve taken the first lift down, step forward into the room ahead and collect yourself a Green Herb from the forklift before taking the second lift up into the Safe Room, now pick up the Hip Pouch and Elevator Notice File off the desk, then head through the door. Drop off the platform and use the lift at the back of the room to trigger an event. Unfortunately, Nicholai has disabled the lift so you’ll need to find three fuses that are scattered around the Underground Storage in order to reactivate it. To begin, take the lift up on the right to find the first Fuse along with some Shotgun Shells and a Green Herb in the crates on the right.

(1 of 3) Collect the Hip Pouch from the Safe Room
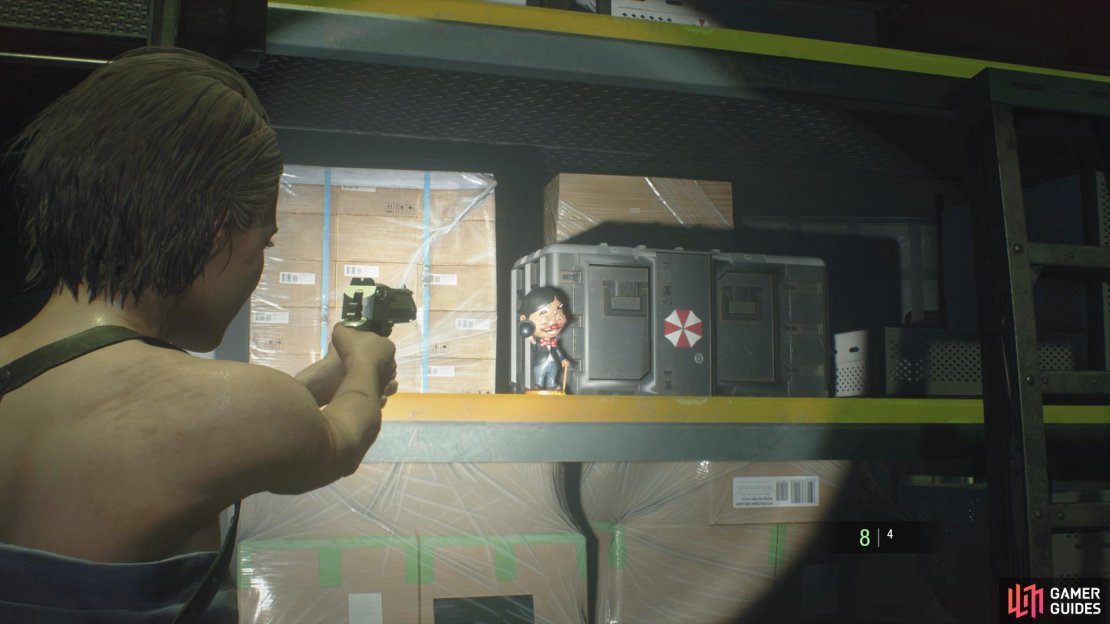
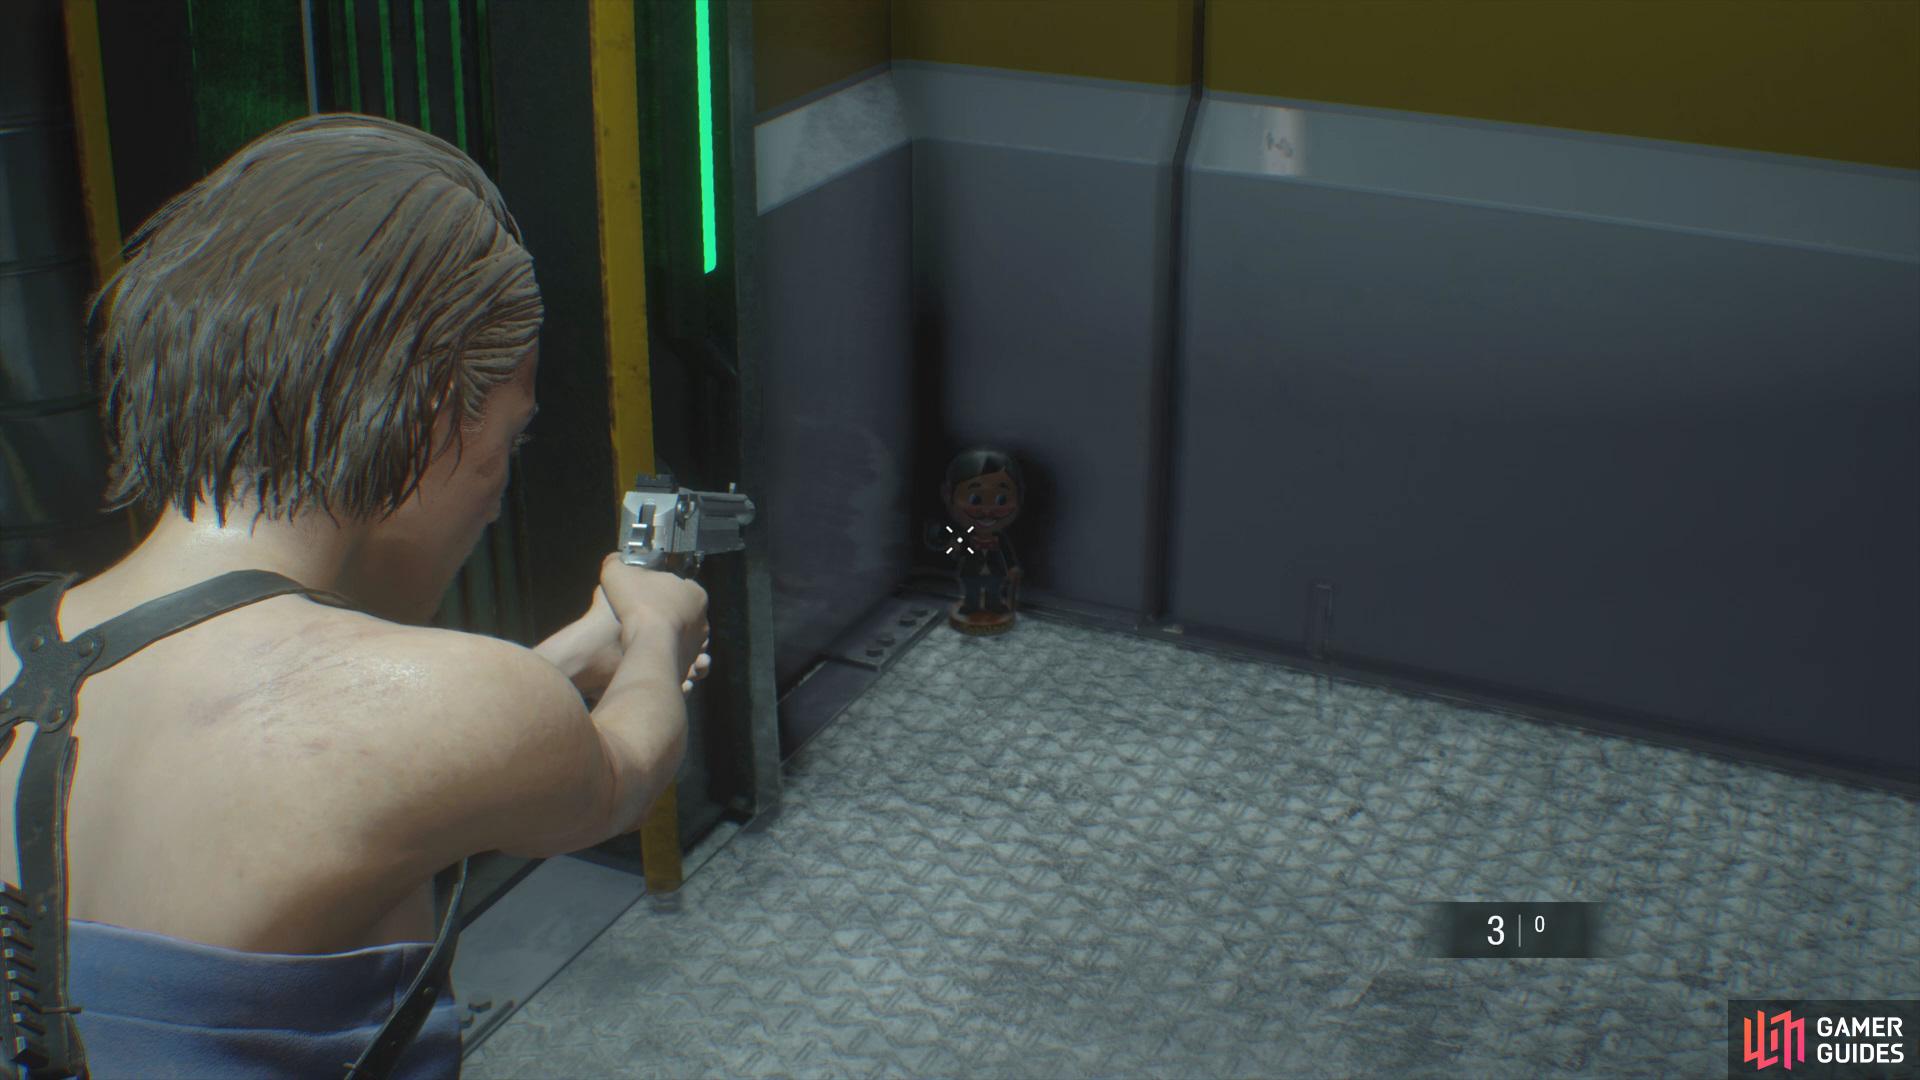
Then climb down the ladder and go into the container on the right for some Handgun Ammo, now follow the path around to the far right and slide through the tight gap, here you’ll find a Charlie Doll sitting on the shelf and a Red Herb on the floor.
Take the stairs up and head into the room on the left to find some Shotgun Shells along with the Employee Memo File, then go through the door on the left to find the second Fuse and some Gunpower. Climb back up the ladder and open up the door on the left for a shortcut back to the Safe Room.
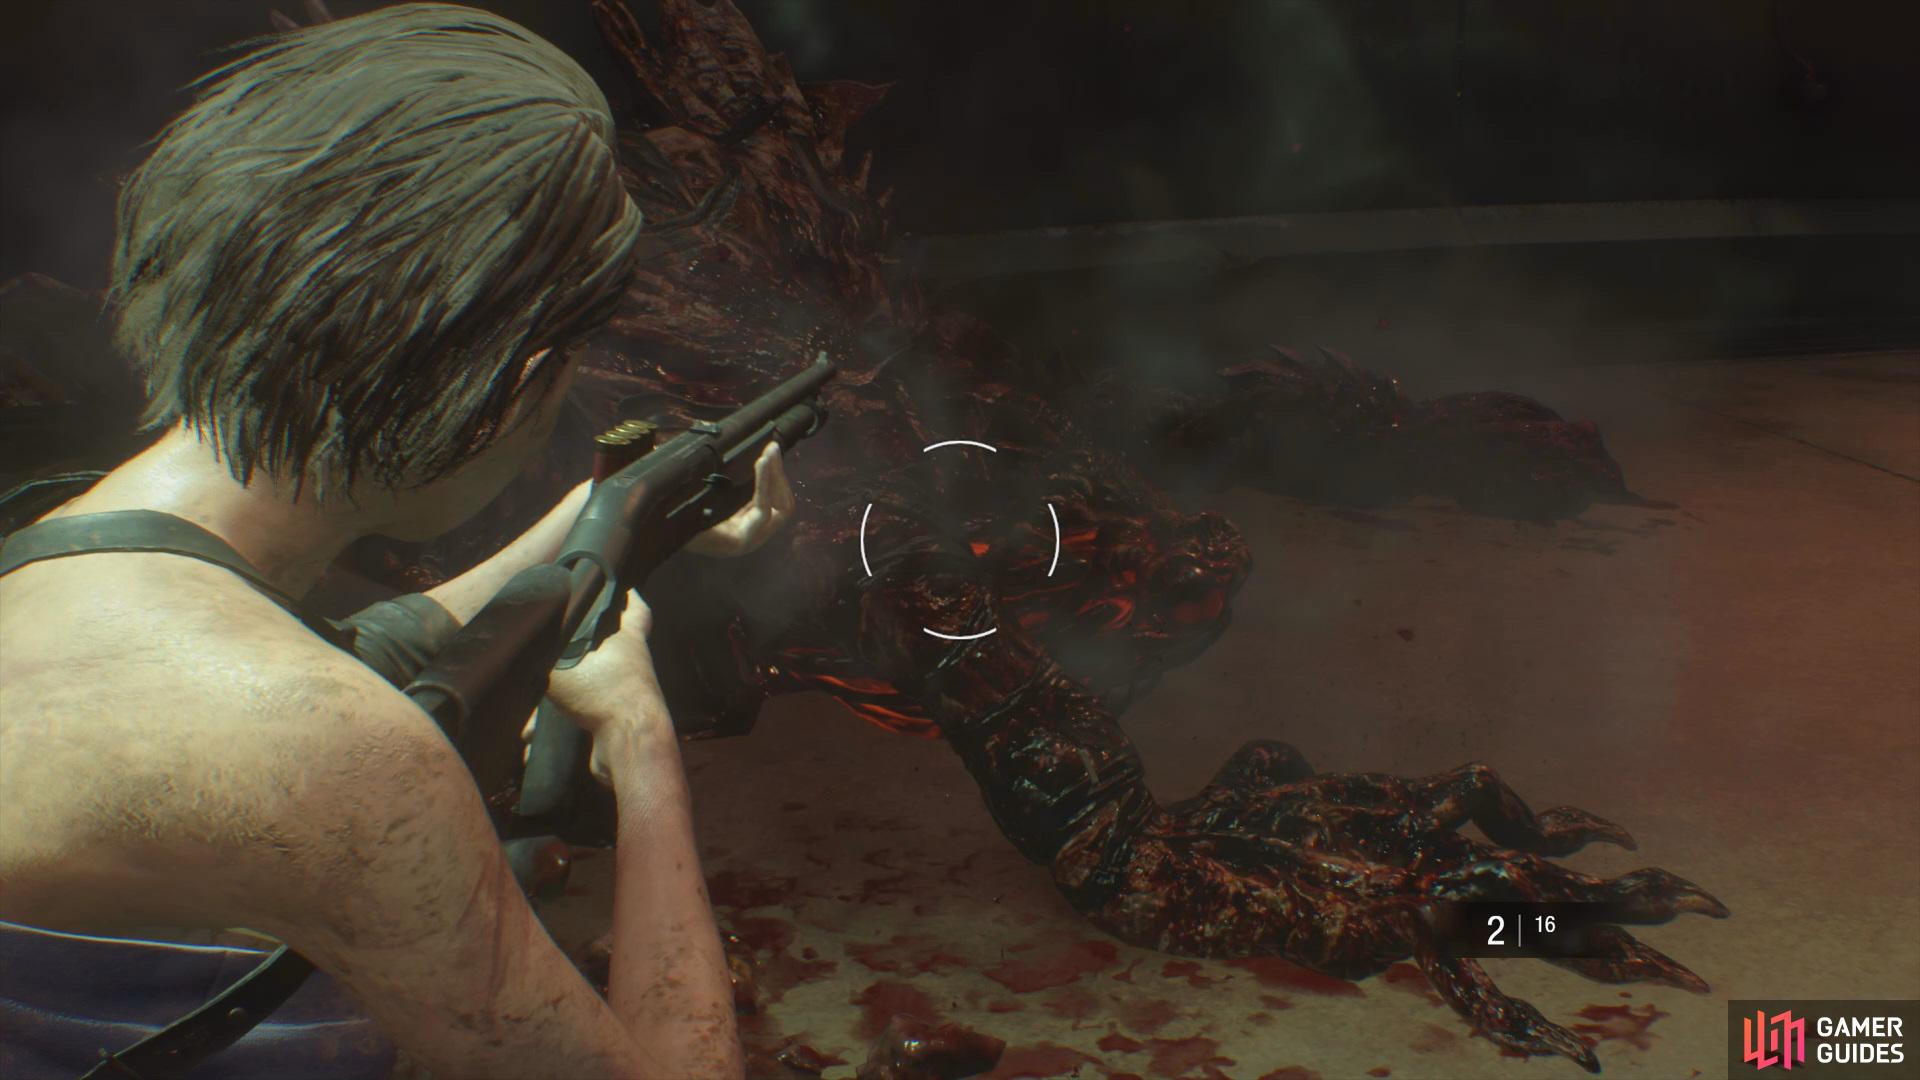
Go back and follow the southeast path and interact with the lever to bring the lift up, cross it and collect some High-Grade Gunpowder off the box then climb down. Go over to the right and wait for some Zombies to break open the container, then quickly take them out with your Grenade Launcher, now head over to the left to take out the Hunter. Finally, collect the third and final Fuse, then go into the container that had the Zombies inside to pick up some Gunpowder and High-Grade Gunpowder, now go into the container that had the Hunter inside for a Green Herb. Head back towards the Surveillance Room and insert the Fuses to activate the lift.
Pursue Nicholai / Get the vaccine
Once you’ve taken the lift up, head towards the glass to find a case that contains the Extended Barrel attachment for the MAG, then interact with the computer in the center of the room to obtain the Unfinished Activity Log File and to view a scene. Follow Tyrell through the door and another scene will play out. Unfortunately, Tyrell didn’t make it so you’ll have to try and get Vaccine alone.

(1 of 2) Collect the Flash Drive from the computer on the right side of the room
Collect the Flash Drive from the computer on the right side of the room (left), then look towards the corner of the balcony to find a Charlie Doll. (right)
Follow the path along and enter Safe Room at the end, inside you’ll be able to pick up the NES 2 Employee Regulation File off the trolley, a Green Herb off the floor, and finally some High-Grade Gunpowder off the shelf. Once you’ve gathered everything, exit the room and go up the stairs, take the next left first to find a crate with some Shotgun Shells along with the Isaac Graves’ Diary File on the floor, then go back along the main path and enter the room on the left. Here you’ll find some High-Grade Gunpowder and Handgun Ammo, then pick up the Easy on Vaccine Synthesis File off the bed. Finally, grab the Flash Drive off the computer to the southeast of the room.
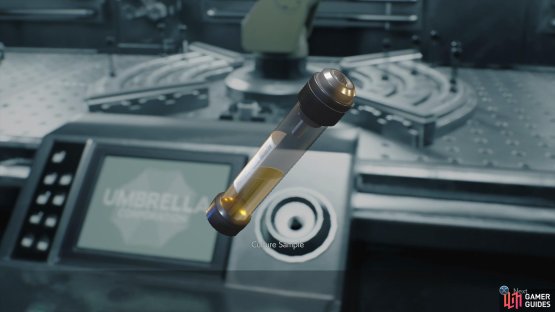
Head back down the stairs and open up the door on the left with the USB and inside you’ll want to grab the Shipping Notice File from the table. Go up the stairs and enter the room to collect the Culture Sample along with the Weaponry Authorization Request File, then grab the Gunpowder off the trolley and go into the side room to find a Charlie Doll and some Handgun Ammo.

(1 of 2) Head up the stairs and grab the Culture Sample

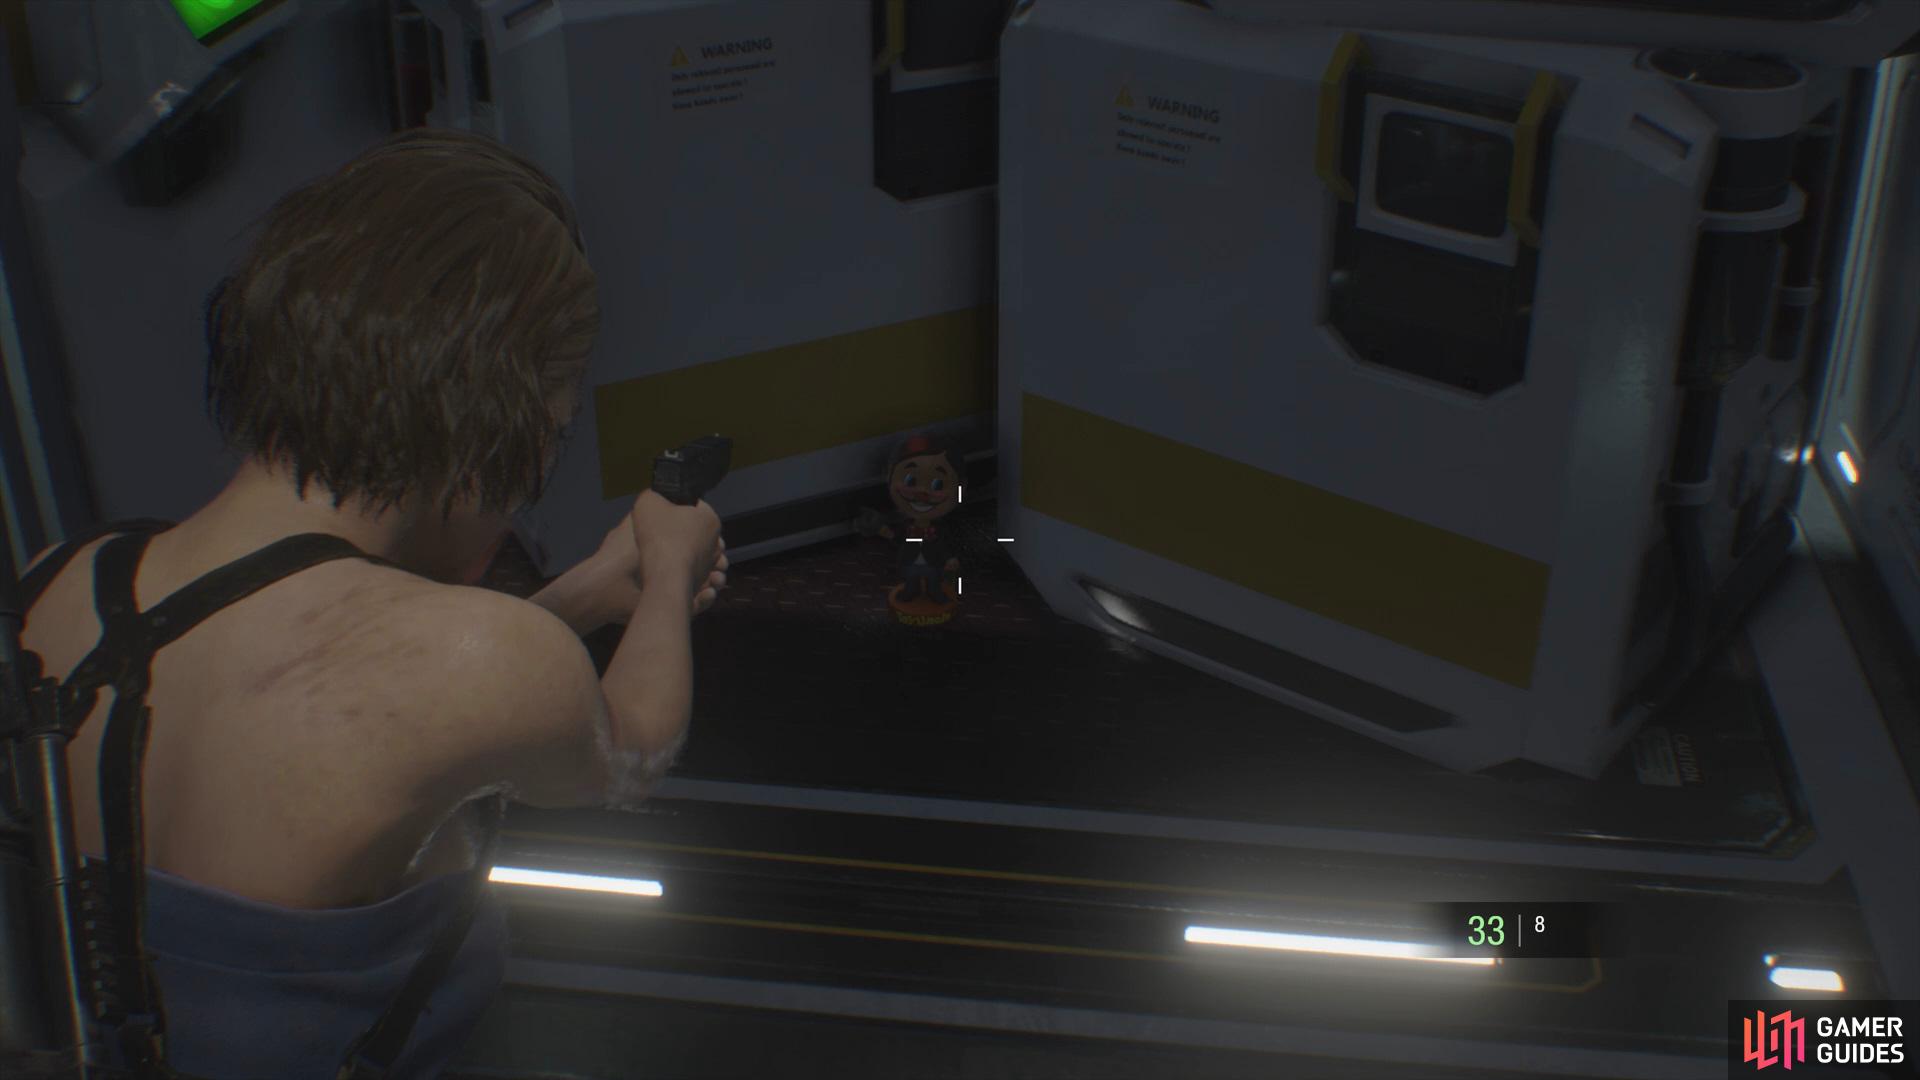
Head up the stairs and grab the Culture Sample (left), then go into the side room to find the final Charlie Doll sitting by the boxes on the left. (right)
Go down the stairs and head through the northwest door, then take a right to find a corpse with the Scientist’s Dying Message File on the floor. Follow the room around to find a Red Herb, Gunpowder and a case with a First-Aid Spray inside, then push the large canister back in until the light turns blue and head through the door.
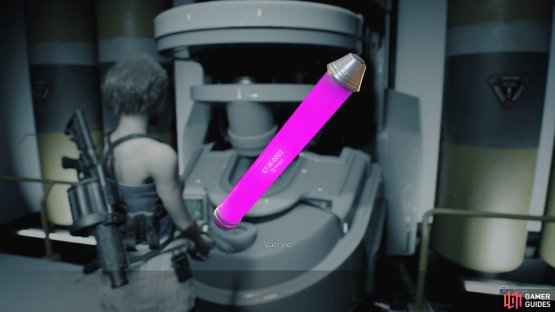
Follow the path along and open the case near the Incubation Lab door for an Explosive B, then head inside to collect the Expression of Concern File off the table, now open up the case for an Explosive A. Finally, collect the Liquid-filled Test Tube from the freezer and combine it with the Culture Sample for a Vaccine Base, then take the lift back.

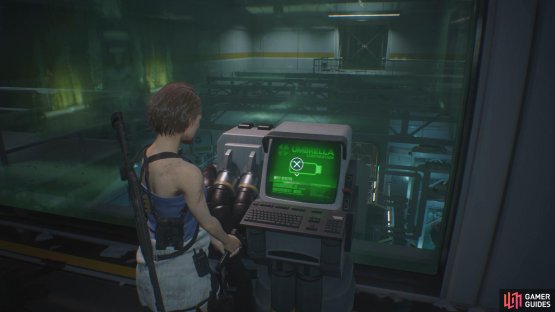
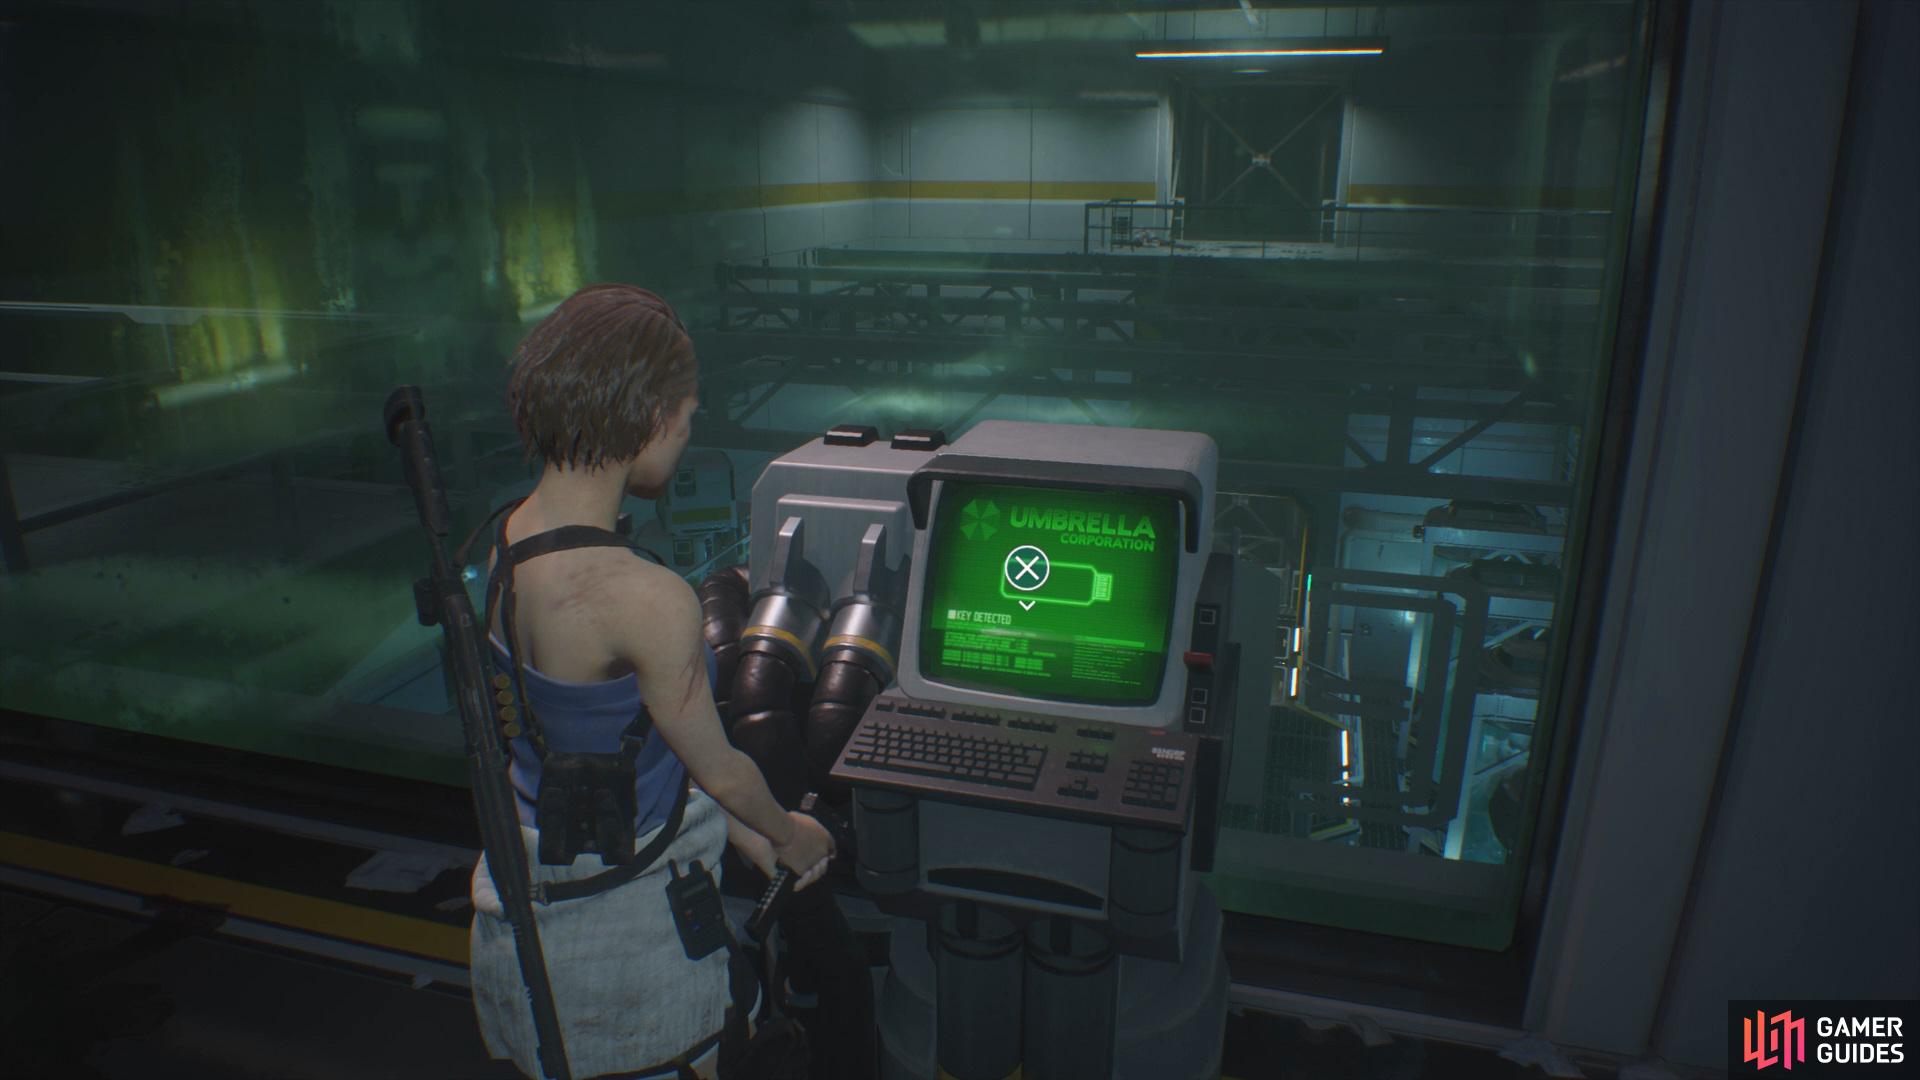
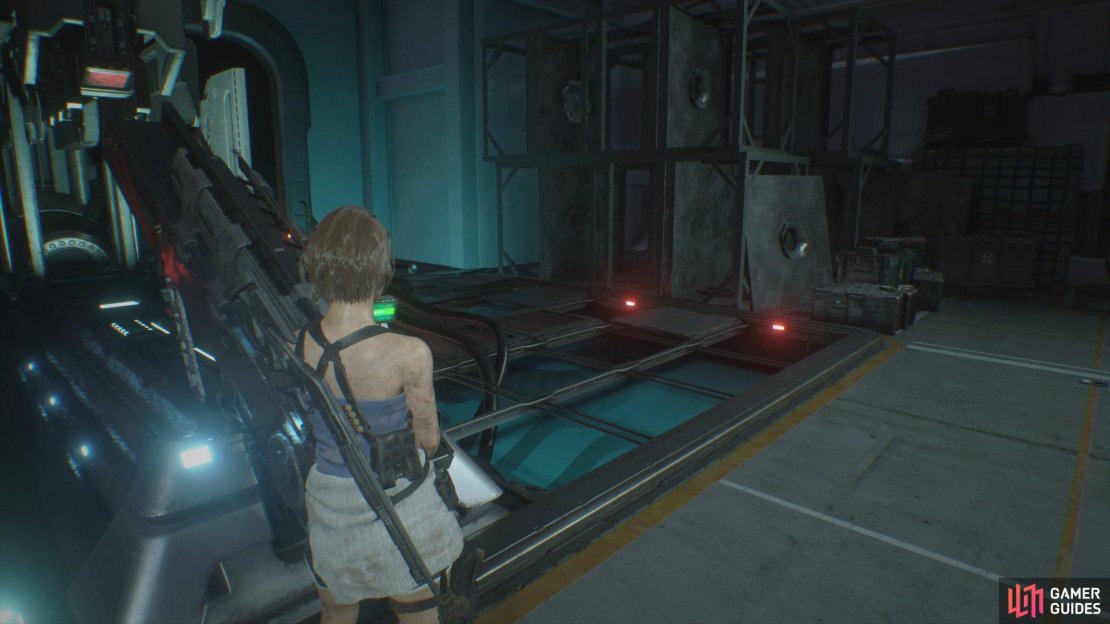
(1 of 2) Place the Vaccine Base in the machine that’s located in the room where you got the Flash Drive and input the Mid, High, Low
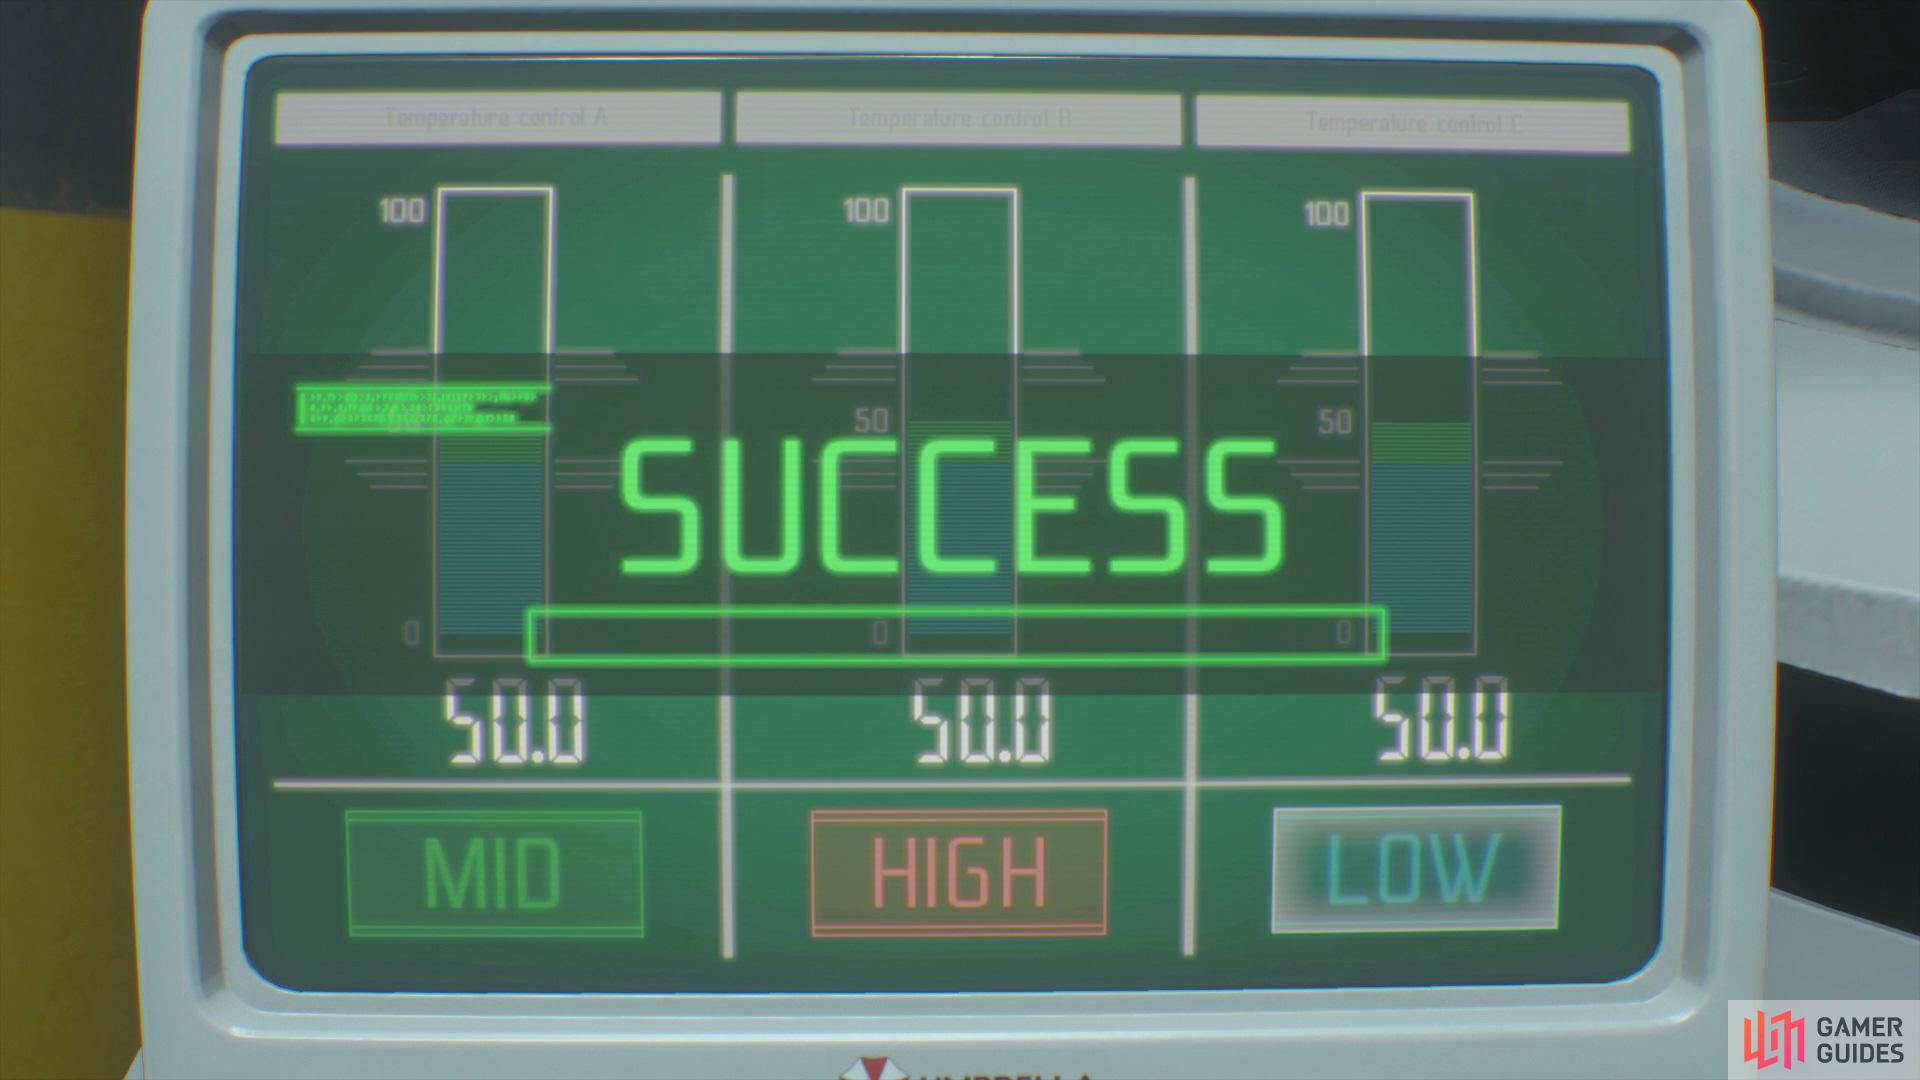

Place the Vaccine Base in the machine that’s located in the room where you got the Flash Drive and input the Mid, High, Low (left), for the the Vaccine. (right)
Return to the room where you acquired the Flash Drive and place the Vaccine Base into the machine in the center. Here you’ll want to set the levels to Mid, High, Low to obtain the Vaccine.
Escape the facility
After the short scene you’ll want to head through the vent on the left and you’ll get grabbed by the Nemesis again, here you’ll want to keep the analog stick held up until the canister explodes. Once you’ve made it into the Workers’ Break Room, pick up the Explosive and Flame Rounds from the box on the right and some High-Grade Gunpowder along with a First Aid Spray from the box in the back.
Finally, pick up the Disposal Center File off the wall and then proceed through the door. Take a left first to find a case with some Flame Rounds inside, then follow the right path to begin a battle against Nemesis Stage 3.
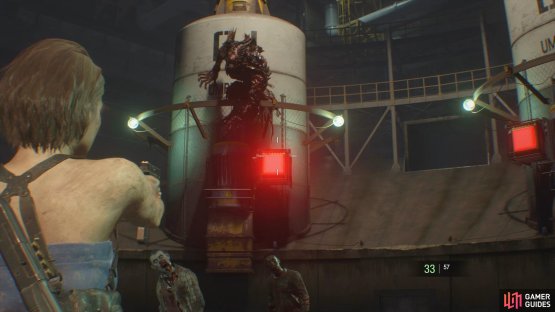
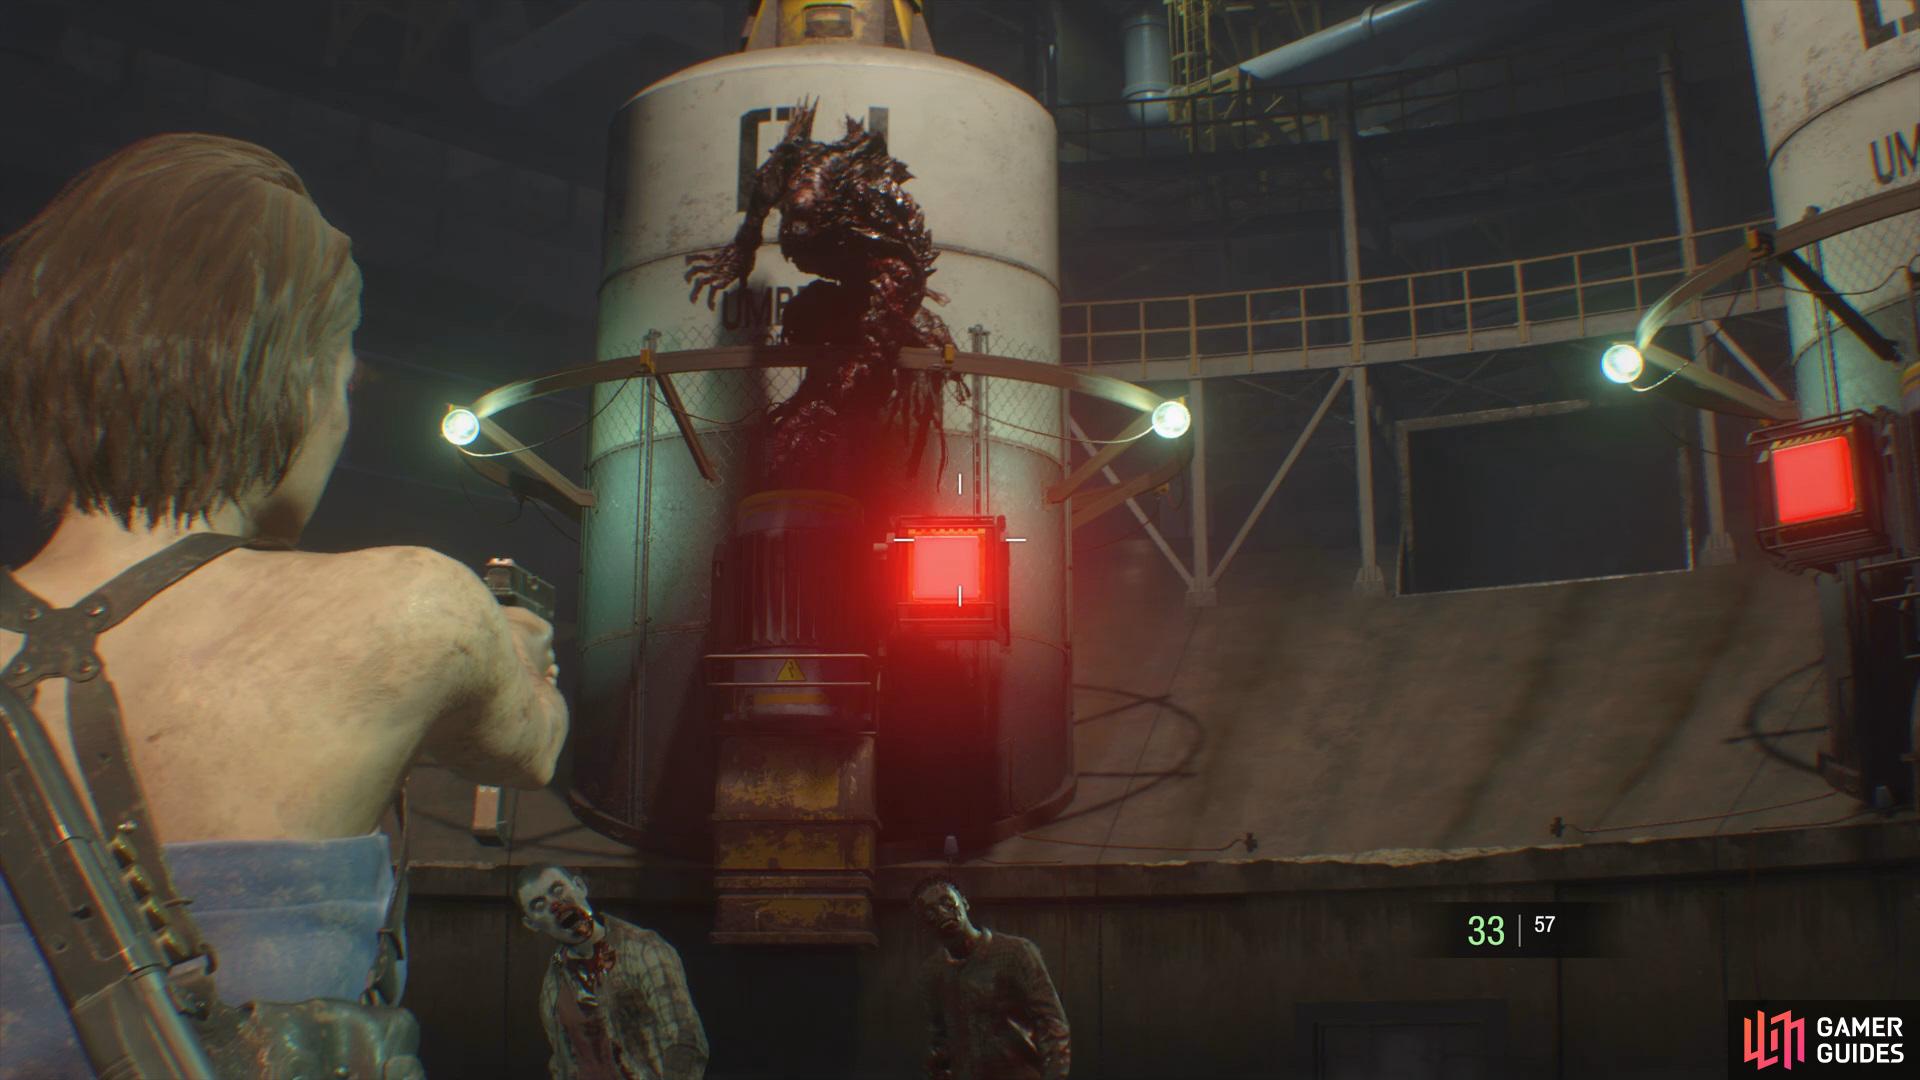
Boss: Nemesis Stage 2
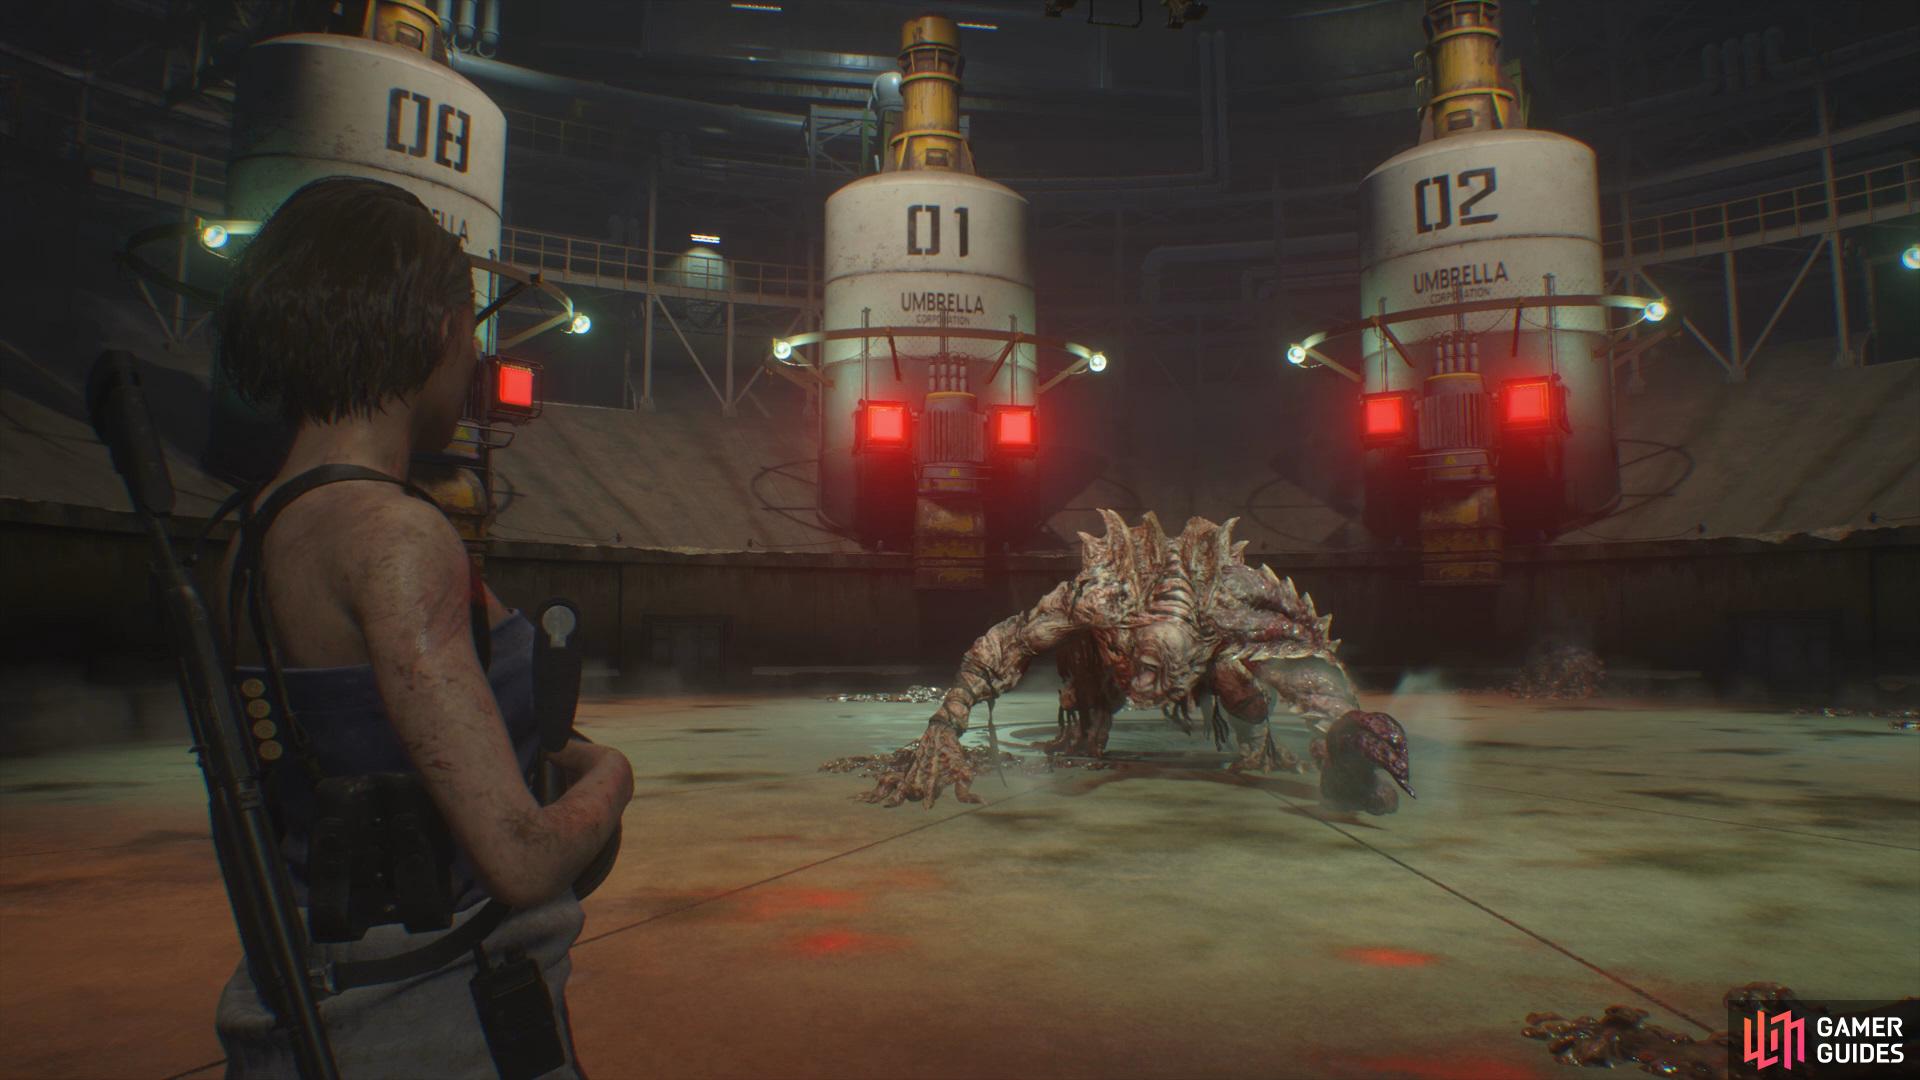
Like in the previous two battles against the Nemesis, you’ll want to do a quick loop around the arena to stock up on Ammo and Healing Items, then you’ll want to continue running around whilst using the Grenade Launcher to stun the boss.

(1 of 2) Wait for the Nemesis to stop on a generator then shoot the red lights to electrocute him
Wait for the Nemesis to stop on a generator then shoot the red lights to electrocute him (left), now focus all your firepower into his heart. (right)
After you’ve taken off a certain amount HP he’ll begin to run around the outside of the arena, here you’ll want to wait for Carlos to give you a number and then you’ll need to shoot the two red lights on that generator to electrocute the boss. Once he has fallen down to the ground, you’ll want to focus fire at his heart to deal maximum damage. Finally, as the Nemesis comes close to death once again he’ll try to hit you with his tentacle, this can reach you from a distance, so you’ll want to keep to the edge of the arena to avoid it.


Go after Nicholai
Once you’ve managed to beat Nemesis, follow the path ahead to enter the Staff Break Room, here you can find the Weapon Spec Sheet File, a First Aid Spray, and finally some Gunpowder. Save your game via the Typewriter, then proceed into the next and follow the path along to begin the final battle against the Nemesis.
Boss: Nemesis Stage 3
Although this is the final battle in the game, it is arguably the easiest. Begin the battle by picking up the Ammo and Healing items from the back of the arena, then use the Rail Gun behind you on him to break his shell, now you’ll need to reactivate the power source by pushing in the three canisters with a red light.


(1 of 3) Use the Rail Gun to begin the battle
To do this you’ll want to take out all the Cysts that are scattered around his body whilst dodging his attacks to stun him, then push one source in at a time. Repeat this cycle until all three sources have been reactivated, then use the Rail Gun one more to finally take out the Nemesis.

Take back the vaccine
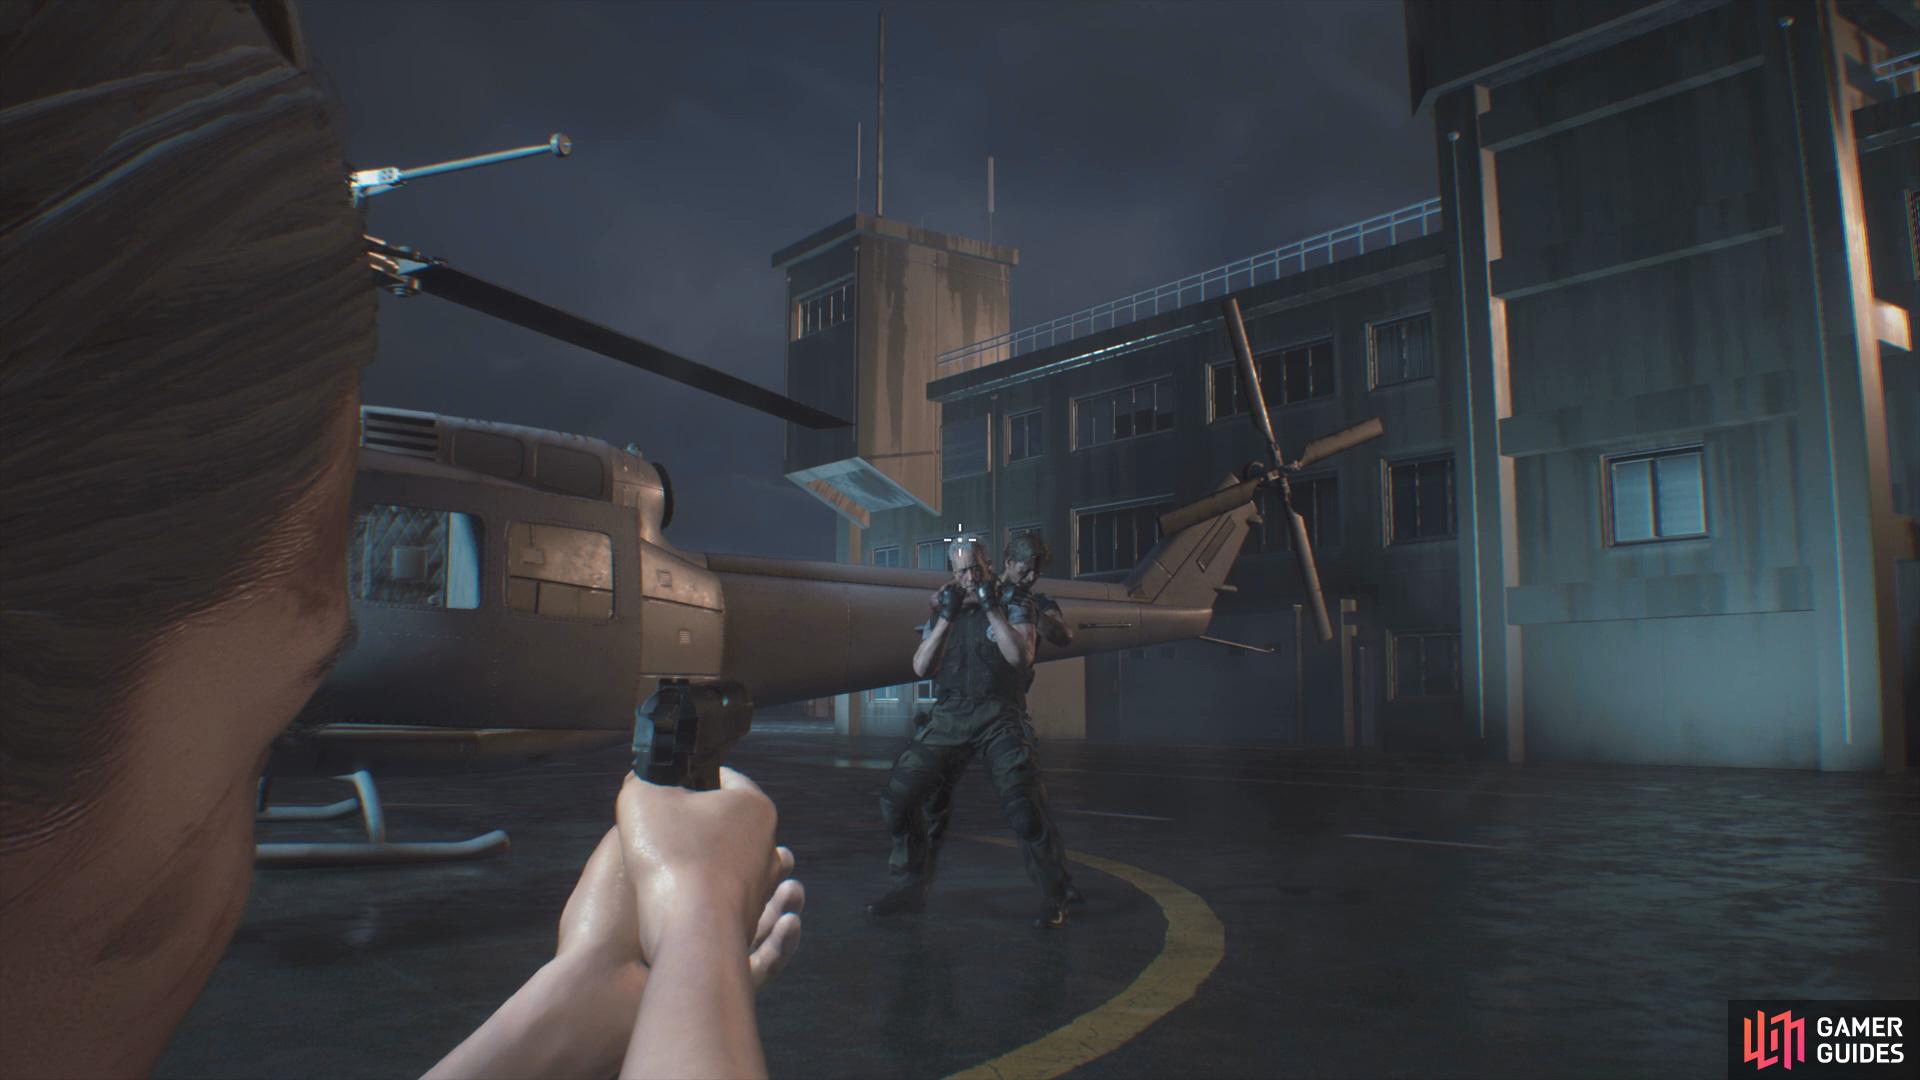
Quickly shoot Nickolai in the head to complete the game.
With Nemesis destroyed, climb up the ladder at the back of the room and follow the path along to reach the lift, take it up and use the stairs to view a cutscene. Finally, you’ll be given a few seconds to shoot Nicholai before he manages to take Carlos out.


No Comments