
Find Ada
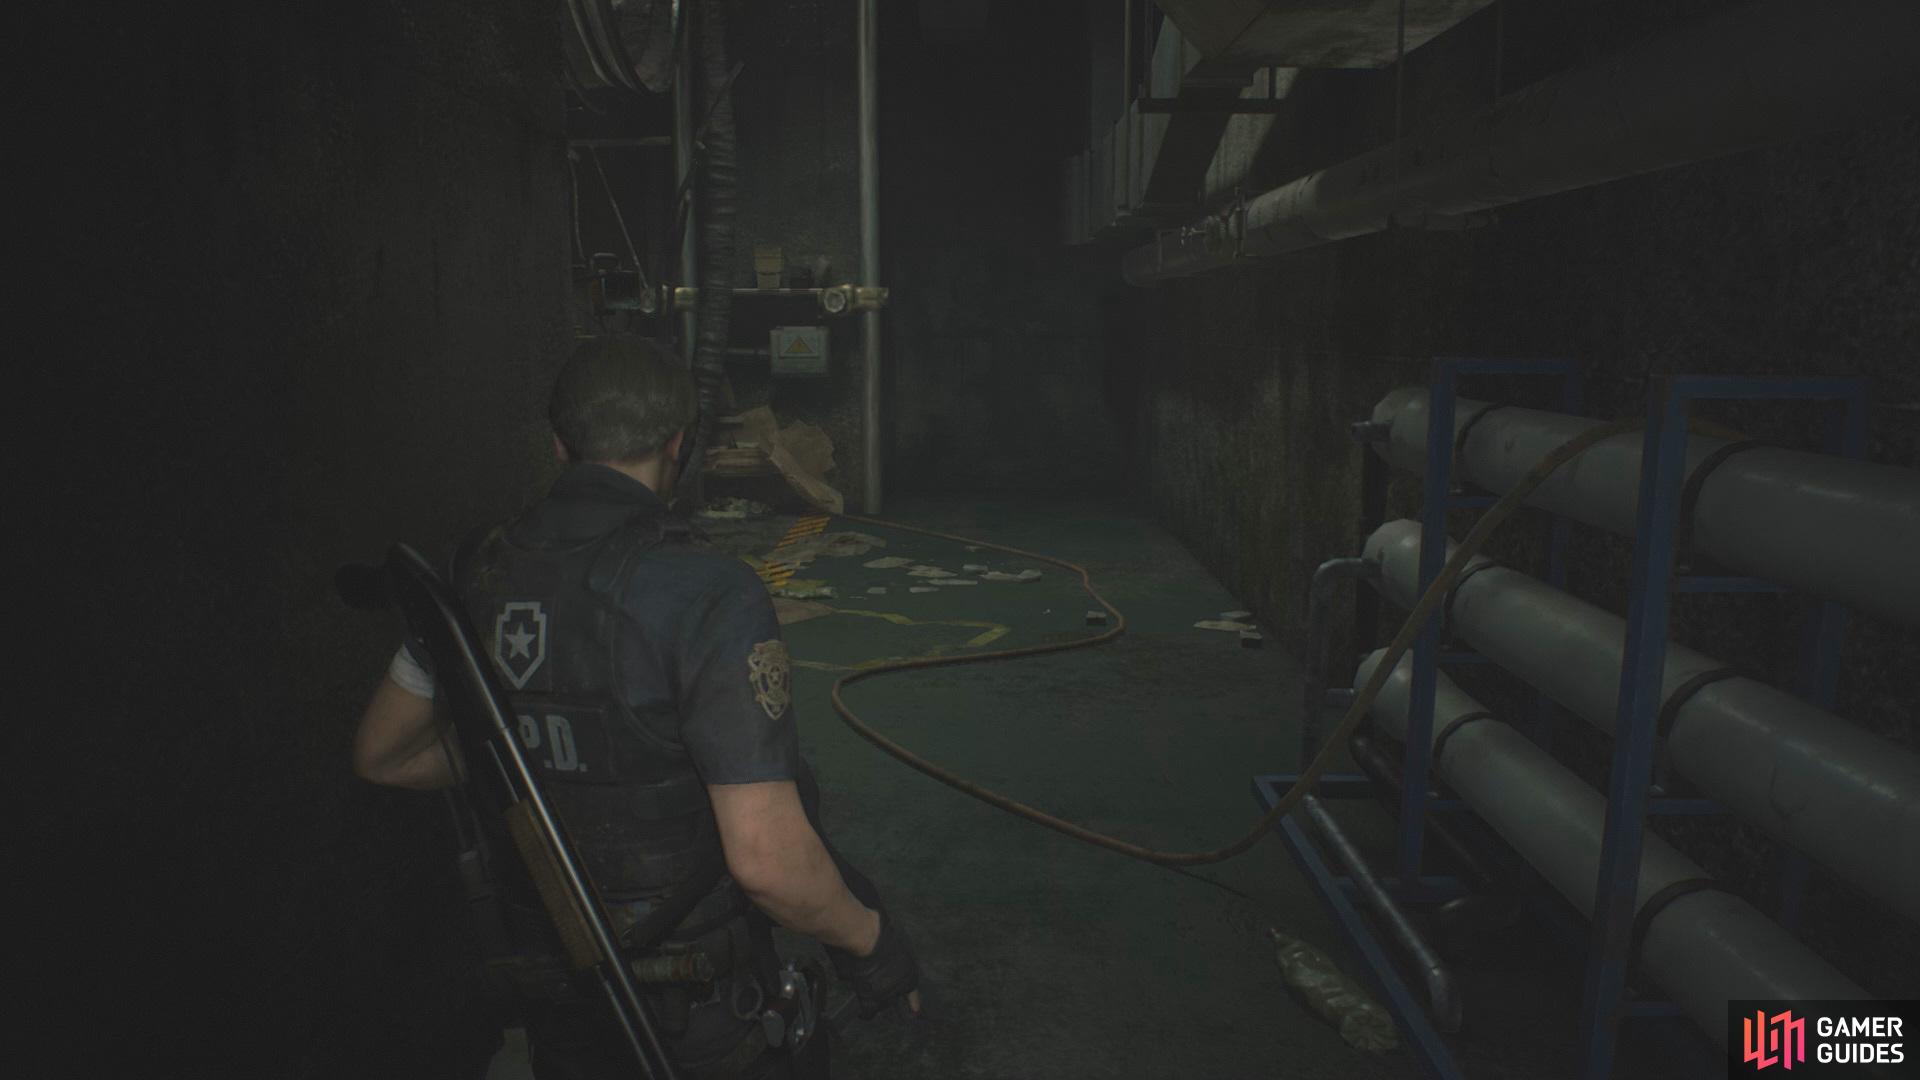
After Ada has fallen, you’ll be given control of Leon once again. Simply turn around and interact with the lift to the left of the corridor, follow the path and drop down. Collect the Handgun Ammo from the rubbish pile and head through the tunnel and turn right to the Upper Waterway, here you’ll have two paths to take. Firstly, head left to collect some Shotgun Shells from the end of the tunnel then take the right path up the stairs where you’ll be able find the U.S.S Digital Cassette file left on the floor next to a Zombie. Head up the stairs and follow the path north until you come across a Combat Knife left on top of a barrel, collect it and drop down into the sewers, head right and slide down into the Lower Waterway.
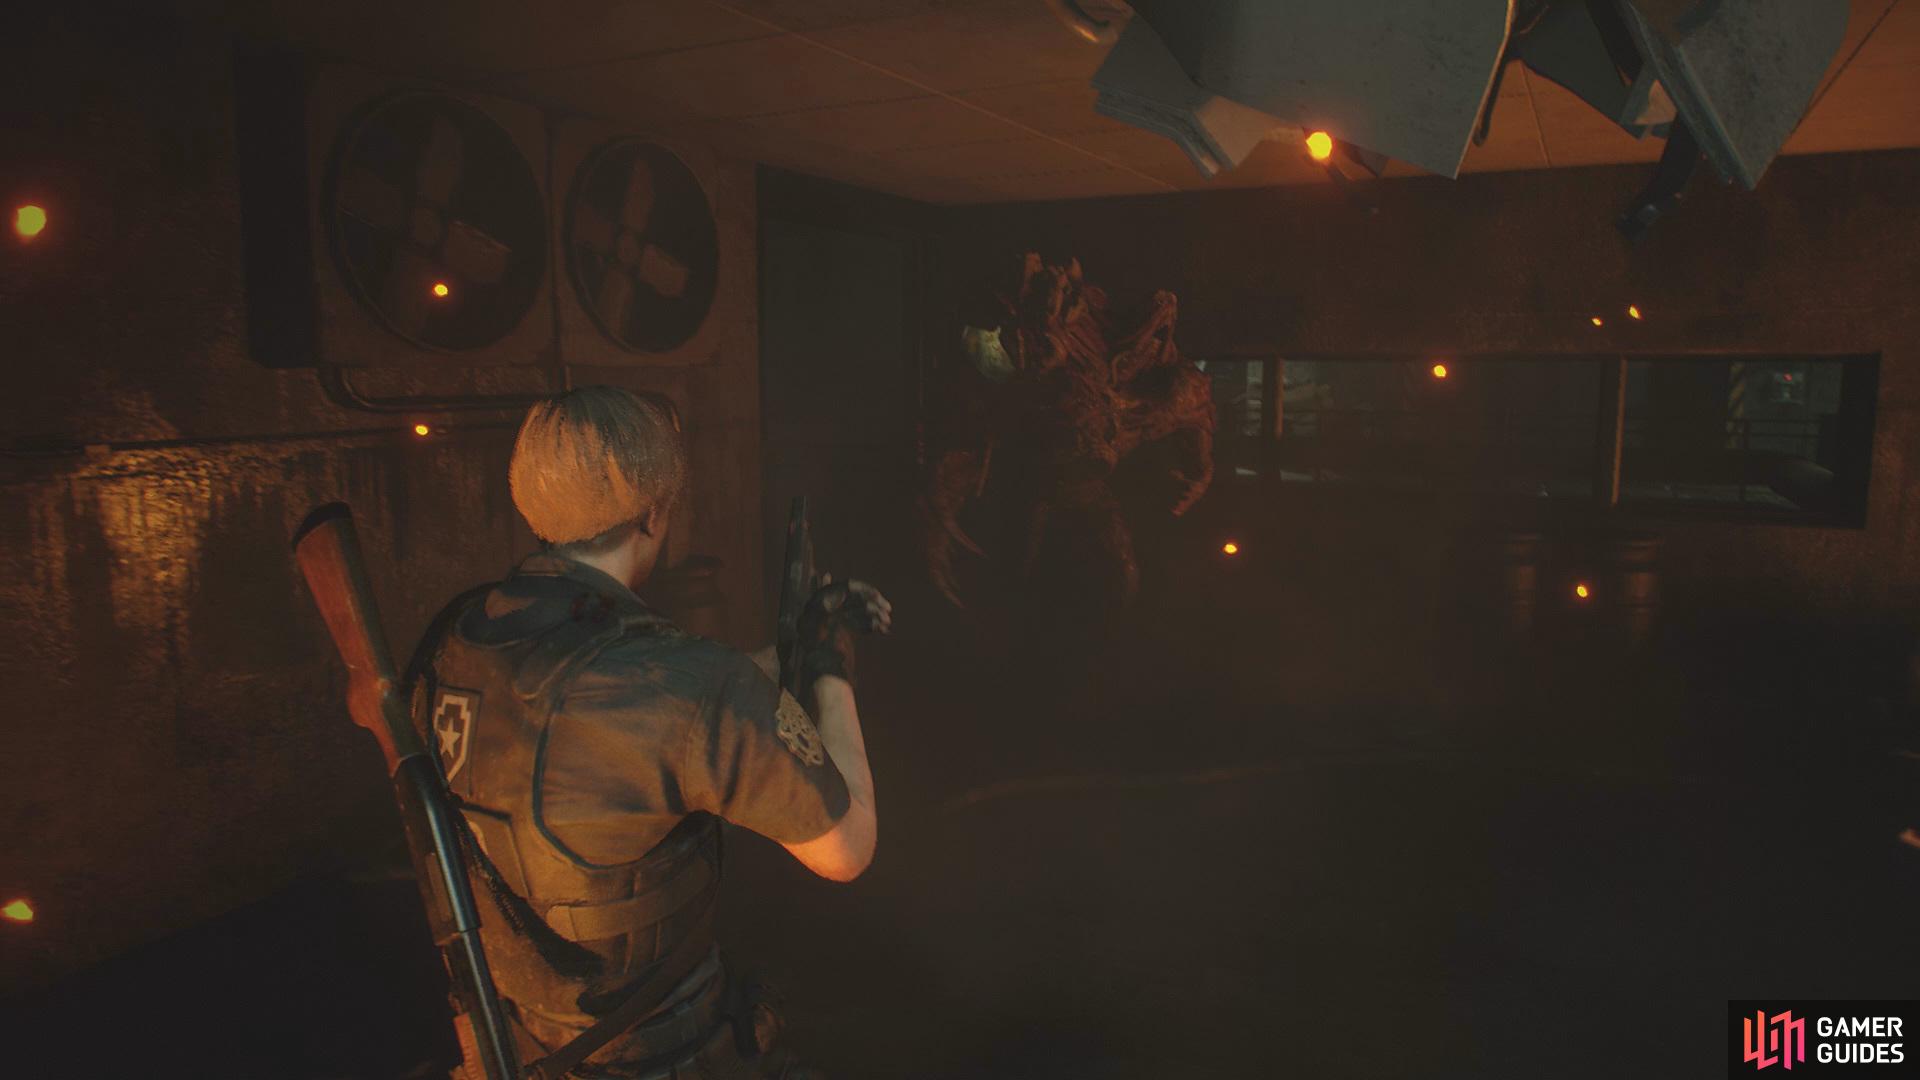
Keep to the left side until you see a section where you can climb up to find a Blue Herb, now drop back down and proceed forward hugging the left wall until you see some High-Grade Gunpowder (Yellow), head deeper into the sewers where you’ll come across a strange new enemy, G Type Adult.
G Type Adult
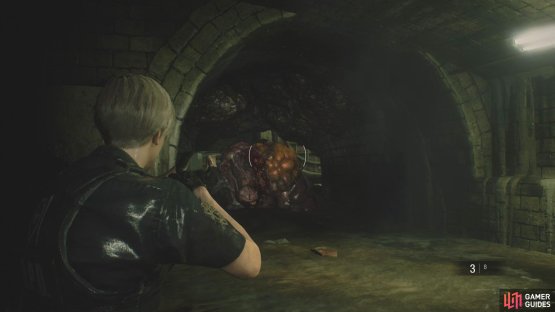
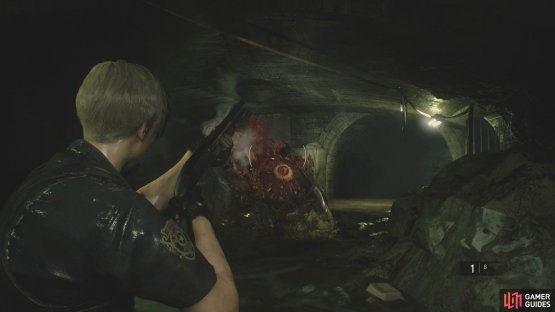
(1 of 2) Shoot at the enemy’s different colored shoulder to expose its eye


Shoot at the enemy’s different colored shoulder to expose its eye (left), once the eye has been exposed, keep shooting at it with your shotgun until it dies. (right)
Your first encounter with this enemy will be tricky, but simply keep your distance whilst aiming to shoot at the different colored shoulder from the rest of the body, eventually it will explode which will expose its eye, now focus on the eye until it dies.
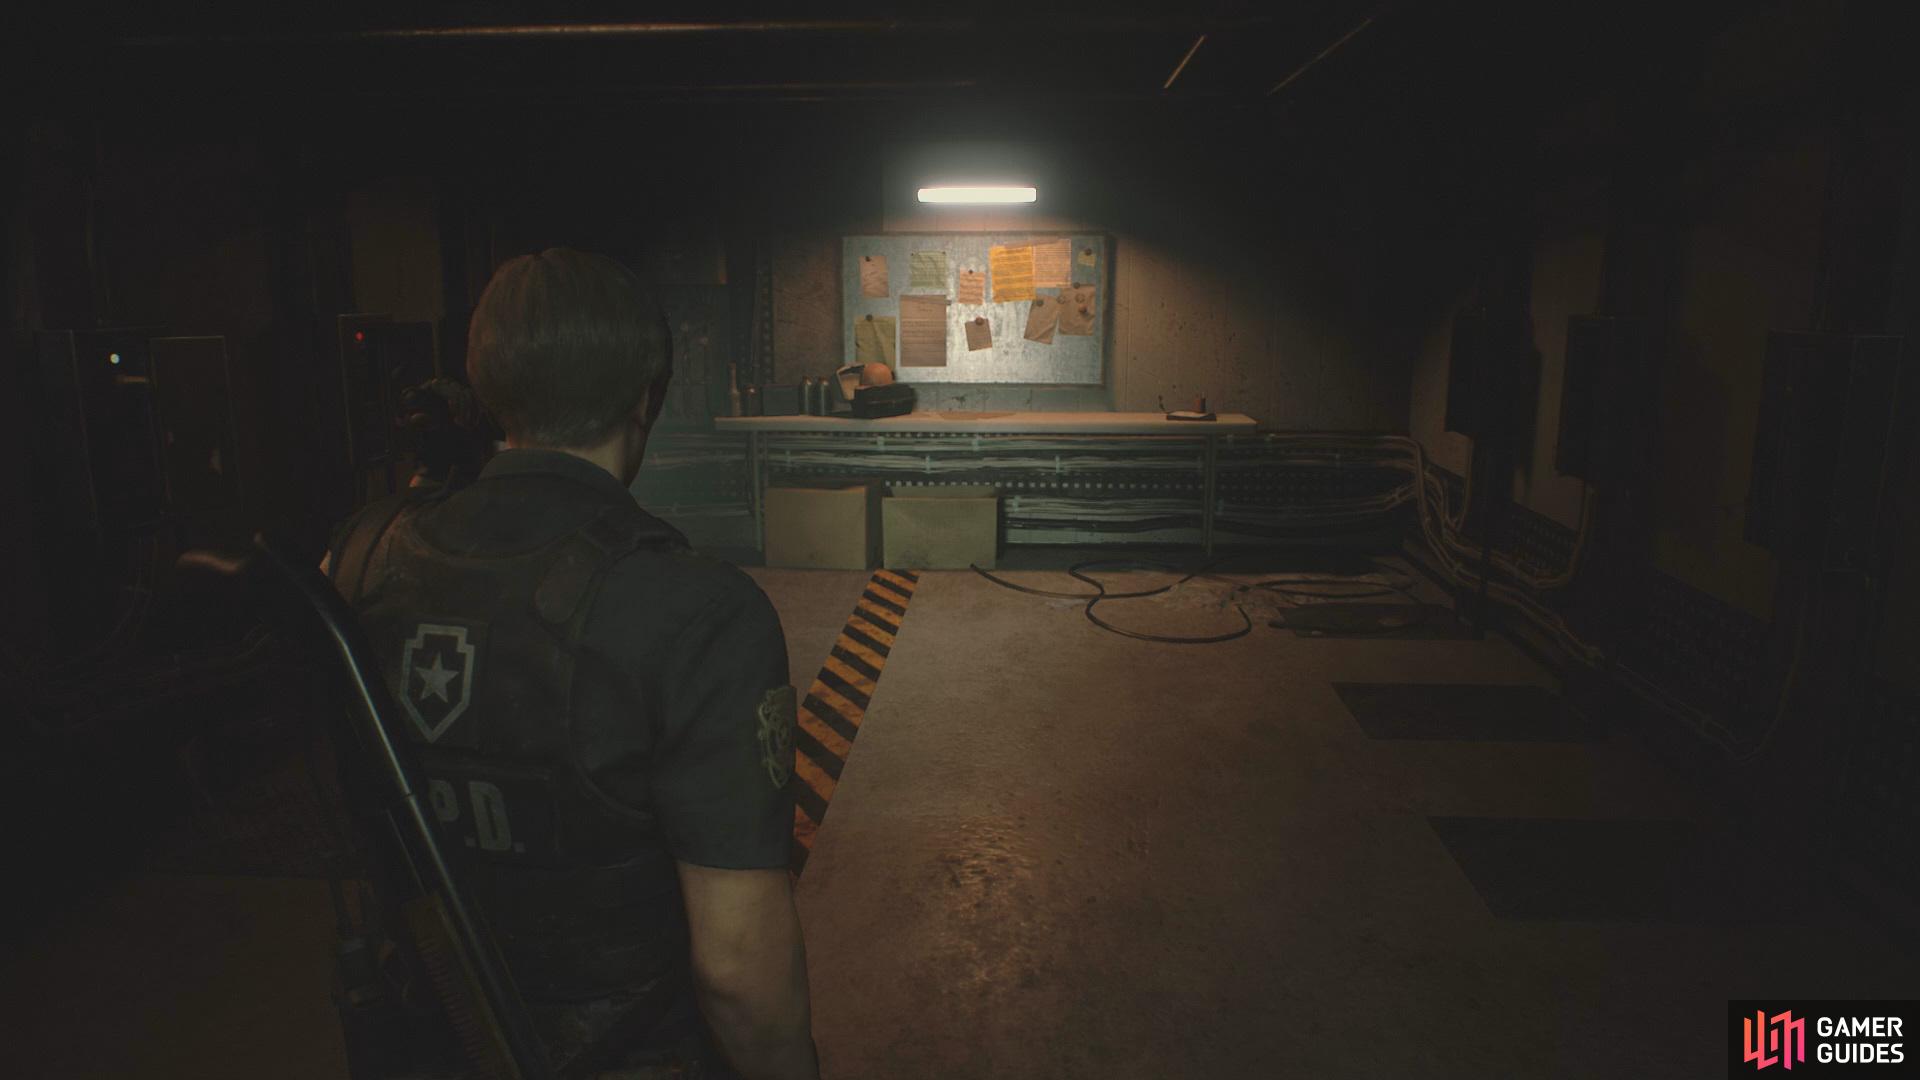
Once you’ve dealt with the enemy, continue down the tunnel and climb the ledge to your left, follow the path and head through the door, continue up the stairs and climb the ladder up to the Control Room. Once inside, collect some Shotgun Shells from the chair on the left side of the room and then collect the Copy of Emails to Umbrella HQ file from the table, now proceed forward and drop all the way down to the Monitor Room.
Save Ada
Inside the Monitor Room, you’ll be able to find the Sewers Map to the left of the window and some Handgun Ammo on the table, now head to the west side of the room to find a table with the Sewers Company Pamphlet next to the video player, place the U.S.S Digital Cassette into it to trigger a cutscene. Now head to the south section of the room to find the Unlocking the U-Area Door file alongside a clue to unlock the door pinned up on the board.
Find the plugs
You currently don’t have all the chess pieces needed for the puzzle but to make matters easier, take all the pieces from the plug sockets and examine them to reveal the correct name, now place the Bishop Piece into the socket closest to the door, from here move two sockets along and place the Knight, head over the other side and place the Pawn into the furthest socket to the right.
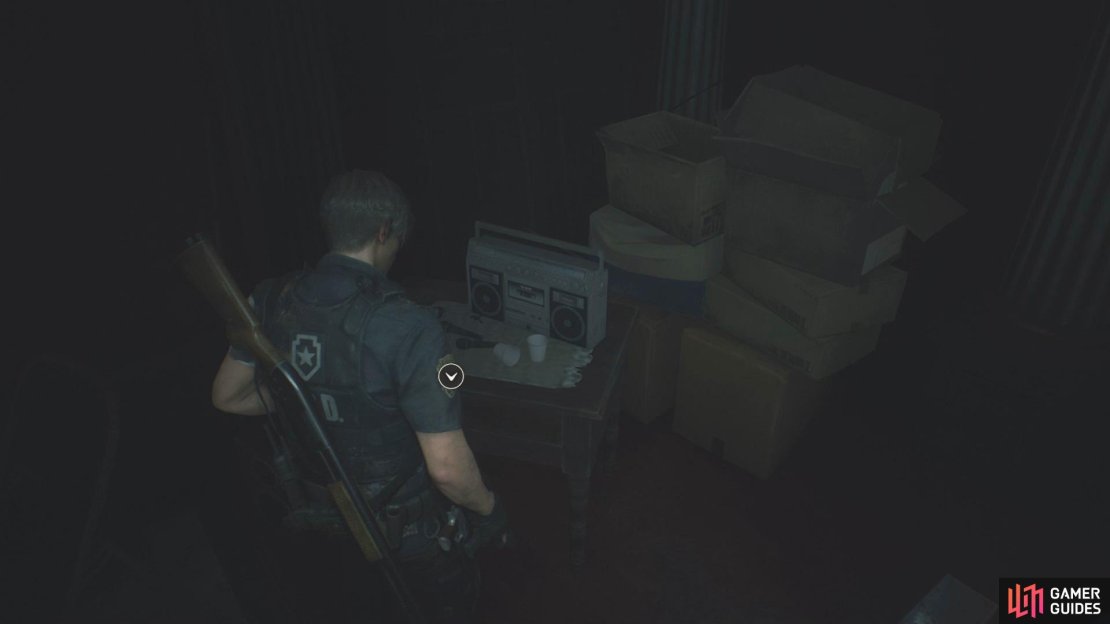
Head to the east side of the room and head outside, make your way over to the lever and interact with it to bring up the bridge to allow you across. Firstly, take the left route to find yourself a Red Herb sitting on the floor by the fence, followed by the T-Bar Valve Handle that’s left on top of the boxes by the computer, now go downstairs to collect the Delivery Receipt file from the table.
Make your way to the south of the room where you’ll see a Safe, you’ll find the combination for the safe engraved in the right side Left 2, Right 12, Left 8, inside will be the Shotgun Stock (W-870) attachment for the Shotgun. Finally, grab the Blue Herb that’s sitting by the barrels and head through the exit door before proceeding down stairs, once at the bottom, take a left and follow the path down. Use your T-Bar to unlock the path and head across the bridge to collect the Sewers Key from the wall, head back up the stairs and grab the Green Herb before using the lever to open a shortcut to the Lower Waterway.
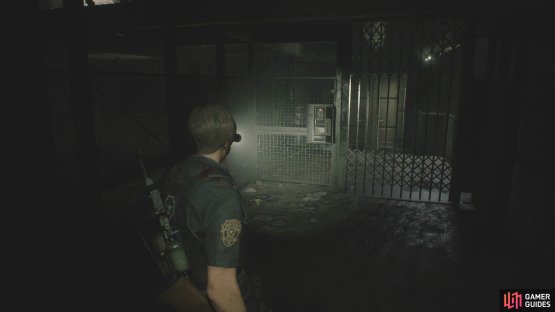
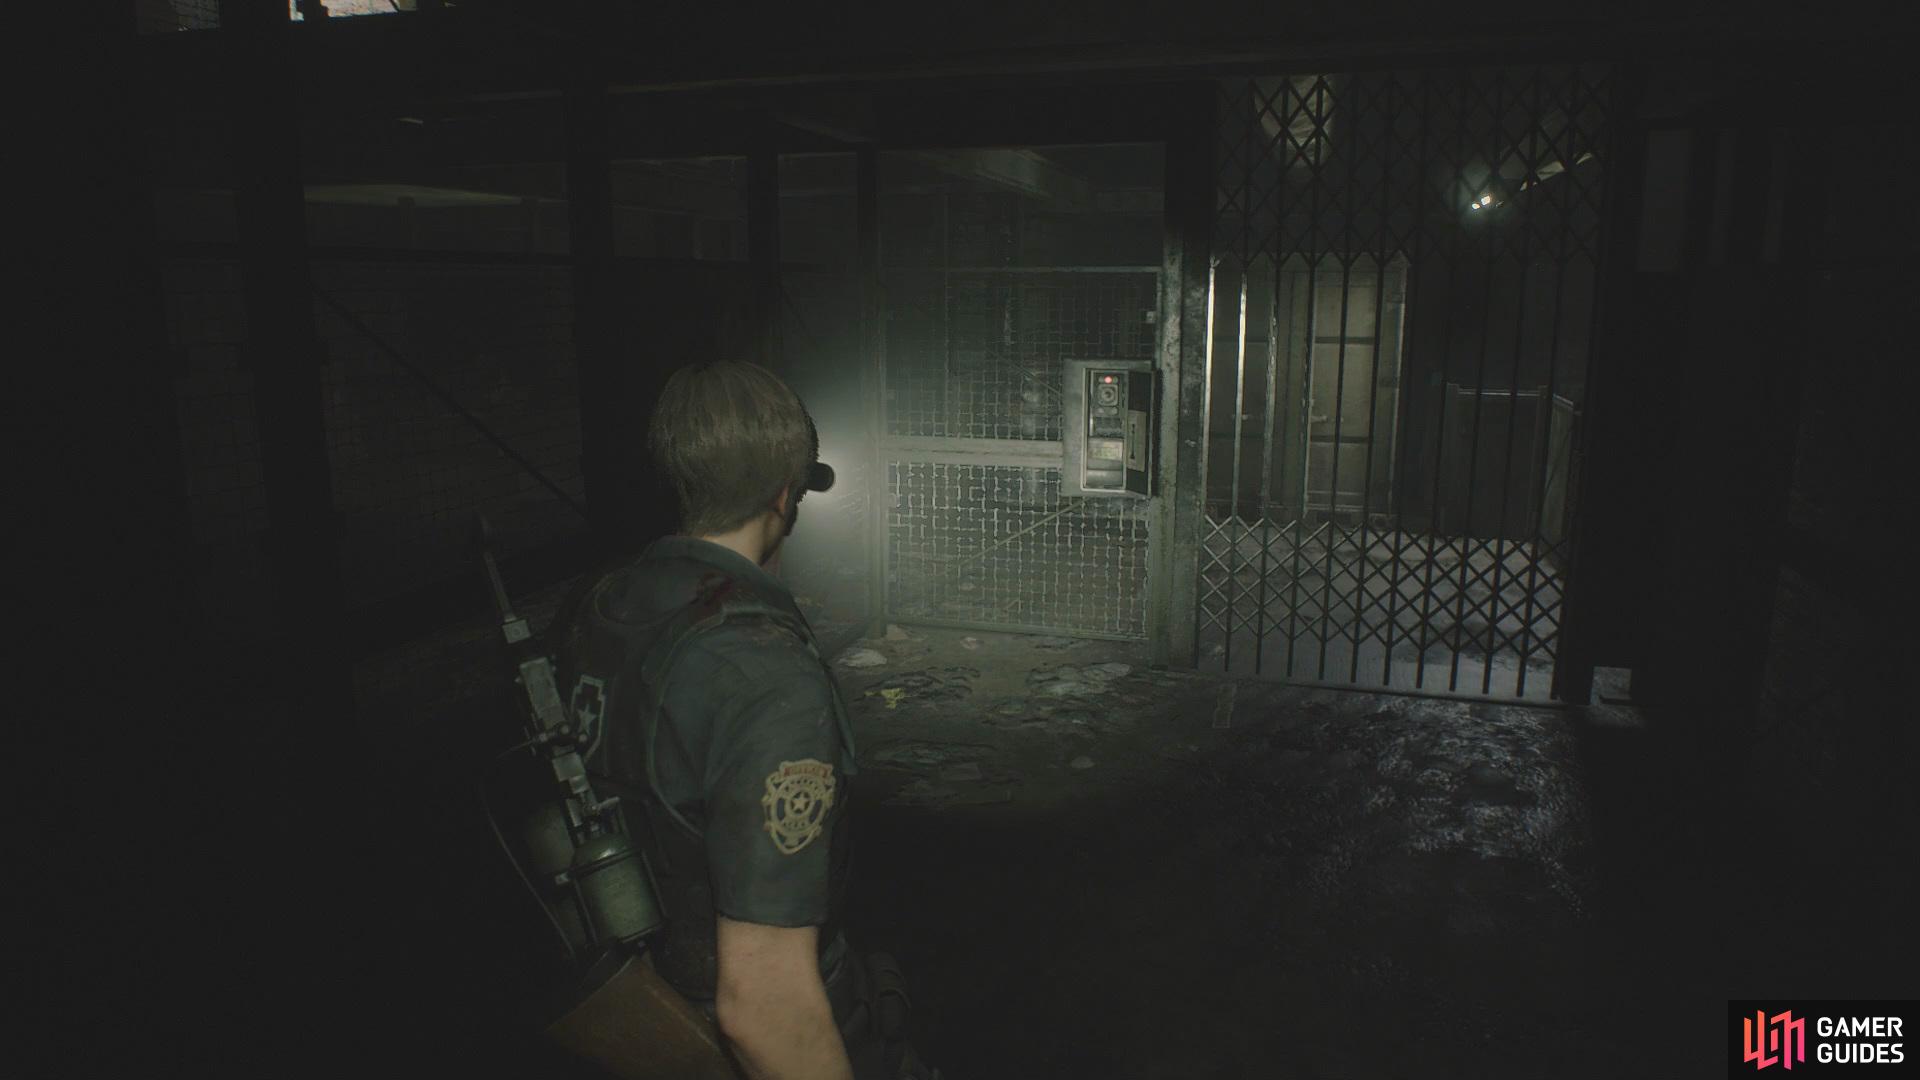
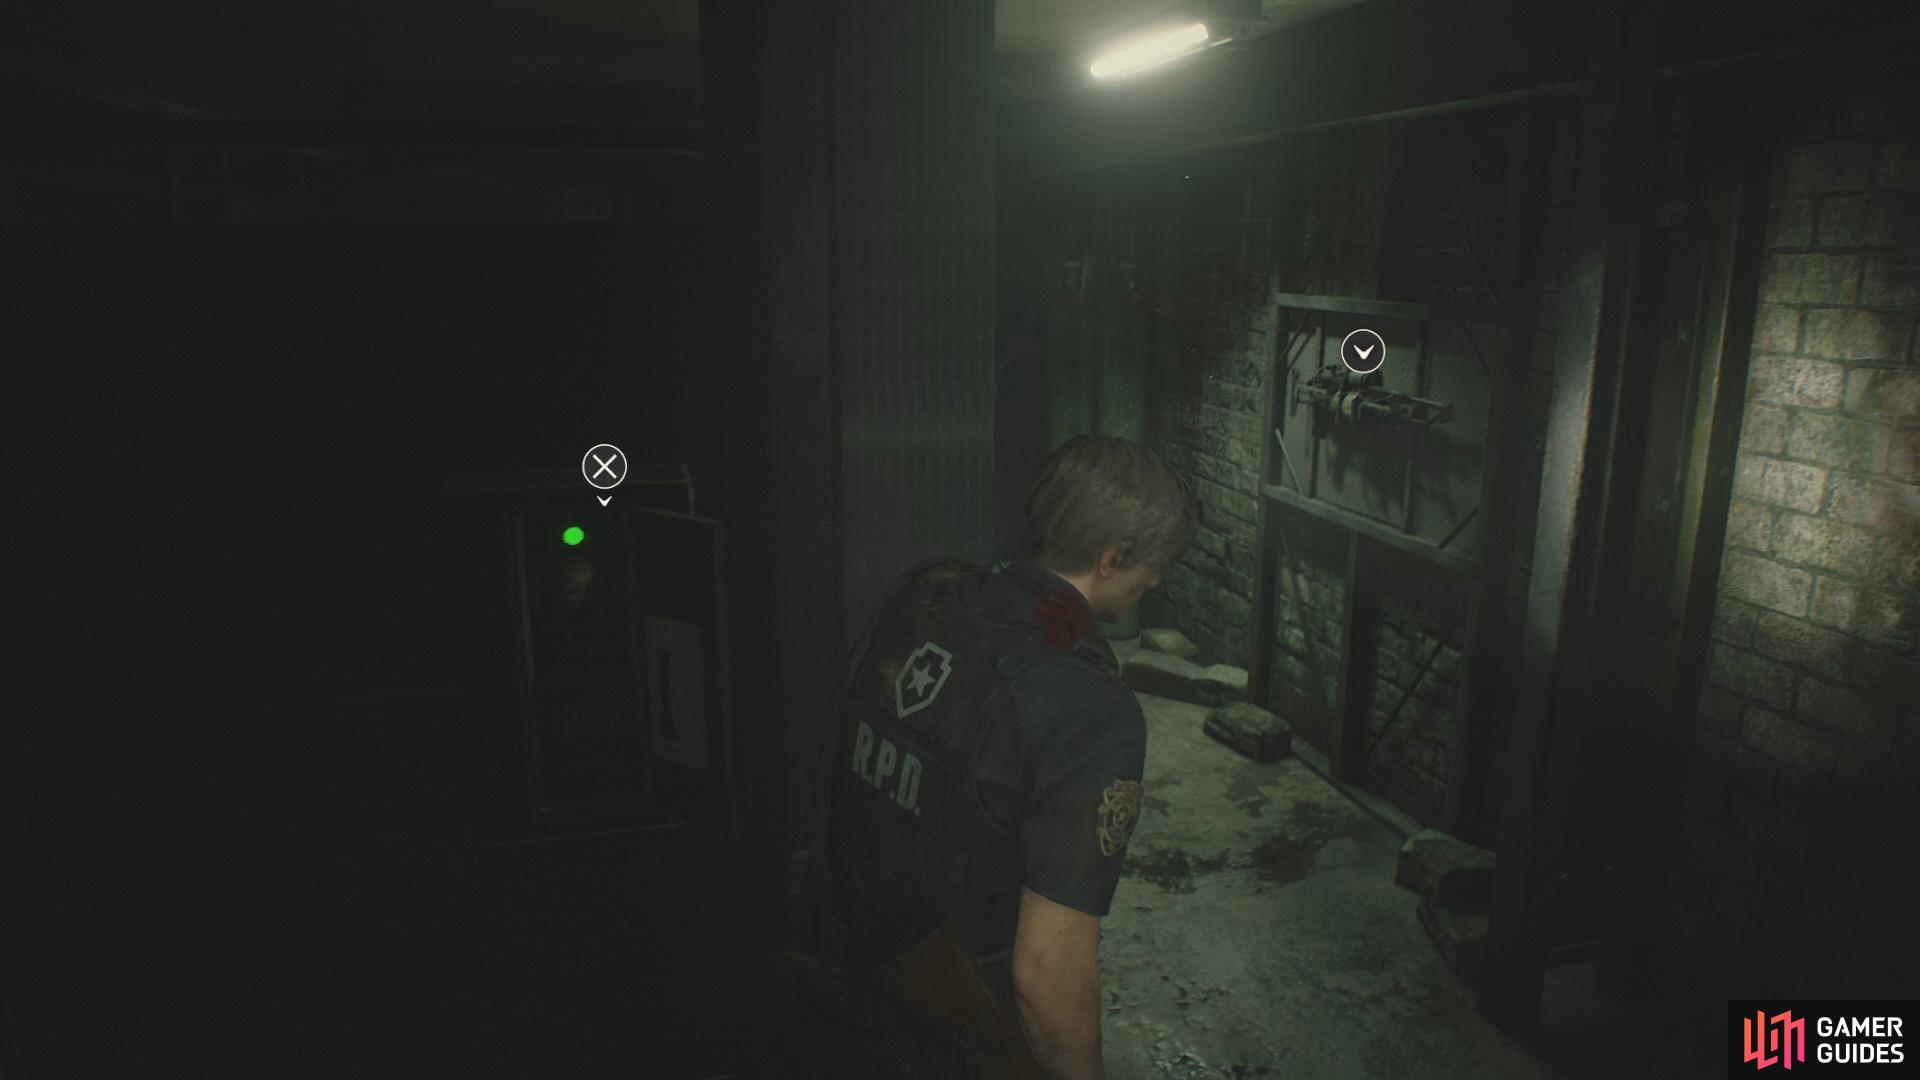
Firstly, head left and keep to the left side to find a Hand Grenade, now to the Workroom Lift and use the T-Bar again to open the path, collect some Shotgun Shells from the barrel and interact with the lift to head up to the Workroom. Inside you’ll be able to find another Roll Film from the middle table, some Handgun Ammo from the south side work station, finally a Hip-Pouch from a desk on the north side of the room, unlock the door and enter the corridor.
Head over to the Workers’ Break Room and unlock the door with the Sewers Key, inside you’ll find Gunpowder on the table alongside the Jazz Festival Flyer and Handgun Ammo from the locker. Now head over to the right side of the large locker and interact with it to reveal a lift, use the lift to be taken back up to the Underground Facility. Grab the MAG Ammo off the buckets and head up the stairs to unlock a door to the Underground Stairs, collect the Hand Grenade off the floor before heading further up the stairs until you reach another lift, use it to be taken up to the Police Station Secret Room, and save.
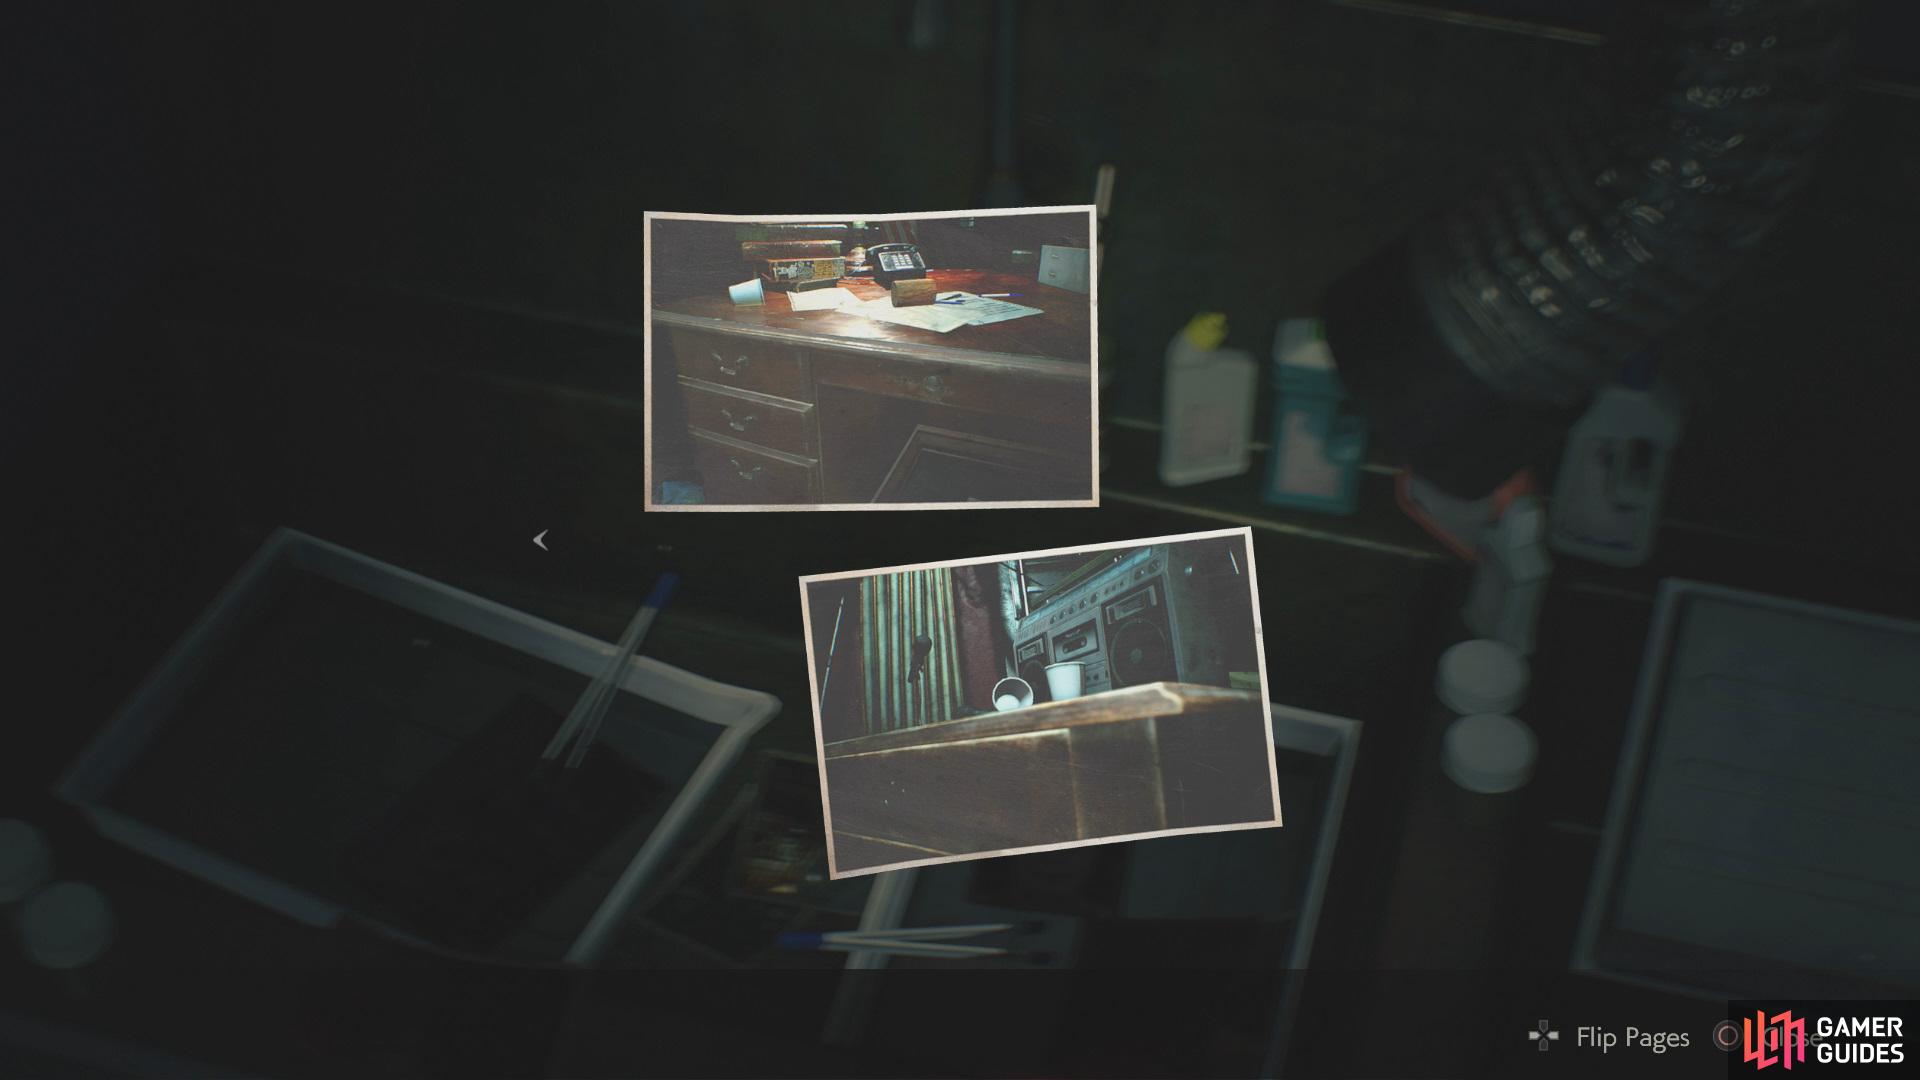
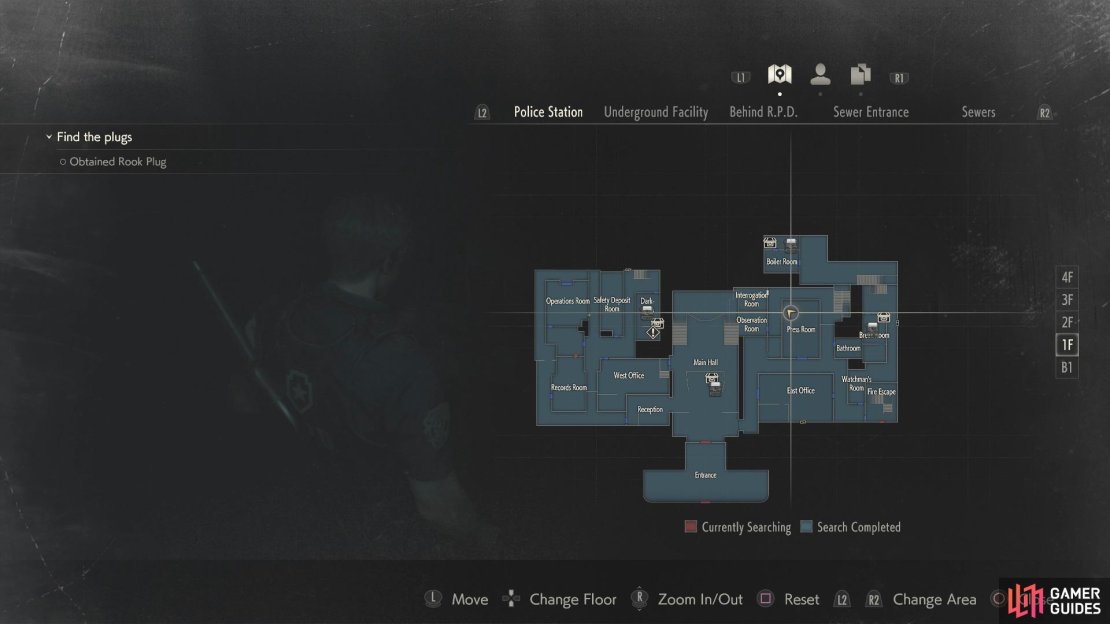
Use the T-Bar to open the Goddess Statue which will allow you to access the Police Station, inside the Station make your way to the Dark-Room with the Roll Film in your possession, place the Roll Film into the sink to reveal two hidden spots that contain items, for the first photo make your way to the S.T.A.R.S Office to find a desk with a Wooden Box in the drawer in the Northwest room of the Office. Examine the box and rotate it until you can interact with it to retrieve the Red Dot Sight (Lighting Hawk) attachment, combine it with your Lighting Hawk in your inventory. For the second photo, head to the Press Room and make your way to northwest corner of the room to obtain some Fuel, this will unlock the Trophy/Achievement Treasure Hunter.
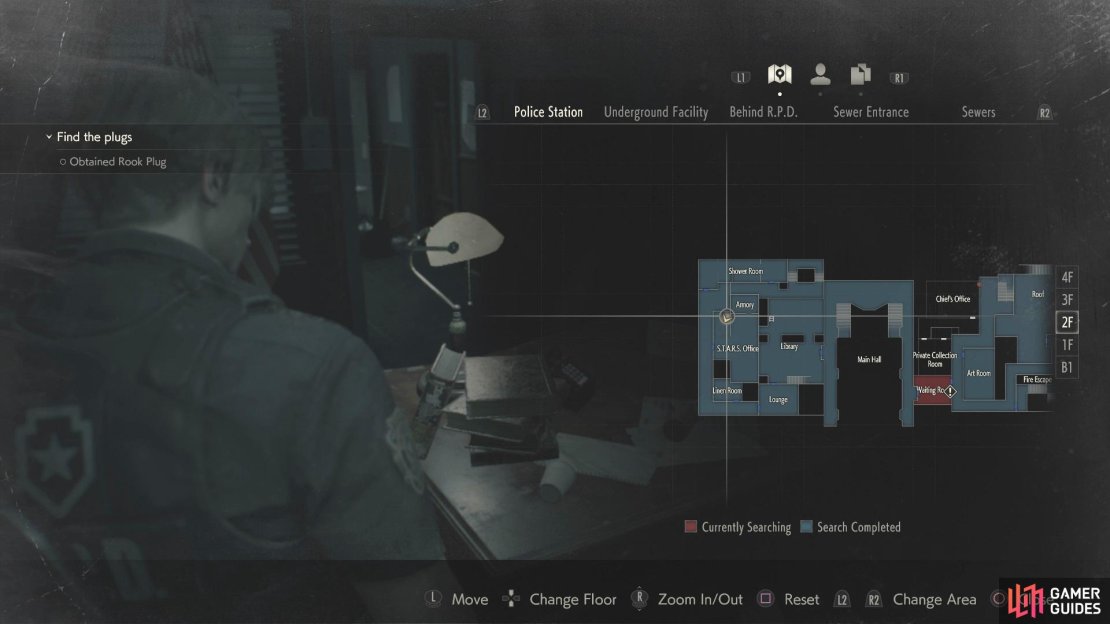
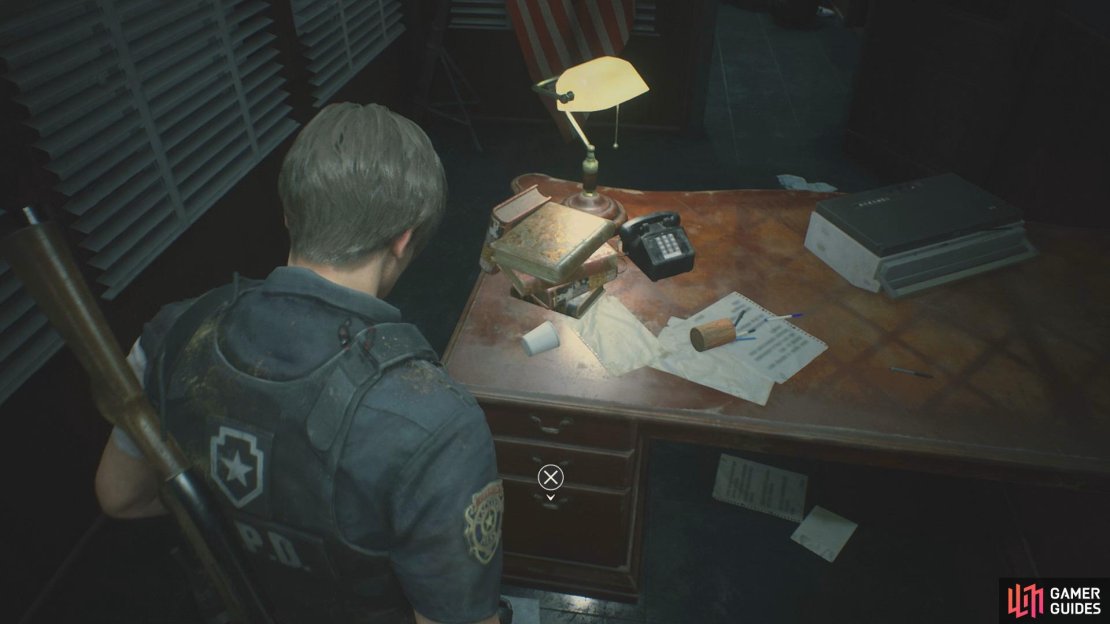
(1 of 4) Make your way to the S.T.A.R.S Office,


Head back to the Secret Room and head towards the lift, before continuing, grab the USB Dongle Key from your storage then use the lift to take yourself down to the lower level, examine the USB Dongle Key in your inventory and rotate it to convert it back to a badge. Simply use it on the Special Weapons Case to receive the Long Barrel (Lighting Hawk) attachment, combine this with your Lighting Hawk in your inventory and then take the lift back down to the Workers’ Break Room. Exit the room and head over to the Water Injection Chamber, use the key to unlock the door to collect a Gunpowder (Large) alongside a High-Grade Gunpowder (Yellow), exit the room and head across the bridge to collect the Rook Plug. Head downstairs to the Upper Waterway and proceed west until you see a spot where you climb up, then use your T-Bar to unlock a shortcut to the Bottom Waterway.
You’ll need to drop down and collect a Green Herb off the Zombie and then make your way over to the Supplies Storage Room. It would be easiser for you to dodge all the enemies whilst using the Mixed Herb to help prevent poison and damage. Once you’ve gotten past all the enemies and entered the Supplies Storage Room, head upstairs and shoot the Raccoon that’s hiding behind some boxes at the end of the corridor, now continue onwards to collect a Red Herb that’s sitting on a yellow shelf, head down the stairs to face a puzzle.

(1 of 2) To begin the Supplies Storage Room puzzle, head over to the door and remove the Queen Plug
To begin the Supplies Storage Room puzzle, head over to the door and remove the Queen Plug (left), Use the King Plug to open the door to the Chemical Flamethrower (right)
Firstly, head inside and take the Queen Plug out of the socket, then make your way to the west side of the room to find a Blue Herb. Use the Queen Plug to open a door that will give you access to the upstairs, head upstairs and remove the King Plug and then drop down. Head east and place the King Plug into a socket to open a door to the Chemical Flamethrower alongside a shortcut, open it and make your way back into the corridor to take back the King Plug. Recover the Queen Plug and reinsert it back where you originally found it and head left and insert the King Plug to open a different door which will allow you to collect the Queen Plug permanently. Finally, take back the King Plug and make your way back to the Monitor Room.
Use the plugs to open the door

With the three pieces needed to complete the puzzle that will open the door, simply place the Rook in between the Knight and the Bishop then place the King on the opposite side of the Knight followed by the Queen in the middle opposite the Rook. Head through the door and downstairs to find a Blue Herb on the floor alongside a Green Herb a bit further in. Make your way to the Main Power Room to turn on the power, once inside collect the Red Herb and then interact with the panel, here you’ll need to flip the switches until the two dials are in the red. You can do this by having the two left and the furtherst right switches turned on.
After the power is back on, make your way towards the Garbage Room, unfortunately an unknown enemy has caused a blaze so now you’ll need to keep moving around the room dodging his attacks until it comes through the shutter.
Boss: G (Stage 2)
Once the boss has barged his way through the shutter, dodge his attack and follow the corridor to the Proposed Water Purification Room, drop down and quickly run towards the control pannel to collect a Stun Grenade and a Combat Knife from a barrel. Head to the left side of the panel and grab some Handgun Ammo before finally interacting with the panel to get the crane in position.
In order to unlock the Trophy/Achievement, you’ll only be able to use the crane once so you’ll need weaken him yourself by focus firing on his eye, using the Lightning Hawk as it’s really powerful against the G (Two Shots to his eye with the Lightning Hawk will cause him to fall). Continue shooting his eye until it changes from a yellow color to a dark orange which can take between three to four falls before you’re ready to stun him and use the crane.
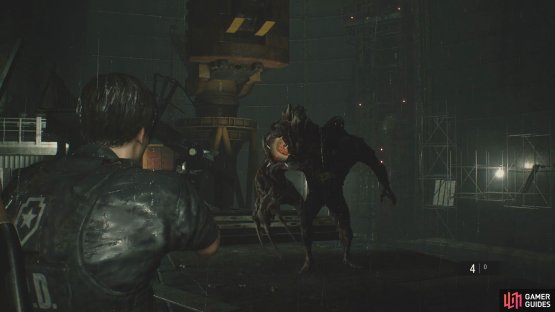

(1 of 2) Keep shooting at the eye to weaken the boss
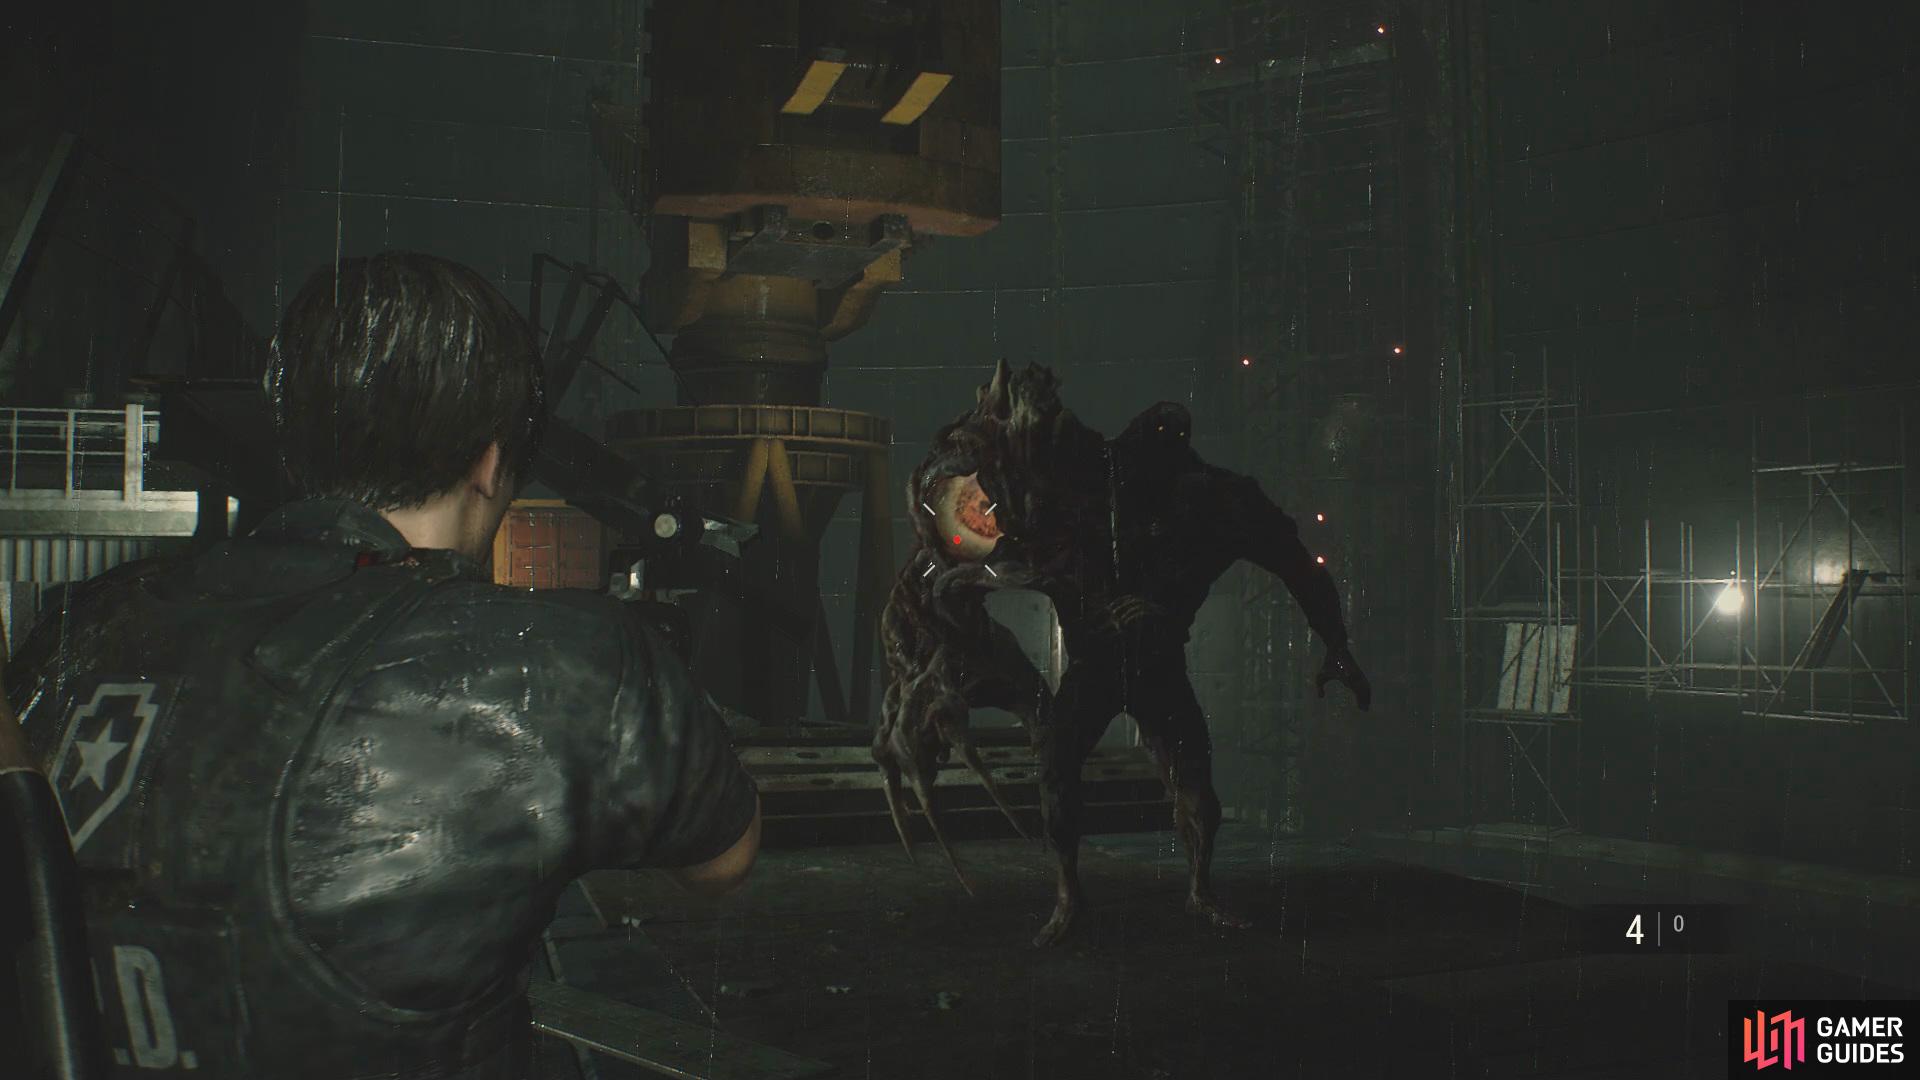
Keep shooting at the eye to weaken the boss (left), once he has fallen three or four times, use a Stun Grenade to keep him in place whilst you activate the crane to push him off. (right)
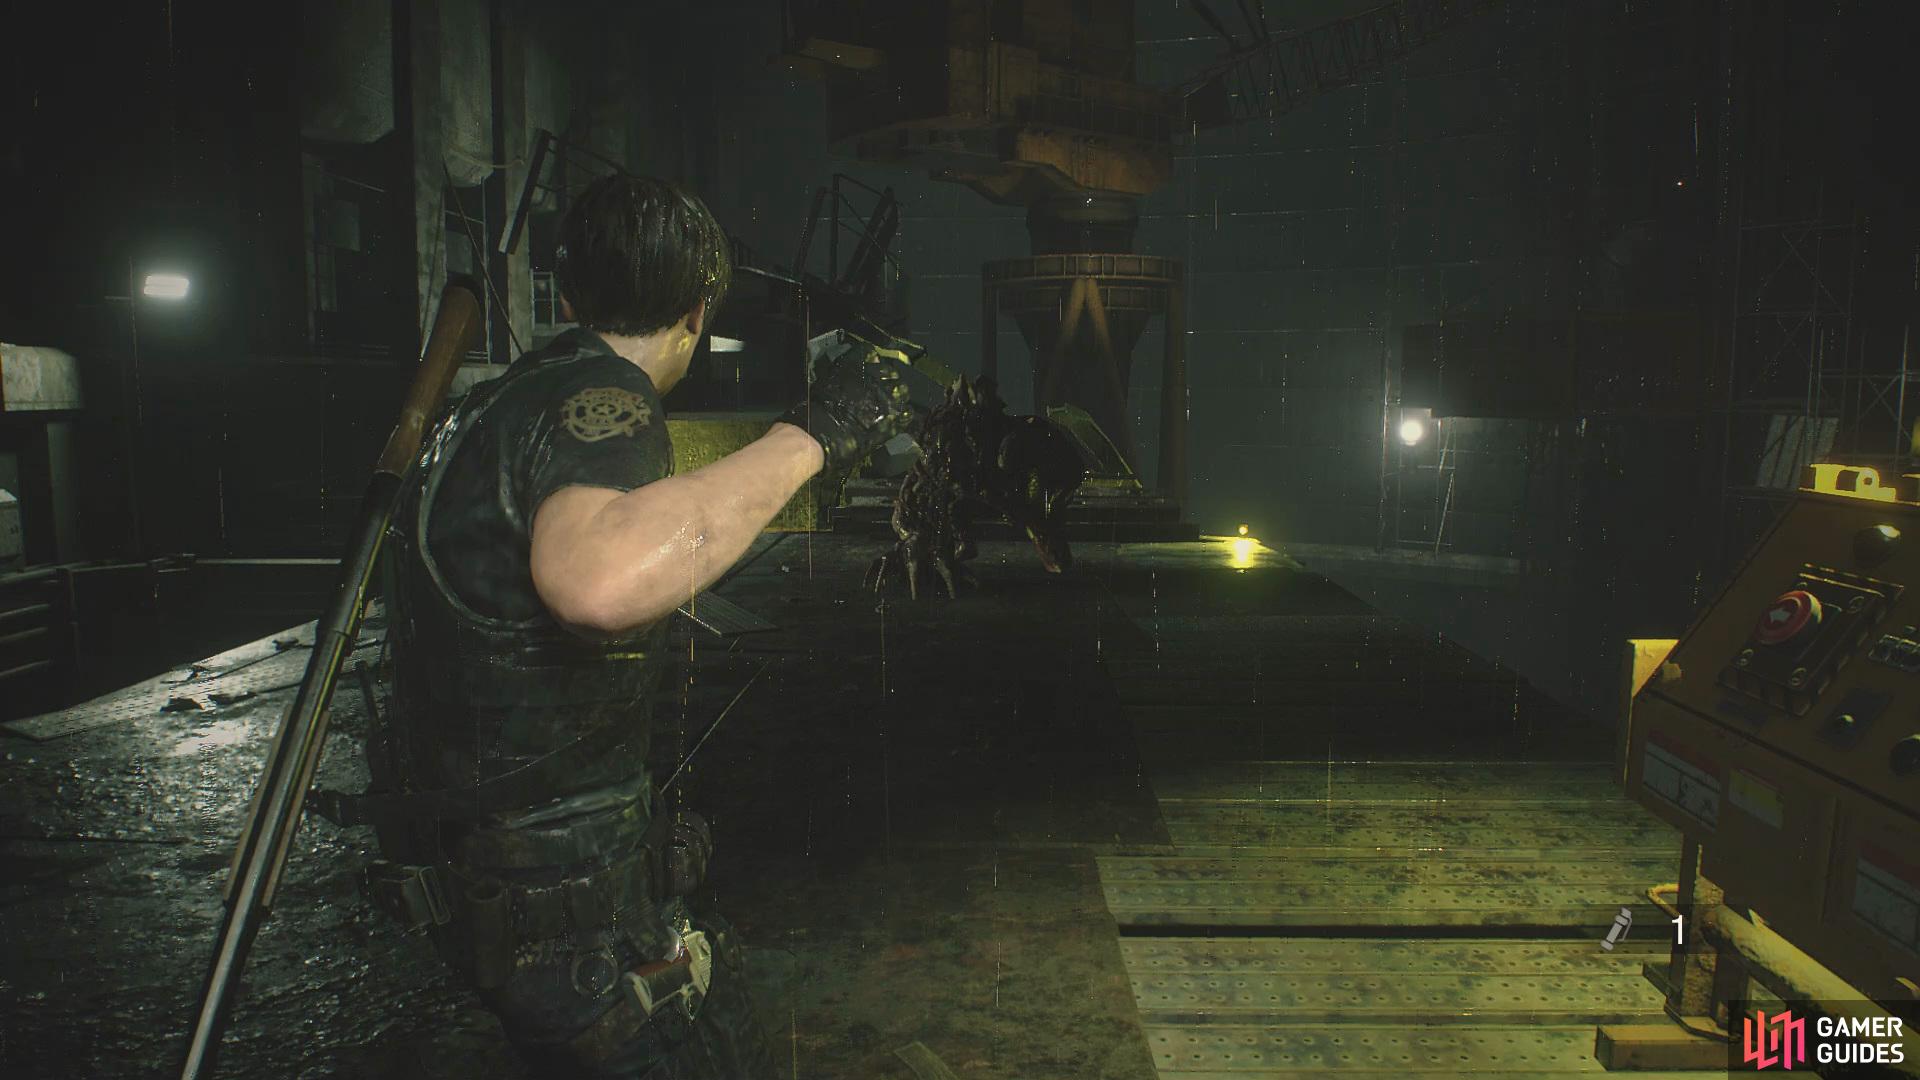
Whilst you’re weakening him, you’ll have to watch out for his attacks. Being at a distance from the boss will cause the boss to go in for a lunge attack so make sure you’re constantly ready to quickly sprint out of the incoming danger. Keeping close to the boss isn’t a safe option either because it will put you at risk of his grab attack which will do a chunk of damage.
After you’ve defeated the G for the second time, head over to the south of the room to grab some MAG Ammo. Head across the recently constructed bridge and up the stairs to unlock a door back to the Garbage Room, now interect with the lever to open the door to Ada. Follow Ada to the Cable Car and interect with the lever to be taken to the lab.
Head to the lab
Once you’ve interacted with the lever and continued forward to the Lab you’ll receive the ID Wristband. Exit the Cable Car, head forward to the Reception and head to the southwest to find a Safe Room.

No Comments