
Exploring the Police Station
As you enter the station, you’ll need to interact with the computer that’s near the save point. From the computer, turn around and you should see a shutter with a sign that says Keep Out on it, flip the switch that’s on the wall next to it and crawl under.
Follow the path until you reach a cabinet that has fallen over. Firstly, go inside the Press Room that’s just before the cabinet, and collect the Handgun Ammo that’s left on the body in the middle of the room. Exit the room and hold [X]/[A] on the cabinet to free your path. Before proceeding to follow the path, head to the Bathroom to collect a First Aid Spray, then make your way to the Watchman’s Room.
Inside the room, lift the shutter to attempt to aid the Officer on the other side. Due to the unfortunate events, you will receive the Officer’s Notebook which will give you the combinations needed for the three Medallions. Quickly take the same path back to the Main Hall but beware, you’ll encounter a few Zombies along the way.
Locating the Spade Key
Once you’ve met Marvin for the first time you will be given a Combat Knife, you can use this to cut open the tape that’s blocking your access to the switch for the shutter. Enter the Reception and collect the Green Herb from the boxes to your right along with the Handgun Ammo that’s on the chair to the left, continue forward until you reach the Operations Room.


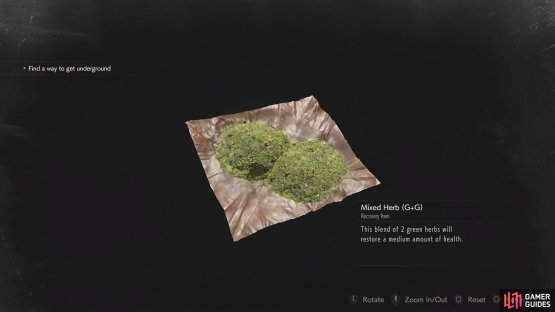
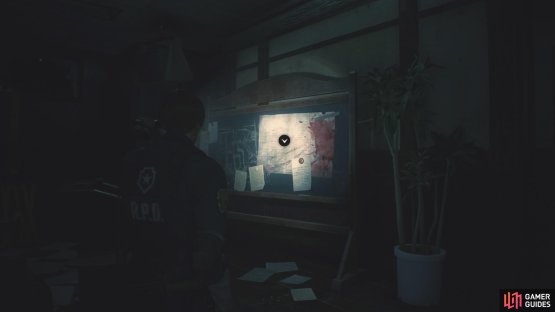
(1 of 2) Combine two Green Herbs in your inventory to receive the Mixed Herb
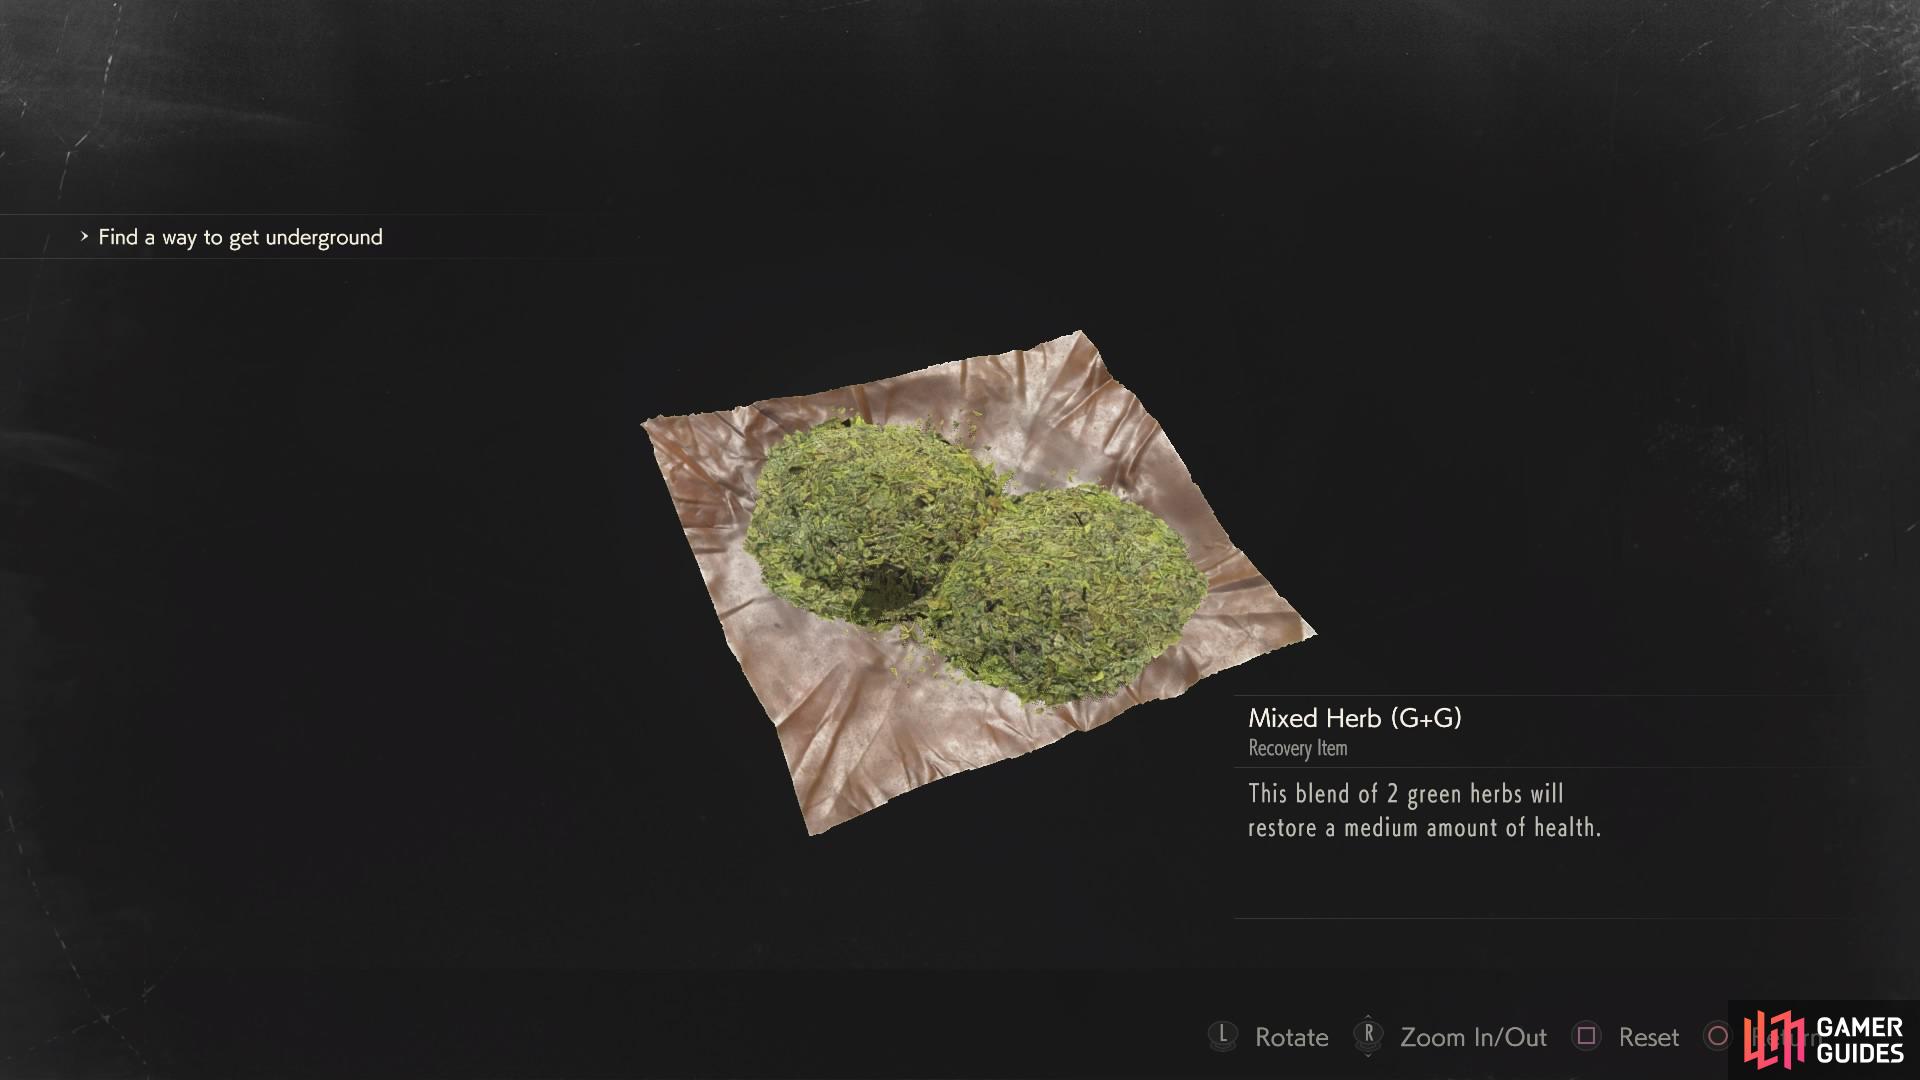
Combine two Green Herbs in your inventory to receive the Mixed Herb (left), you’ll be able to find the Police Station 1F Map pinned on a board in the Operations Room. (right)
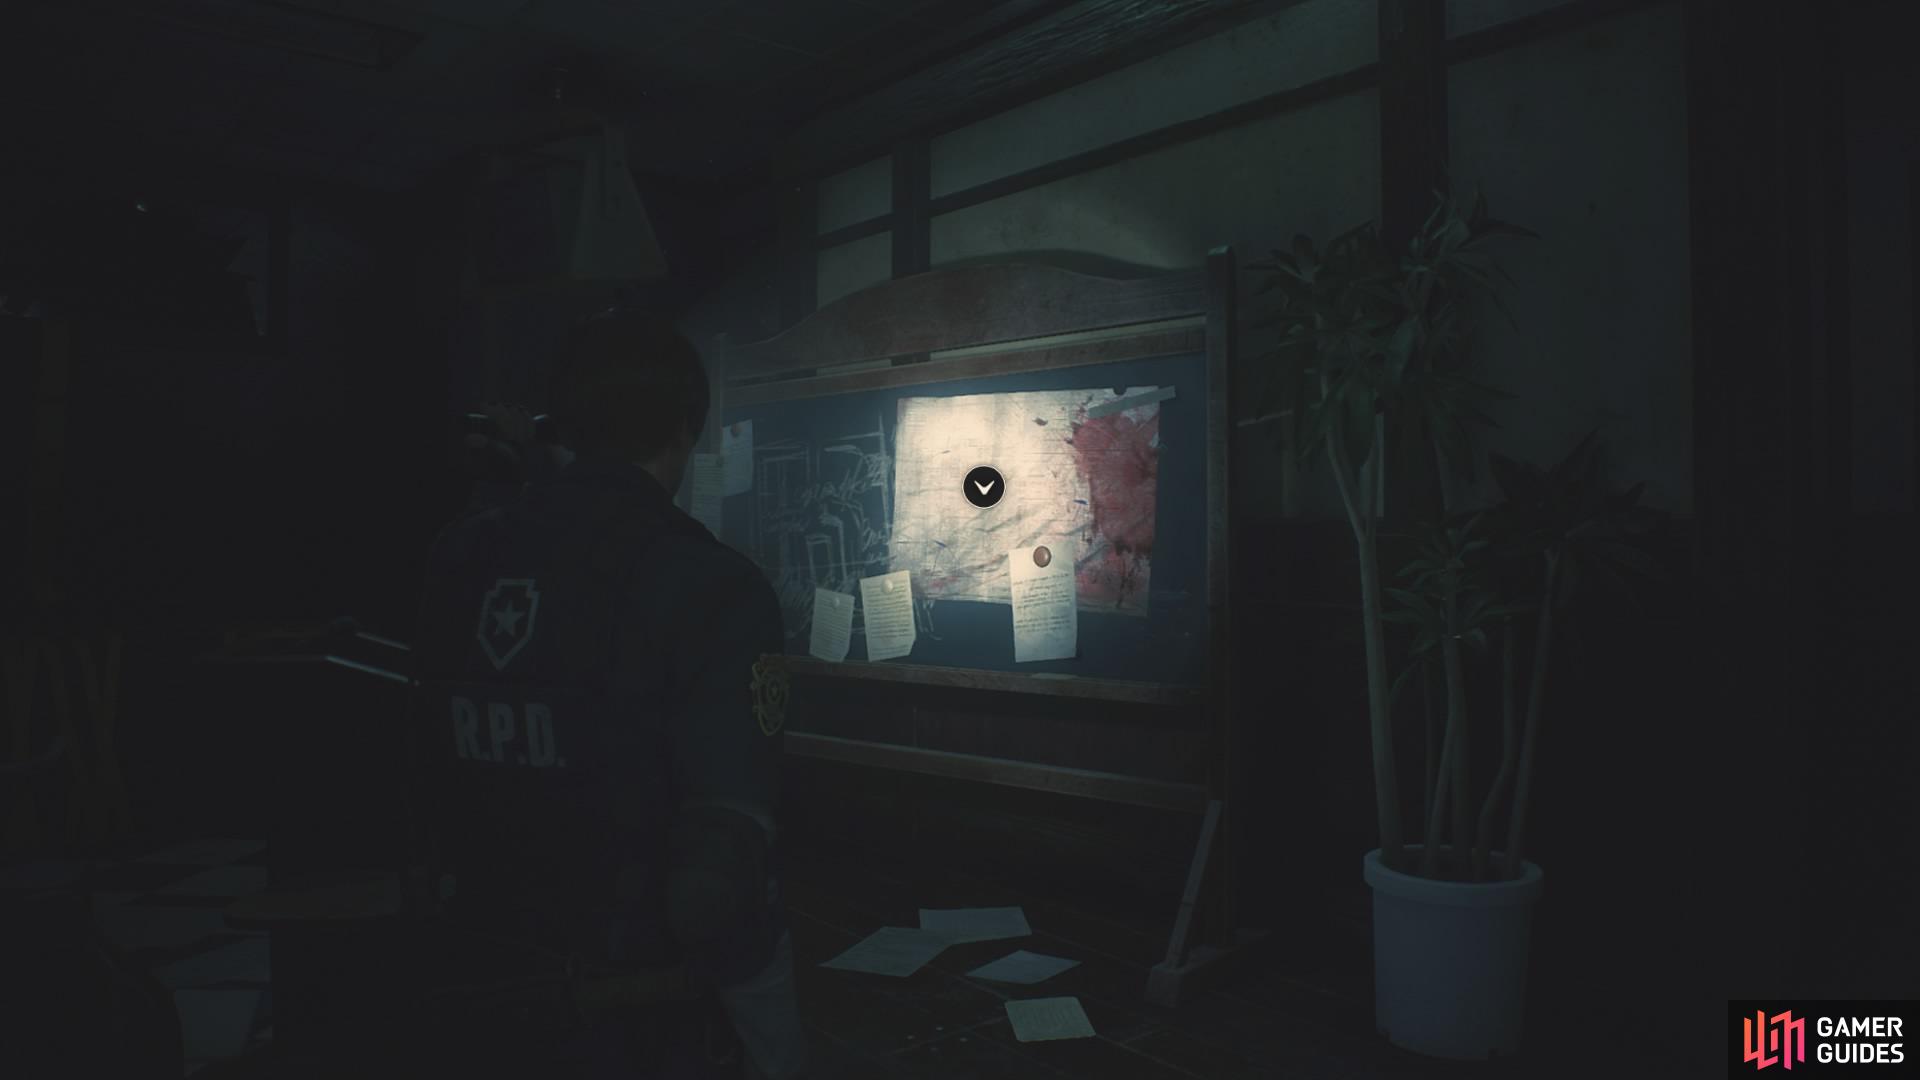
Inside you’ll find some Handgun Ammo to your left, and the Record Of Events File that’s placed on top of the blue desk in the back right corner while the Police Station 1F Map is pinned on the board in the back of the room. Climb through the cracked window to drop down into the corridor beyond.
From where you dropped down, turn around to collect some Handgun Ammo off the Zombie, then follow the corridor around to the Dark-Room where you’ll find a Green Herb and a Wooden Board before you enter. Make use of the Typewriter in the Dark-Room to save your game.


Inside the Dark-Room, you’ll be able to find a Medicinal Benefits of Herbs File, some Gunpowder and more Handgun Ammo in the lockers. From the lockers, walk forward into the smaller room and collect the Red Herb (mix this with a Green Herb to recover more health than with a standard Green Herb).
Use the Wooden Board you found eariler to patch up the window near the stairs, then make your way to the West Office, where you can find the Uses of Gunpowder File on the brown desk alongside some Gunpowder. From the desk, walk along the right side of the desks until you reach Elliot Edwards’ table where you’ll find the Operation Report File. Now walk to the brown desk that’s nearest to the stairs where you’ll find the Rookie’s First Assignment File placed on top.

To open the desk you’ll need to find two combinations to open both locks. There are three nameplates on each side of the desks, you will need to remember the first letter of all three plates and put them into the lock (for example, Neil, Elliot and David would make “NED”).
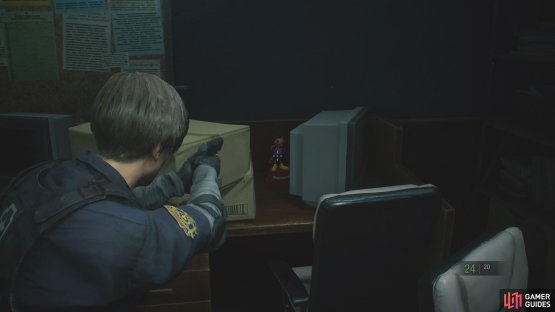
The right side combination is MRG and the left side combination is NED. Inside will be a High-Capacity Mag for your Matilda Handgun, combine the gun with the custom part in your inventory. Before exiting the Office, shoot the Raccoon that’s sitting on top of a cabinet for your first collectible.


From the West Office, head up the stairs near the Dark-Room and grab the Handgun Ammo off the Zombie at the top of the stairs. Continue right from the Zombie until you see the Red Herb next to the vending machine. Now head into the Men’s Locker Room where you can find some Shotgun Shells in the locker on the right and a Portable Safe near the towels next to the lockers.
To open the Portable Safe, you need to press the buttons in the correct order until all the lights are on. Look at the safe as if it had numbers, so top left to bottom right would be 1, 2, 3, 4, 5, 6, 7 and 8, then try inputting 42317865. Inside you will receive your first Square Part to place on the terminal in the Safety Deposit Room.

Head back downstairs to the Safety Deposit Room and place the Square Part on the terminal before picking up the Storage Locker Terminal Memo from the brown desk to the left. Before leaving, open locker #106 to retrieve the Roll Film then head back to the Dark-Room. Place the Roll Film in the sink to receive the Commemorative Photo.
Head upstairs to the third floor, keep following the path until you reach a hole in the wall, step inside to grab the Spade Key from the brown desk. Continue through until you reach the end of the corridor where you’ll find the To any survivors file, head for the West Storage Room and pick up the Gunpowder and Wooden Board, then walk to the west side of the room to find some Handgun Ammo, now make your way to the back of the room where you’ll find a Hip Pouch and Some Guy’s Scribblings on the table.

Finding the Medallions
Head towards where the Zombie is hanging from the ceiling and go through the door to the Library. Go down the stairs and through the first door on your left to find the Police Station Upper Floors Map, Gunpowder and the Unicorn Statue. To find the correct combination for the statue, you’ll need to take a look at the Officer’s Notebook that you found at the beginning of the game.
The code for the Unicorn Statue is Fish, Scorpion, Pot Spilling Water. Go back into the Library and use the Spade Key to unlock the door back to the Main Hall. Before you enter the Main Hall however, remember to pick up the Red Book that’s placed on the table.
In the Main Hall you’ll find some Handgun Ammo on the second sofa to your right along with the Lion Statue sitting at the top of the stairs. The code for this Statue is Lion, Herb, Bird.
With the Red Book you collected earlier, head to the other side of the Main Hall and enter the Waiting Room where there’ll be a Green Herb sitting on the table and a Guide Pamphlet on the desk. Use your Spade Key to unlock the door and head down the corridor to enter the Art Room.
Inside you’ll see the Art Article: “The Red Stone” and a Key Card on the table next to it. From the table, walk towards the Statue and collect the Statue’s Left Arm off the table and combine it with the Red Book in your inventory. Now connect the Left Arm with Book to the Statue, which will give you the Scepter. With the Scepter in you possession, open up your inventory and examine it, then rotate the Scepter around until you see a switch, interact with it to gain the Red Jewel.
Make your way back to the Main Hall, towards the West Office and use your Spade Key to unlock the West Office door to gain access to a shortcut. Using the West Office shortcut, make your way to the Safety Deposit Room and use your Key Card on the terminal at the back of the room to retrieve the W-870 Shotgun and some Shotgun Shells.
Head back to the Waiting Room and go right at the corridor, before going through the door to the outside area however, remember to grab the Green Herb that’s sitting on the window. After the reunion with Claire, turn to your right and grab the Handgun Ammo and the Cutting Tool.
Before heading through the door, grab the Wooden Board near the stairs and make your way back to the Operations Room, using your Cutting Tool to open the chained door. Inside you’ll find an Electronic Gadget on the desk, the combination for the locker in the Locker Room written on the board along with a Flash Grenade on the tables and a Wooden Board leant against the step ladder.
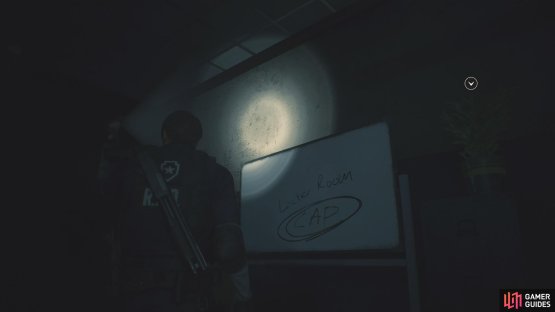
(1 of 2) You’ll be able to find the combination for the locker once you’ve unlocked the chained door in the Operations Room

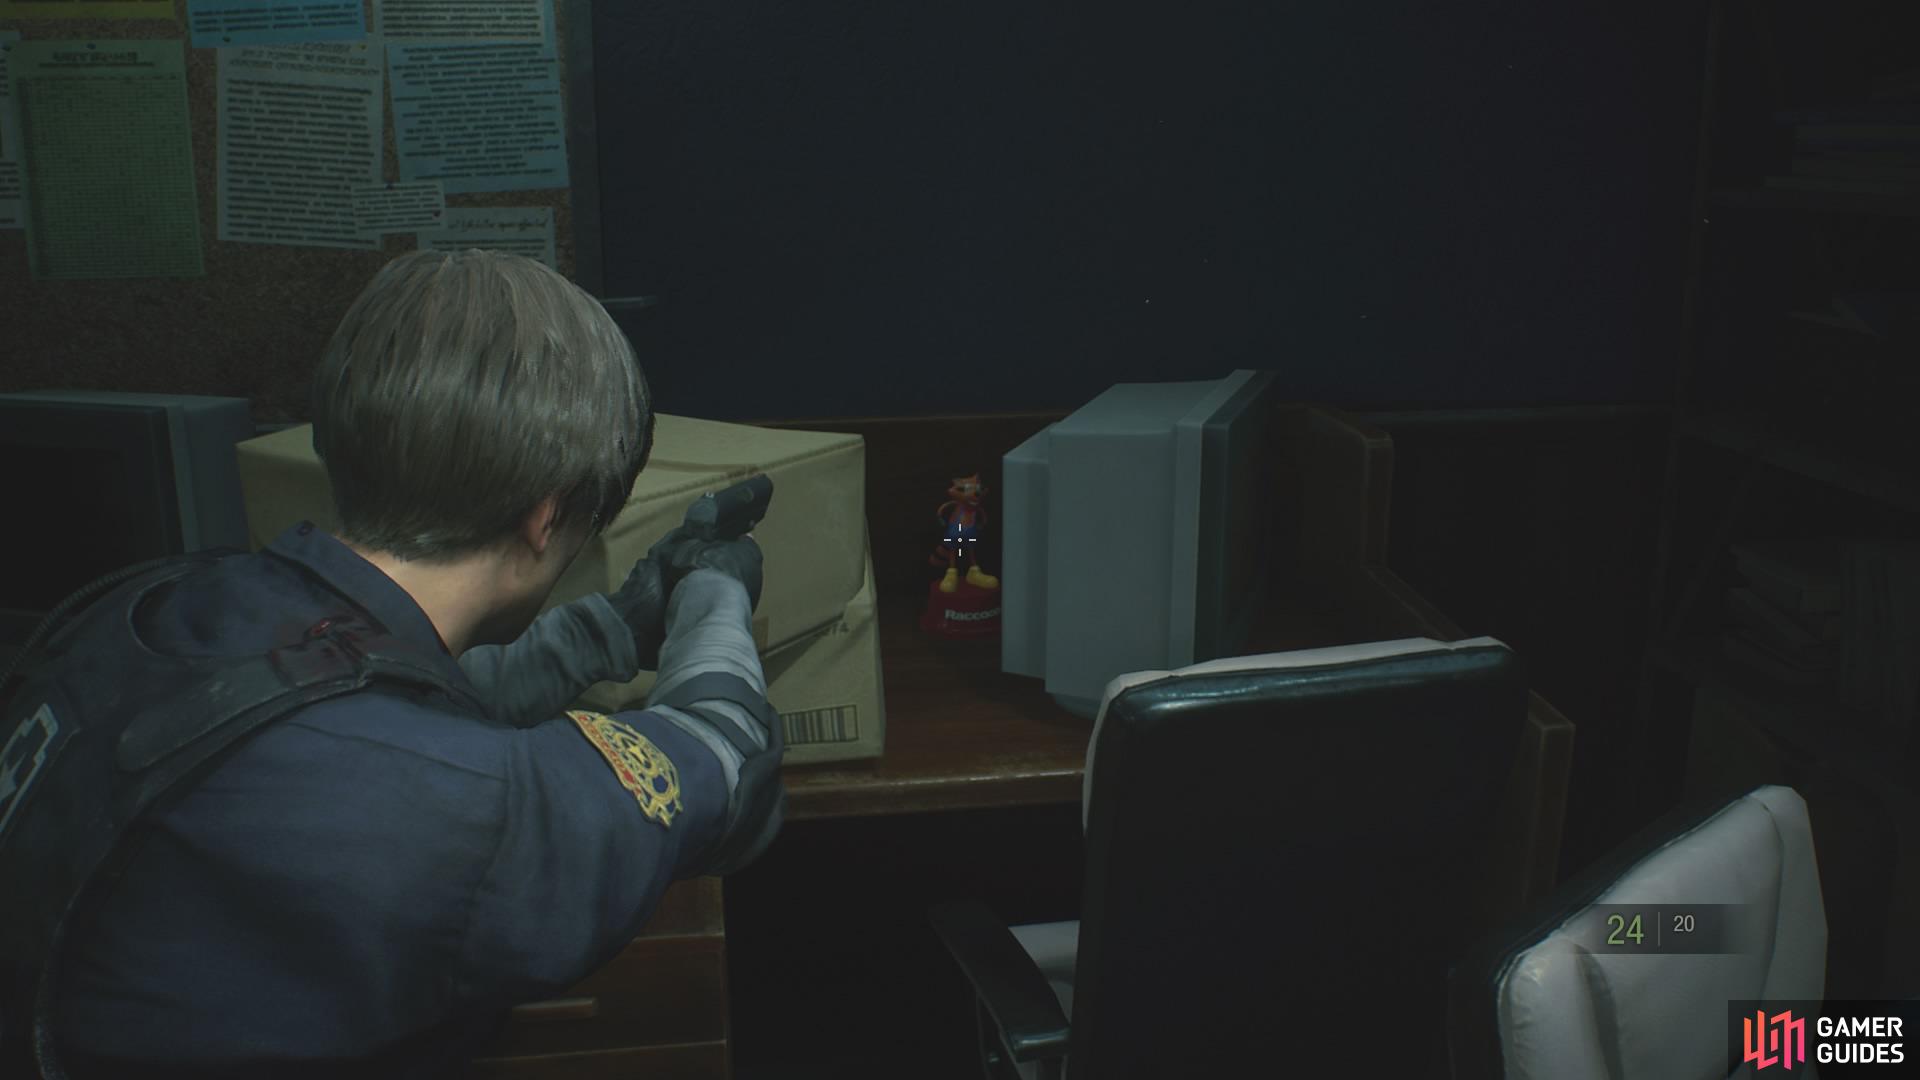
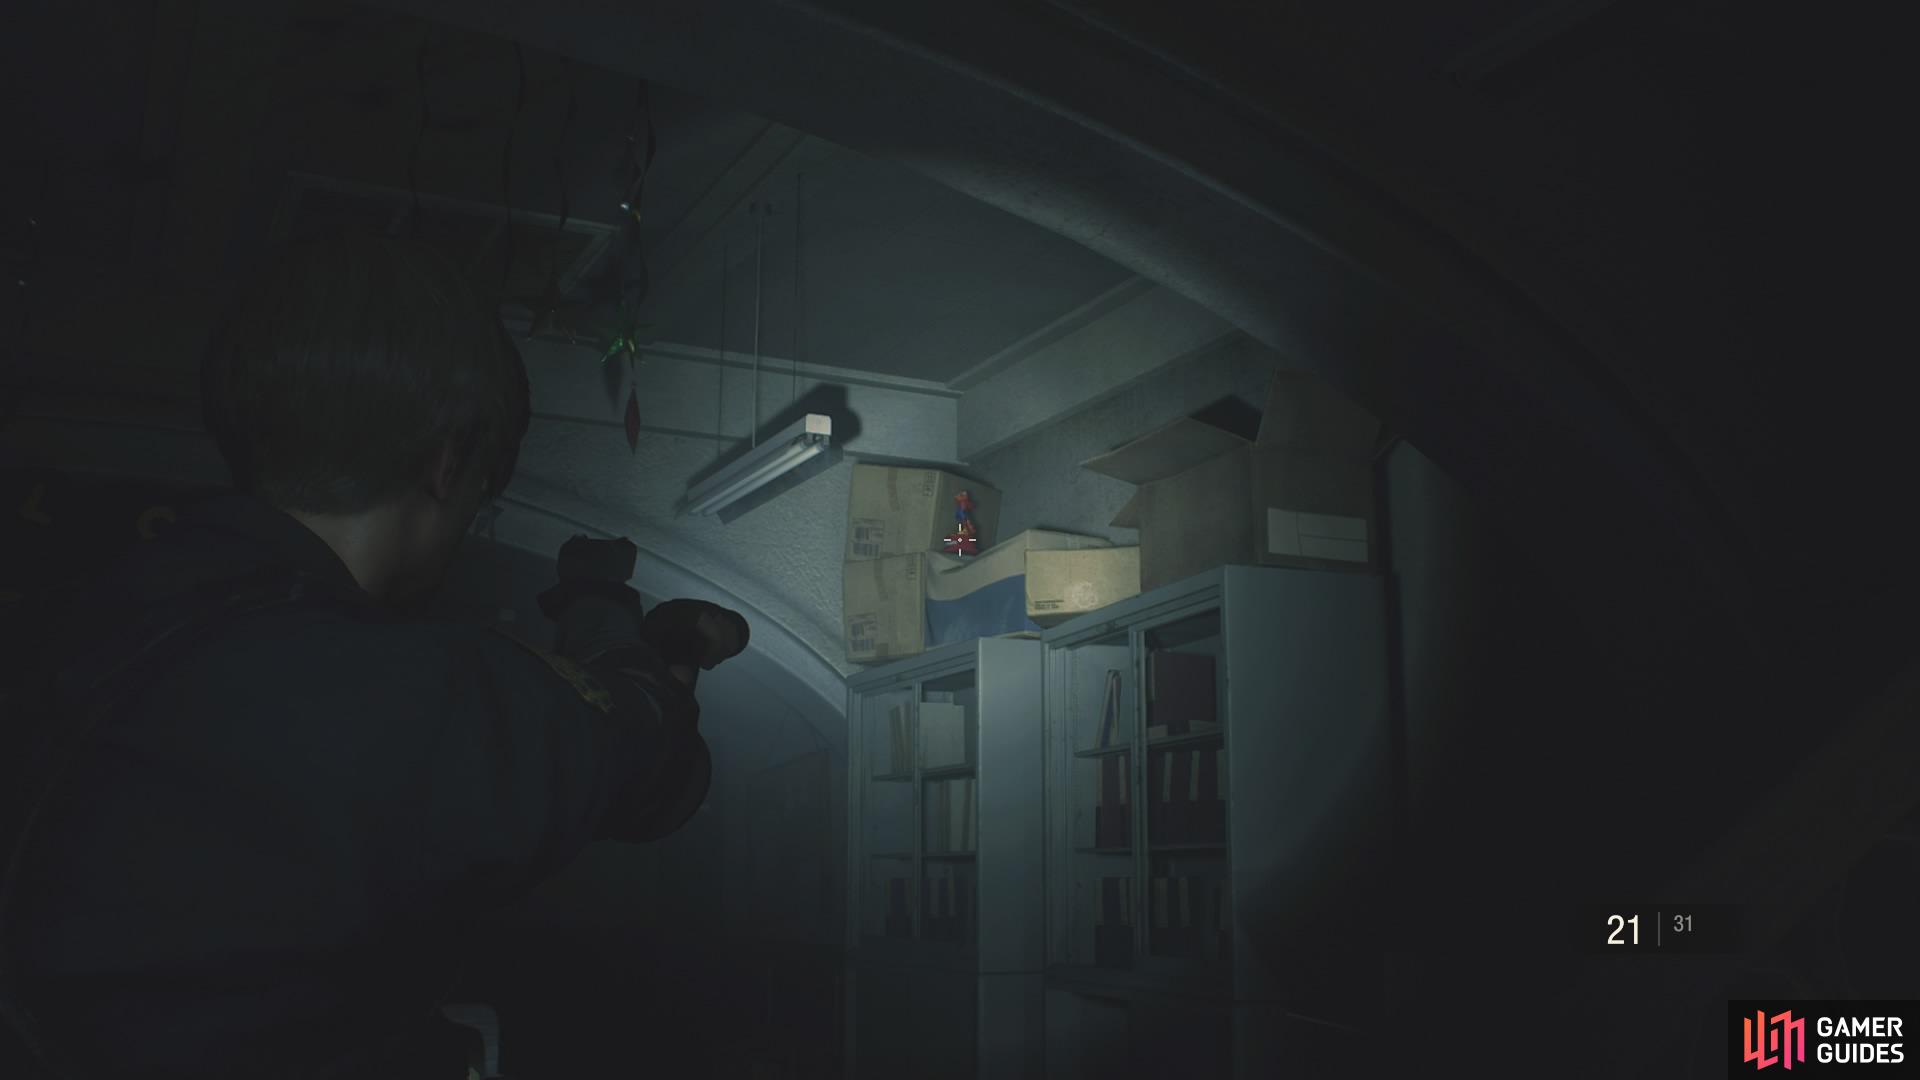
You’ll be able to find the combination for the locker once you’ve unlocked the chained door in the Operations Room (left), the Raccoon can be found hiding behind some boxes in the southeast corner of the S.T.A.R.S Office. (right)
Unlock the door and head back to where you spoke to Claire. Break the chain with your Cutting Tool and head to the East Office where you’ll need to use your Cutting Tool again to break the chain. Once inside the Office, grab the Green Herb off the table, a Flash Grenade from the desk and some Handgun Ammo that was left on the Zombie. Now head to the other side of the row of tables and you will find some Gunpowder before continuing along until you reach the end of the tables where there will be an Electrical Part.
Head into the room in the southwest part of the office, where you’ll find a Round Handle along with some High-Grade Gunpowder (Yellow). Remove the chair from the door to gain access to the corridor and go right until you reach a small storage room, inside you will find a Wooden Board and some Handgun Ammo. From the storage room, head towards the Main Hall and place the Electrical Part in the fusebox to open the shutter and gain access to the Main Hall.
Once you’re in the Main Hall, make your way up to the Shower Room on the 2F with the Round Handle in your inventory. Inside the Shower Room, open the locked locker by inputting the combination CAP into it that we found earlier in the Operations Room. Now use the Round Handle on the valve to stop the steam from coming through, which will allow you to walk past. Follow the path where the steam was coming through and open the lockers to retrieve some Gunpowder before heading through the door to a corridor where you’ll find some Shotgun Shells to your left on the chair
Walk down the corridor until you reach the S.T.A.R.S Office. Once inside, collect the Red Herb that’s sitting on top of some boxes to the right. Head to the room in the northwest corner of the office where you will see a Battery and the Internal Memo. Head back into the main area of the office where you’ll be able to find some Shotgun Shells on the brown desk to the left, a Flash Grenade on a box between the left and middle desks and a First Aid Spray inside the medical bag between the middle and right desks alongside some High-Grade Gunpowder (Yellow).
Exit the office and head left down the corridor where you’ll be introduced to a new enemy, the Licker. Avoiding Lickers is in your best interest because they can use up a lot of bullets/grenades to kill which can make the probability of dying very high.
Dealing with Lickers
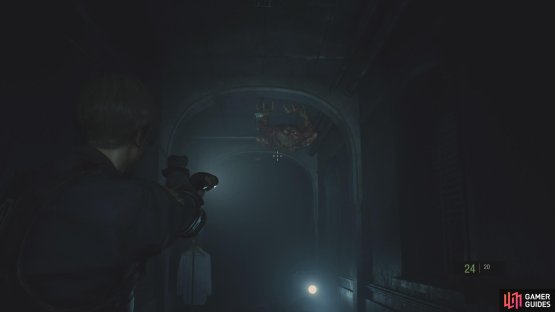

(1 of 2) The Licker can be found lurking around the corner or waiting for you on the ceiling next to the S.T.A.R.S Office
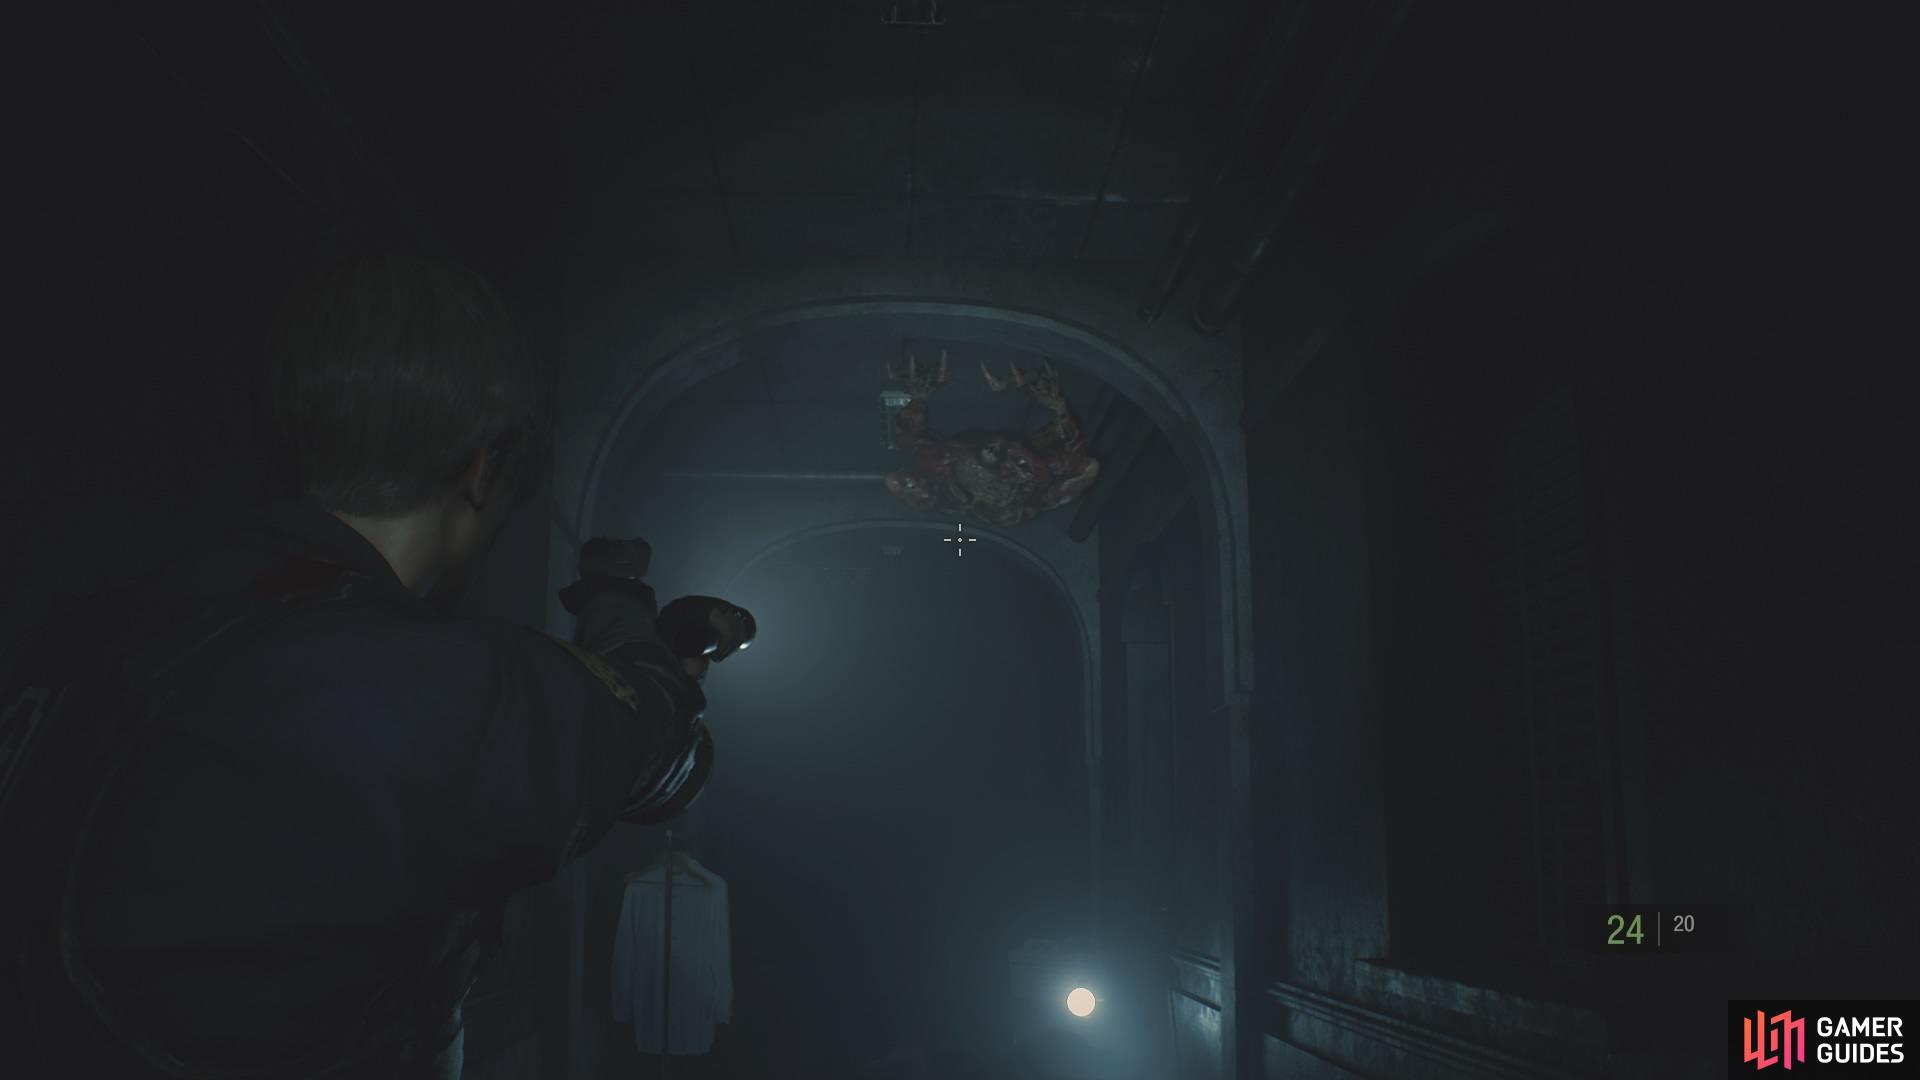

The Licker can be found lurking around the corner or waiting for you on the ceiling next to the S.T.A.R.S Office (left), If the Licker jumps on to you, you can place a Stun Grenade into its mouth and shoot to stun it. (right)
If you’re looking to avoid the Licker, walking very slowly past them is your best course of action. Once you see a door, you can sprint the rest of the distance before they manage to catch you. Try to carry Flash Grenades/Hand Grenades with you to stun them if you need be.
If however, you’re willing take your chances with the Licker and fight it, consider using your strongest weapon (the Shotgun for Leon right now) and focusing on the Licker’s head whilst using Flash Grenades to stun it in place.
After you’ve got past the Licker, head to the end of the corridor and unlock the door which will open a shortcut back to the Library. Now make your way to the West Office and head to the southwest corner of the room, where you’ll find a safe. By looking at the Internal Memo you found earlier, input the combination Left 9, Right 15, Left 7 to retrieve your second Hip-Pouch.
From the West Office, make your way to the 3F West Storage Room and once you’re inside combine the Battery you got from the office
with the Detonator in your inventory. Connect it to the C4 that’s on the wall in the soutwest corner of the room to blast it wide open.
After the explosion, head through the hole to reach the Maiden Statue, input the combination Woman, Bow, Snake to retrieve the final Medallion and then make your way back to the Main Hall.
Activate the Goddess Statue
Place all three Medallions you’ve found throughout your journey in the Police Station into the Goddess Statue that is located in the middle of the Main Hall to open a path down to the Underground Facility. Make sure to grab the Shotgun Shells and Gunpowder before saving.

No Comments