
After you’ve opened the Goddess Statue and entered the Underground Facility, use the elevator to take yourself down to the Underground Stairs. Make your way down the stairs until you reach an open door on your left then follow the path until you see a blocked doorway. Simply remove the shelves by holding [X]/[A].
By removing the shelf from the doorway you’ll activate your first Boss fight in Resident Evil 2.
Boss: G (Stage 1)


(1 of 2) You’ll encounter the G Stage 1 Boss after you try to move a shelf
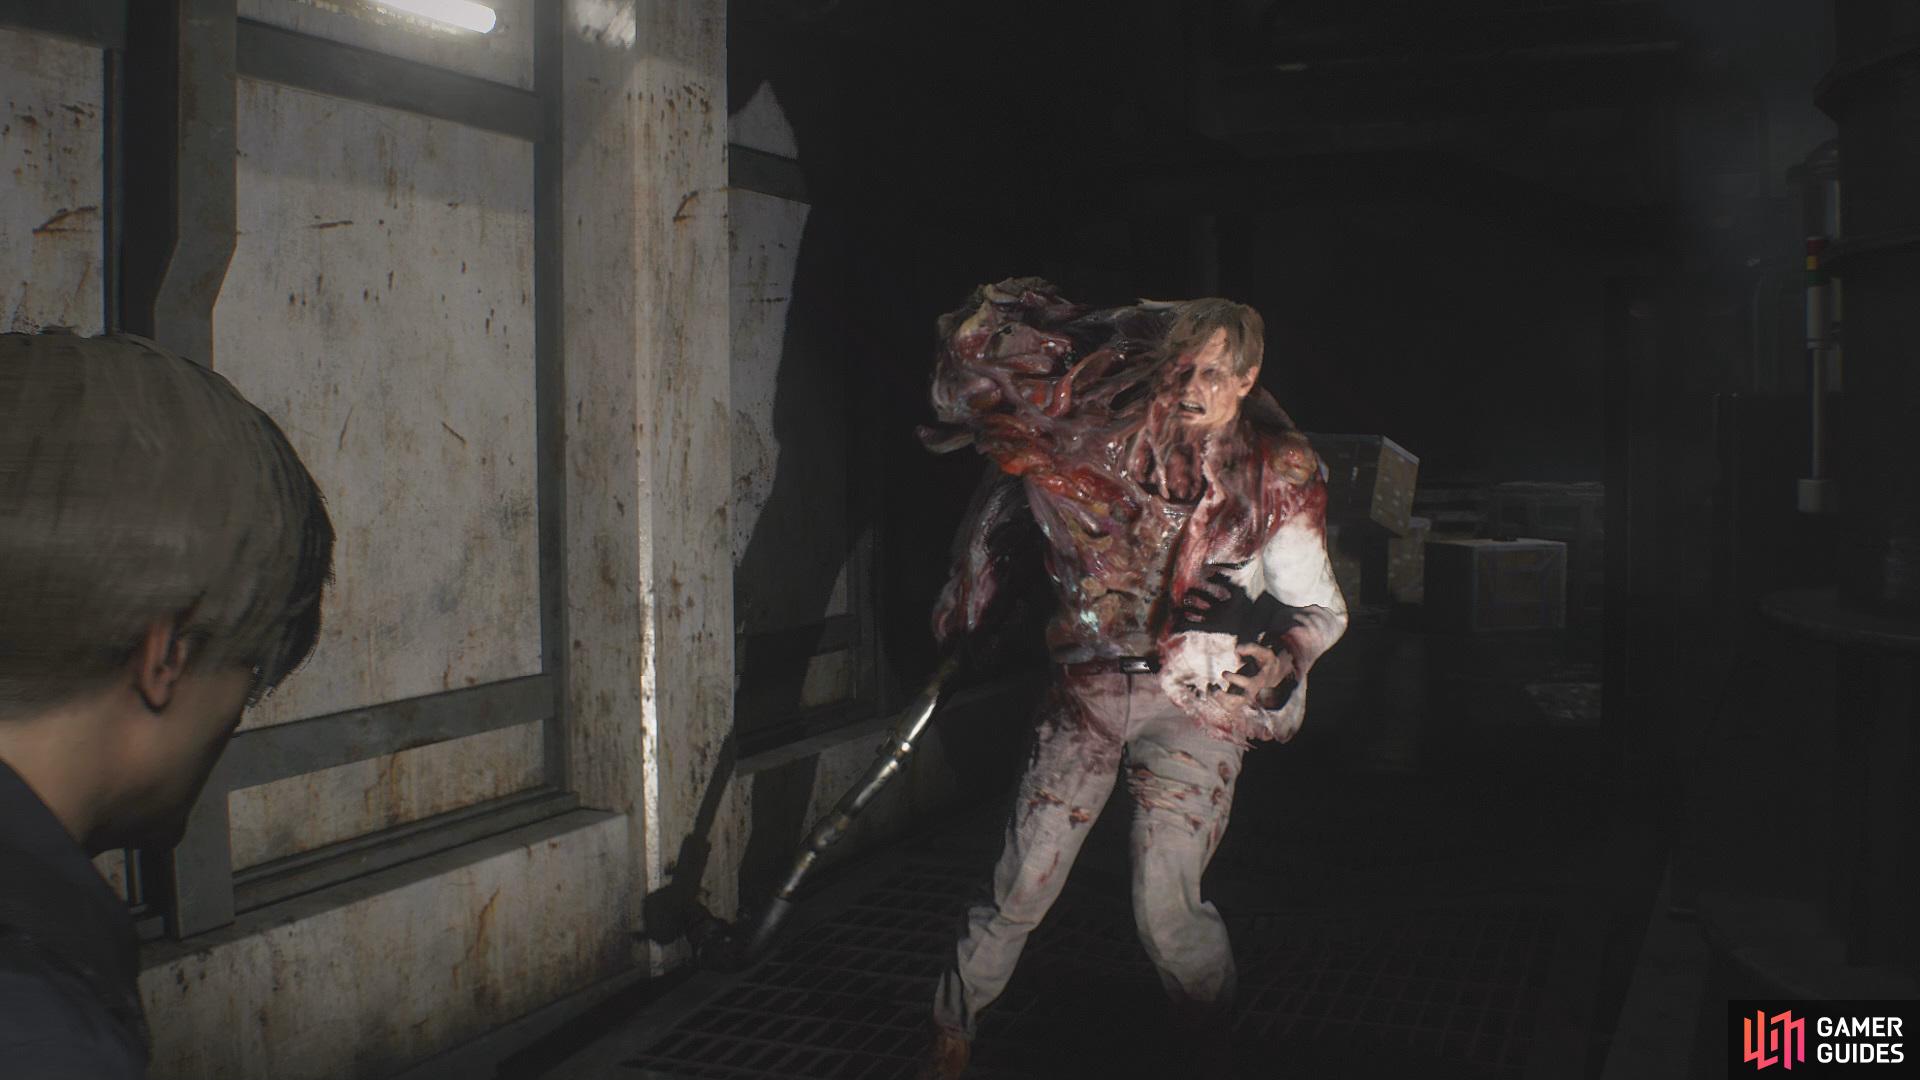

You’ll encounter the G Stage 1 Boss after you try to move a shelf (left), if you find yourself trapped in a corner the boss will grab you to do a powerful attack. (right)
Once you regain control you’ll need to quickly move around the arena so the boss can’t reach you with his swipe or stab attacks, you can take three or four hits from his swipe attacks before your health goes down to Caution.
Be aware of your surroundings because if you find yourself cornered the boss will do a powerful grab and stab attack, this attack will take your health down from Fine to Caution if you dont counter. You can use a grenade or the Combat Knife to counter so long as it’s equipped.
In order to defeat him you’ll need to focus fire towards his head and arm until you expose his eye, now this is the perfect opportunity to use your most powerful weapon (the Shotgun) to do a lot of damage, you’ll need to repeat this cycle three or four times until he dies.
Once you’ve climbed up the ladder you’ll find yourself in the Parking Garage that’s located at the basement of the Police Station, here you’ll need to interact with the Card Reader that’s located in the northside of the Garage. Unfortunately you don’t have a key card to allow you through.
Firstly, make your way to the east side of the room where you’ll see a door with a green light above it, head inside and go right down a corridor until you see a door to your left, before entering continue forward to collect a Blue Herb. Head inside to the Kennel where you’ll see three Zombies Dogs locked inside some cages.
After you’ve dealt with the Zombie Dogs, head to the south side of the room where you’ll find High-Grade Gunpowder (Yellow) sitting on some baskets, follow the room around until you see a door and enter. From the corridor head through the door to the Morgue, and collect the Autopsy Record No. 53477 File from the trolley to the left. Now you’ll need to open the drawers and pull the tables back to reveal some items to loot. You’ll be able to obtain a Red Herb from the second drawer, closest to the door, a Flash Grenade from the final drawer on the south side of the room and finally, head over to the north side where you’ll be able find the Diamond Key in second drawer closest to the left side wall.
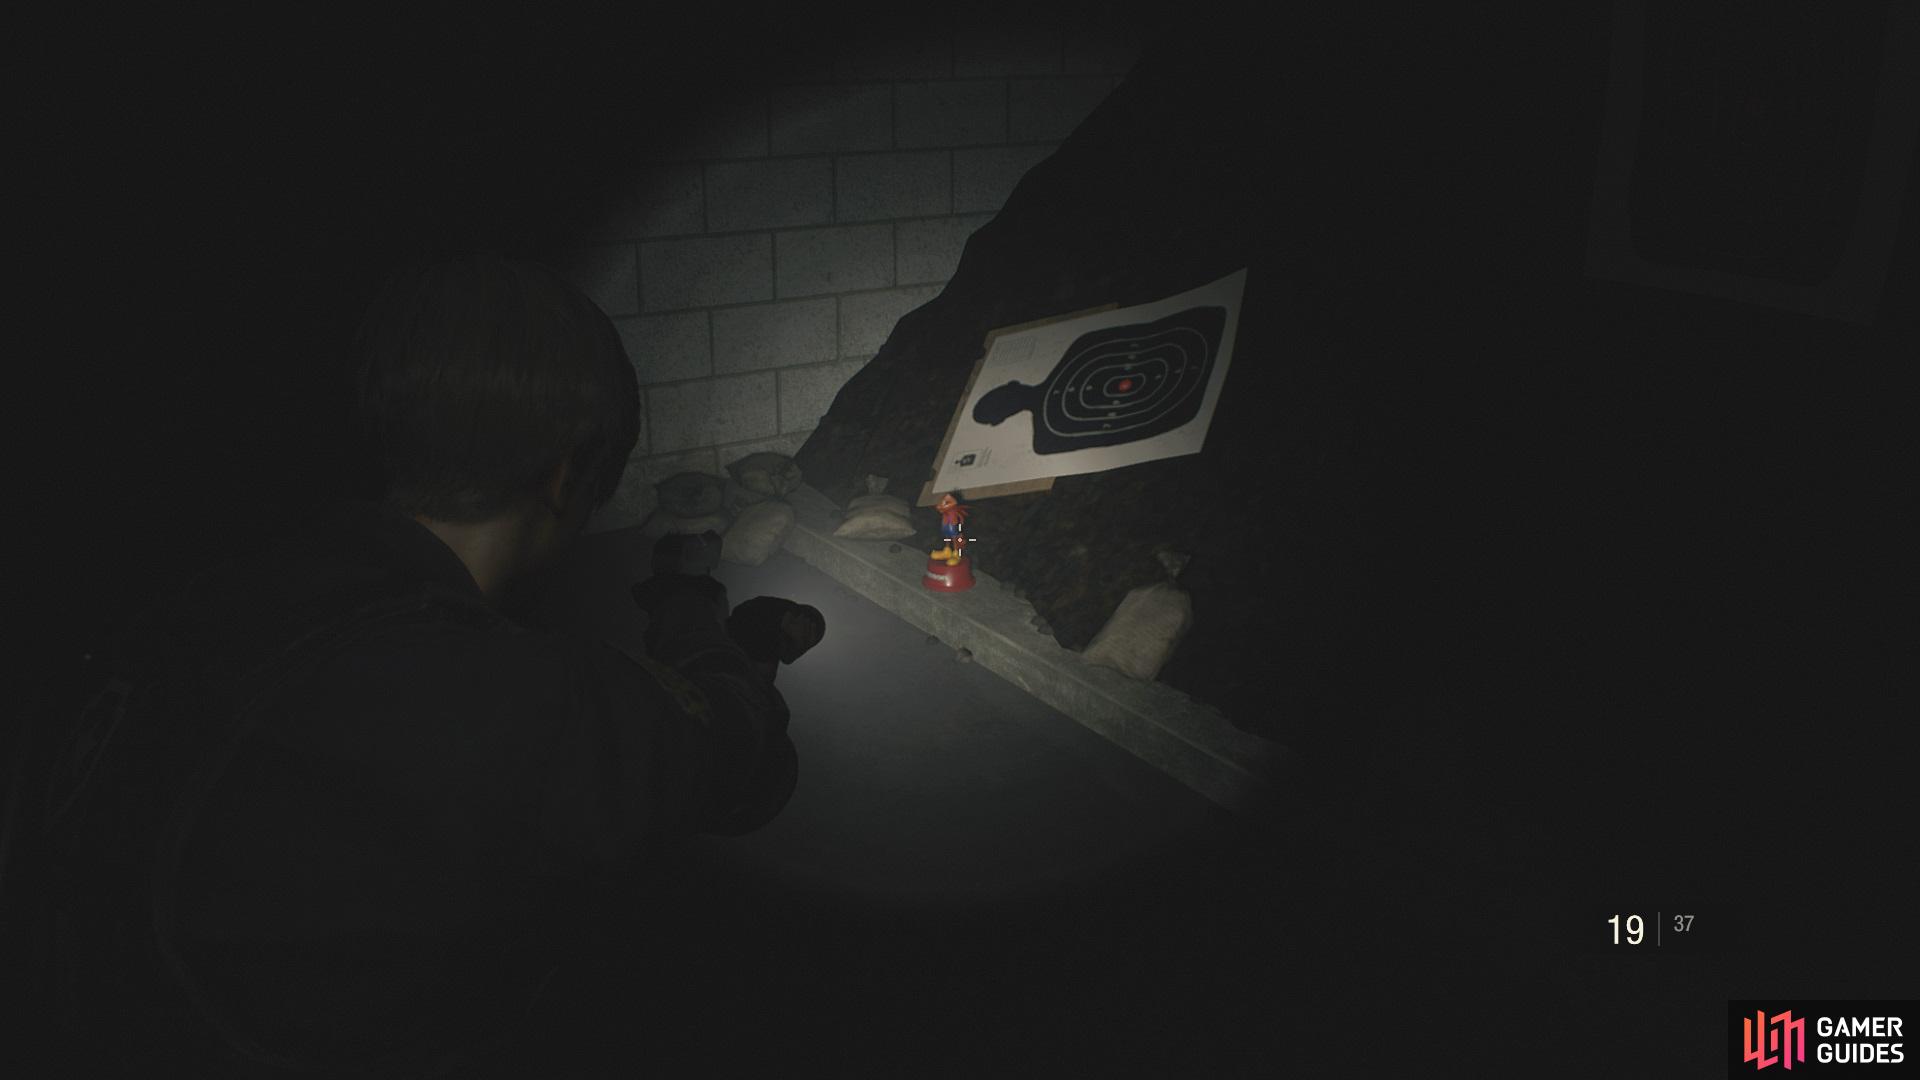
Once you’ve retrieved the key, two Zombies will try to attack you so simply run past and head back through the Kennels to the corridor. From the corridor, go right until you see another door and head inside to the Firing Range where you can find the Equipment Disposal Notice File on the table to your right alongside a Tin Storage Box. Examine the box in your inventory and rotate it until you can open it to retrieve a Car Key. Continue forward until you see a desk with the A Message From Mr. Raccoon File sitting on it, now head left and enter the second door to find yourself a Raccoon in the southwest corner before heading to the southeast corner to find yourself some Shotgun Shells.
Exit the room and unlock the door to your left with your Diamond Key that’s in your inventory, inside you’ll be able to find a Red Herb near the lockers alongside a Roll Film from the desk to your right. Now exit the Firing Range and head back to the Parking Garage, examine the Car Key you found earlier and rotate it until you can interact with it to unlock a car. Head to the car with flashing lights in the southeast side of the room, open the trunk to retrieve the Gun Stock (Matilda) attachment. This will allow you fire three shots with the Matilda Handgun when you hold down the button.
Make your way into the room in the southwest part of the garage, once inside go through the first doorway on your left to collect some Shotgun Shells from the file cabinet and the Police Station B1 Map that’s located next to the visitors guide board. Head back outside and head left, follow the path all the way around until you enter a cutscene. Collect the Square Crank from the table to the right alongside the Memo: “Jail Power Panel” file.
Find the Power Panel Parts
Make your way back to the corridor where you entered the Morgue but this time, head left until you reach a closed shutter and use your Square Crank to open the shutter. Continue along until you see a door on your right, inside there will be a Green Herb on the floor in the northwest side of the room. Walk around until you see the Boxed Electronic Part on the table, examine and rotate it until you can interact with it to retrieve an Electronic Part and then collect the Gunpowder from the shelves to the right.
Continue along until you reach a switchboard that’s in a corner of the room, flip the switches so both indicators are in the red. This can be achieved by turning both switches on the right and leaving the two on the left off. Once you’ve successfully activated the switchboard, head back through the Kennels and into the corridor, but beware you’ll encounter three Zombie Dogs along the way.


Once you’re back inside the corridor, head right and past the Firing Range until you can go left through the door you just unlocked, follow the path up the stairs and walk towards the Break Room and collect the Shotgun Shells before you enter. Inside the Break Room you’ll be able to find some Handgun Ammo alongside the High-Grade Gunpowder (Yellow) and a Blue Herb, then save.
Before heading back out into the corridor, go through the door to the other side of the room to collect the MAG Ammo off the sink and the Electical Part from the chair next to the bed, you’ll also be able to find a Raccoon hiding behind a large brown bag.


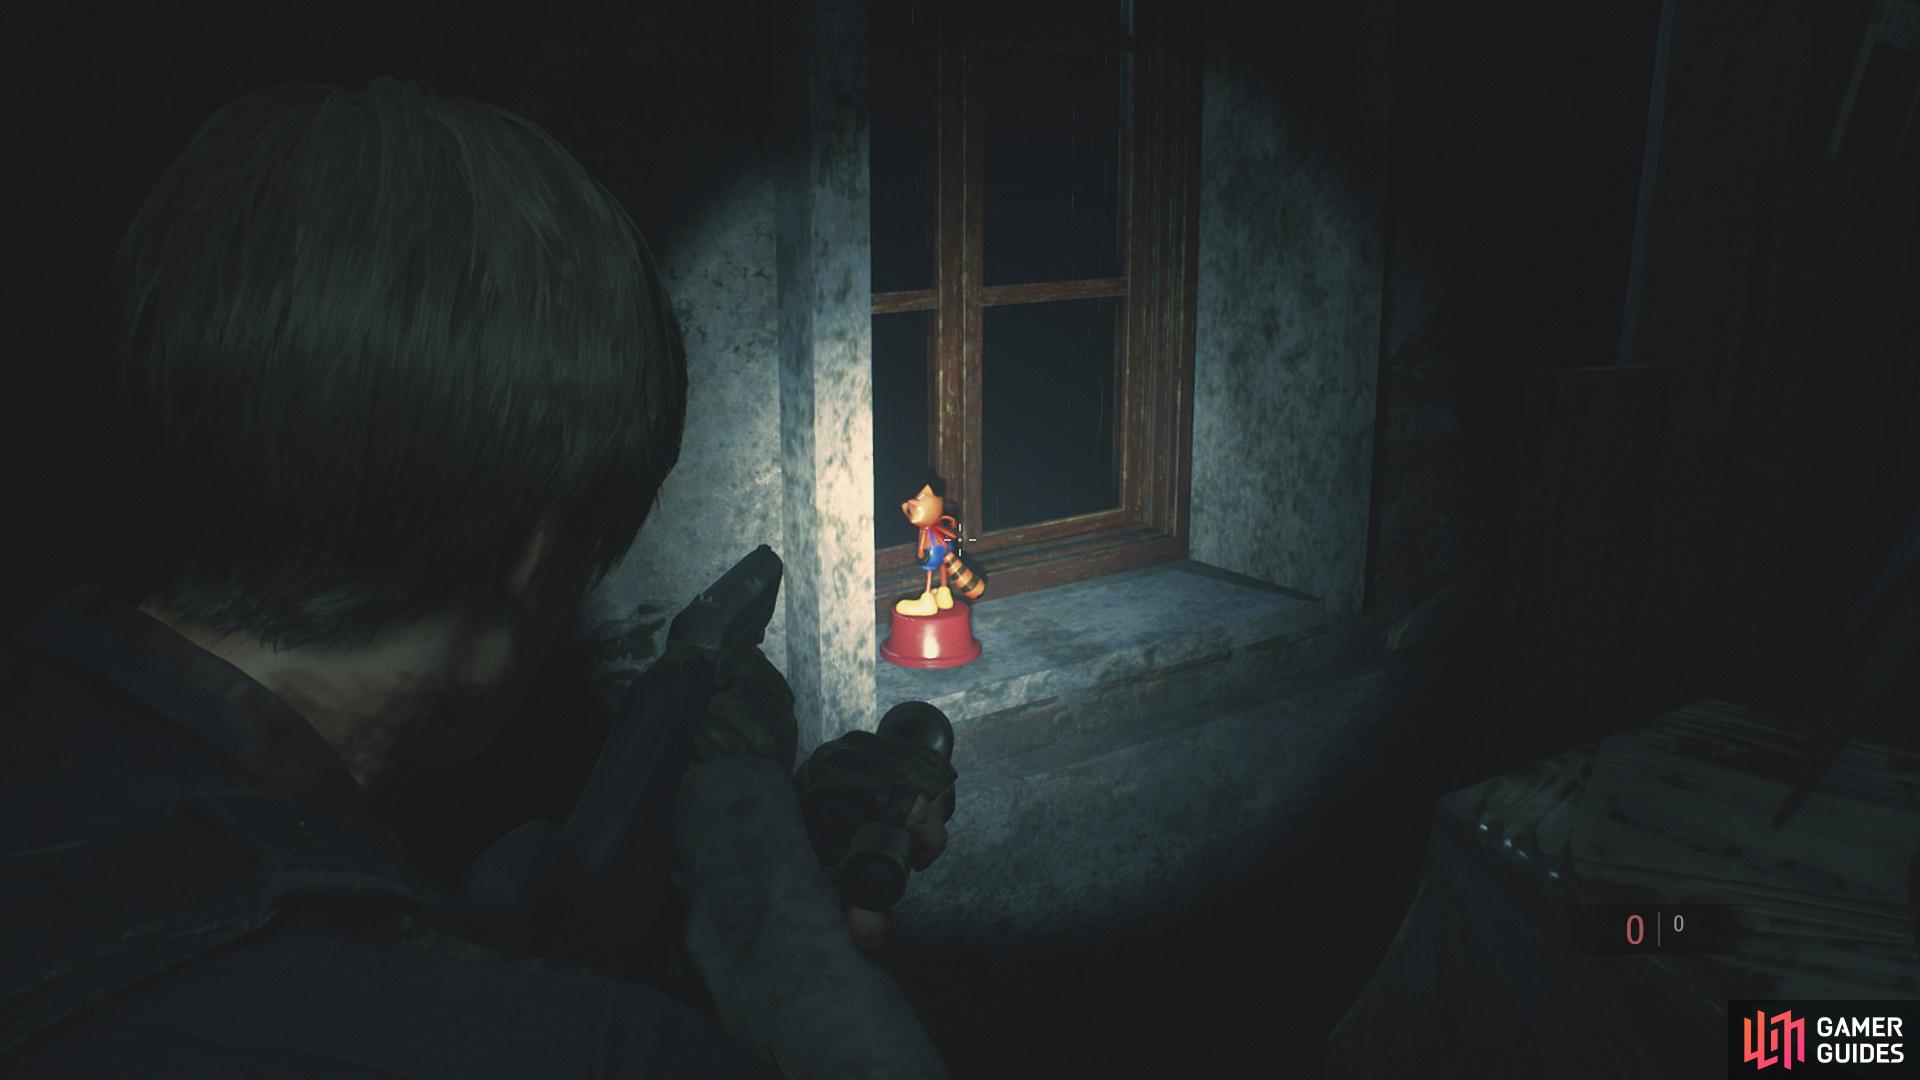
(1 of 2) You can find the Fourth Raccoon hiding behind a large bag in the south section of the Break Room
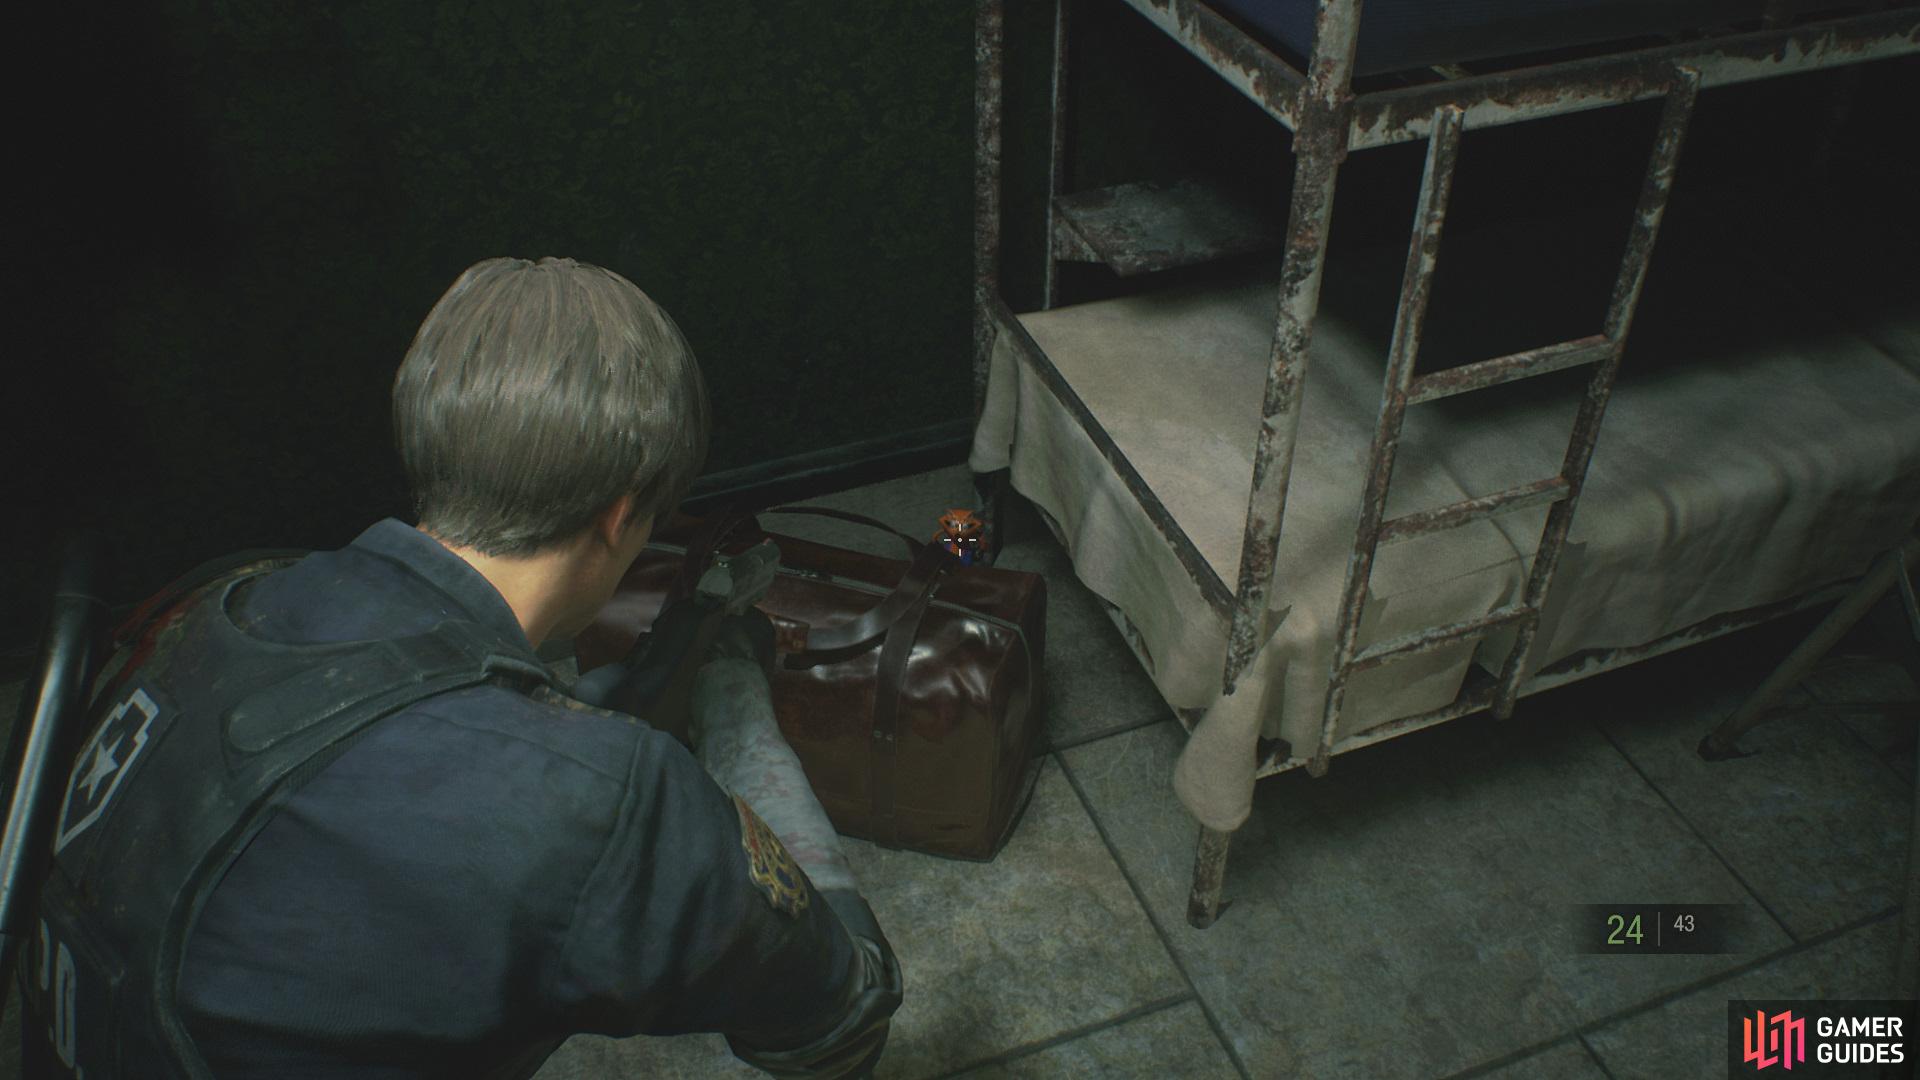
You can find the Fourth Raccoon hiding behind a large bag in the south section of the Break Room (left), the Fifth Raccoon can be found sitting on a table by the stairs near the Chief’s Office. (right)
Exit the Break Room and head right at the corridor, but beware you’ll encounter a few Zombies. After you’ve dealt with the Zombies you’ll need use the Electrical Part to open the shutter, collect the Combat Knife off the wall before heading through.
Make your way up to the 2F and head left down the corridor past the Art Room and use your Sqaure Crank to open the shutter. Continue forward until you see a table by the stairs with a Raccoon on it, shoot it and then head up stairs. Once upstairs collect the Wooden Board that’s leant against the chair by the stairs, then grab a Flash Grenade and some Handgun Ammo from the lockers.
Head inside the East Storage Room to collect some Shotgun Shells from the shelf in the southeast corner of the room. just before the Heart Door. Head to the center of the room to find a Large Gear, and finally make your way back to the north side of the room to find a Blue Herb on the bottom shelf. Exit the room and head right to the Balcony, here go down the ladder but before you do, collect the Blue Herb that’s left on the table.
After you’ve climbed down the ladder you’ll need to find a way to turn the lever to move the postion of where the water flows in order to put out the fire that’s coming from the helicopter. Firstly, head left and make your way down the stairs, at the bottom turn around to collect the two Green Herbs from the floor at the end. Head towards the door but before entering, go to the left corner and flip the lever from right to left to change the flow of the water.
Make your way to the door, but beware two Zombies will barge through, once you’ve got past, head through the door and collect the Gunpowder before entering the safe room, grab the Club Key from the board, then save.
Head back upstairs and turn on the water by interacting with the lever, once the fire has been put out, you’ll need to head through the door to the left but before you do, head over to the red bench and collect the Handgun Ammo. Once you enter, grab the Red Herb from the floor and follow the path around to the helicopter.
Tyrant / Mr. X
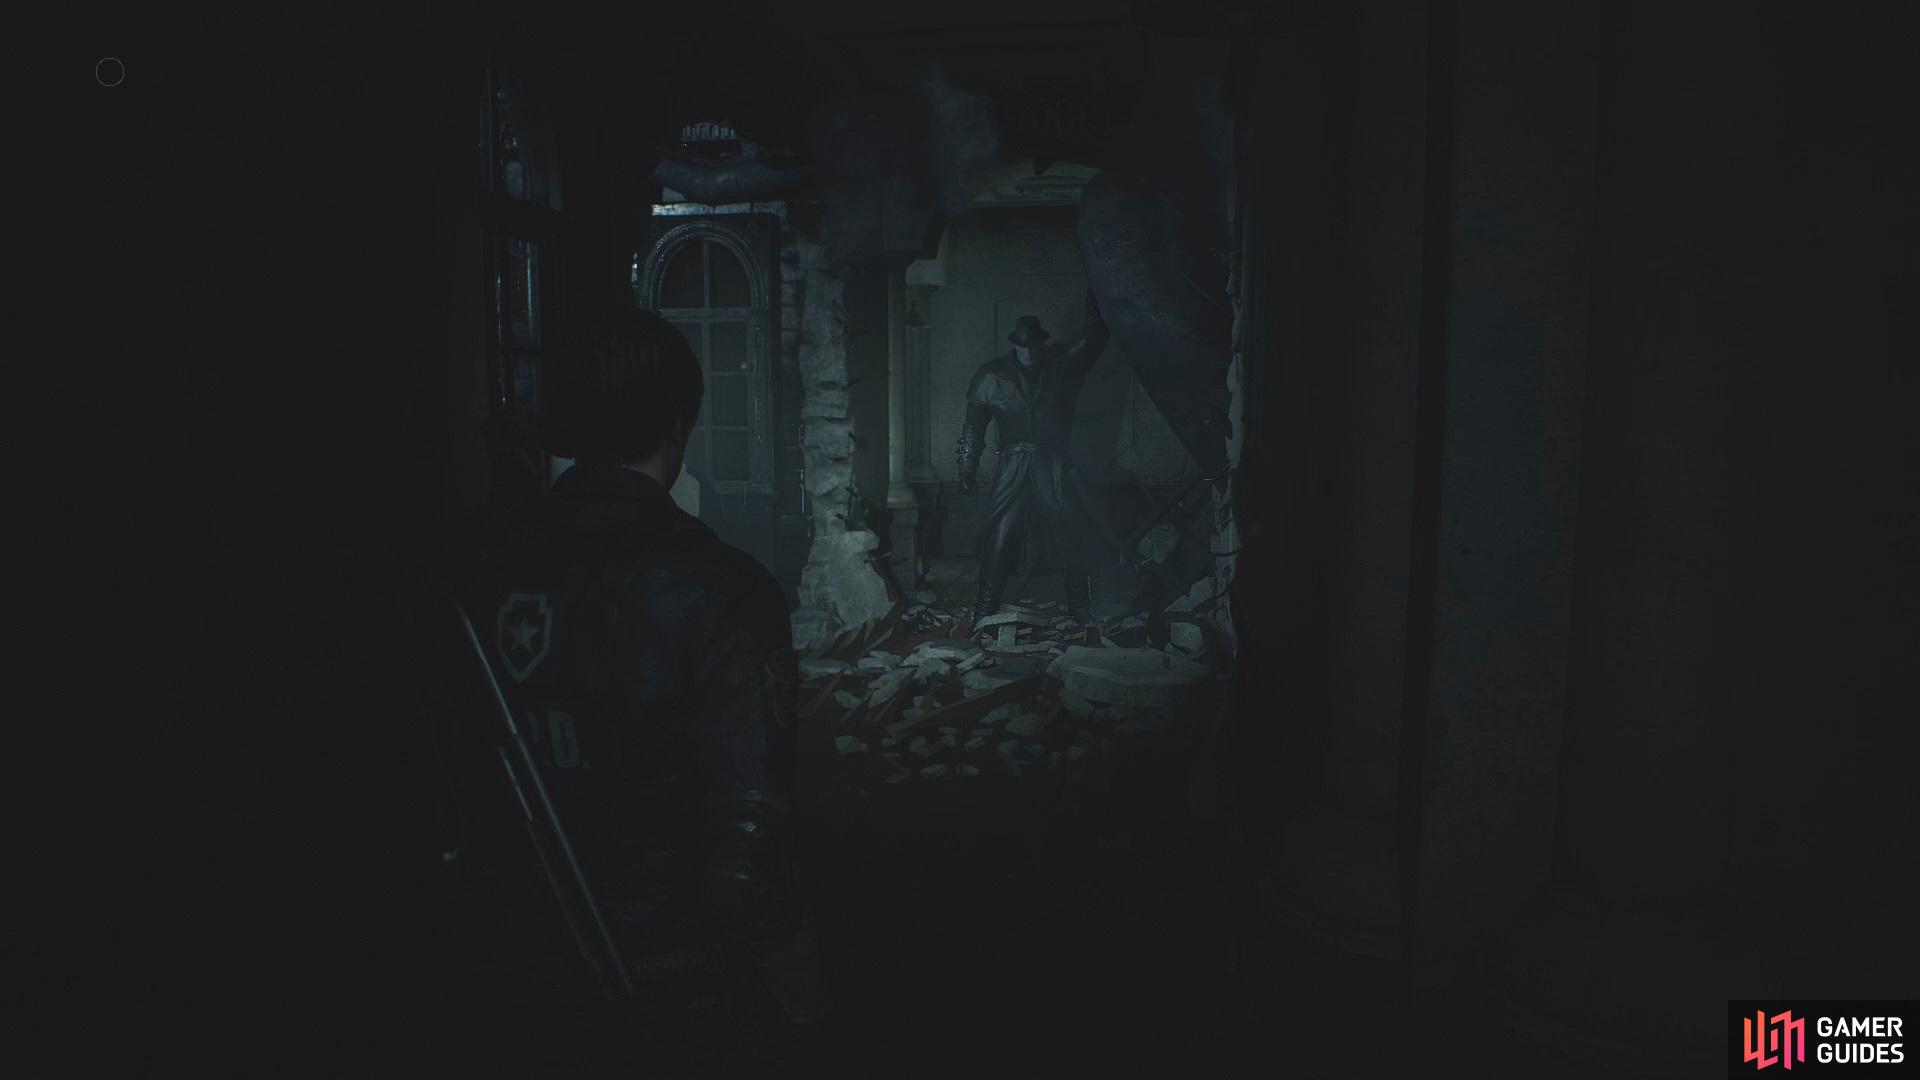
You’ll encounter a new enemy at this point, the Tyrant, also known as Mr. X. From this point onwards your experience within Raccoon City will not be the same again, as you’ll have to be constantly watching your back making sure the Tyrant doesn’t catch up with you. Don’t worry however, there are a few things you can do to help you get past this obstacle.
-
Dealing Loads of Damage
Whilst you’re being constantly stalked throughout Raccoon City by the Tyrant it could lead to some dangerous situtions in which you’ll need to get past the Tyrant. By dealing loads of damage to the Tyrant, you can cause him to Kneel for a short period of time, however this isn’t really a recommended strategy as it uses too much ammo and increases the chances of dying higher due to his powerful attacks. -
Avoid Fighting
As you explore Raccoon City the Tyrant will constantly be on lookout for you so always be ready to run to the nearest safe room or gain a large enough distance so he can’t locate you. This method is the most benefical as it saves ammo and lowers the risk of dying. -
Areas That The Tyrant Can’t Enter
Although exploring Raccoon City will be alot scarier now you’ve always got to be on the lookout for the Tyrant, but there are a few locations he can’t enter. The Tyrant can’t enter the Safe Rooms, the Secret Area under the Goddess Statue, the S.T.A.R.S Office and the Clock Tower.

After the Tyrant has removed the helicopter, take him outside so you can get past him and then head back inside so you use can use the shortcut that has now been opened. From the shortcut, make your way to the Linen Room with your Diamond Key, inside you’ll find your second Portalable Safe that is located on top of a washing machine along with some Gunpowder that’s left on top of some towels.
To open the Portable Safe, you need to press the buttons in the correct order until all the lights are on. Look at the safe as if it had numbers, so top left to bottom right would be 1, 2, 3, 4, 5, 6, 7 and 8, then try inputting 16725438. Inside you will receive your second Square Part to place on the terminal in the Safety Deposit Room.
Head back to the terminal with your Spare Part, once inside insert the Spare Part on to the terminal and unlock the rest of the items by inputing the codes.
Make your way to the southwest section of the Police Station with your Club Key to unlock the Records Room door, inside you’ll be able to find the Mechanic Jack Handle on the table alongside a Hand Grenade. Now make your way to the Library with the Mechanic Jack Handle, remembering to grab the Gunpowder off the printer on the way out.
Once you’ve arrived at the Library, use the Mechanic Jack Handle on the Jack to remove it from the bookshelves on the right side of the room. Move bookshelves one, two, and three, all the way to the right to reveal some Handgun Ammo. Now climb the ladder and cross the path to enter the door leading to the 3F Main Hall. Follow the path all the way to the end and enter the door to the right which will take you into the Clock Tower, remember to grab the Green Herb before you enter.
Once you’ve entered the Clock Tower, you’ll be able to find the Repair Plan file left on the table. Place your Large Gear on the Gear Box to the right, this will lower the stairs to give you access. Take the Large Gear back and make your way up the stairs, continuing along until you see another Gear Box. Remove the Small Gear and replace it with the Large Gear before heading back downstairs to the final Gear Box to place the Small Gear on it. Due to the collapse of the bell you can now collect your second Boxed Electronic Parts that has fallen next to the table, open your inventory to examine it and rotate it until you can interact with it, this will give you the final Electronic Part needed for the objective.
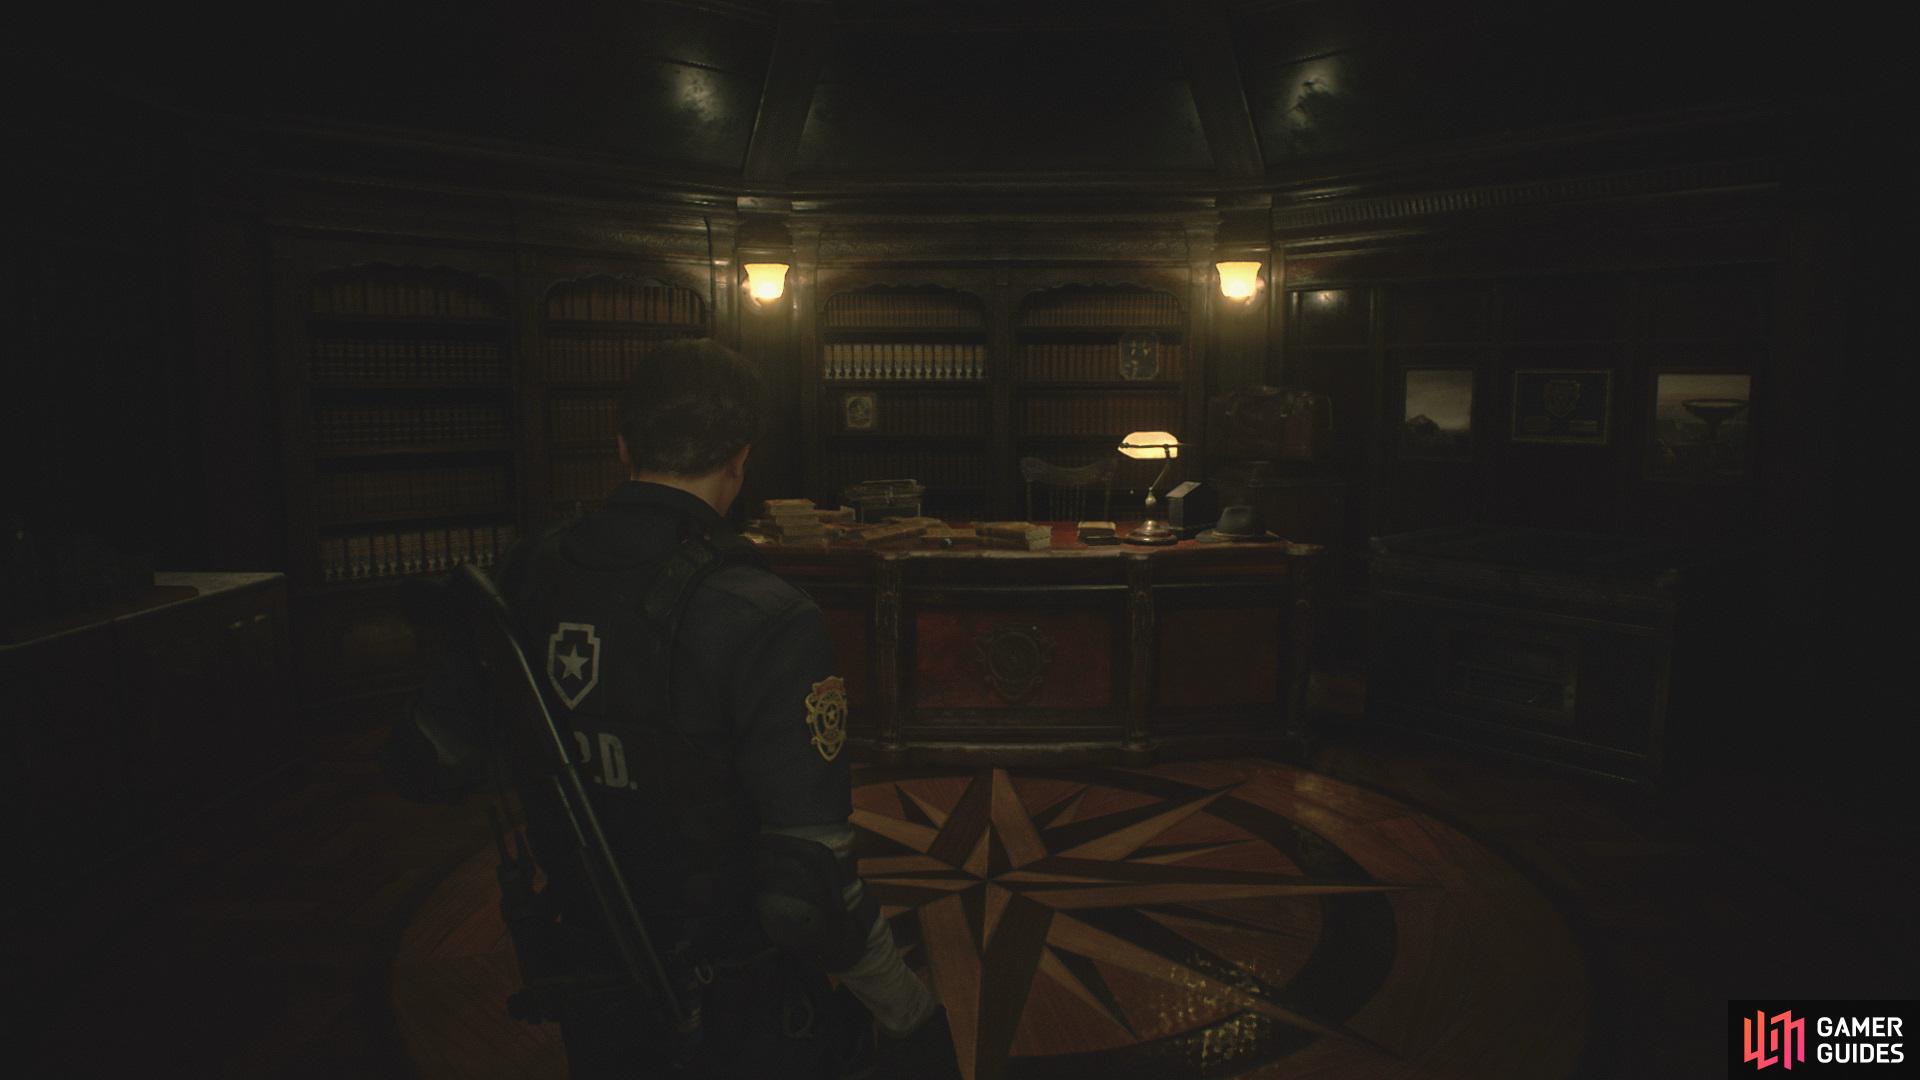
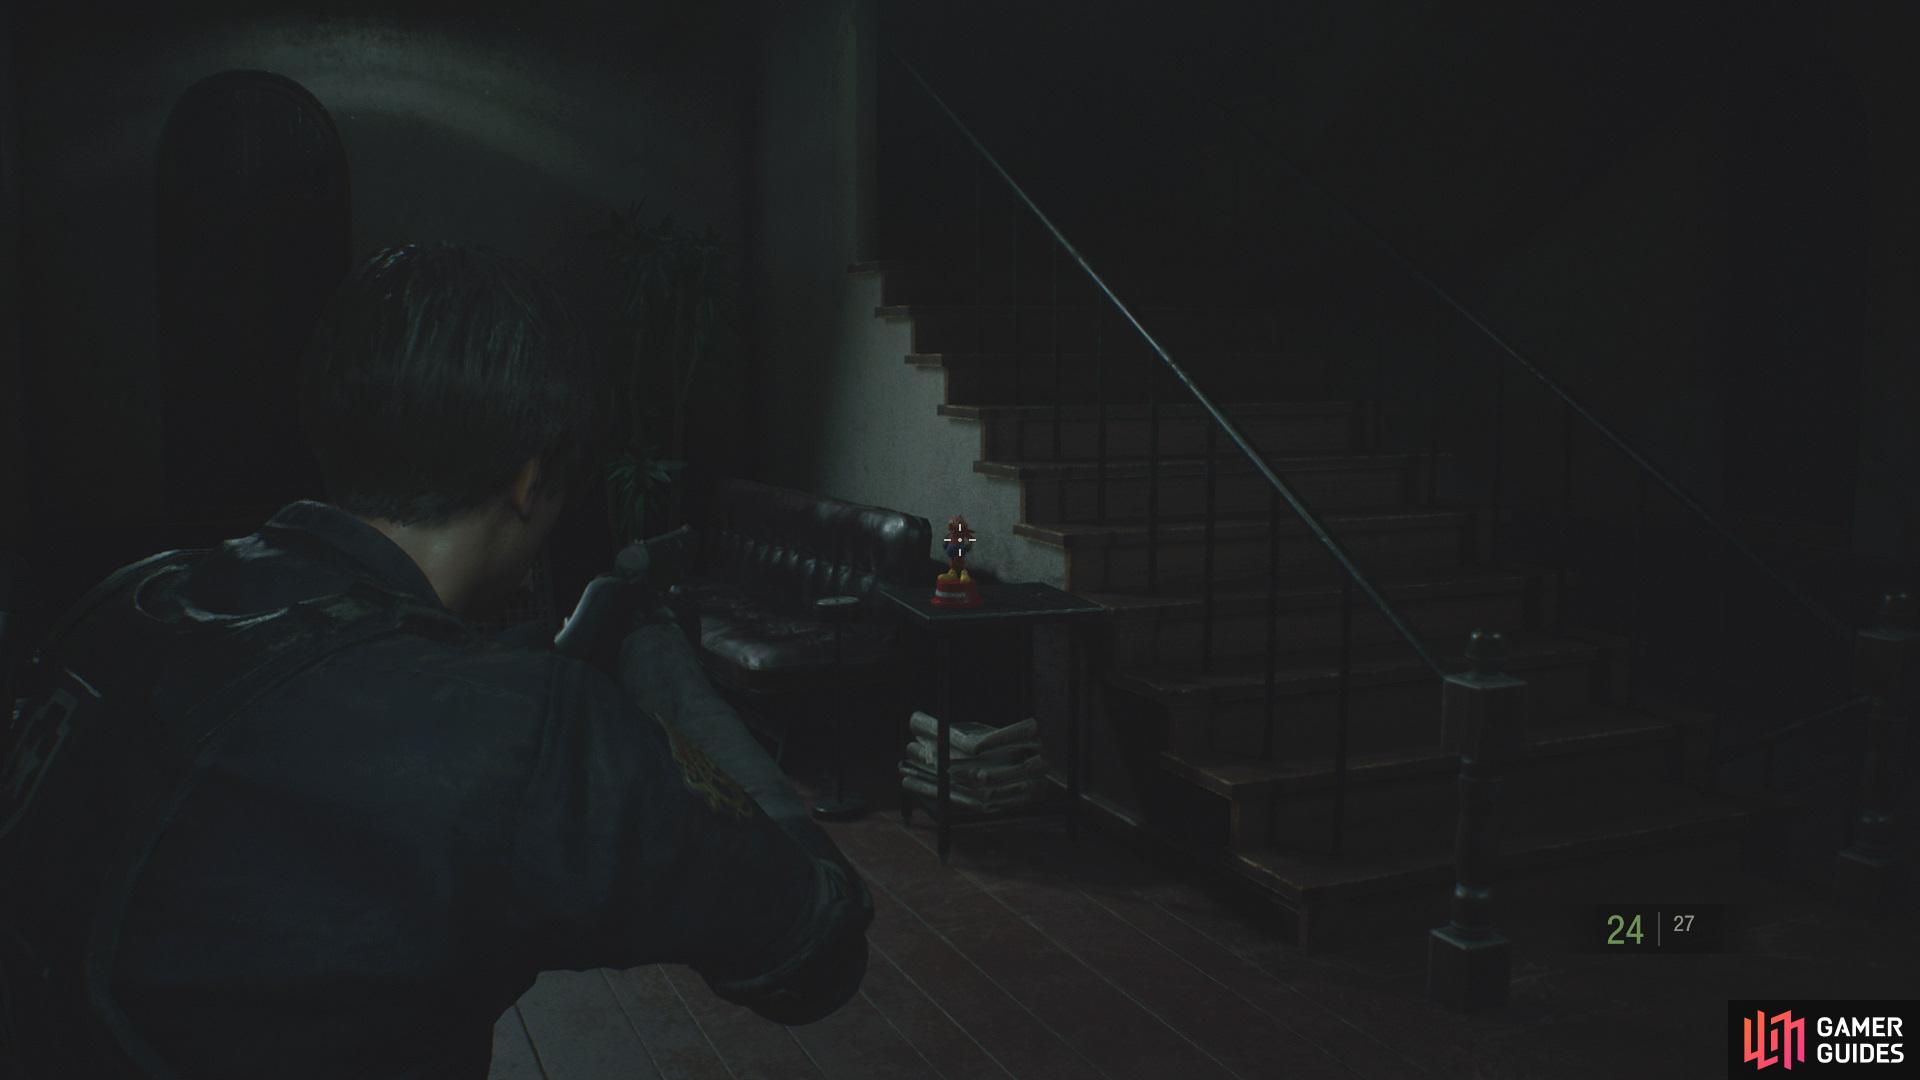
Before leaving to go to the Observation Room, quickly exit the Clock Tower through the door to the east, where you’ll find yourself in a large corridor, follow the corridor all the way round to find Gunpowder (Large) alongside a Raccoon sitting by the window. Head to the Observation Room and unlock the door with the Club Key. Inside you’ll find some Gunpowder from the Zombie that’s leaning against the wall as you enter, followed by a Confiscation Report File from the file cabinet along with the Bejeweled Box that’s located on the table. Finally, jump over the wall to collect some Handgun Ammo off the table to the right.
With the Bejewled Box in your possession, you’ll need to combine it with the Red Jewel you found earlier, once combined you’ll receive the S.T.A.R.S Badge. Examine this and rotate it until you can interact with it, this will now turn it into a USB Dongle Key. Take this to the S.T.A.R.S Office and plug it into the computer to interact with the keyboard and unlock the gate. This will allow you to retrieve the Lighting Hawk and Letter to S.T.A.R.S Members file, retrieve the USB Dongle Key and bring it along with you before exiting.
Head back down to the Parking Garage and make your way to the Jail where you’ll trigger another cutscene. Once you reach the prisoners cell, interact with the Electronic Door Panel that’s on the wall next to it. Place both Electronic Parts on the panel and position the wiring so there are two green lights on the top right part. Walk inside the cell and collect the Parking Garage Key Card off the body and you’ll also receive the Interview Transcript.
Escape the parking garage
Beforing exiting the cell, collect Ben’s Memo from the table alongside a First Aid Spray by the toilet. Head out of the cell and interact with the lever at the end of the corridor to gain access to a different path to the garage, beware however as the Tyrant will make another appearance here.
After you’ve got past the Zombies and the Tyrant, use your Parking Garage Key Card on the Card Reader to open the gate.
Behind R.P.D
With the gate open, follow Ada until you reach Gun Shop Kendo where you’ll be able to find the Long Barrel (W-870) attachment that you can combine with your shotgun in your inventory, this will increase the magazine size of your shotgun and lower the shot spread.
Pocket the Hand Grenade from the shelf at the back of the room and then head to the northwest corner shelf to find some Handgun Ammo before heading to the northeast corner to trigger a cutscene. Follow Ada down the alley and through the tunnel until you see an opening to the right. Before you go through however, head to end of the tunnel to collect some more Handgun Ammo. You can now continue along the path until you can head left into the safe room.
Sewers Entrance
Exit the Safe room and follow the tunnel until you can see stairs to your left, grab the Handgun Ammo off the barrel and head downstairs, following the path until you drop off a ledge. You’ll encounter a massive crocodile here, simply run away and move left to right to dodge his attacks on the way down. Eventually the crocodile will get blocked off by a pipe, use this opportunity to shoot the pipe, causing it to explode and kill the crocodile.
Once the crocodile is dead, grab the Hand Grenade off the floor to your left and shoot the Raccoon that’s hiding behind all the rubbish in the southeast corner before climbing the ladder that Ada drops down for you. Follow her and enter the lift and, once opened, make your way around to the safe room to save. Open the nearby blue door to trigger a cutscene.
No Comments