
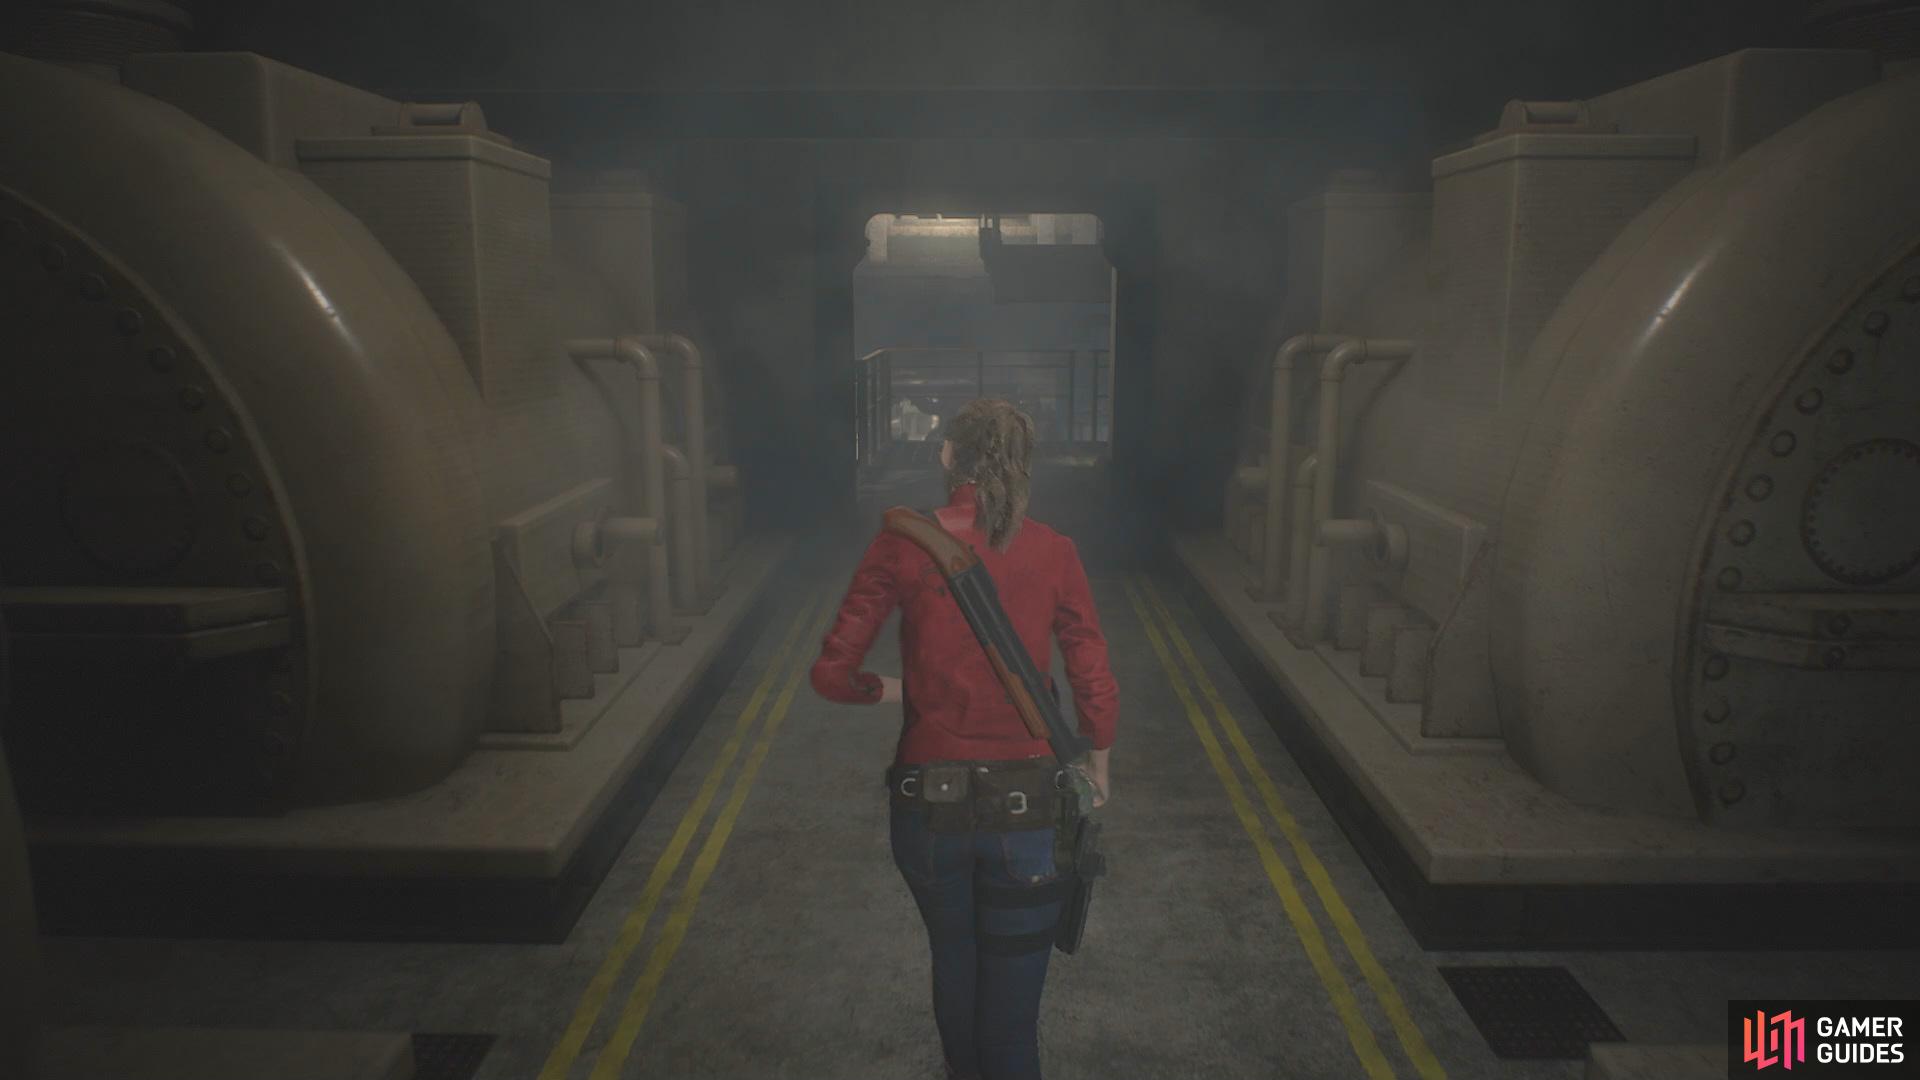
From the Police Station Secret Room, use the lift to take yourself down the Underground Stairs then head all the way down to the bottom with the USB Dongle in your inventory, examine it and convert it back to a badge and insert it in the Special Weapons Case to receive the Suppressor (MQ 11), combine this with the Submachine Gun in your inventory. Head upstairs and through the doorway. Follow the corridor around until you reach another doorway that’s blocked by a fallen shelf, hold X/A on it to trigger a cutscene.
Boss: G (Stage 1)

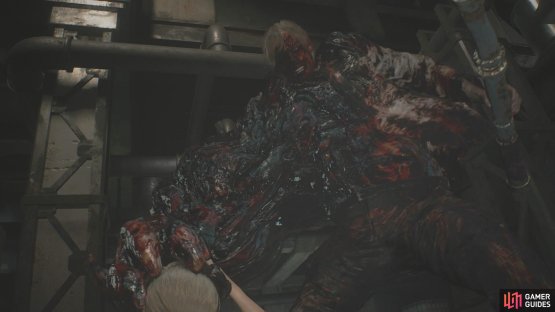
(1 of 2) You’ll encounter the G Stage 1 Boss after you try to move a shelf
You’ll encounter the G Stage 1 Boss after you try to move a shelf (left), if you find yourself trapped in a corner the boss will grab you to do a powerful attack. (right)
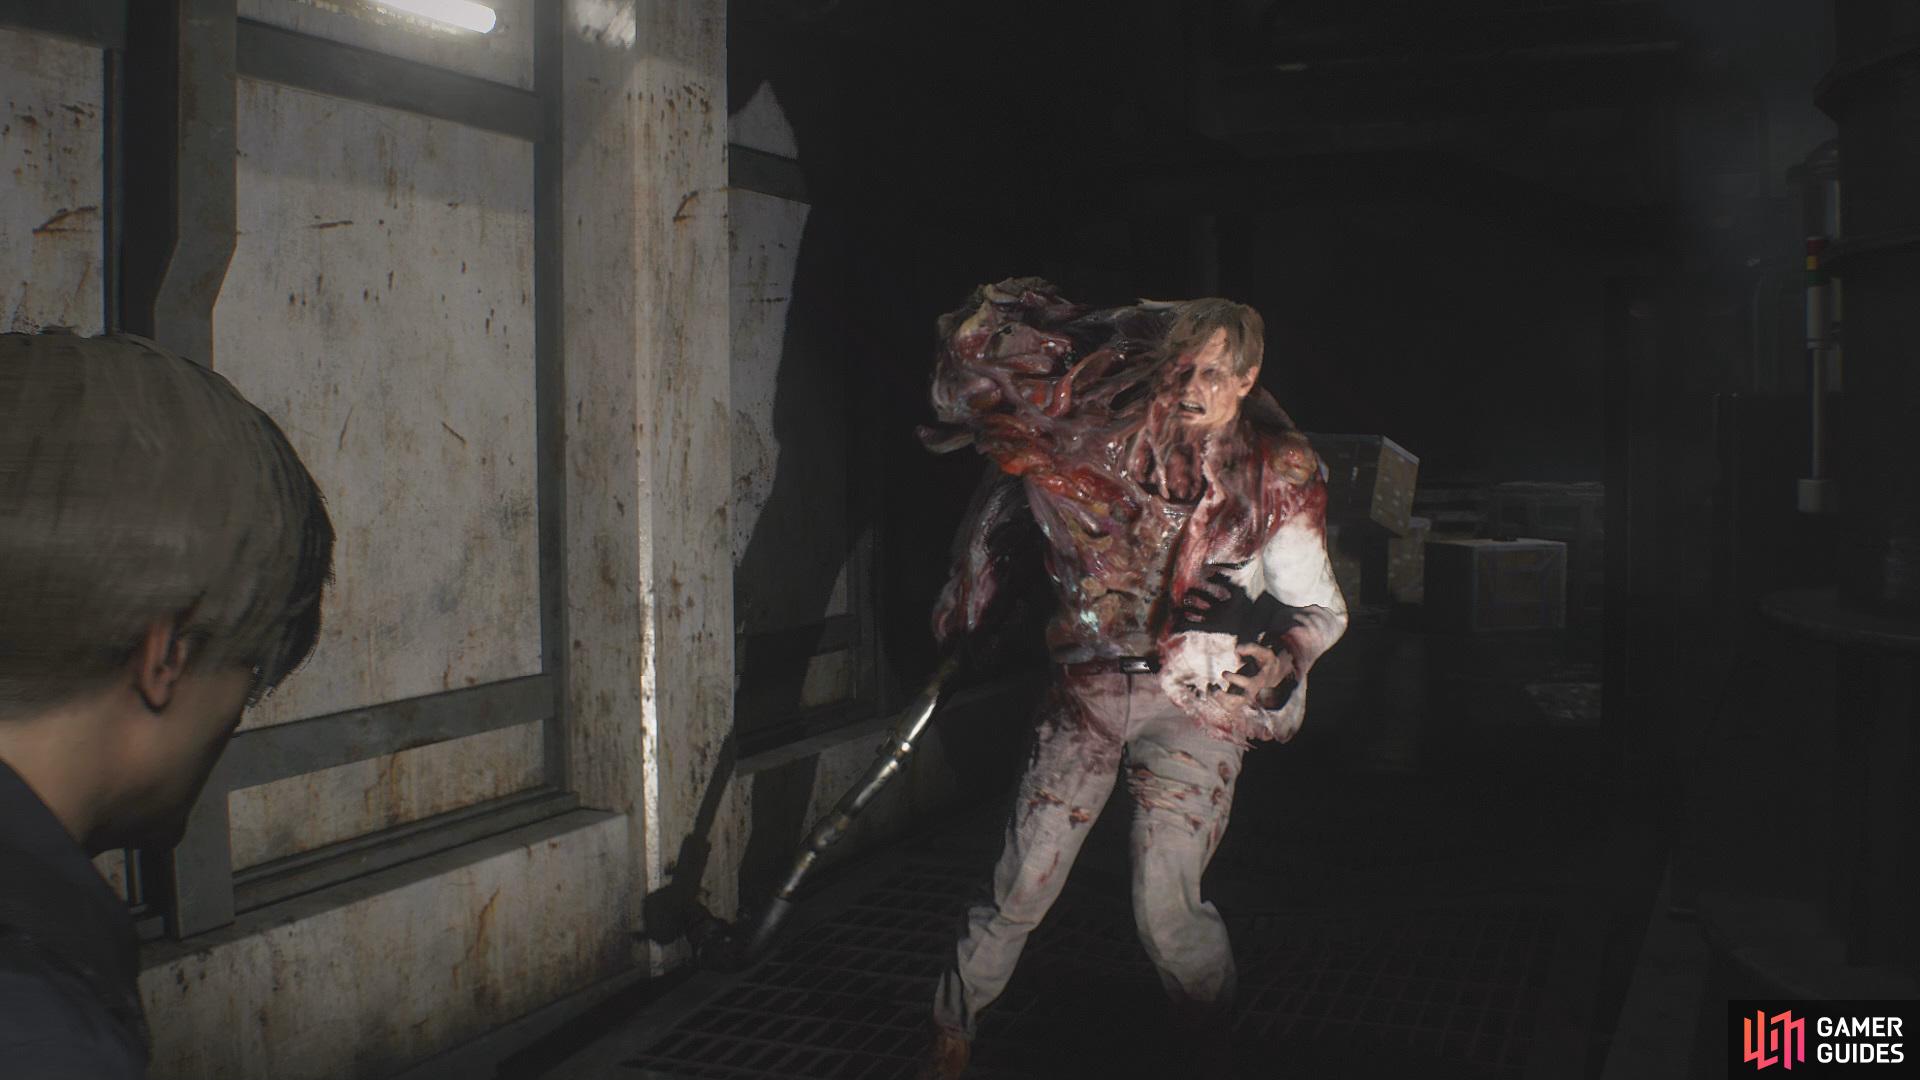
Once you regain control you’ll need to quickly move around the arena so the boss can’t reach you with his swipe or stab attacks, you can take three or four hits from his swipe attacks before your health goes down to Caution.
Be aware of your surroundings because if you find yourself cornered the boss will do a powerful grab and stab attack, this attack will take your health down from Fine to Caution if you dont counter. You can use a grenade or the Combat Knife to counter so long as it’s equipped.
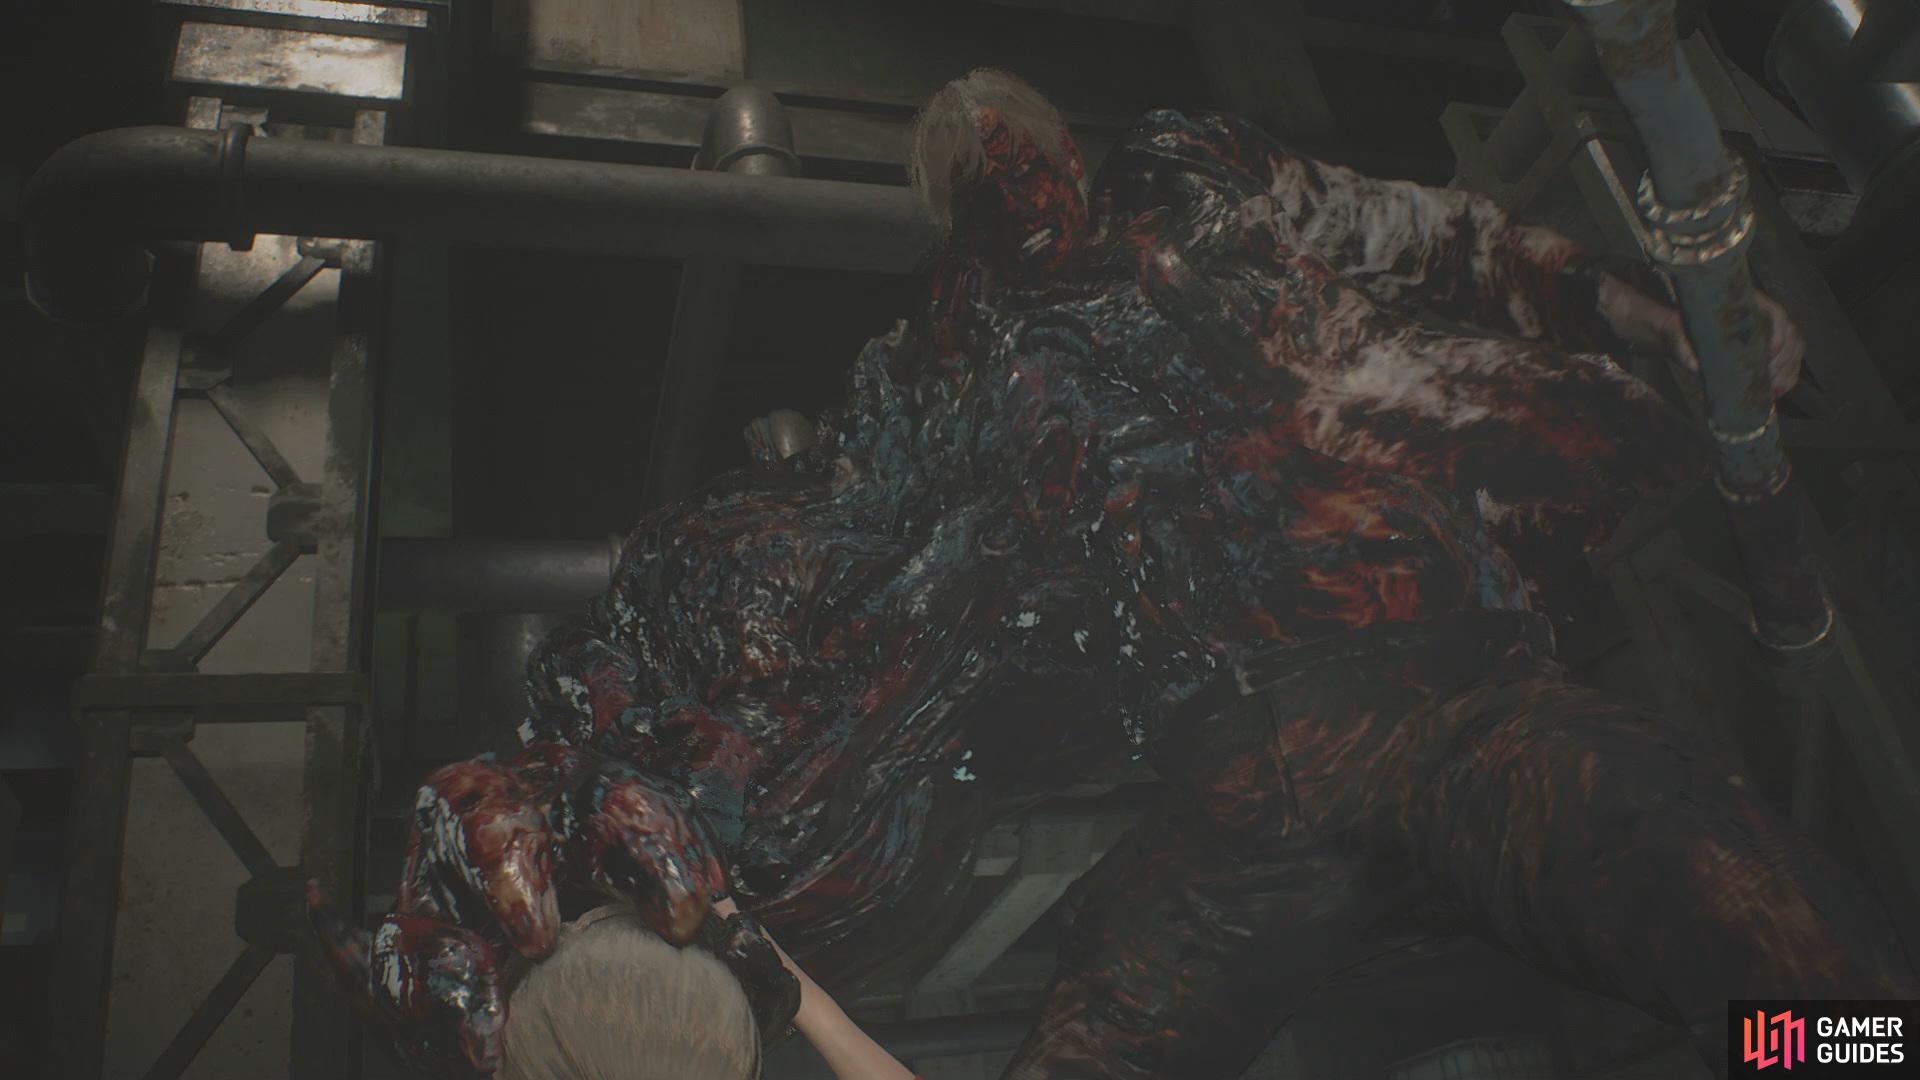
In order to defeat him you’ll need to focus fire towards his head and arm until you expose his eye, now this is the perfect opportunity to use your most powerful weapon (the Grenade Launcher) to do a lot of damage, once you deal a large amount of damage he will disappear into the mist where he’ll try to grab you from above so keep on the move to try and dodge him. He’ll also chase you around the arena so try to time your shots before he catches up to you. You’ll need to repeat this cycle three or four times until he dies.
Once you’ve climbed up the ladder you’ll find yourself in the Parking Garage that’s located at the basement of the Police Station, here you’ll need to interact with the Card Reader that’s located in the north side of the Garage. Unfortunately you don’t have a Key Card to allow you through.
Firstly, make your way to the east side of the room where you’ll see a door with a green light above it, head inside and go right down the corridor until you see a door to your left, before entering continue forward to collect a Blue Herb. Head inside to the Kennel where you’ll see two Lickers.
After you’ve dealt with the Lickers, head to the south side of the room where you’ll find High-Grade Gunpowder (White) sitting on some baskets, follow the room around until you see a door and enter. From the corridor, head through the door to the Morgue, and collect the Autopsy Record No. 53477 File from the trolley to the left. Now you’ll need to open the drawers and pull the tables back to reveal some items to loot. You’ll be able to obtain a Red Herb from the second drawer, closest to the door, a Flash Grenade from the final drawer on the south side of the room and finally, head over to the north side where you’ll be able find the Diamond Key in second drawer closest to the left wall.
Once you’ve retrieved the key, two Zombies will try to attack you so simply run past and head back through the Kennels to the corridor. From the corridor, go right until you see another door and head inside to enter the Firing Range where you can find the Equipment Disposal Notice File on the table to your right alongside a Tin Storage Box. Examine the box in your inventory and rotate it until you can open it to retrieve a Car Key. Continue forward until you see a desk with the A Message From Mr. Raccoon File sitting on it, now head left and enter the second door and make your way to the southeast corner to find yourself some Flame Rounds.
Exit the room and unlock the door to your left with your Diamond Key that’s in your inventory, inside you’ll be able to find a Red Herb near the lockers alongside a Roll Film from the desk to your right. Exit the Firing Range and head back to the Parking Garage, examine the Car Key you found earlier and rotate it until you can interact with it to unlock a car. Head to the car with flashing lights in the southeast side of the room, open the trunk to retrieve the JMB Hp3 Handgun.
Make your way to the northeast corner and then head through the door, follow the corridor down to find Raccoon Monthly, June Issue and the Police Station B1 Map to the left by the board. Now use the Diamond Key to unlock the door to the Elevator Controls Room, collect the Shoulder Stock (GM 79) attachment for the Grenade Launcher and a High-Grade Gunpowder (White) that’s on top of a box by the table, now interact with the lever to gain access to the lift.
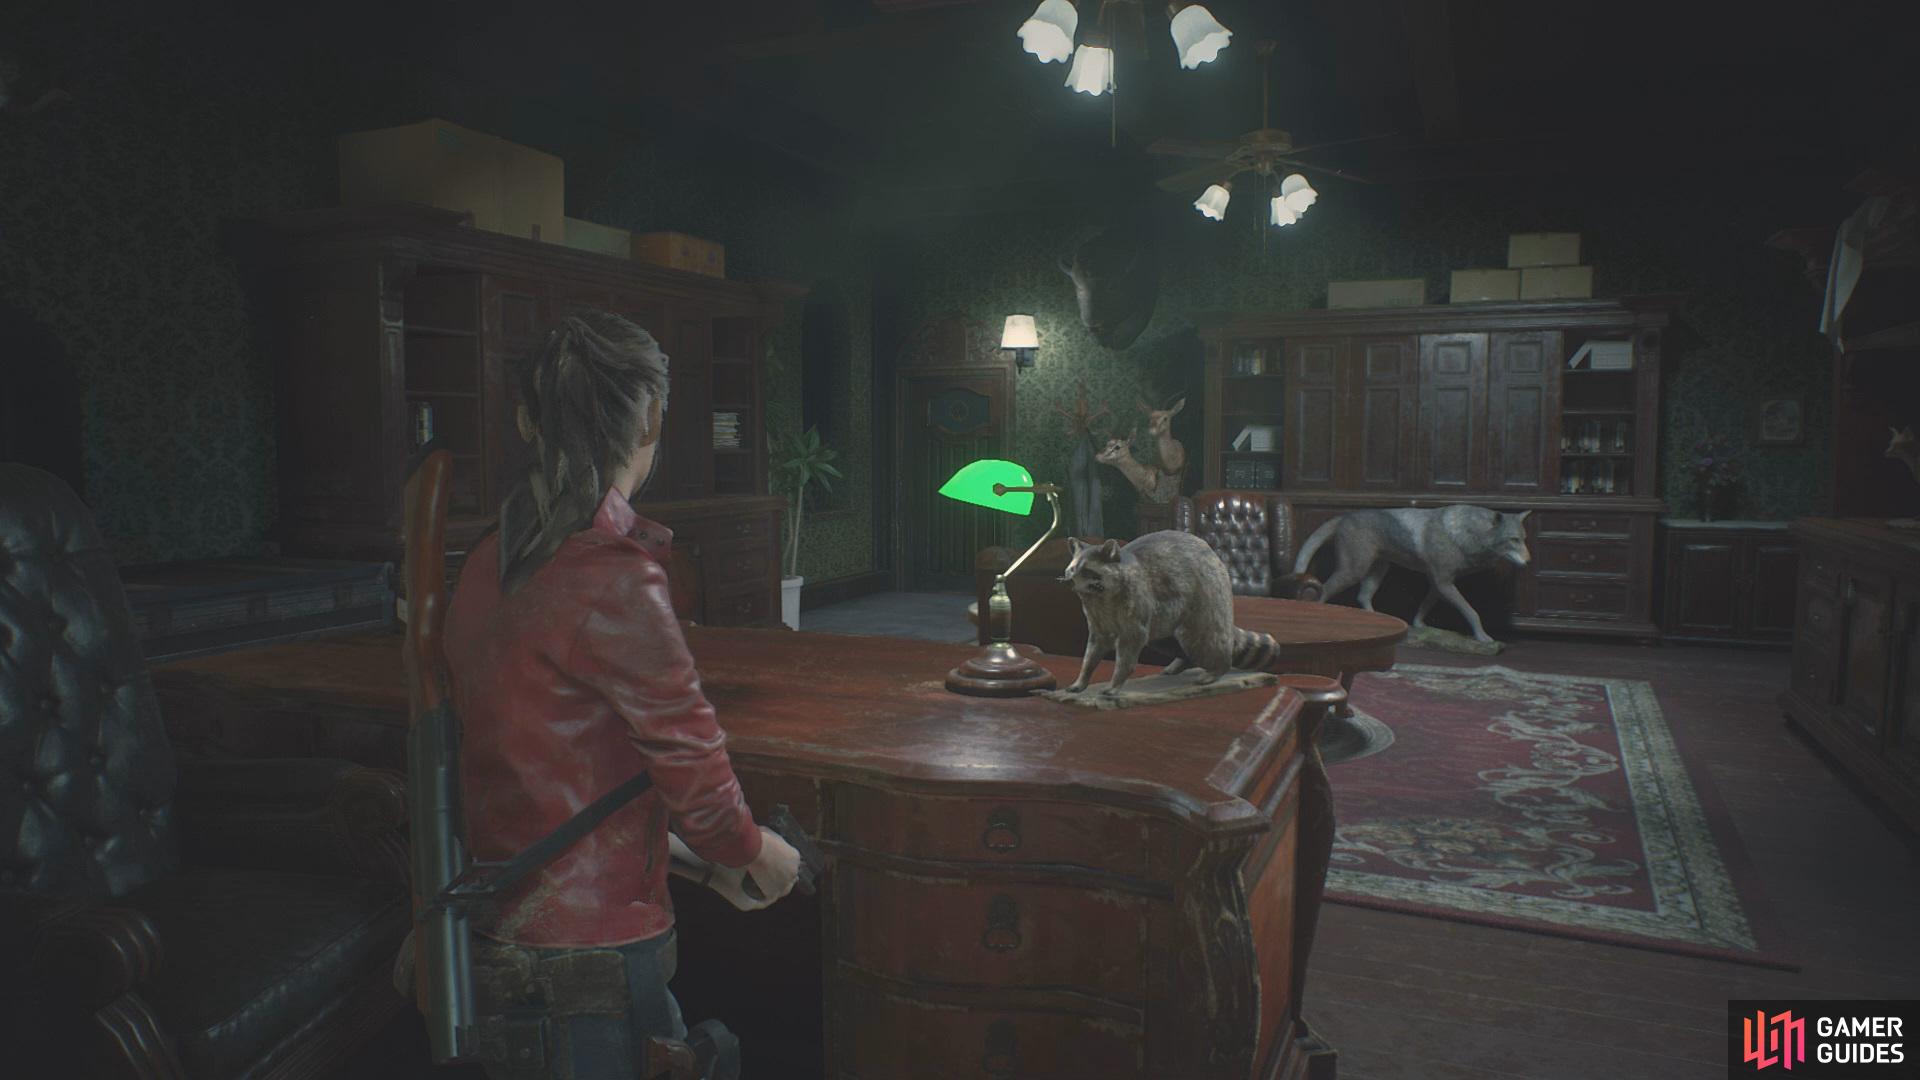
Take the lift up and head forward, collect the Green Herb to the left of the door before entering, then make your way to the Chief’s Office. Grab the Copy of Emails to Chief Irons from the desk and the Taxidermy Log from the coffee table alongside some Submachine Gun Ammo and save.
Exit the Office through the door to the south and follow the corridor along to the Private Collection Room, as you enter you’ll be able to find a High-Grade Gunpowder (White) directly in front of you, then make your way around the room to find the Repair Shop Letter and the Relief. Examine and rotate this until you can interact to gain the Heart Key.
Find the Power Panel Parts
Head back to the Office and unlock the other door with the Heart Key, make your way downstairs and follow the corridor along until you reach the Interrogation Room, use the Heart Key to unlock the door. Inside you’ll find some Large-caliber Handgun Ammo to your left and a Portable Safe at the other side of the room opposite the ammo. Jump through the window into the Observation Room to grab the Confiscation Report to the left on top of a file cabinet and Gunpowder from the Zombie.
To open the Portable Safe, you need to press the buttons in the correct order until all the lights are on. Look at the safe as if it had numbers, so top left to bottom right would be 1, 2, 3, 4, 5, 6, 7 and 8, then try inputting 31765248. Inside you will receive your first Square Part to place on the terminal in the Safety Deposit Room.
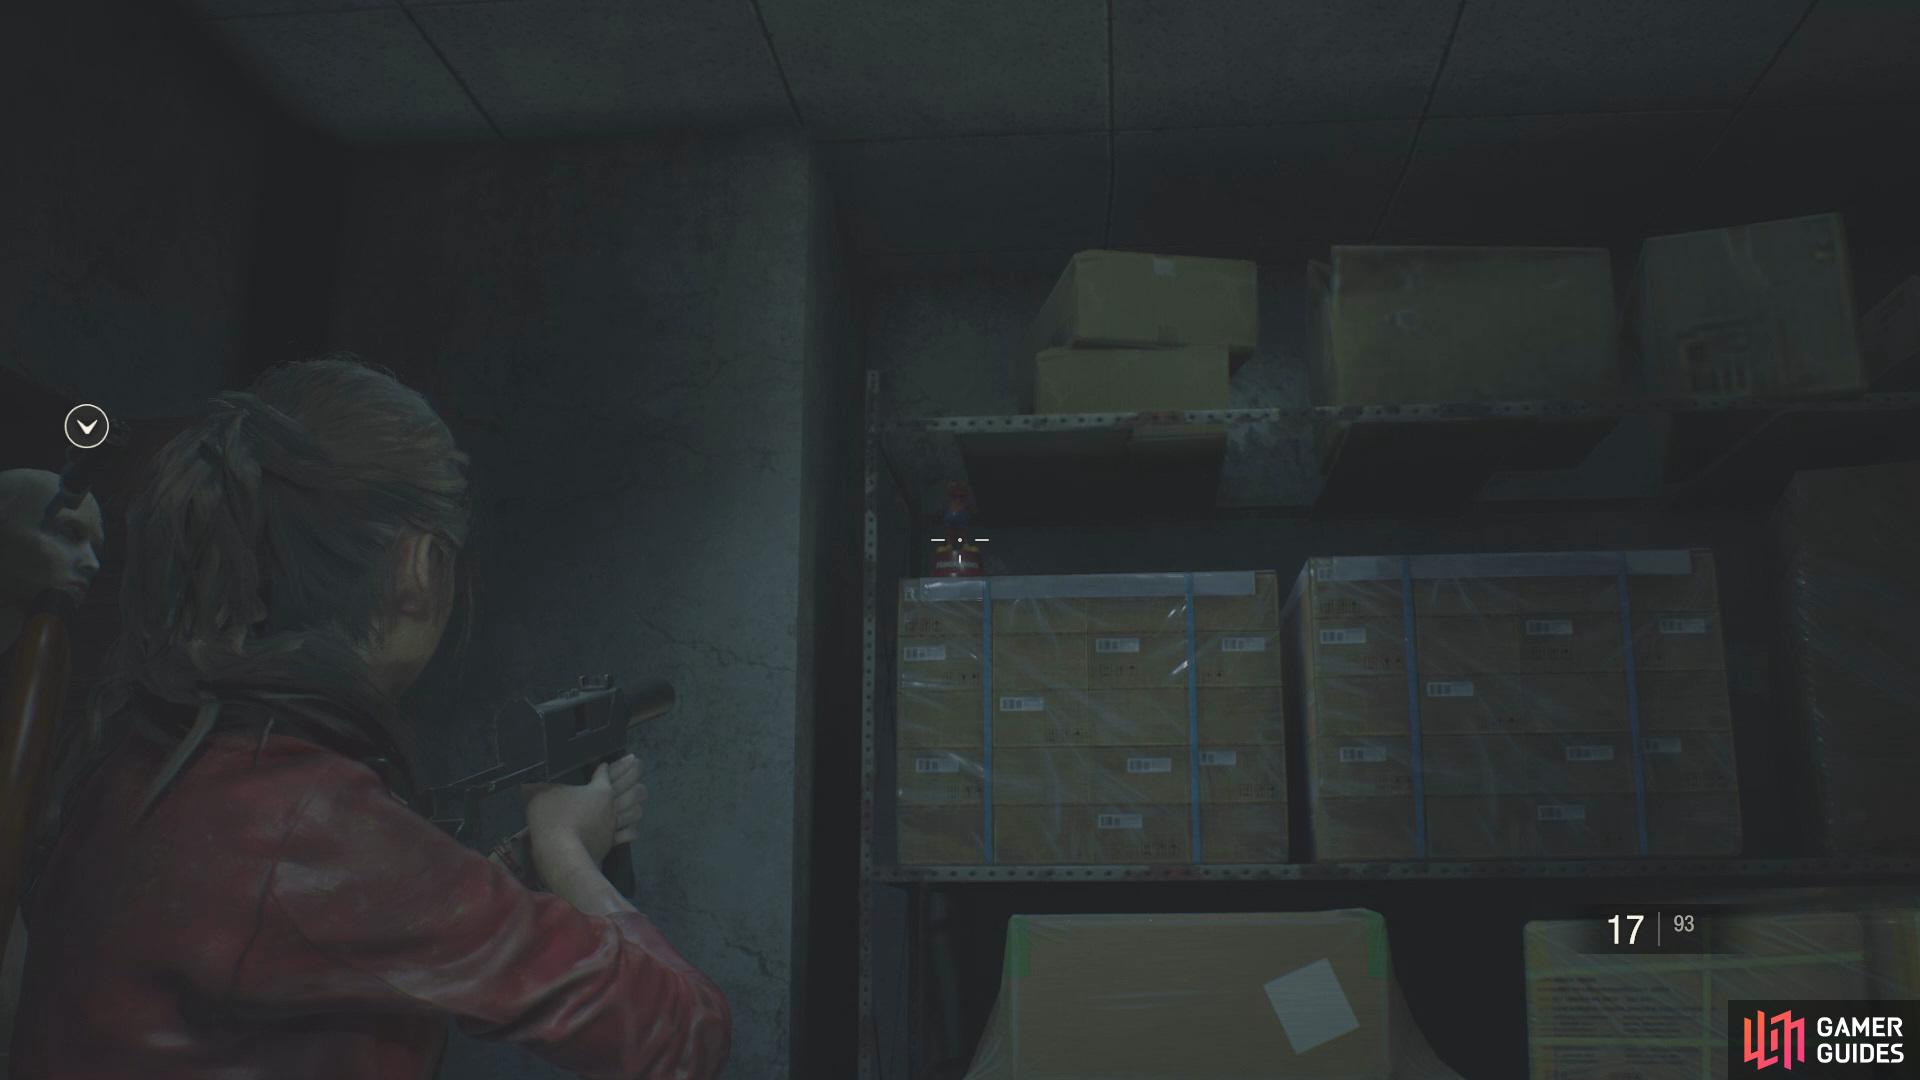
Exit the Interrogation Room and make your way all the way upstairs to the East Storage Room, as you enter take a left and unlock the door with your Heart Key. Inside you’ll see a Boxed Electronic Part, examine and rotate it until you can interact to gain the first Electronic Part. Before you exit the room, look to the right of the door to see a Raccoon on top of the boxes, head back into the center of the West Storage Room to find the Large Gear.
Head out onto the Balcony and climb down the ladder, here you’ll need to find a way to move the position of where the water flows in order to put out the fire that’s coming from the helicopter. Firstly, head left and make your way down the stairs, at the bottom turn around to collect the two Green Herbs from the floor at the end. Head towards the door to flip the lever from right to left to change the flow of the water, then head back upstairs and turn on the water by interacting with the lever, once the fire has been put out, you’ll need to head through the door to the left. Once you enter, grab the Red Herb from the floor and follow the path around to the helicopter.
After the Tyrant has moved the helicopter, take him outside so you can get past him and then head back inside so you use can use the shortcut that has now been opened. From the shortcut, make your way to the Waiting Room and open the Safe, the combination can found on the Confiscation Report, 6 Left, 2 Right, 11 Left, inside will hold the High-Capacity Mag. (JMB Hp3). Now make your way to Linen Room with your Diamond Key, inside you’ll find your second Portalable Safe that is located on top of a washing machine along with some Gunpowder
The combination for the Portable Safe is 42765381. If the combination doesn’t work for you, continue playing around with the buttons until you succeed.
Head to the Safety Deposit Room and input the combination to Locker 203, to retrive another Hip-Pouch. Once you’ve gotten all the items that you desire from the lockers, exit and take a right to go through a door. Inside, take a left and unlock the door to the Records Room with the Heart Key, collect the Mechaninc Jack Handle.
Make your way back to the Library with the Mechanic Jack Handle in your inventory, once you’ve arrived, use it on the Jack to remove it from the bookshelves on the right side of the room. Move bookshelves one, two, and three, all the way to the right to reveal some Large-caliber Handgun Ammo. Now climb the ladder and cross the path to enter the door leading to the 3F Main Hall. Follow the path all the way to the end and enter the door to the right which will take you into the Clock Tower, remember to grab the Green Herb before you enter.
Once you’ve entered the Clock Tower, you’ll be able to find the Repair Plan file left on the table. Place your Large Gear on the Gear Box to the right, this will lower the stairs to give you access. Take the Large Gear back and make your way up the stairs, continuing along until you see another Gear Box. Remove the Small Gear and replace it with the Large Gear before heading back downstairs to the final Gear Box to place the Small Gear on it. Due to the collapse of the bell you can now collect your second Boxed Electronic Parts that has fallen next to the table, open your inventory to examine it and rotate it until you can interact with it, this will give you the final Electronic Part needed for the objective.

With both of the Electronic Parts needed to retrieve the Key Card, you’ll need to head back the Chief’s Office, head across to the other side of the 3F Main Hall and continue along until you see a door. Unlock it and step inside to the West Storage Room, make your way across and exit, now take the stairs down and take a right. Once you’re in the office, head back over to the Private Collection Room. Interact with the Electronic Door Panel that’s on the wall next to it. Place both Electronic Parts on the panel and position the wiring so there are three yellow lights on the bottom right part.
After you’ve solved the Puzzle, head inside and grab the Key Card to trigger a cutscene.
No Comments