Part 1
This is the first side-quest we can undertake in the game and it is broken down into several parts that span a good portion of the campaign.
Upon leaving the Keystone Monastery at the start and opening the gate, you will bump into the Injured Monk immediately outside. Speaking to him will start the side-quest. During the conversation agree to cut off his arm and then give him a potion afterwards to complete the first part. Note that you must give him a potion to have him appear later in the game for a follow up task.
for handing over a potion, you’ll earn a trophy/achievement ‘Take my Hand’ , 500XP and a Weapon (Axe - Butcher).
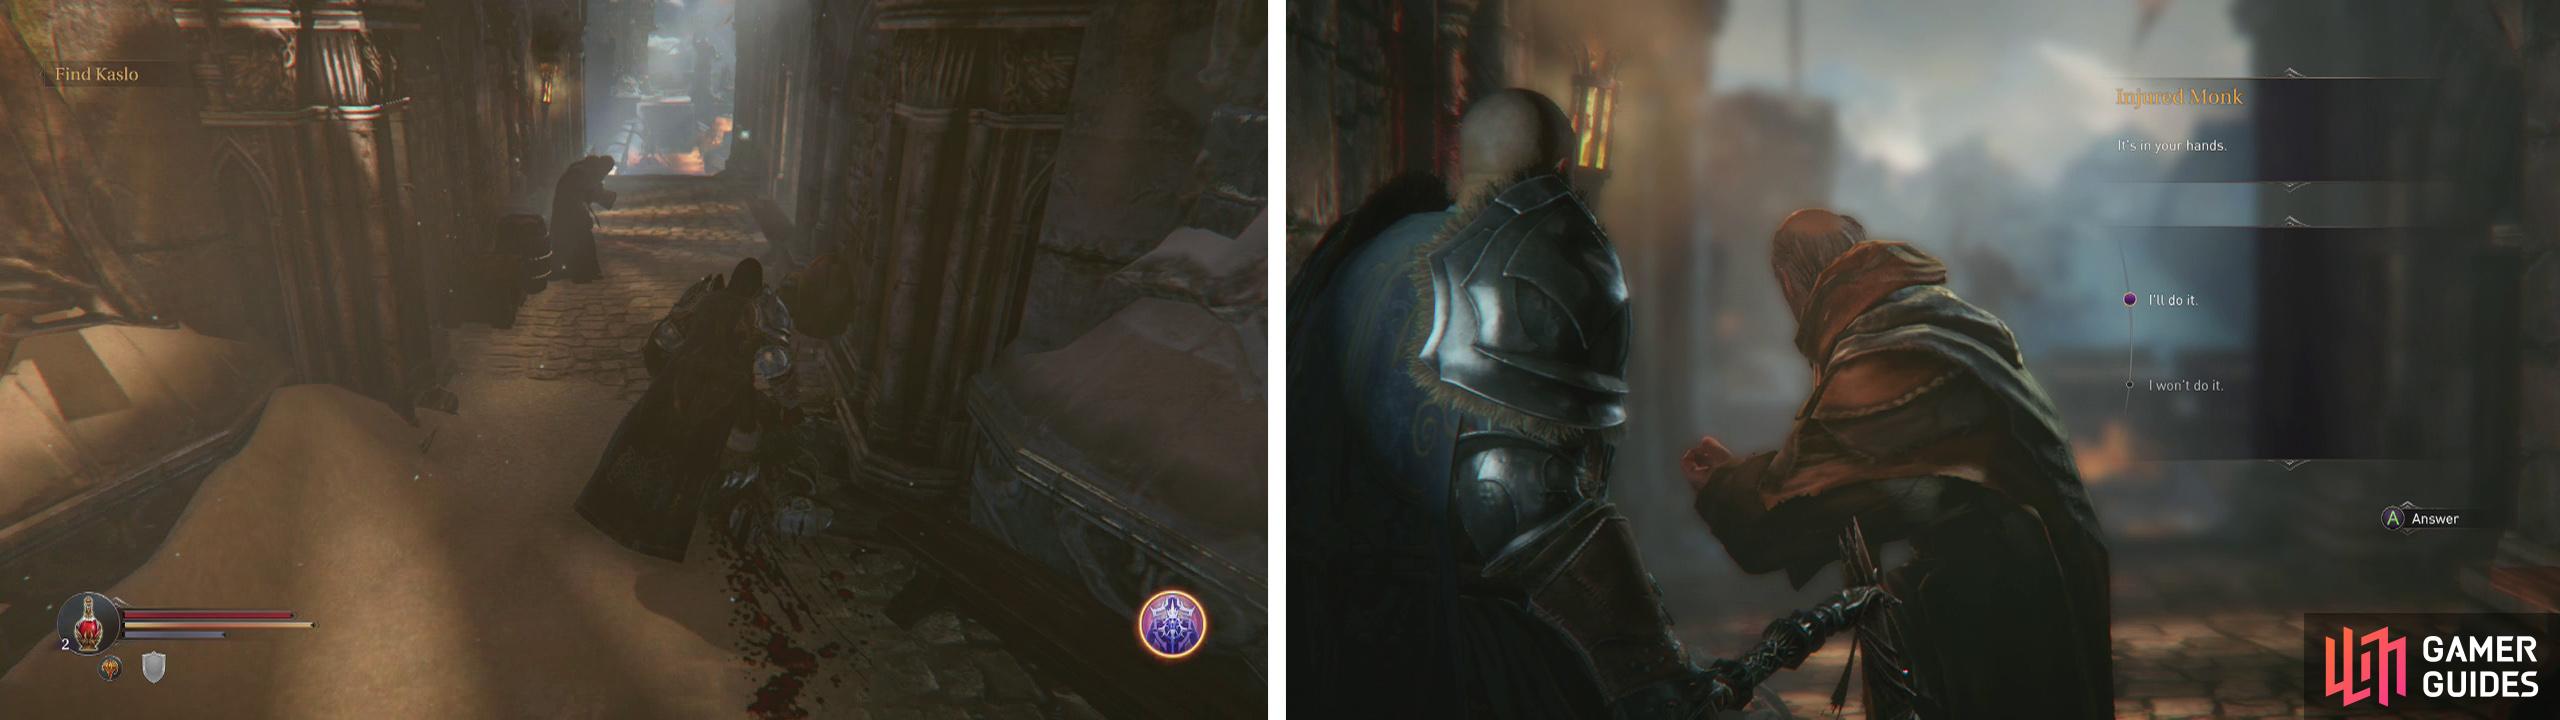
After exiting the gate speak to the monk (left). During the conversation (right) cut off his hand and give him a potion.


Part 2
When you finally enter Keysone Citadel after your first visit to the Rhogar world and working your way through the Catacombs you will find the Monk near the top of the Citadel in the room opposite the triage area where all the wounded soldiers are being treated.
At this point the Injured Monk will ask you to go and clear out his research area of monsters so that he can continue his work into upgraded potions. The area that he wishes you to clear out is the Southern Watchtower – which if you remember correctly is the tower directly in front of you as you go out the gate of the Square of Heroes (where we fought the Commander/Beast).
Inside the tower you will find the usual suspects – Infected and Crossbowman on the roof, a Marauder and Rogue on the next level down and on the second level down you will find a Spider. The Spider is the monster that needs to be killed to complete the second part of the side-quest.
Once you have killed the Spider, return to the Injured Monk in the Keystone Citadel and tell him that the tower is now clear.
Kill the Spider in the South Watchtower (left). After informing the monk it is gone, you can then find him where the Spider was located (right).
Part 3
You will find the Injured Monk where we killed the Spider in the Southern Watchtower. Speaking to him will have him give you the third part of the side-quest. During this section, you will need to gather Tyrant Hearts (we need to do this to kill them anyway) and hand them over to him.
The Tyrants are all found within the confines of the Rhogar realm and can be found in the following locations:
- Eternal Flame - The first time you visit the Eternal Flame
- Abandoned Range – in the snowy path leading to the cack entrance to the Rhogar Temple.
- Sacred Hallways – Encountered on the way to the Infiltrator boss fight.
- Sacred Hallways – After the Infiltrator fight, take the set of stairs to the left of the Crippled Rhogar.
- Interdimensional Bridge – On the bridge in front of the portal upon returning to the Rhogar realm after killing the Beast boss.
- Chamber of Lies – In the large open room with the pit in the centre after coming from the Altar Ruins (Yetka’s floating toast room).
- Eternal Flame – Can be found inside Loot Crystal #7 after defeating the Guardian.
- Chamber of Lies – After entering the main temple via the locked door in the Eternal Flame, you’ll find the Tryant in the first room.
- Chamber of Lies – Through the door on the left hand ledge in the location where there is pair of platforms running parallel with a Forger on either side. The Tyrant is immediately inside.
- Chamber of Lies – Right by the second lever we need to pull to extend the bridge to the Annihilator.
- Sacred Hallways - In the room where we fought the Infiltrator after killing the Annihilator boss.
- Sacred Hallways - In the room where we fought the Infiltrator after killing the Annihilator boss.
Handing over at least four will have the monk upgrade your potions, 2,000XP and the achievement/trophy ‘Extra Strong’.


No Comments