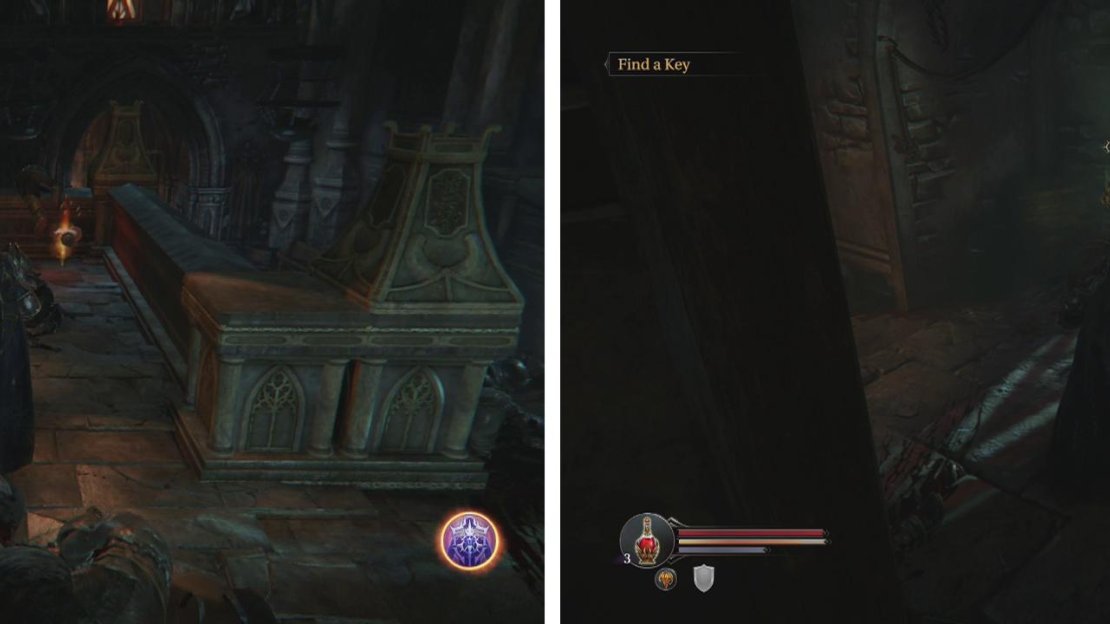
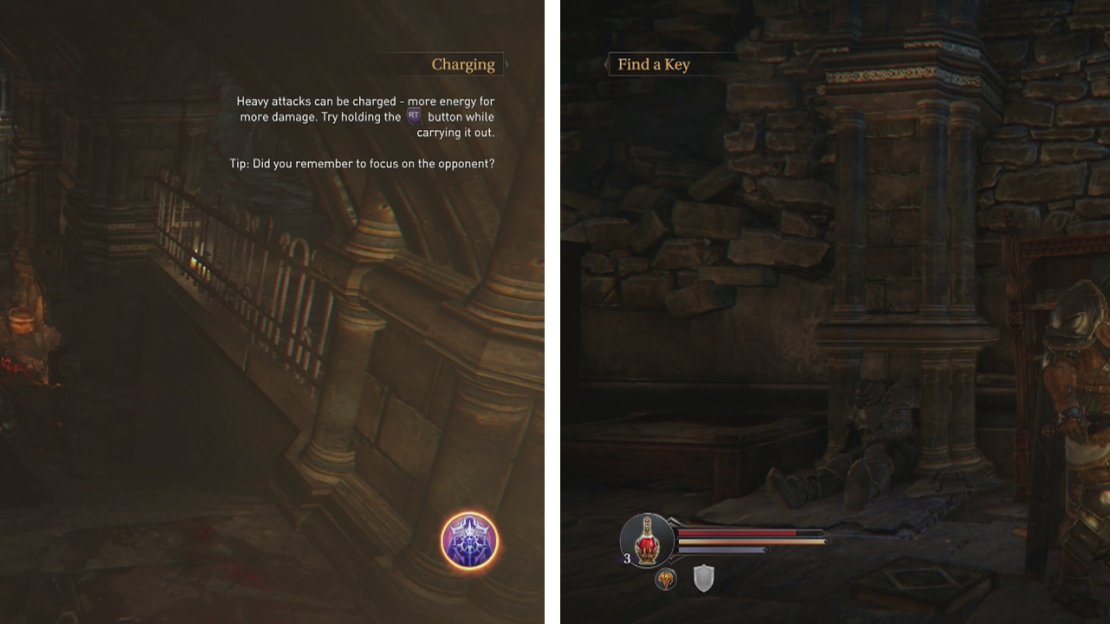
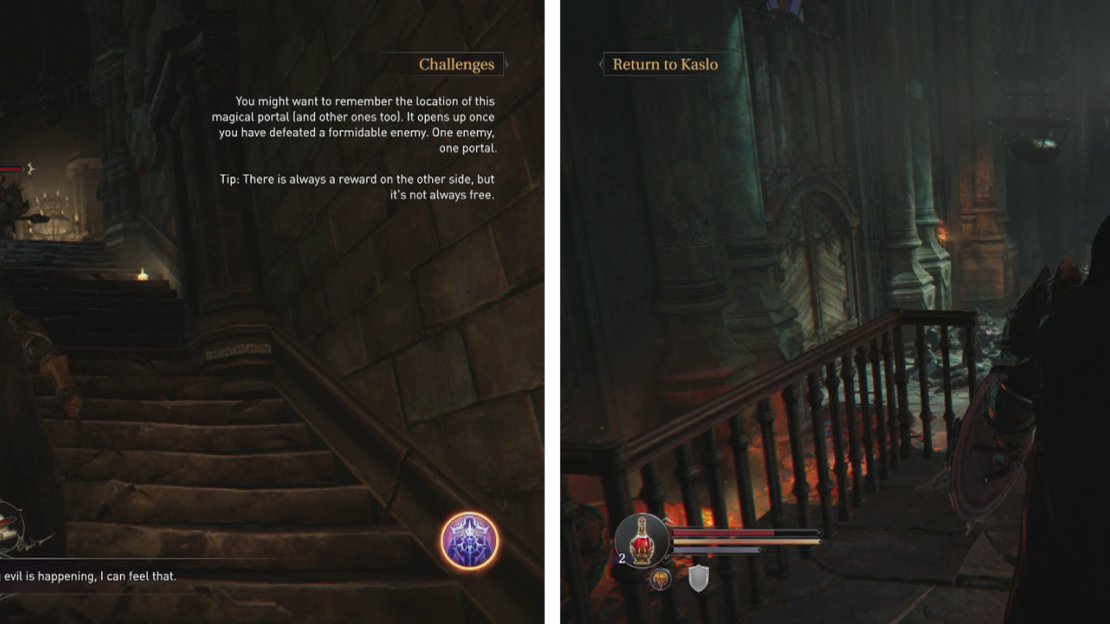
As soon as you gain control of Harkyn, we’ll be thrust into a combat training situation. Follow the on-screen instructions to kill the enemy in front of you. Once it is dead head up the stairs and talk to Kaslo.
After the conversation, look for an Audio Note (Infested II: The Guard) it’s just to the left of the top of the stairs. These are the main collectibles in Lords of the Fallen and will give you a bit of back-story into some of the happenings of keystone before and during Harkyn’s arrival.
At the top of the stairs you’ll find the first Audio Note (left). Inside the door at the base of the stairs is the first Infected (right).
Return down the stairs and open the door to the right. There is an enemy immediately in front of you. This is an infected.
Infected Combat Strategy:
Although they are fairly weak, they are surprisingly fast and their array of different weapons means that you will need to learn several move-sets to avoid their attacks successfully. Fortunately, once they have intiated a combo attack, they will not stop and if you dodge the first blow, you can then follow after them and land a few melee shots of your own before they can recover. They are also vulnerable to fire-based magic.
Some of these enemies will pretend to be dead, so do not be surprised if you see a corpse in the environment suddenly come to life and attack you. Additionally, some of the Infected will drop once they take enough damage but will not actually die, instead they will rise again after a few moments to attack you again. Keep an eye out for the XP notification if you don’t want to be surprised - if this happens, the Infected is dead for good!
Practice your weapon and shield combination and take out the Infected guard. Move down the hallway to the right and as you reach the corner put your shield up – there is another Infected just to the right around the corner.
Go down the short set of stairs here. Eliminate the pair of Infected here (try to attack them one at a time). Once done, look along the left hand wall for a pair of bookcases. Destroy these to reveal a half open gate behind. You can run at the gate and roll beneath to find a chest inside. Open it for an Empty Bottle (adds an additional potion slot).
Clear the pair of Infected from the small open area (left) and then look behind the bookcases in here for a hidden area (right).
Return up the stairs and ignore the opening to your left for now. Instead follow the walkway all the way to the end and kill the Infected here. You’ll also be able to acquire another Audio Note (Infested I: The Sick) .
Head back to the opening near the top of the stairs and go on through the corridor here. Kill the Infected at the far end and go down the stairs. See the red shard at the end of the short hallway? That’s the key we need. Unfortunately, as we approach it those corpses on the ground will come to life and attack us. Defeat both of them and grab the Giant Key .
Back up the stairs, you will see an Audio Note (The Rhogar II: Monk Notes) ahead. Grab that and continue around the corner. Kill the Infected here and note the Loot Crystal #1 here. This is the first of 10 Loot Crystals in the game which often contain useful items, weapons and armour to help our cause. Unfortunately it is currently inactive. These only become active after killing the associated boss. So expect to re-visit soon!
Climb the stairs opposite the Loot Crystal to find an enemy at the top. This is a Marauder.
Marauder Combat Strategy:
The Marauders only have a few select moves and all of them are fairly obviously telegraphed, giving you plenty of time to dodge or block. The trick to defeating them easily is being patient! Lure the Marauder into performing an attack and then smacking him once or twice whilst he recovers. The overhead slam provides the largest attack window, but you can usually sneak an attack or two in no matter the attack.
Lure the marauder back down the stairs to the room with the Loot Crystal #1 so that you have a little more space to manoeuvre and kill him.
After killing the Marauder, climb the stairs and at the top you’ll find an Energy Shard.
Fight the Marauder (left) and then drop down to the room below to reunite with Kaslo (right).
Drop down from the broken railing to the floor below. Go and speak to Kaslo, during the conversation choose the “Support Me” option to have him re-fill your potions. After the chat, open the door behind him for a cut-scene.


No Comments