| Attack/s | Description |
|---|---|
| Melee Swings | This is the boss’s standard attack when you stay in short-medium range. He will swing his club along the ground in front first one way, then the other. |
| Charge | The boss will charge at you from a distance in an attempt to knock you down. |
| Overhead Smash | The boss winds up and smashes his weapon into the ground in front of him. This not only causes a good deal of damage, but sets off a shockwave in front which can also knock you back. |
| Stomp | If you get in too close, or attack his legs, he will stomp multiple times, causing spikes to emerge from the ground around him. |
| Grab and Bash | If you get too close to the beast for too long, he can pick you up and throw you, causing significant damage even with heavy armour equipped. |
| Poison Spit | The Beast will bend over and shoot poison at you. This is a spray attack that will land on the ground and then stay in play for around 20 seconds. It will damage you if you step in it. |
Combat Strategy:
The Beast is huge and as such most of his moves are quite obviously telegraphed so you know they are coming from a mile off - as such most are easy to avoid. Perhaps the most useful piece of information I can give you for this boss is that it is extremely weak to fire. As such, equip gauntlet with a decent fire rune and you can pretty much shoot the boss from a distance for the duration of the battle.
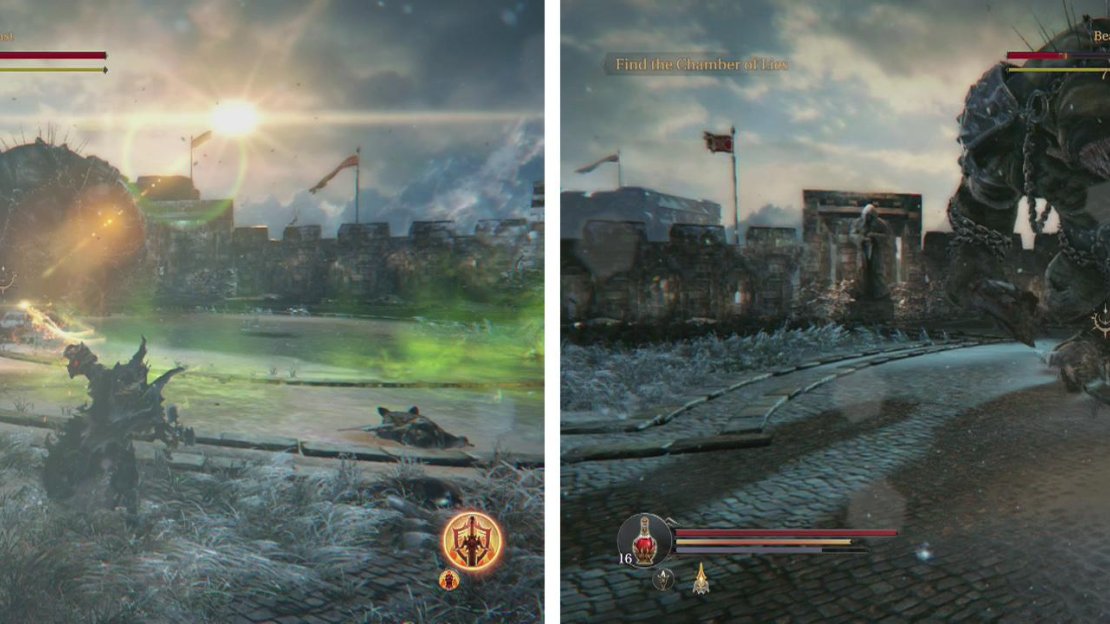
Avoid the poison puddles (left) and kite the Beast in a large circle whilst using your Gauntlet to make things easy (right).
The best tactic I came up with was to avoid using melee attacks all together - the boss’s stomping attacks can be tricky to get away from and you get very little headway on his health whilst needing to roll and block constantly. Instead I opted to attack from range. With a fire-imbued gauntlet equipped use the paved circle in the centre of the arena as a guide and backtrack around this in a wide circle and you should maintain a position just out of range of the Beast’s melee attacks. Each time he performs his second melee attack, stop and hit him with the gauntlet and then start backtracking again.
Staying at this type of rage will enable you to pretty much cruise through the fight, you just need to avoid the poison on the ground when he spits it (although if you are circling the paved circle as suggested, it should be gone by the time you get back around to it) and the occasional charging dash attack.
Once the boss has dropped, loot the Sealed Rune (Big) and the Weapon (Hammer - Stain) .
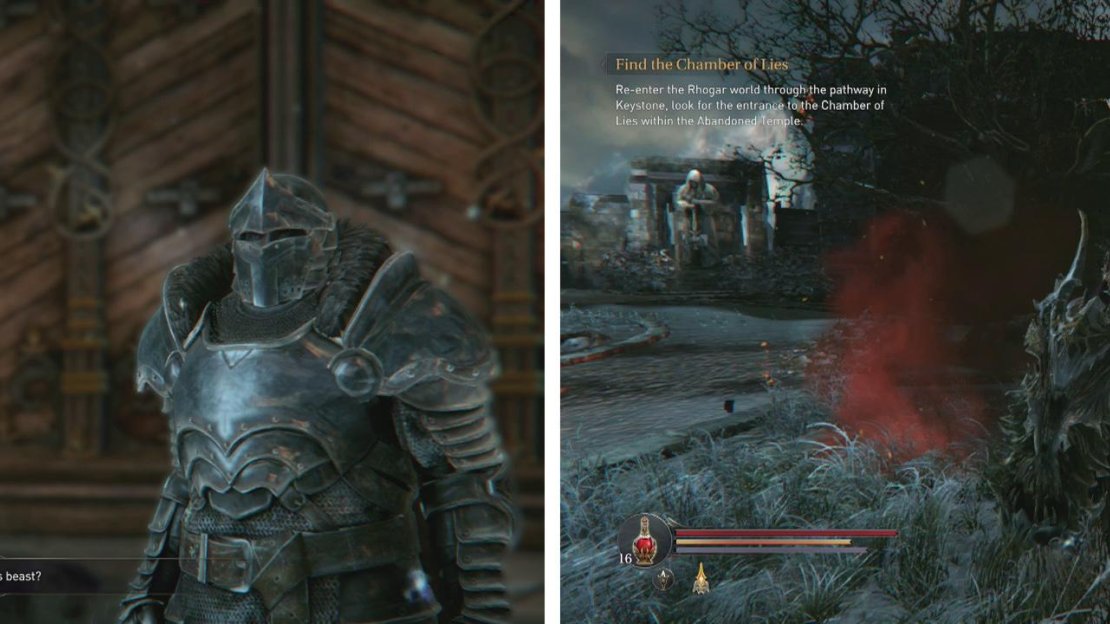
Following the fight, speak with the human knight who magically appears in the courtyard with you to receive yet another side-quest – to kill a Poison Beast in the citadel. You’ll also want to look just to the right of the door to the Citadel to find an item we can pick up – the Planetarium Piece .
Speak to the fellow who appears after the fight for a side-quest (left) and grab the Planetarium Piece item by the large door (right).
At this point you can continue with the main quest line by returning to the graveyard and using the portal to return to the demon realm. Alternatively, you can unlock another shortcut to the Citadel and complete some side-quests beforehand… The latter of which is exactly what the guide is going to do! If you wish to continue, skip down to the next section – Return to the Temple.


No Comments