After speaking with Yetka, turn around and head back, past the Checkpoint Crystal for the tower ahead. Climb the stairs to reach its roof.
South Watchtower
There is a Crossbowman in the distance and an Infected just next to the top of the stairs. Try to eliminate the Crossbowman with your gauntlet (pop up and down the stairs, using the wall as cover between shots) before climbing all the way to the roof and tackling the Infected.
Climb down the next set of stairs to find an Audio Note (Grim places: Fancy Looks) at the bottom. Enter the room on the right and kill the Marauder lurking about in here. Loot the chest close to where the Marauder was initially standing to find a Fire Resistance Shard and a Weapon (Shortsword – Lethal Secret) .

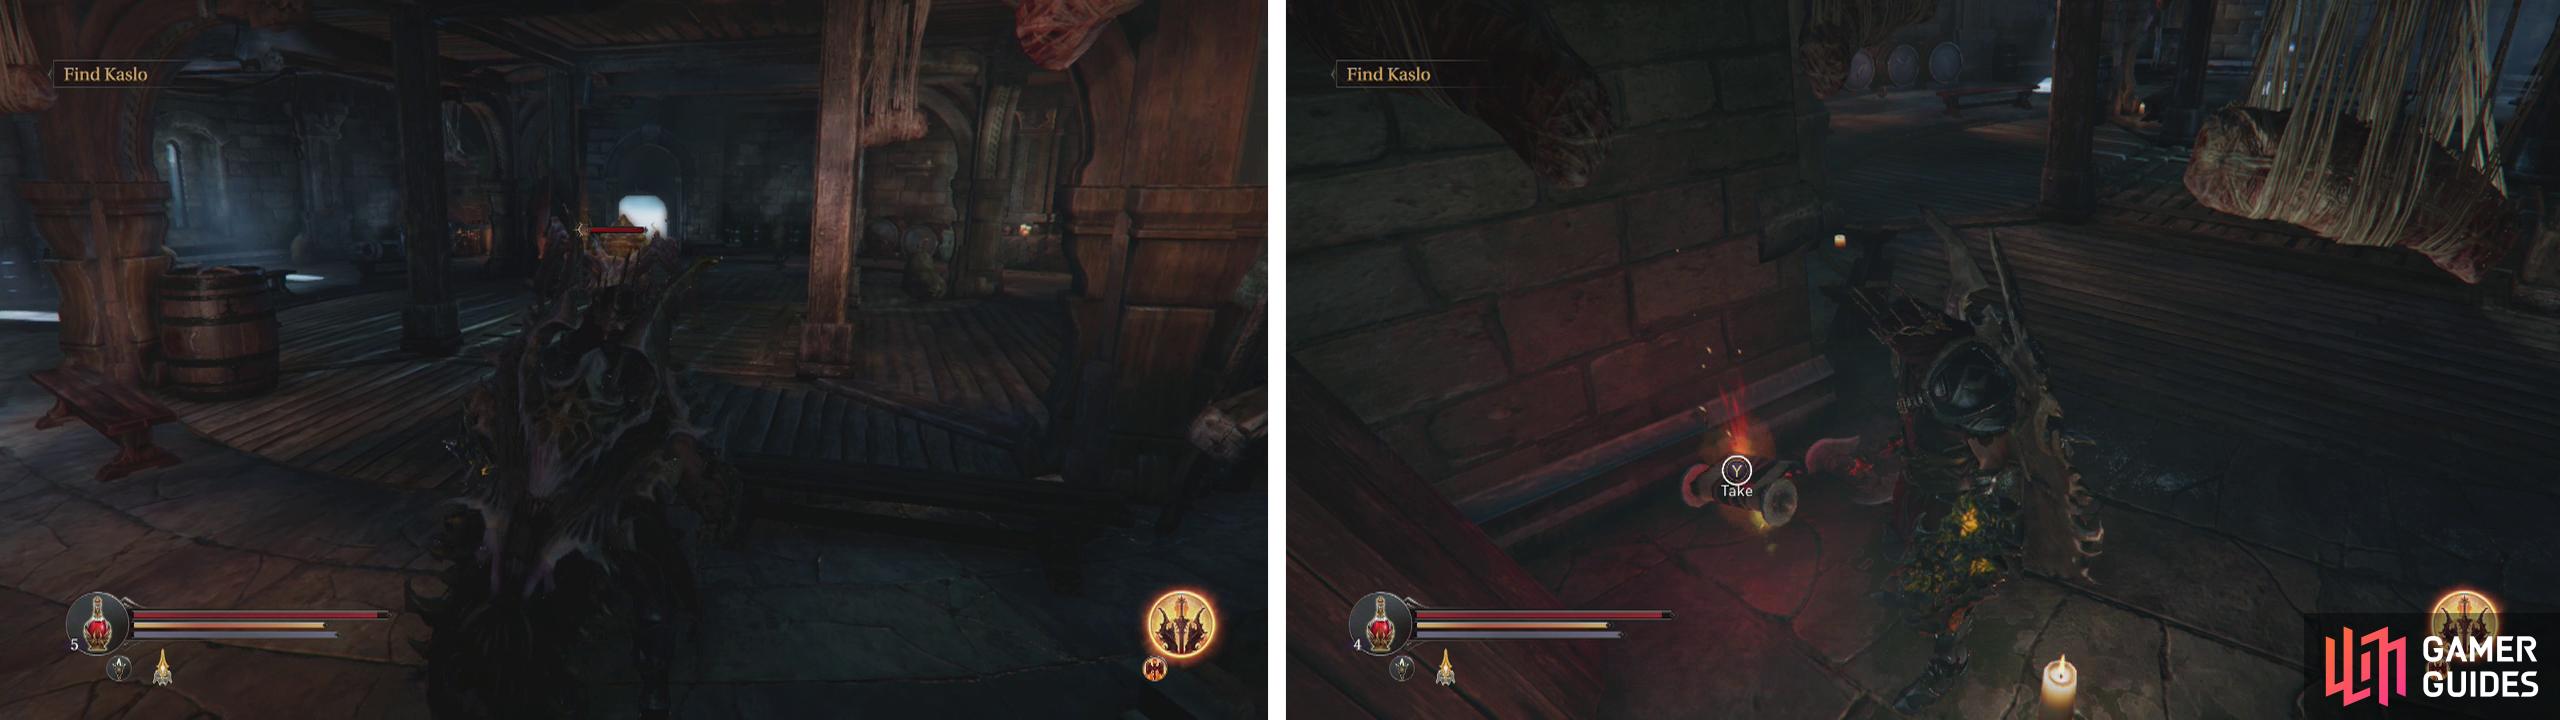
Descend the stairs into the tower to find an Audion Note (left). Defeat the Marauder hanging out inside (right).
Go through the open doorway and fight off the Rogue. Once the room is safe, find a lever to open the gate leading outside for a shortcut to the Main Wall and a chest containing a Magic Resistance Shard , a Weapon (Hammer - Pain) and a piece of Armour (Chest - Live Elements) .
Return to where we offed the Marauder a minute ago and find the stairs leading down. In the room below you will run into a new type of enemy – a Spider.
Spider Combat Strategy:
At this stage of the game, the Spider is a very tough enemy, although they become easier to handle as you level. Fortunately, regardless, the general strategy for fighting them remains the same. You will want to avoid the Spider’s attacks (especially the leap or spit as both can almost one-hit kill you at this point) and if possible wait for the Spider to lay an egg - when it does this it will be immobilised for a good 3-4 seconds, allowing you to inflict some significant damage.
It is entirely possible to fire on the Spider at range with your gauntlet or take the Spider on up close with a melee weapon and learn to dodge or block its attacks before hitting it with some of your own as its attacks will often leave its defence open temporarily.
The Spider lurks in the centre of the room (left). On New game + there is an Audio Note here as well (right).
The Spider is a very strong adversary at this stage and until you get used to its attack patterns will probably kill you a few times (that leap attack is essentially a one-shot kill at this point). Alternatively you can stay near the entrance, shoot the spider with your gauntlet once or twice and then retreating up the stairs (it shouldn’t follow). Repeat until its dead.
In the room it inhabited you will find a chest containing a Magic Energy Shard and a Weapon (Greathammer - Spike) .
Return back upstairs and move up to the edge of the cliff at the base of the stairs leading to the roof. Over the edge you should be able to spot a small platform with an item on it. Drop down to this and pick up the Tower Key .

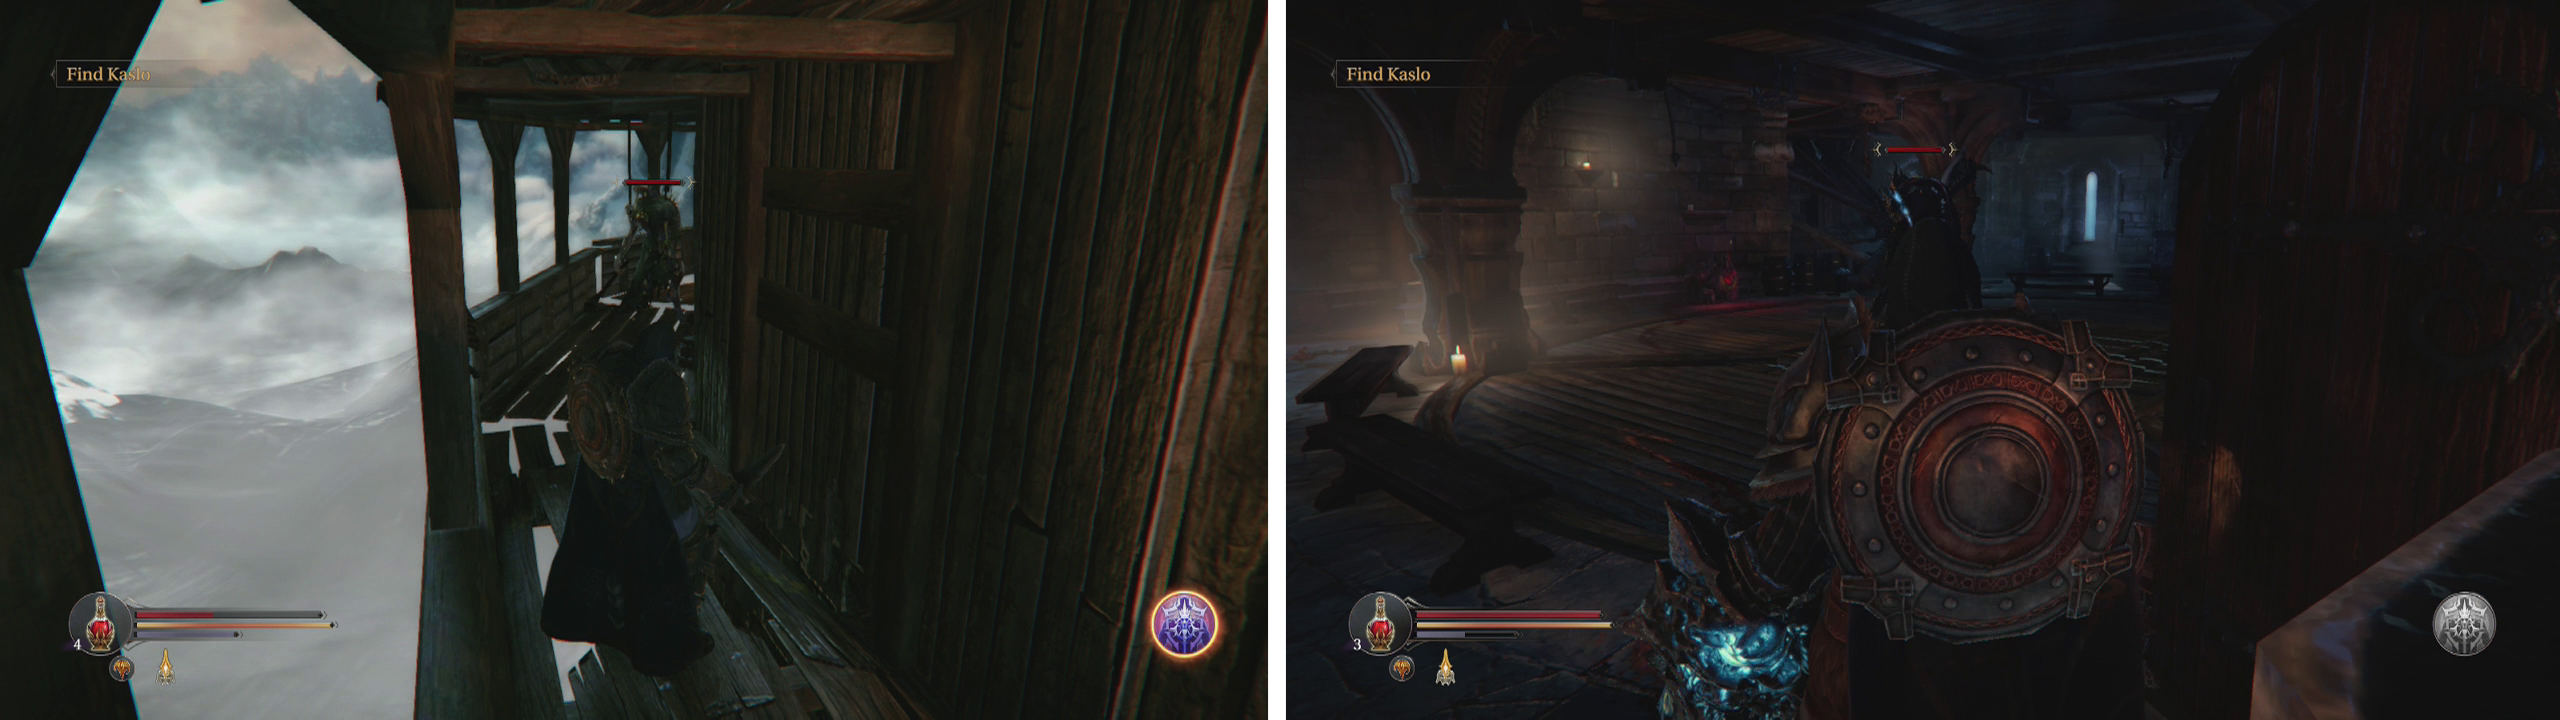
From the room with the Maruader drop down to the ledge with the Tower Key (left). Continue along the outer pathway here, kill the Crossbowman and Infected and use the key to open the door (right).
Outer Passage
Hop across the gap to the wooden platform and continue past the door (that Spider will be in there if you decided to leave it for now). At the end of the platform you’ll find a Crossbowman and an Infected. Eliminate the pair of them and use the Tower Key on the nearby locked door.
Grab the Audio Note (Night Watch: Sixth Night) and then move down the corridor.
The corpse on the floor here is really an Infected playing dead, so give his noggin a floggin’ when he hops up. Open the door at the end of the hallway and kill the Marauder outside. Loot the chest for a new Weapon (Axe - Fate) . Jump the gap to the next set of wooden platforms and follow the passage to the left.
There is an Infected ahead and a Crossbowman further around the corner. Take the closest enemy out, whilst using the wall as cover before moving up to kill the Crossbowman. Behind the Crossbowman is a dead end with a chest containing a Sealed Rune (Small) and a Weapon (Staff - Prejudice) .
Return back along the walkway and enter the open doorway. Eliminate the Infected fellow inside.
North Watchtower
Climb the stairs and open the door at the top. There are three Infected and a Marauder in this room. To make things easier, to begin with kill the Infected just inside the door, but try to draw him back into the stairs so that you do not tip off the Marauder or a second Infected in the main room.
Once the first Infected is dead, climb the stairs and sneak attack the Marauder. Finish him off before turning your attention to the second Infected in the room that will now be aware of you. The third will let its presence be known when you get close to it.
At the end of the wooden walkway loot the chest (left) before entering the North Watchtower and climbing to the top to find Yetka’s Dagger guarded by a Maruader (right).
After you have cleared out all of the bad guys, loot the item here for Yetka’s Dagger . You can also loot the chest containing some Armour (Wrist and Leg – Hot Blood) .
Climb the stairs to the next level (note that there may be enemies here if you have died since exploring this location). Exit the door to reach the main wall.
Main Wall
Head back to Yetka and give her the dagger. In exchange she will give you the Key to the Catacombs and 800XP .
When you are ready, pull the lever next to Yetka and enter the courtyard beyond.
Square of Heroes
You will encounter a Rogue and a Marauder in here. Note that we don’t want to kill both right away because as soon as we do that the boss will show up and we want to set something in place beforehand. Run to the far end of the area and kill the Rogue as he’s much faster so you should have a bit of time before the Marauder arrives. Keep the Marauder alive.
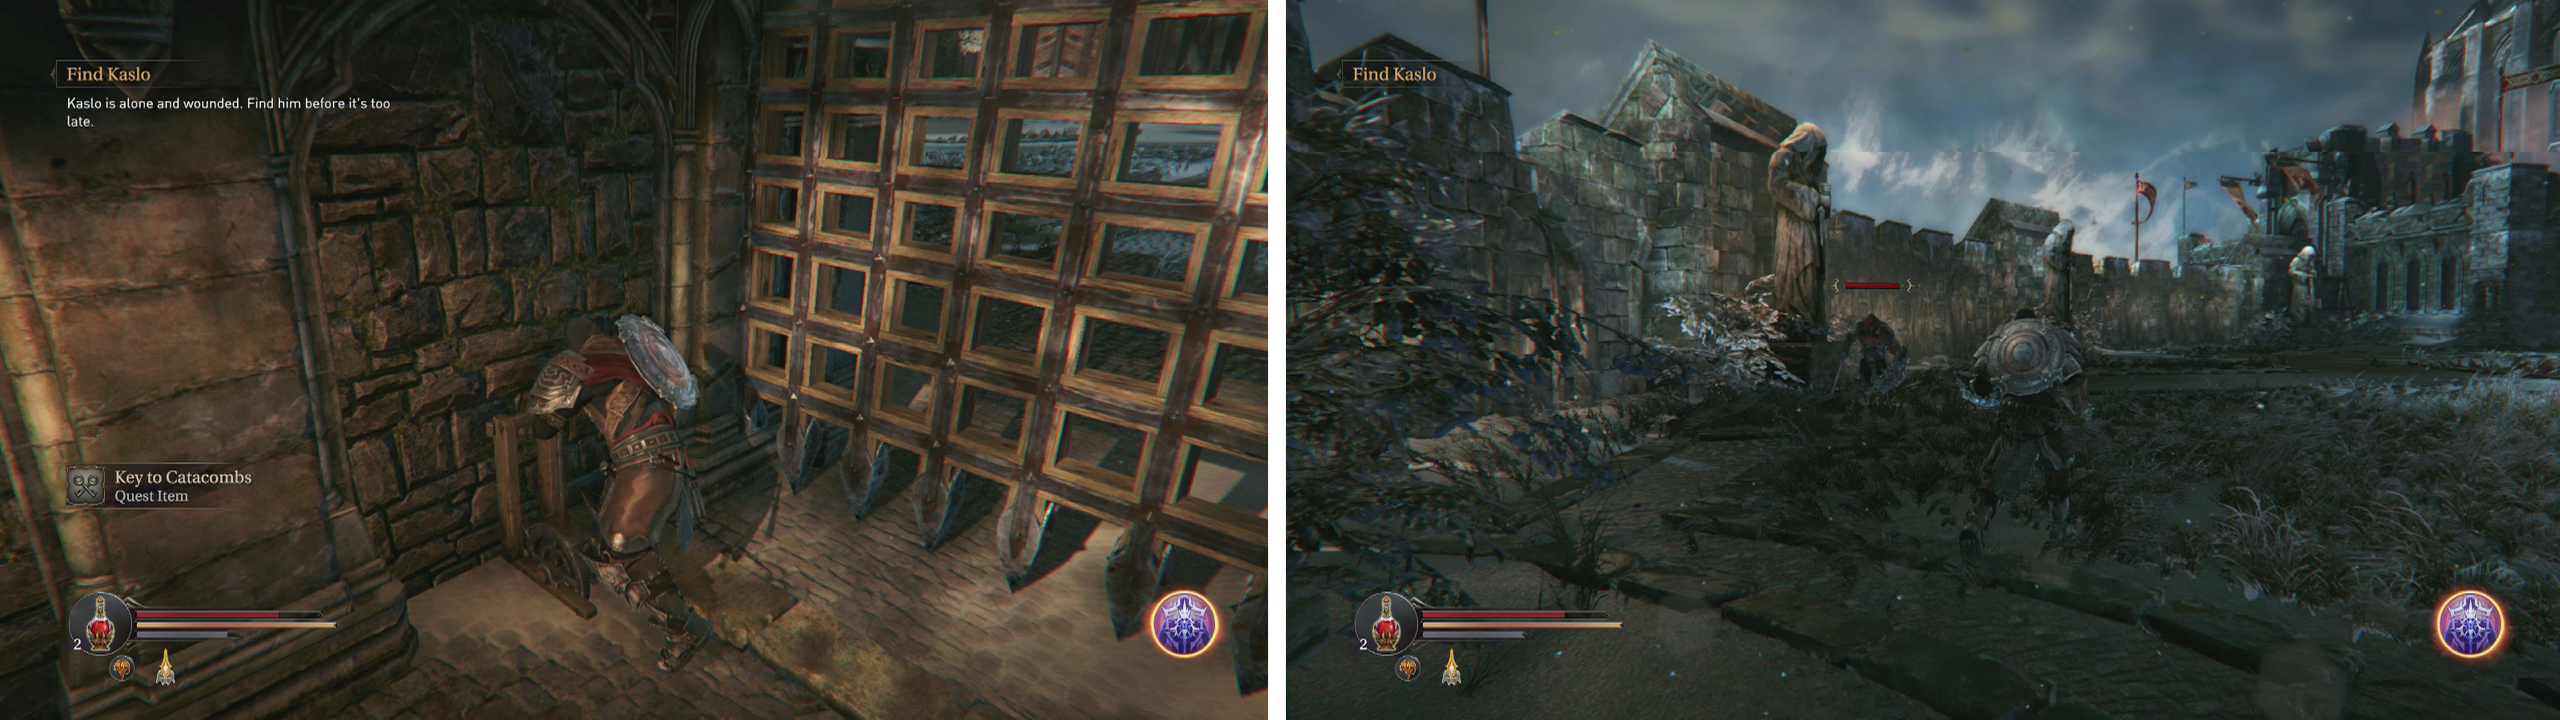
Pull the lever to open the gate (left). Enter the area and place the Shard of Heroes in your statue of choice before killing the enemies (right).
Look back to the gate we entered from and along the wall to the right of this you will see three statues. These correspond to the game’s three classes (you can tell by the weapons). The left represents the Rogue, the centre is the Warrior and the right is the Cleric. If you grabbed the Shard of Heroes earlier, we can run over and interact with one of these statues to insert it. During the upcoming boss fight, the boss will destroy the statue and this will give you quite a nice weapon. So do it!
Once you have the shard set up, kill the Marauder to begin the second boss fight.
No Comments