Keystone Crypt
As soon as you are back in keystone, move forward a short distance and a scene will play. After the short chat, loot the soldier for a Human Tattoo and move into the graveyard.
It will now be occupied by a pair of Golems and a Forger in front and to the right as well as a Warden on the far left of the area near the entrance to the Catacombs. Fight the Golems first, then eliminate the Forger before heading in to meet the Warden.
Warden Combat Strategy:
The Warden is essentially a carbon copy of the first boss - he will progressively shed his armour and become quicker and quicker as the fight progresses. As he acts in the same way, we can use the same tactics to take him down - wait for the opening provided by his melee attacks (especially the overhead slam) and exploit it to smash him with a melee attack or two. Additionally, we now have access to the gauntlet and the magic projectiles it provides, allowing you to combat the Warden at range, something that is most useful during the final stage of the fights when he is performing the whirlwind attacks.
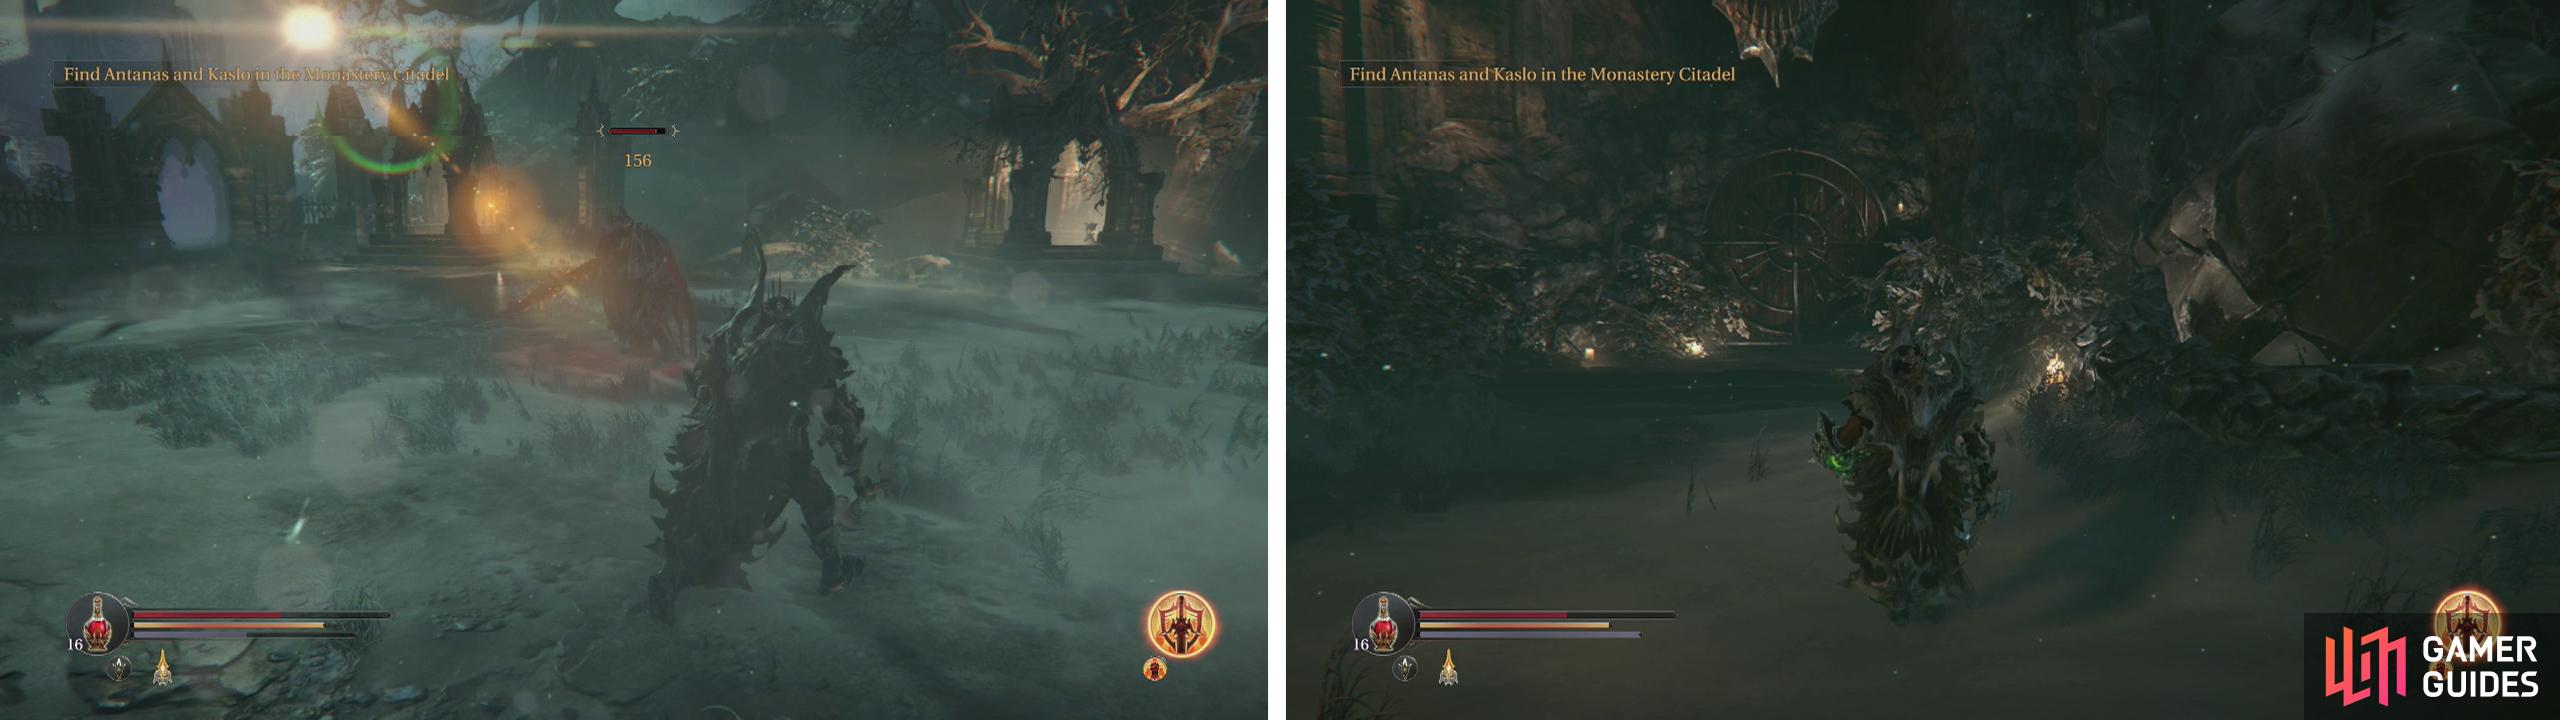
Kill the Warden in the graveyard (left) and then enter the door to the Catacombs (right).
After dispatching the warden, enter the door leading to the Catacombs.
New Burial Chambers
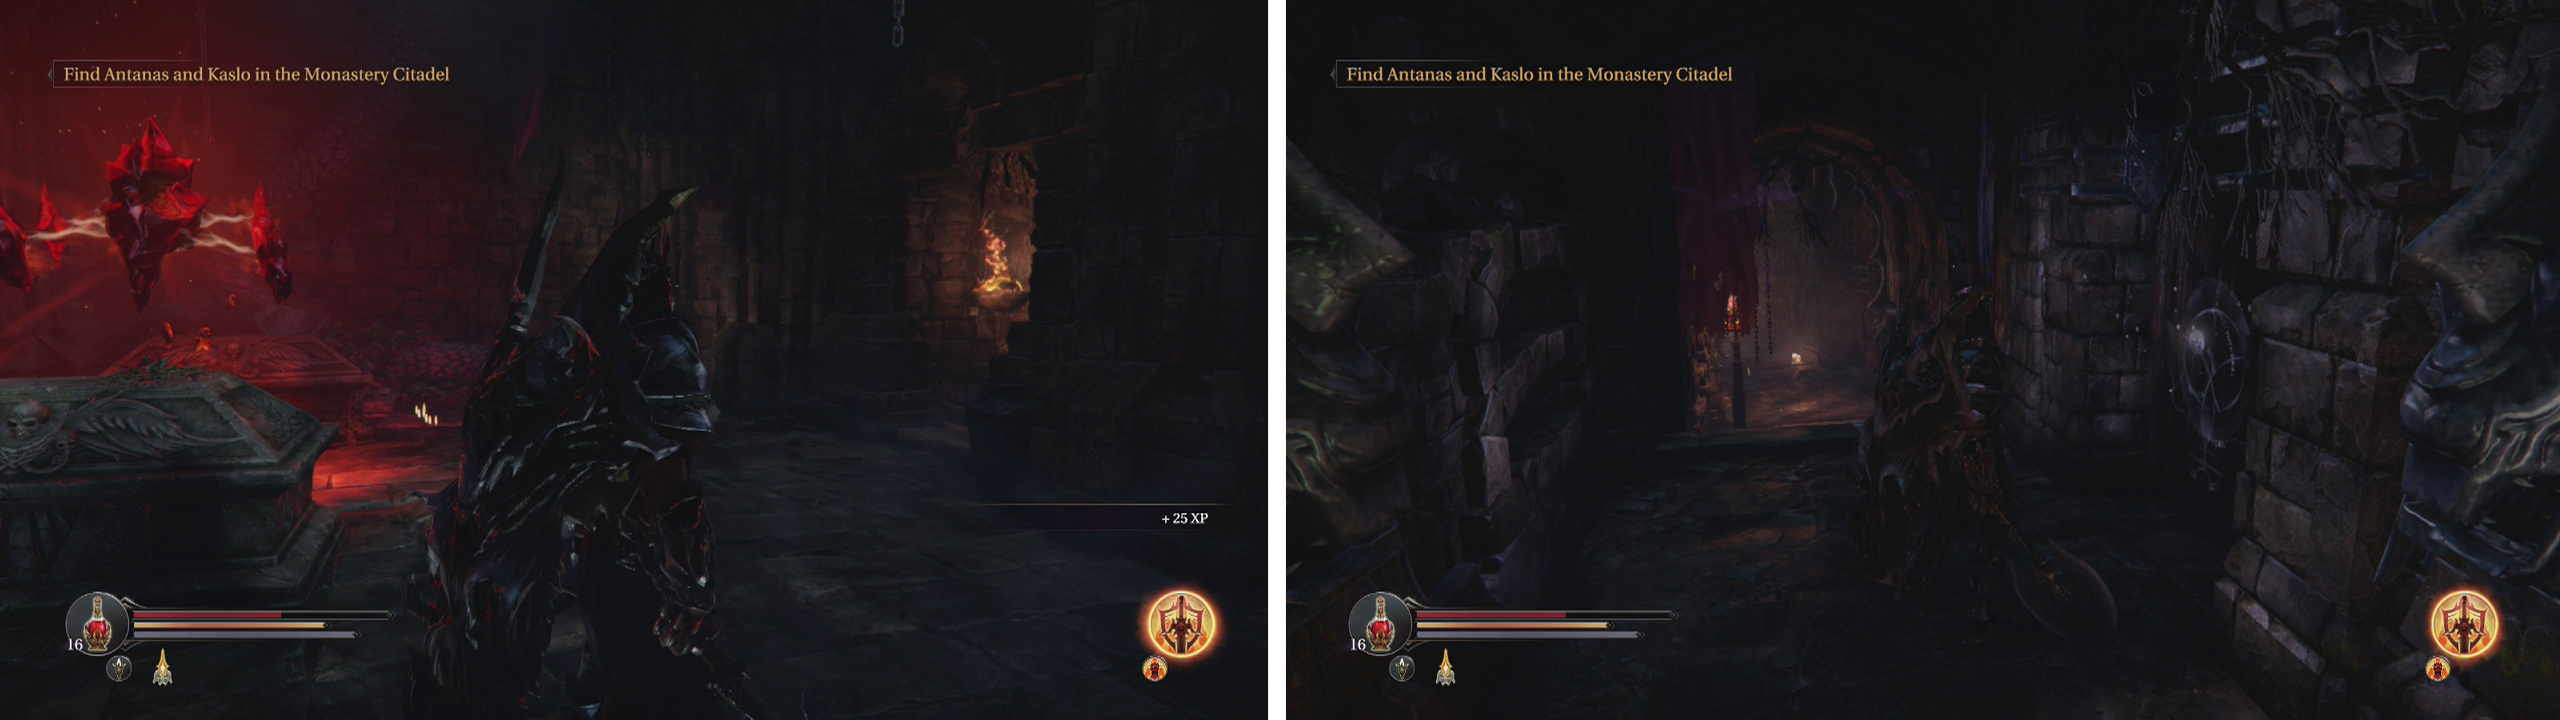
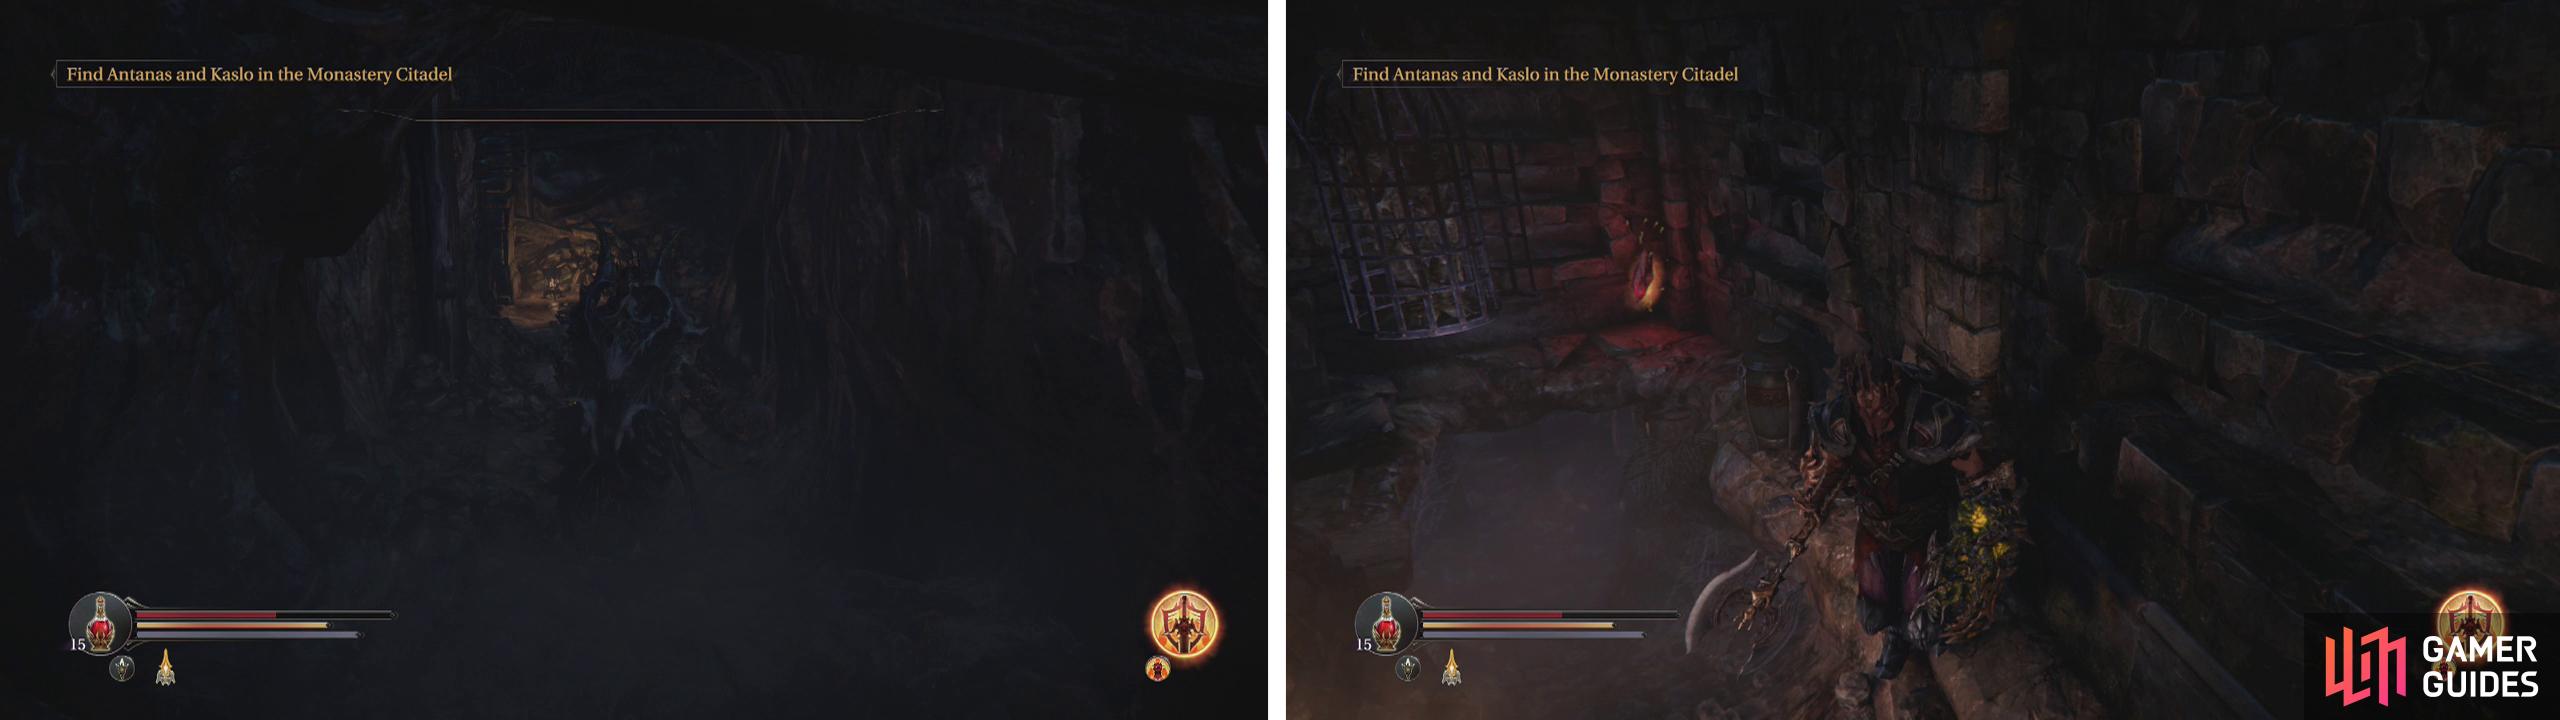
Upon entering the Catacombs, use the Checkpoint Crystal here if you require it and then head down the tunnel opposite. There is a Rhogar Knight patrolling the length of this, so it is probably wise to draw him back to the checkpoint area to give yourself some wiggle room.
After killing the Knight, find the sealed door along the right wall of the corridor and use a rune to open it. Loot the chest inside for a new Weapon (Greataxe - My Axe) .
Take the tunnel in front of the Checkpoint Crystal (left) and enter the rune door to the right for a chest (right).
Return to the corridor and take the next opening to the right. Duck immediately into the first doorway on the left and open the door at the end. Kill the Infected inside. Here you’ll find an inactive Loot Crystal #5 (remember the spot! We’ll be back later) and a Human Skull .
Go back out the door and follow the side-passage to the left.
Old Burial Chambers
Follow the tunnel until you round the corner to the right. Ahead you will see an Infected. Don’t charge in though as there is a Shieldman hiding in the doorway to the right and a second infected is lurking to the left.
Walk into the room slightly to aggro the two side-tunnel enemies and draw the Shieldman back in the direction you came. The Infected should stay put in the general area. So once you have dealt with the Shieldman return to where the Infected are waiting and chop them up (note that one will drop and rise again).
Grab the new Weapon (Dagger - Grip) from the chest in the room on the left. Exit the room and go straight ahead into the opening the Shieldman was guarding. After a short distance you will see a door on the left. Open this and look up as you approach the door to see another Spider on the roof – lock it on and shoot it with your gauntlet to knock it down and quickly follow up with a melee combo whilst it is temporarily stunned. Loot the chest in the room for some Armour (Chest, Head and Legs – Living Legend) .
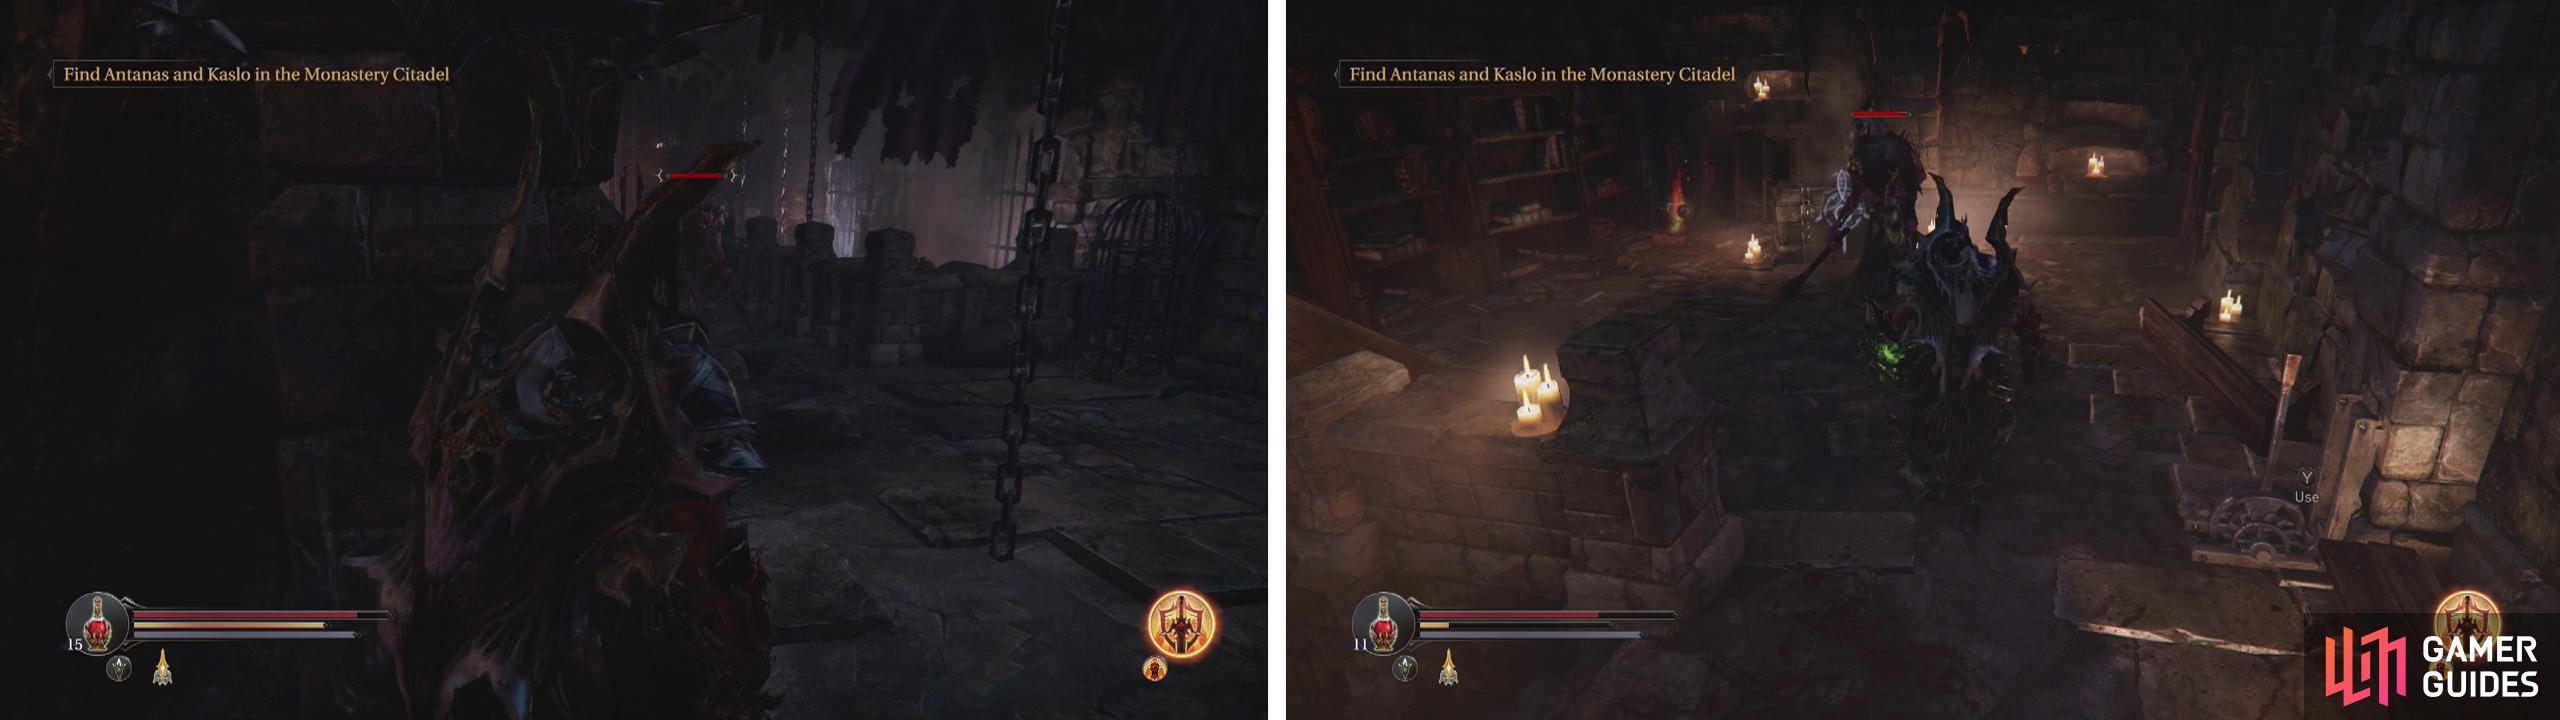
Exit and continue left and down the stairs. When you reach the room at the bottom, if you peek through the door to the left there will be an Infected and in the distance a Crossbowman as well. Use your gauntlet to lure the Infected back into the stairway and take it down before proceeding into the room to get the Crossbowman.
When the room is clear, check out where the Crossbowman was standing to find a Human Skull . At this end of the room you will notice that there are three exits. One to the left, one straight ahead and another to the right. Just for the sake of it, let’s call this room the junction room for now as I’ll be referring to it a few times.
We’ll explore the left doorway first as this will open a shortcut back to the Checkpoint Crystal where we entered the Catacombs originally. After entering the left doorway, you’ll find a Human Skull on the ground. Proceed up the next set of stairs.
Clear the enemies out of the room with three exits (left). at the top of the left exit kill the Infected for a chest, Audio Note and shortcut back to the Catacombs entrance (right).
New Burial Chambers
Take the right and climb another set of stairs, killing the Infected at the top. Continue up one last stairway and you will be in a small room with an Infected playing dead at the top of the stairs and another in the room to the left.
When the room is cleansed of nasties, use the lever to open the gate for a shortcut back to the Checkpoint Crystal . You can grab an Audio Note (The Research: Purification) from the corner and use a rune to unlock the chest for some Armour (Chest, Leg, Wrist – Cold Blood) .
Return to the junction room.
Old Burial Chambers
This time around, let’s go through the right hand doorway. Follow the passage around and down the first set of stairs.
At the base of the stairs is an Infected playing dead (quickly destroy it before it gets up if you can!) and another Infected in the room to the left. Kill them both and proceed into the tunnel to find the Mines.
The Mines
As you work your way along the narrow corridor you will soon bump into a Shieldman. Take him out and lure him back to the previous room if you want some space to work with.
Enter the first door on the left to find an Audio Note (Tales of old: Kyle’s Sword) and a sarcophagus that we can interact with – this can be used for a side-quest further in the Catacombs, so try to remember the location!
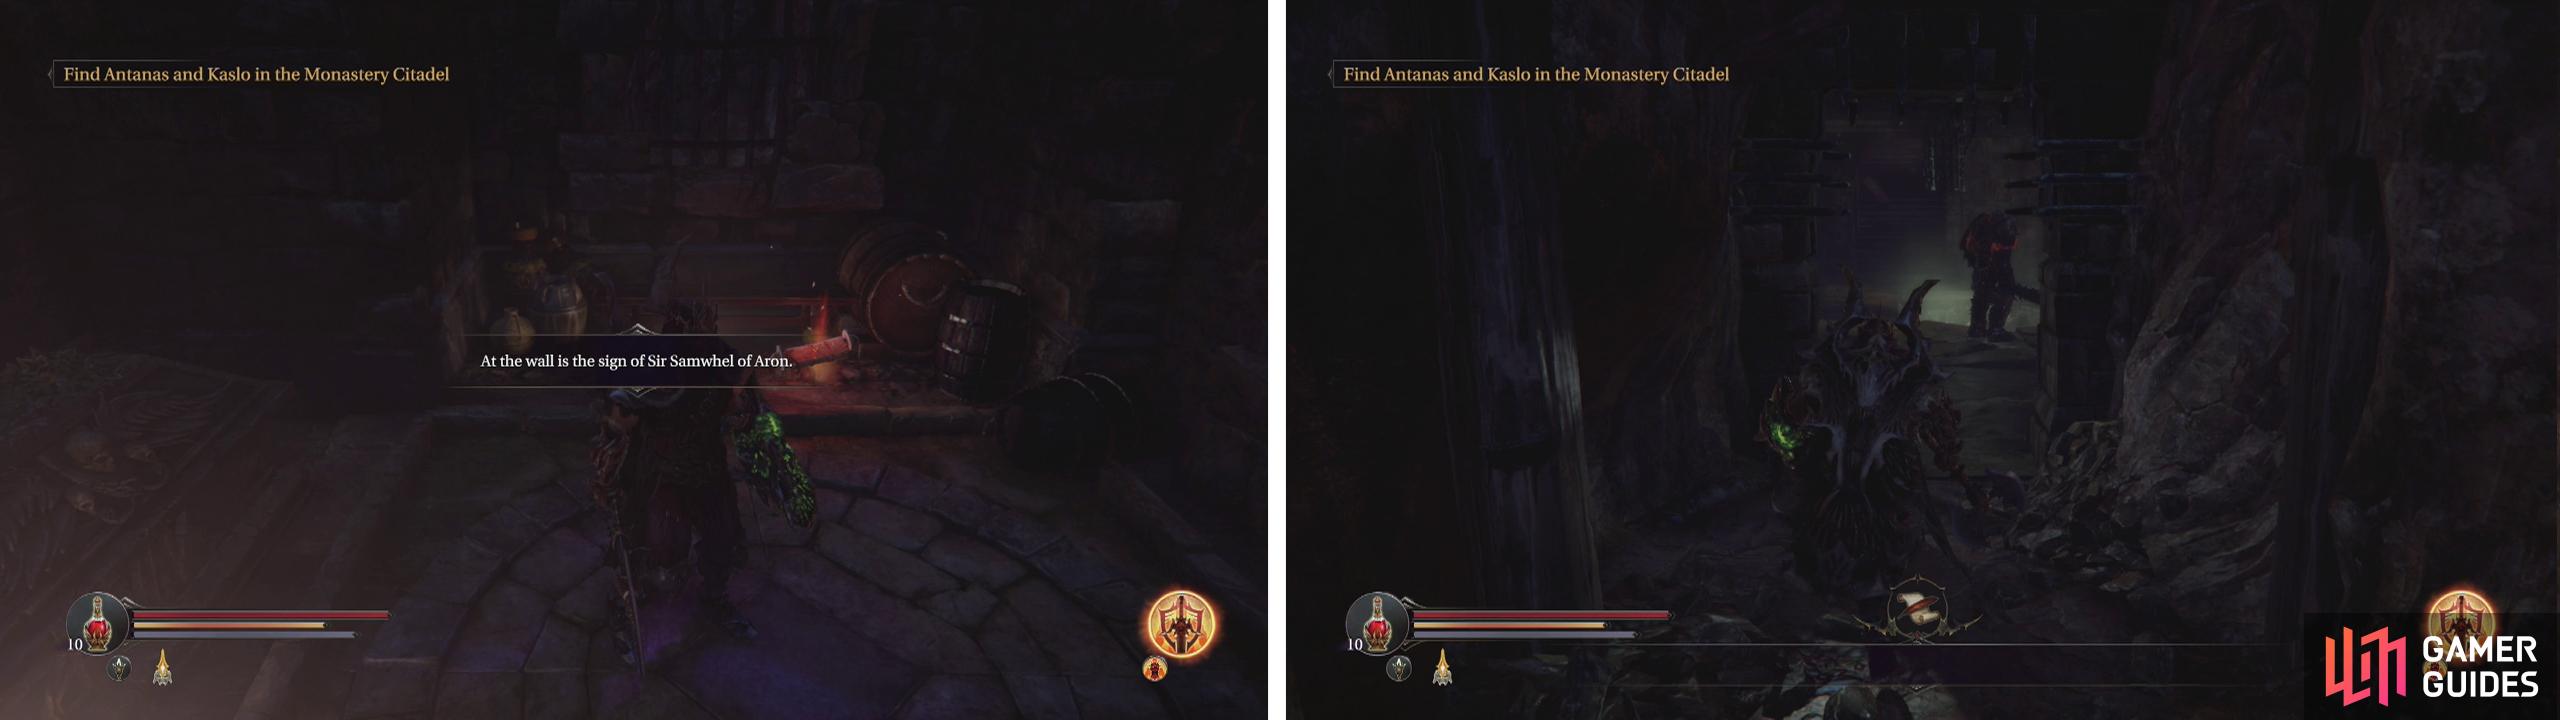
This side room has an Audio Note and a Sarcophagus we can interact with (left). There is a pit in this room (right) we can get enemies to fall in for an achievement/trophy.
Keep moving along the path until you reach another large room. This has a pit in the centre and is guarded by a Knight and a Crossbowman. Note, if you run to the far side of the pit and then hug the left hand wall to get on the small ledge here between the sarcophagi, there is a very good chance that the knight will run straight into the cliff for a quick kill. Then go finish off the crossbowman.


We’re done here for the moment. The door up the stairs at the far end of the room leads back to Keystone, but don’t use it now. Instead backtrack to the junction room.
Royal Tomb
Now that we’ve explored everywhere else, let’s check out the central door.
At the top of the first set of stairs, turn left and grab the Human Skull over near the wall. Approach the door leaving the room and across the hallway you should be able to make out a Forger in an adjacent room. As we approach the Forger, note that we can use the pit in the room with him to our advantage again. Once he is dead, pick up the Audio Note (Dark Deeds: Mutations) and use the Anvil here to visit the Crafter if you feel like doing so.
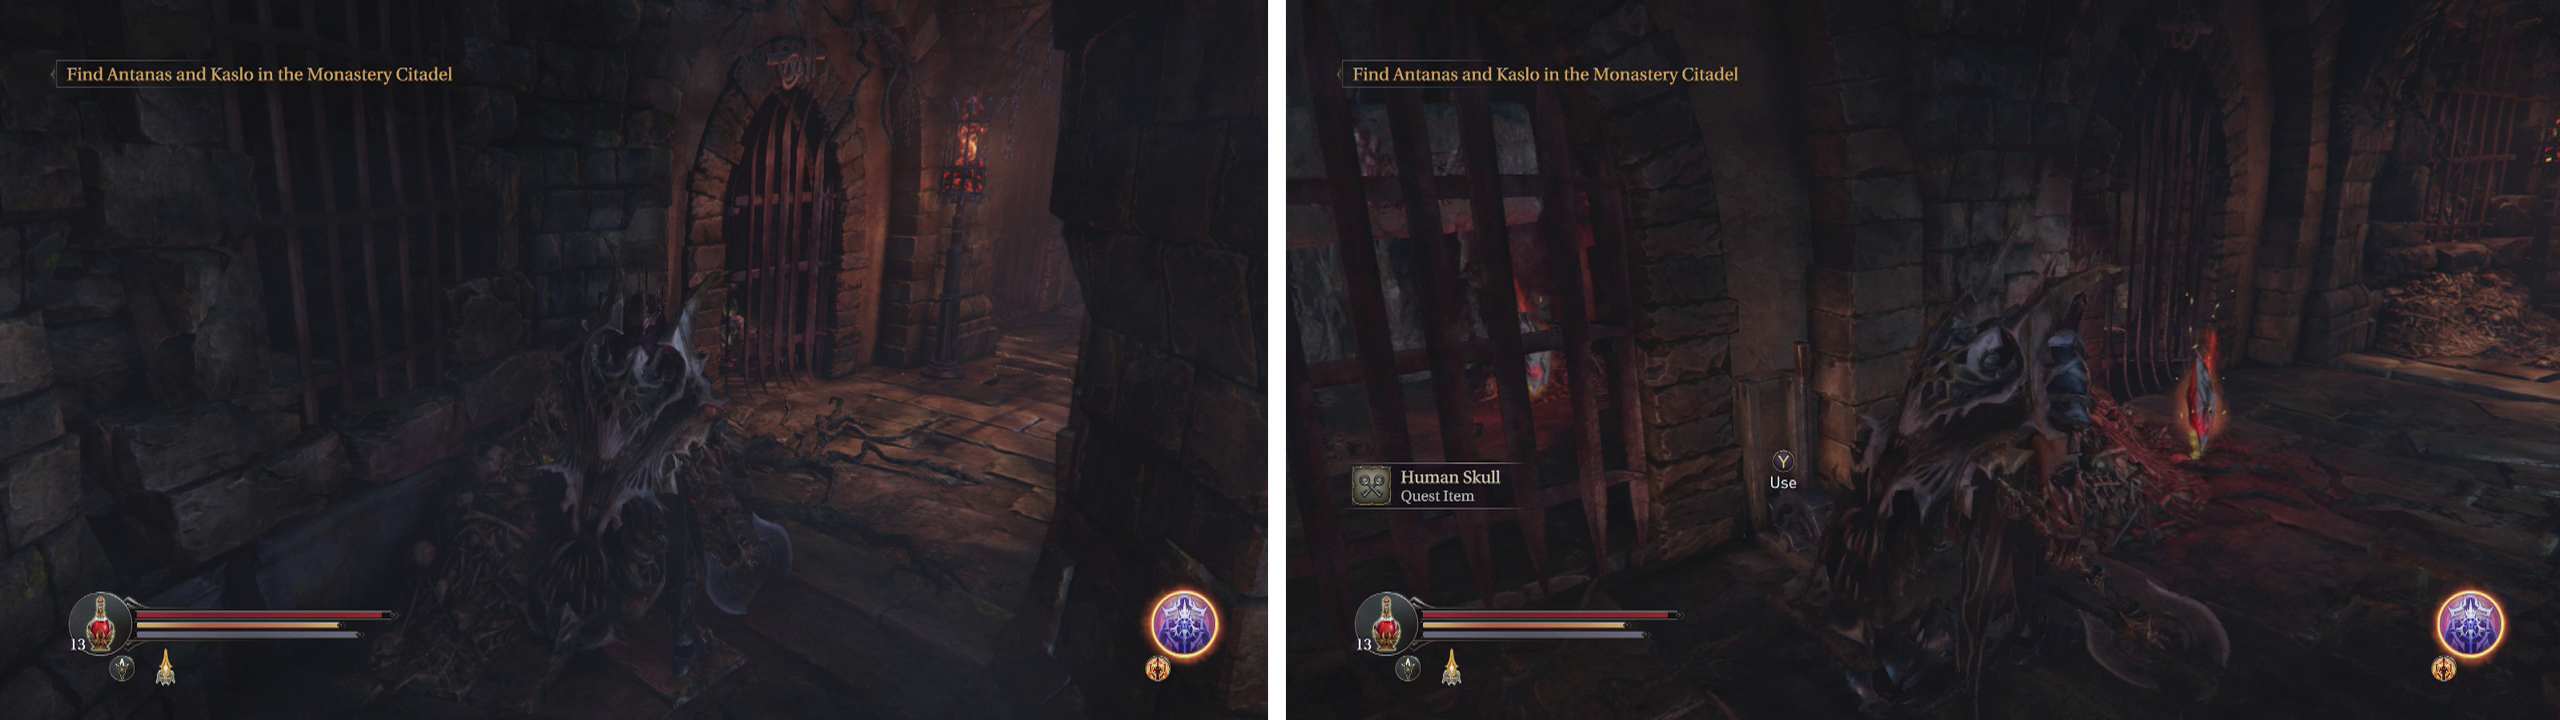
Exit to the hallway and turn right. Go down the stairs and kill the Baby Spiders at the bottom. Loot the Sealed Rune (Small) by the metal bars. In this area, look for a wooden barricade along the right hand wall. Smash this down with a melee strike to find a tunnel behind it.
Behind the breakable barricade you’ll find a tunnel (left) with a pressure plate, secret room and two Human hearts (right).
As you enter, note the locked metal gate to the left (we’ll be back here shortly). Follow the tunnel around the corner and it will split into an upper and lower route. Take the lower first, open the door at the end and loot the chest inside for a Weapon (Shortsword - Bloodsick) . Return to the fork and this time climb to the upper level.
When you reach the top of the ramp, look behind you to see an item to loot for a Human Skull . Continue along the set path to find another Human Skull and a floor pressure plate . This will open the locked metal grate I mentioned earlier. Step on this and use your Prayer spell to create a clone. Quickly run down the ramp and into the now open room.
Inside, grab the Human Skull and loot the chest for a new Weapon (Axe - Twinkling Axe) . Use the lever to open the door and backtrack to the room with the Anvil where we killed the Forger a few minutes ago.
In the hallway outside, you should find a gap in the floor with a wooden plank laying over it (it’s a trap!). Run and jump over the gap. Grab the Human Skull here and proceed up the stairs. Enter the large circular room ahead and kill the Knight.
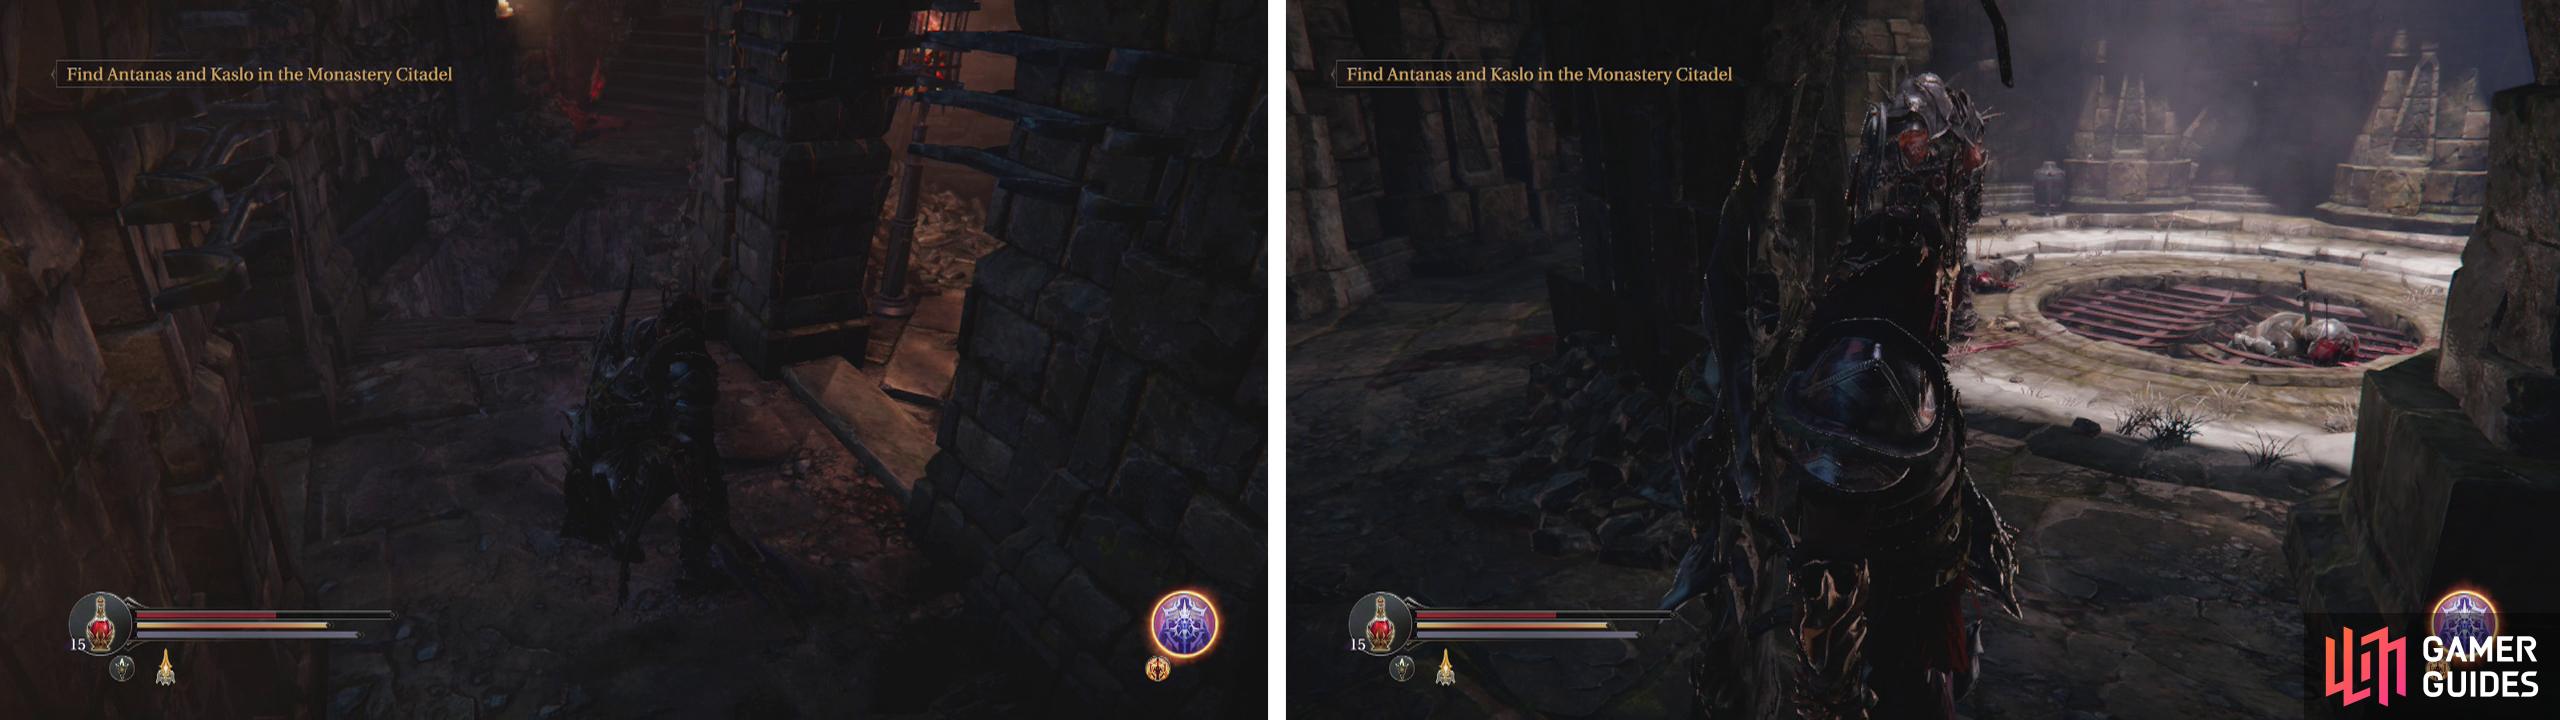
Jump across the gap bridged by the wooden plank (left) and then fight the Knight in the cirular room (right).
Return to the passage we just came from and with the stairs at our back, look to the right for an Audio Note (Prisons: Care) . Follow the wall back to the left, past the two doorways to find a chest containing the Armour Set (Harmony) .
Head to the other side of the room and climb either set of stairs (they link up at the top), there is a Crossbowman on both sides, so make sure you take them out. At the top you’ll find a passage guarded by a Shieldman. Kill him and then follow the stairs up to reach the Cell Circle.
Cell Circle
Follow the passage along to the end and you will find a Knight. Once he is dead, look on the ground near the end of the passage to find an Audio Note (The Research: Doubts) . There is also a Checkpoint Crystal to the left. Be cautious in approaching it as through the bars on the right side of the area, you will see a Forger and some Demon Hounds patrol by occasionally.
Save at the Checkpoint Crystal if you like and wait for the Forger to patrol into the room and eliminate him and any Demon Hounds that come with him when he does.
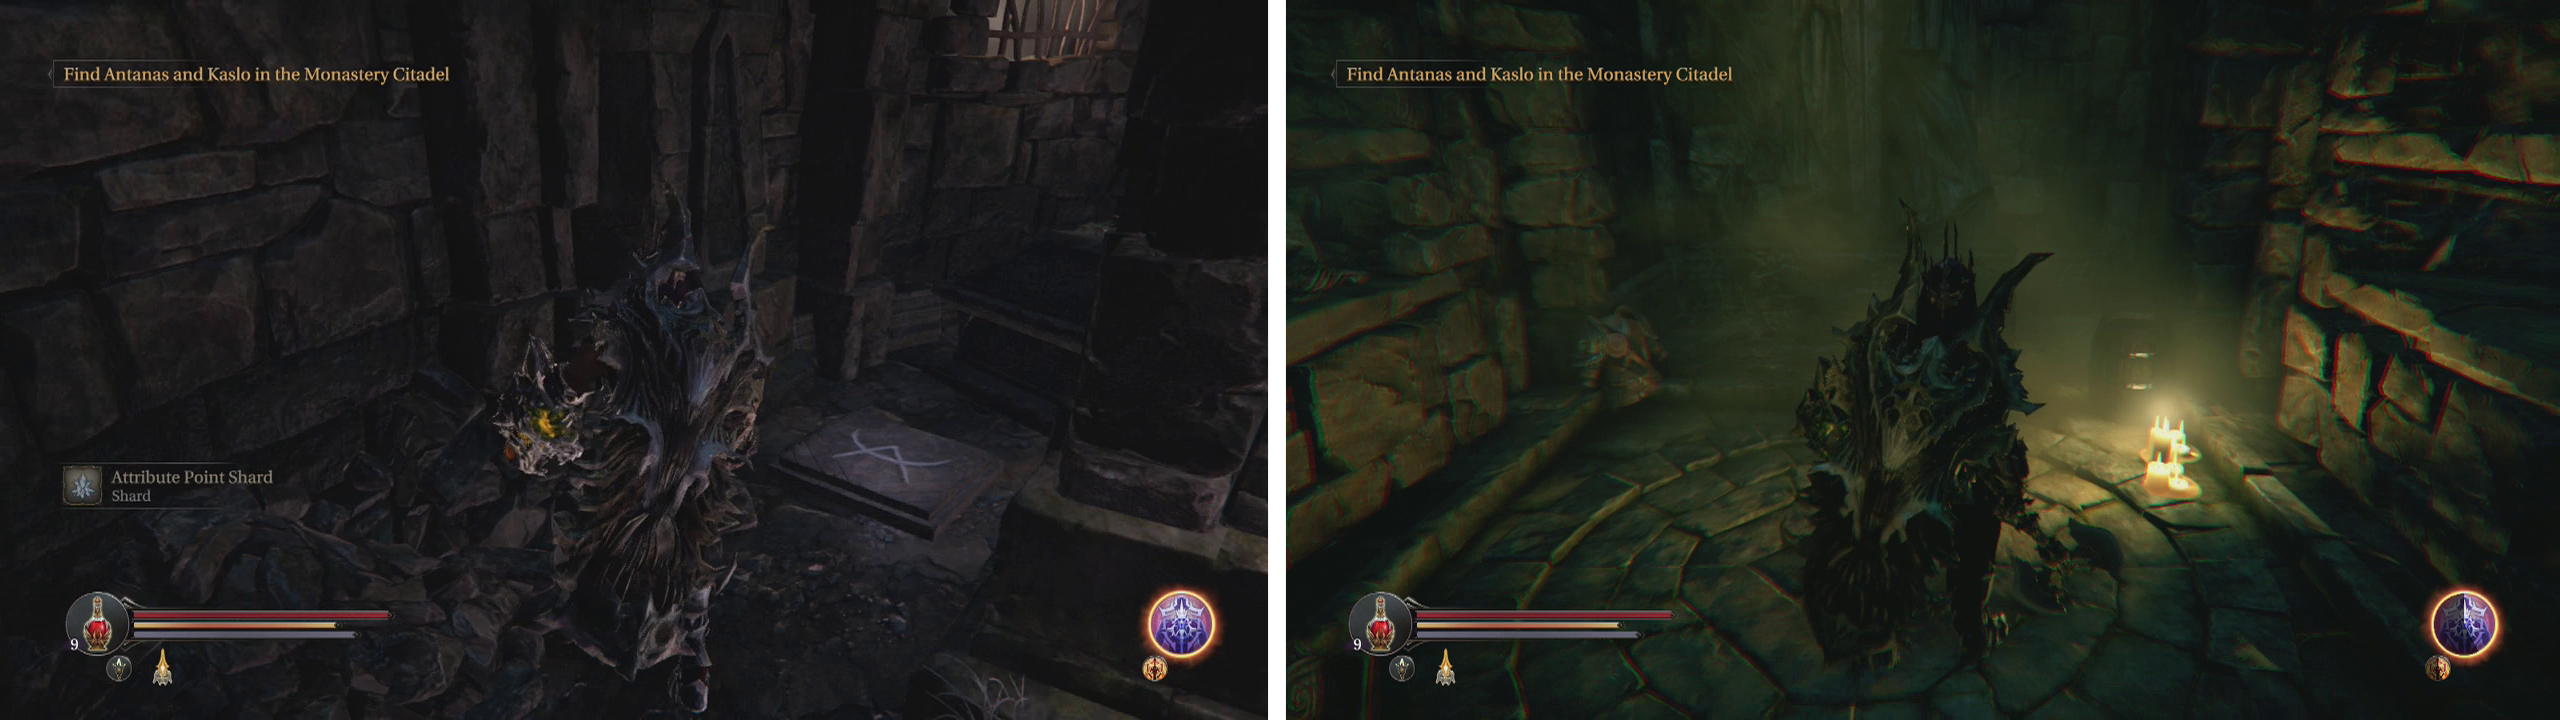
Climb the stairs next to the Checkpoint Crystal and enter the door at the top. Kill the Crossbowman in here and loot the chest for an Attribute Point Shard and some Armour (Head - Cold Blood and Wrist - Living Legend) . Return to the Checkpoint Crystal and enter the gate the Forger came through. Just inside is a Human Skull you can grab. Now, we find ourselves in a large circular passageway with multiple cells lining the outer wall.

Fight the Knight was you go along the hallway to the Cell circle (right). When you reach the Checkpoint Crystal, climb the stairs (right) for a chest.
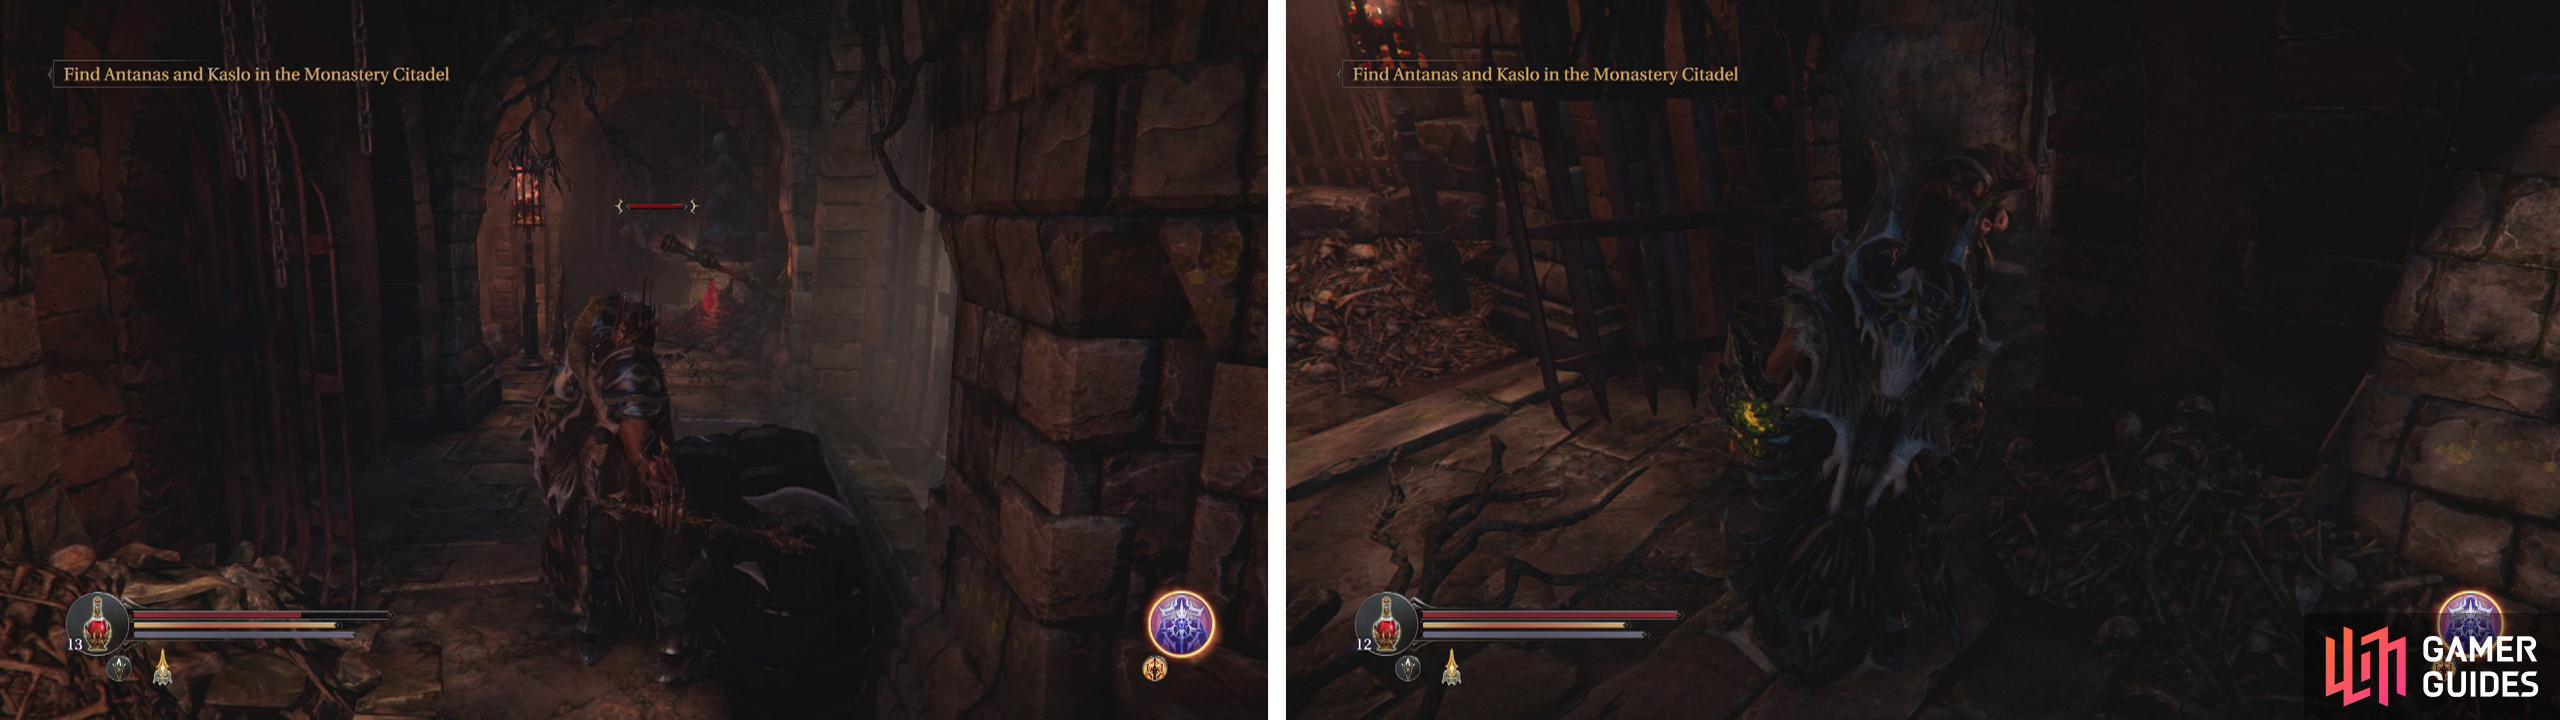
Turn to the left and work your way around the circle clockwise. At the first set of three cells you come across, pull the lever by the middle door to open them. All three have an Infected inside that we will need to deal with. The left cell also has an Audio Note (Grim Places: Blind Fury) and the centre cell has a Human Skull .
Continue around the Cell Circle to the next set of three cells. Grab the Human Skull along the way and as you approach the second Human Skull , the third cell door behind it will fall, allowing an Infected out which you will need to kill. After doing so, pull the lever nearby to unlock the other two cells. Inside the centre cell is a Human Skull and the left hand cell contains an Infected and a Weapon (Sword - Vanguard Blade) .
Keep moving along the Cell Circle to the next set of three cells. Here you will find an Infected Monk. Speak to him and he’ll give you a side-quest. We can’t open the cells here for the moment as we need to find a lever, but we’ll be back in a bit.
Move around the Cell Circle clockwise (left) collecting Human Skulls and opening all the cells (right) as you go.
Grab the Human Skull by the monk’s cell and continue clockwise until you reach the next lever. This will open a pair of cells either side of the lever and another on the way back to the monk’s cell area. The cell to the right of the lever houses a Human Skull , the one left of the lever contains an Infected and an Audio Note (Prisons: Politicals) . Also in this cell is a weakened wall on the right – use your shield charge to knock it down to find a Weapon (Hammer - Heirloom) . Backtrack a short distance and go through the now open cell for a Human Skull .
Keep moving along the Cell Circle clockwise and enter the open cell to the left for an Audio Note (Prisons: The Branded) . There is a large lever on the inner wall of the Circle here that we need to pull. Do so and then grab the Human Skull next to the statue ahead. Ignore the side tunnel for now, instead continue moving around the circle.
Look for a wooden door to the left, inside you will find the Lever Handle quest item. Back in the Cell Circle, pull the lever nearby to open two more cells. The left contains an Audio Note (Tales of Old: Sven’s Hammer) and the right leads to a tunnel with a Marauder and an Anvil inside. There is one more Human Skull to be nabbed in the Cell Circle before we complete our lap of the area.
Now return to the Infected Monk’s cell and use the Lever Handle on the broken lever. This will open the doors. Kill the monk for 1,500XP and a Spell Point Shard . Enter the door to the right of the lever for a Shield (Buckler - Blocker) .
Enter the wooden door near the lever (left) for a Lever Handle item. Use this to open the Infected Monk’s cell and kill him (right) to complete the side-quest.
Now make your way around the Cell Circle until we reach the lever on the central wall and go down the side-passage to the left just after it. Loot the chest here for the quest item – Cell Key .
Opposite the chest, you will see a Merchant and a Thief trapped in adjacent cells. Walk over and speak to one of them to learn of their predicament. Essentially we need to choose who lives and who dies and depending on your choice you will get a different reward. Saving the fellow closest to the stairs rewards you with a Trinket (Magic Leech) saving the other, will earn you the Trinket (Dim Hope) .
Use the lever on the wall opposite the two prisoners and kill the Infected inside. Sneak up and attack the Shieldman in the side-tunnel to the left before looting the Audio Note (Our New Home: Deep Down) . Now we have two choices - the stairs on the right will lead down to a Checkpoint Crystal and then the next boss. The stairs on the left lead to some more loot.
Yeah, thats right, boss can wait! Let’s head down the left hand stairs first.
The Pit
Kill the Knight patrolling the tunnel at the bottom. Ignore the two doors lining the walls of this tunnel for now and instead move to the open area at the end.
There are three Golems and a Crossbowman here. Try to pull the Golems one at a time by moving slightly into the room until you get one’s attention, then fall back to the hallway. Repeat for all three. Go and kill the Crossbowman and then loot the area. Just inside the hallway past he Crossbowman is a Human Skull . In the Pit Room itself is a chest we can unlock using runes for a Weapon (Staff - Scab) .
Behind the column on the left side of the room closest to the tunnel we came from you will find a pressure plate . Stepping on this will unlock one of the doors we ran past in the tunnel. Use your prayer spell to create a clone on the switch and then enter the tunnel and enter the now open door on your left. Inside, interact with the statue for a Weapon (Shortsword - Bloodlust) .
In The Pit, look behind the pillars for a pressure plate (left). Interact with the statue (right) in the room it opens for a new weapon.
Backtrack through the tunnel and open the other door on the right. Open this and look up as you approach the door to see another Spider on the roof – lock it on and shoot it with your gauntlet to knock it down and quickly follow up with a melee combo whilst it is temporarily stunned. Grab the Audio Note (Our New Home: End of the Line) .
Return up the stairs to re-enter the Cell Circle area. This time, go down the set of stairs opposite to reach the Checkpoint Crystal .
Approach the passage below the stairs and fight off the Shieldman waiting for you inside. Exit the far side and loot the Human Skull here.


To your left there will be a Spider on the roof, run over and kill it. Snaffle the Audio Note (Tales of Old: Troublemakers) .
When you are ready, pull the lever here to open the gate and enter the arena to fight with the next boss – The Champion.
No Comments