Bridge Between Dimensions
Upon entering the Rhogar dimension, move forward until a scene plays – that’s our next boss fight!
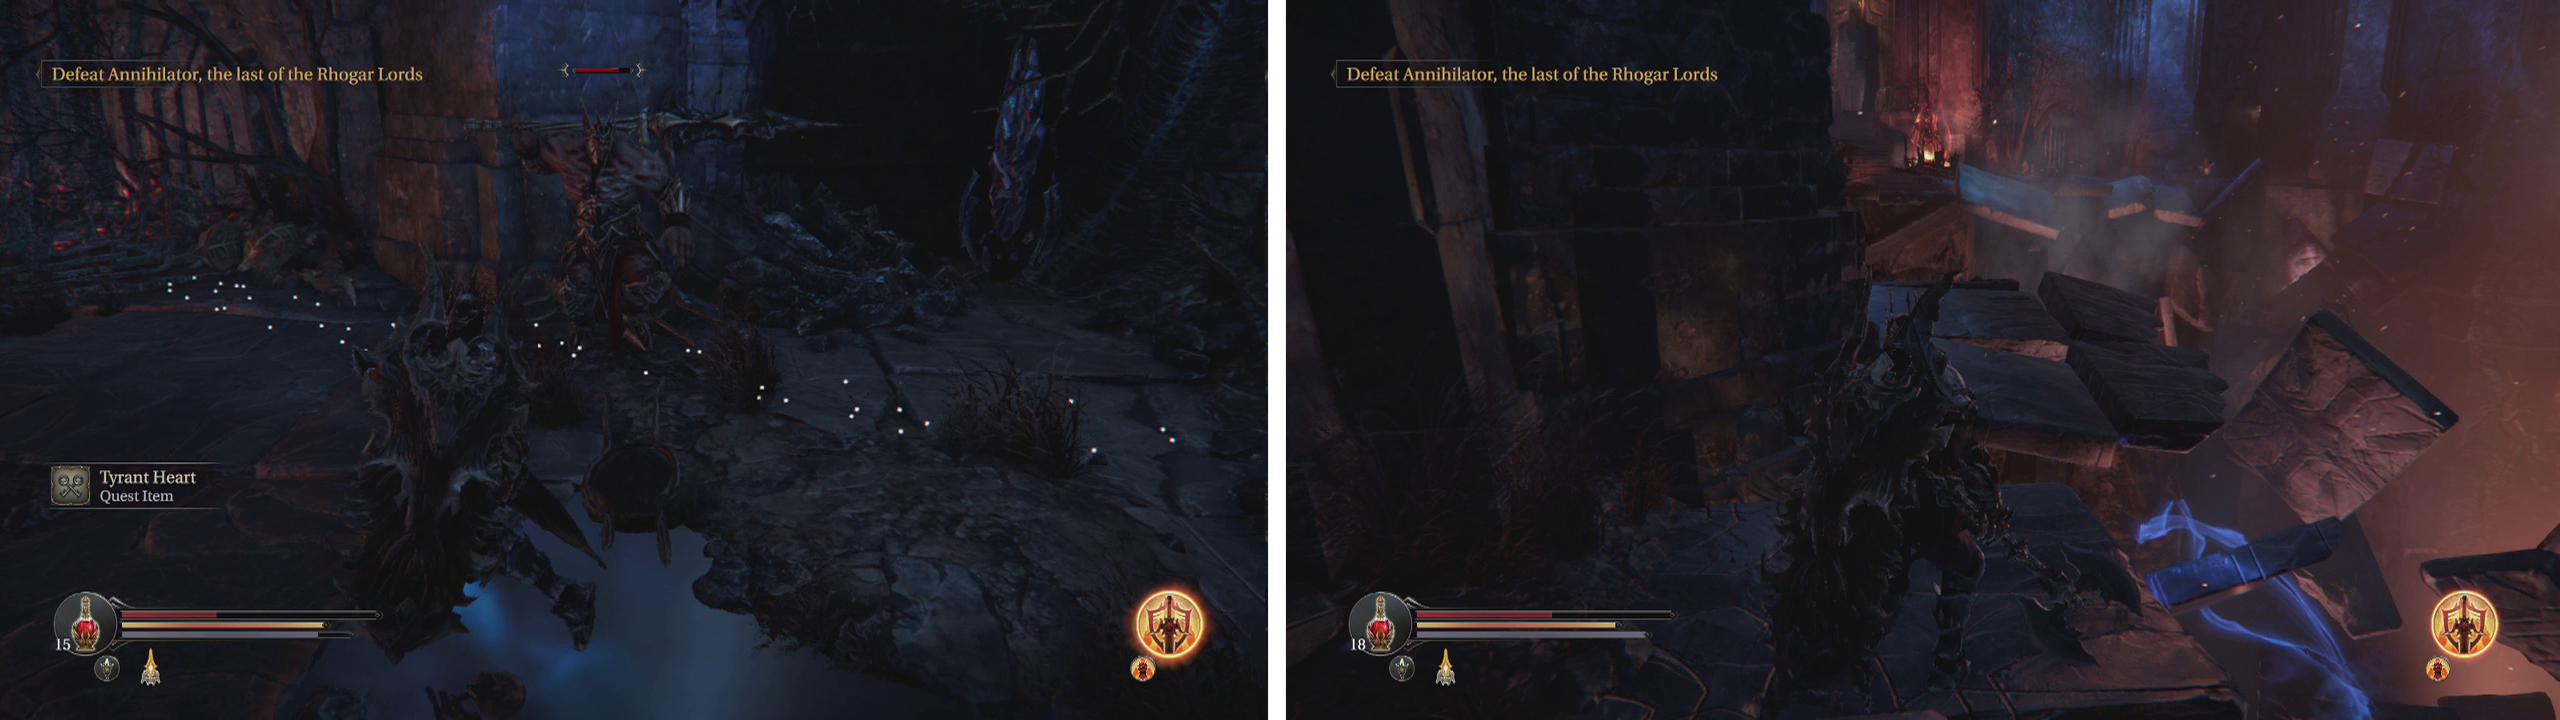
Keep moving onto the bridge and you’ll encounter a Tyrant. Remember we need to grab their hearts before we can kill them. The Tyrant Heart for this fellow is located in a small urn just past him along the left hand side of the bridge. Dodge/roll past the Tyrant, break the pot, grab the heart and then take him down! He’ll drop the Small Western Antechamber Key .
Continue forward, fight your way through the Spellcaster and keep moving towards the main temple. As you approach another cut-scene will occur – Yetka’s back! After the scene you’ll have a choice, you can waylay taking on the boss for now at her behest and make our way back to where we killed the Infiltrator or charge in and take on the boss anyway. The guide will take the former route of course, if you wish to take on the boss now, hop down to the boss fight section below - Boss: The Guardian .
Use the Checkpoint Crystal to save if you like and then let’s get exploring. Enter the Western Antechamber.
Western Antechamber
Head down the stairs and turn left at the bottom. As we now have the Small Western Antechamber Key unlock the gate here and grab the Audio Note (Dimensions: Shards) and open the chest for some Armour (Leg and Wrist - Eternal Legend) and a Weapon (Polesword - Burden) .
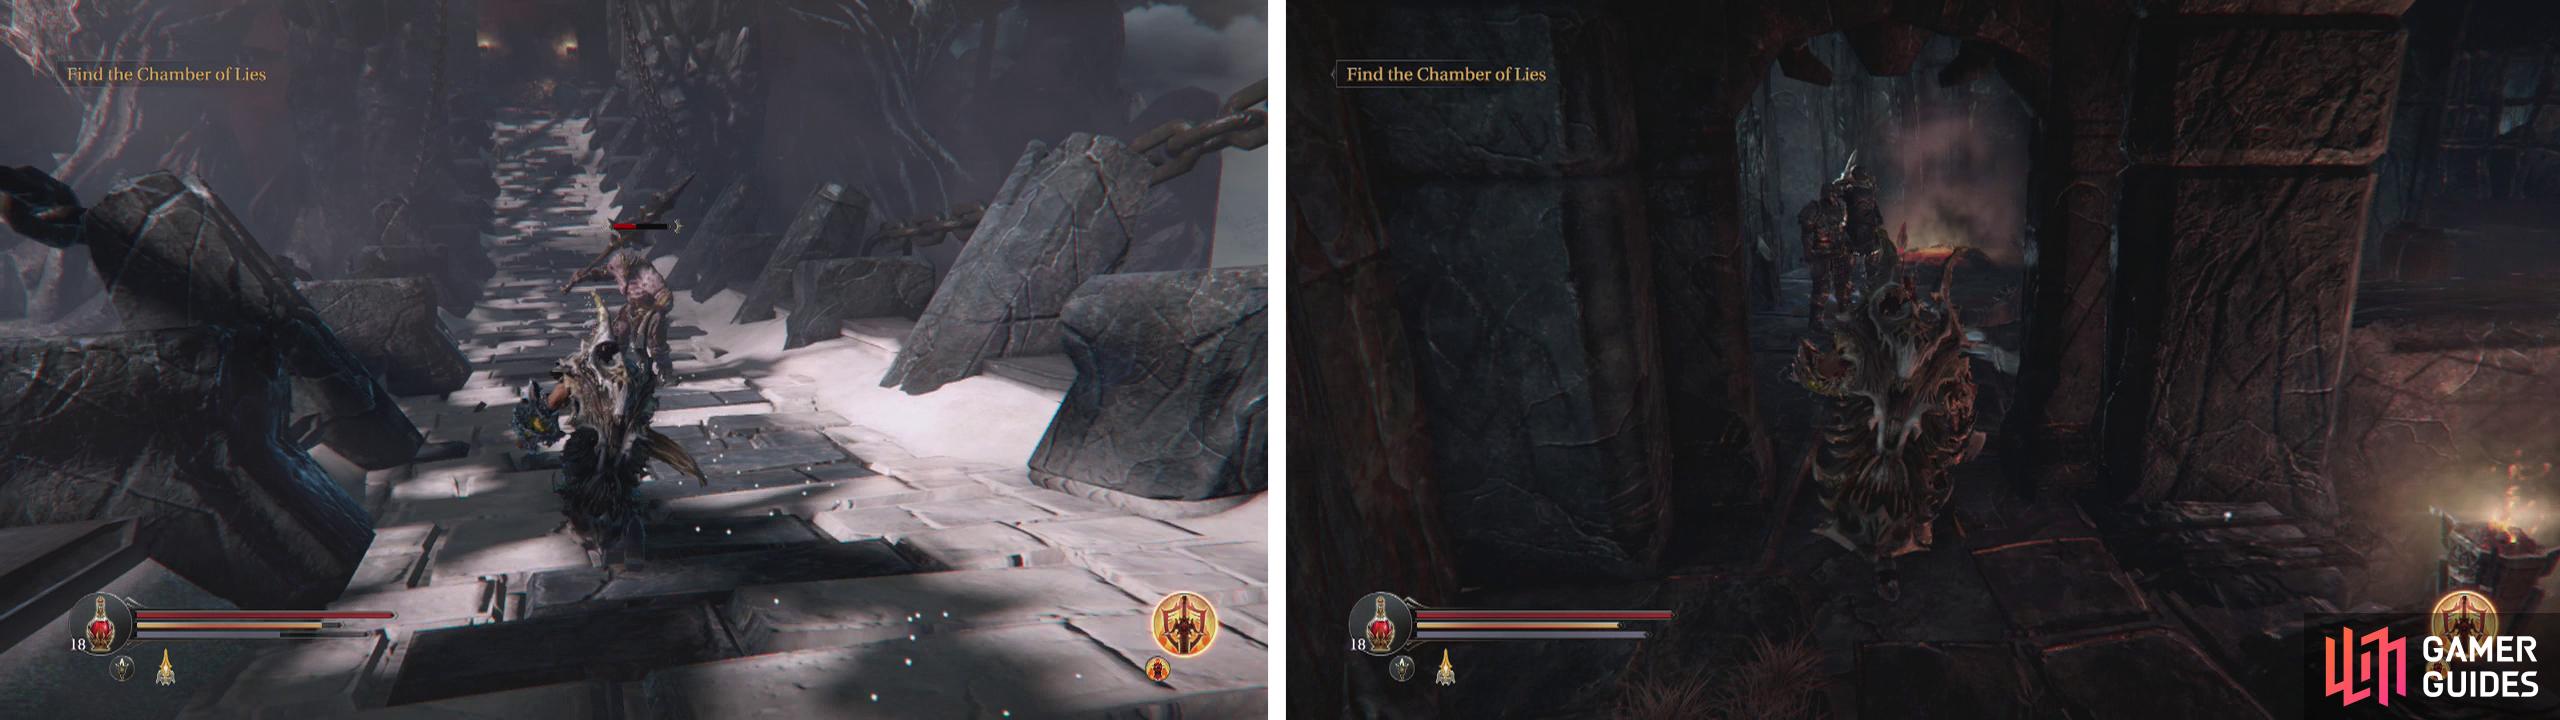
Defeat the Tyrant on the bridge (left) and then use the key he drops to open the gate in the Western Antechamber (right).
Clear out the bottom area of the room (there is a Forger and a Demon Hound lurking about) and then make your way through the gate to the small room linking the two Antechambers (note the locked chest here we could do nothing with earlier).
Continue into the first room of the eastern antechamber and eliminate the Crossbowman and Shieldman here. Pull the Rogue from the doorway ahead and kill him before proceeding into the main Eastern Antechamber. Kill the Spellcaster in here for the Western Antechamber Chest Key . There is another Rogue hiding around the ground floor of this room and at the top of one of the sets of stairs in here, you can find another Rogue and an Audio Note (Grim Places: Wild Fire) . Backtrack to the aforementioned chest and use the key to open it for some Armour (Leg and Wrist - Faith) .
Head back into the Western Antechamber and climb the stairs on the opposite side of the room from where we originally entered. Kill the Crossbowman at the top. Find the open door along the left hand wall we opened as a shortcut earlier and head on through. Watch out for the Shieldman just inside on the left who will come to greet you pretty much immediately!
The Panorama
Once he is dead, climb the stairs on the right. At the top, pull the Dimensional Beast over to your current location and kill it here to avoid drawing the nearby Forger into the fight as well. Go and finish him afterwards before proceeding along the only path available at the moment, killing the Rogue along the way. Note that there is a Demon Hound as well, but it will run off as soon as you hit it.
When you reach the snowy path on the left we used earlier continue down here.
Abandoned Range
Eliminate the Dimensional beast at the base of the stairs and head back beneath them to save if you like.
We need to head back to the right where we entered the temple earlier. Before you do that though, if you head to the left first to the fire at the base of the hill where we fought a Dimensional Beast on our previous visit, you will find the Demon Hound that previously ran off back on the Panorama when we attacked it. Attacking it here will have another pair of Demon Hounds spawn nearby and attack you (there is also a Forger on the far side of the area so try to keep away from there!). Once you have killed all three Demon Hounds, one will have dropped an item. Loot this for a Trinket (The Keep) .
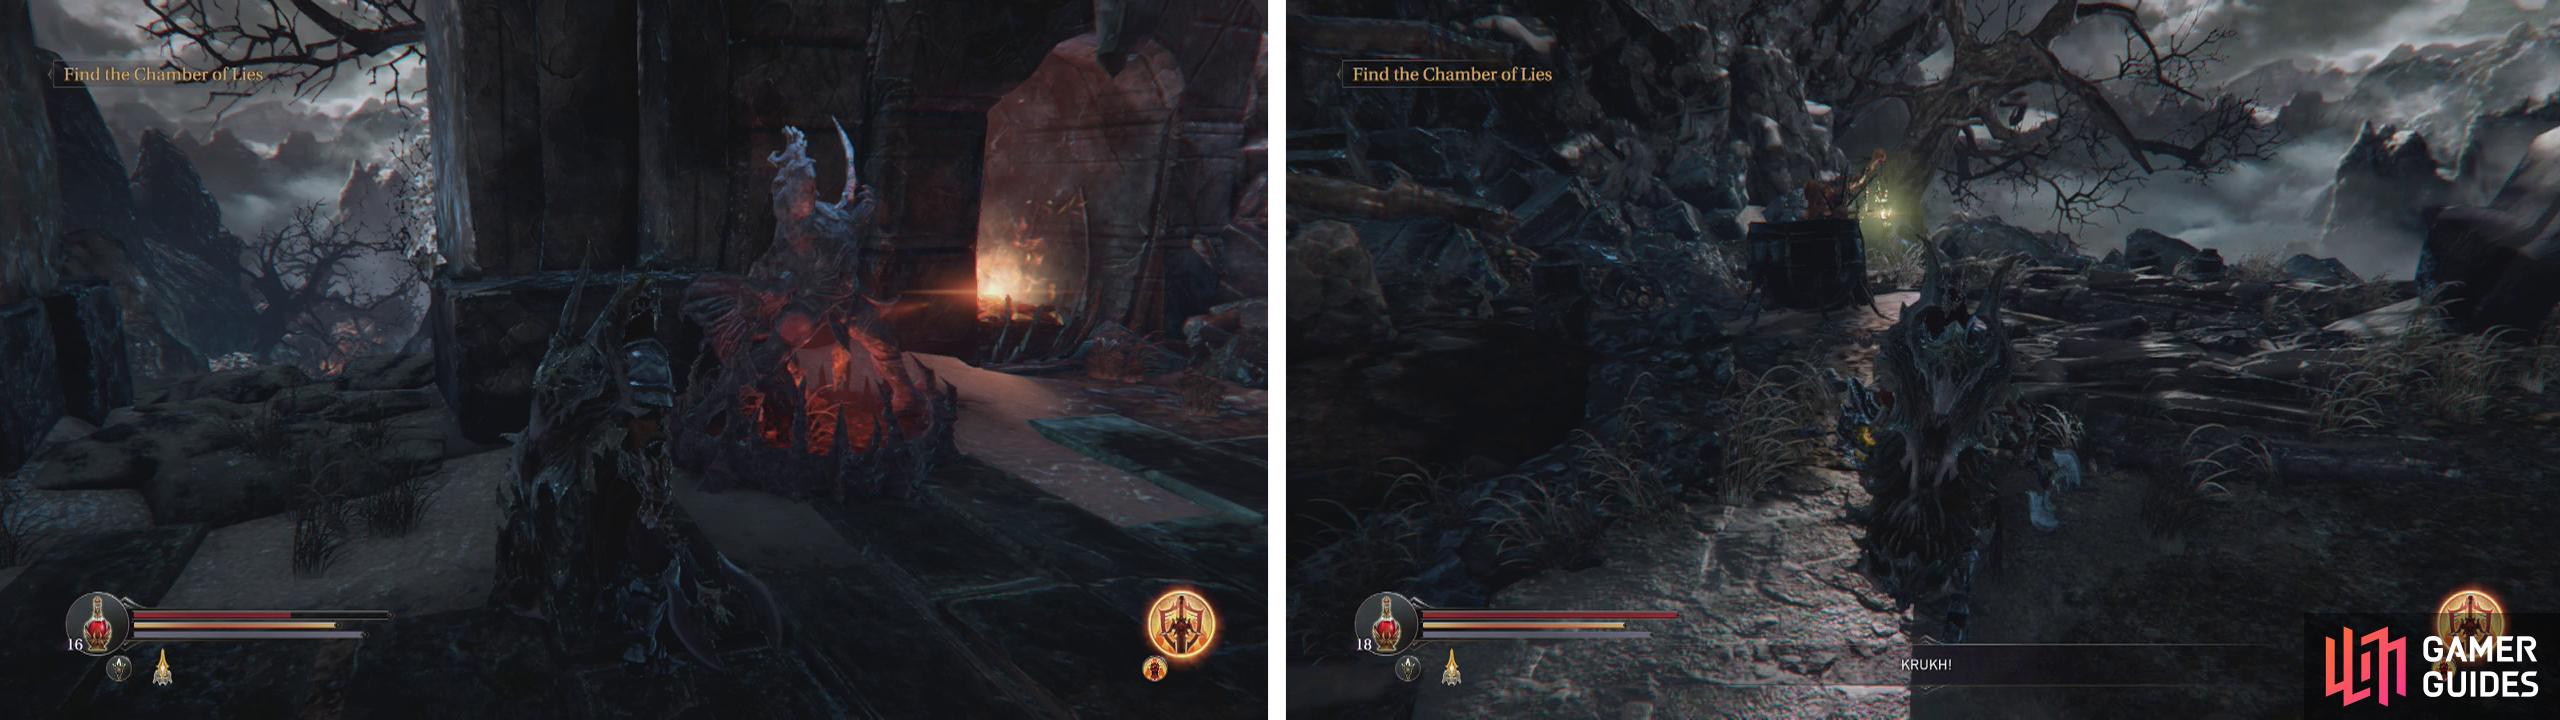
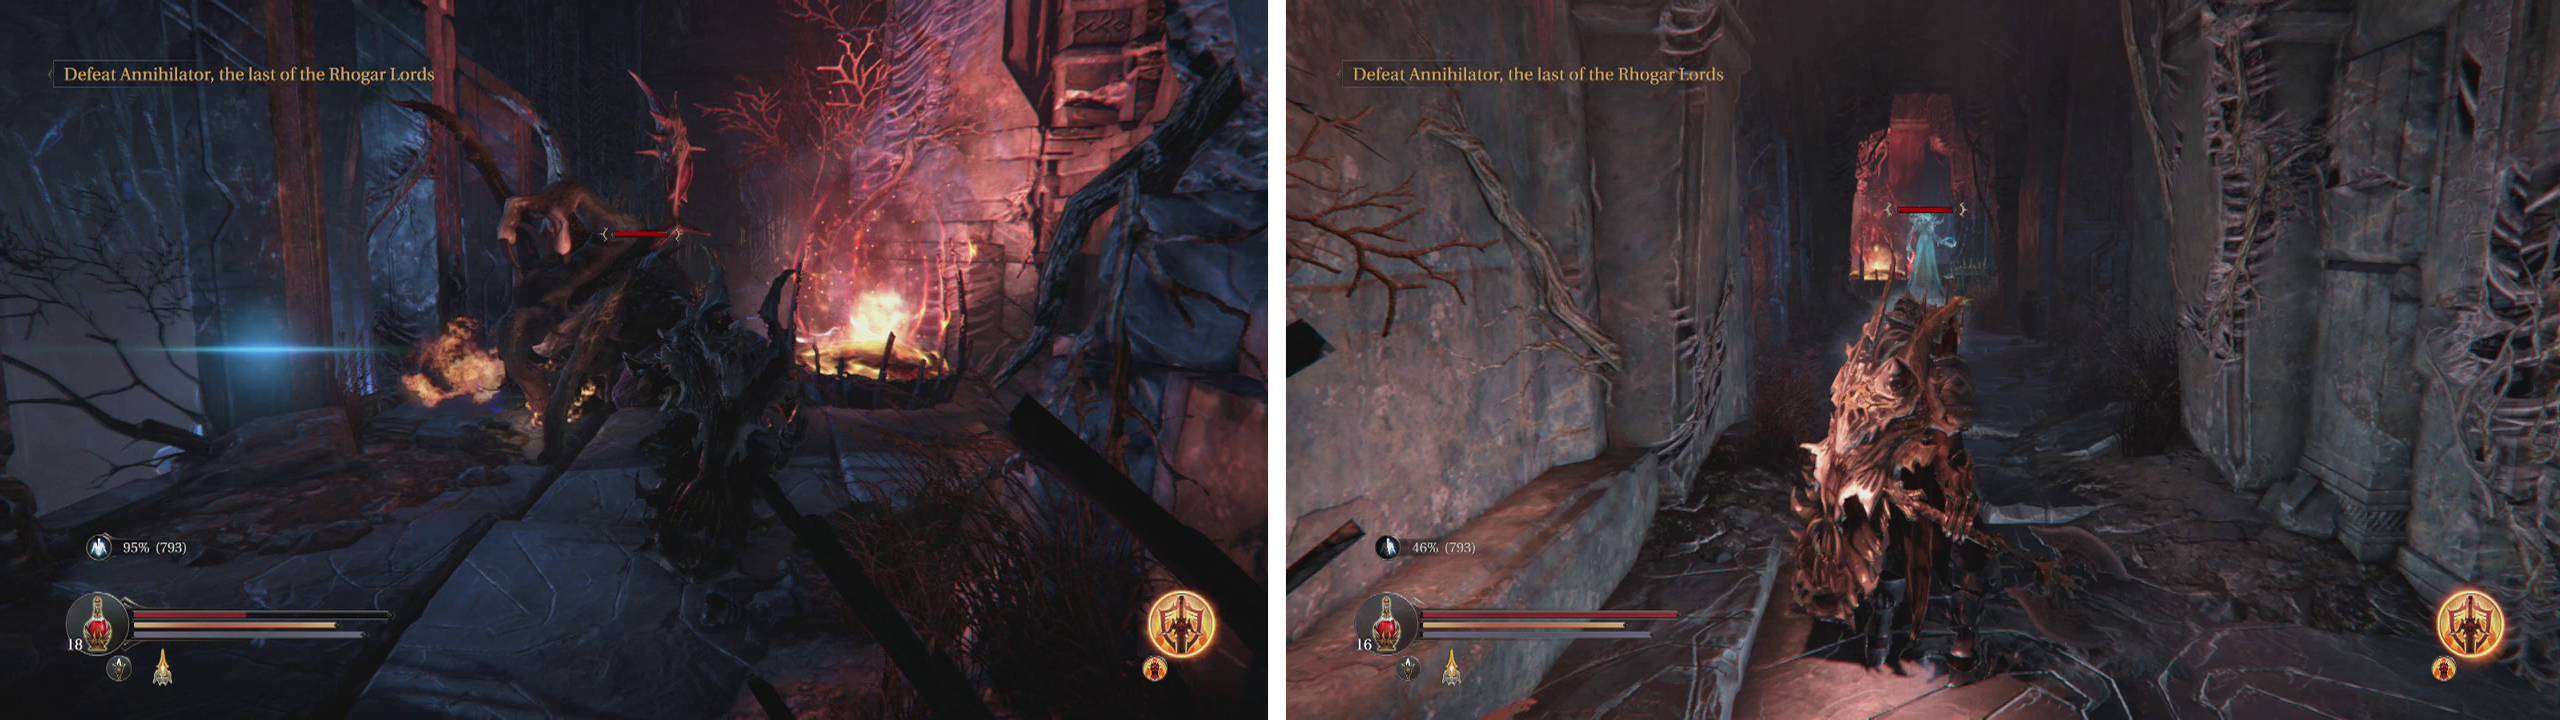
Continue down the snowy path to the Abandoned Range (left). You’ll find the Crippled Rhogar by the entrance to the temple (right).
Now head over to where we entered the Temple previously. Just before you enter, you can go down the small pathway to the left to find the Crippled Rhogar .
After talking with him earlier, this fellow will now take Human Skulls from you. There are 30 Human Skulls in total and if you followed the guide you should have them all by now. Note that upon handing in all 30 Human Skulls , the quest giver will summon a pair of Rhogar Knights and a Spellcaster to attack you. As such, make sure you are prepared for a fight before you speak with him! Once you have dealt with the enemies, kill the quest giver for the rewards.
There are a couple of rewards on offer for hand in in Human Skulls and they include:
- 15 Human Skulls – Shield (Stance) + 2,000 XP
- 30 Human Skulls – Trinket (Leech) + 2,000 XP.
Continue up the stairs to the entrance to the temple.
Sacred Hallways
Kill the Shieldman in the doorway and the Knight down the hallway to the right. Follow the path to the left down the stairs and all the way around to where we fought the Infiltrator earlier.
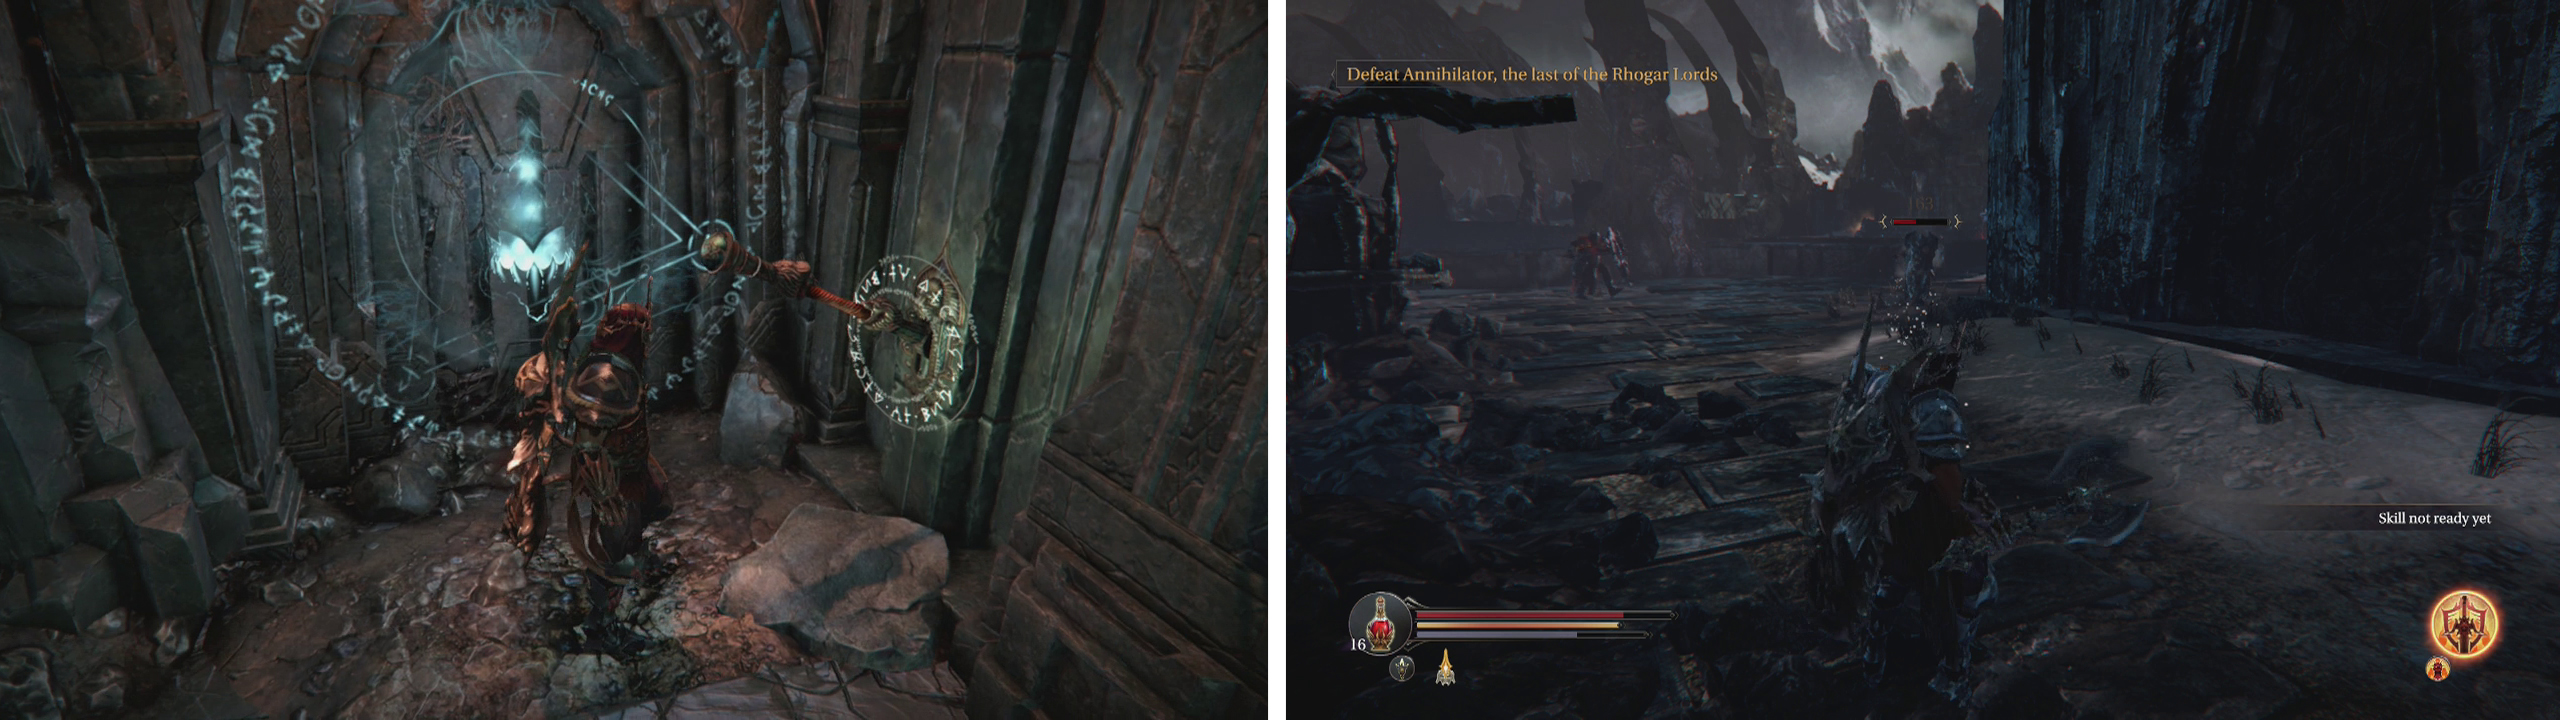
On the far side of this room, in front of a glowing glyph, you’ll find Yetka. Speak with her. After the conversation, use your gauntlet to shoot the rune, head through and use the lever to open the door to the Chamber of Lies.
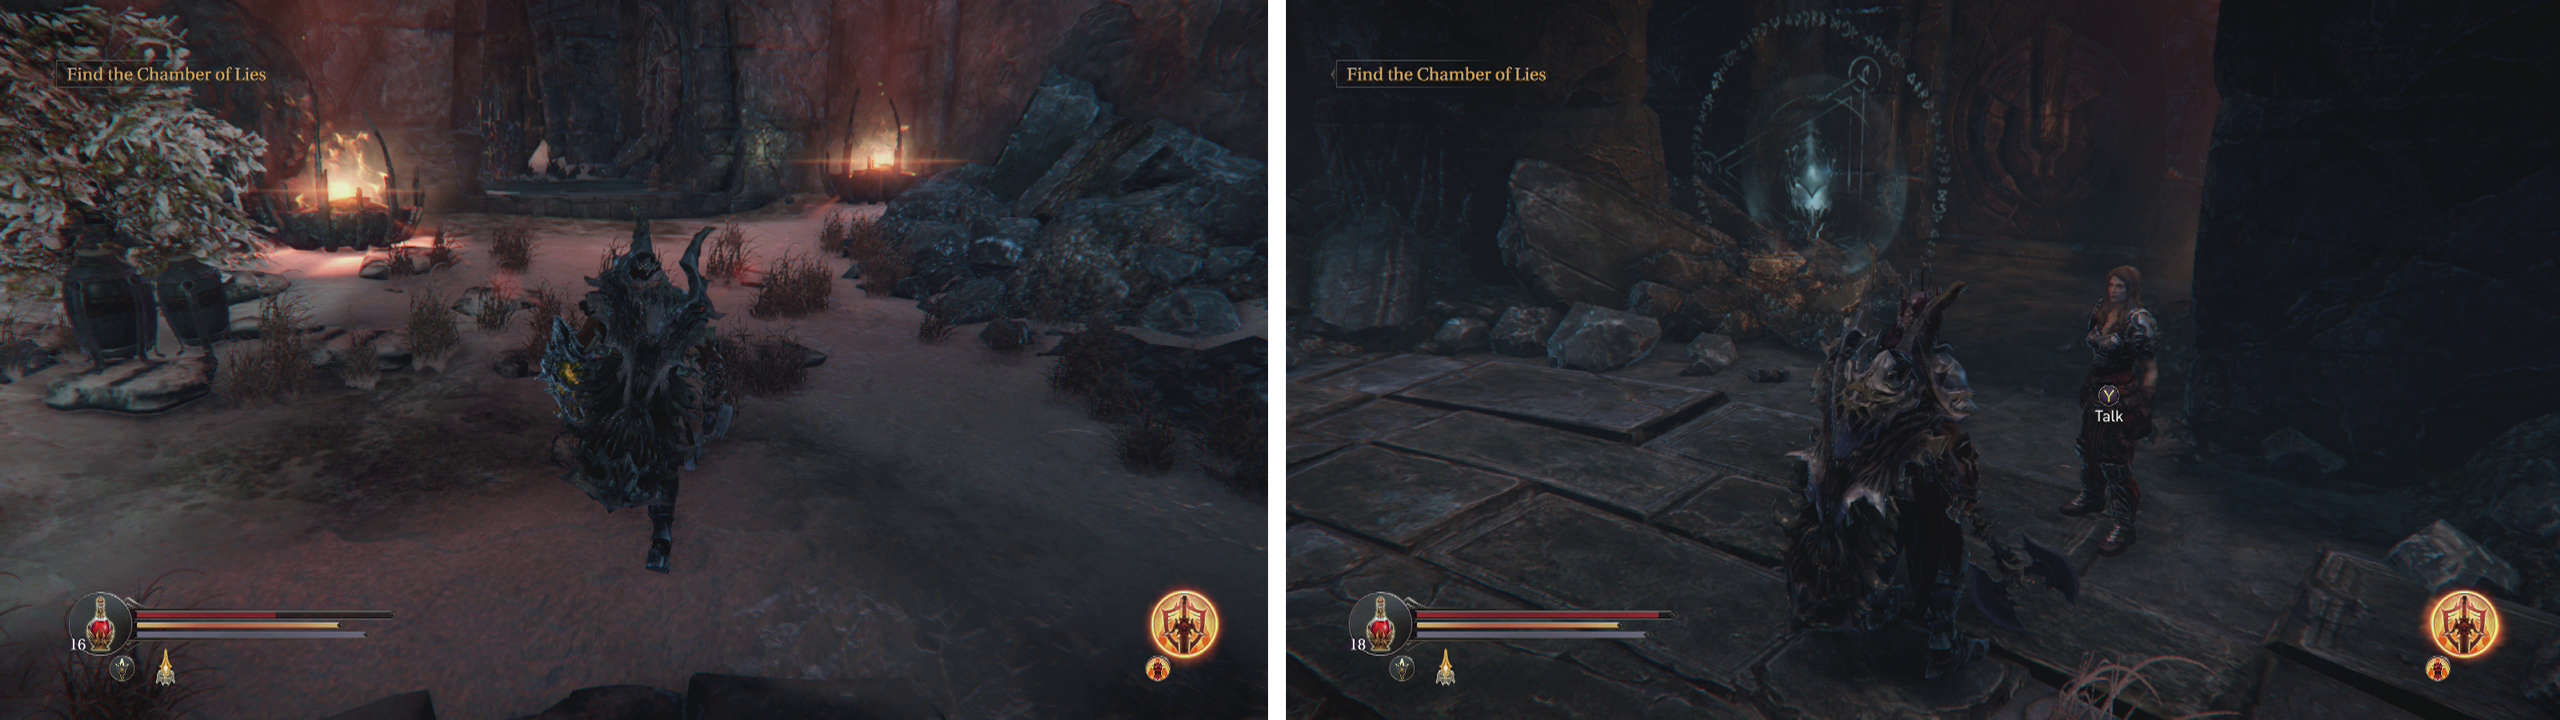
Re-enter the Rhogar Temple (left) and head for the Infiltrator’s area to find Yetka (right).
Altar Ruins
Move forward and take out the Spellcaster at the end of the passage ahead. Loot the chest here for some Armour (Chest - Effect (warrior) , Chest - Demon Assassin (Cleric) ). Move through the door at the far end and turn left to encounter your first Rhogar Spirit.
Rhogar Spirit Combat Strategy:
The Spirits are quite similar to the Spellcasters in that their damage is mostly ranged and magic-based. They do however have several additional abilities to make them much, much trickier. Firstly, they are pretty much immune to most physical attacks - you will need to use the gauntlet or a rune socketed weapon with a magic effect in order to damage them. They can also drop invisible traps that damage and stun and can also teleport to appear behind you for a quick 2-hit melee stab attack that will cause significant damage.
The gauntlet is your most effective weapon against the Spirits, so do your best to stay at range and use environmental objects as cover from incoming projectiles whilst you trade magic fire. Change position when the Spirit uses teleport and ensure you remember where all of those traps are hidden!
After killing the Spirit, kill the Forger down the nearby hallway beside the stairs to the right and open the chest he was guarding for a new Weapon (Sword - Justice) . The stairs lead to a locked gate for the moment so let’s ignore those for the time being and instead, head back past where we fought the Spirit and enter the main room (the one with what looks like floating pieces of toast circling about) for a cut-scene.
Following the story sequence, Yetka will hang out here for a bit. As such, we need to head through the door to the left of the locked gate. In the small passage beside the stairway on the left you’ll find another Spirit. Draw it out and kill it to prevent it sneaking up on you as you climb the stairs.
At the top of the stairs, you’ll see another set of stairs leading up directly in front of you. To the right of this is a small passage with a Shieldman that leads to an Audio Note (Dimensions: Runes) and a chest that contains some Armour (Wrist - Effect) and a Weapon (Polesword - Artefact) . You can also open the gate here to create a shortcut back down to the first floor.
Return back the way we came, hugging the left hand wall and continuing past the sets of stairs here. Kill the spirit in the next room for the Blacksmith’s Chest Key . At the back of the room you will find a Checkpoint Crystal . Return to the stairs and climb the second set to reach the roof.
Here you will need to fight a Poison Beast. If you completed the Poison Beast side-quest at the Citadel earlier, this monster is essentially its twin. if you didn’t, well here’s a bit of a run-down on the nasty critter.
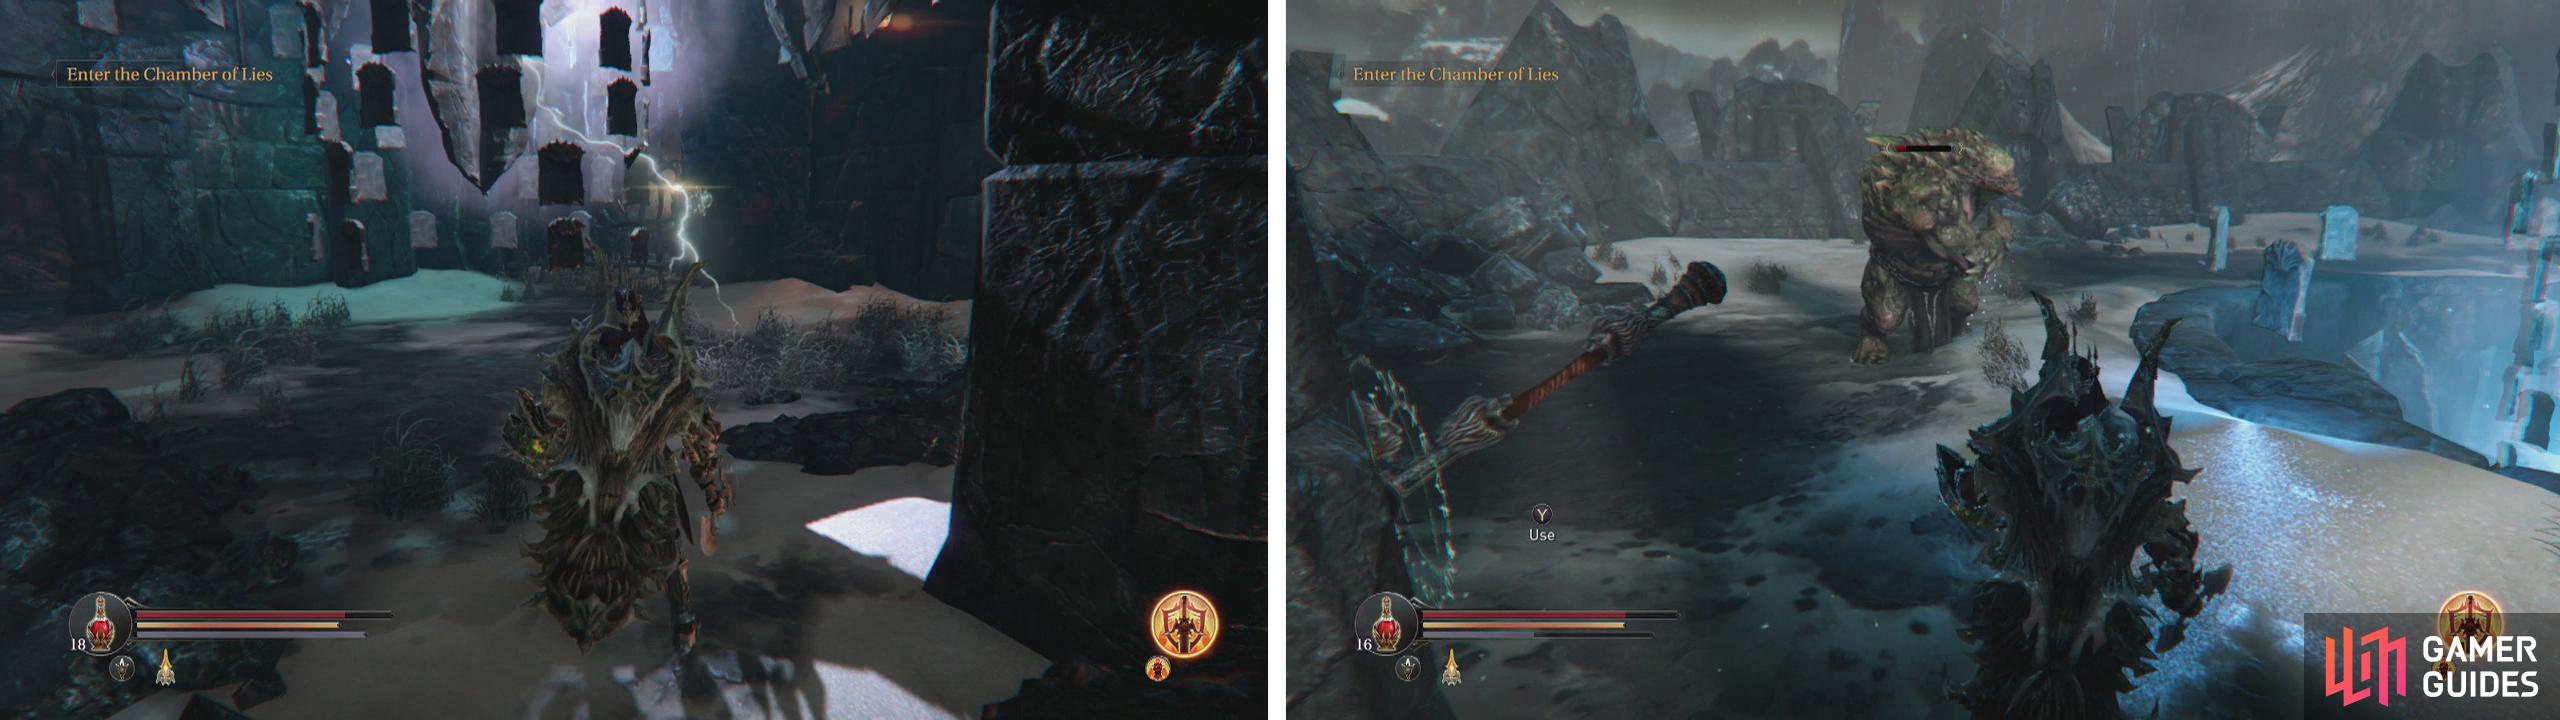
Enter the room with floating tablets for a scene (left). Climb to the roof to fight the Poison Beast and pull the lever (right).
Poison/Fire Beast Combat Strategy:
These fellows can be quite difficult due to their attacks being both quick and very damaging, plus to make things even more difficult they also inflicting damage over time effects on Harkyn if they do hit. Obviously, if the beast uses the roll attack, you’ll want to roll to avoid the initial impact and then strafe to avoid the continued attempt to hit you.
Although it is possible to attack the enemies whilst blocking/dodging their melee attacks, by far the easiest way to deal with them is to use your gauntlet as much as possible whilst staying just outside their melee attack range and backpedalling in circles - if you do this well enough, they will essentially follow you around the room for the duration of the fight and never even attempt an attack.
After the fight, use a rune to unlock the chest here for some Armour (Head and Leg – Effect) and then pull the lever to unlock the gate by Yetka in the tower below. Cruise back down and use your gauntlet to remove the glyph. Continue through the door.
At the top of the stairs you should be able to make out a pair of Golems and a Tyrant. There is also a Checkpoint Crystal just to the right. The first Golem should notice you immediately and come to attack. Back down the stairs slightly and finish it out of sight of the other enemies. Next wait for the Tyrant to patrol off and use the opportunity to hit the other Golem with your gauntlet. Kill him and then run over to his initial position (make sure you dodge/roll past the Tyrant if he attacks) to find an urn containing the Tyrant Heart . Grab this and then take down the remaining bad guy.
Just to the left of the stairs you’ll find an item to loot for a new Shield (Shield - Void) . You should also note the location of the Loot Crystal #8 nearby.
Kill the Tyrant (left) and then look for the broken ledge nearby we can use to access a chest guarded by a Fire Golem (right).
Head back to where we entered and with the Checkpoint Crystal at your back have a look along the left wall. There is a small path here that we can use. Hop across the first gap and watch out for the collapsing section of the floor if you move too close to the edge. Turn the corner to encounter a Fire Golem.
Fire Golem Combat Strategy:
For the most part, the Fire Golems will only do one thing when you see them - run at you and explode. You’ll want to hit them from a distance with your Gauntlet, or alternatively, let them come to you and stick your shield up or roll away at the last second to minimise the damage that is caused when they detonate.
Roll to avoid his attack or it may shunt you into the abyss. Kill it and try to stay close to the wall or you may alert the enemies on the other side of the gap to your presence. Loot the chest here for a new Weapon (Fist - Claws) and then head back to the previous checkpoint.
Climb the stairs to bump into another Dimensional Beast. Note that this one is slightly different to the ones we have faced previously in that it has a fire element added to its attacks that will burn you if it hits, causing damage over time. Either fight it here or draw it down the stairs for some extra room to manoeuvre. Once it is dead, take stock of where it was positioned. There is a small passage with stairs leading upwards near the centre, a glyph blocking a door to the right and a door to the left. There is also an Audio Note (In god we trust: God’s Plan) just to the left of the glyph.
Let’s open the door on the left first. Inside you will find a chest but ignore it for now as further down the hall to the left is a Spellcaster who will attack you. Finish him off and then return to open the chest for some Armour (Wrist - Demon Assassin) and a Weapon (Axe - Reminder) . If you follow the hallway to the end you will find a locked door guarded by a Fire Golem. We can’t open it just yet, but you can kill the enemy if you so wish.
Clear out the Dimensional Beast above the Checkpoint Crystal (left). Go through the glyph-locked door to fight a Spirit (right).
Return to the previous room and this time use your gauntlet to remove the glyph from the hallway on the opposite side. Wait a few moments before entering as a Spirit is located inside and will patrol up to the door where we can pull it into the main room for a bit more space.
Enter the hallway and smash the pot to your immediate left for an Energy shard . Continue past the door on the left until you reach the end of the hallway to find a chest containing a new Weapon (Dagger - Glow) . Enter the door we ran past and use the Anvil here if you wish to do some upgrading.
Continue along the set route here, kill the Fire Golem and pull the lever at the end. Use your gauntlet to destroy the block on the door. Enter to return to the main temple.
Sacred Hallways
If you neglected to come this way after fighting the Infiltrator boss, you will now find yourself face to face with a Tyrant. His Tyrant Heart is in an urn guarded by a Crossbowman up the stairs to the left so quickly race up there, kill the Crossbowman and loot the heart before taking on the main threat. If you have been here previously, climb the stairs, kill the crossbowman and exit to the Panorama.
Before continuing, it is also a good idea to backtrack to where we fought the infiltrator earlier to activate a Checkpoint Crystal as we will be fighting the next boss shortly and a long run back isn’t really that fun.
The Panorama
There is a pair of Shieldman enemies patrolling ahead, so pull them over with your gauntlet one at a time and take them down.
Pull the lever to extend the bridge (left). Continue through the Infiltrator’s room until you exit to the Panorama (right).
If you helped the Deserters earlier none of these items will have appeared. Either way, make your way down the stairs and enter the arena to fight the next boss.
No Comments