Old Quarters
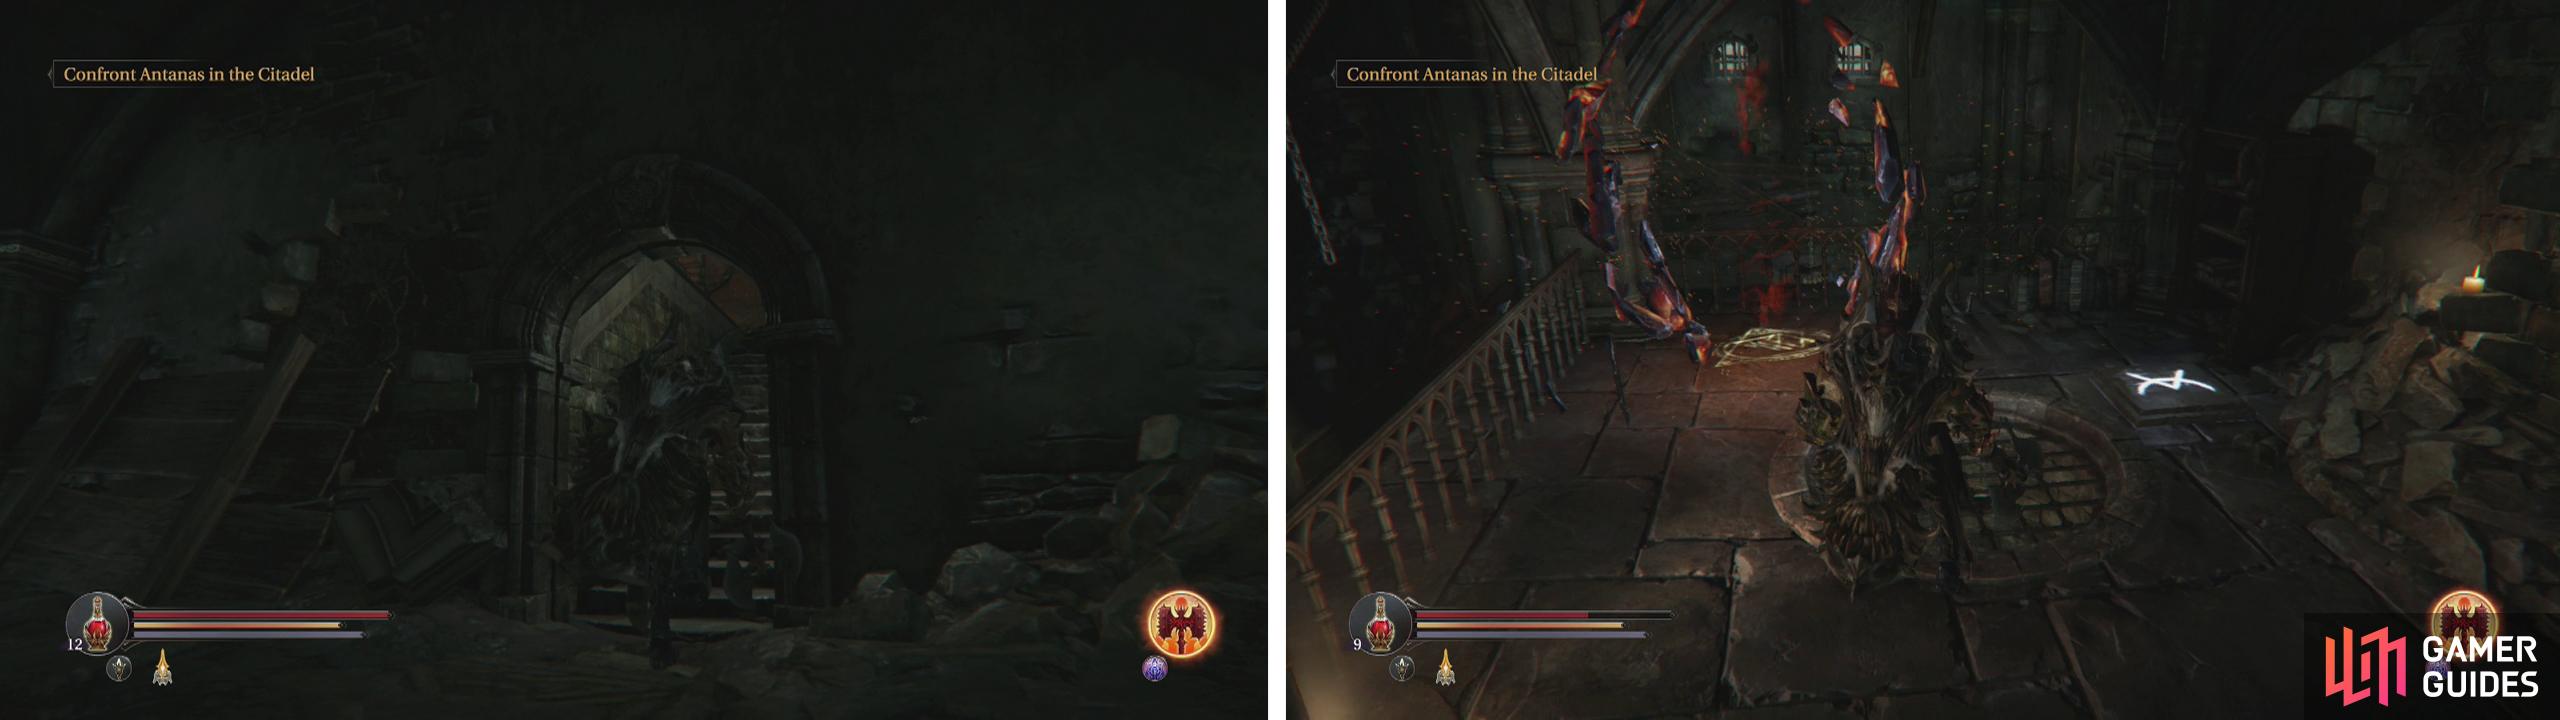
At the top of the stairs we’ll bump into our first human enemy. From here on in, we will be encountering humans rather than Rhogar and despite the fact that the Rhogar have been kicking the regular folks’ collective ass for the duration of the game, the human enemies we face now are much, much stronger than anything we’ve fought before.
There is a Rogue right at the top of the stairs and a Knight down the corridor to the left. Pull the rogue back to the boss room and then move up to take out the Knight once he is dead. There will be an Audio Note (The Results) over by where the Knight was standing.
At this point, we are pretty much in the final stretch for the game. The final boss can be found at the very top of the Citadel (where we took the lift up to earlier) but before we can do that, it’s a good idea to go and mop up any remaining side-quests and exploration. As such we can either head through the doorway opposite the top of the stairs we entered from and kill the rogue and the Knight in the room below before exiting the Citadel to do more exploring. Or we can continue up the stairs by the Knight.
Additional tasks include:
- Return to the Roghar Temple to find the final two Runic Notes for Audio Notes . The first Audio Note (New Religion: The Judges) can be found on the second floor of the Eastern Antechamber and the second Audio Note (New Religion: The Lords) is near where we spoke with the Crippled Rhogar after the fight with the Infiltrator.
- Return to the Rhogar Temple to kill the final two Tyrants (they can both be found at the Portal – the arena where we fought the Infiltrator earlier) for the remaining Tyrant Hearts . These have a chance to drop a Weapon (Polesword - Jaw) .
- Hand in the remaining Tyrant Hearts to the Wounded Monk in the South Watchtower.
- Visit the top of the burned watchtower (if you haven’t already) where we lit the signal fire earlier for a new Weapon (Hammer - Hope) .
- Visit and complete any remaining Loot Crystals .
When you are ready to get on with the game, climb the stairs nearby, kill the archer at the top and then enter the Loot Crystal #10 here.
Exit the Flooded Hallways via the available stairway (left). On the next floor up you’ll find the final Loot Crystal (right).
Loot Crystal #10
This is your fourth and final Proving Ground Arena! As per usual, there is a Checkpoint Crystal and Anvil located either side of the entrance warp crystal. The goal here is to fight off all the enemies to progress. To begin, stand on the circular panel in the very centre of the room. The waves include:
-
Three Spiders
-
Human Rogue and a Spirit.
-
Two Spellcasters and a Knight.
Once all three waves have been defeated, step on the plate in the centre of the arena once more for a chest. Loot it for: -
Attribute Point Shard ,
-
Spell Point Shard and
-
Armour Set (Lords)
-
Weapon (Hammer - Glance)
Return through the Loot Crystal to the real world.


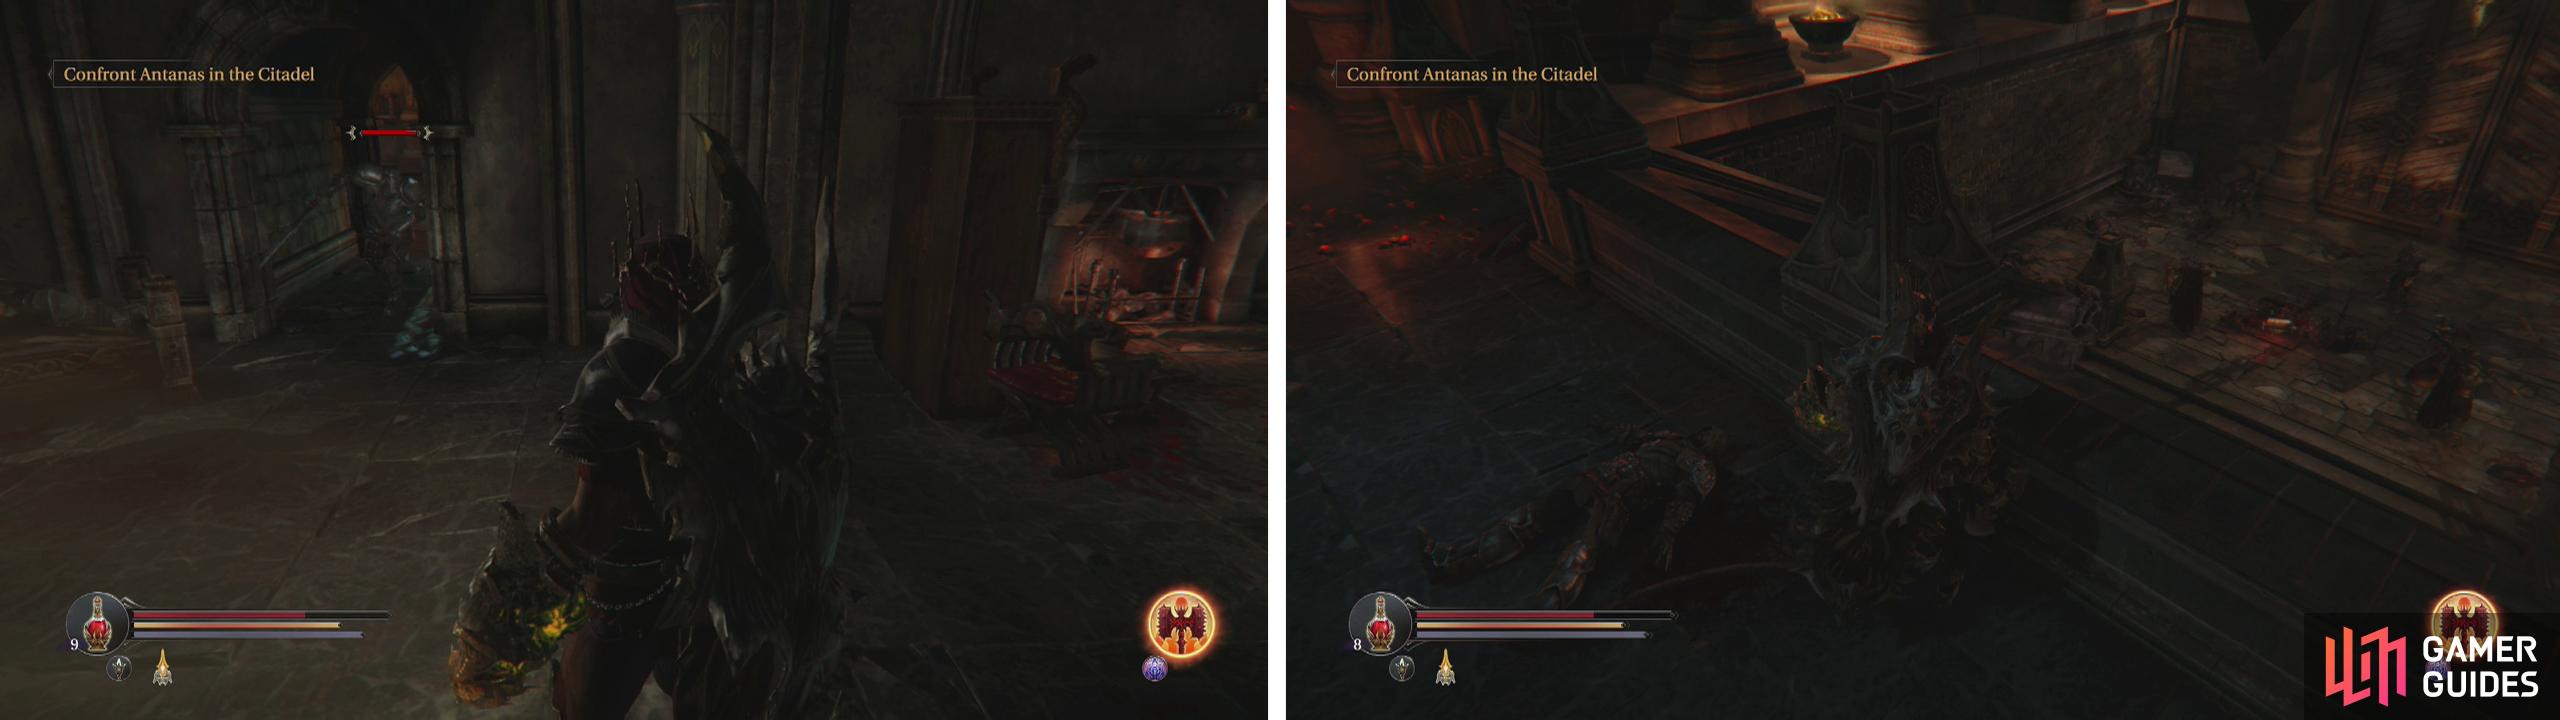
Kill the archer (again) ahead and continue through the passage behind him. Move towards the far end of the room and cautiously approach the doorway – there is a knight here that will attempt to ambush you if you are not careful. Lure him back into the room and take him down.
Main Hallway
If you edge out the next door, look to the left until you see an archer. Use your gauntlet to shoot him and quickly duck back into the previous room. If he refuses to come, pop out into the open for half a second and then quickly run back behind the wall so he preps and fires an arrow. As soon as he does, lean out and shoot him with your gauntlet. This is a longer but easy way to deal with him – just watch out for those magic draining grenades he throws! Continue until he’s dead.
Now enter the main hall and move a short distance along it to the right. The enemy at the far end will run off before a human with a greatsword enters the far end of the hallway to confront you (after the first run through, he will spawn in the small room to the left). After you have killed him, return to where we killed the archer.
If you look below you’ll see three knights (two with shields and one with a greatsword). In the midst of these three is an Audio Note (Wanted: Guard Orders) . To get at this we can fortunately pull the enemies one at a time using the gauntlet and dispatch them at the top of the stairs.
After the Loot Crystal watch out for the Knight who will ambush you (left). In the Main Hall, before the main door is an Audio Note guarded by 3 Knights (right).
Now make your way down the main hall until you reach the next doorway. Just inside you should be able to make out an archer. However, there is also a Rogue located behind the short corner to the left, so try to take the Archer down close to the entryway so that you can focus on a single target before moving into the room to fight the Rogue.
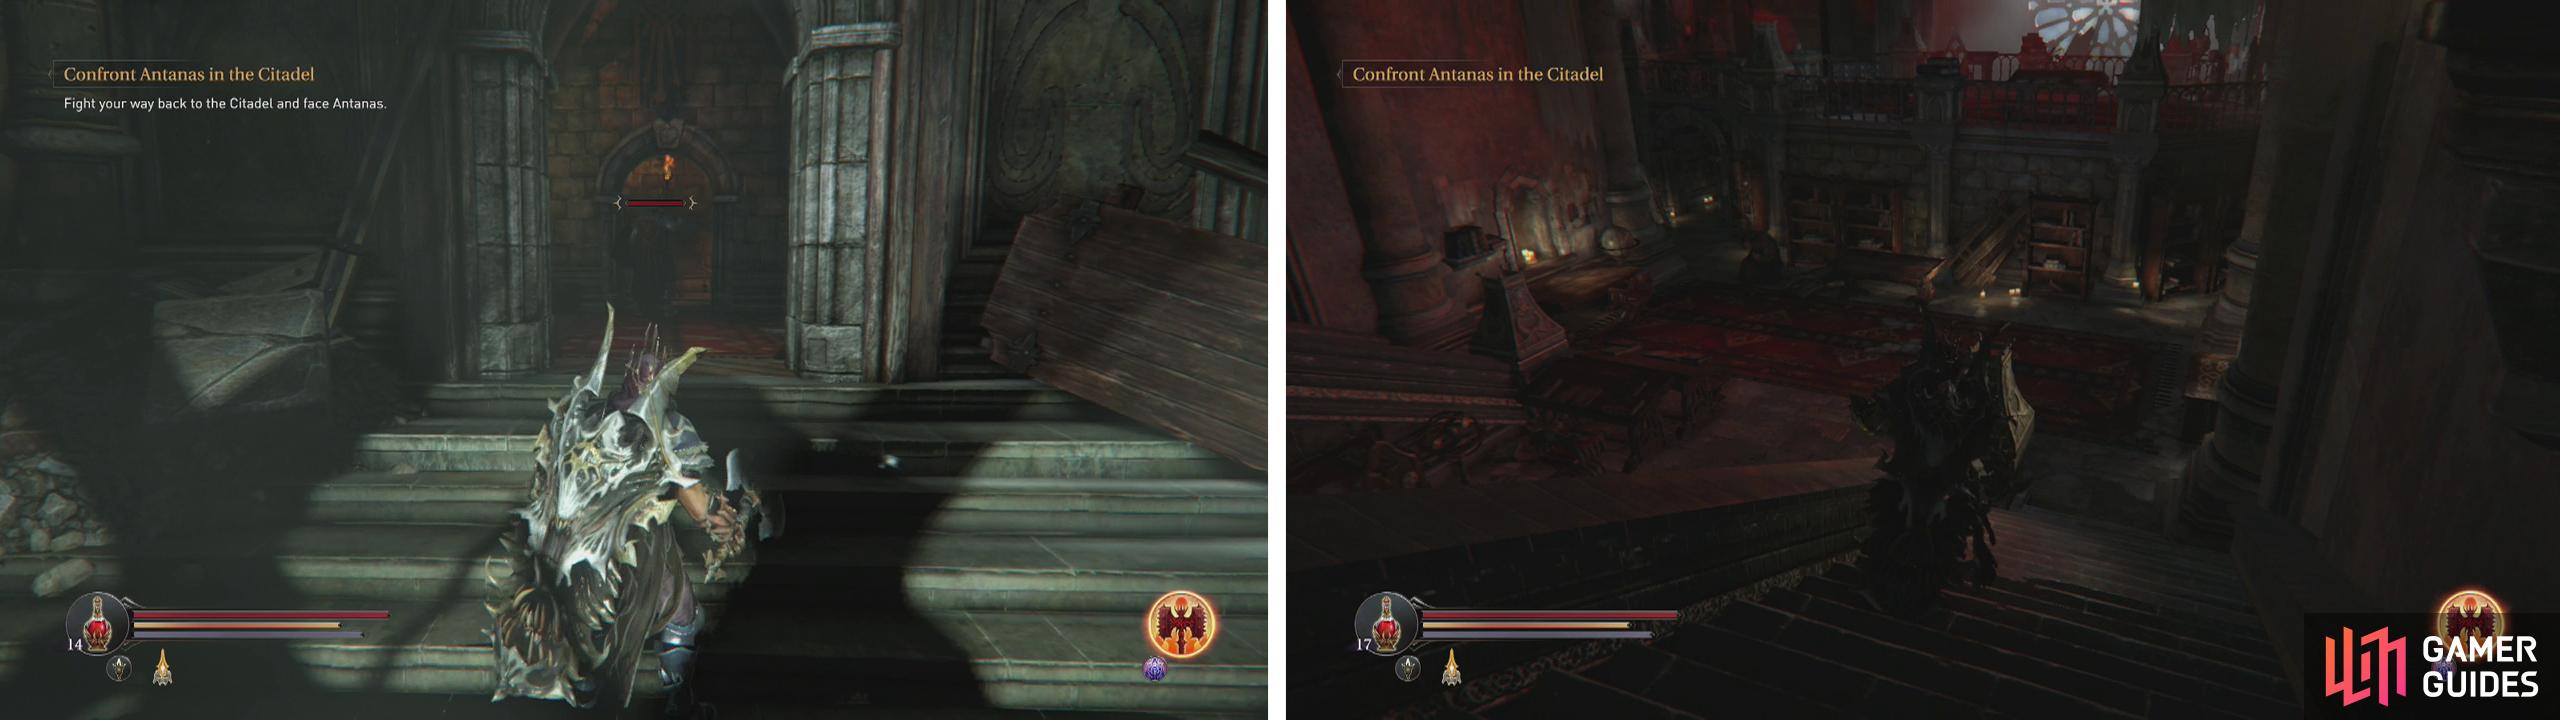
The door to the left behind the Rogue leads to the Initiation Room and a Checkpoint Crystal (if you want to save). You’ll need to kill the archer guarding the door here and then once inside, a Rogue and a Knight with a greatsword.
Return to the main hallway and enter the next door for a short cut-scene and a fight against the Captain. The Captain handles in essentially the same way as the knights you’ve been fighting against with the greatswords. He is however slightly quicker and has much stronger attacks. Lure him back to the room with the Checkpoint Crystal and use the wide open space to take him down (gauntlet is best!).
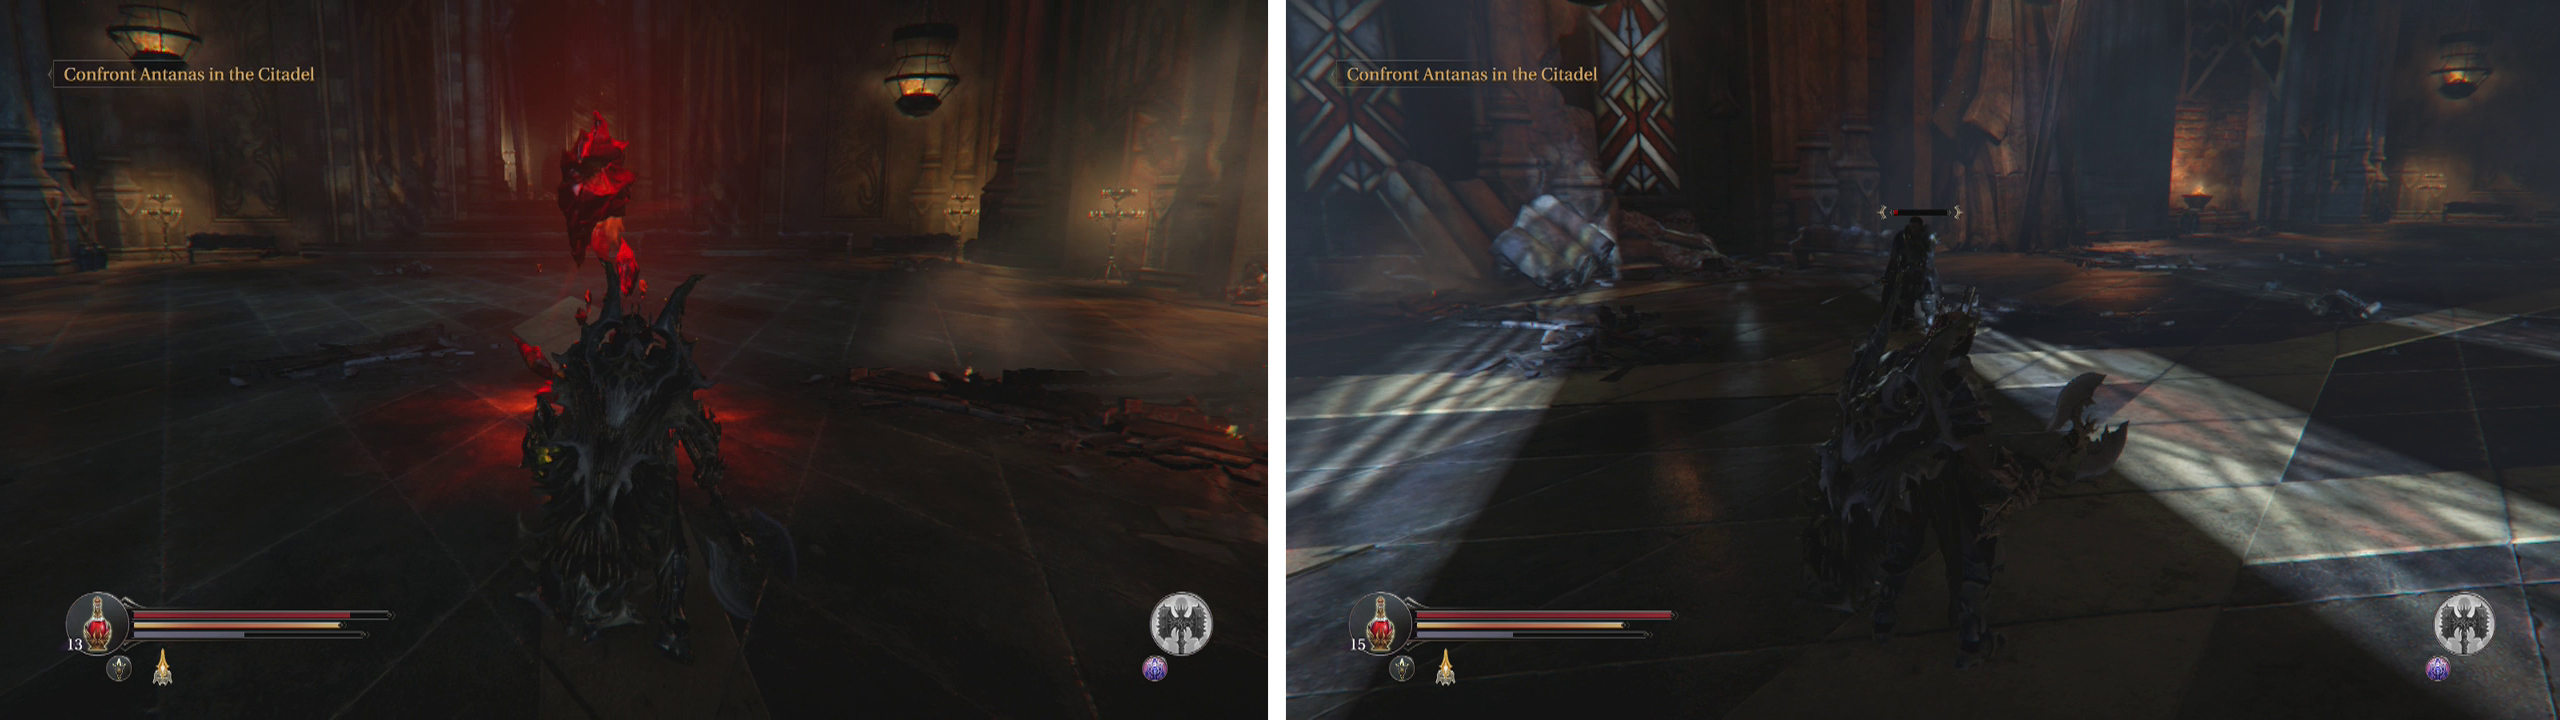
Clear out the Initiation Room for a Checkpoint Crystal (left). Lure the Captain back to this room to take him down (right).
Upon damaging him enough he will slump to his knees. Approach him for a conversation. Afterwards give his noggin a floggin’ for 5,000XP and then loot the item he drops for the Southern Trench Key , an Audio Note (Wanted: Antanas Will) and a Trinket (The Great Burden) .
Head back to where we encountered the Captain. Now that we have the Southern Trench Key we can do a little more exploring if you like, in which case you can exit via the doorway here - which is what this guide will be doing.
If you want to keep pushing on, make your way up the stairs.
Explore the Southern Trench (Optional)
Outside, kill the two Knights who greet you. If you haven’t been here yet, with your back to the exit door, look to the right to spot a weak wall . Use your shield bash (sprint at the wall whilst holding the shield up) to break it down. Inside is a chest containing a Weapon (Hammer - Blindman).
Continue along the path to the right until you reach the Checkpoint Crystal , killing baddies as you go. Enter the building just after it (we went through here to reach the Graveyard earlier). Kill the Rogue in the first niche to the right and then use the Southern Trench Key to open the locked door behind where he was waiting.
At the bottom of the stairs, kill the Rhogar Knight and the Crossbowman. Look beside the stairs we came down for a small path leading to a dead end. Run and shield bash the weakened wall here down to find a hidden room. Inside there is a locked chest. Walk over and interact with the glowing blue cloud for a conversation. Afterwards, swing your weapon at it. Following another brief conversation, the ghost will disappear and the lock on the chest will vanish too. Loot the chest for a new Trinket (New Dawn) . Return outside.
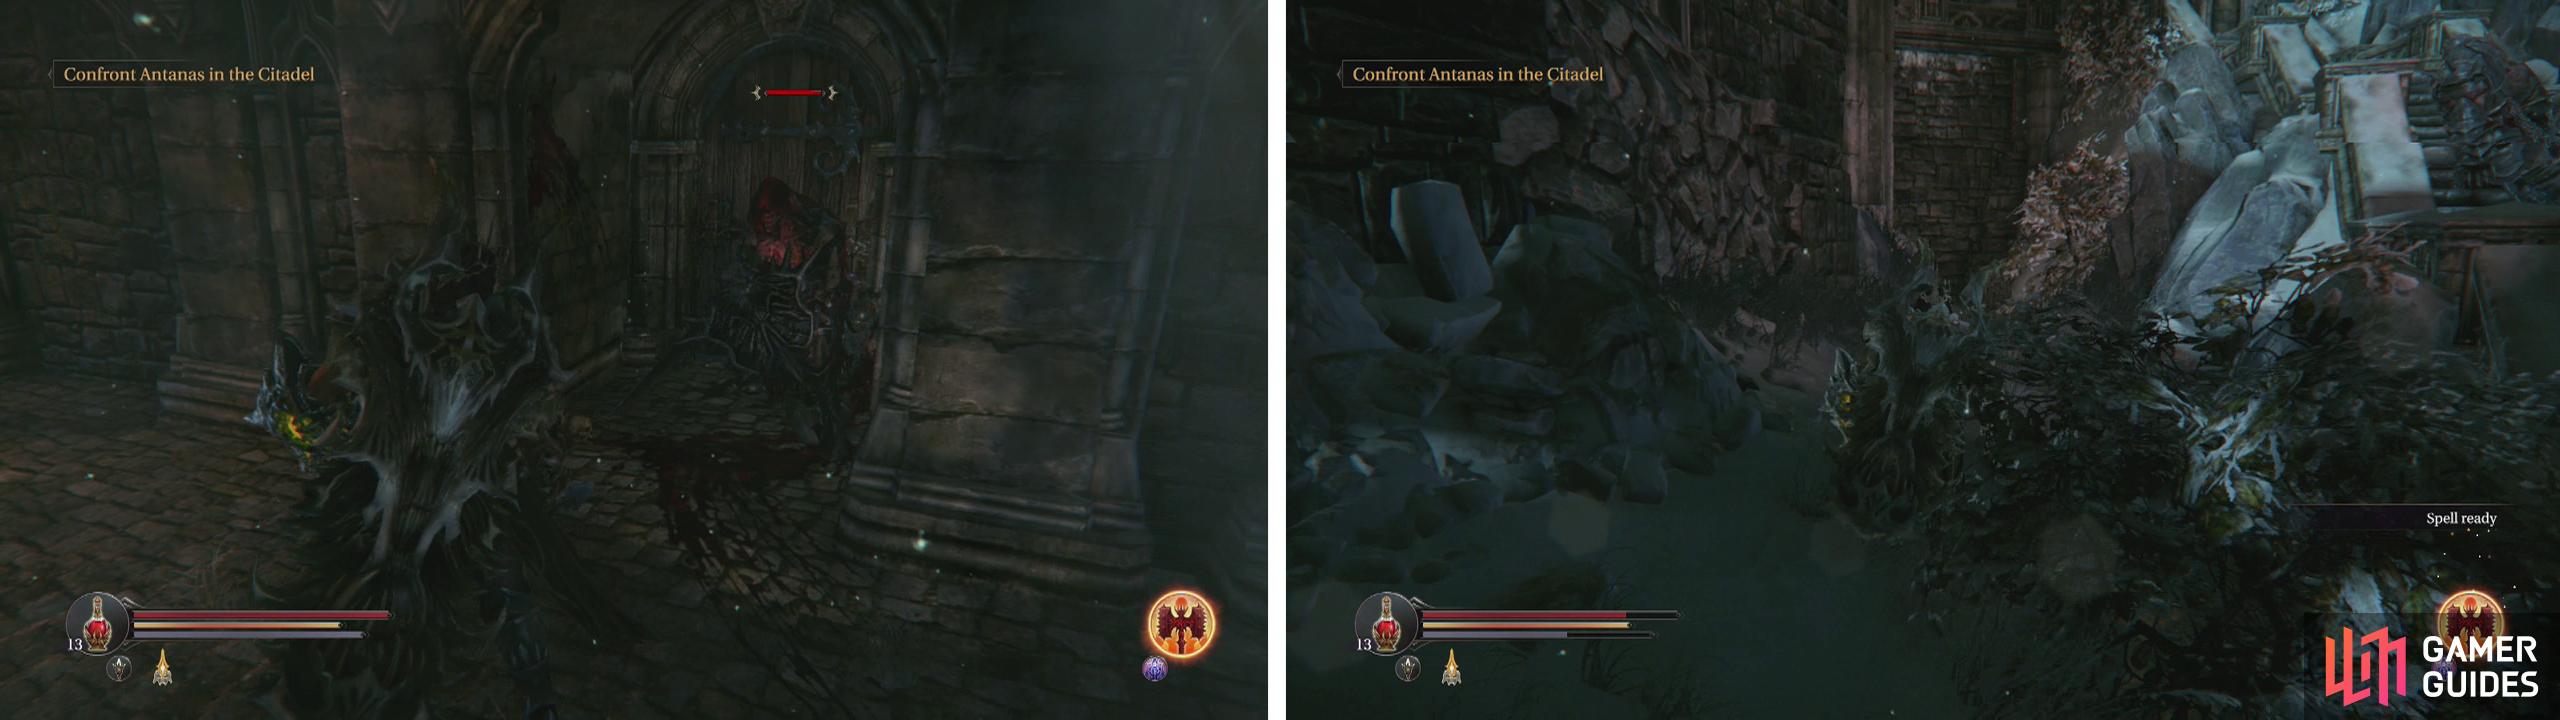
Enter the door here (left) to access the Southern Trench. At the base of the first stairs, turn around and go down the short path for a weak wall (right).
Move up a little further into the area to encounter a Poison Beast next to a doorway leading onwards. Use the open area around its location to take the beast down and then look to the left of the archway to the next area for an Audio Note (Prisons: Second Chance) and a chest containing a Weapon (Polesword - Rhogar) and a Poison Resistance Shard .
Go through the archway and turn right. There is a lever here which will open a shortcut back to the Square of Heroes where we fought the Commander and the Beast.
Now look further to the left. There is a Fire Beast in the distance and there is also a Crossbowman and a Spirit in that general direction as well. Use your gauntlet to pull the beast and take it back through the archway to fight it without the added annoyance of projectiles. Once it is dead, return through the archway and take out the Crossbowman and the Spirit.
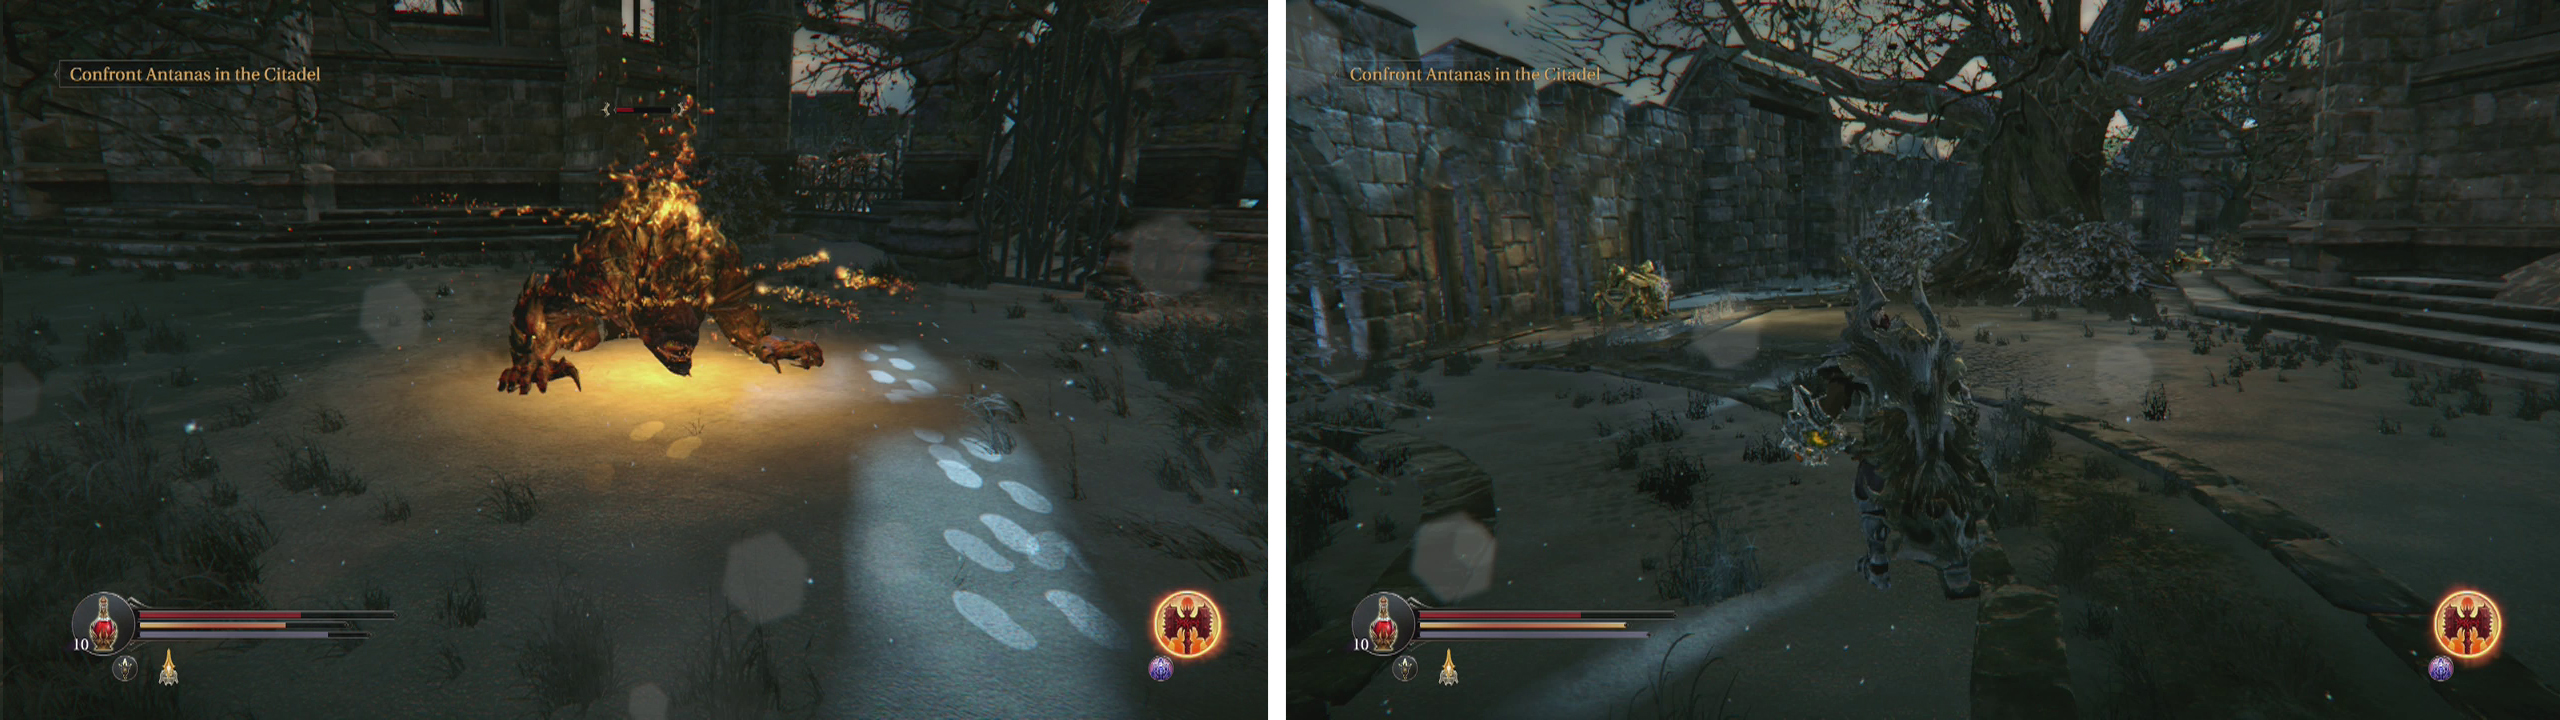
Clear out the Fire Beast and his friends (left) before looting the chests behind the main building (right).
Explore the area to find a pair of golden chests. The one directly behind the ruined structure requires a rune to open and contains a Weapon (Shortsword - Impatience) . The second chest is by a second lever that opens a gate back to the Commander/Beast arena and it contains a Shield (Tower - Eagle’s Wings) .
Now backtrack to where we exited the Citadel and head back inside to continue with the game.
Main Hall
At the top of the stairs, enter the doorway. There is a Knight and a Rogue in here and pulling either one will alert the other as well, so you’ll need to fight both of them off. If you want to take them on separately, drag them back into the previous room and down a few flights of stairs, the rogue is much quicker than the knight so you should be able to finish him off before the Knight arrives.
Loot the Knight for the Planetarium Chest Key . Continue through the door and at the base of the spiral stairs you will find an Audio Note (Monk’s Fate: I Found Him) . Climb the stairs and enter the first doorway in the right – watch out as you enter for the knight with the greatsword who attempts to ambush you.
Kill the Knight at the top of the stairs (left) for a Planetarium Chest Key. Clear out the Planetarium (right) and use the key unlock the chest in the side-room.
Go down the stairs and follow the passage to the left. Kill the Knight along the way. Inside the next room on the right, you’ll find a locked chest next to a desk. Use the Planetarium Key on it to find a Weapon (Sword - Guard’s Sword) . Return to the spiral stairs.
At the top of the stairs, enter the room to the right for a Checkpoint Crystal and an Anvil .
When you are ready to attempt to finish the game, step into the lift nearby and ride it to the top of the Citadel for the final boss fight.
No Comments