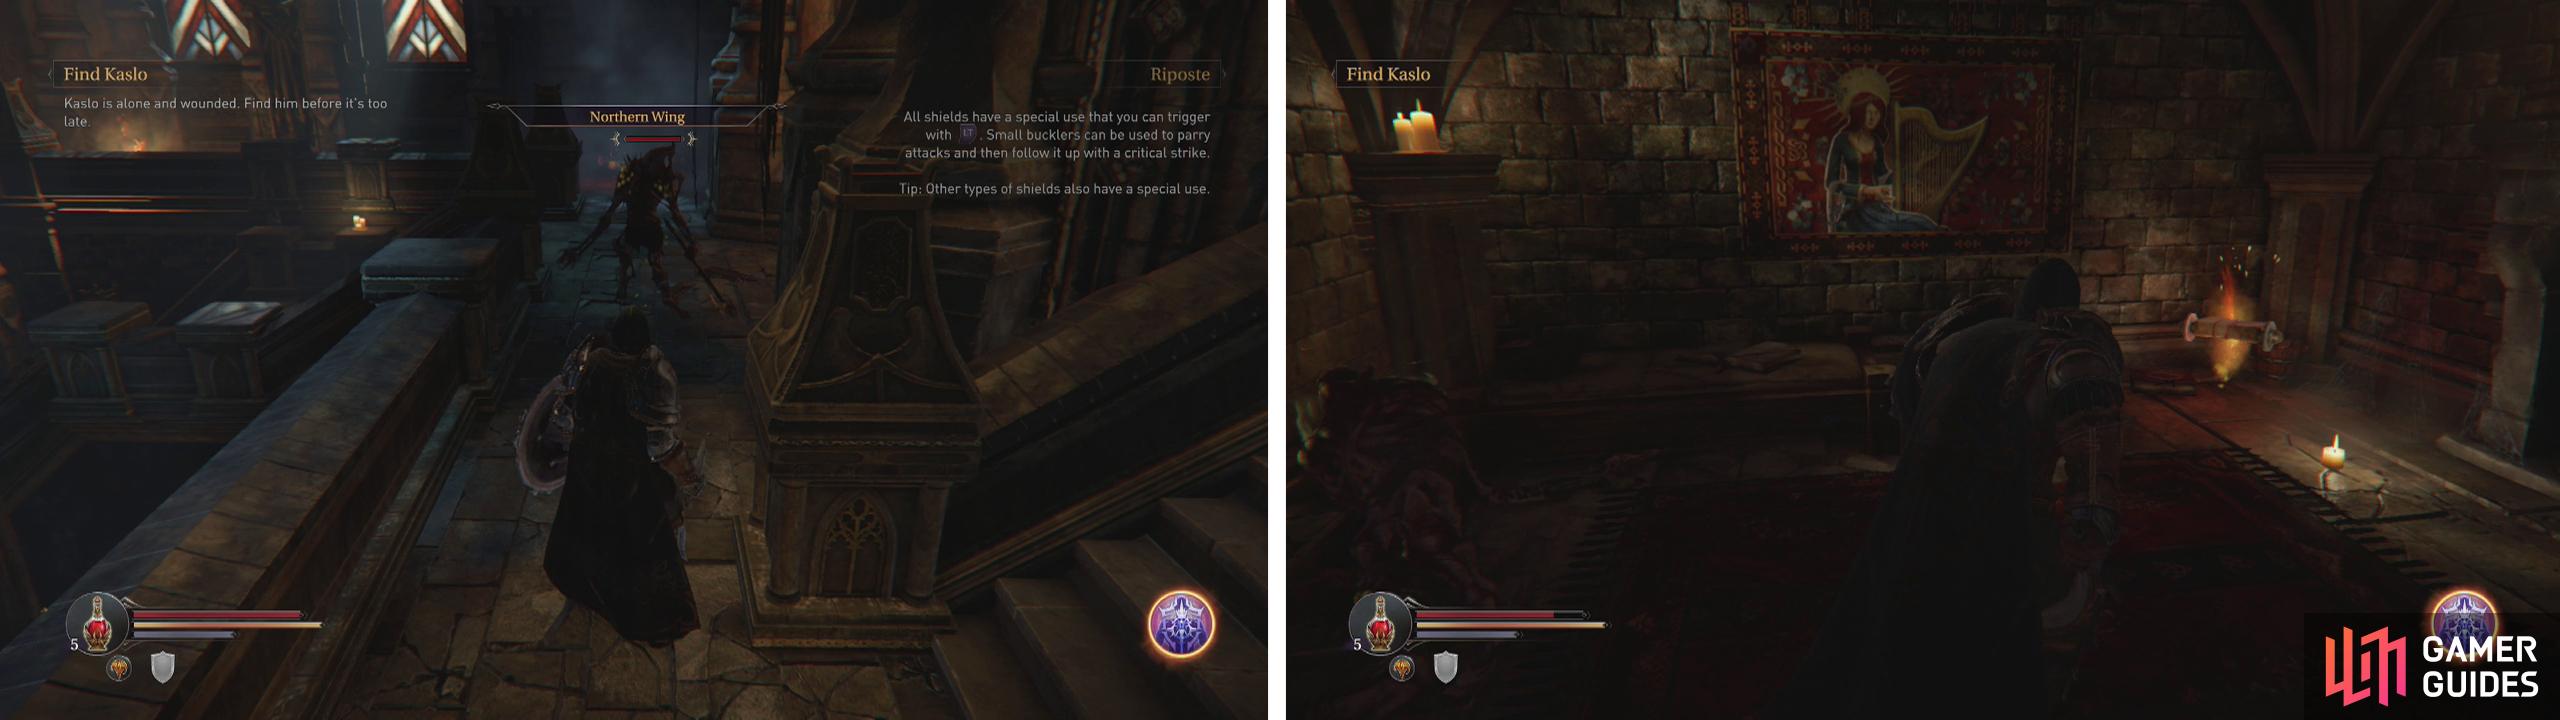
As you enter the stairwell, turn to the right and approach the Infected here. The game will give you a brief tutorial on backstabbing – essentially a special attack you can execute from behind an enemy to do significant damage. This is easier to do when an enemy is unaware of your presence and you can sneak up on them, however with a little practice you can pull it off during combat as well.
Kill the pair of Infected and grab the Audio Note (Tales of Old: Three Heroes) . Follow the platform at the top of the stairs all the way left to find a chest behind a brazier containing an Armour Set (Cleric/Rogue/Warrior) .
Enter the stairwell and practice your backstab (left). Enter the doors halfway down the stairs to find a pair of Infected and an Audio Note (right).
Head down the first flight of stairs and fight the Marauder here. At the bottom of the next flight of stairs, open either of the two doors in front. These both lead to a series of inter-linked small rooms. Kill both the Infected (one in both end rooms), loot the left hand room of an Audio Note (The Rhogar: Villager Notes) and then look in the central room for a chest containing a Weapon (Staff - Monk Staff).
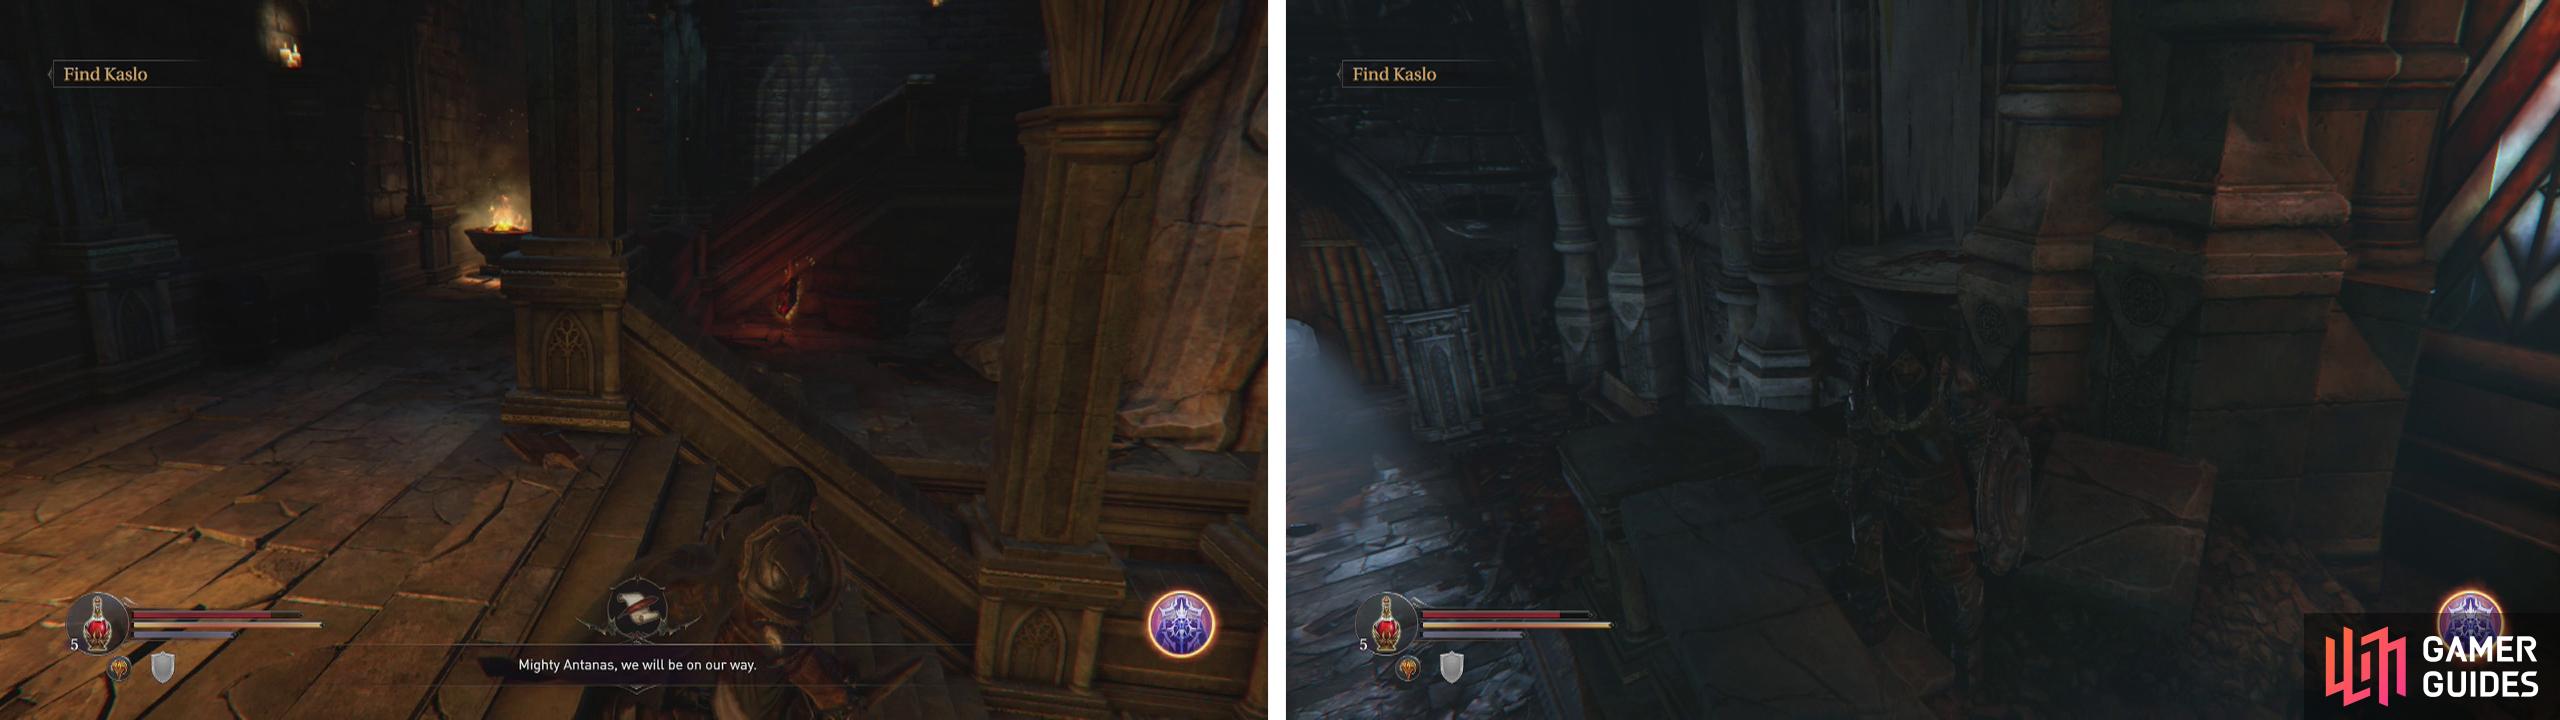
Return to the stairwell and from the level with the doors, look towards the statue in the centre of the room. There is an item here. If you run at the wall and hit the jump button you can leap over the railing. Walk up and grab it for the Northern Monastery Wing Door Key .
Now that we have this, we want to backtrack all the way to where we started the game. From the top of the stairs in the starting room, head to the right hand side (when looking down). From the rubble of the railing look across to see a small circular platform built into the wall on the right with a curtain above it. This is a hidden area and you can run and jump to this from the rubble.
Hop the barrier to reach the Northern Monastery Wing Door Key (left). Backtrack to the first room in the game and jump from the top of the stairs to the platform on the right (right).
Once inside, grab the Ghost Merge Shard from the stairs.
Climb the stairs and at the top roll/jump across the hole in the floor. Use the Northern Monastery Wing Door Key we just found to open the door here. Inside, grab the item to acquire the Shard of Heroes . Whilst we cannot use it as yet, we can use this later to gain a powerful class-specific weapon.
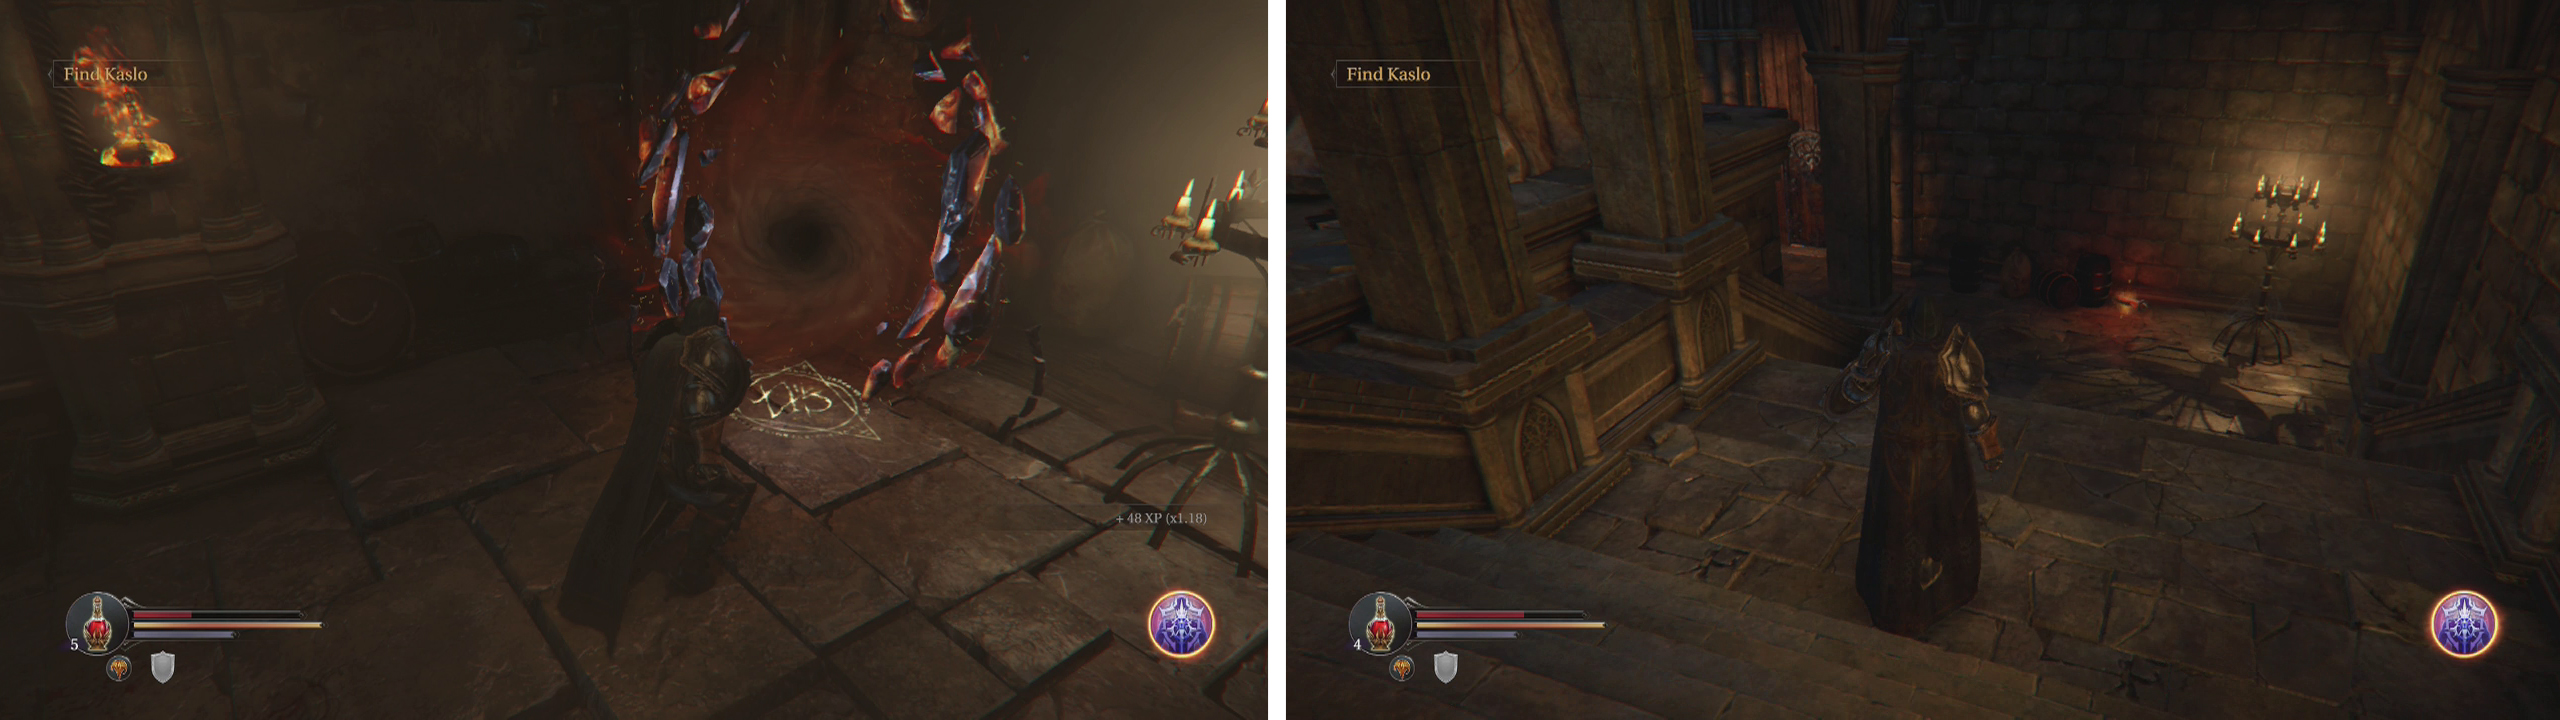
Drop down to the floor below. Go through the side-chambers as we did initially until you reach the Loot Crystal #1 we saw earlier. It will now be unlocked for you. As such, move up and interact with it to warp to another location.
| **Loot Crystal #1** |
|---|
| **Loot Crystal #1 -** Inside the Loot Crystal you will find three chests. Open them all to obtain: **Empty Bottle** , **Trinket (Faithful Disciple)** , **Shield (Bulwark Shield)** , **Ghost Merge Shard** , **Magic Energy Shard** , **Energy Shard** , **Sealed Rune (Small)** . |
Enter the Loot Crystal #1 (left) before returning to the stairwell, continue down to ground level for the exit and an Audio Note (right).
Fight your way back to the stairwell and continue to the bottom floor this time. Grab the Audio Note (Lords of the Fallen: Their Purpose) and then head past the door to the dead end beyond to find a pair of Infected and a chest containing an Armour Set (Cleric/Rogue/Warrior) . Go back and head through the door to exit the monastery.
No Comments